Origami Time - Paper Ribbon
Crafting is one of the activity I like to do. Paper crafting or origami is a good time killing activity. 😉😊😀
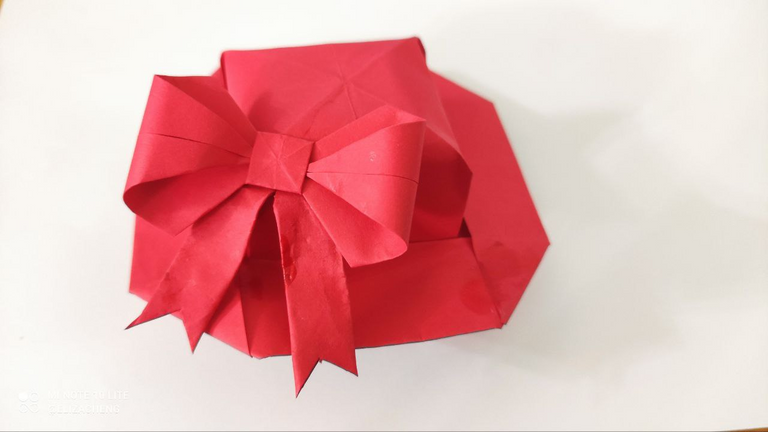
Today I am gonna share how I make a paper ribbon following a step by step guide from Youtube. It's not a complicated paper ribbon. Why I choose this ribbon? Well, it all started because Vinnie needed to make a paper hat for her Saturday event. She found this Youtube video tutorial making a paper hat with a ribbon as decoration. She managed to make the hat herself but she couldn't get the ribbon made correctly. So she asked me for help. Here's her paper hat with my paper ribbon.
And this is the Youtube video
I won't be showing the steps of the hat as it's not made by me. I didn't take photos of the process. In this post, only photos of the process of the making of the paper ribbon.
First, we need a square paper. I am using a 8cm x 8cm paper. You can use any size depending on how big you want your paper ribbon.
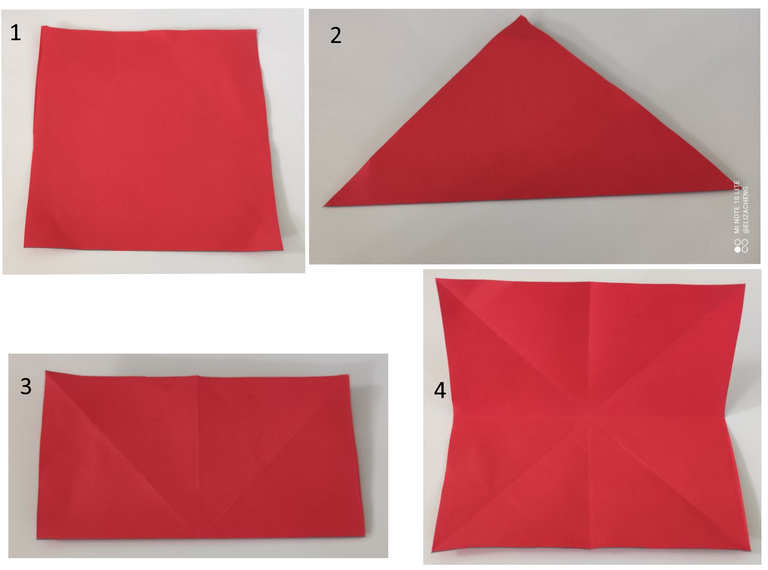
Fold the square half vertically and diagonally. And open it up.
Then follow the lines to fold it into a square as shown in the photo above.
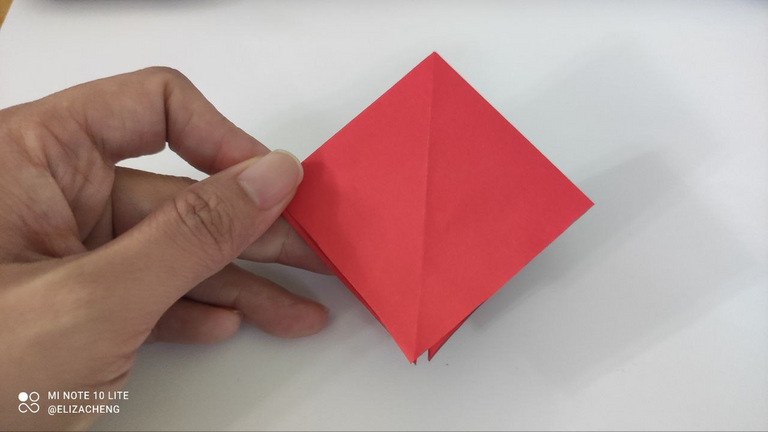
Next, from the top, fold down to form a small triangle above.
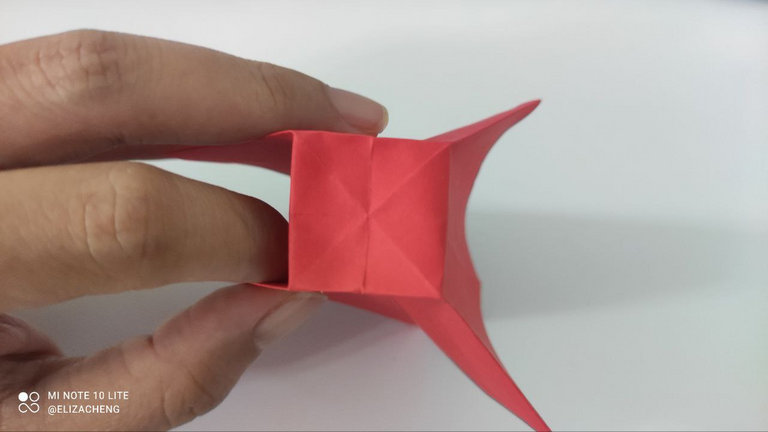
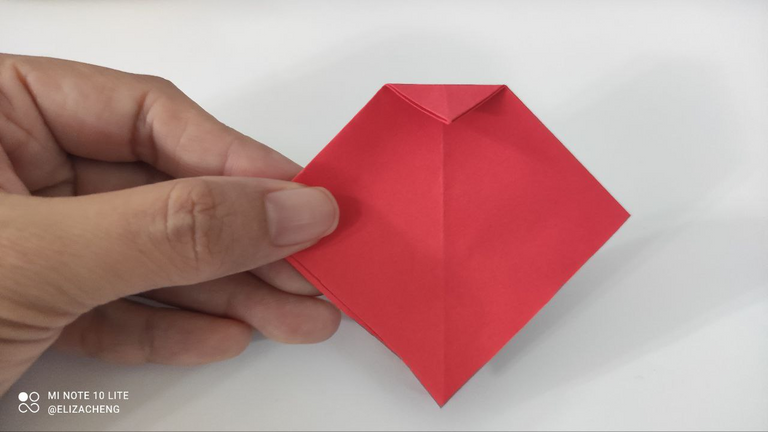
Open up the piece of paper and fold according to the lines to form a small square at the center of the paper. (This is the tricky part and also the part that Vinnie couldn't get it done properly.)
Fold everything inwards to form a pocket in the center of the paper. (This is the second tricky part. If you can make this, then basically you will get your ribbon done nicely.)
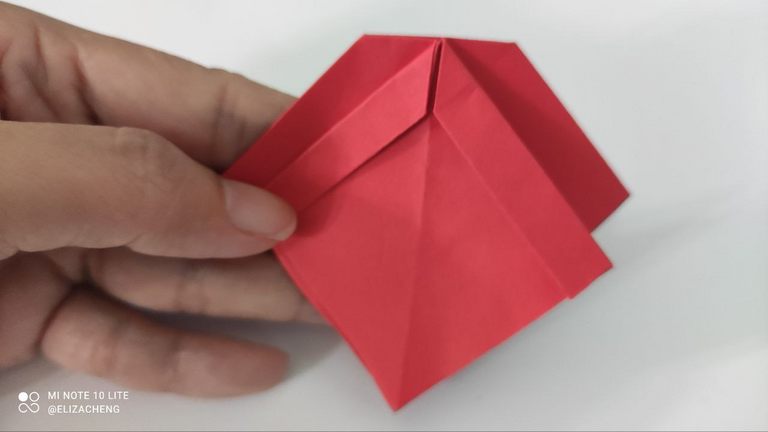
Fold all four sides as shown in the photo above.
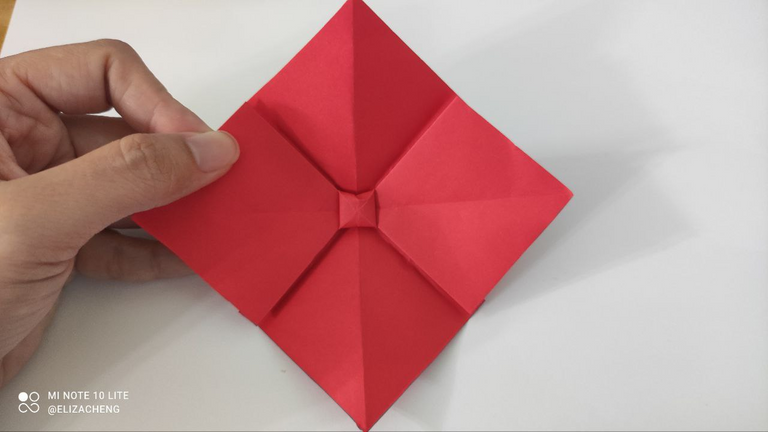
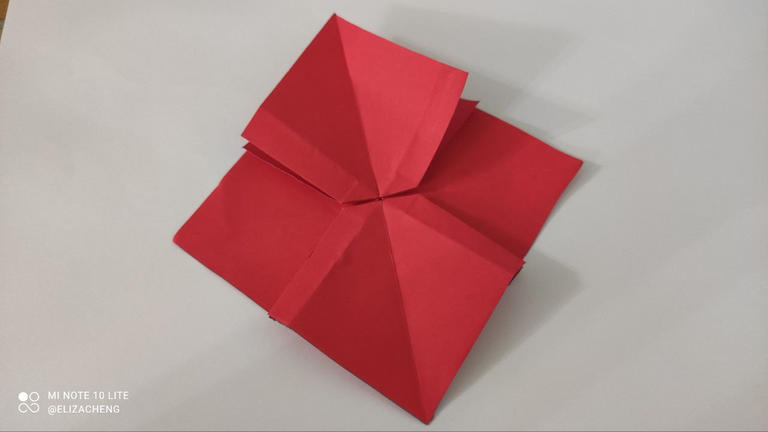
Then open up the piece of paper. You will get this beautiful "knot" in the center of the paper. This is the knot of your paper ribbon.
Turn to the back and cut all four sides of the inner squares. (Refer to the video, it is way easier to see and follow the steps in action in the video.)
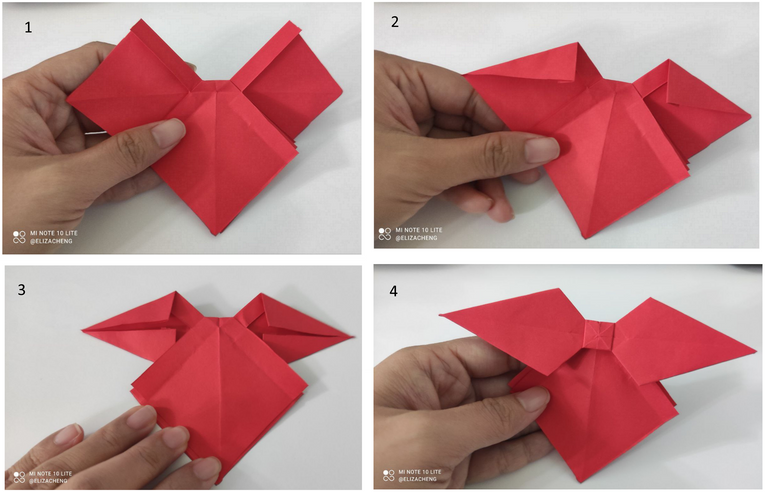
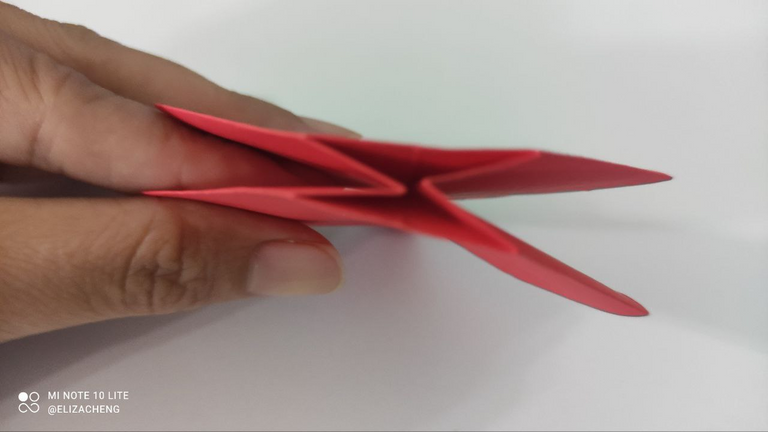
After cutting the sides, we can now do more folding. You can see the shape of the ribbon is beginning to show.
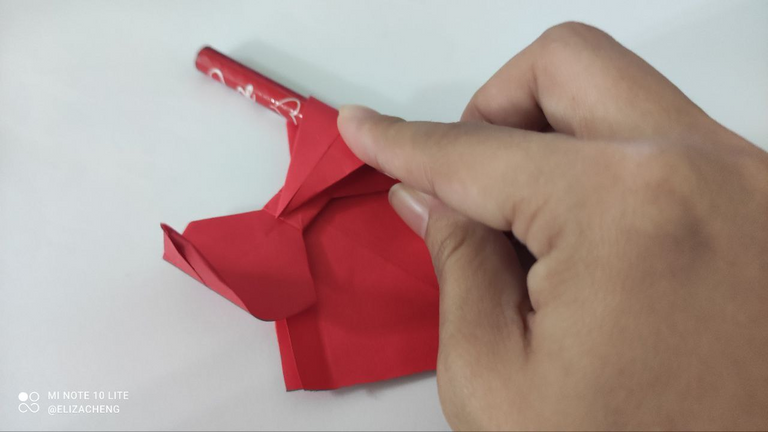
Turn to the front part of the ribbon. With the help of a pencil, roll up the ribbon.

And tuck the tip of the ribbons into the knot... and yup, yup, almost finishing here.
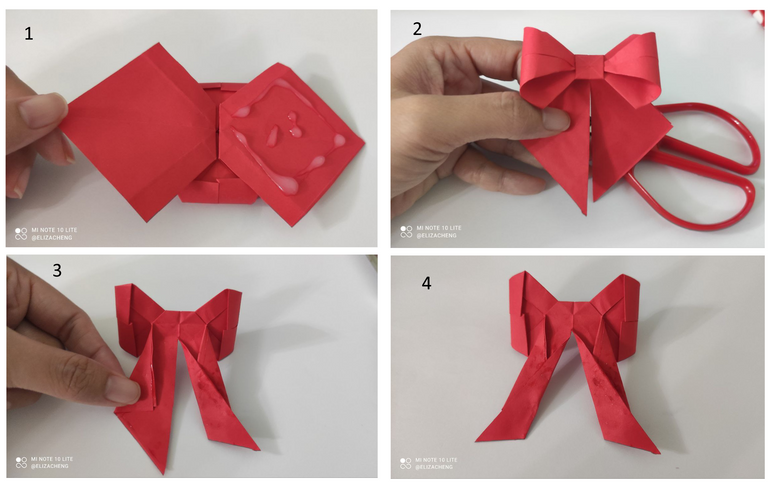
Glue the bottom part of the ribbon and make a cut right at the middle of it. Fold it in to make the rest of the ribbon. And final snip snip. ✂️✂️
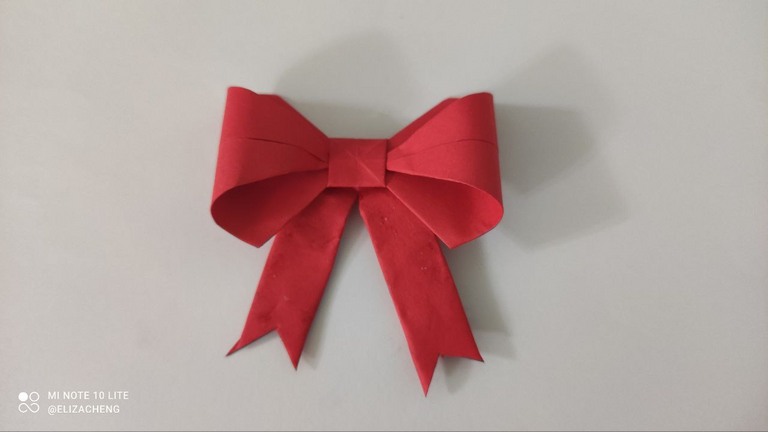
Tadaaa! A lovely paper ribbon we have here!!! It's a great paper decor for Christmas too! 🎄🎁
❤️🚶♀️🚶♂️❤️🎇✨❤️😁😊
I'm adding a Malay word in every post. Life long learning... Learning a new language is fun...
Word of the day
RIBEN - Ribbon


.png)


Design vector created by freepik - www.freepik.com
If you are looking for a hardware wallet to keep your crypto, check this out.

If you need a trading account, here's my links.
Binance.
Huobi
Kucoin
Gate.io
Pionex
Thank you for sharing this post in the DIYHUB Community!
Your content got selected by our fellow curator tibfox & you just received a little thank you upvote from us for your great work! Your post will be featured in one of our recurring compilations which are aiming to offer you a stage to widen your audience within the DIY scene of Hive. Stay creative & HIVE ON!
Please vote for our hive witness <3