DIY: Elegant turtleneck t-shirt / Camiseta elegante cuello alto (Esp/Eng)


[Esp]
¡Saludos comunidad!
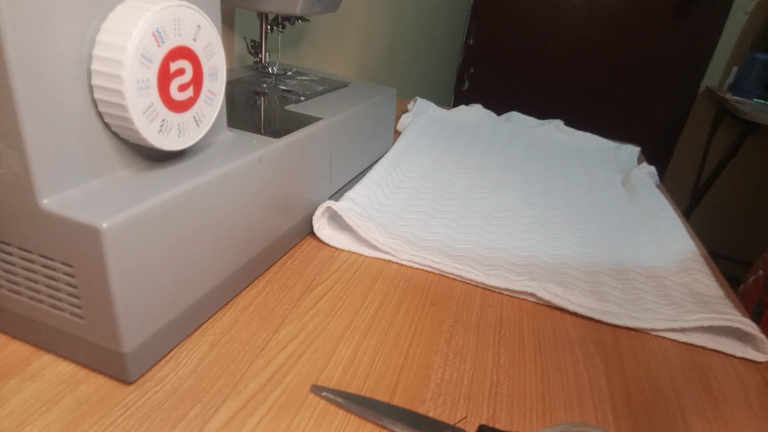
De la tela que compré para hacer mi turbante que publiqué anteriormente me quedó mucha, 1/2 metro de tela me alcanzó y rindió mucho, es una tela de lycra de muy buena calidad, pensé en darle otro uso.
Soy muy fan de usar camisas cuello alto o cuello de tortuga, es algo difícil de encontrarlas para comprarlas y las que he conseguido no son telas de buena calidad o los colores no me agradan, tampoco son muy económicas.
Mi madre era costurera, yo aprendí mucho de su oficio, ella me enseñó a usar mis mismas prendas de vestir como patrones para sacar otra prenda de vestir, ahora te cuento cómo lo logré.
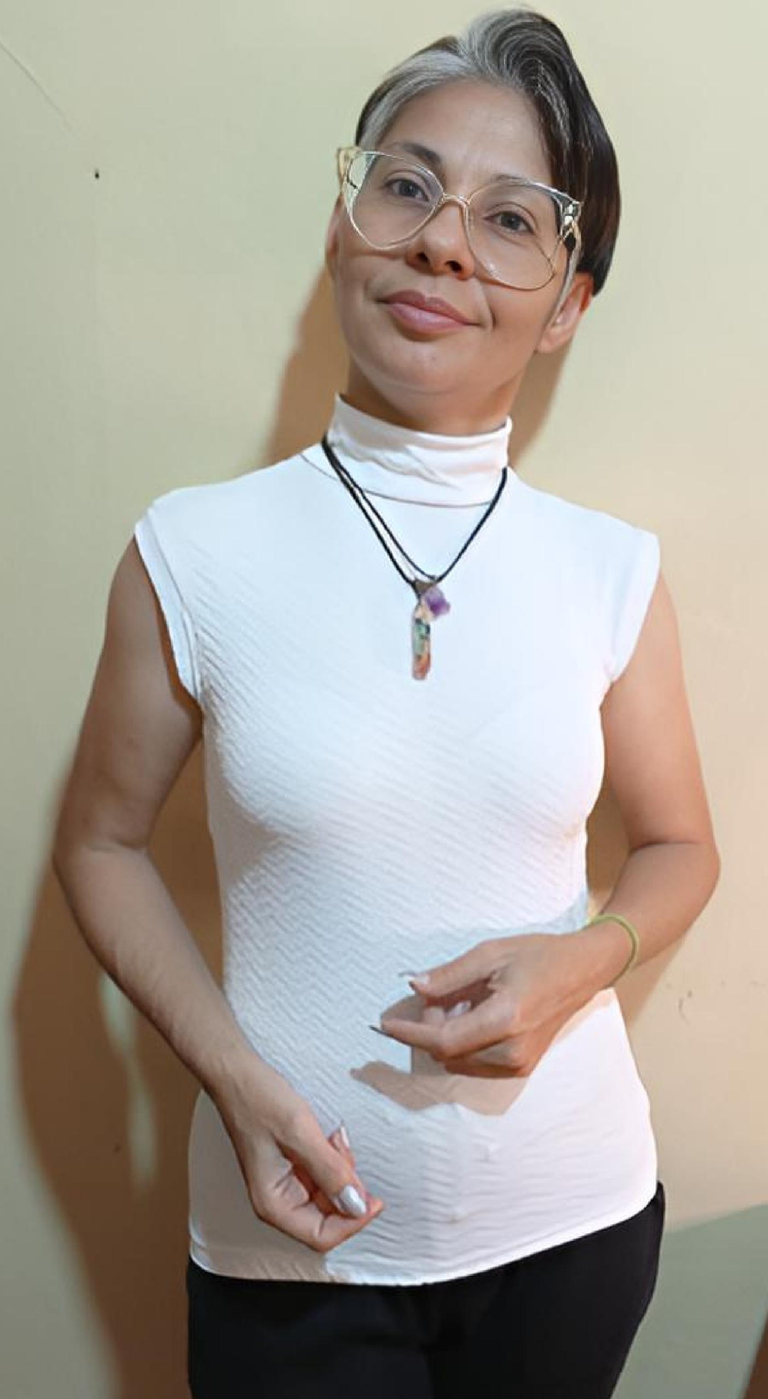
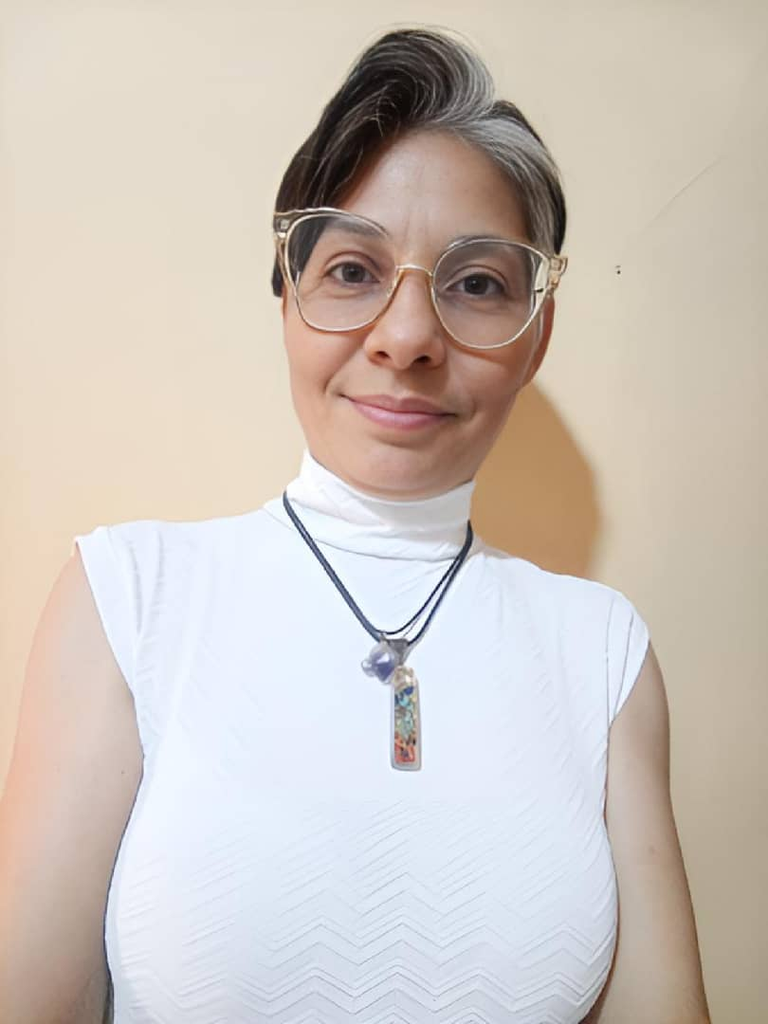
Estoy muy feliz porque me ha quedado perfecta a pesar de tener alrededor de 12 años sin hacer prendas de vestir de esta manera. Espero les guste.
! [English version]
Greetings community!
From the fabric I bought to make my turban that I posted previously I had a lot left, 1/2 meter of fabric was enough and it gave me a lot, it is a lycra fabric of very good quality, I thought of giving it another use.
I'm a big fan of using turtleneck shirts, it's a little hard to find them to buy and the ones I have gotten are not good quality fabrics or the colors are not to my liking, they are not very economical either.
My mother was a seamstress, I learned a lot from her trade, she taught me to use my same garments as patterns to make another garment, now I tell you how I did it.
I am very happy because it has turned out perfectly despite having about 12 years without making garments in this way. I hope you like it.

Materiales / materials
| Spanish | English |
|---|---|
| Maquina de coser | Sewing machine |
| Tijera, aguja, hilo | Scissors, needle, thread |
| Tela unicolor lycra | One-color lycra |
Paso a paso / Step by Step
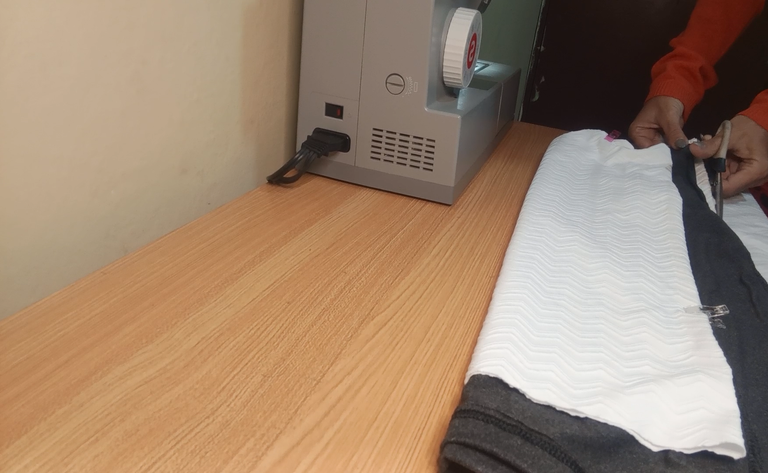
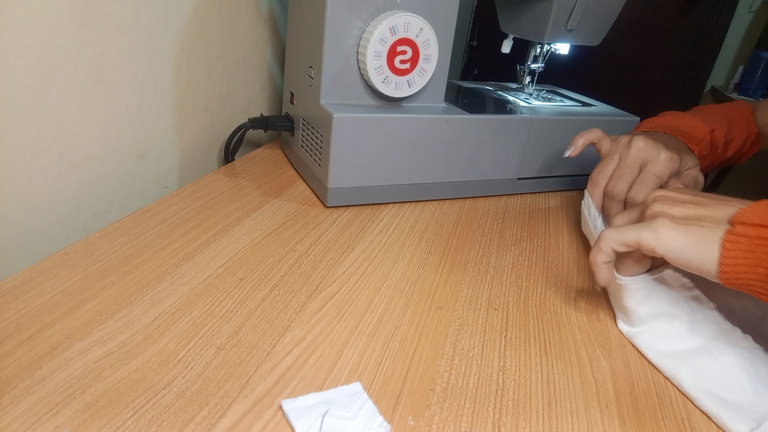
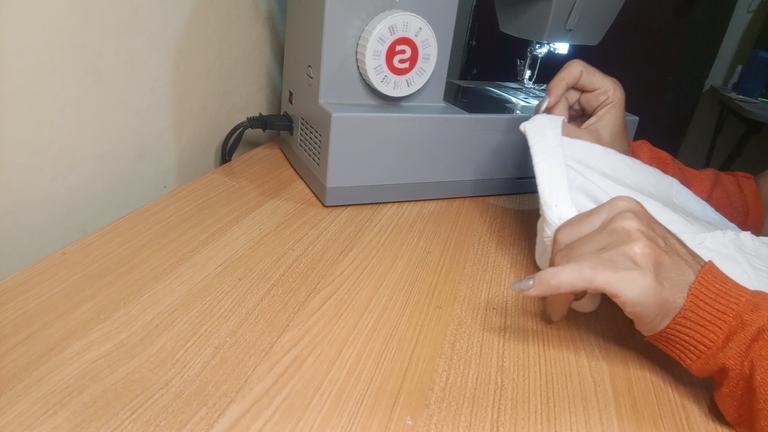
Step 1️⃣/ Paso 1️⃣
 |  |
 |  |  |

[Esp]
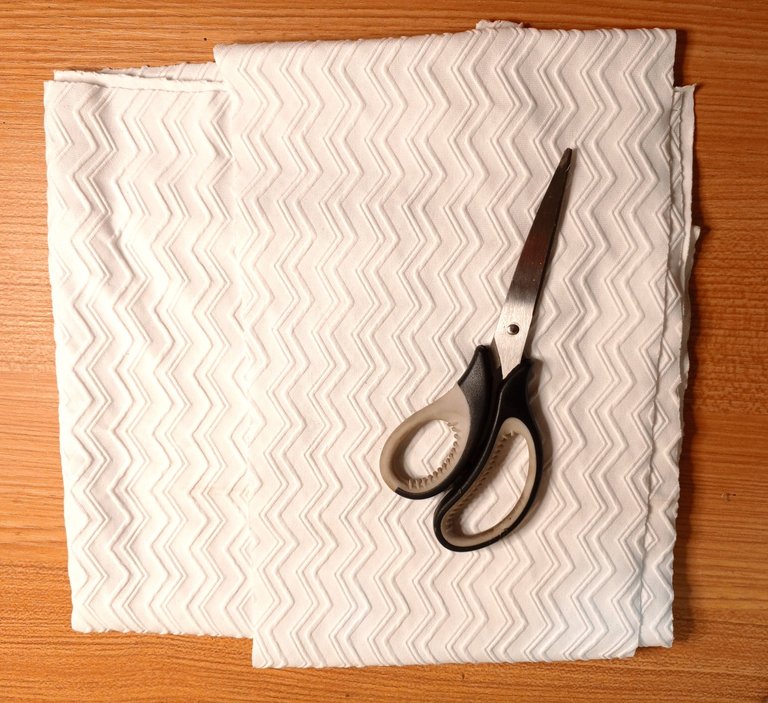
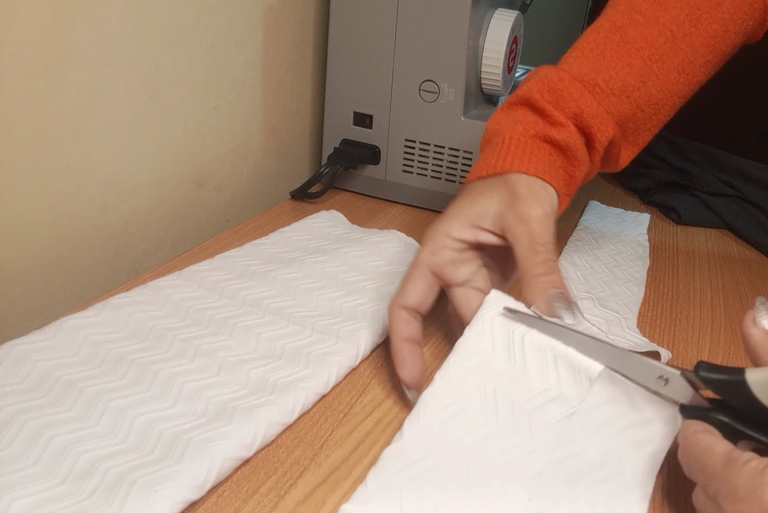
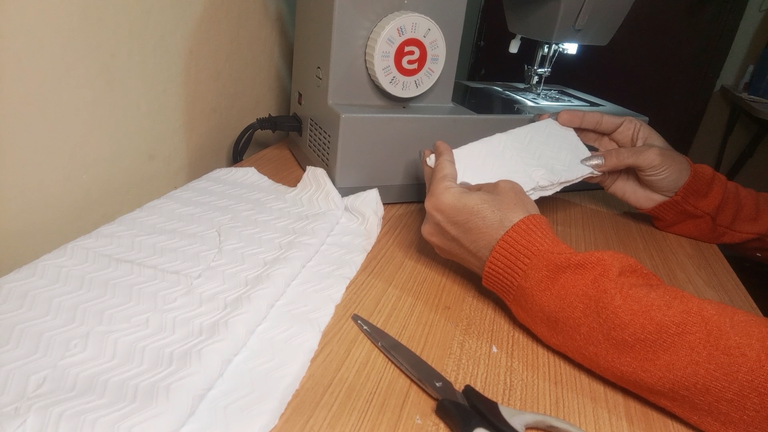
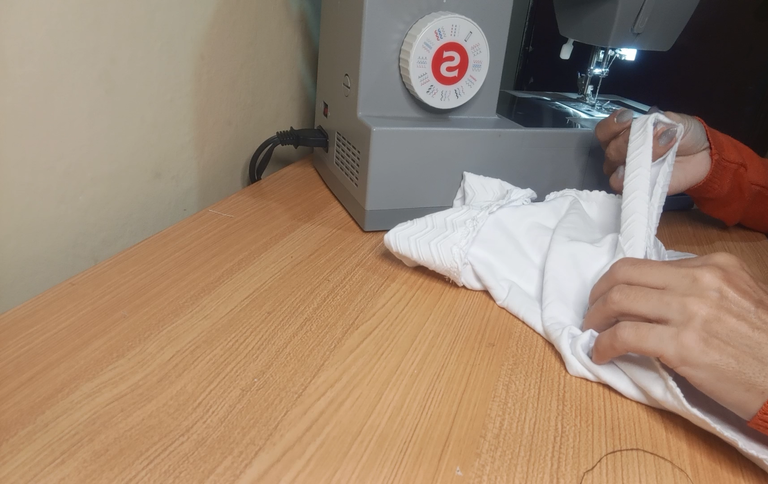
Para una talla S como yo, con solo 1/2 metro de tela de lycra es suficiente. Revisa bien por cual lado la tela estira más pues de allí cortas el ancho, dobla la tela que quede derecha.
Usa una de tus camisas como molde, colócala sobre la tela, ajusta bien con alfileres o pinzas para que no se mueva, tienes la tela doblada, cortarás dos piezas de una vez, la parte delantera y la trasera.
Una vez que estés segura de tomar bien el molde recorta por un solo lado. Ahora dobla la pieza de tela por la mitad y recorta de la misma manera usando el corte como guía.
Con este tipo de tela y modelo, no es necesario que el cuello tenga diferente corte para la parte trasera y delantera, mucho menos la sisa.
! [English version]
For a size S like me, only 1/2 meter of lycra fabric is enough. Check well on which side the fabric stretches more because from there you cut the width, fold the fabric so that it is straight.
Use one of your shirts as a mold, place it on the fabric, adjust it well with pins or clamps so it doesn't move, you have the fabric folded, you will cut two pieces at once, the front and the back.
Once you are sure that you have a good grip on the mold, cut out one side only. Now fold the fabric piece in half and cut out in the same way using the cut as a guide.
With this type of fabric and pattern, it is not necessary for the collar to have a different cut for the front and back, much less the armhole.
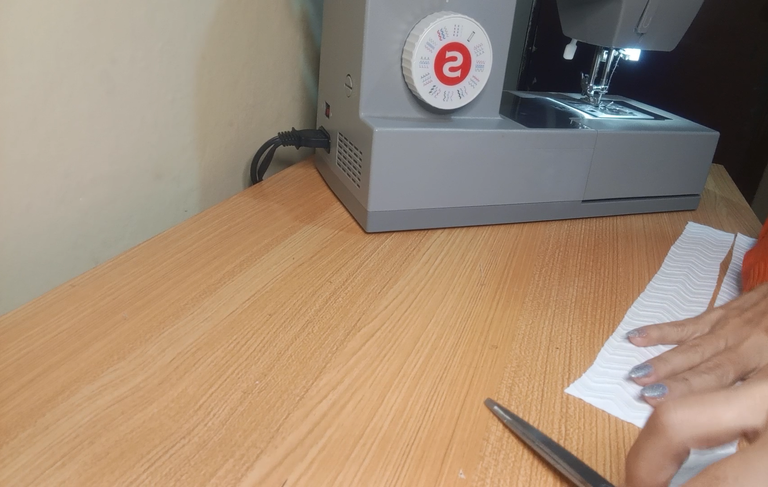
Step 2️⃣/ paso 2️⃣
 |  |
 |  |  |

[Esp]
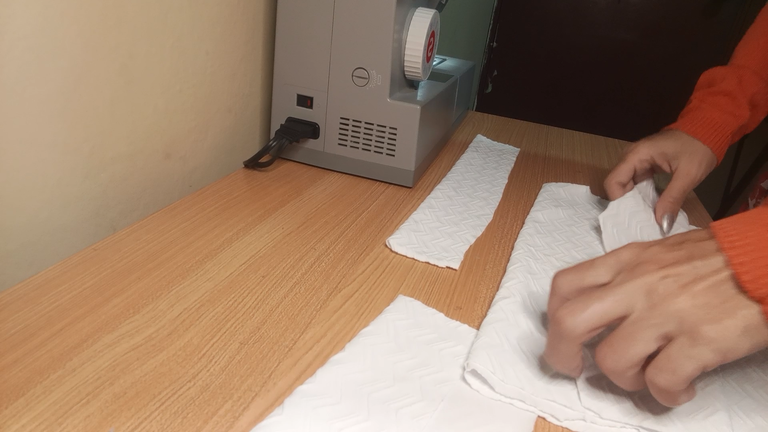
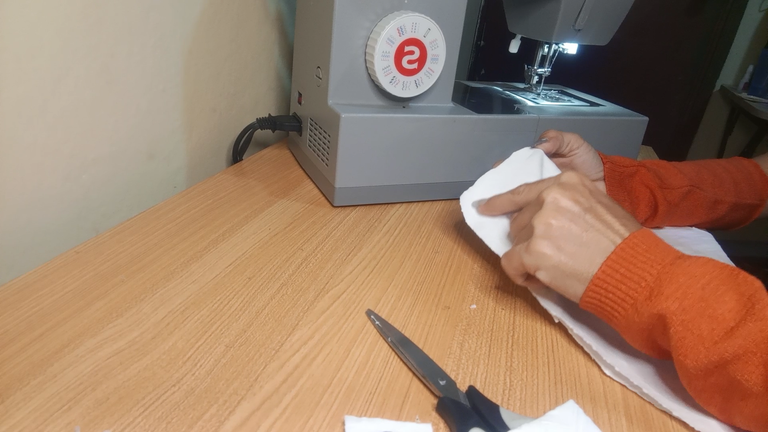
Para el cuello y el resto de las piezas aplica el mismo proceso, toma la medida de la camisa, cuidadosamente acomoda la pieza de la camisa sobre la tela, toma la medida. Para el cuello debes colocar la tela doblada a lo ancho y cuando cortes, verifica que tenga la misma medida de todo el cuello, recuerda que esta pieza debe dar vuelta completa en nuestro cuello. en mi caso la medida aproximada del cuello alto fue de 6 centímetros, por lo cual, al estar doblada la tela, entonces corresponden 12 centímetros de ancho.
Repite este procedimiento con las orillas de las mangas, es como un dobladillo. Necesitas dos piezas, quería fueran más anchas pero ya la tela no alcanzaba.
Al igual que con el cuello, debes medir la distancia de la sisa de la camisa, la tela debe alcanzar sin fruncir o apretar.
! [English version]
For the collar and the rest of the pieces apply the same process, take the measurement of the shirt, carefully place the piece of the shirt on the fabric, take the measurement. For the collar you must place the fabric folded to the width and when you cut, verify that it has the same measure of the whole collar, remember that this piece must turn completely around our neck. In my case the approximate measure of the high collar was 6 centimeters, so, as the fabric is folded, then 12 centimeters wide.
Repeat this procedure with the edges of the sleeves, it's like a hem. You need two pieces, I wanted them to be wider but the fabric was not enough.
As with the collar, you must measure the distance from the armhole of the shirt, the fabric should reach without puckering or squeezing.
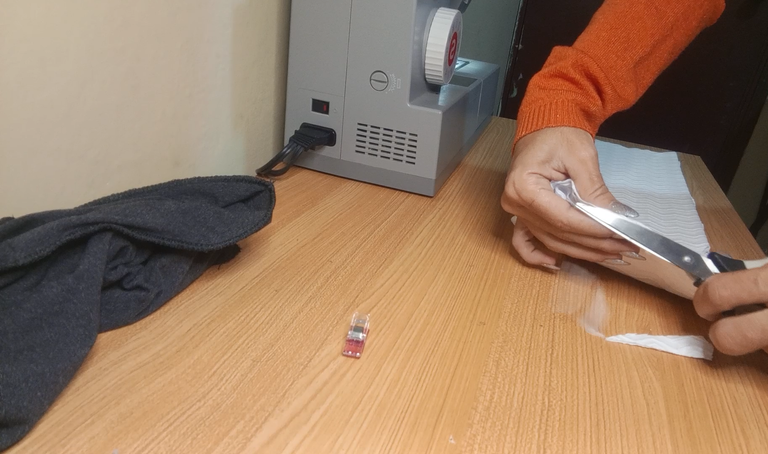
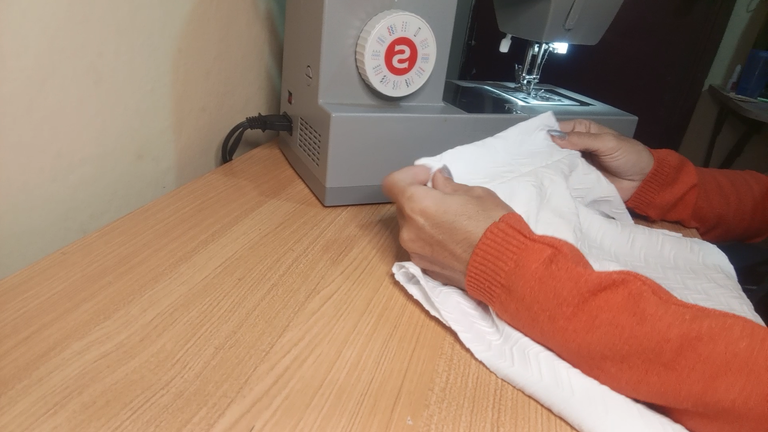
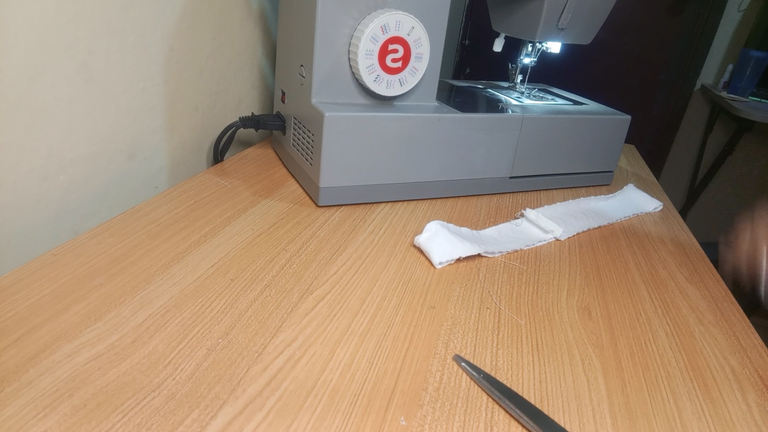
Step 3️⃣/ paso 3️⃣
 |  |  |
 |  |
[Esp]
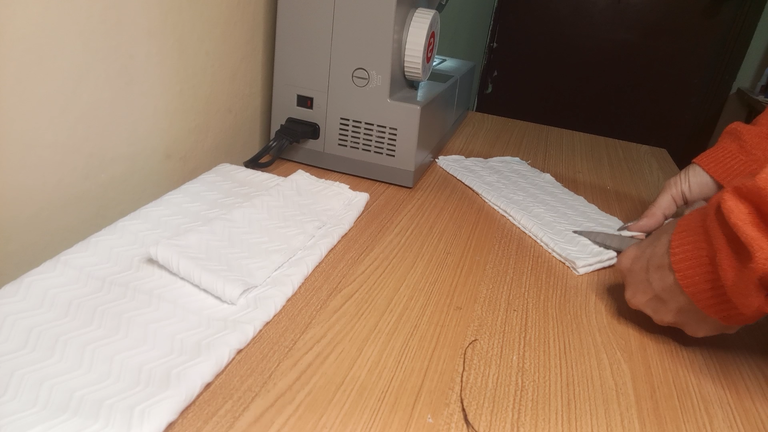
Luego de cortar las dos piezas de dobladillo o bocamanga, puedes aplicar el mismo procedimiento para el ruedo.
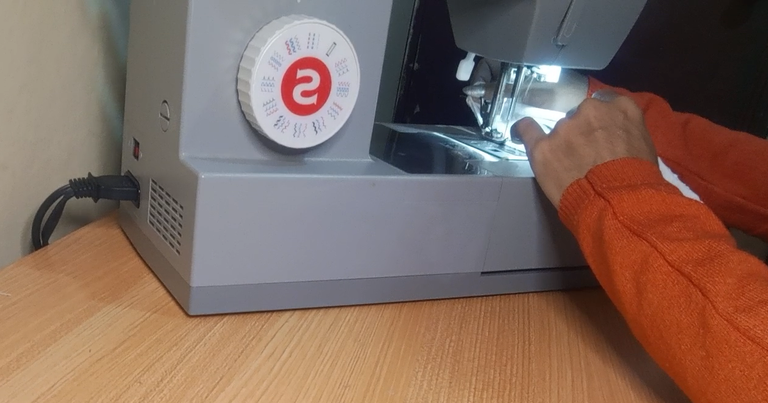
Comencemos a coser:
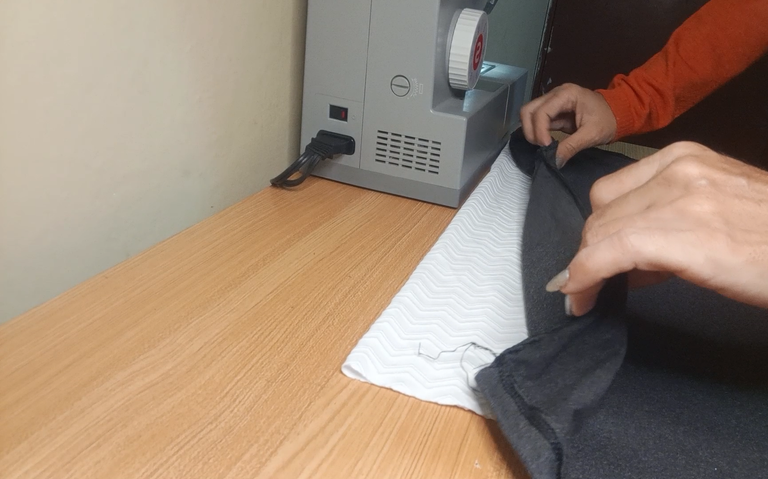
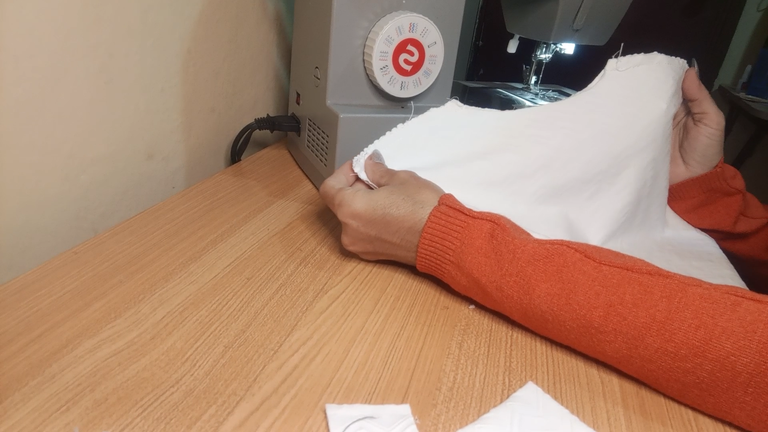
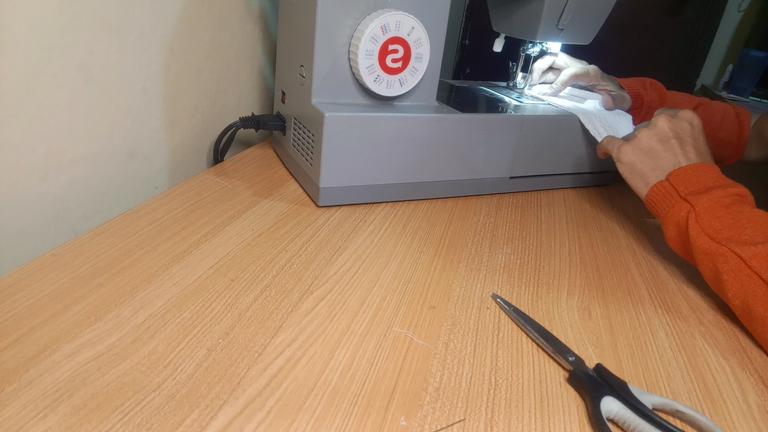
Toma la pieza de cuello alto, dobla por la mitad del ancho en su parte derecha de la tela, luego doble derecho con derecho por la mitad para cerrar, cose y voltea.
Toma la camisa y voltea derecho con derecho, cierra ambos hombros con costura recta y si gustas luego costura en zigzag u overlock, como yo no tengo, solo pasé zig-zag.
! [English version]
After cutting the two hem or sleeve cuff pieces, you can apply the same procedure for the hem.
Let's start sewing:
Take the turtleneck piece, fold in half the width on its right side of the fabric, then fold right sides together in half to close, sew and flip.
Take the shirt and turn it right side out, close both shoulders with straight stitching and if you like then zigzag or overlock stitching, as I don't have it, I just zig-zagged it.
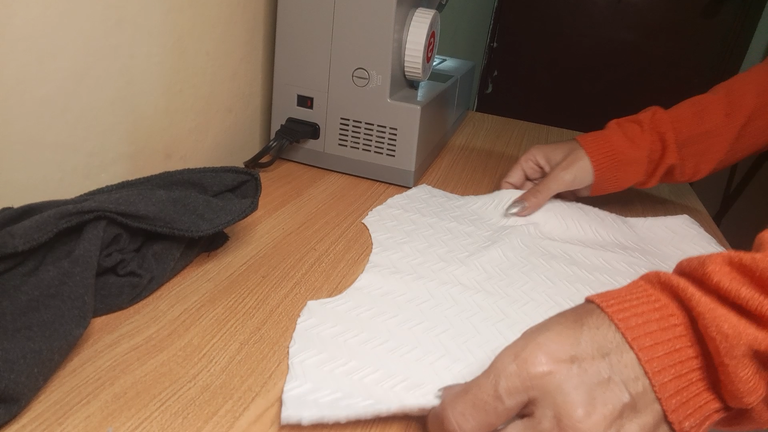
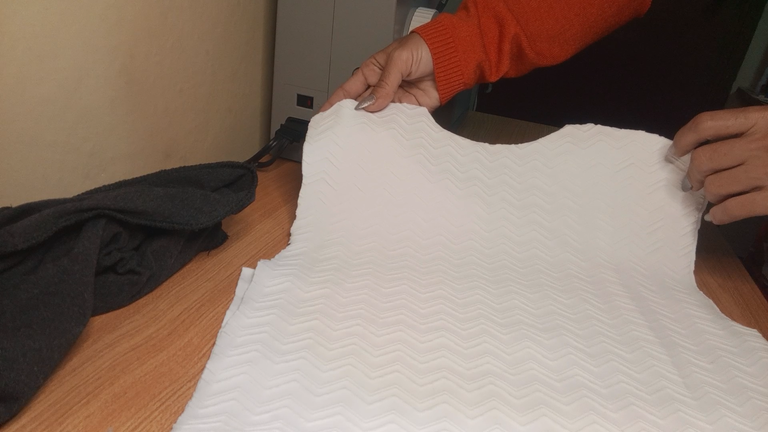
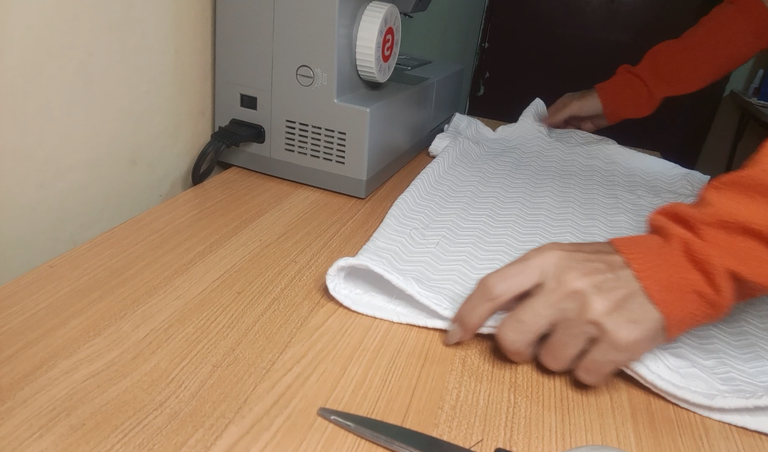
Step 4️⃣/ paso 4️⃣
 |  | 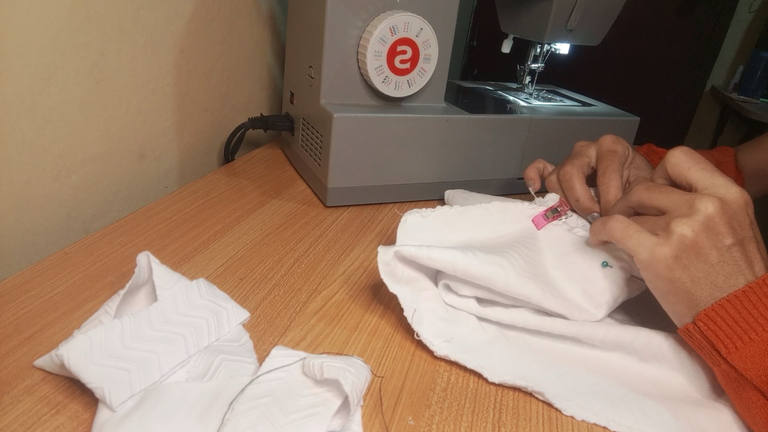 |
 |  |
[Esp]
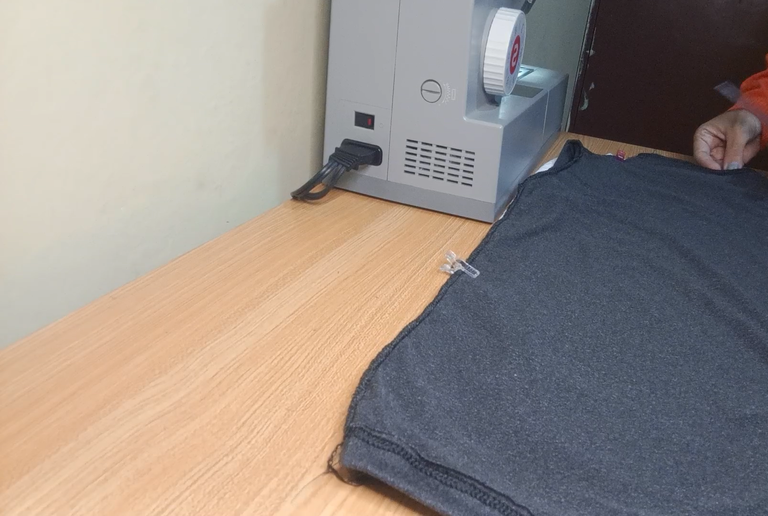
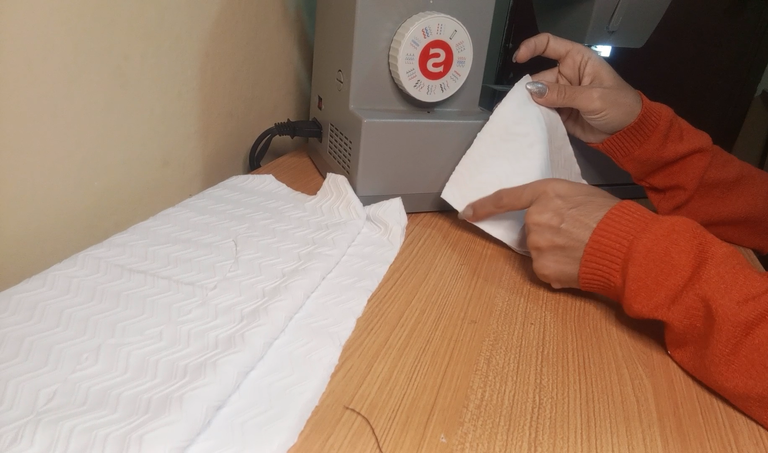
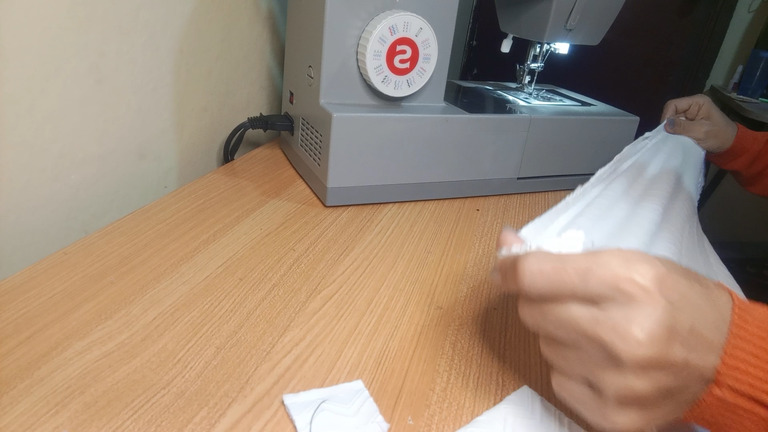
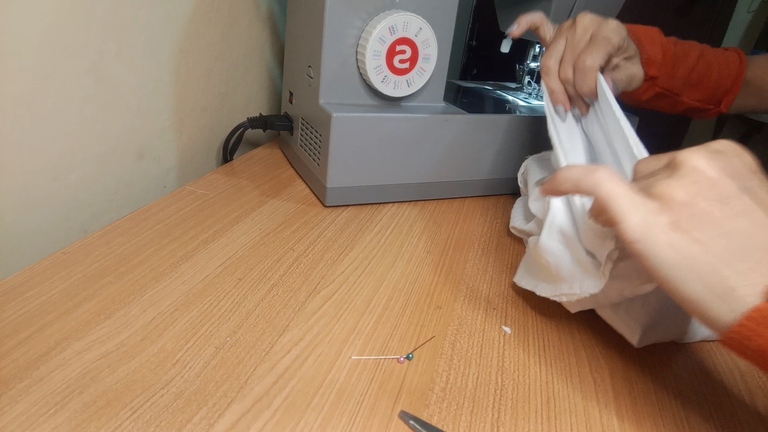
Ahora cierra la camisa por ambos lados o como en mi caso solo cerré por un lado, ya que dejé la parte doblada sin cortar. Verifica que no apretara sel punto cociendo y que mantenga su elasticidad.
Toma la pieza del cuello y con ayuda de alfileres o pinzas, procura que quede bien, voltea la pieza de la camisa al revés y coloca la pieza del cuello por dentro, cose y vuelve a voltear.
Repite el procedimiento anterior con las mangas o sisa. Dobla la pieza que será el dobladillo y cose. Repite el procedimiento del otro lado.
! [English version]
Now close the shirt on both sides or as in my case I only closed on one side, since I left the folded part uncut. Make sure that it doesn't squeeze the point when sewing and that it keeps its elasticity.
Take the collar piece and with the help of pins or tweezers, make sure it fits well, turn the shirt piece inside out and place the collar piece on the inside, sew and turn it over again.
Repeat the above procedure with the sleeves or armhole. Fold the hem piece and sew. Repeat the procedure on the other side.

Step 5️⃣/ paso 5️⃣
 |  |  |
 |  |
[Esp]
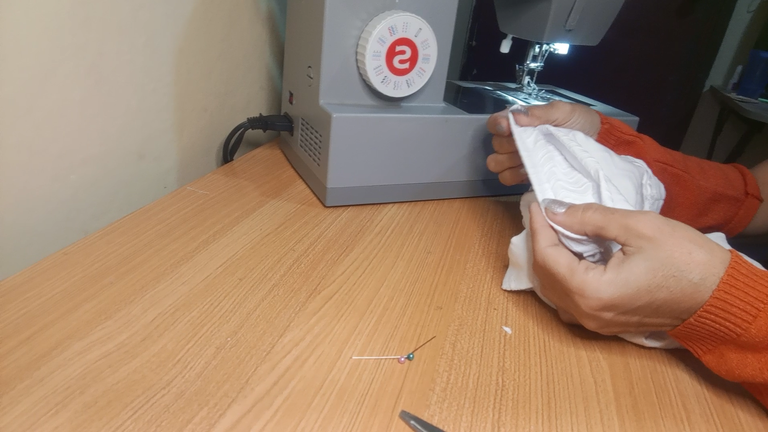
Para mayor seguridad pasé una costura muy delgada por el lado derecho, así no se volteará el dobladillo.
Verificamos siempre que la costura mantenga la elasticidad de la tela, sino al estirarla corremos el riesgo que se parta el hilo quedando un mal trabajo.
! [English version]
To be on the safe side, I sewed a very thin seam on the right side, so that the hem will not turn over.
Always check that the seam maintains the elasticity of the fabric, otherwise when stretching it we run the risk of splitting the thread, leaving a bad job.
Step 6️⃣/ paso 6️⃣
 |  |  |
 |  |
[Esp]
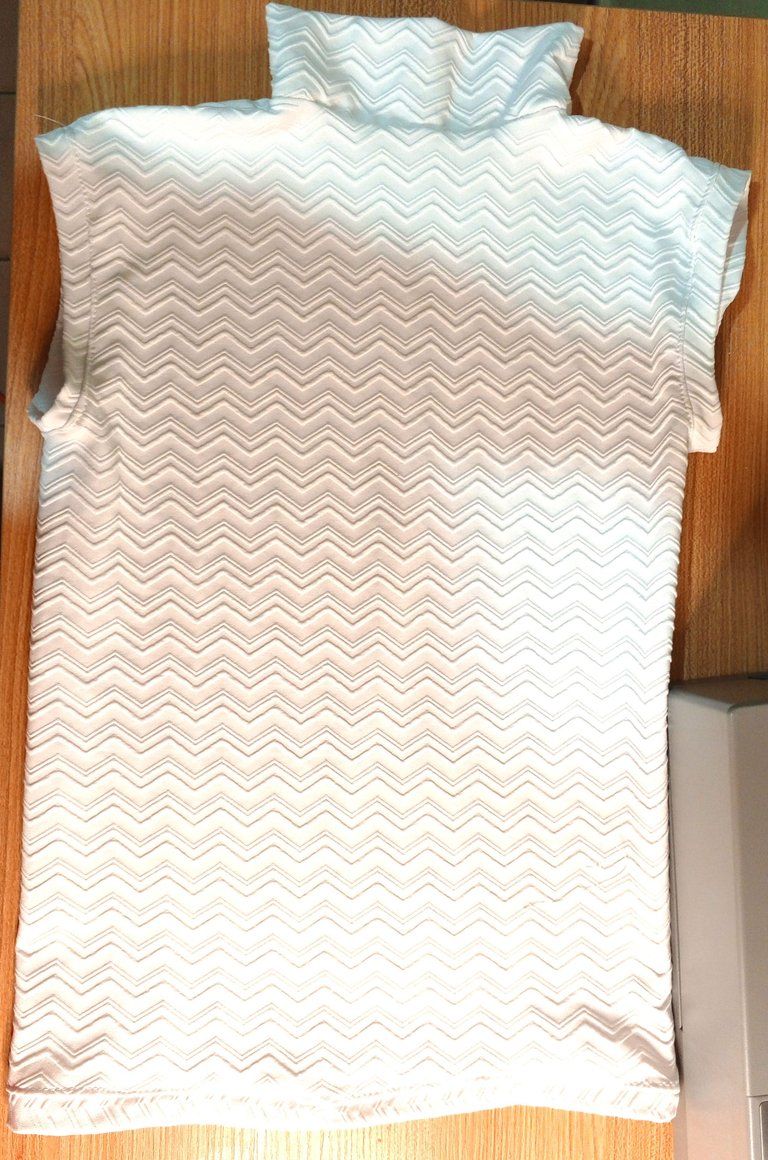
Repetimos el procedimiento de las mangas en el ruedo. Toma la medida, recorta y cose por el lado de adentro el dobladillo, con ello concluimos el proyecto.
La textura de la tela es preciosa, me tiene enamorada, es suavecita y fresca. Pronto compraré más telas y estaré enseñando otros modelos.
Gracias por visitarme.
! [English version]
Repeat the procedure for the sleeves on the hem. Take the measurement, cut and sew the hem on the inside, this concludes the project.
The texture of the fabric is beautiful, I'm in love with it, it's soft and fresh. Soon I will buy more fabrics and I will be showing other models.
Thanks for visiting me.
Créditos / Credits

👇Support the Hive DIY community as a witness 👇


Viendo tu publicación hasta parece sencillo pero no lo es jajaja... Te quedo preciosa @equipodelta, super bonita tu nueva camiseta.
Un abrazo!
Hola bella, bueno, tomas la medida con otra blusa que tengas, siempre cortando dos centímetros de más, a veces mi madre descocía la camisa y tomaba el patrón de allí, hay que considerar algunas cosas, hacia dónde estira la tela, así como cual es su derecho y reves.
Congratulations, your post has been upvoted by @dsc-r2cornell, which is the curating account for @R2cornell's Discord Community.
Enhorabuena, su "post" ha sido "up-voted" por @dsc-r2cornell, que es la "cuenta curating" de la Comunidad de la Discordia de @R2cornell.
How great that the fabric you bought performed well, even to make this beautiful garment
It's good that you learned sewing with your mother, the knowledge allowed you to make this beautiful garment.
I appreciate that you let us know the step by step. I take this opportunity to wish you a wonderful day dear friend @equipodelta
Hello dear Jlufer, I have bought more fabrics, I am sure to bring more of these. as it is my favorite
Te quedo perfecta, gracias por compartir!!
Gracias Maru.
Saber de costura es una habilidad muy util y practica, tu eliges la tela y el diseño y eso es satisfaccion pura. Mi abuela sabia costura y la ropa que me hacia era la mas hermosa ❤️ (A diferencia de ti, yo nunca aprendi 😂)
Solia usar mucho de cuello alto hasta que aparecio la comezon insoportable y tuve que dejar de usar buuu jajaja
Te quedo divina, se nota es una tela muy bonita y te luce genial el blanco ❤️
Hola Buhito, amé mi blusita, la tela, el modelo, me hizo feliz de verdad que me quedara bien sin defectos. He comprado más telas, voy hacerme más de este modelo, es mi favorito.
Saludos y buenas estimada amiga.🤝.
Wow, eso te quedó muy bien. Tienes mucho talento para la costura.
Me gusta tu manera de explicar los pasos. Todo suena muy fácil de entender y eso se agradece mucho a la hora de leer una publicación. Excelente 👍👍👍 10/10.
Por otro lado a ti te queda espectacular.🙌
Sabes Yo también soy fan de las poleras con cuello alto. El único inconveniente que tengo es que este país es muy caluroso. Así que es todo un reto usarlas.😅.
Pues amiga un placer pasar por acá. Que tengas una excelente tarde. Saludos.🤝
Gracias Tecno, trato de defenderme lo mejor que puedo en la costura eso si, pero confieso que soy más fan de las manualidades.
Traeré más modelos cuello de tortuga, pero con telas diferentes para probar.,
https://twitter.com/hivediy47901/status/1765607608285589965
Saludos bella este tipo de camisetas son elegantes, justo en estos días una amiga me pidió una así, aún estamos buscando que tela usar tu publicación llega en el momento perfecto, gracias por compartir.
Feliz jueves!
Me alegra Belkys, bueno esta es lycra, recién compré otra que no es tan elástica, en otra publicación la mostraré.
He tardado en responder, pues las fallas de energía eléctrica en mi zona estan bastante fuertes.
Está muy bien explicado todo. Lo intentaré.
Hola Gl, me alegra que te sea de utilidad y agrado.
Está hermosa, excelente resultado, gracias por compartir, amo este tipo de camisas, se ven muy bonitas y elegantes a la vez.🤍✨
Me hace feliz que te guste, traeré más modelitos de telas de diferentes motivos.
Hacer que todo se vea muy sencillo de elaborar amiga el arte de la costura siempre me ha gustado aprender
Gracias por compartir tus conocimientos con todos
Hola Rosse, coincido contigo, yo admiraba mucho a mi madre,ella tenía pasión por la costura tanto como yo para el dibujo, creo que lo más difícil es coser un cierre.