My first Chinese neck blouse / Mi primera blusa cuello chino (Esp/Eng)


[Esp]
¡Saludos comunidad!
Aumenté el nivel de dificultad hoy al crear una blusa cuello chino sin patrones de guía, por supuesto que tenía la experiencia que me ha dejado mi madre en corte y costura, pero jamás hice alguna porque me parece demasiado difícil.
Hoy me reté y me parece lograda, quizá me elabore otras dos más de este modelo ya que amo el estilo asiático, sin embargo, para las siguientes, voy a considerar colocar un cierre en la parte trasera, ya que la tela no estira lo suficiente y dejarla más ancha, no me quedaría tallada y ajustada.
Me encantó además que es la primera vez que corto unas mangas y todo me quedó perfecto como si hubiera tomado medidas exactas, quedé impresionada. Ahora les muestro el paso a paso de cómo lo logré.
! [English version]
Greetings community!
I increased the level of difficulty today by creating a Chinese collar blouse without a pattern guide, of course I had the experience that my mother has left me in cutting and sewing, but I never made one because I find it too difficult.
Today I challenged myself and I think it is successful, maybe I will make two more of this model because I love the Asian style, however, for the following ones, I will consider placing a zipper in the back, because the fabric does not stretch enough and leaving it wider, it would not be carved and tight.
I also loved that it is the first time I cut sleeves and everything was perfect as if I had taken exact measurements, I was impressed. Now I show you the step by step of how I did it.

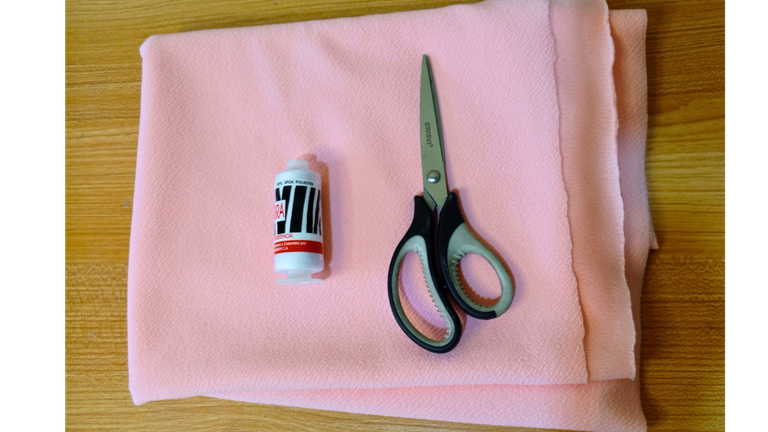
Materiales / materials
| Spanish | English |
|---|---|
| Maquina de coser | Sewing machine |
| Tijera, aguja, hilo | Scissors, needle, thread |
| 1/2 metro de Tela estampada liverpool. | 1/2 meter of liverpool printed fabric. |
Paso a paso / Step by Step
Step 1️⃣/ Paso 1️⃣
 |  |

[Esp]
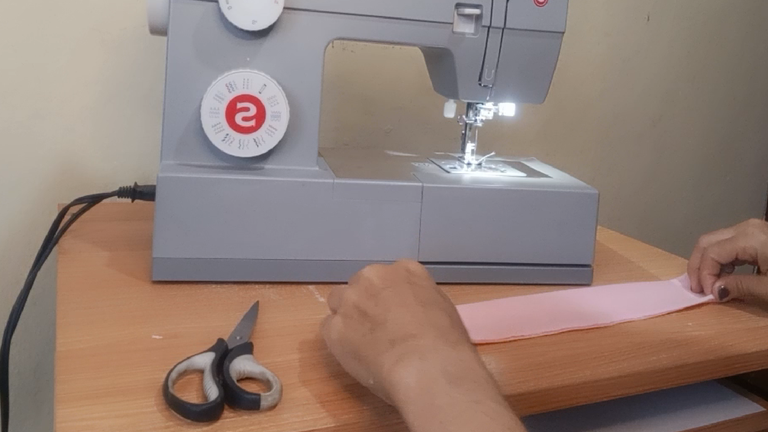
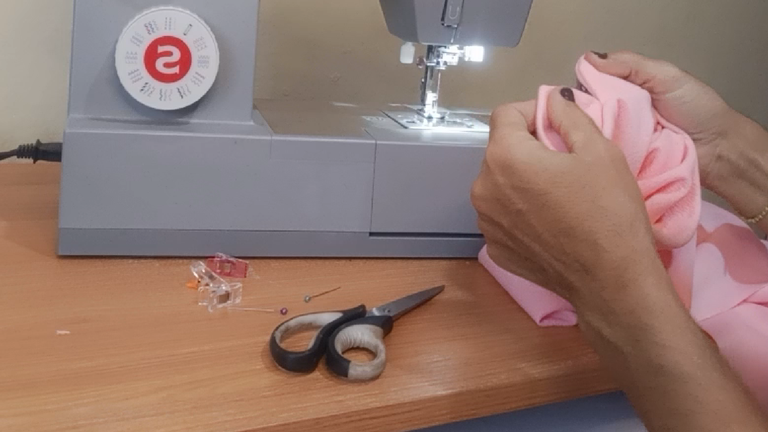
Estoy pensando seriamente sacar un patrón como debe ser, de papel, para tener justo la medida exacta, aunque cada tela es diferente unas estiran más que otras y esto es algo que debemos considerar, por ejemplo el liverpool es una tela strech pero no tanto como la lycra, así que las medidas pueden variar.
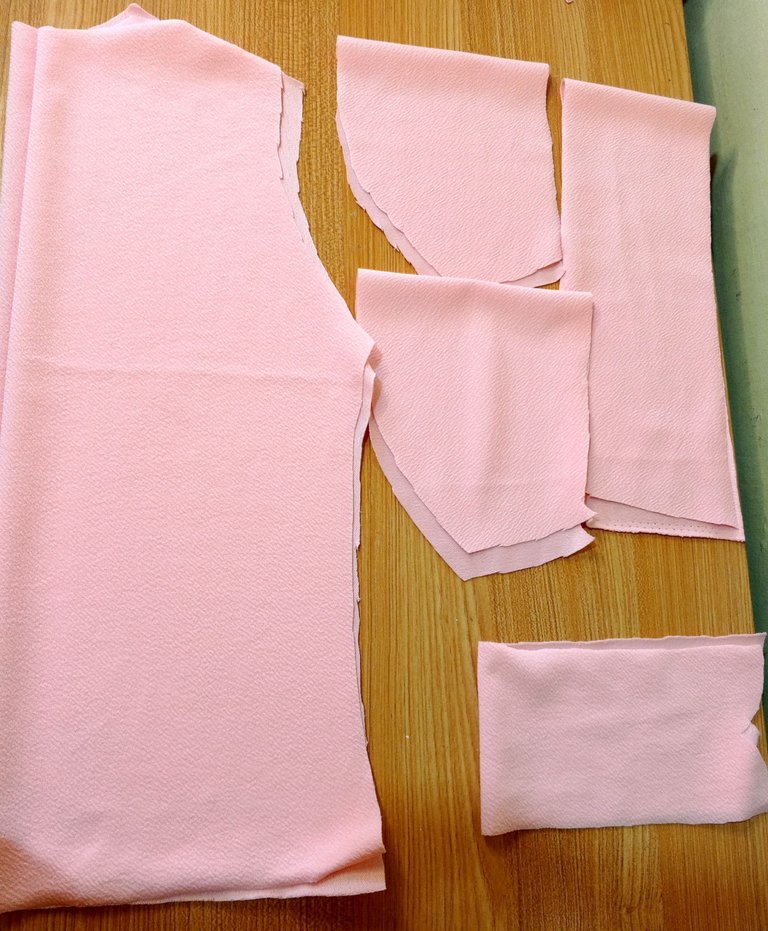
Tomo mi camisa que uso como patrón, la coloco sobre la tela y allí comienzo a marcar para cortar. La diferencia de este modelo a los anteriores es el cuello chino y que le coloqué mangas.
Lo primero que hay que hacer es cerrar los hombros de cada lado, pasamos zig zag y luego recta.
Tomamos el cuello, doblamos, cerramos por el lado de la curva y por la parte del fondo pasamos zig zag.
Tomamos la blusa y cosemos un dobladillo, esto es necesario para que el cuello quede prolijo.
! [English version]
I am seriously thinking of making a pattern as it should be, from paper, to have just the exact measurement, although each fabric is different some stretch more than others and this is something we must consider, for example liverpool is a stretch fabric but not as much as lycra, so the measurements may vary.
I take my shirt that I use as a pattern, I place it on the fabric and there I start marking to cut. The difference between this model and the previous ones is the Chinese collar and the sleeves.
The first thing to do is to close the shoulders on each side, we zig zag and then straight.
We take the collar, fold, close the side of the curve and zig zag the bottom.
We take the blouse and sew a hem, this is necessary so that the neck is neat.
Step 2️⃣/ paso 2️⃣
 |  |
[Esp]
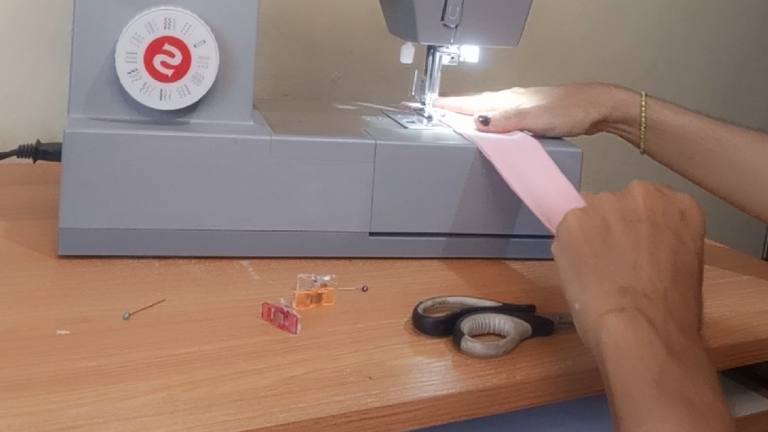
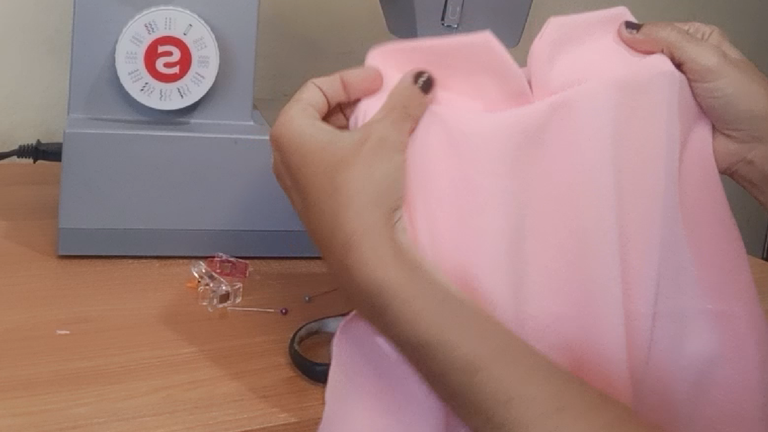
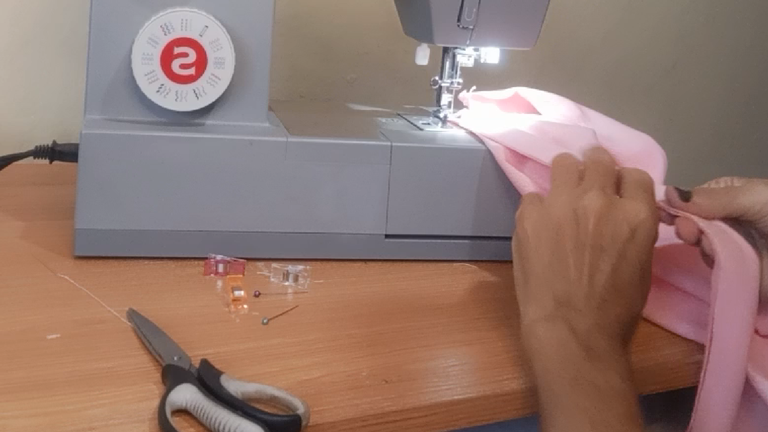
Toma el cuello, divide por la mitad, si gustas haces una marca en el centro, toma la blusa y en la sección del cuello, también haces una marca en el centro tanto en la parte trasera como la delantera. Esto es para encajar mejor el cuello. Ahora junta las marcas, coloca el cuello por la parte de adentro utiliza alfileres o pinzas para ajustar el lugar del mismo de manera que quede centrado y prolijo.
! [English version]
Take the collar, divide in half, if you like make a mark in the center, take the blouse and in the neck section, also make a mark in the center on both the back and the front. This is to better fit the collar. Now put the marks together, place the collar on the inside and use pins or tweezers to adjust the place of the collar so that it is centered and neat.
Step 3️⃣/ paso 3️⃣
 |  | |
 |  |
[Esp]
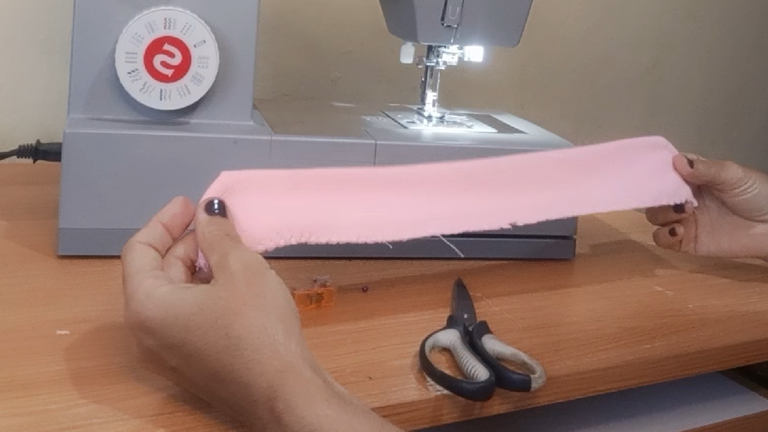
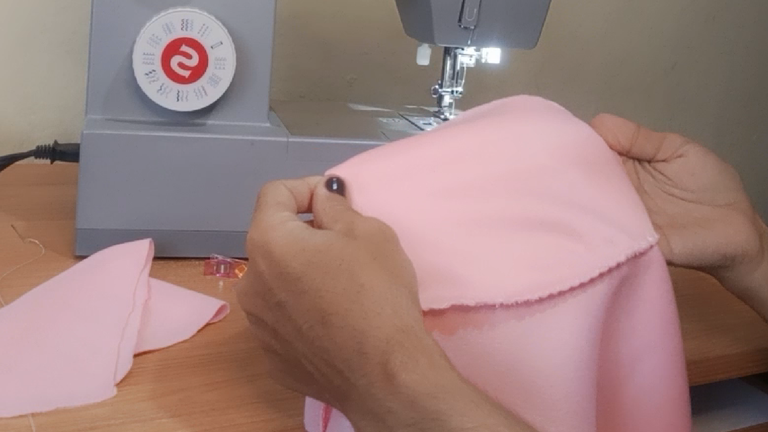
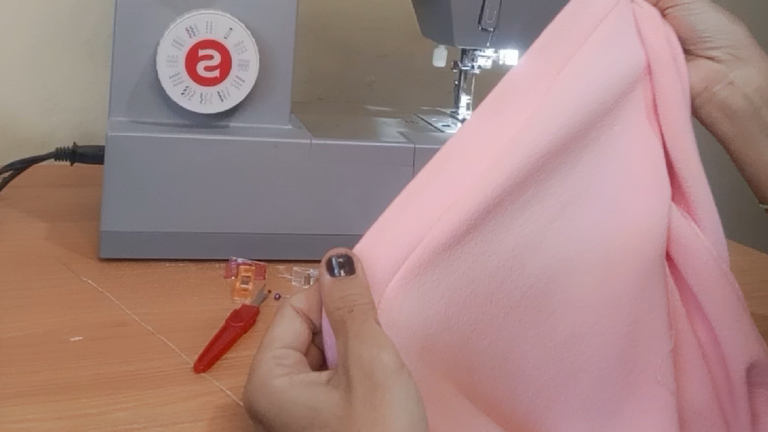
Cose con la recta, como puedes ver el cuello me ha quedado perfecto en el centro.
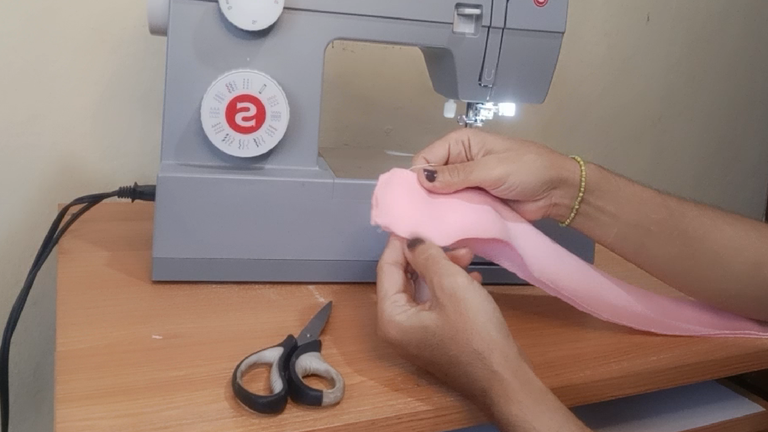
Toma una manga, ciérrala con una costura recta y luego zig zag, junta costura con costura por la parte de abajo y ahora cose al rededor de la manga con la recta, luego puedes pasar zig zag para prevenir que se deshilache.
Cose un ruedo en la manga, pasa primero zig zag, luego dobla hacia a dentro al menos 1 centímetro y medio y cose con una recta. Repite este paso con la manga del otro lado.
! [English version]
Sew with the straight stitch, as you can see the neckline is perfect in the center.
Take a sleeve, close it with a straight seam and then zig zag, join seam to seam at the bottom and now sew around the sleeve with the straight seam, then you can zig zag to prevent fraying.
Sew a hem on the sleeve, zig zag first, then fold inward at least 1 1/2 centimeters and sew with a straight stitch. Repeat this step with the sleeve on the other side.
Step 4️⃣/ paso 4️⃣
 |  |
[Esp]
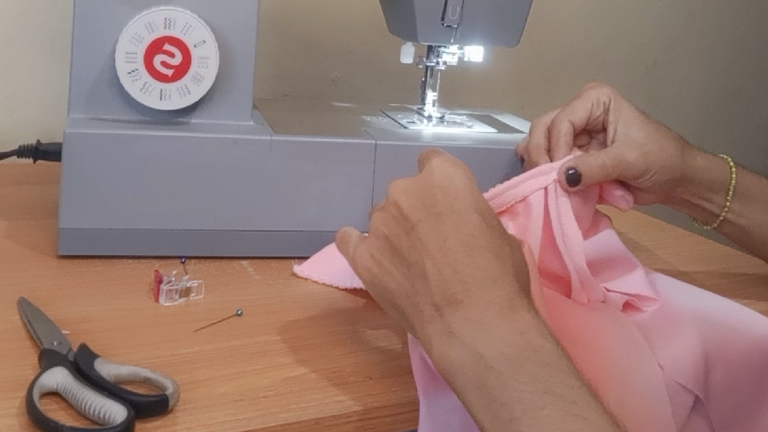
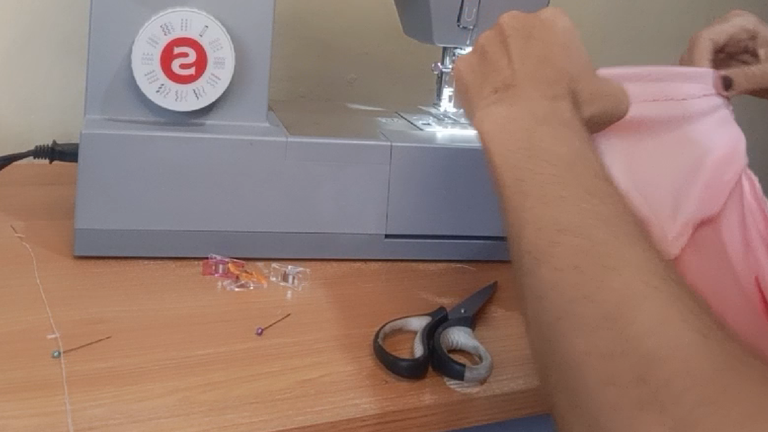
Quizá 50 centímetros de tela o 1/2 metro no es un largo que quisiera, por eso siempre en el ruedo le coloco un pedazo de tela adicional quedando como una especie de dobladillo.
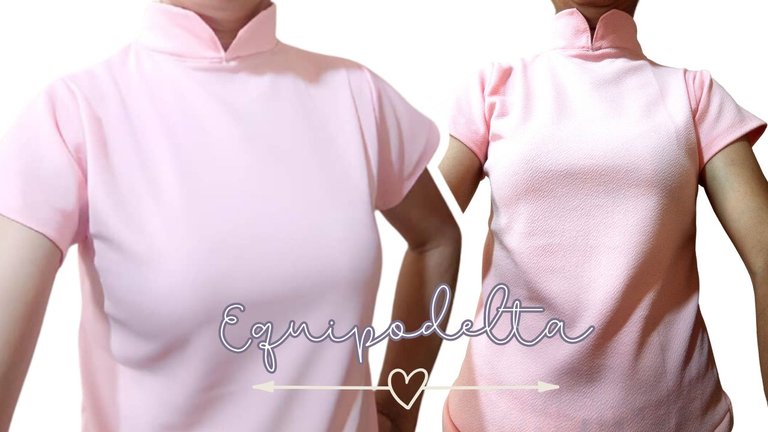
Me alcanzó para un ruedo doble de 2 centímetros. Lo he cosido con zig zang, luego con la recta y cerré la blusa de los lados, con ello quedó terminado el proyecto. Me lo probé y me quedó espectacular, perfecta en todo.
No necesariamente tenemos que ser expertos en costura, podemos ingeniarnos de alguna forma, usando la lógica también.
Es mi primera vez cortando y cosiendo este tipo de cuello creo que me aventuraré con otros tipos de tela para hacer blusas ajustadas con cierre más adelante.
Espero les guste, yo disfruté mucho hacerla. Nos vemos en mi siguiente publicación.
! [English version]
Maybe 50 centimeters of fabric or 1/2 meter is not a length I would like, that's why I always place an additional piece of fabric in the hem, leaving a kind of hem.
It was enough for a double hem of 2 centimeters. I sewed it with zig zang, then with the straight and closed the blouse on the sides, with that the project was finished. I tried it on and it looked spectacular, perfect in everything.
We don't necessarily have to be experts in sewing, we can figure it out somehow, using logic as well.
This is my first time cutting and sewing this type of collar, I think I will venture with other types of fabric to make tight blouses with zipper later.
I hope you like it, I really enjoyed making it. See you in my next post.

Créditos / Credits

👇Support the Hive DIY community as a witness 👇


Good morning dear friend @equipodelta, how are you?
I hope you are having a beautiful Easter Sunday in the company of the people you love.
To be honest, I didn't know that this type of collar was called a Chinese collar, it always seemed to me that they were a doctor's collar.
How great everything you have learned with your mother and that you can put it into practice. I loved seeing the step by step construction and the beautiful finished garment.
thank you very much for sharing this confection
happy Easter
This post has been manually curated by @steemflow from Indiaunited community. Join us on our Discord Server.
Do you know that you can earn a passive income by delegating to @indiaunited. We share more than 100 % of the curation rewards with the delegators in the form of IUC tokens. HP delegators and IUC token holders also get upto 20% additional vote weight.
Here are some handy links for delegations: 100HP, 250HP, 500HP, 1000HP.
100% of the rewards from this comment goes to the curator for their manual curation efforts. Please encourage the curator @steemflow by upvoting this comment and support the community by voting the posts made by @indiaunited.
Que bonita te quedó, con una tela de flores quedaría linda también🌺👏
Amiga, quedó muy cute, a mi tambien me gusta hacer una que otra prenda, lo último que hice fue el bra de un traje de baño, que bueno que te arriesgaste a hacer la blusa, el cuello te quedó muy bien, saludos.
Buenas tardes amiga, quedó muy linda!
Gracias por compartir tu trabajo de costura.
Saludos.
https://twitter.com/hivediy47901/status/1774654059976306995
Congratulations @equipodelta! You have completed the following achievement on the Hive blockchain And have been rewarded with New badge(s)
Your next payout target is 38000 HP.
The unit is Hive Power equivalent because post and comment rewards can be split into HP and HBD
You can view your badges on your board and compare yourself to others in the Ranking
If you no longer want to receive notifications, reply to this comment with the word
STOPCheck out our last posts:
Saludos amiga cada día me sorprende más su versatilidad con la máquina de coser excelente la camisa de hoy
Le ha quedado bastante bien hechas y le luce, la felicito por el buen trabajo. No soy conocedor del tema en profundidad, pero llego a creer que un patrón en papel ayudaría para guardar el diseño.
Amiga de @equipodelta, nos tenemos olvidadas, por aquí paso y he quedado sorprendida con tu diseño, se ve genial, estoy segura que mi hija amará este cuello. Un abrazo cariño y sigamos activas como siempre, eso hará más llevadera nuestras vidas 🫂