[ESP-ENG] Beautiful Decorative Bobbins | Hermosos Bombillos Decorativos
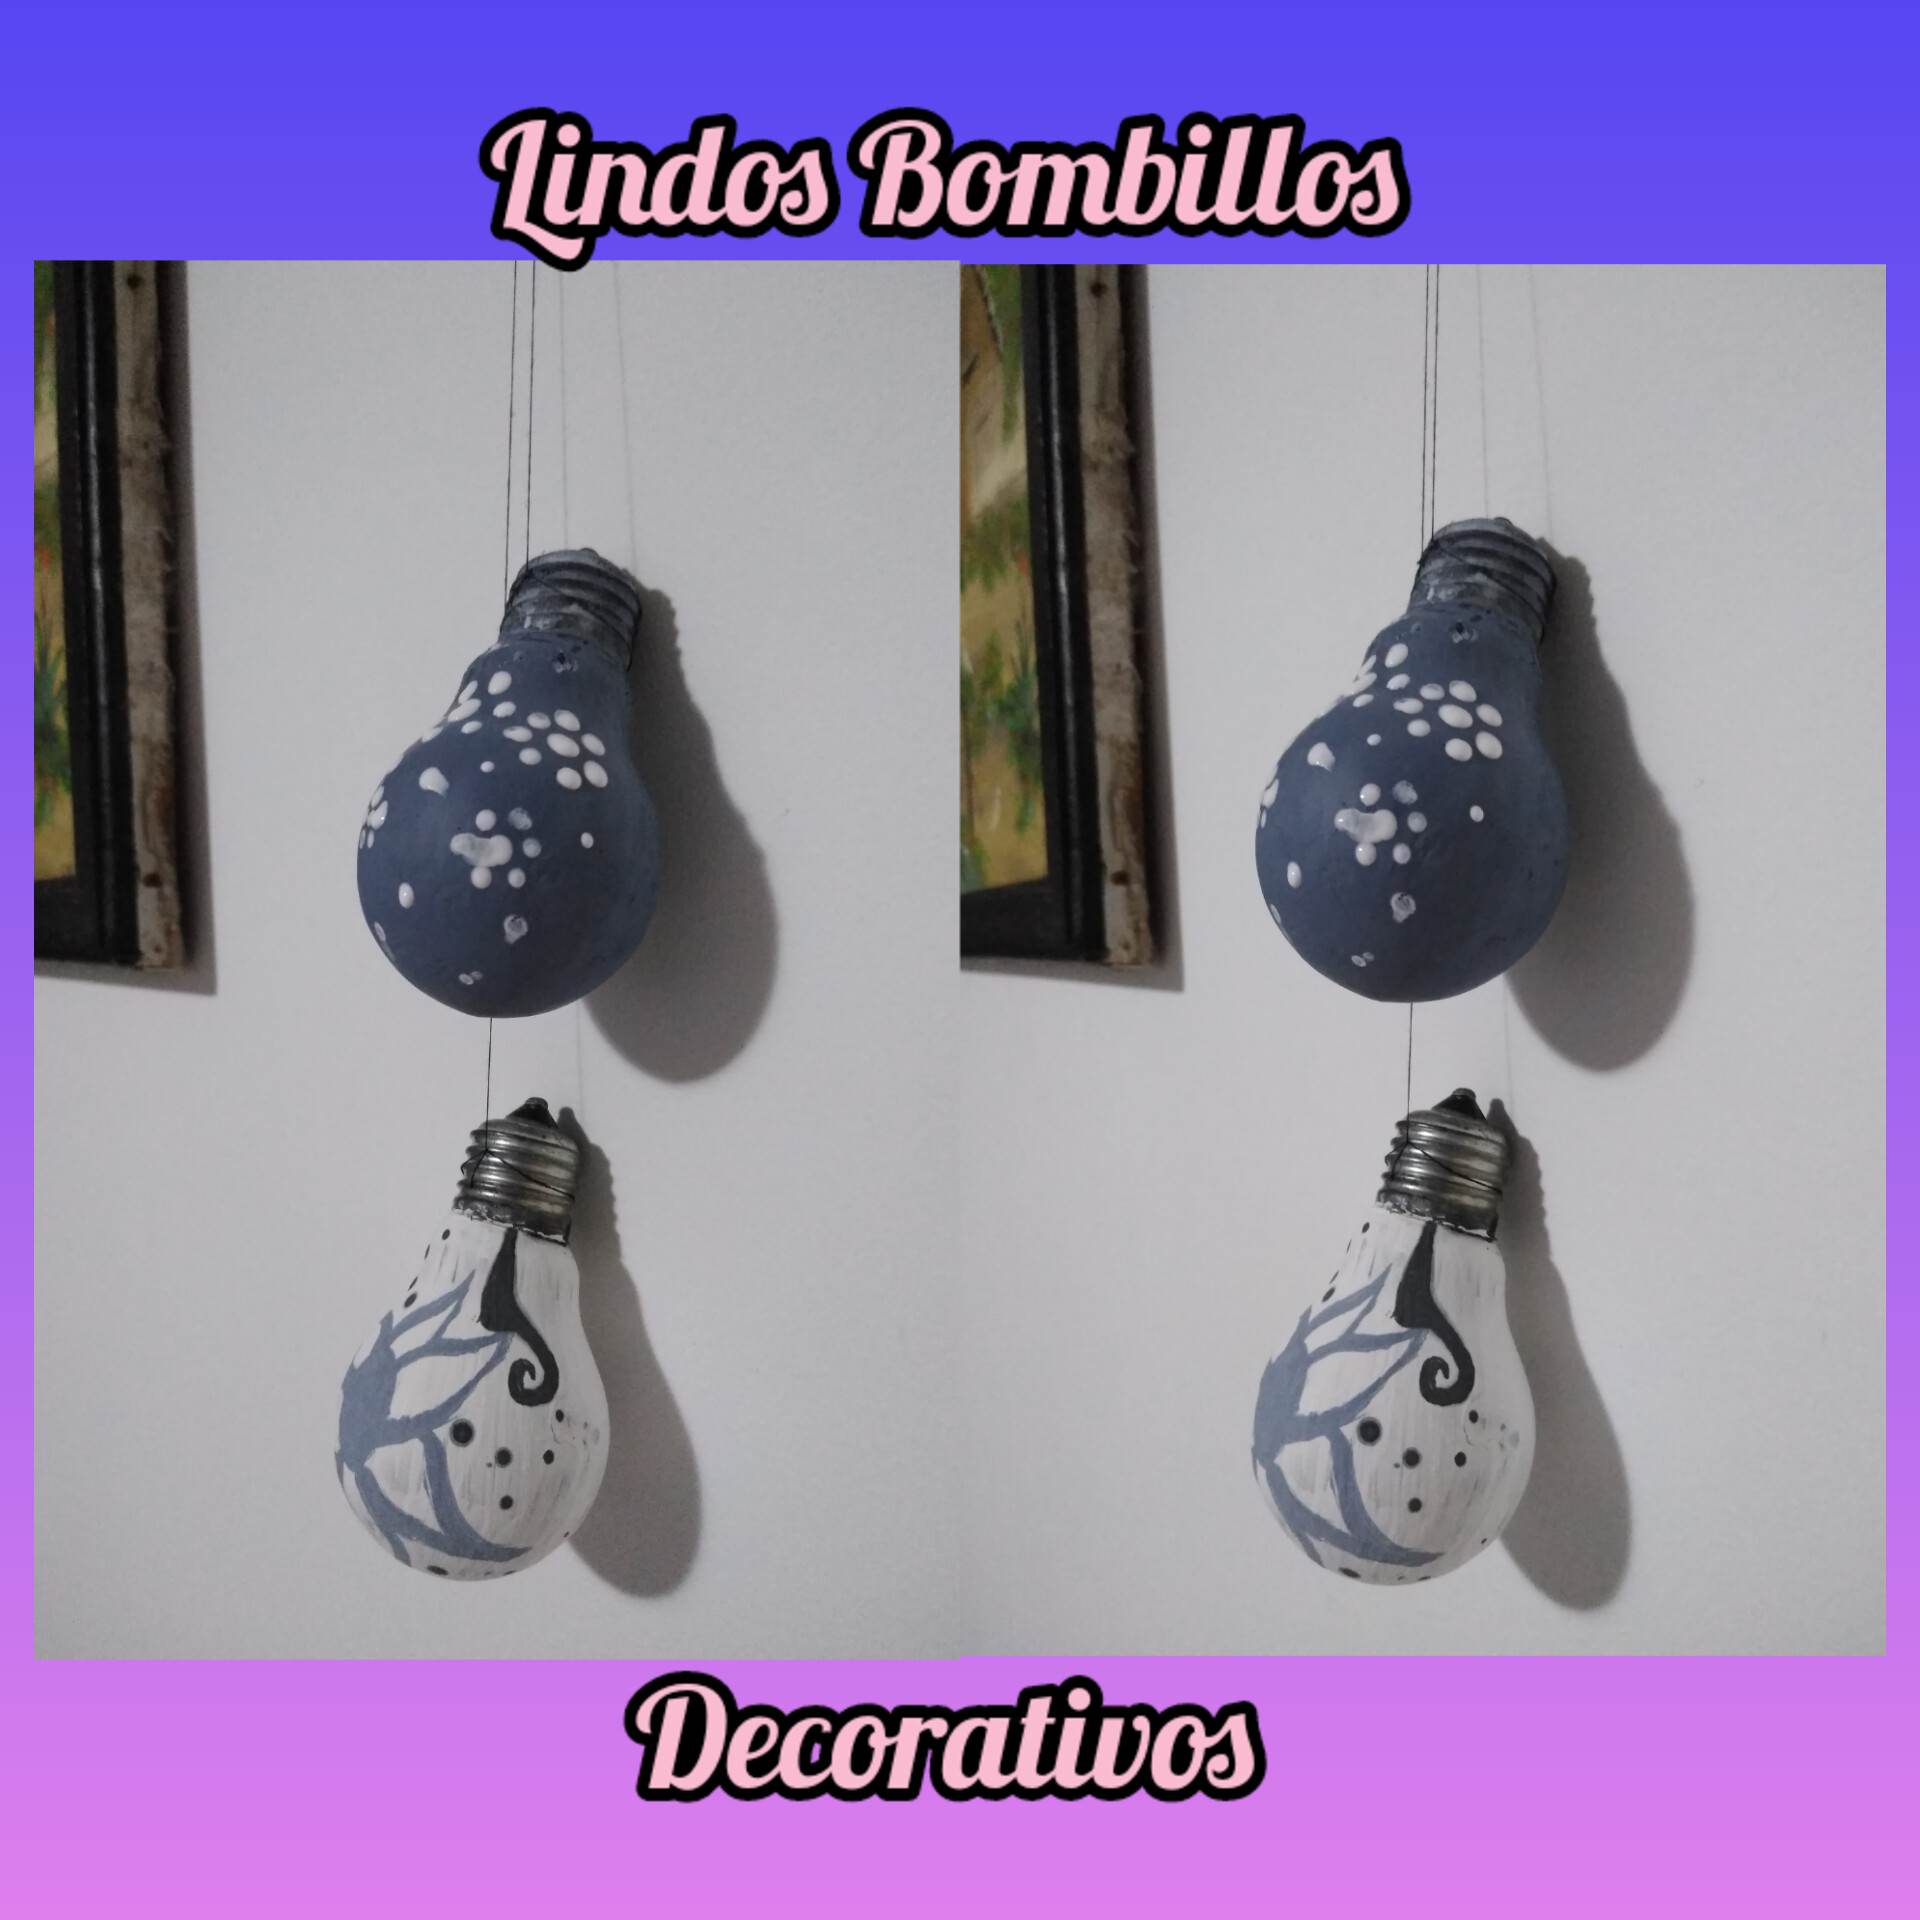
Hello friends of hive, welcome once again to my blog, I want to show you some nice bulbs that I decorated to decorate the living room of my house, I want to confess that these bulbs had them in my house since they are burned, then I decided to reuse them to do something worthwhile, they were very nice my bulbs and I want to share this experience and tutorial with all of you, the truth is happy with this nice result, it also serves to decorate the bushes and any place at home that is somewhat neglected so let's see the step by step.

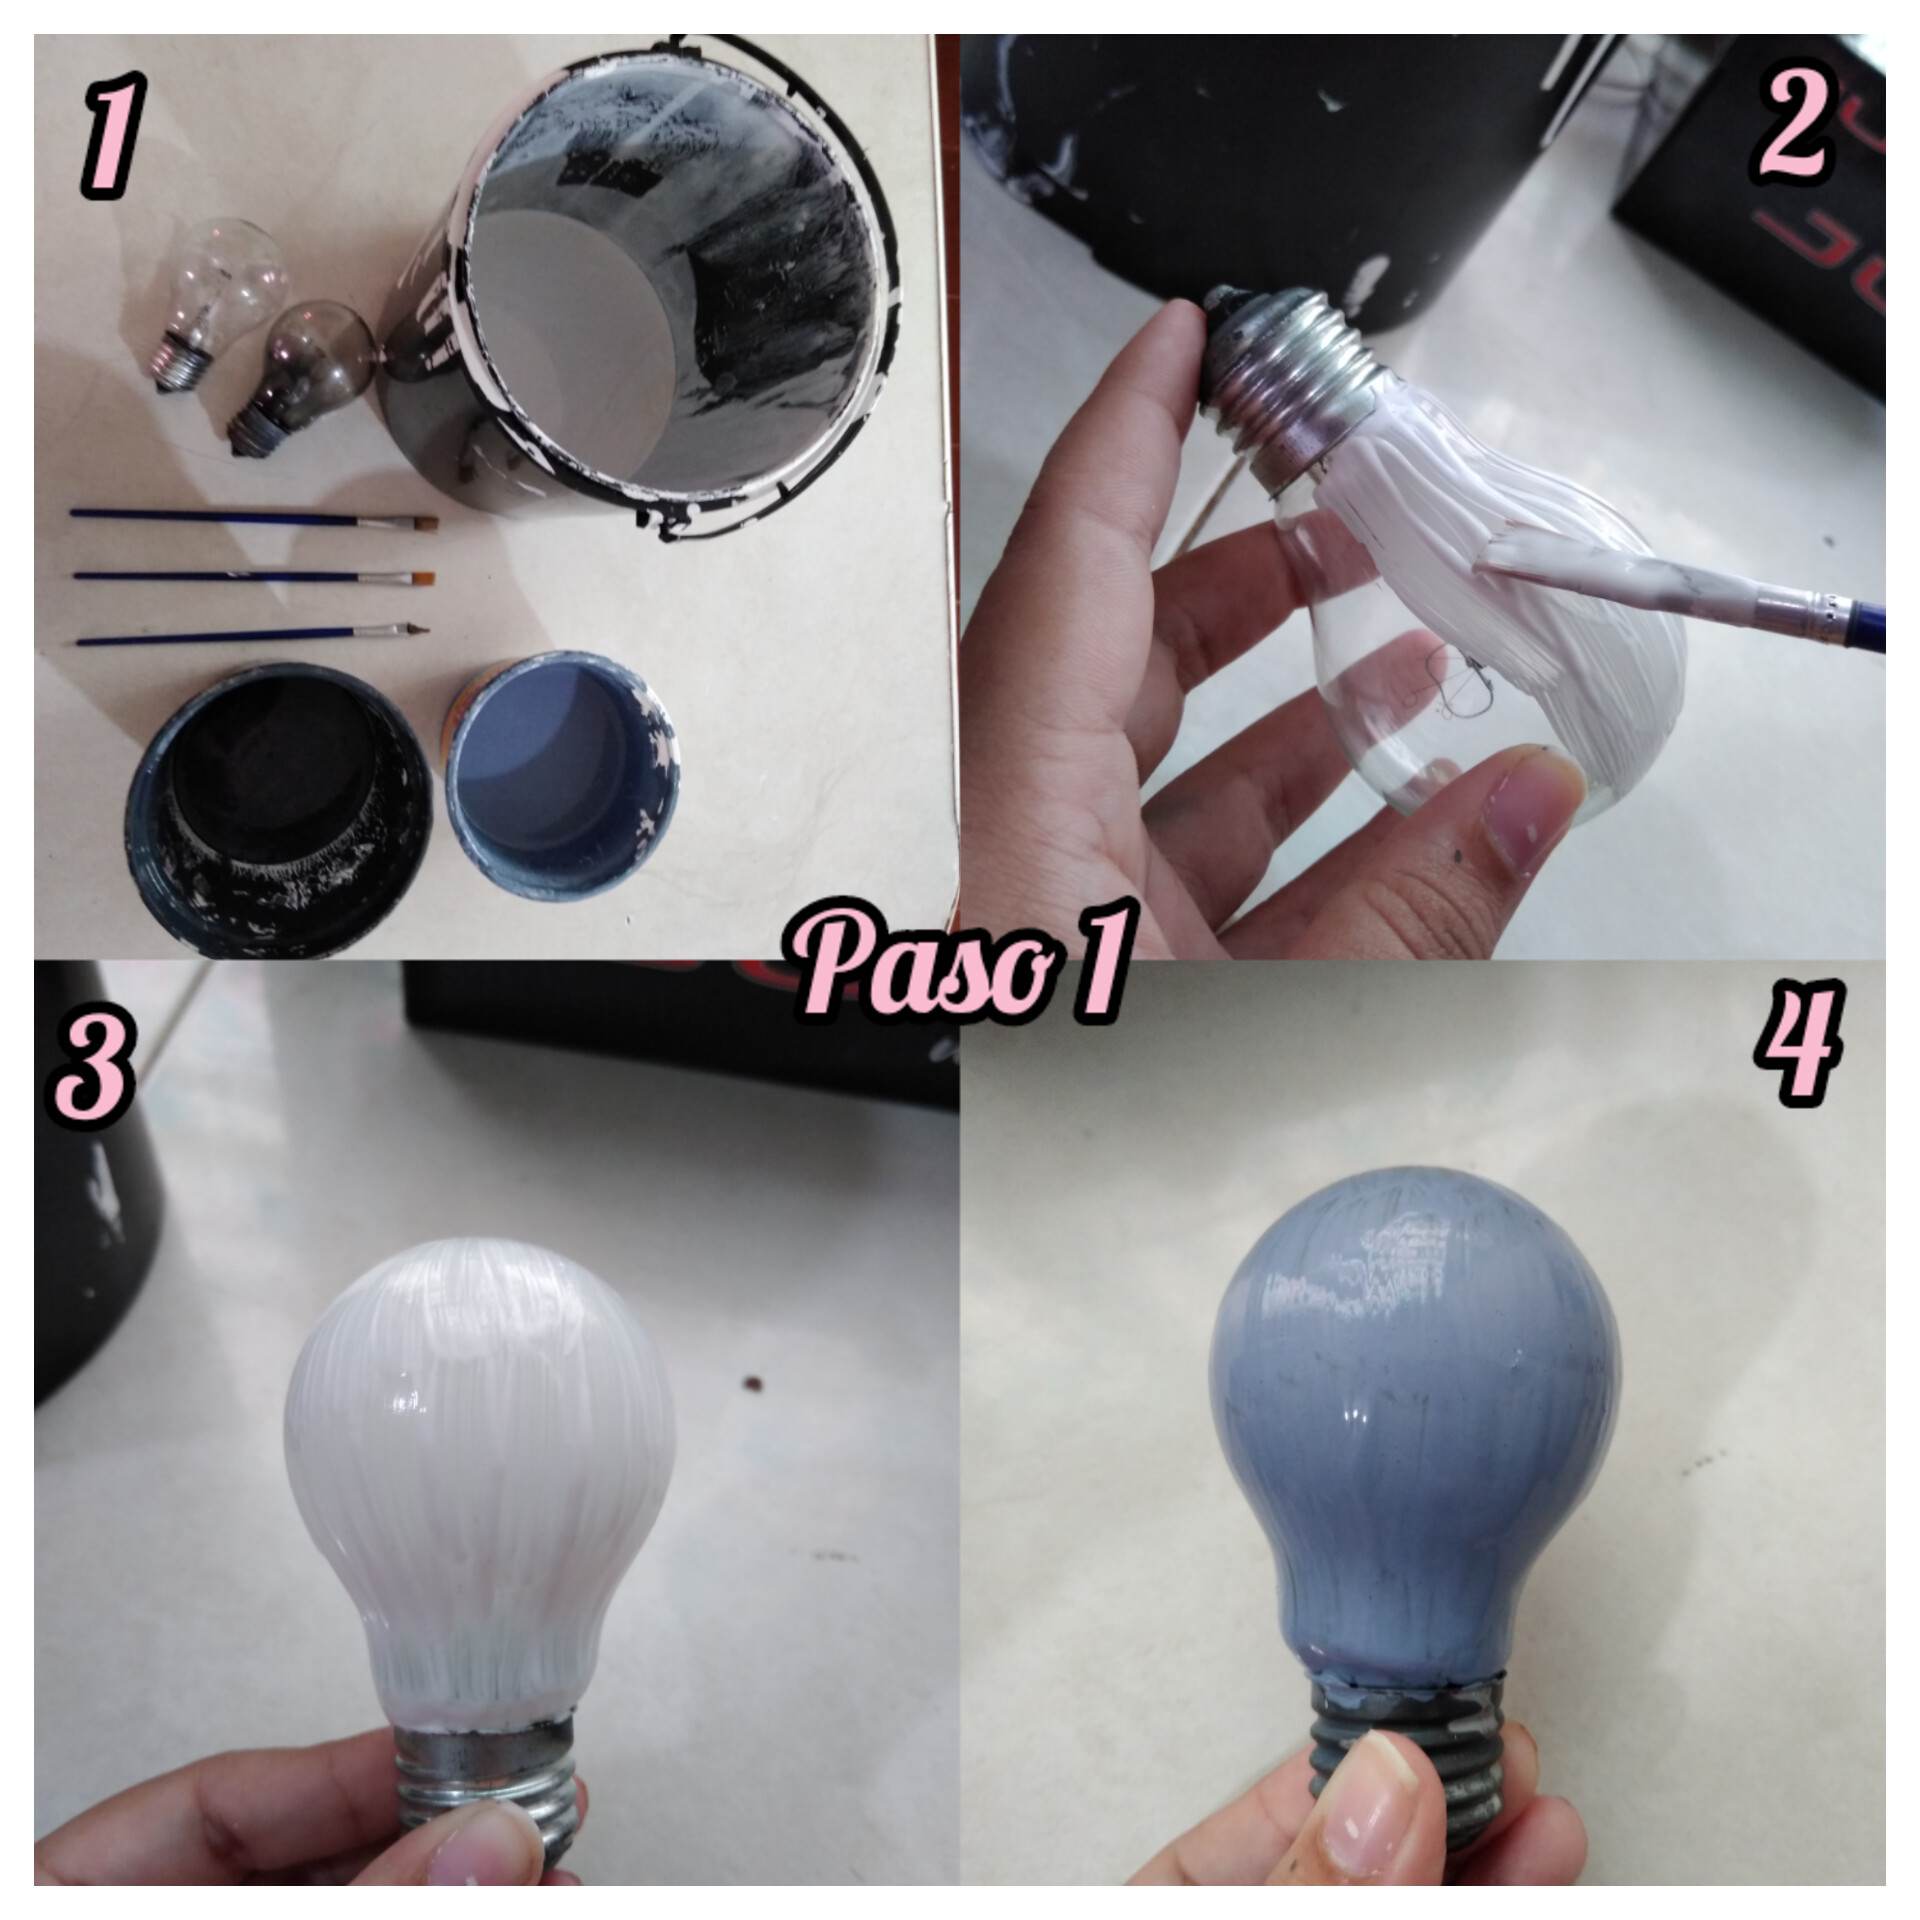
Paso 1: para realizar nuestros bombillos decorativos vamos a necesitar pinturas de diferentes colores pinceles y nuestros bombillos que no usemos en casa, lo primero que haremos será pintar los bombillos con un pincel los pintaremos poco a poco y recordando que debemos dejarlo secar para proceder a pasar la siguiente mano de pintura, ya que estamos trabajando con vidrio y en el vino la pintura se desliza entonces debemos dejar secar para luego pasar la siguiente mano y así Irán quedando como en la imagen se los muestro.
Step 1: to make our decorative bulbs we will need paints of different colors brushes and our bulbs that we do not use at home, the first thing we will do is paint the bulbs with a brush we will paint them little by little and remembering that we must let it dry to proceed to pass the next coat of paint, since we are working with glass and in the wine the paint slides then we must let it dry and then pass the next coat and so they will be as in the image I show them.

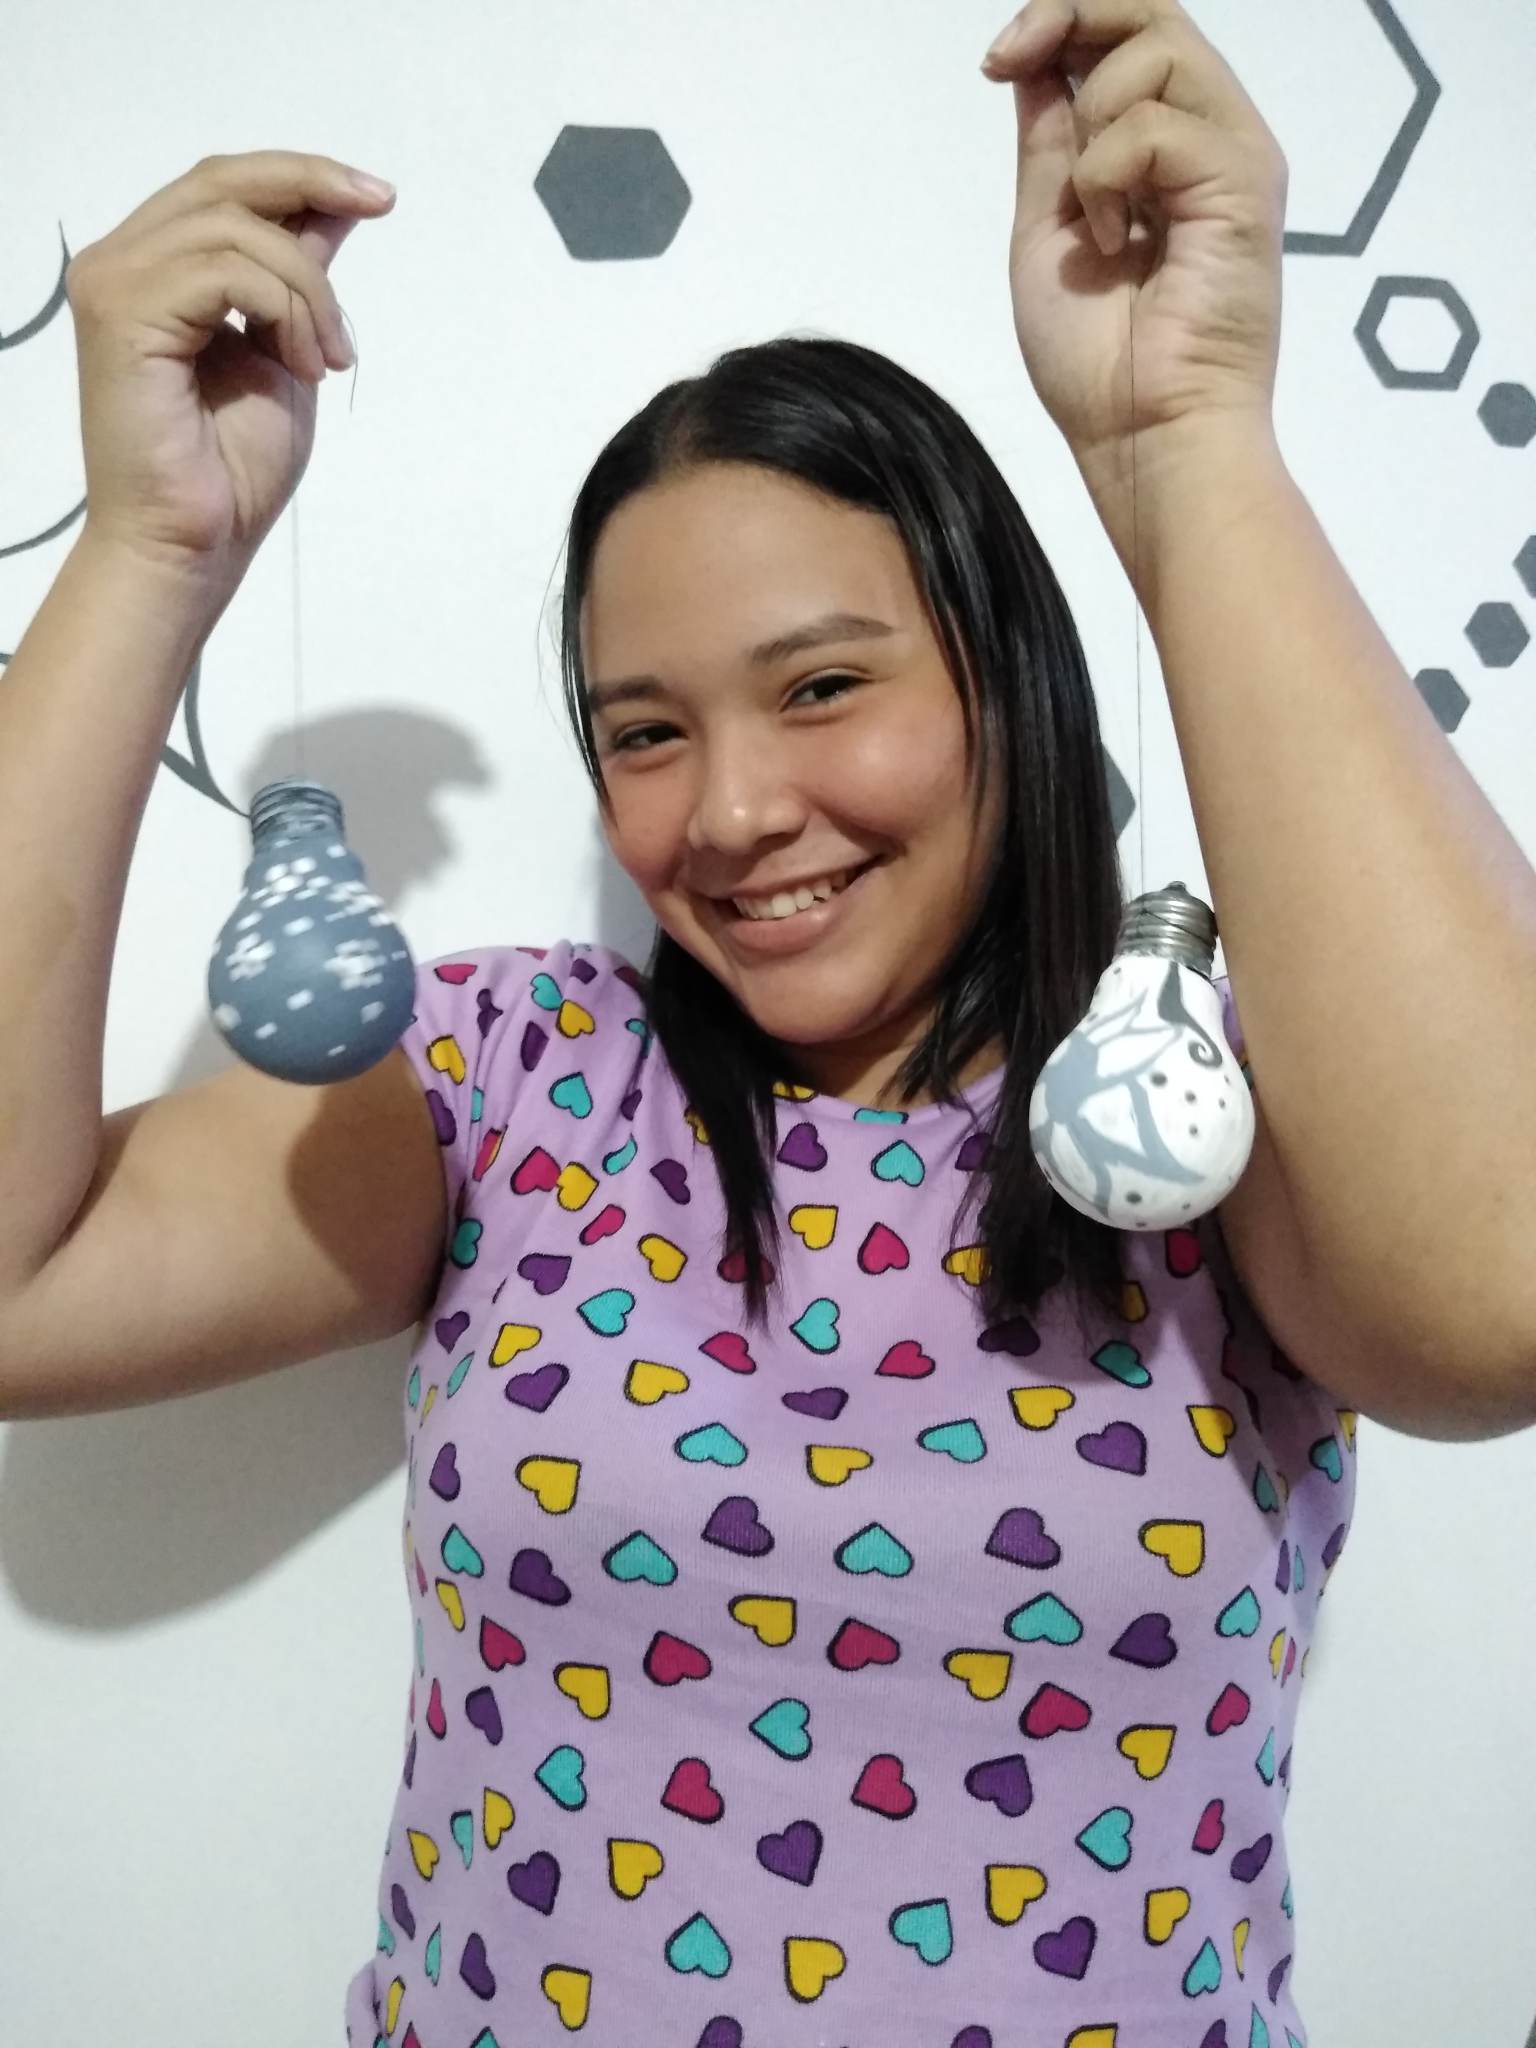
Paso 2: luego de tener listos nuestros bombillos y luego de que ya hayan secado lo siguiente que haremos será decorarlos de la manera en la que nosotros queramos, esta es la parte más divertida y más fascinante de todas ya que nosotros mismos elegimos el diseño que queremos plasmar en nuestros bombillos, yo decidí en el bombillo blanco hacer una flor grande en el medio con algunos puntos de color lila oscuro, así que lo haremos cuidadosamente y procederemos a dejar secar.
Step 2: after having our bulbs ready and after they have already dried the next thing we will do is to decorate them the way we want, this is the most fun and most fascinating part of all because we ourselves choose the design we want to capture in our bulbs, I decided in the white bulb to make a big flower in the middle with some dark lilac dots, so we will do it carefully and proceed to let it dry.
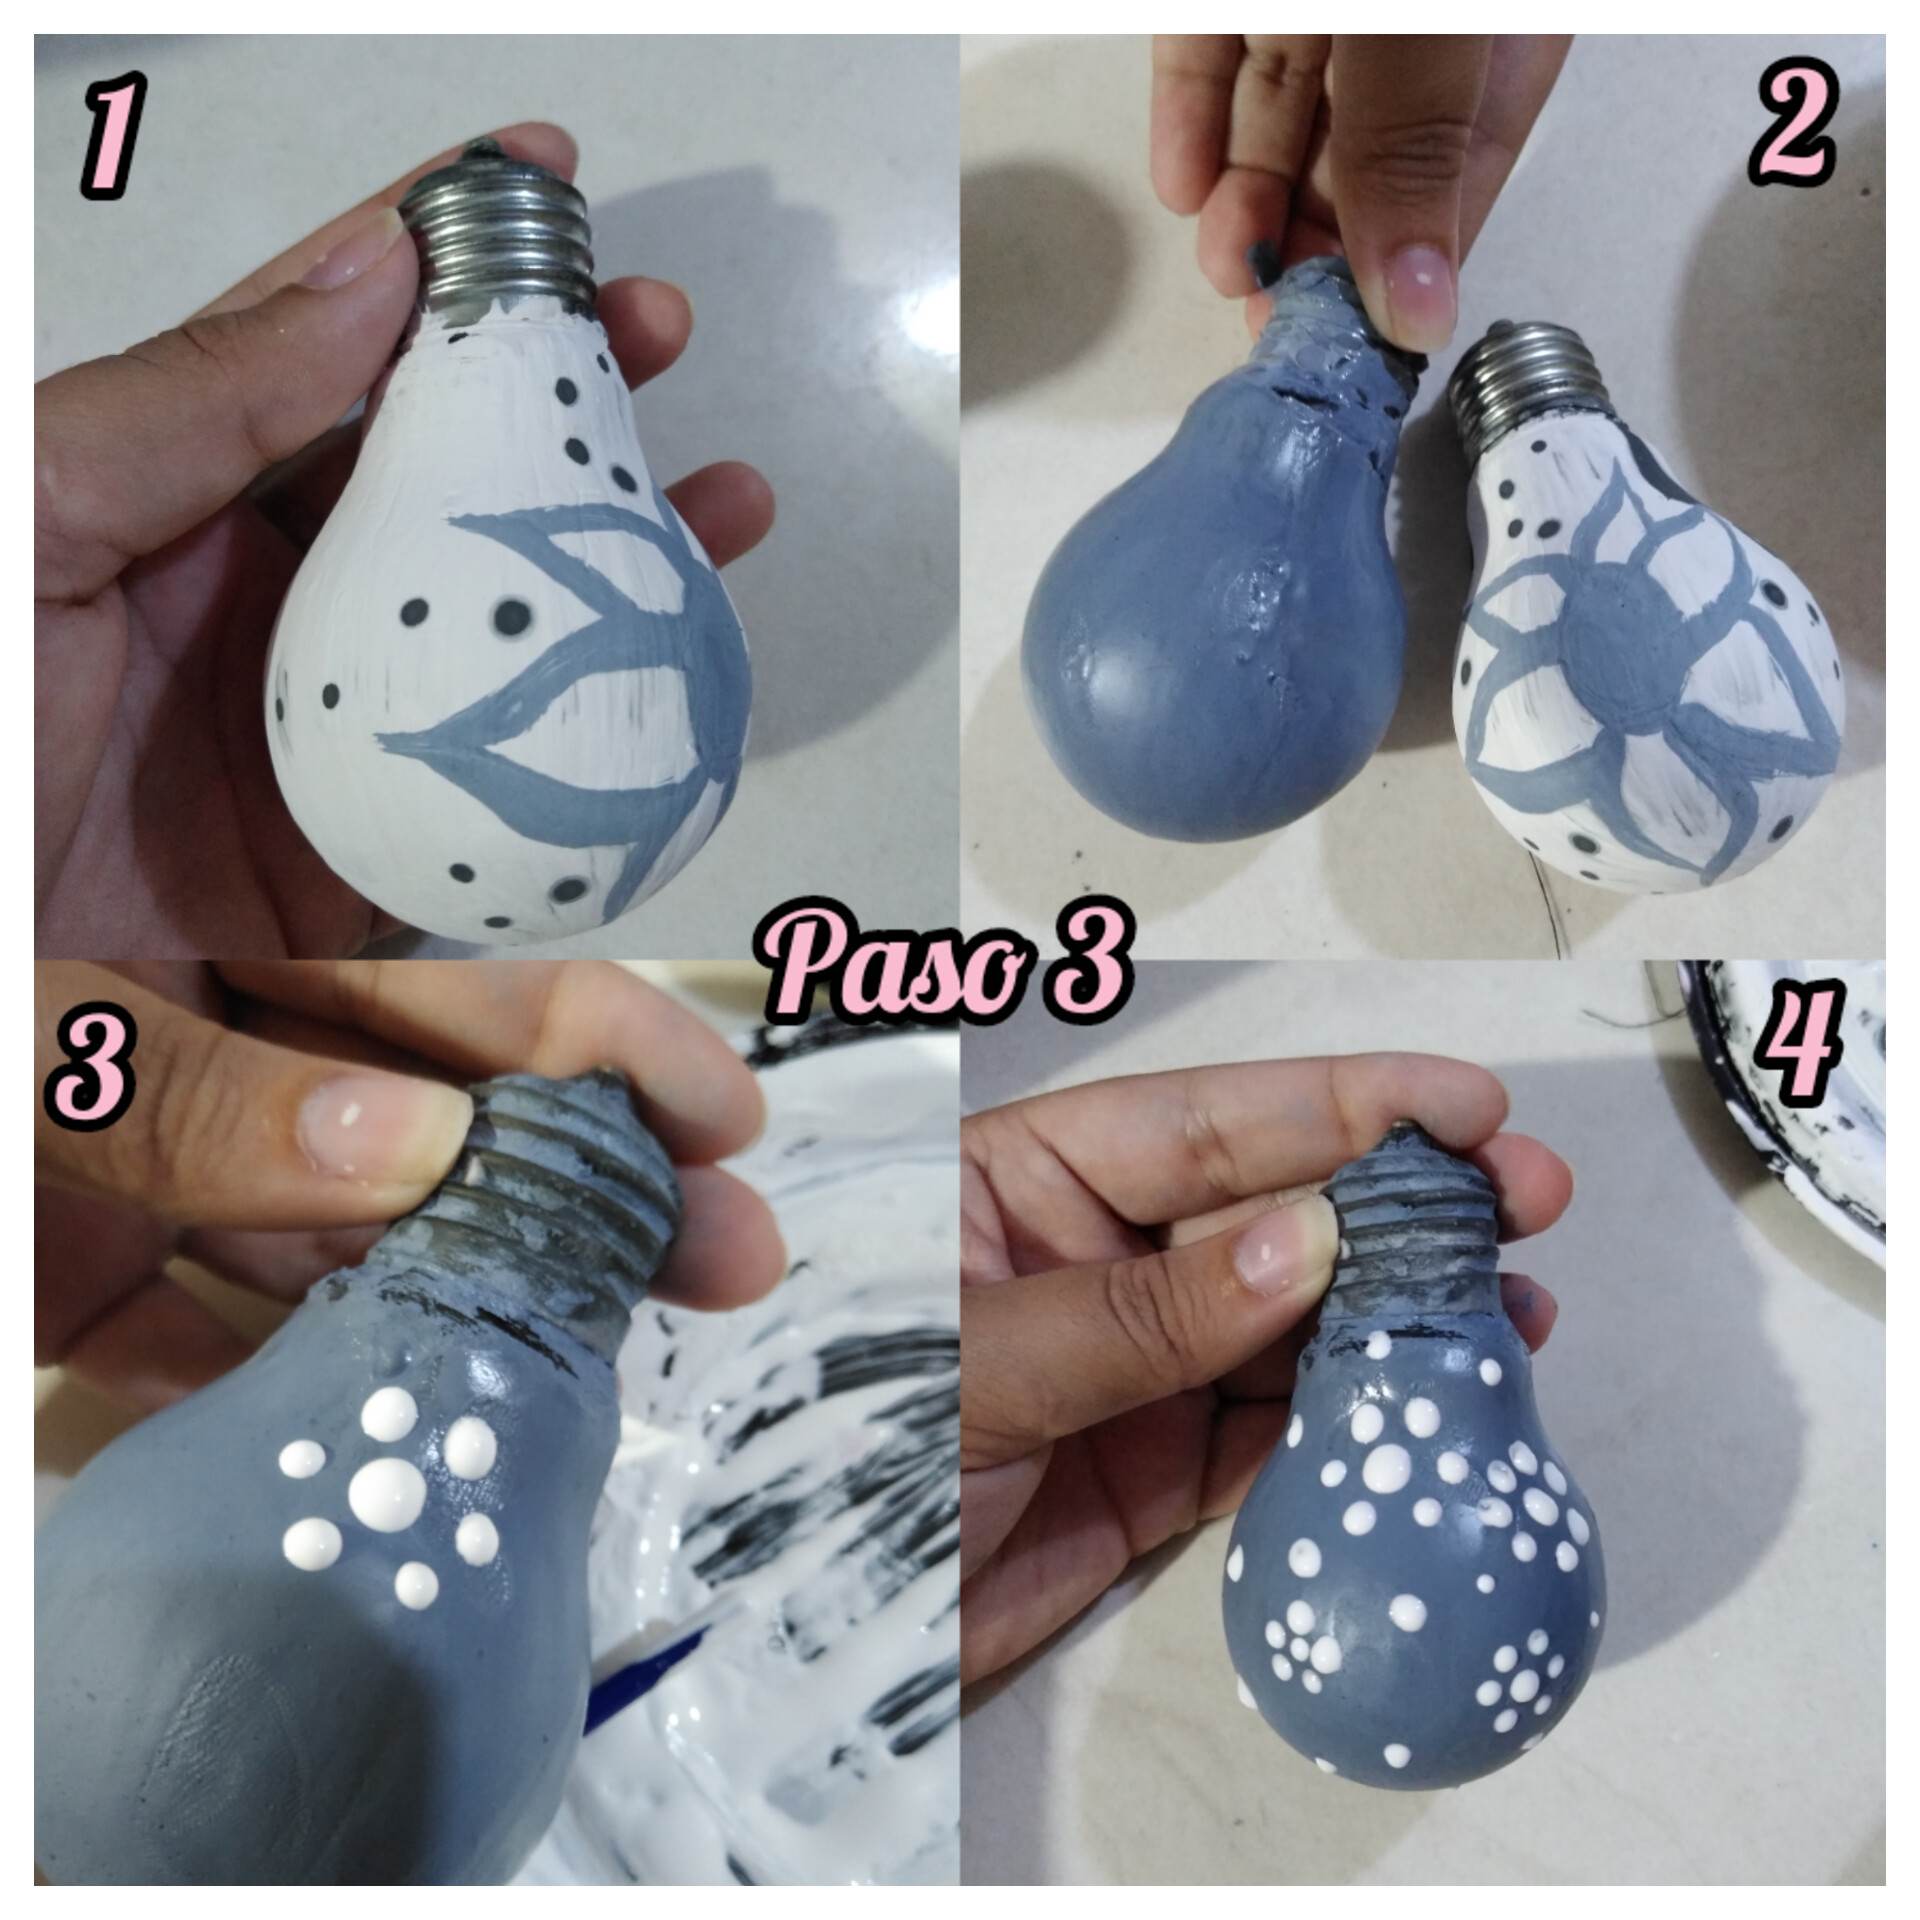
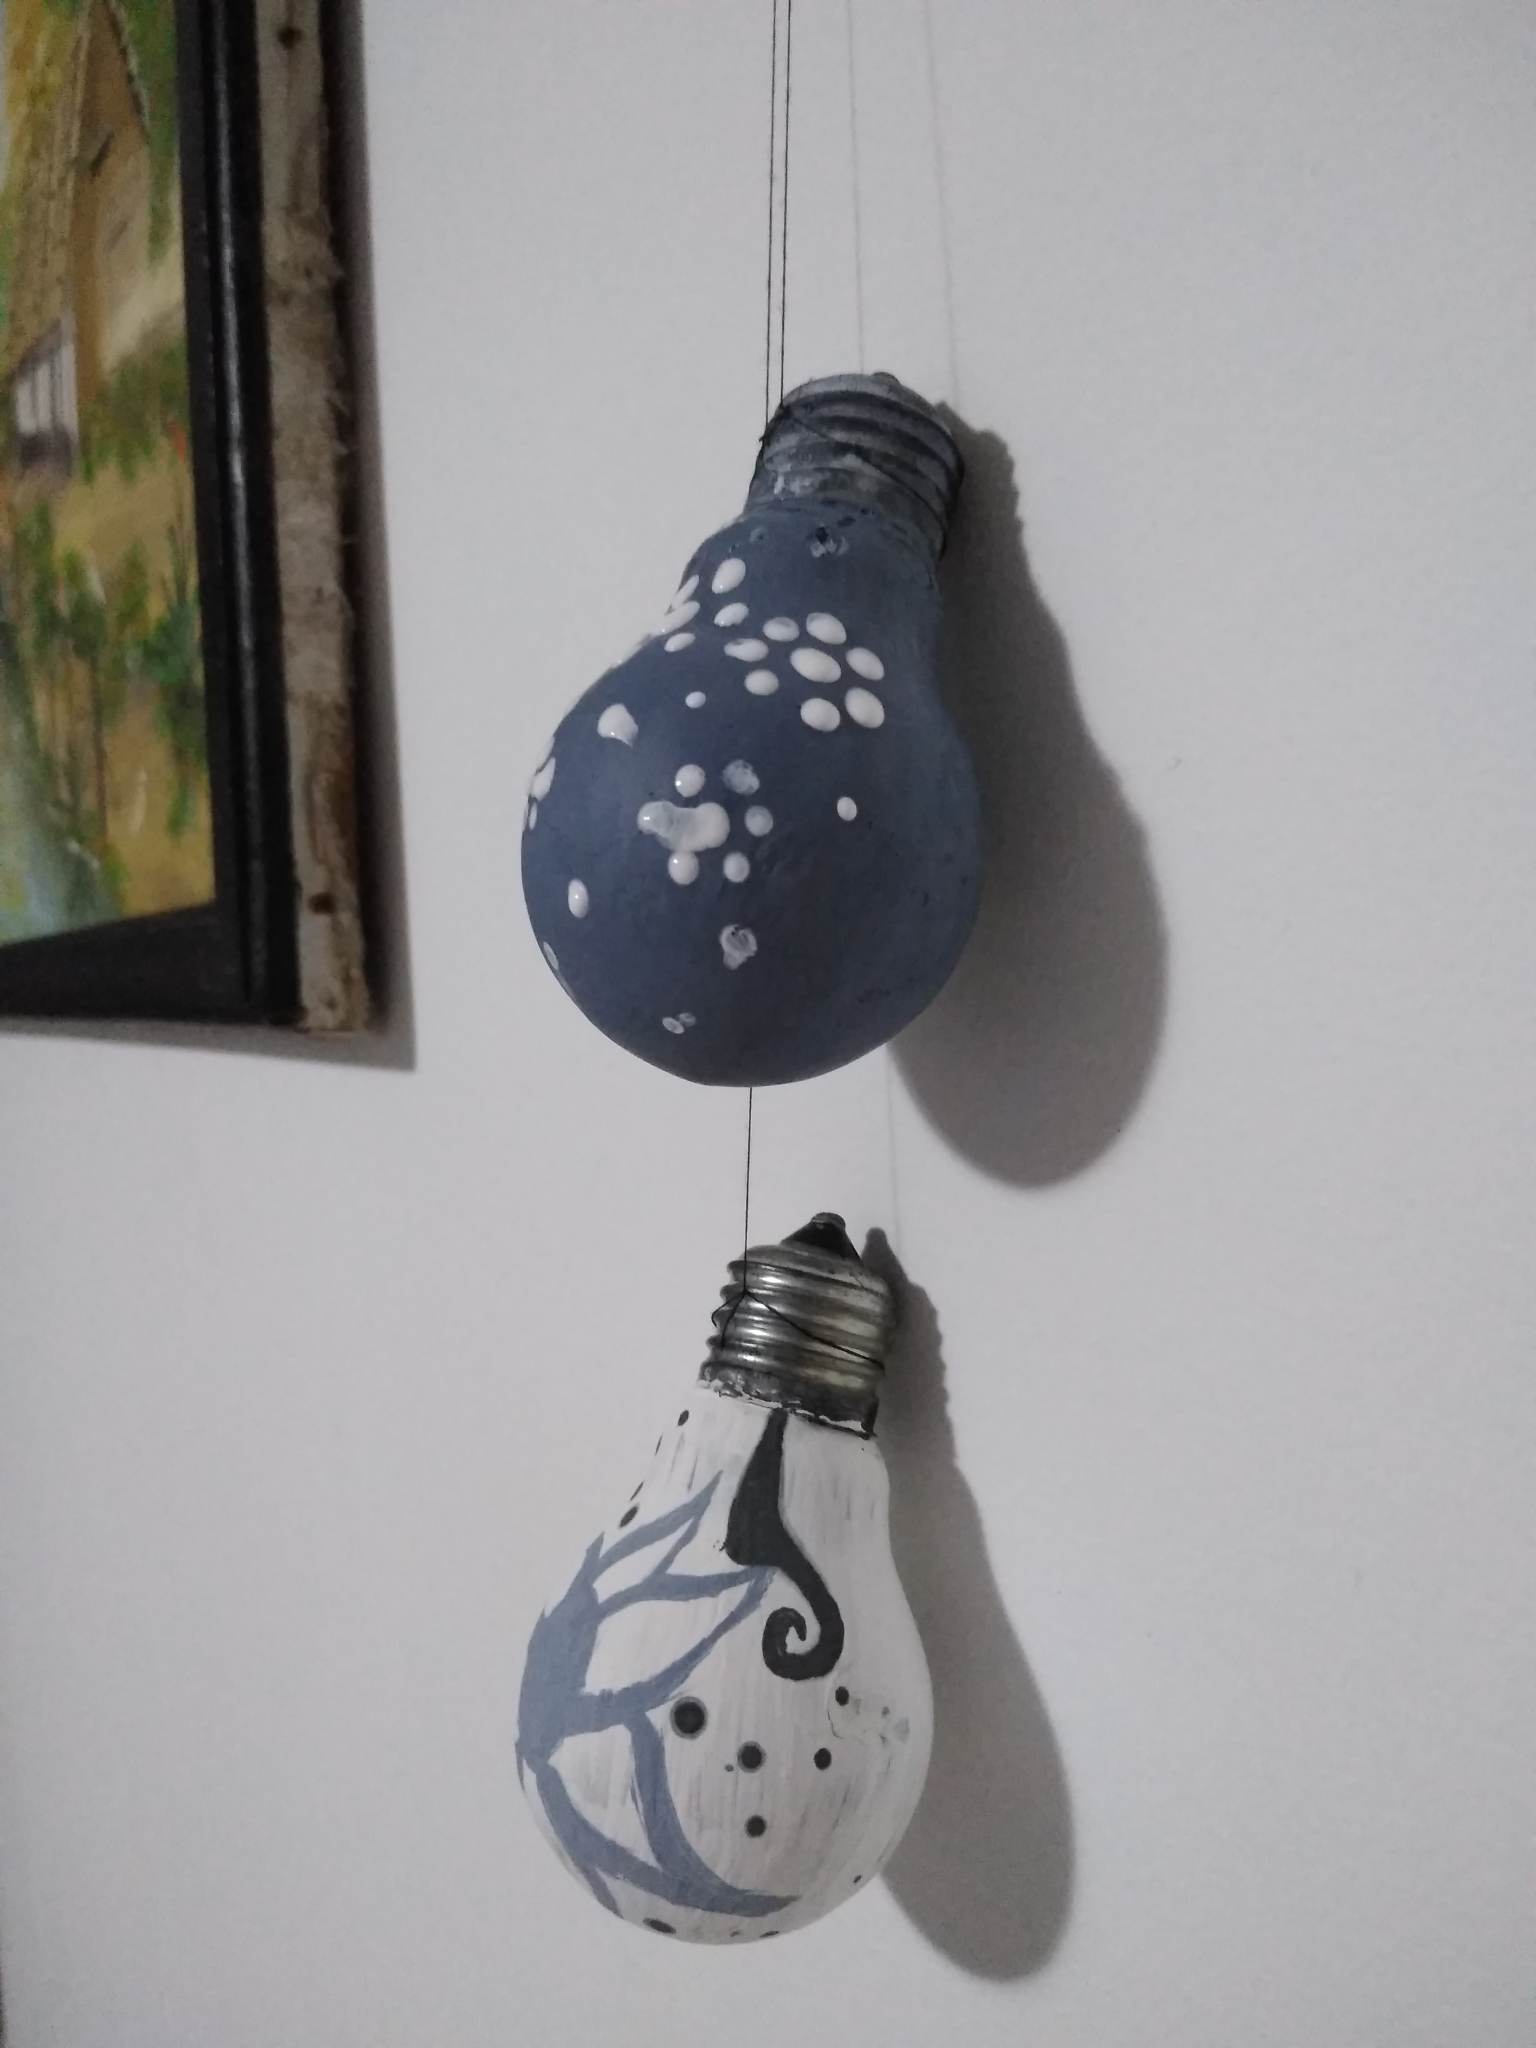
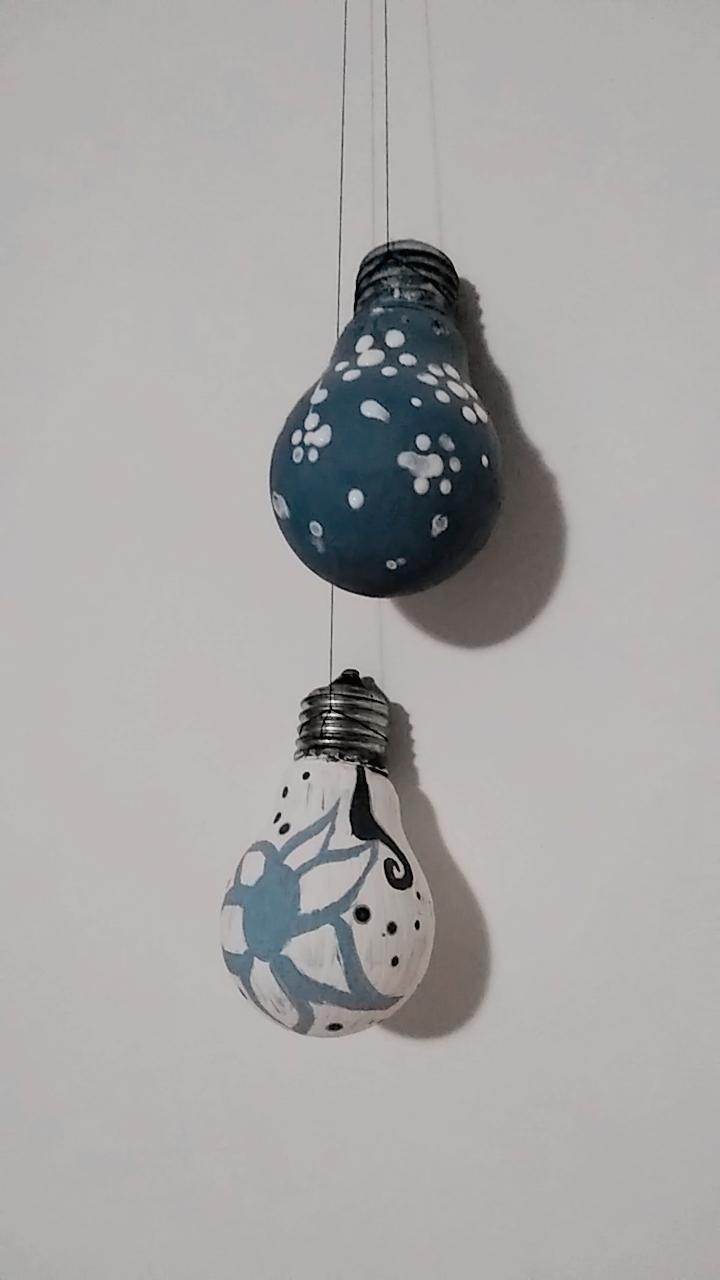
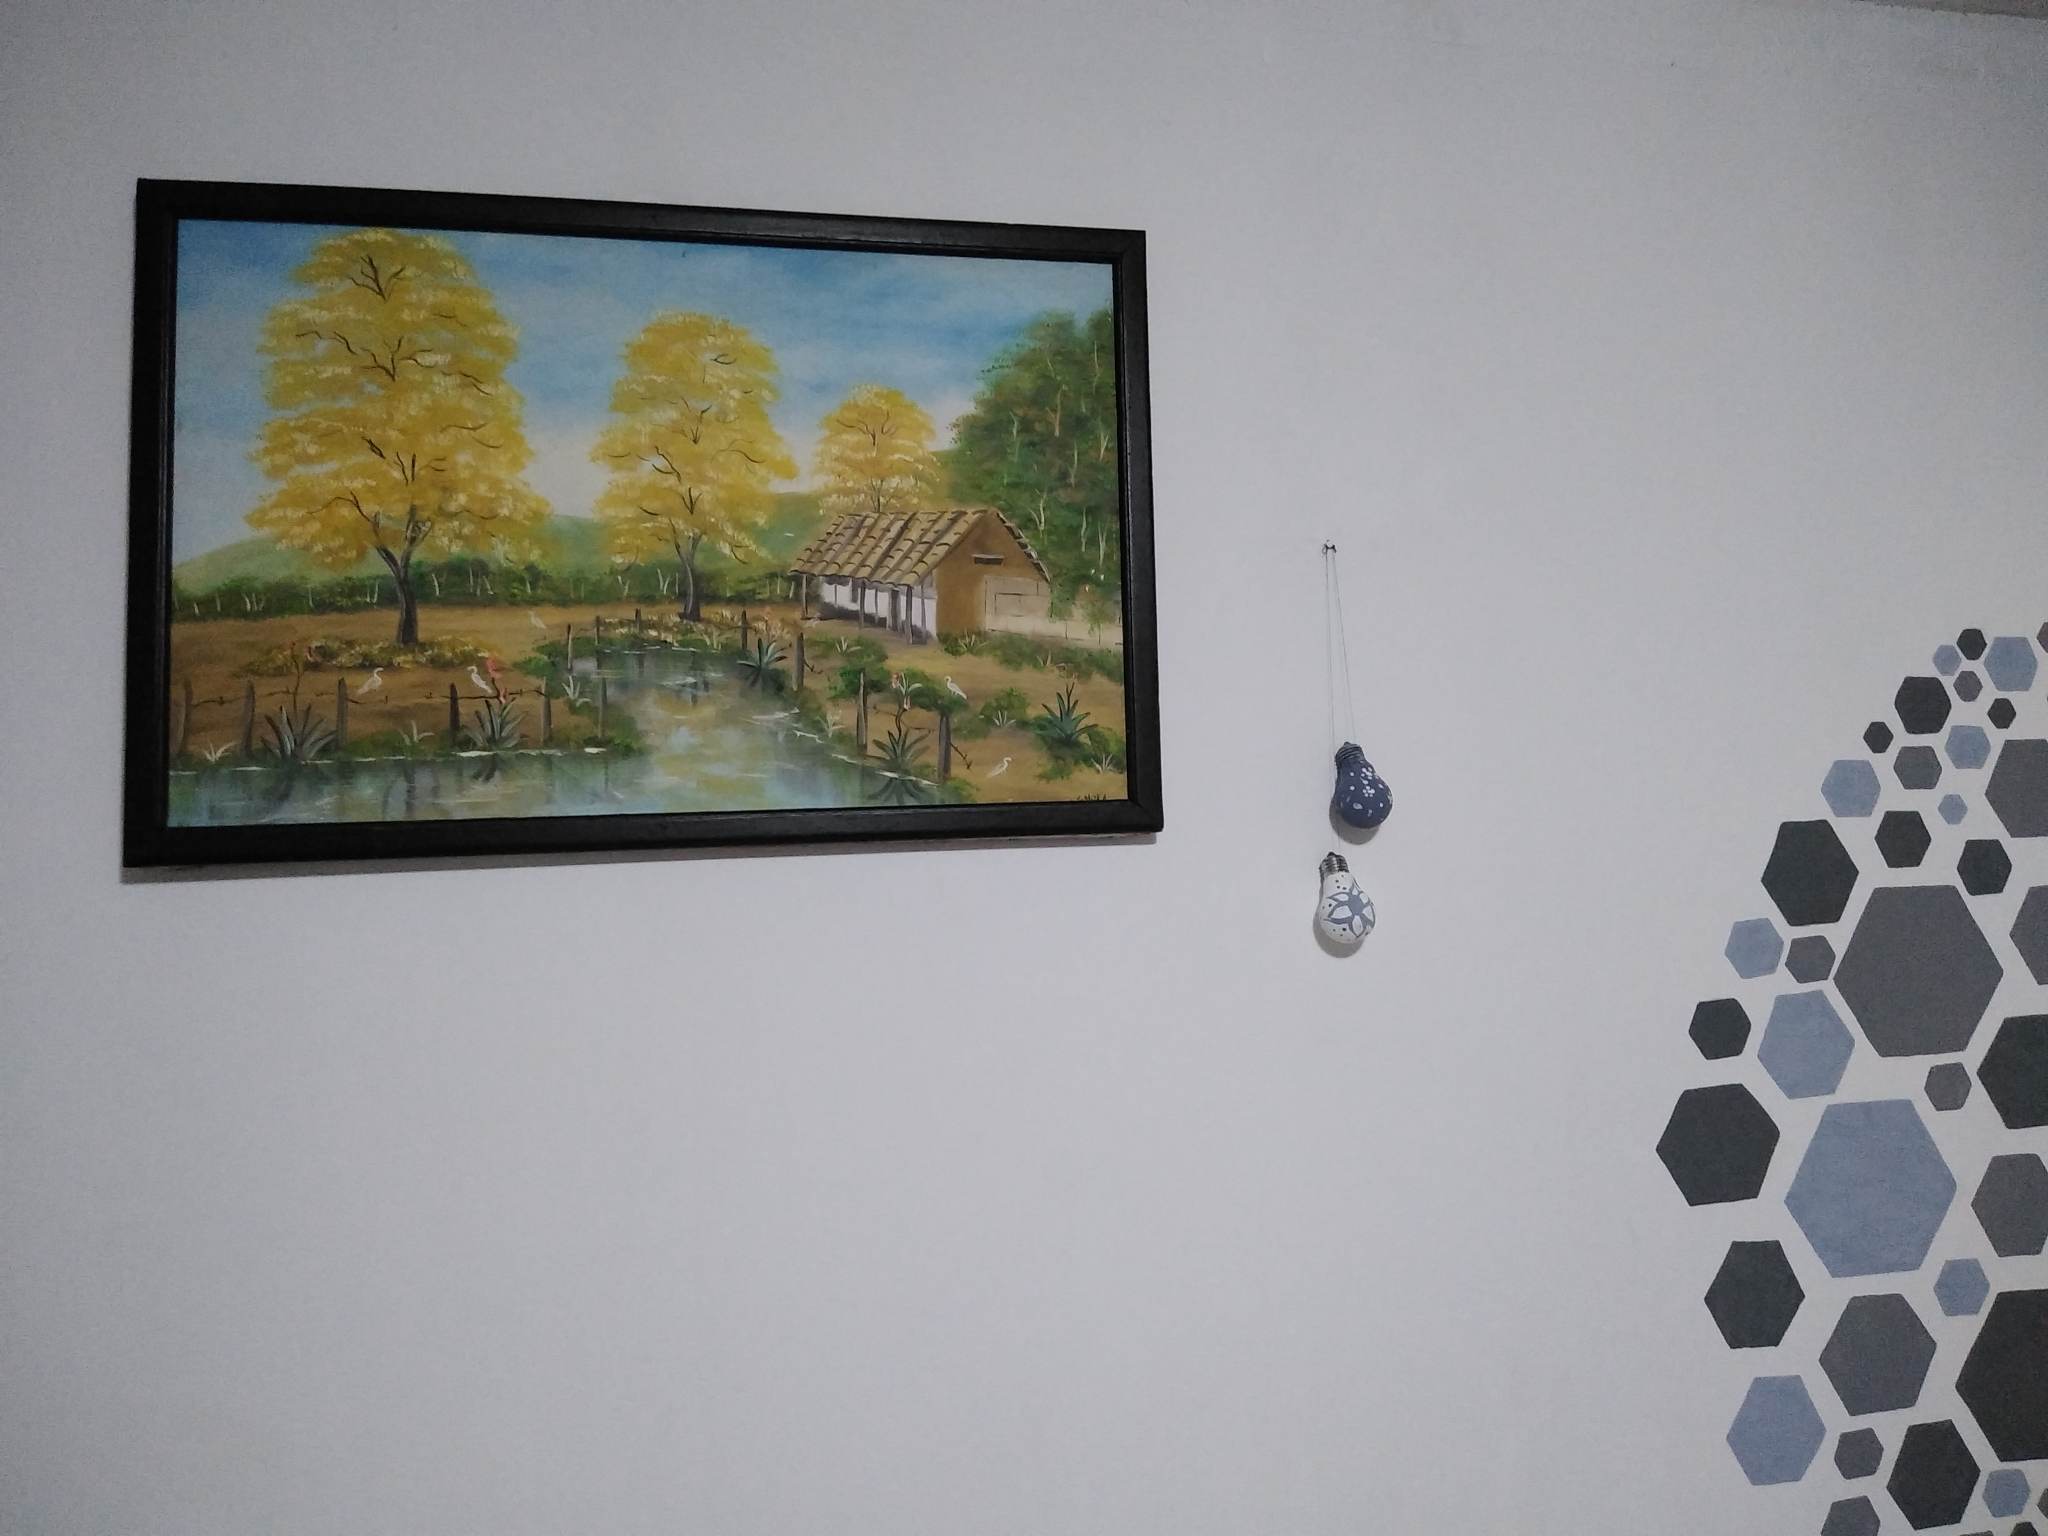
Paso 3: luego de que ya haya secado nuestro bombillo blanco procederemos a hacer los adornos en nuestro bombillo gris haremos algunas flores de color blanco, esta flor es la haremos con la parte trasera de nuestro pincel ya que es de forma redonda y lo que haremos será marcar los punticos en la parte que nosotros queramos y hacer la figura de las flores. lo que haremos por último será enrollar un hilo en la parte de arriba del bombillo para poder guindar los y poder colocarlos en la parte de nuestro hogar y así culminamos con está preciosa creación, espero que les haya gustado mucho.
Step 3: after you have already dried our white bulb proceed to make the decorations on our gray bulb will make some white flowers, this flower is we will do it with the back of our brush as it is round and what we will do is mark the points in the part that we want and make the figure of the flowers. what we do last will be to wind a thread on top of the bulb to hang them and to place them in the part of our home and thus culminate with this beautiful creation, I hope you liked it very much.
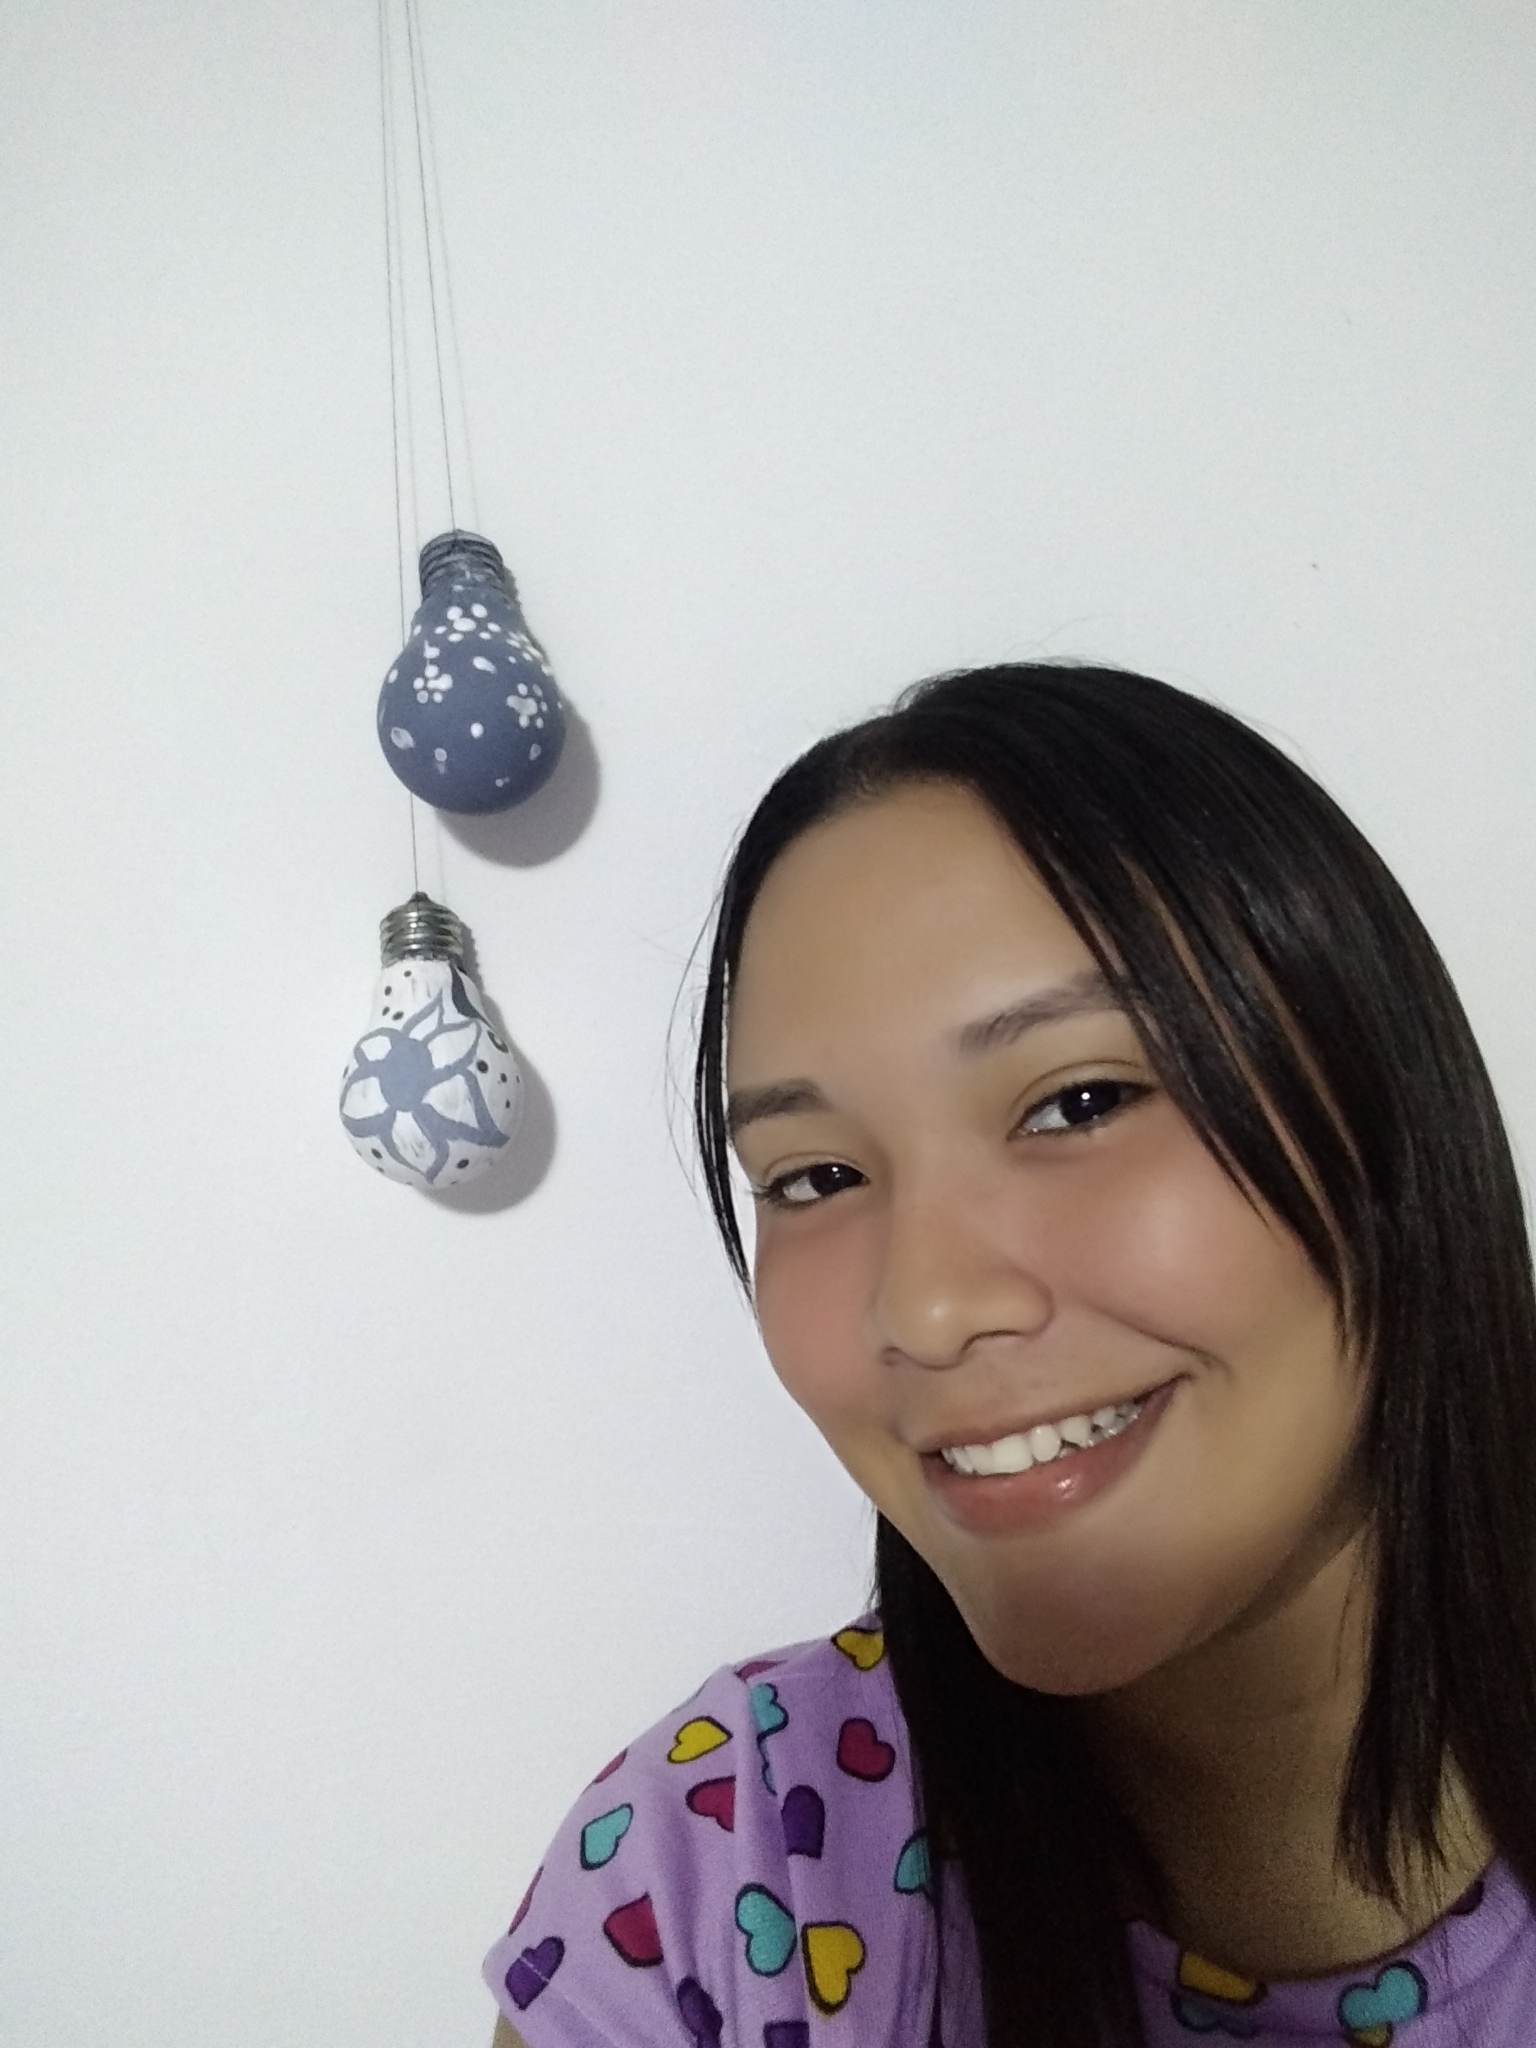
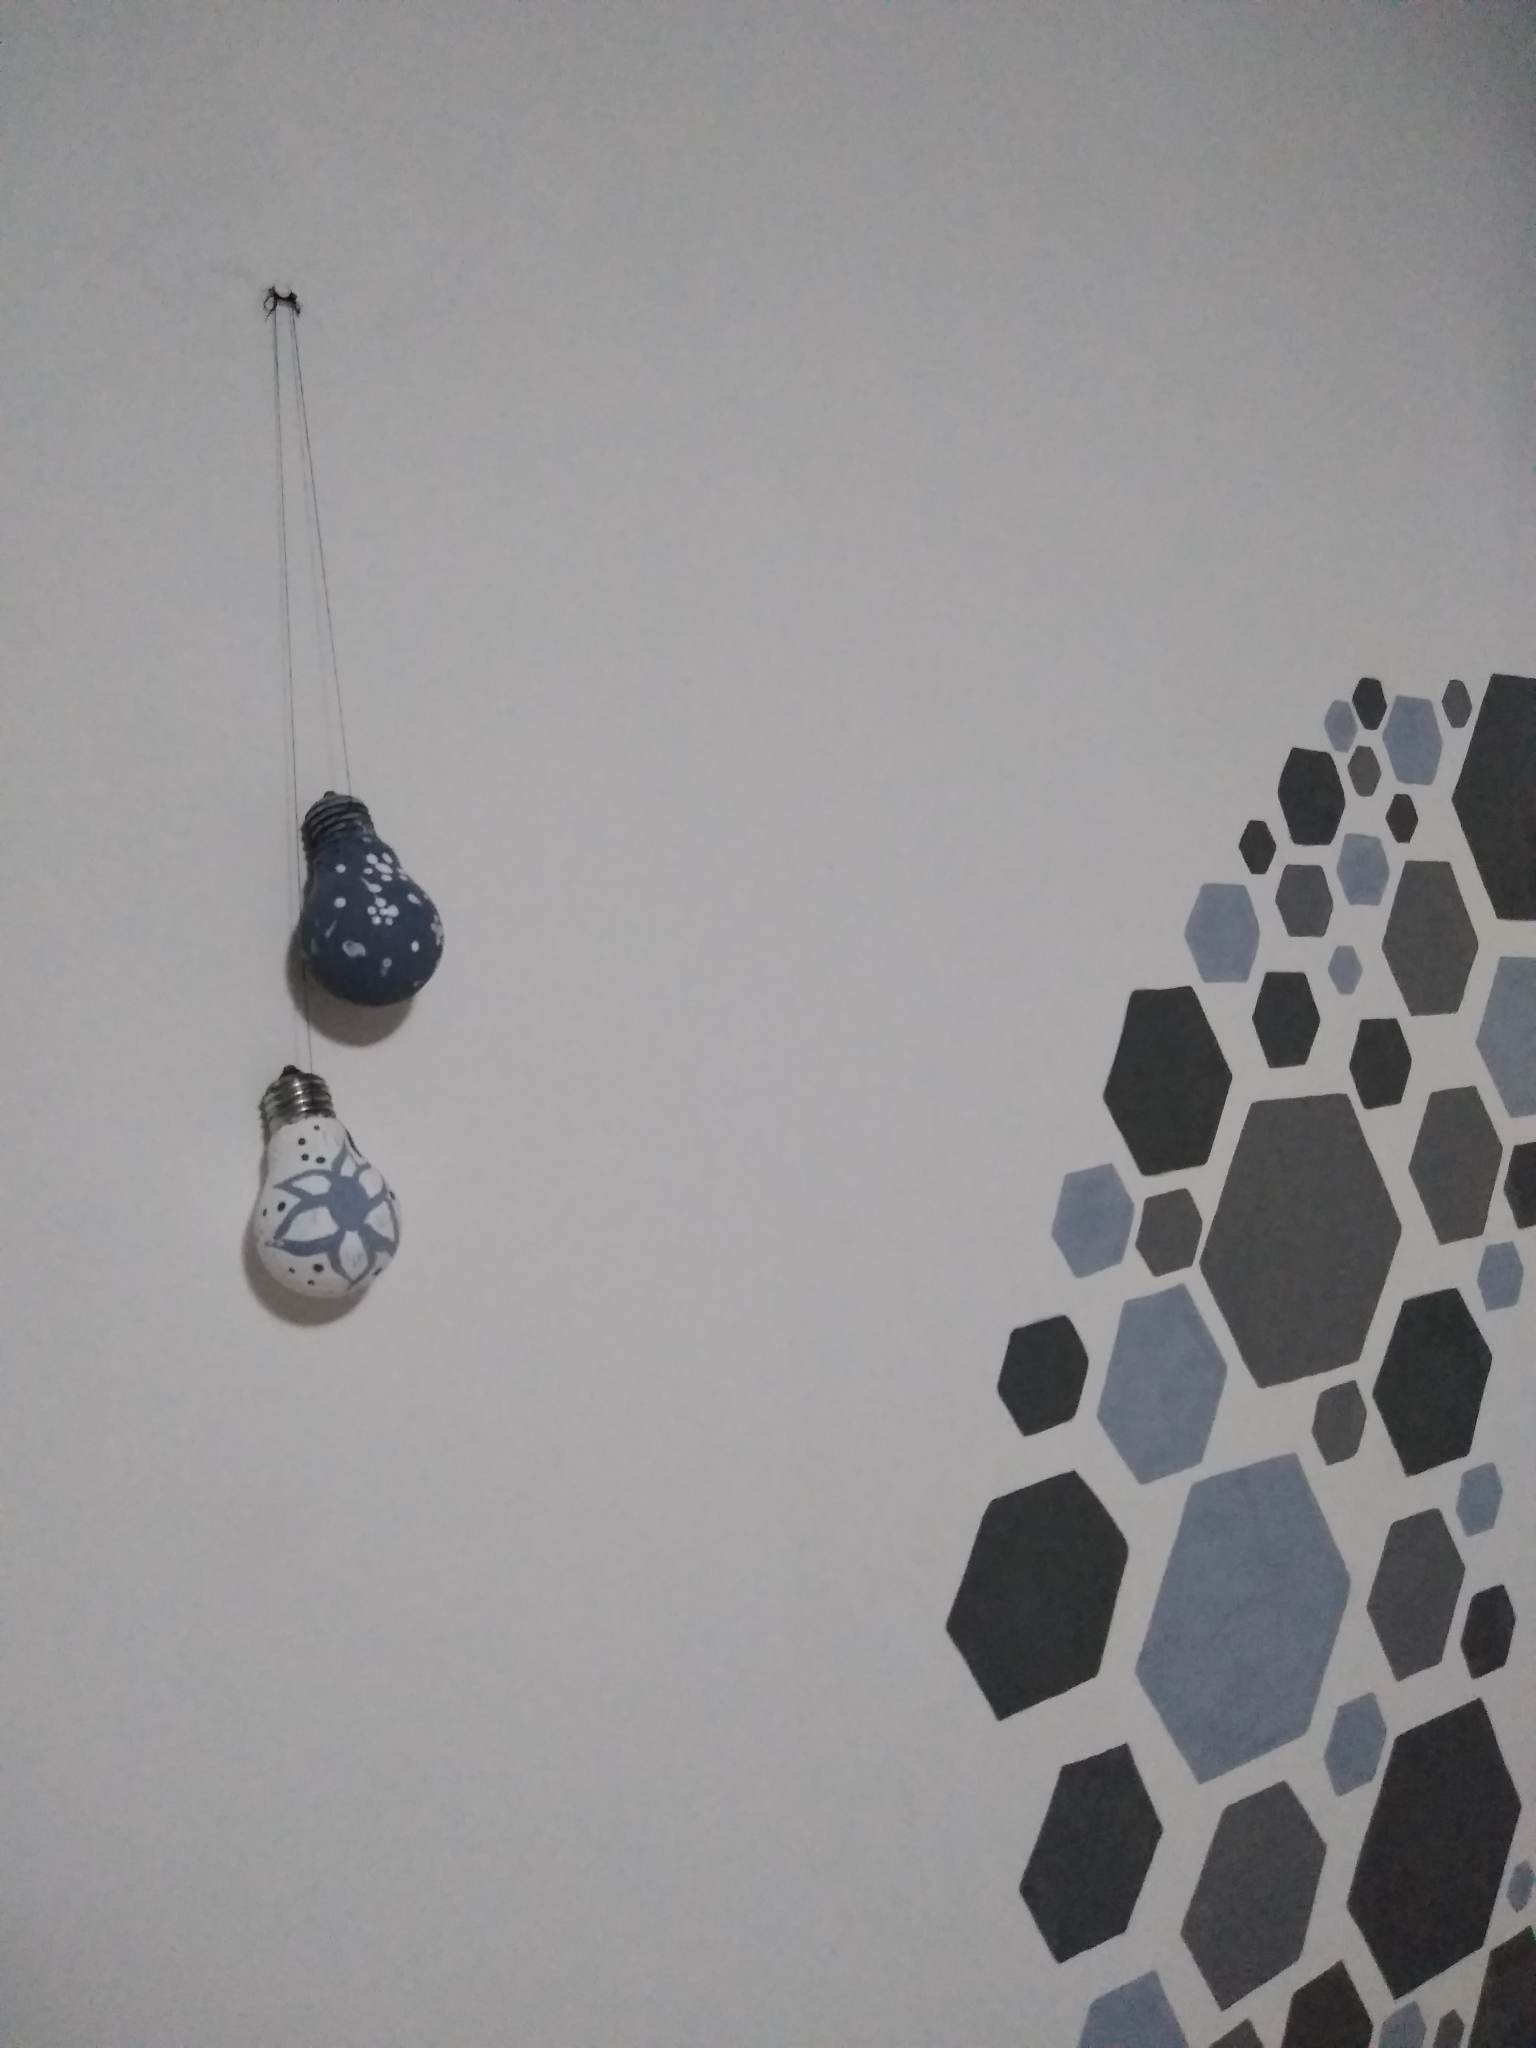
Final Result.

This post has been manually curated by @steemflow from Indiaunited community. Join us on our Discord Server.
Do you know that you can earn a passive income by delegating to @indiaunited. We share more than 100 % of the curation rewards with the delegators in the form of IUC tokens. HP delegators and IUC token holders also get upto 20% additional vote weight.
Here are some handy links for delegations: 100HP, 250HP, 500HP, 1000HP.
Please contribute to the community by upvoting this comment and posts made by @indiaunited.