[ESP-ENG] Beautiful Heart Shaped Cylinder Holder | Hermoso ALfiletero en Forma de Corazón
Hello friends of hive, many blessings to all, I hope you are very well. Welcome once again to a new post where we will navigate in a new adventure and different from the others, starting the day with great strength and enthusiasm, look I bring you the great idea and tutorial on how to make a heart-shaped pincushion, it is not a common pincushion, but it is also like a mini heart-shaped cushion, the truth is super cute, I loved it too much and I hope you also like it a lot, so let's start with the step by step.

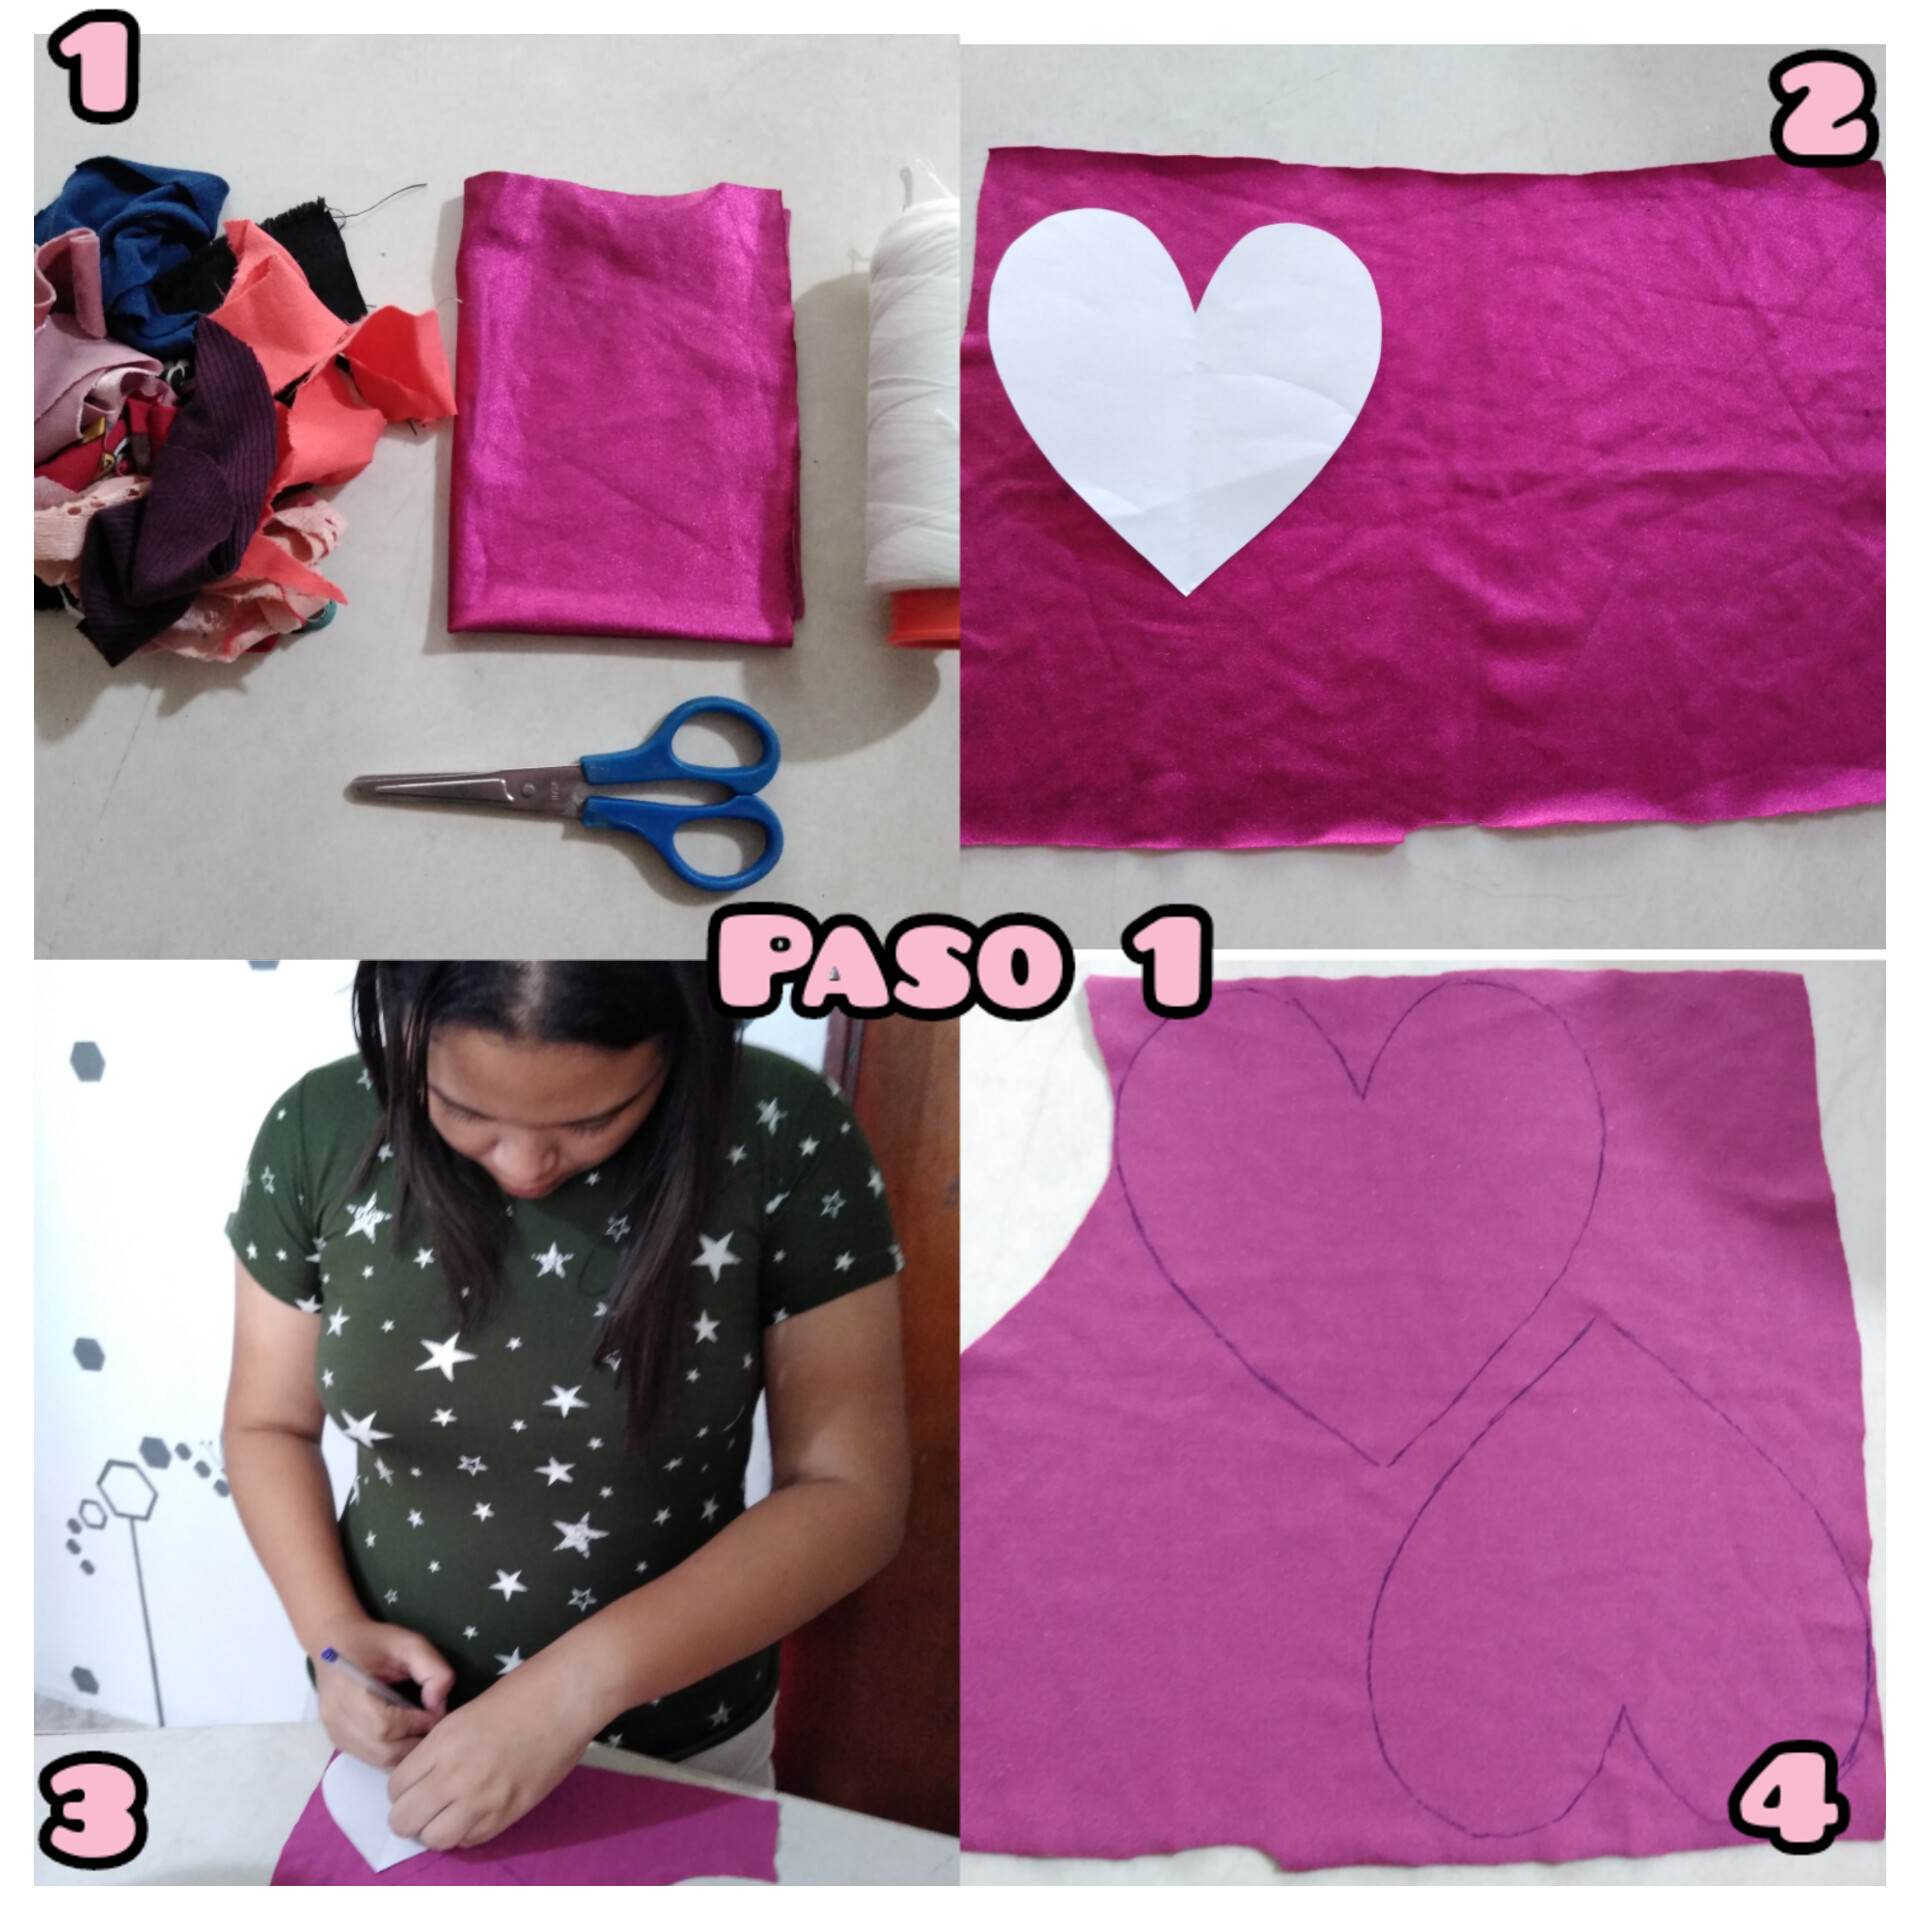
Paso 1: para nuestro alfiletero en forma de corazón vamos a necesitar una tela especial, del color de nuestra preferencia Y también vamos a necesitar relleno, hilo y tijera. Lo primero que haremos será tener un patrón de un corazón mediano ni tan grande ni tan pequeño el cual vamos a plasmar encima de la tela y procederemos a dibujar con un lapicero, el cuál quedará como lo muestra la imagen.
Step 1: for our heart-shaped pincushion we will need a special fabric, in the color of our preference, and we will also need stuffing, thread and scissors. The first thing we will do is to have a pattern of a medium heart, not so big and not so small, which we will draw on the fabric and proceed to draw with a pencil, which will be as shown in the image.
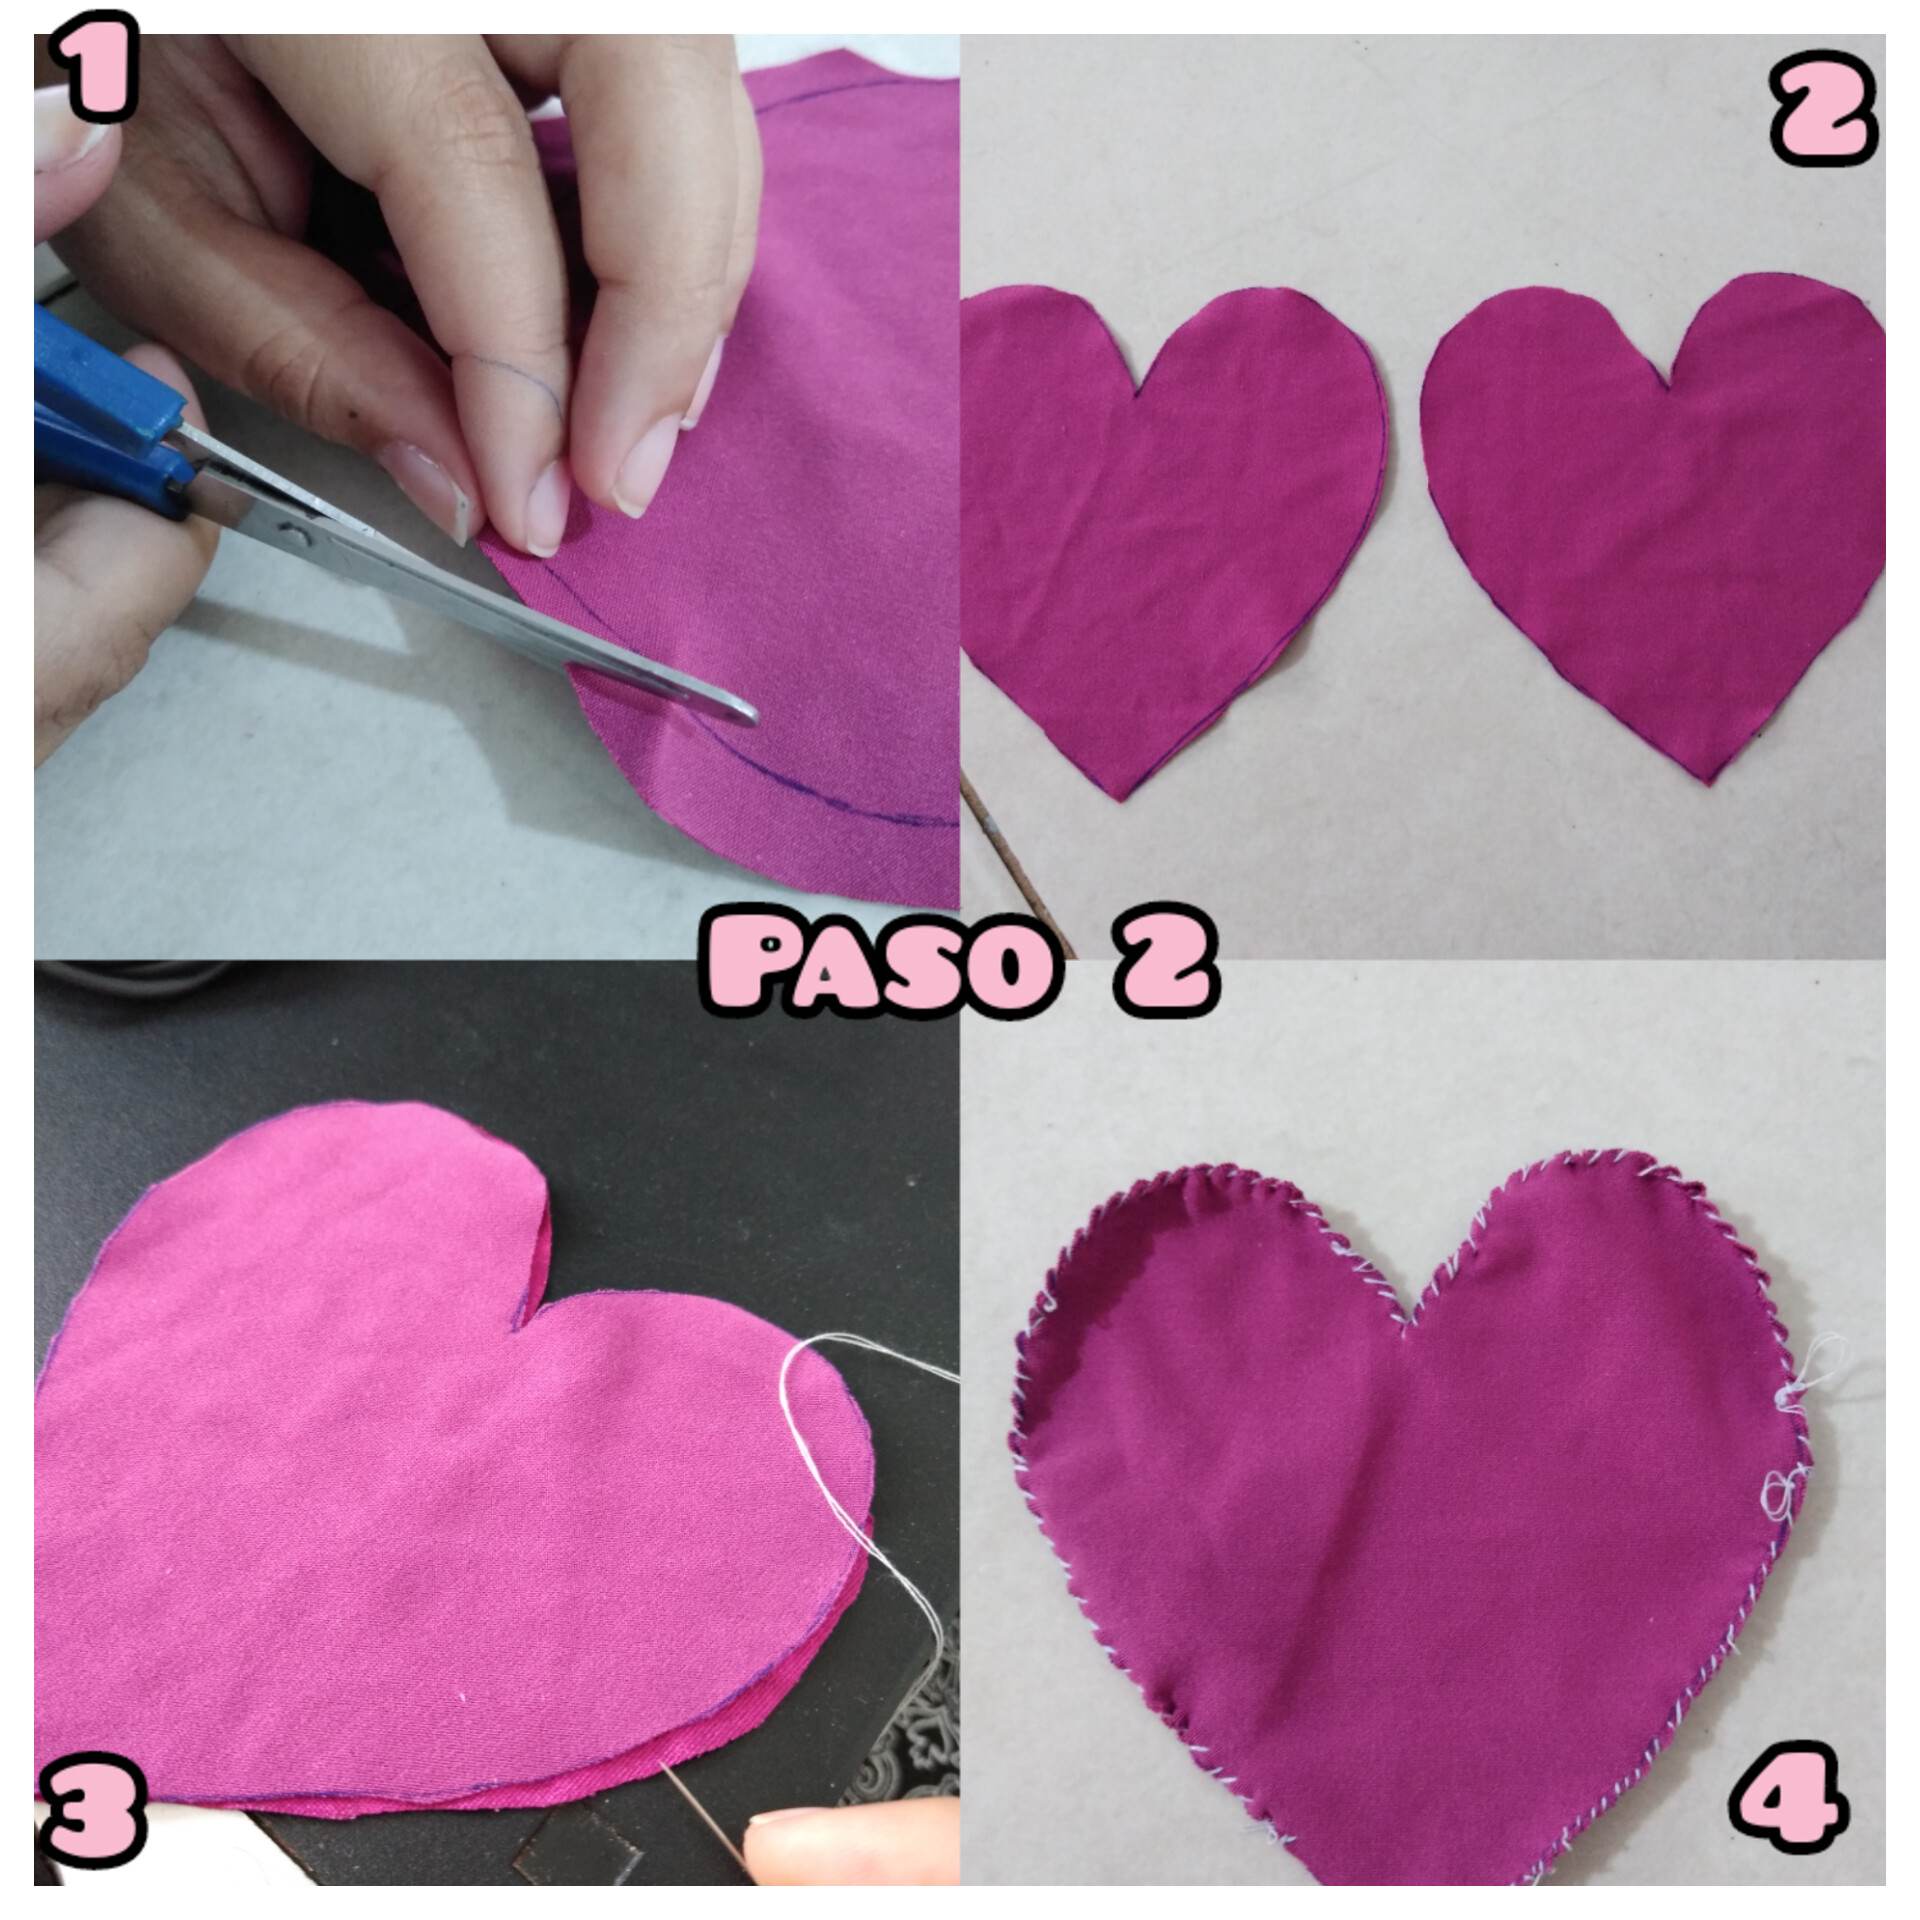
Paso 2: luego de haber marcado los dos corazones en la tela procederemos a recortar hasta que la forma quede muy linda como no muestra la imagen, el patrón innecesario para guiarnos en cuanto a la forma y que nuestro alfiletero pueda quedar muy bonito. Luego de tener las dos piezas cortadas procederemos a colocar los lados de afuera hacia adentro para comenzar a coser los bordes de adentro hacia afuera, coceremos cuidadosamente todo el borde del corazón hasta quedar así como lo muestra la imagen.
Step 2: after having marked the two hearts on the fabric we will proceed to cut out until the shape is very nice as shown in the image, the unnecessary pattern to guide us as to the shape and that our pincushion can be very nice. After having the two pieces cut we will proceed to place the sides from the outside to the inside to start sewing the edges from the inside to the outside, we will carefully sew the whole edge of the heart until it looks as shown in the image.
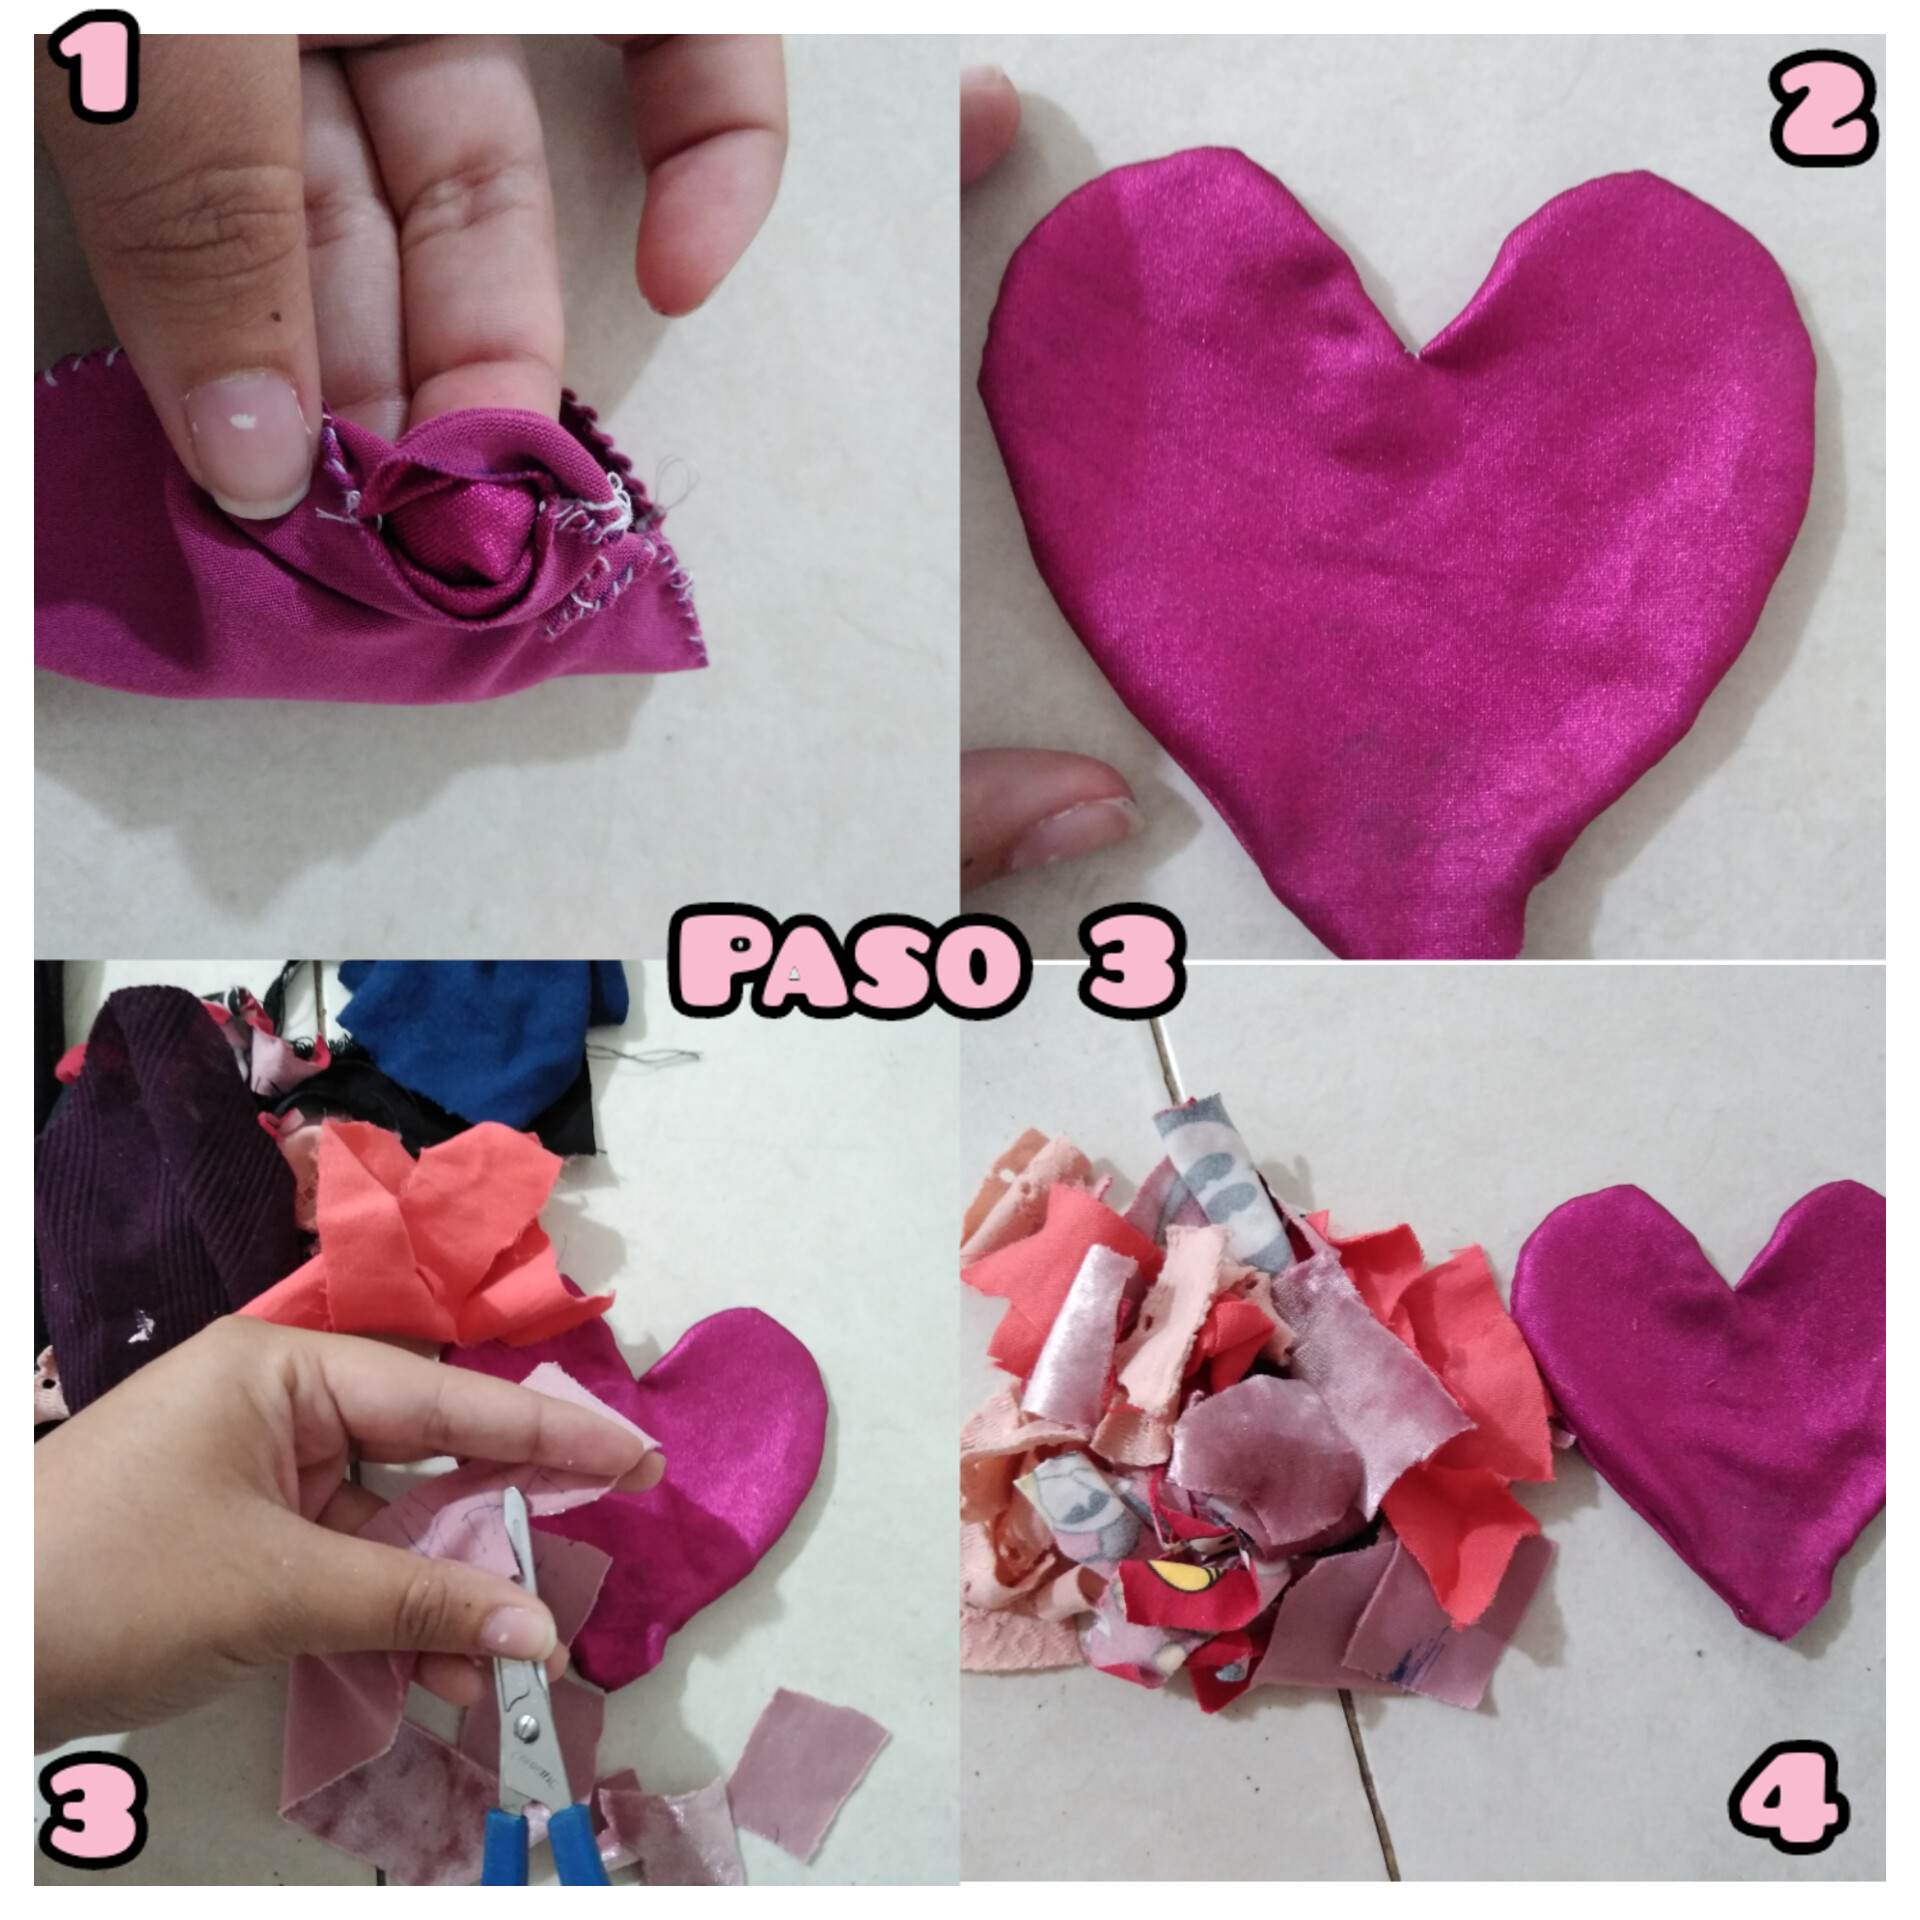
Paso 3: recordemos dejar un pequeño agujero el cual será necesario para voltear el corazón y para introducir el relleno. Lo que haremos será voltear el corazón y procederemos a recortar el relleno ya que hay pedazos de tela que son muy grandes pero como es un alfiletero pequeño entonces cortaremos los pedazos grandes de tela en trozos pequeños para poder rellenar nuestro alfiletero.
Step 3: Remember to leave a small hole which will be necessary to turn the heart over and to insert the stuffing. What we will do is flip the heart over and proceed to cut out the stuffing since there are pieces of fabric that are very large but since it is a small pincushion then we will cut the large pieces of fabric into small pieces to be able to stuff our pincushion.
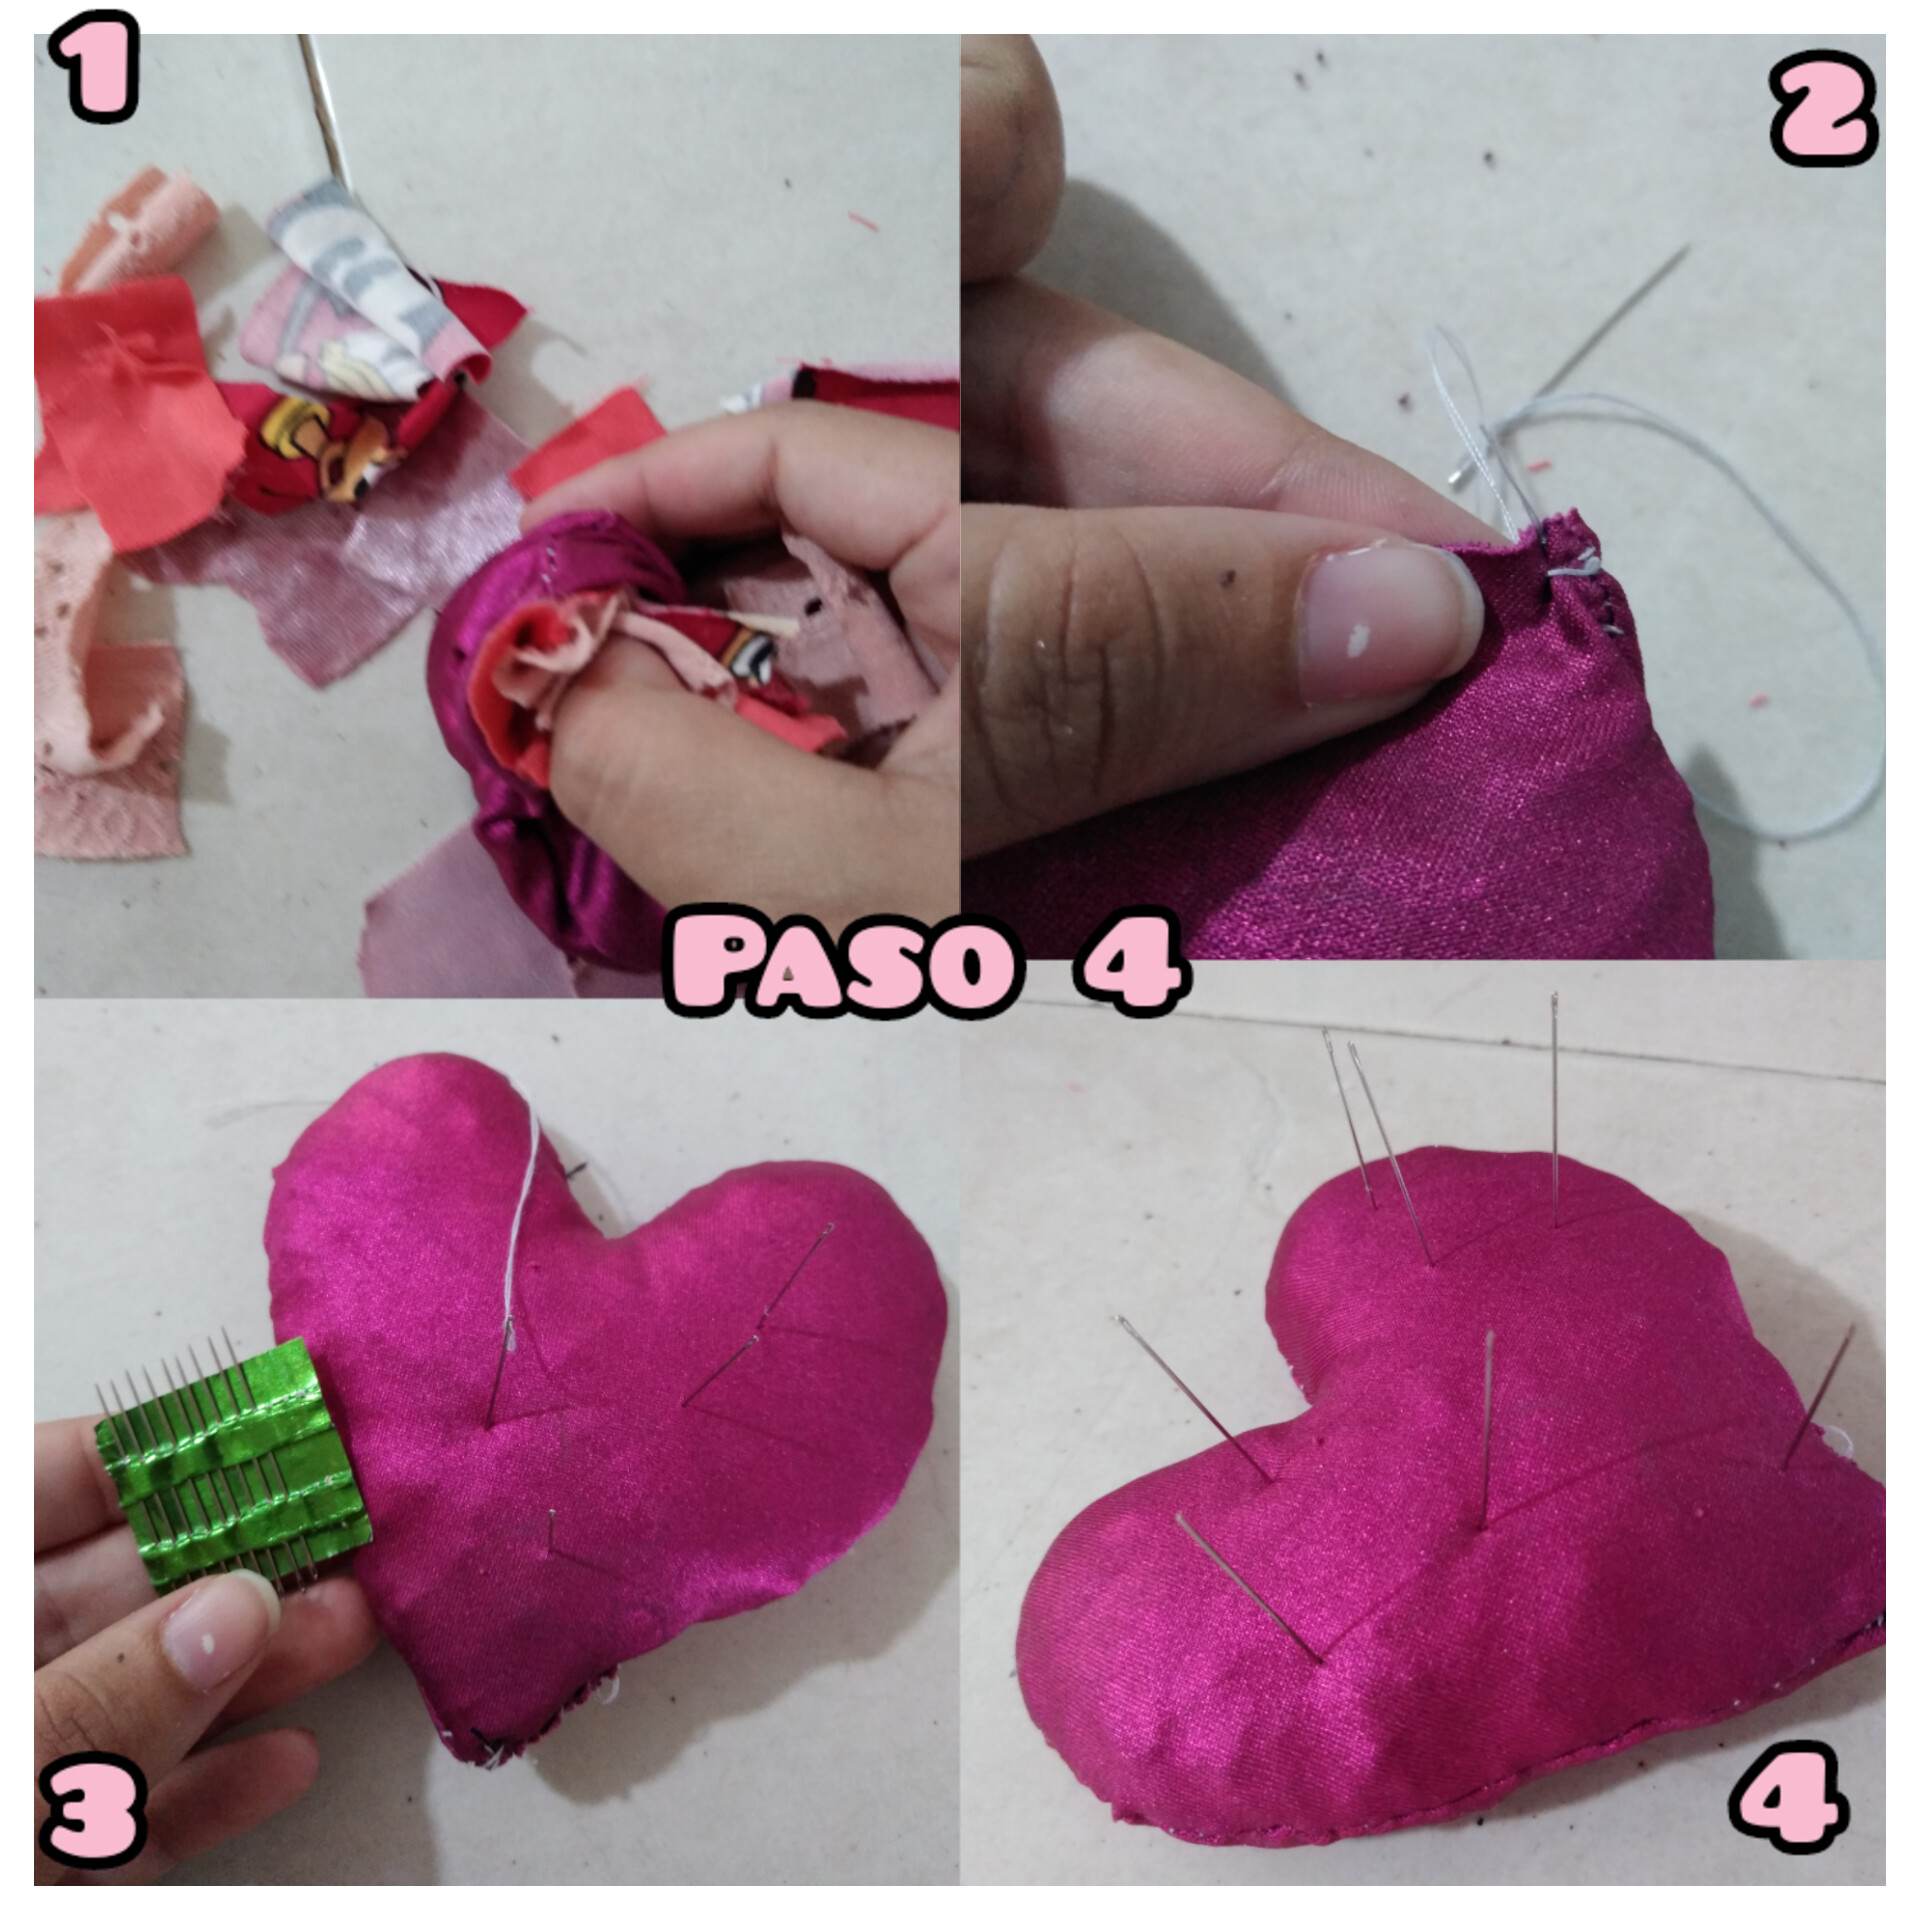
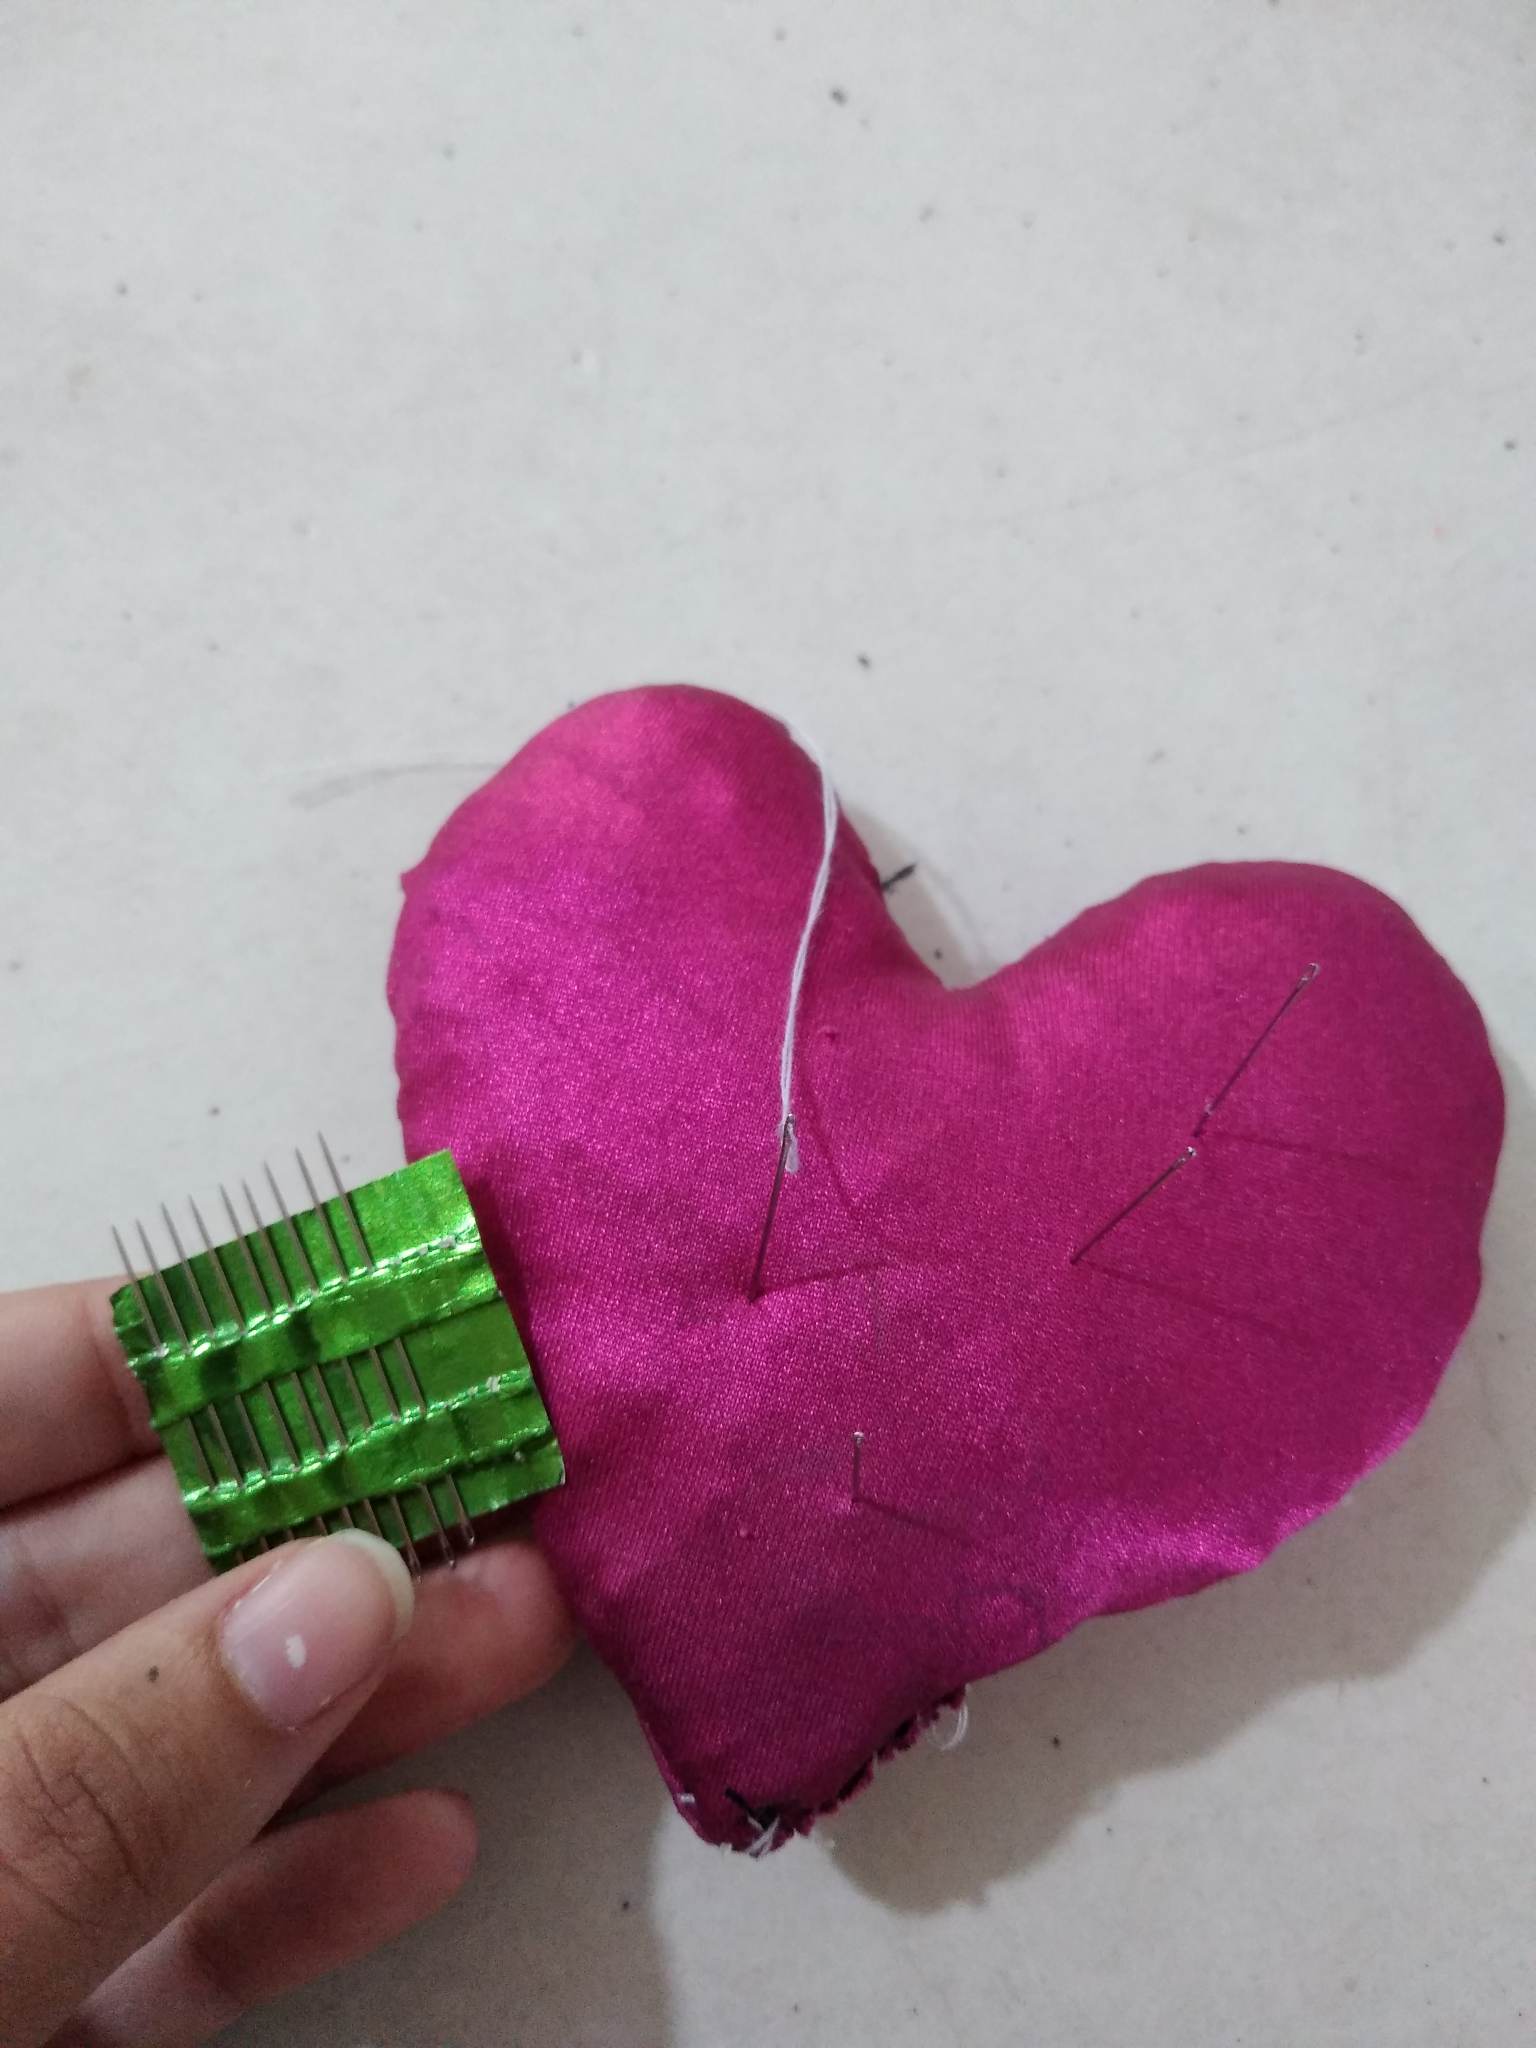
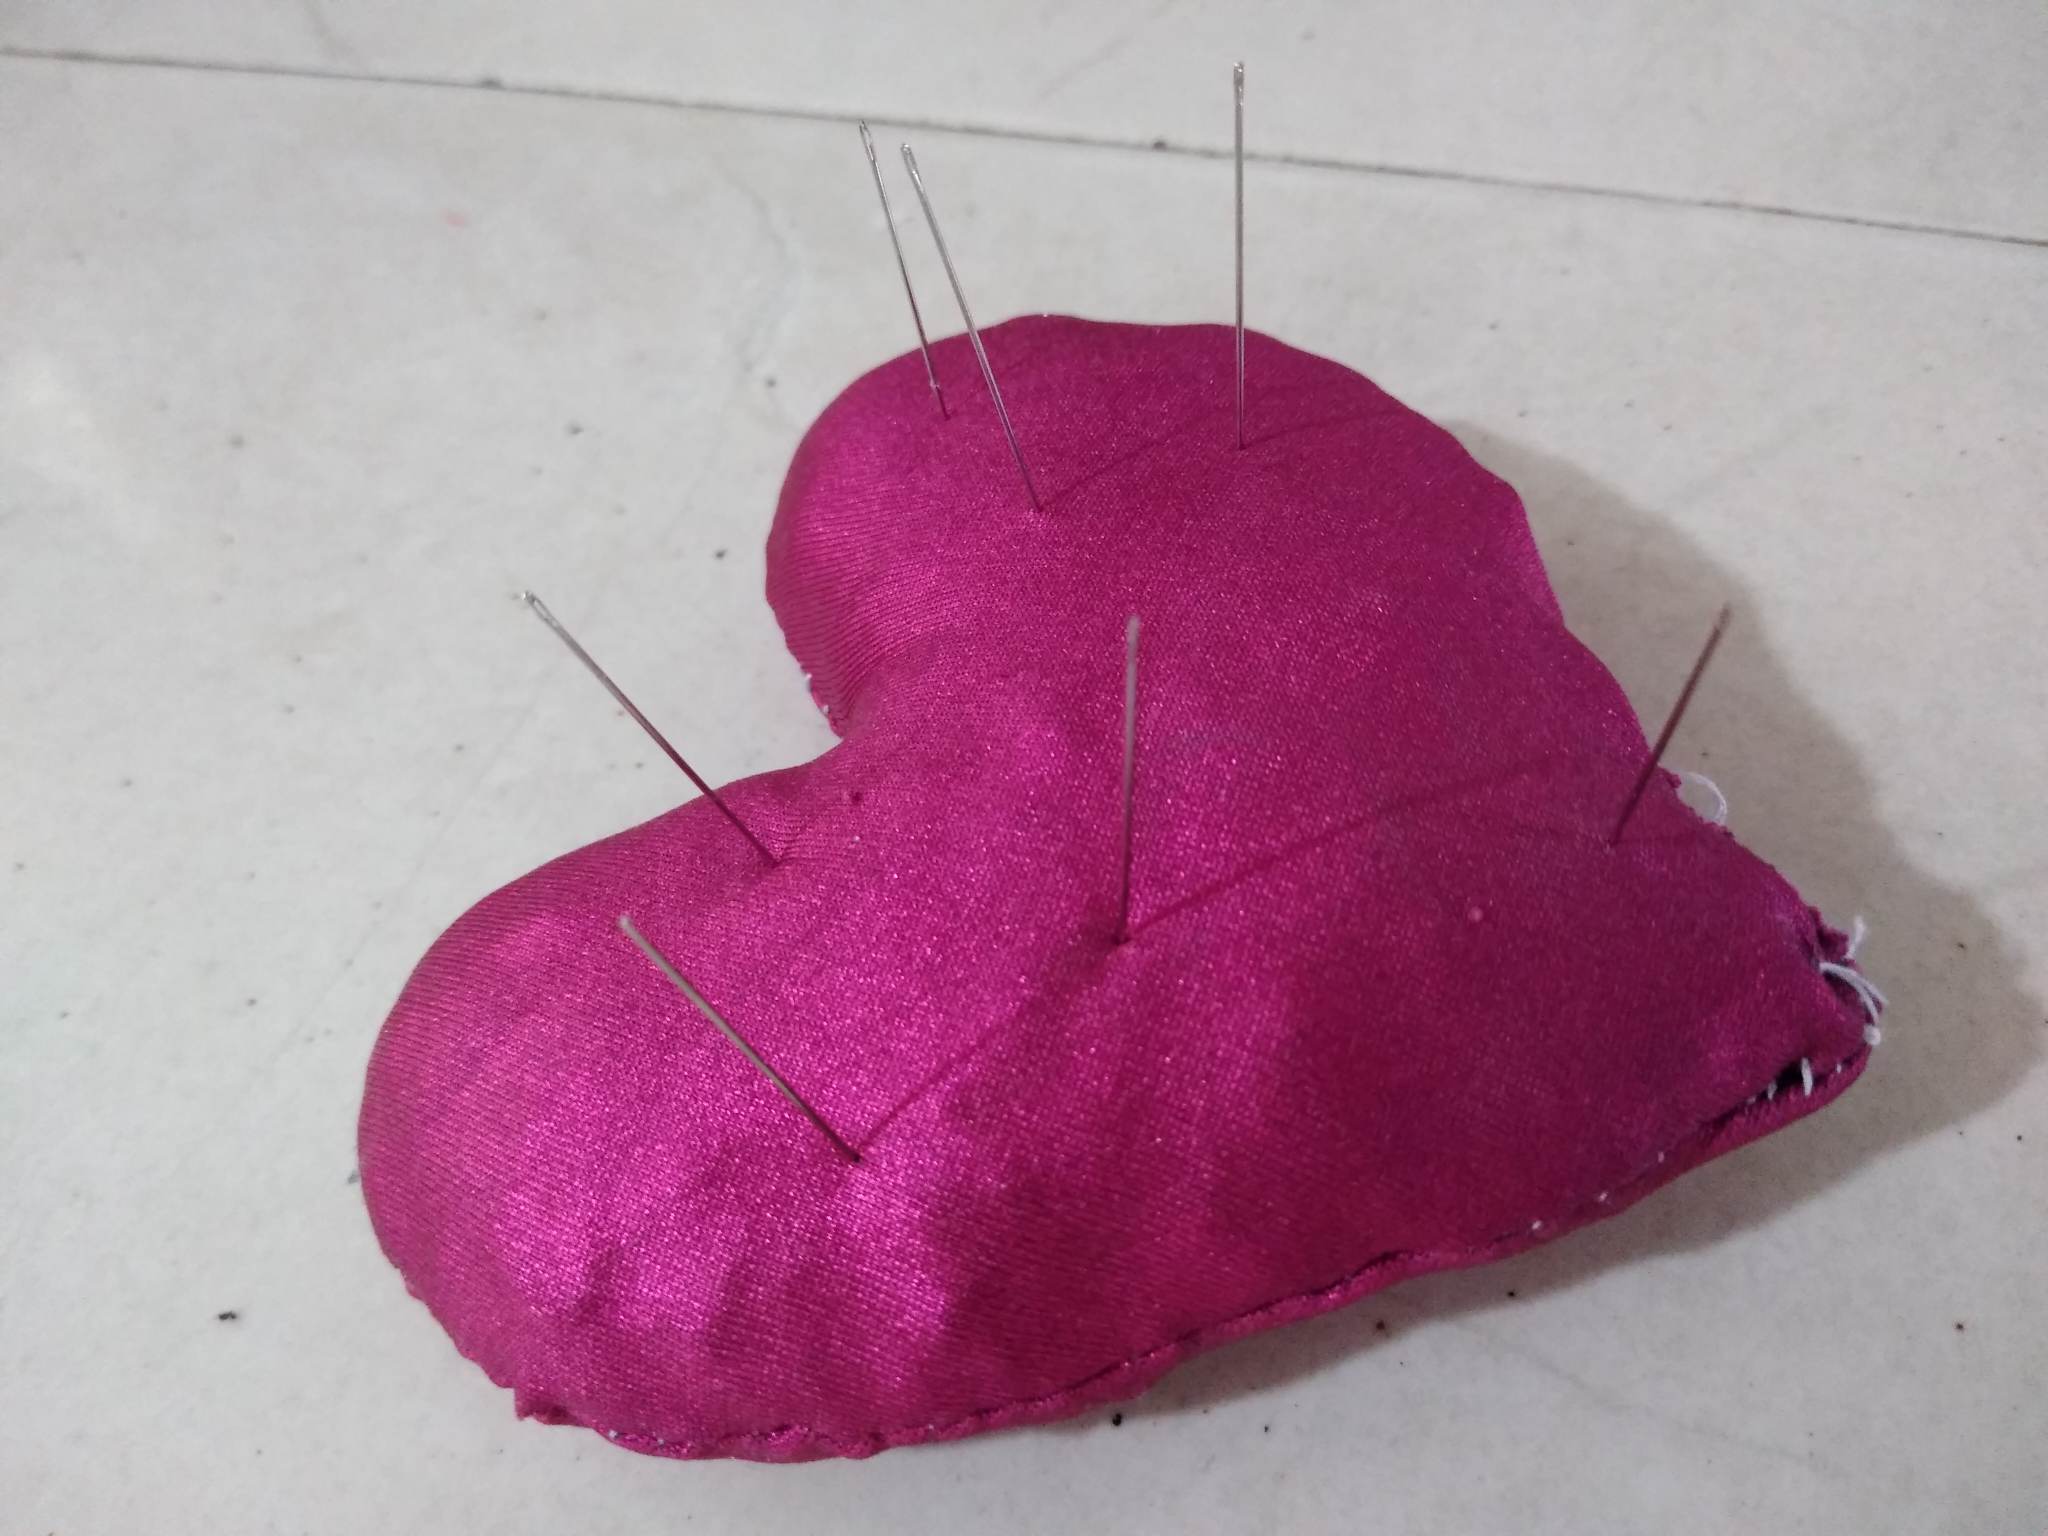
Paso 4: luego de haber cortado el relleno en trocitos procederemos a rellenar nuestro alfiletero, luego de rellenarlo por completo nos aseguramos de que cada espacio quede lleno. Procederemos a cocer el agujero que quedó sin coser, y luego procederemos a clavar todas nuestras agudas en nuestro alfiletero para desde ya comenzar a usarlo, espero que les haya gustado mucho y que ustedes también puedan hacer uno para su uso personal, gracias por leer mi blog.
Step 4: after cutting the stuffing into small pieces we will proceed to fill our pincushion, after filling it completely we make sure that each space is filled. We will proceed to bake the hole that was left unsewn, and then proceed to stick all our needles in our pincushion to start using it, I hope you liked it a lot and that you can also make one for your personal use, thanks for reading my blog.
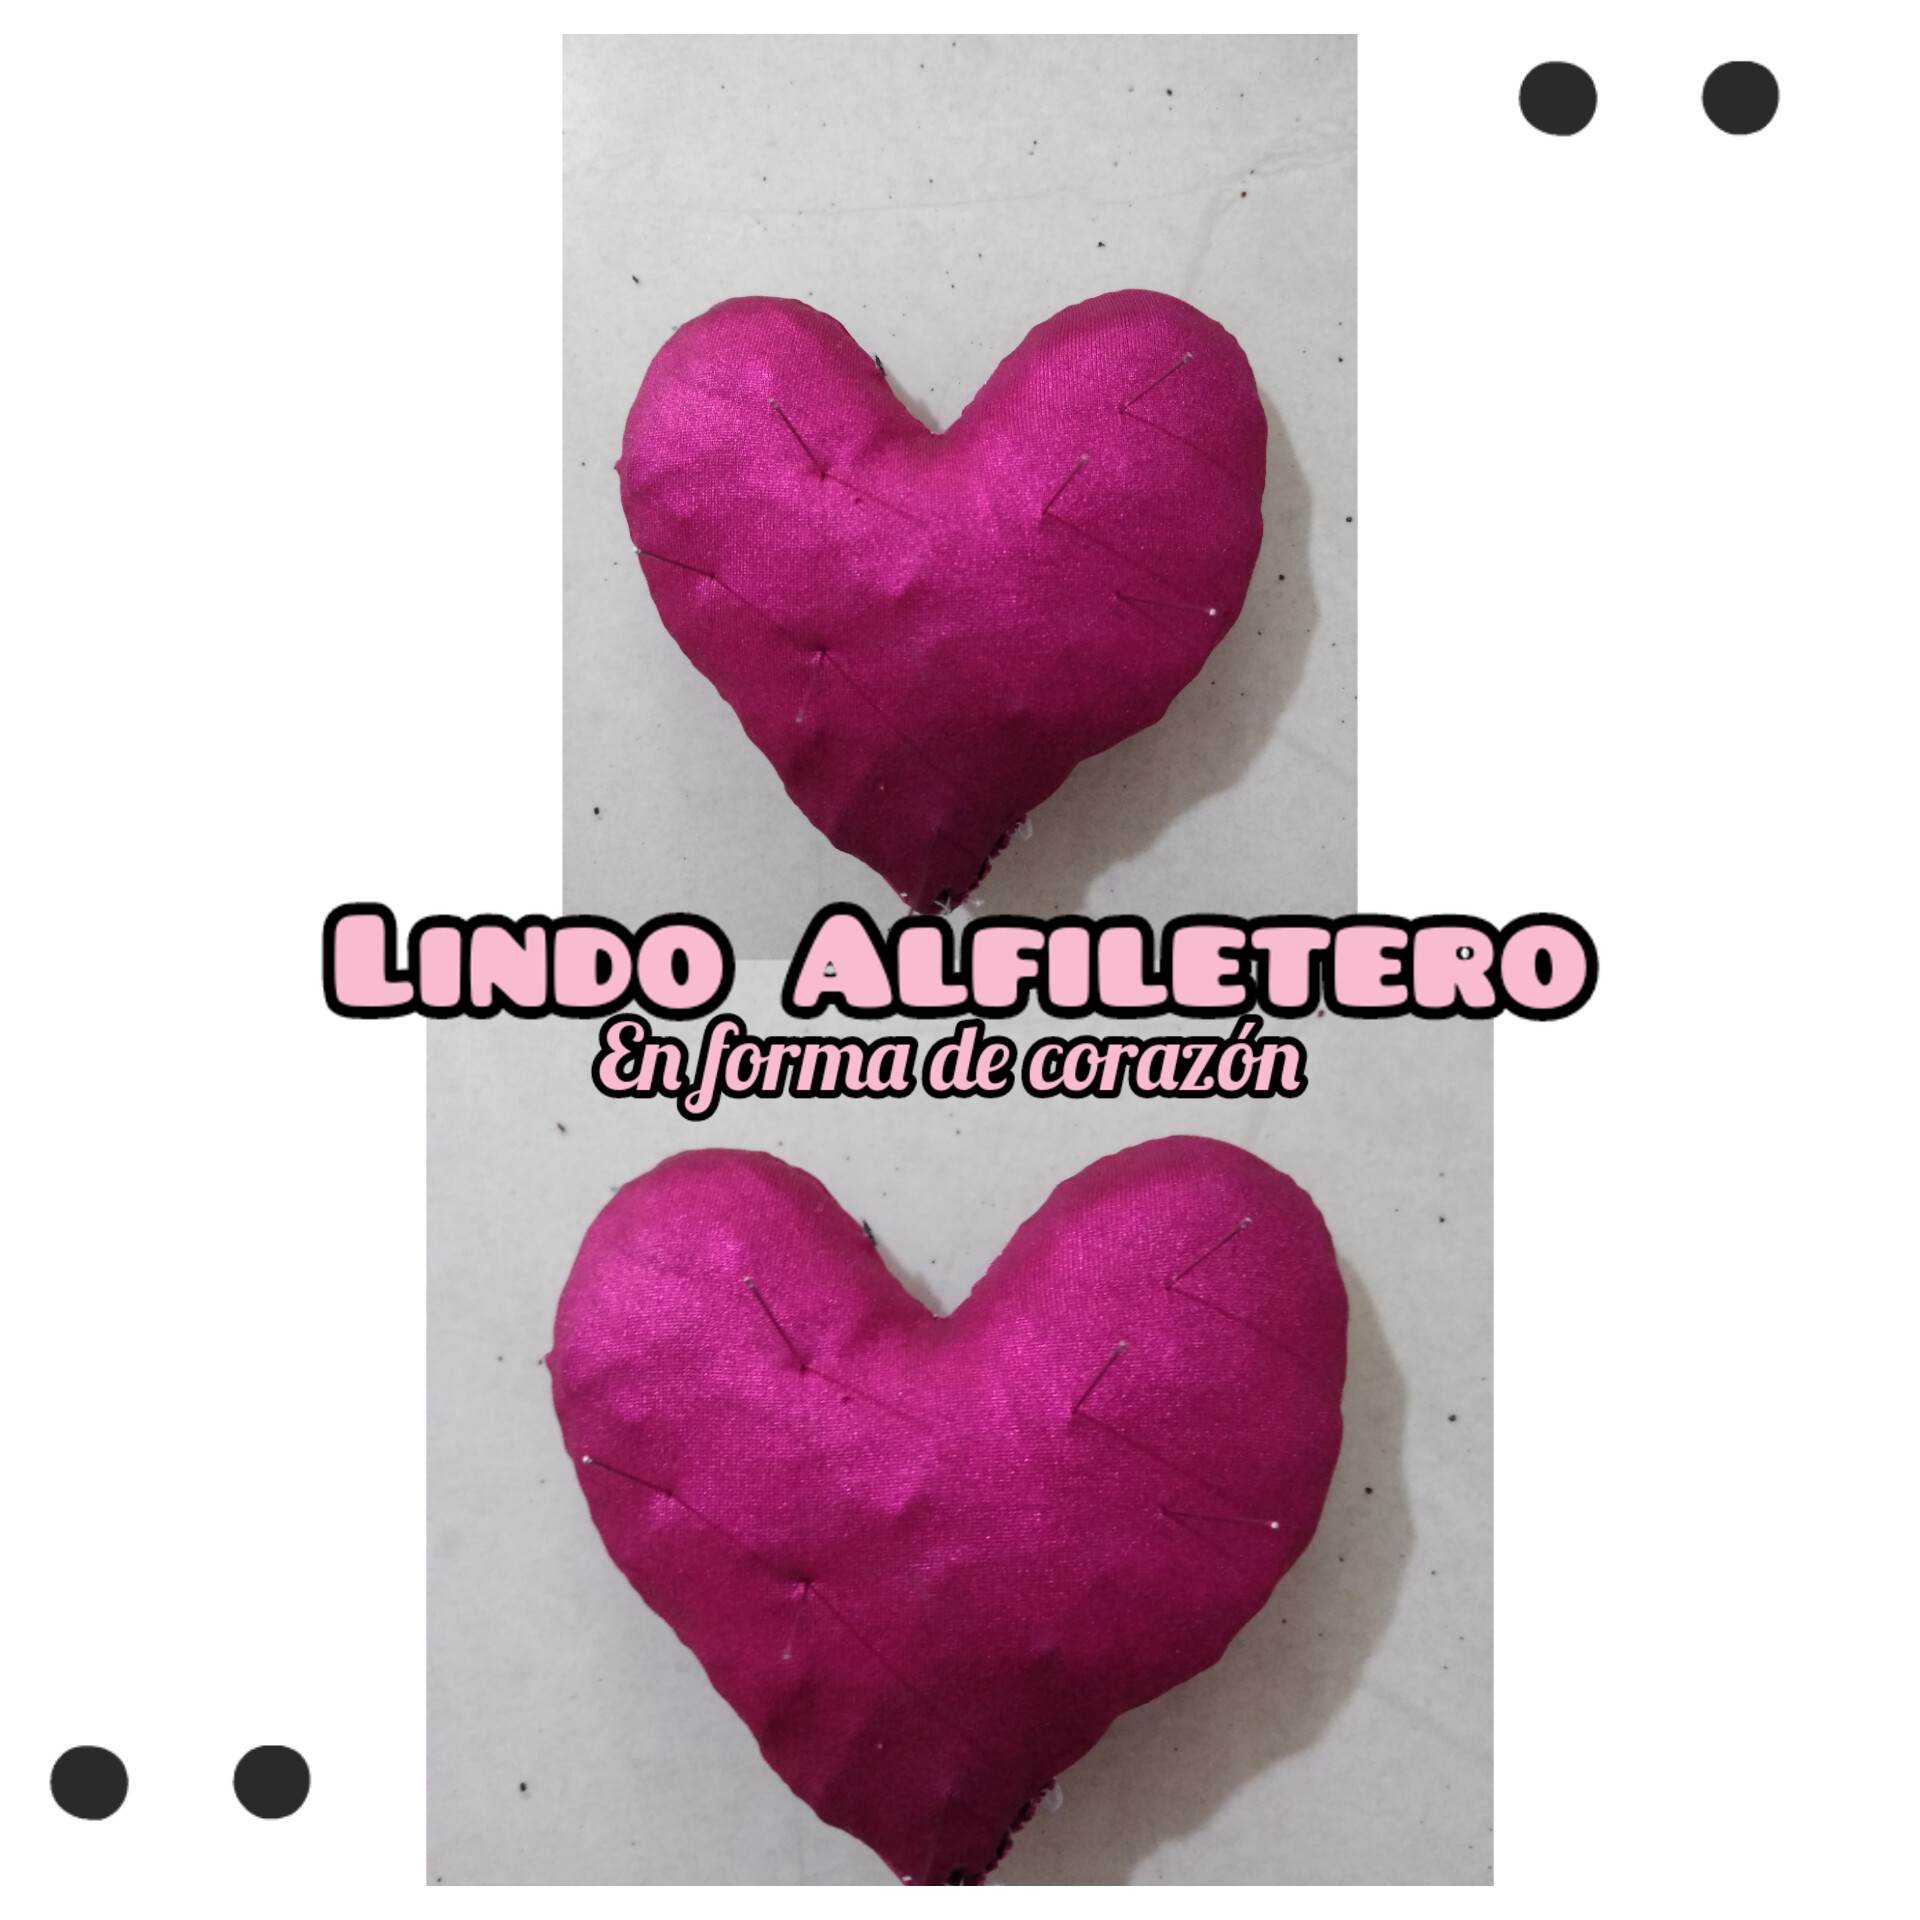
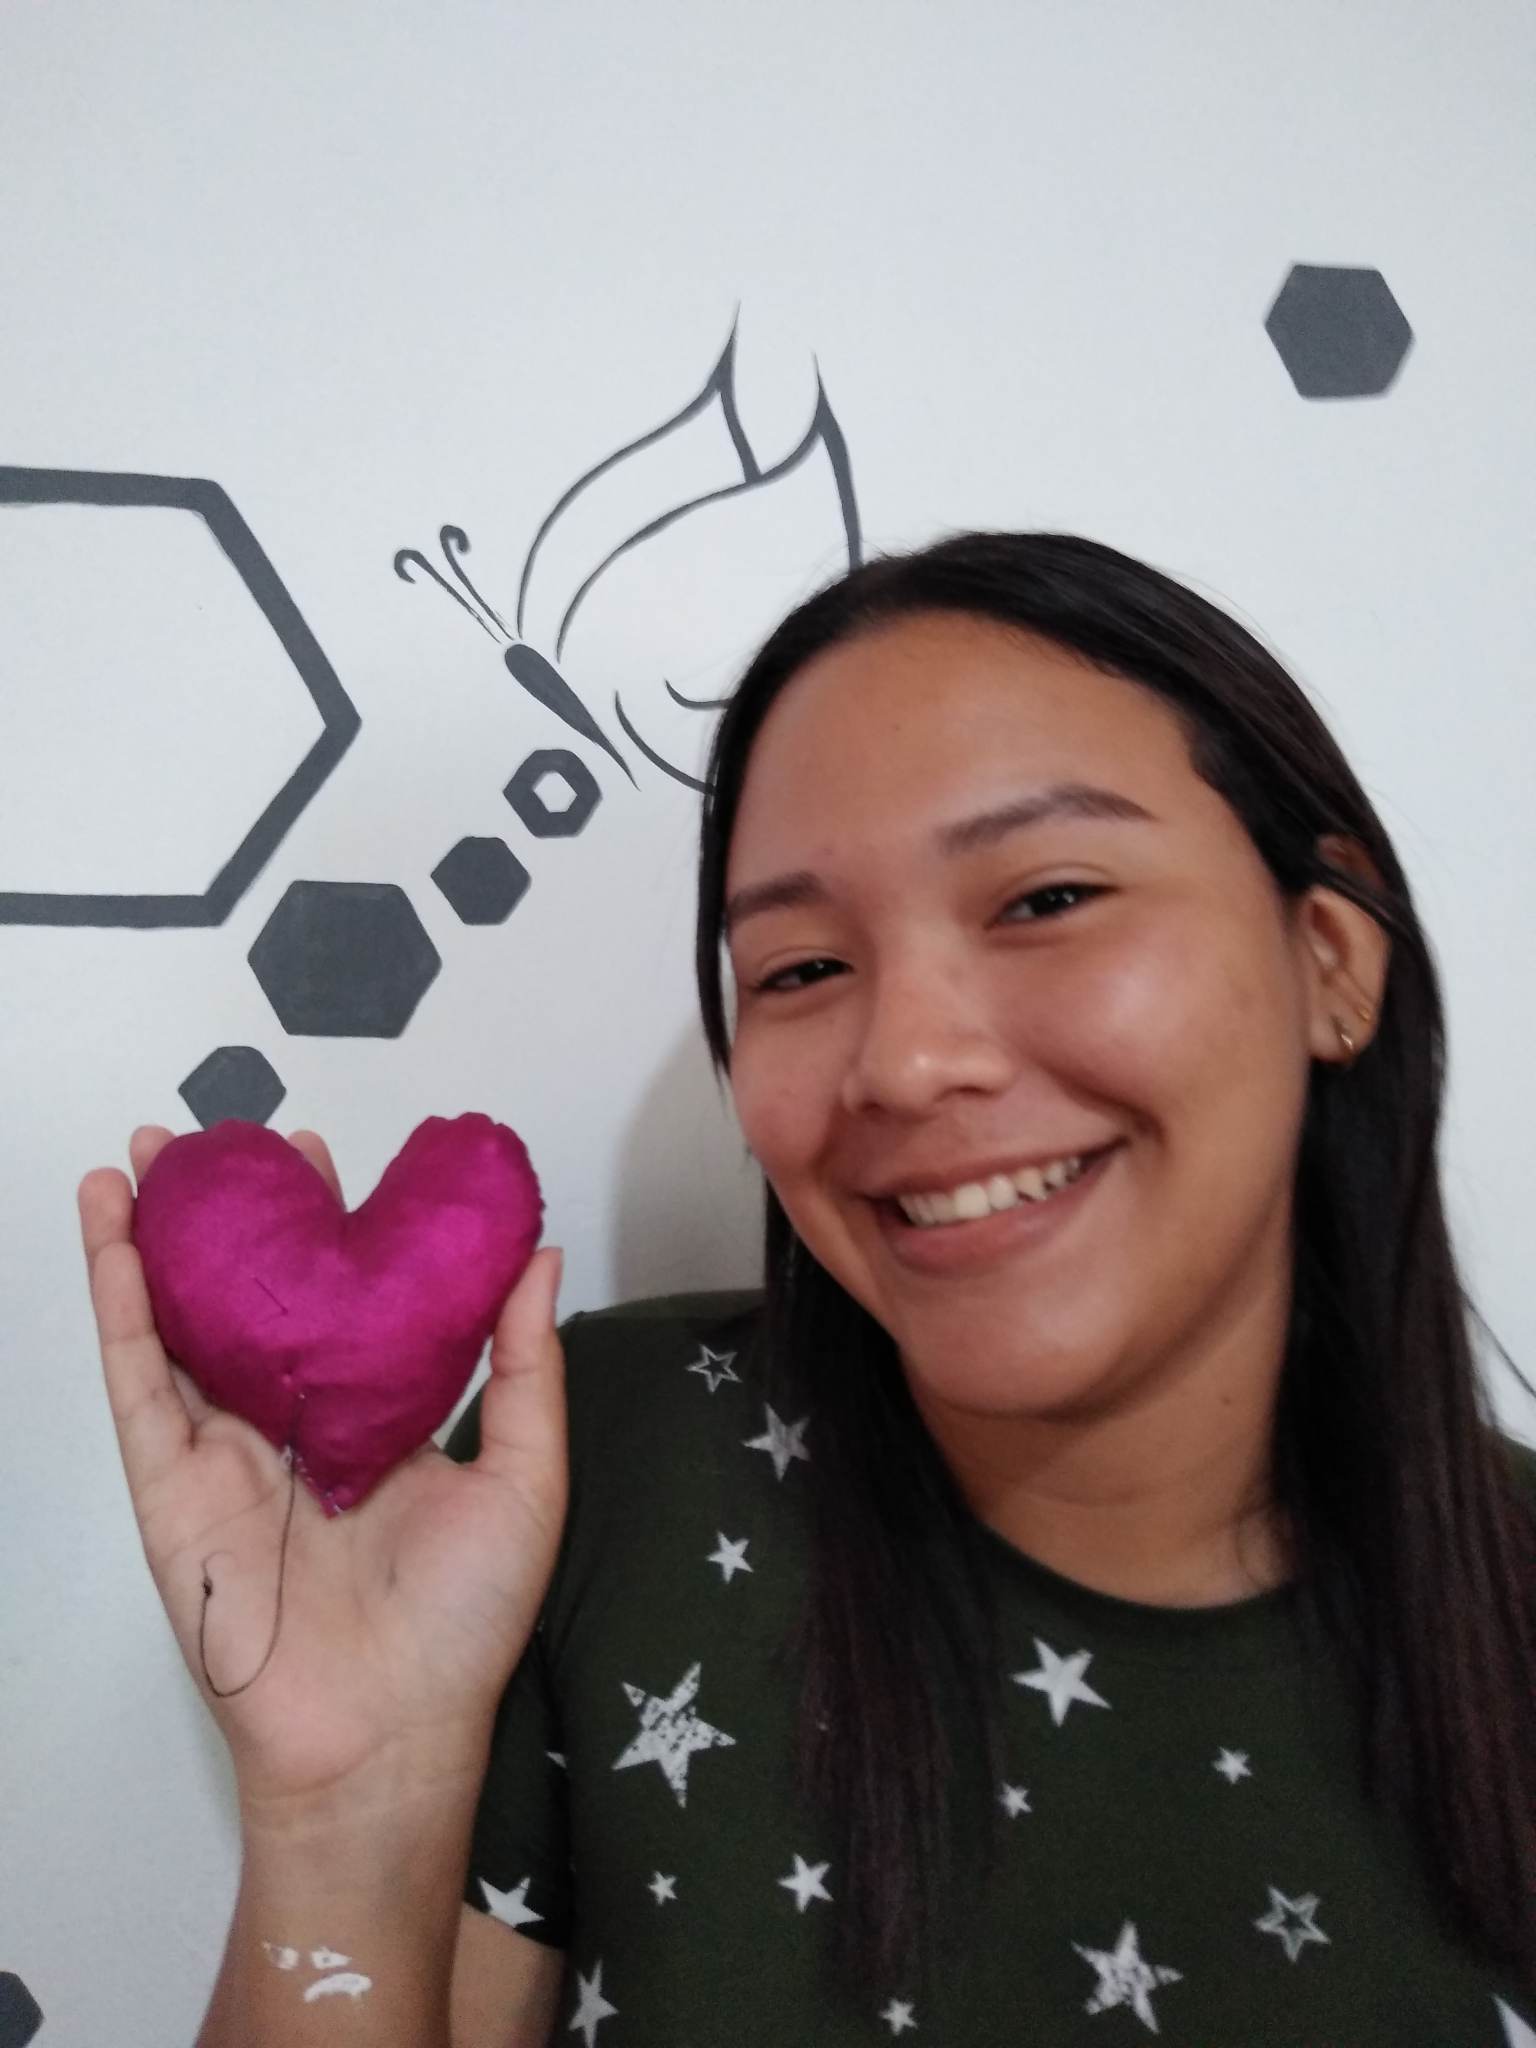
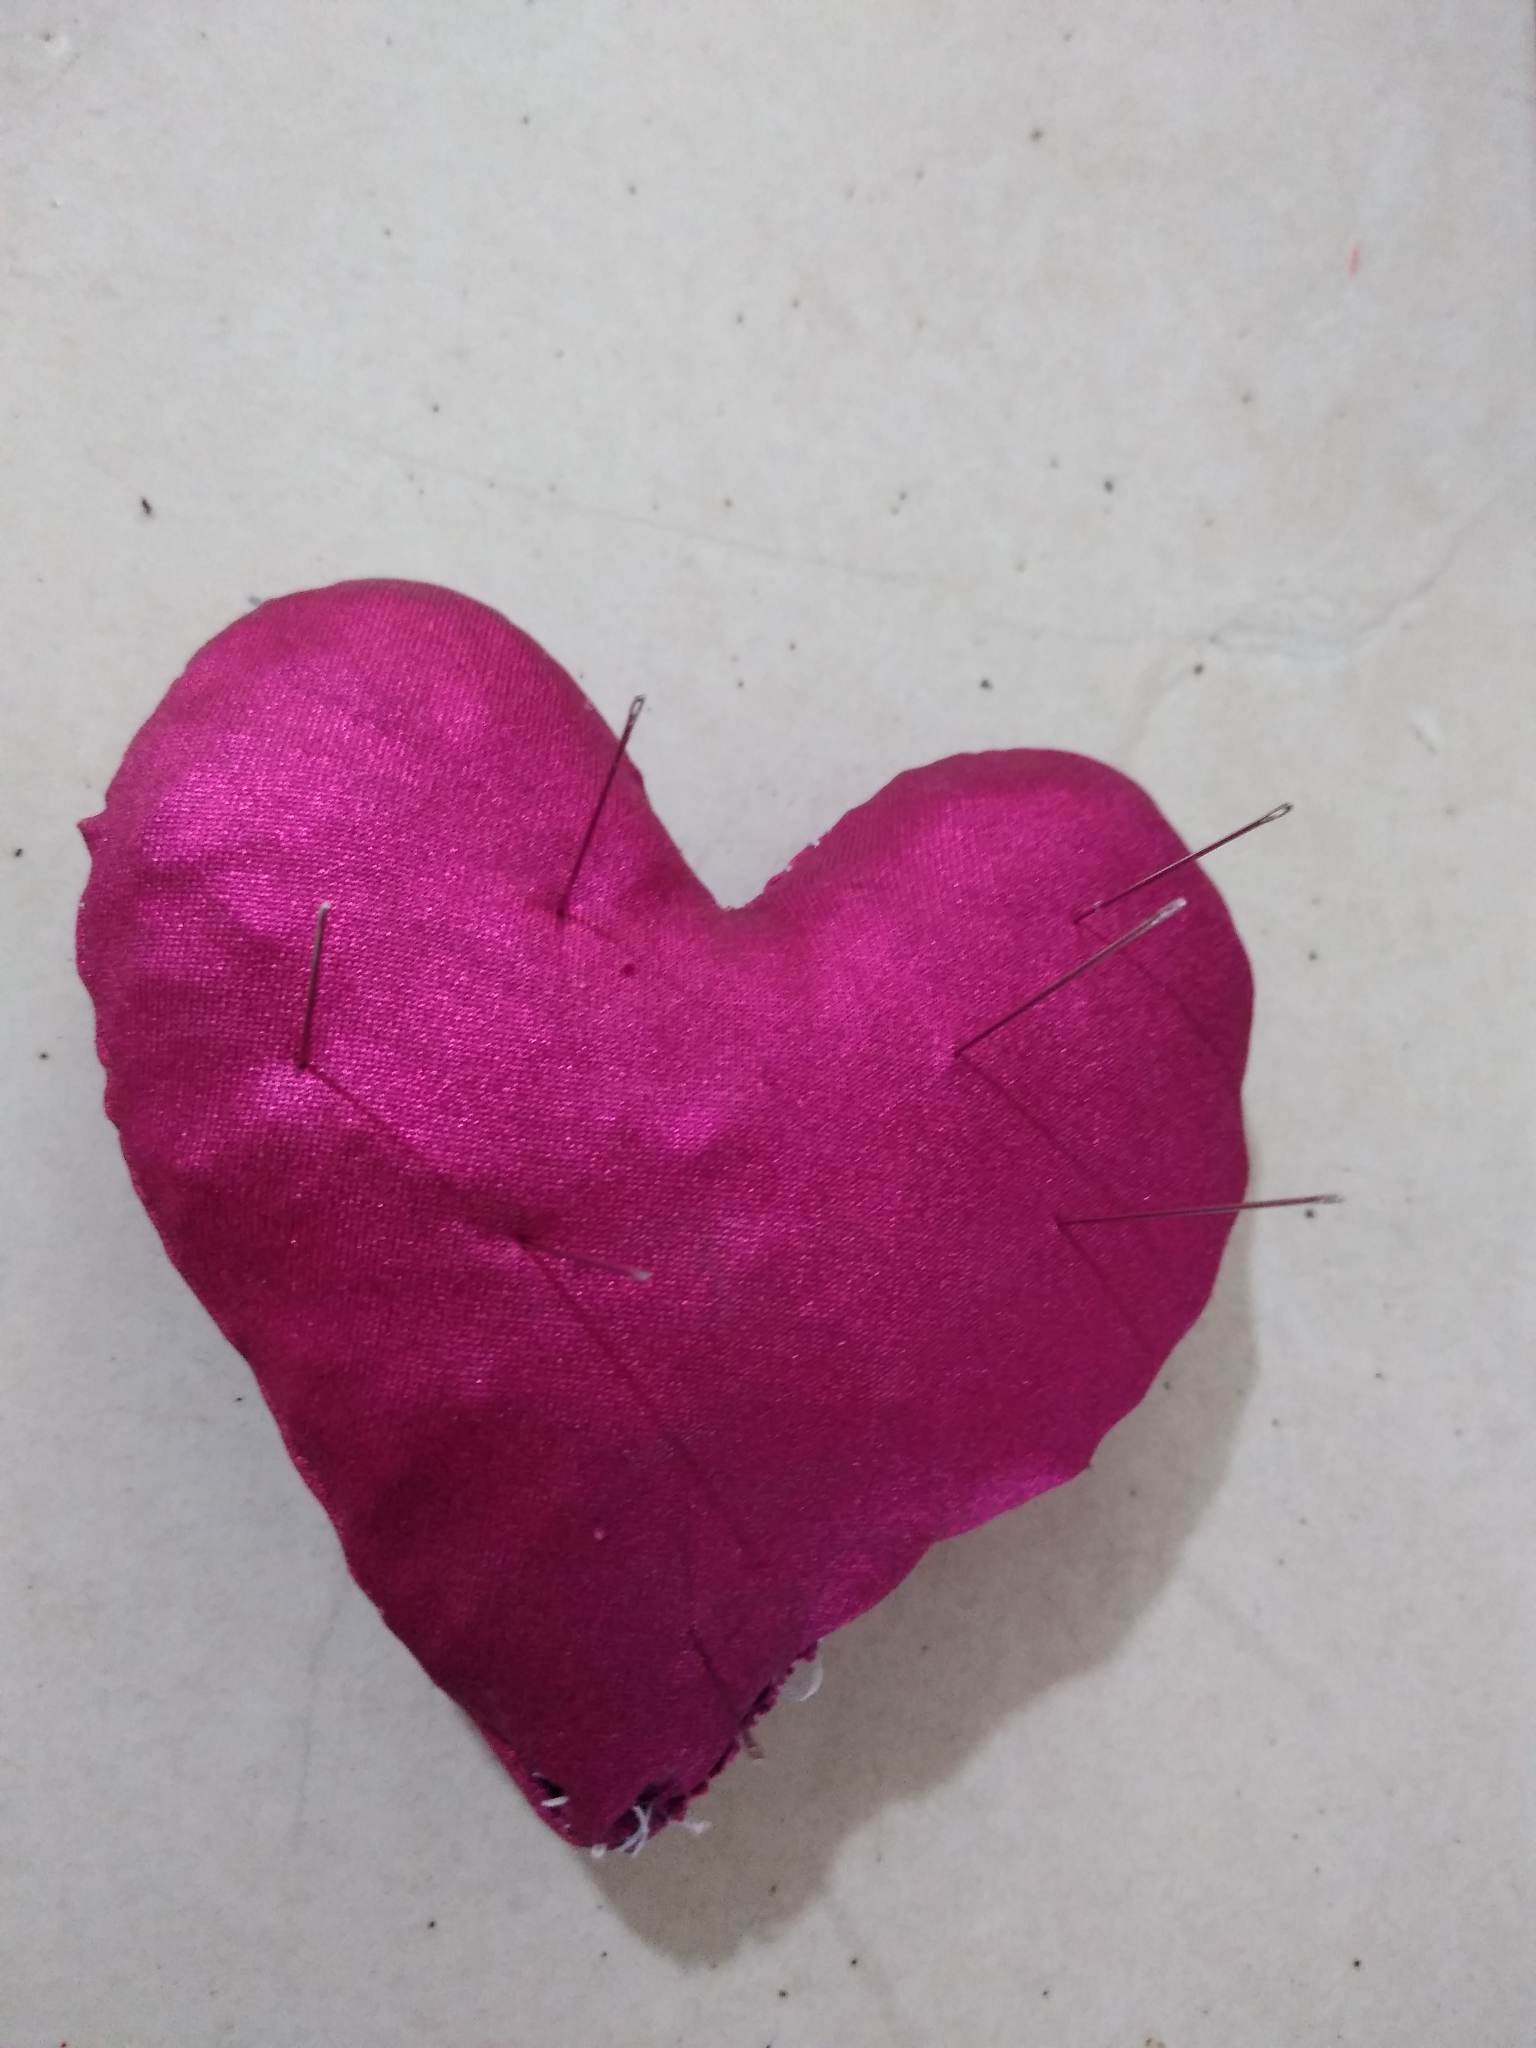
Final Result.

Hola @eribetzy, te quedó hermoso el alfiletero , me gustó el color de la tela., gracias por compartir.
Saludos!
Muchas gracias amiga, saludos.