[ESP-ENG ] Hermosa Cajita de Regalo - Handicrafts | Hermosa Cajita de Regalo - Manualidades

Hello friends and friends of hive, welcome once again to a new post, today I am very pleased to teach you how to make a beautiful and simple gift box, for use in any event we have, always someone is birthday and what we always lack is the box for the gift, then I will show you today a small tutorial on how to make a small box super cute and Cuchi, for our gifts, with nothing more to say, let's see the step by step:

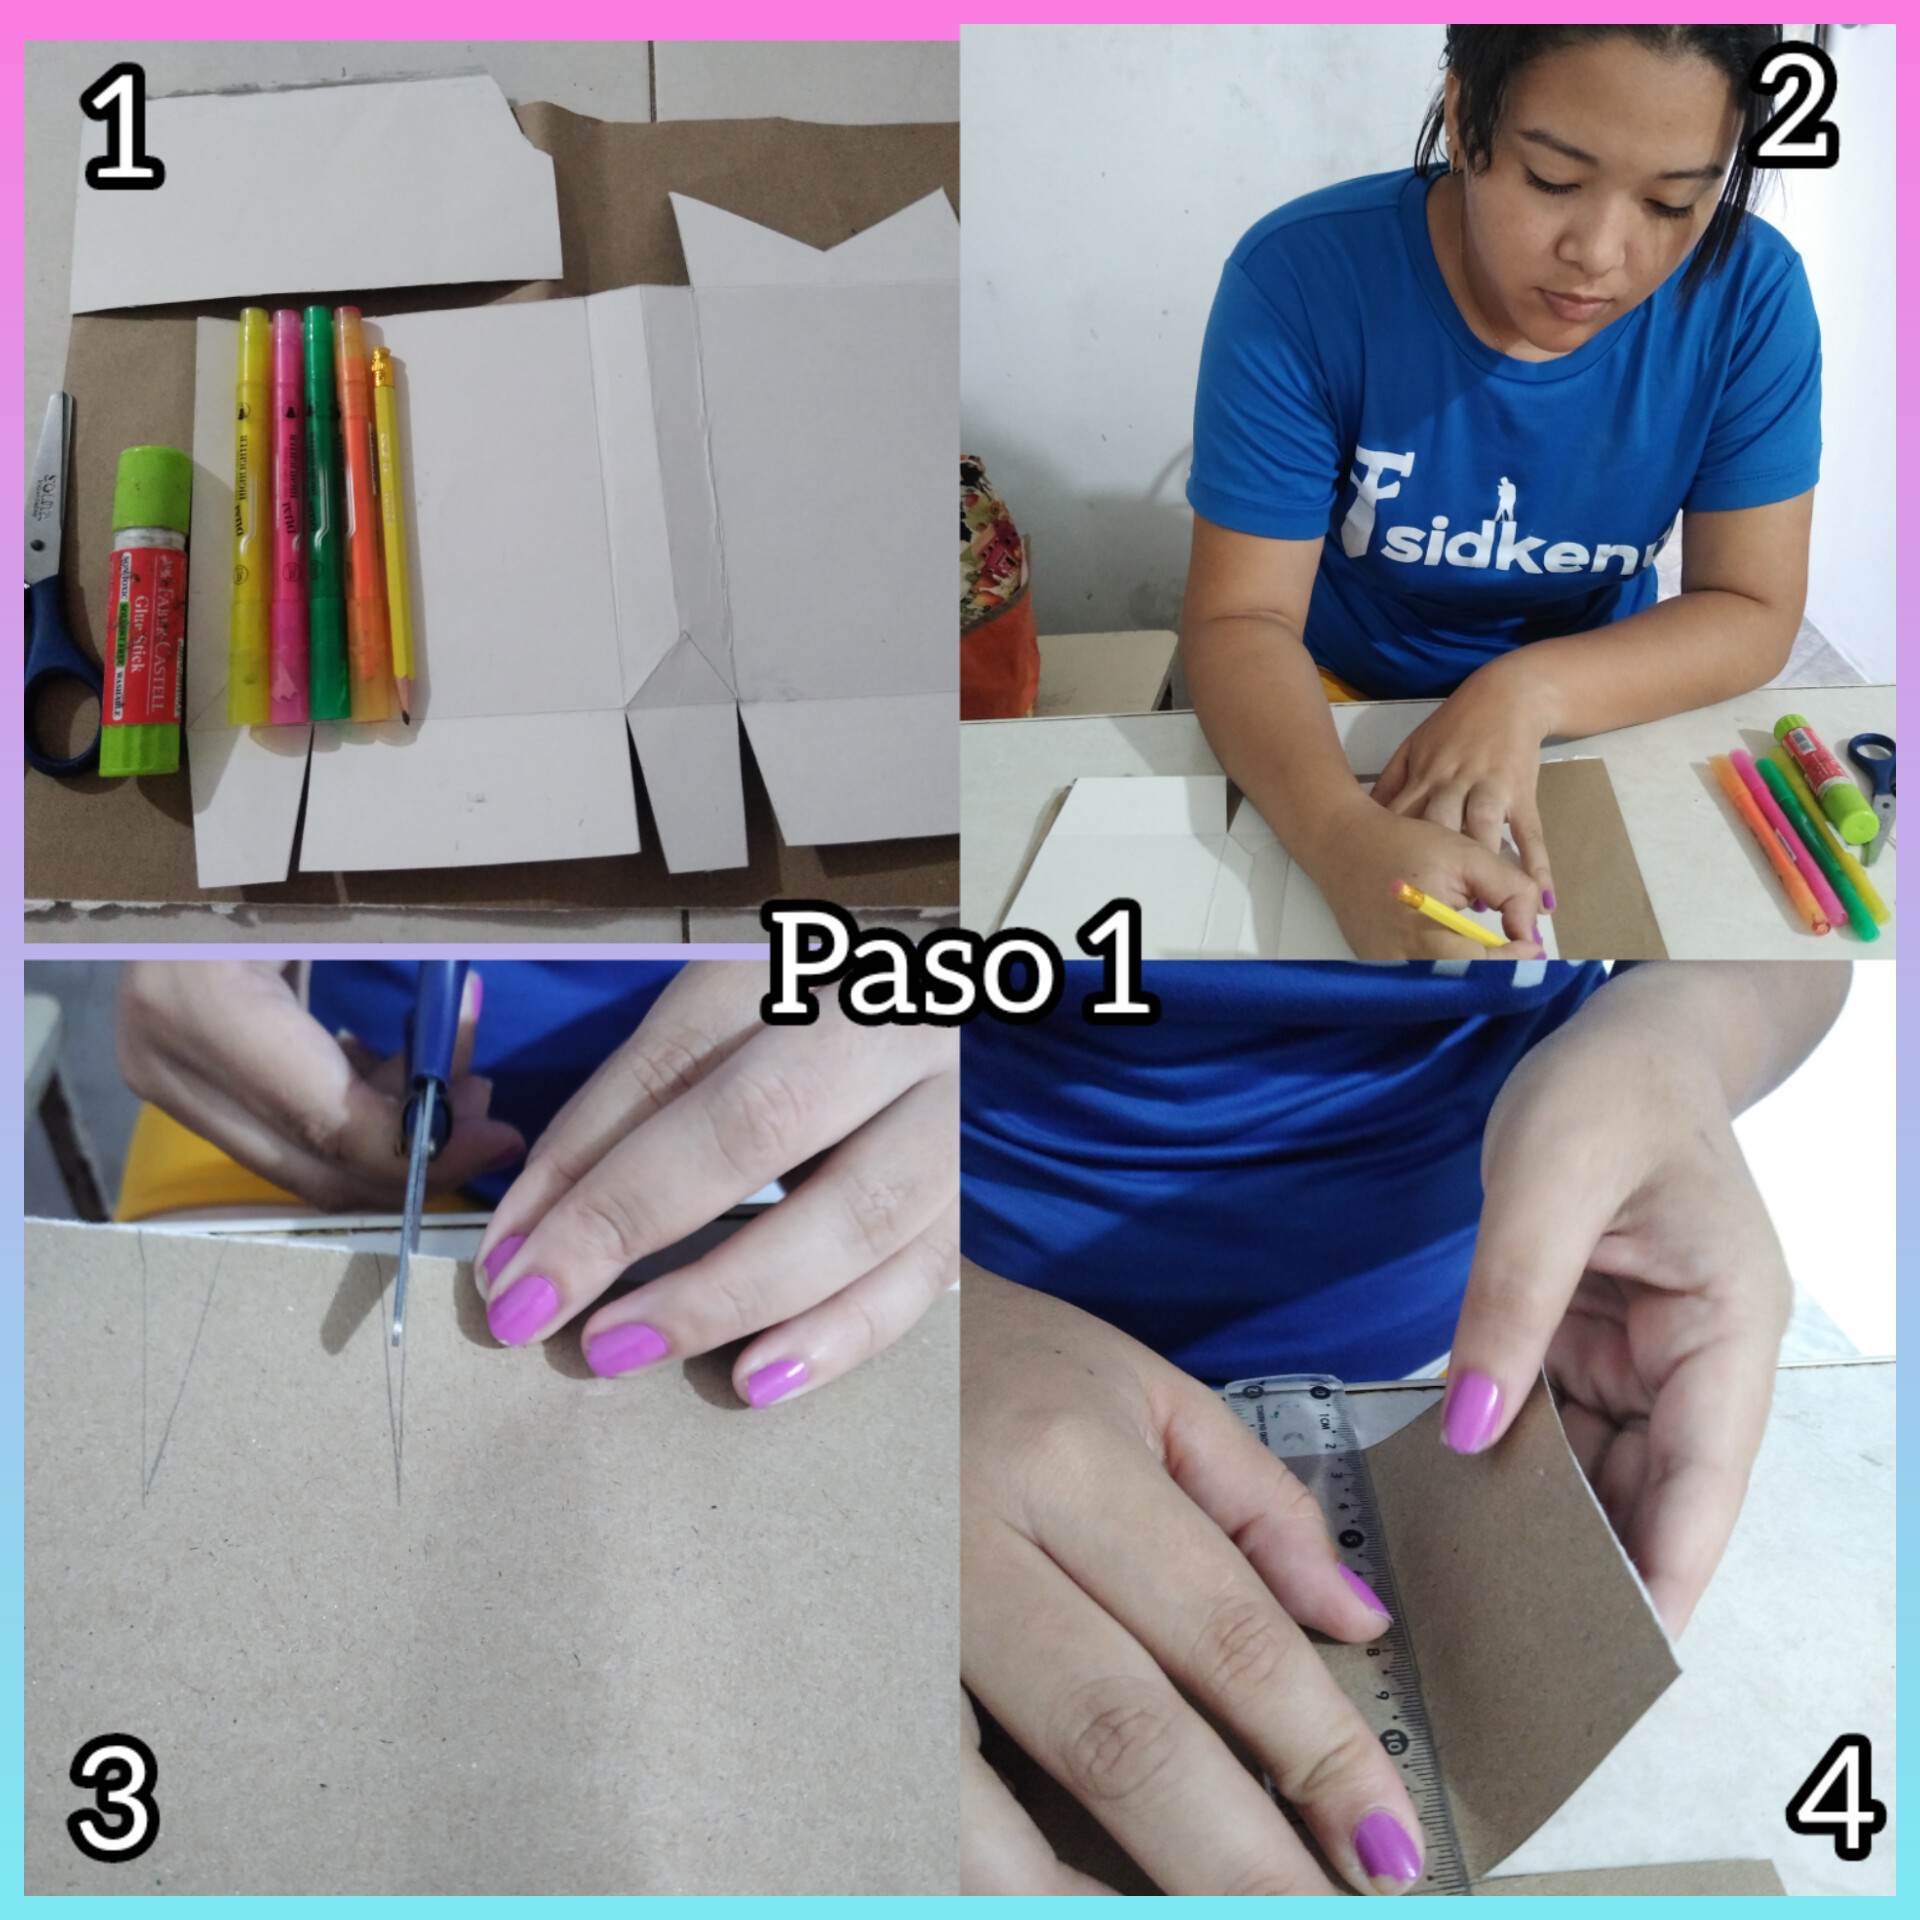
Paso 1:vamos a necesitar ciertos materiales para realizar la cajita de regalo, cartulina es lo primordial, pega en barra, marcadores, colores, tijera, y el patrón de nuestra cajita, recordando que debemos regirnos por los patrones para que la caja quede bien con las medidas exactas y pueda quedar perfecta. Entonces como tengo el patrón en la cartulina blanca procederé a marcarlo en la cartulina marrón, éste patrón tiene algunas líneas que debemos doblar en la cartulina porque son necesarias en la caja. Entonces lo que hare poco a poco será doblar cuidadosamente las líneas de la caja.
Step 1: We are going to need some materials to make the gift box, cardboard is essential, glue stick, markers, colors, scissors, and the pattern of our box, remembering that we must follow the patterns so that the box is well with the exact measurements and can be perfect. Then as I have the pattern on the white cardboard I will proceed to mark it on the brown cardboard, this pattern has some lines that we must fold on the cardboard because they are necessary in the box. So what I will do little by little will be to carefully fold the lines of the box.
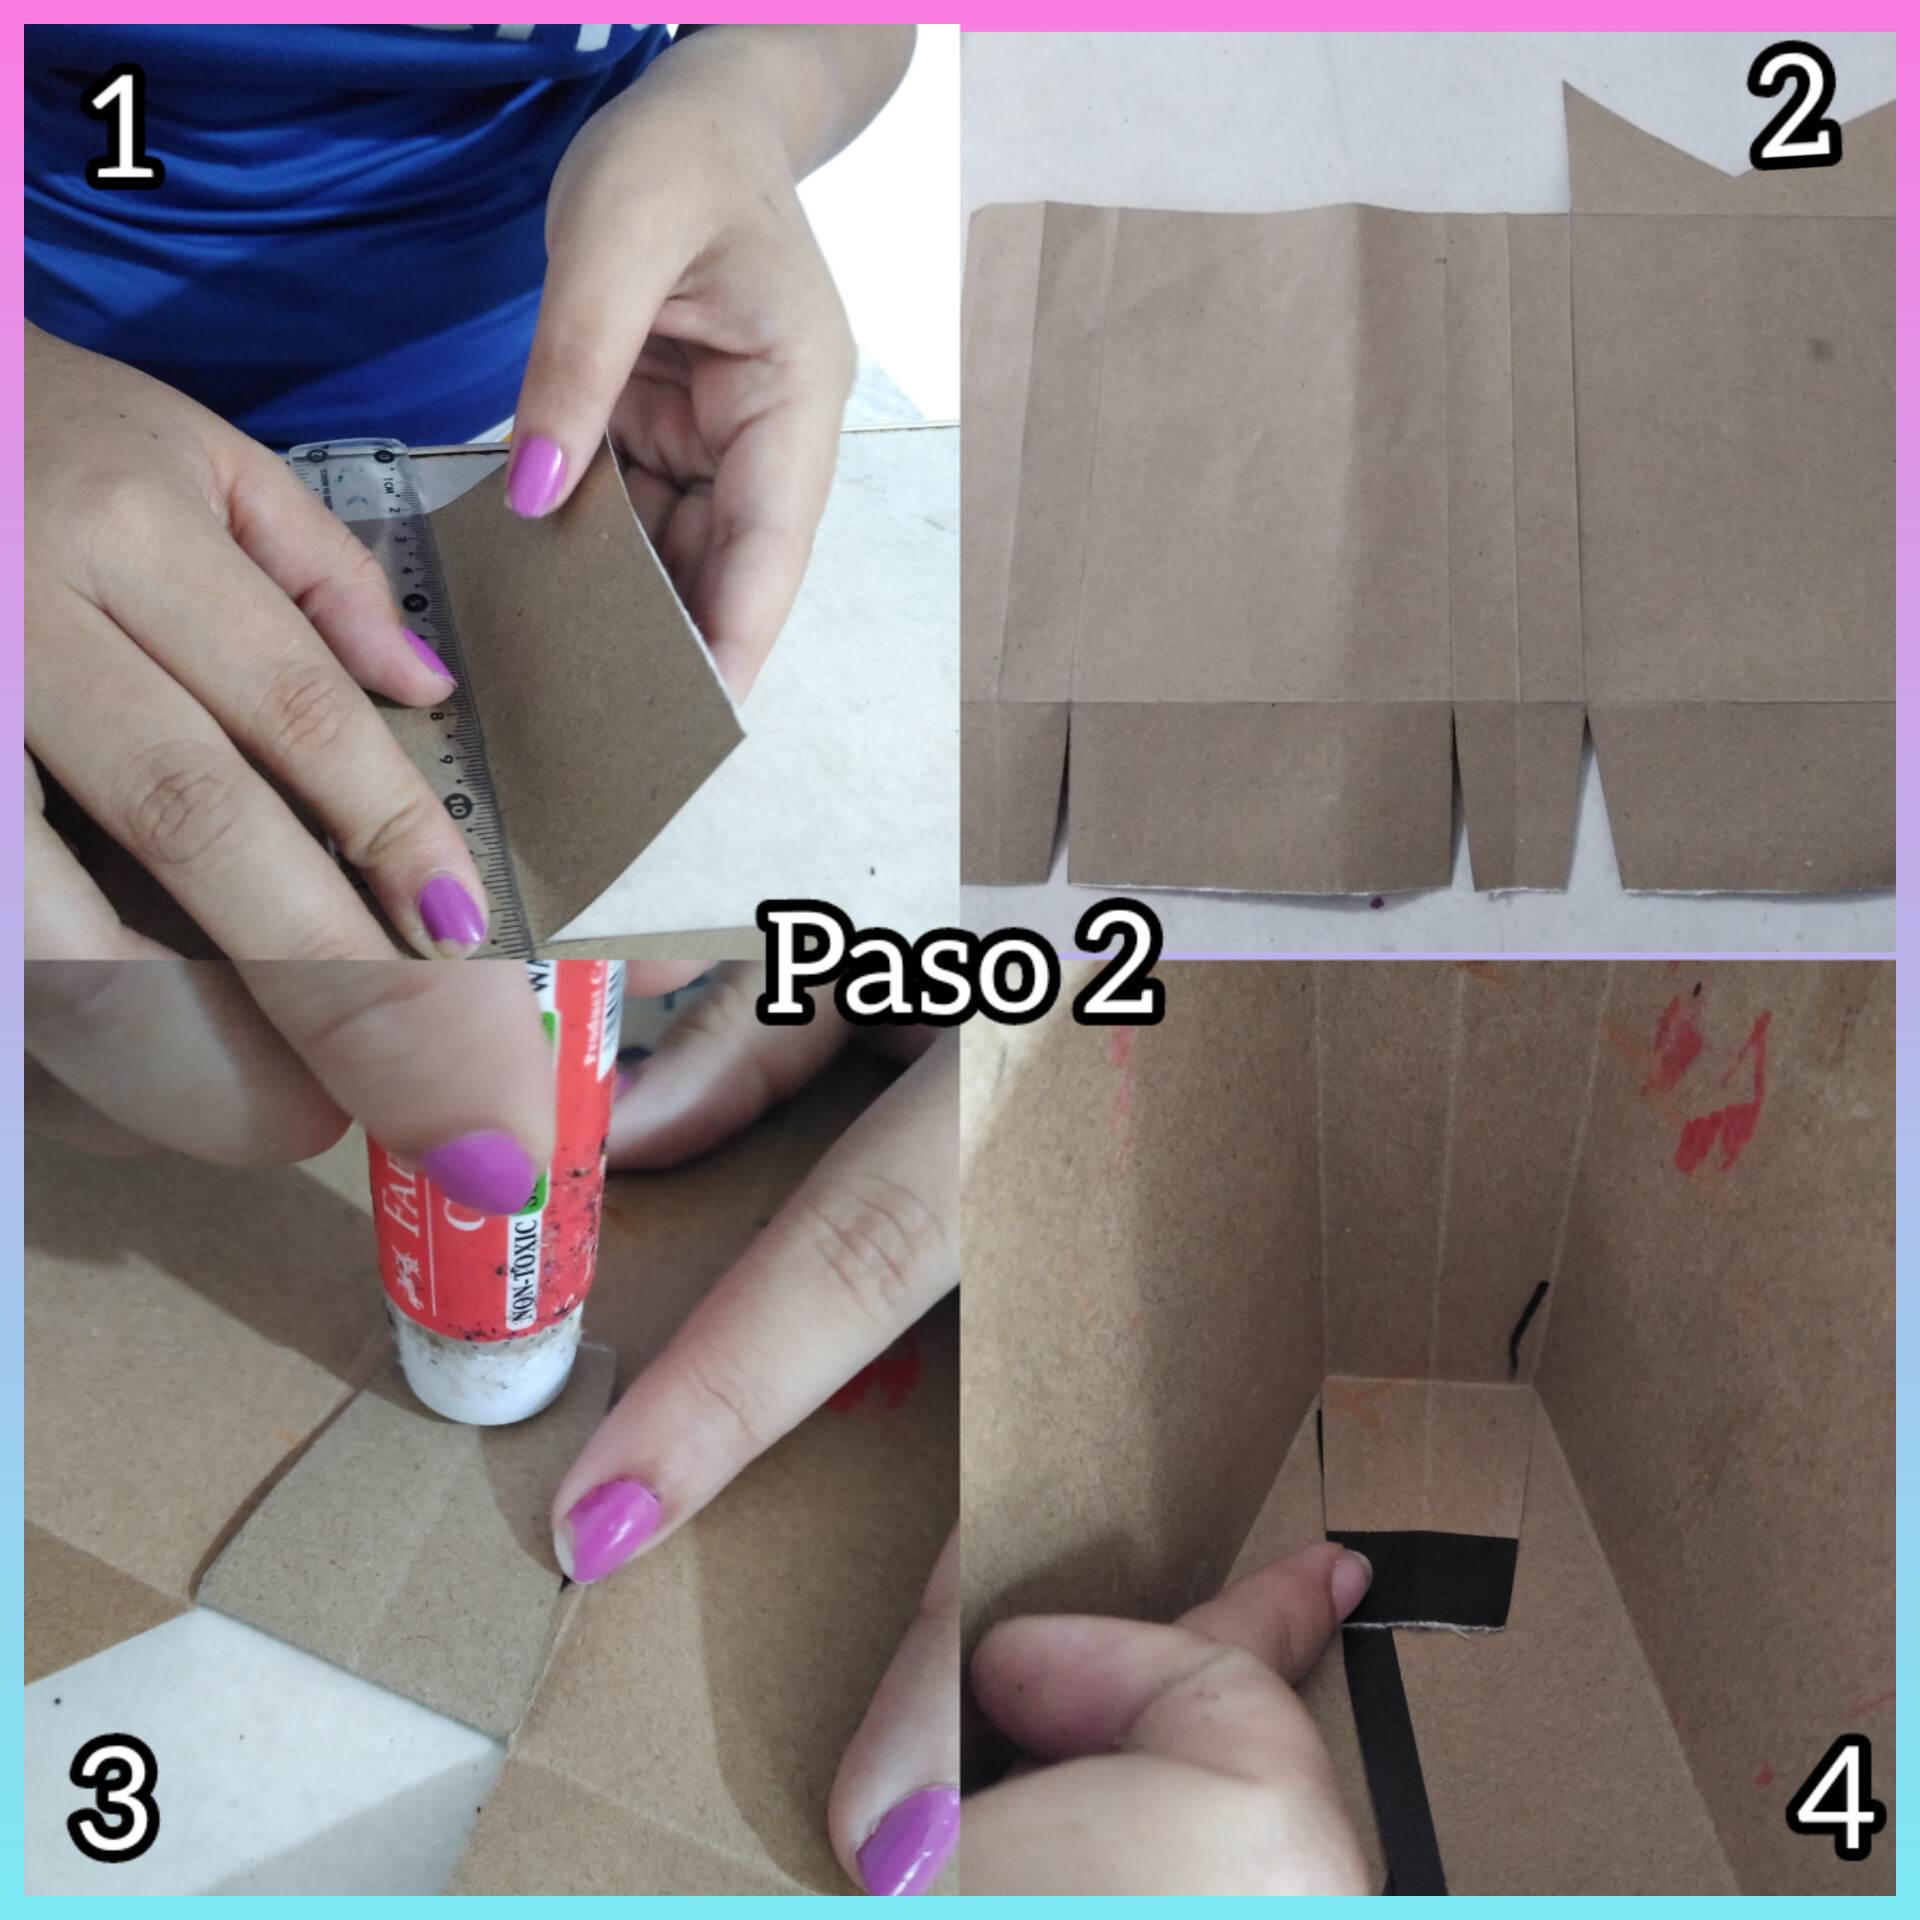
Paso 2: vamos doblando poco a poco y así irá quedando la cajita, cómo pueden observar, ya la cajita recortada tiene unas pestañas en la parte de abajo, las cuales serán las encargadas de que al juntarse, cerraran la cajita en la parte de abajo, entonces Procederemos a pegar una de las pestañas de los lados que irá sobre una de las grandes, y luego cerraremos con una grande debajo, cuando hagan la cajita se darán cuenta de que es fácil ya que hemos doblado todas las partes necesarias. Entonces pegamos cuidadosamente.
Step 2: we are folding little by little and so will be the box, as you can see, and the cut out box has some tabs at the bottom, which will be responsible for that together, close the box at the bottom, then proceed to paste one of the tabs on the sides that will go on one of the large, and then close with a large below, when you make the box you will notice that it is easy because we have folded all the necessary parts. Then we glue carefully.
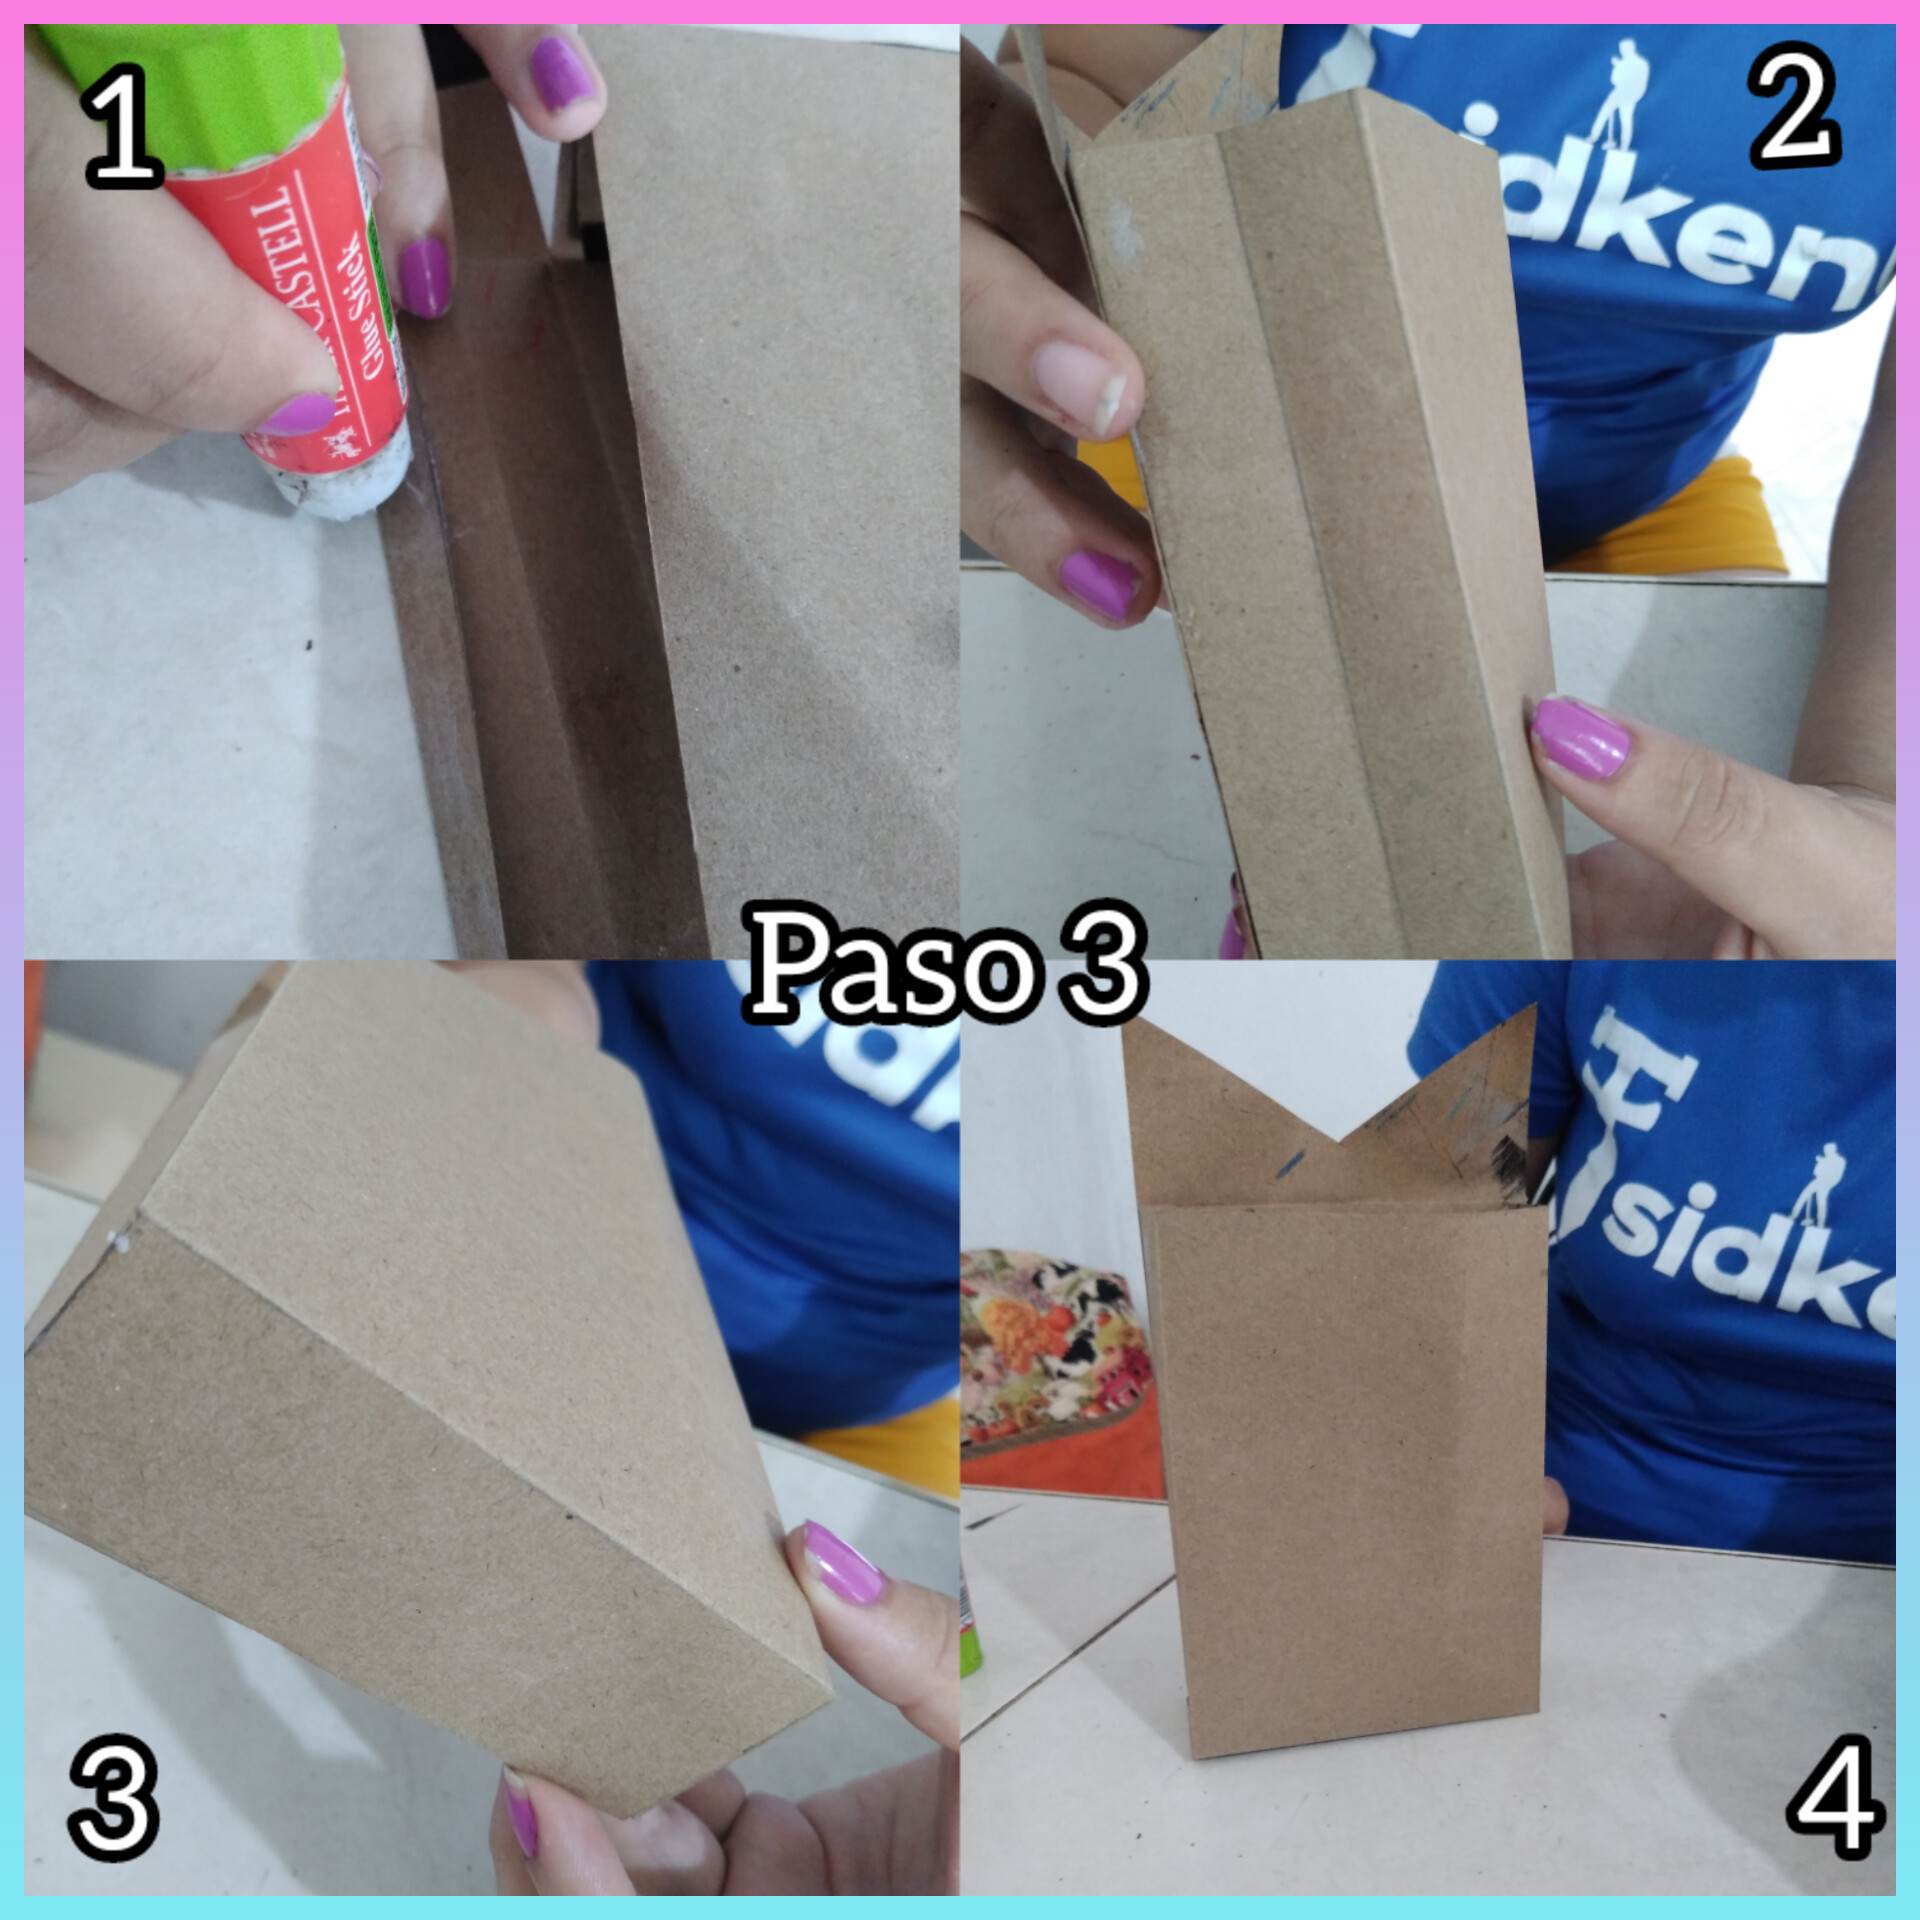
Paso 3: luego de haber pegado la parte de abajo, Procederemos a pegar ahora la parte de los lados para cerrar el ciclo de los lados, y así va quedando la cajita a medida de que vayamos pegamos todas las piezas correspondientes, la parte de abajo y por supuesto los lados.
Step 3: after gluing the bottom part, we will proceed to glue now the side part to close the cycle of the sides, and so the box will be as we glue all the corresponding pieces, the bottom part and of course the sides.
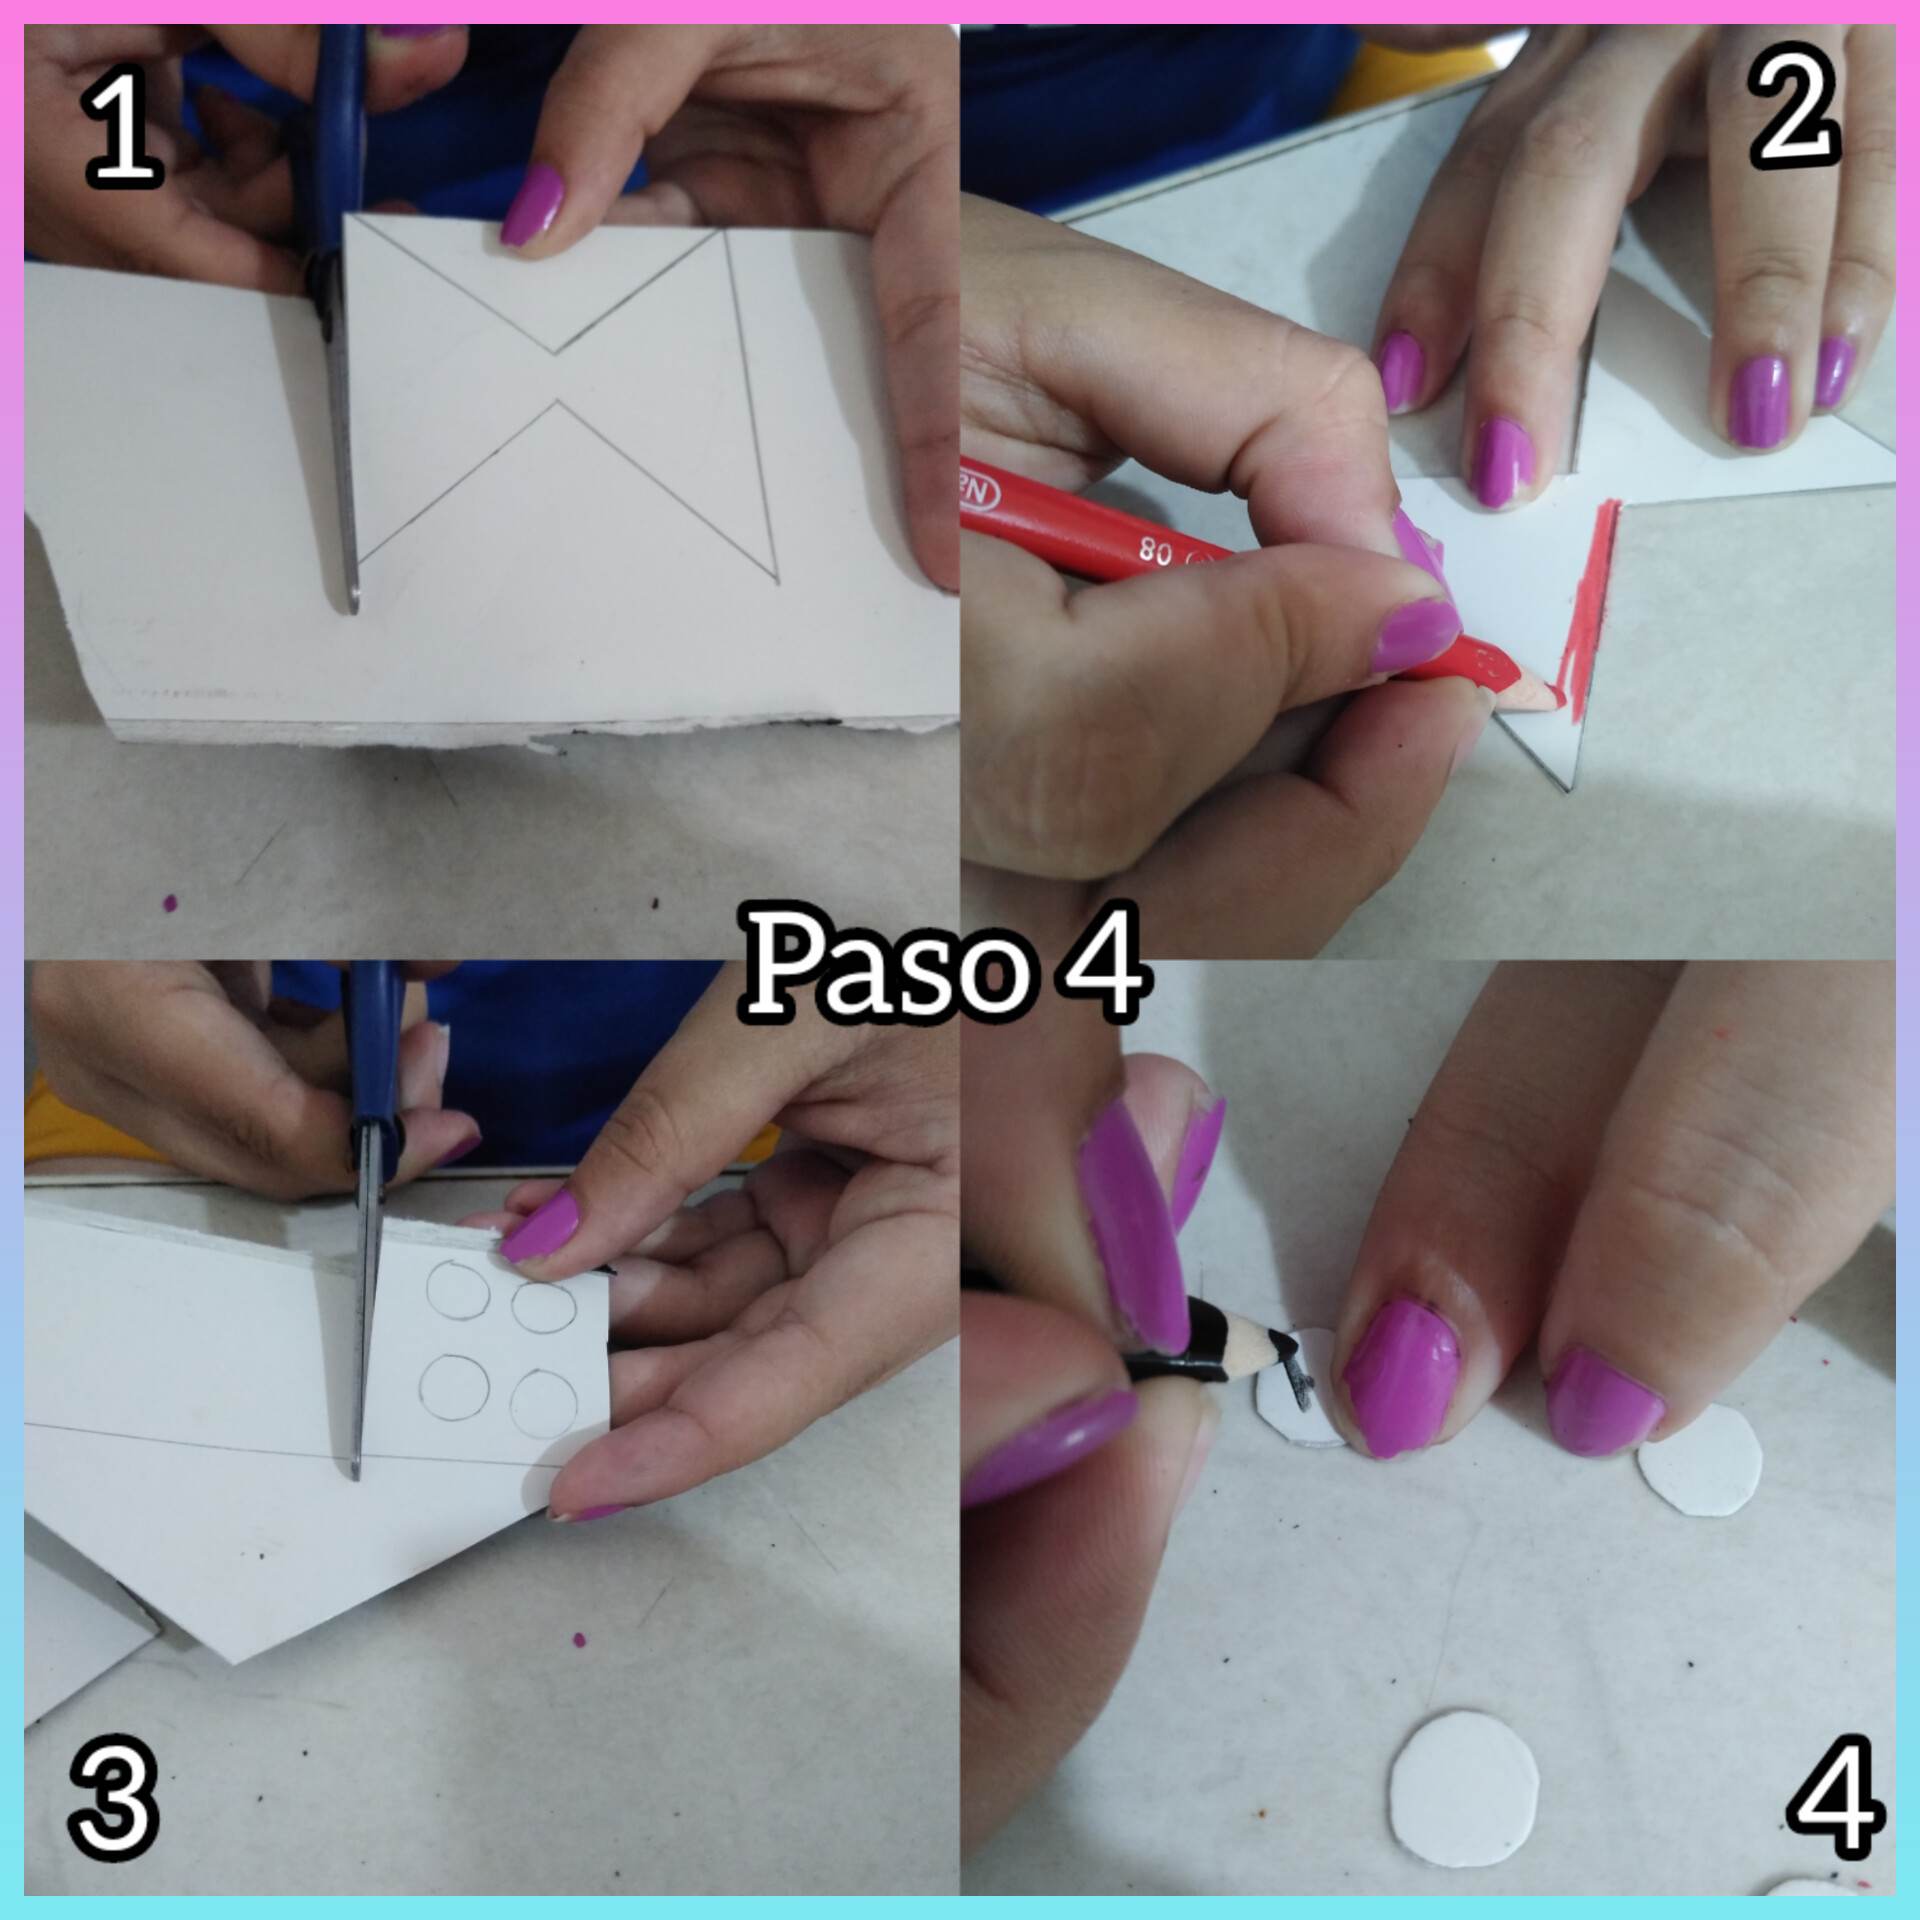
Paso 4: ya al tener la caja armada lo que nos faltaría serán las decoraciones, procederé a dibujar un lazo en una cartulina blanca y a pintarlo luego de color rojo, y marcaré unos circulos también y los pintare de color negro, ya que en su la cajita tendrá como un lazo en la parte de arriba para que decore más y se vea mucho más hermosa, entonces debemos terminar estos arreglos decorativos.
Step 4: once the box is ready what we need are the decorations, I will proceed to draw a ribbon on a white cardboard and then paint it red, and I will also mark some circles and paint them black, because the box will have a ribbon on the top to decorate it more and make it look much more beautiful, then we must finish these decorative arrangements.
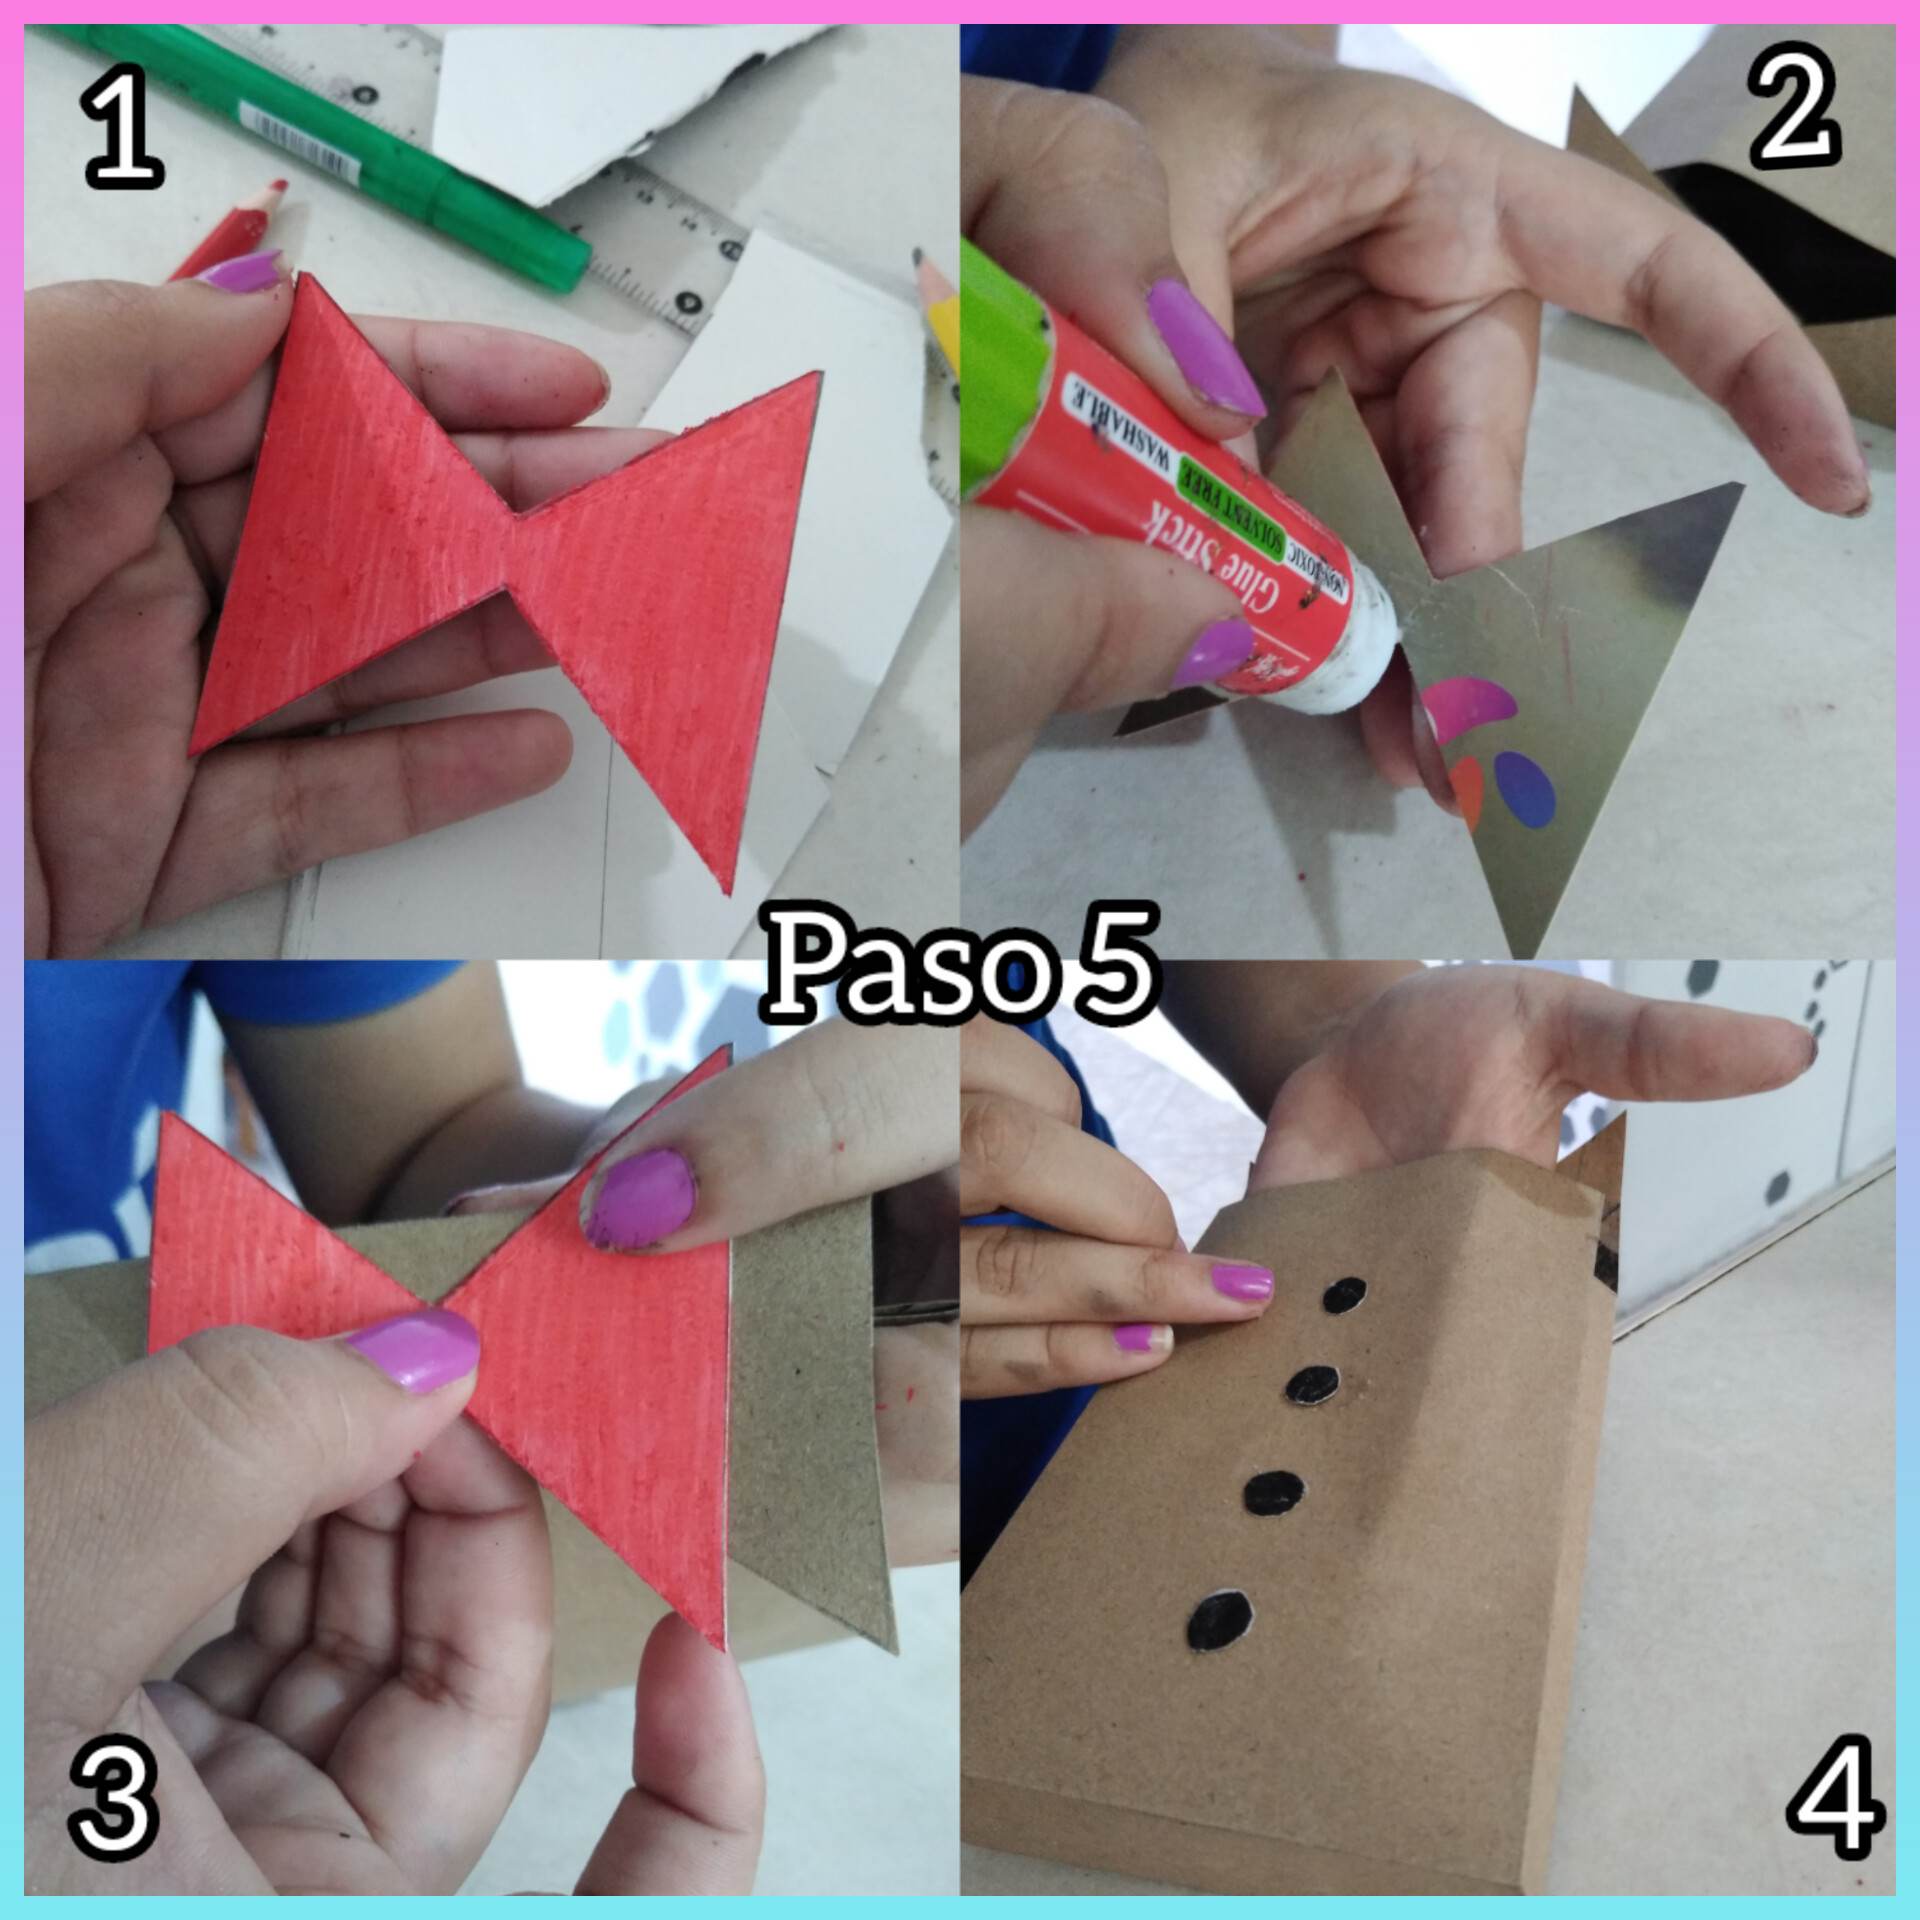
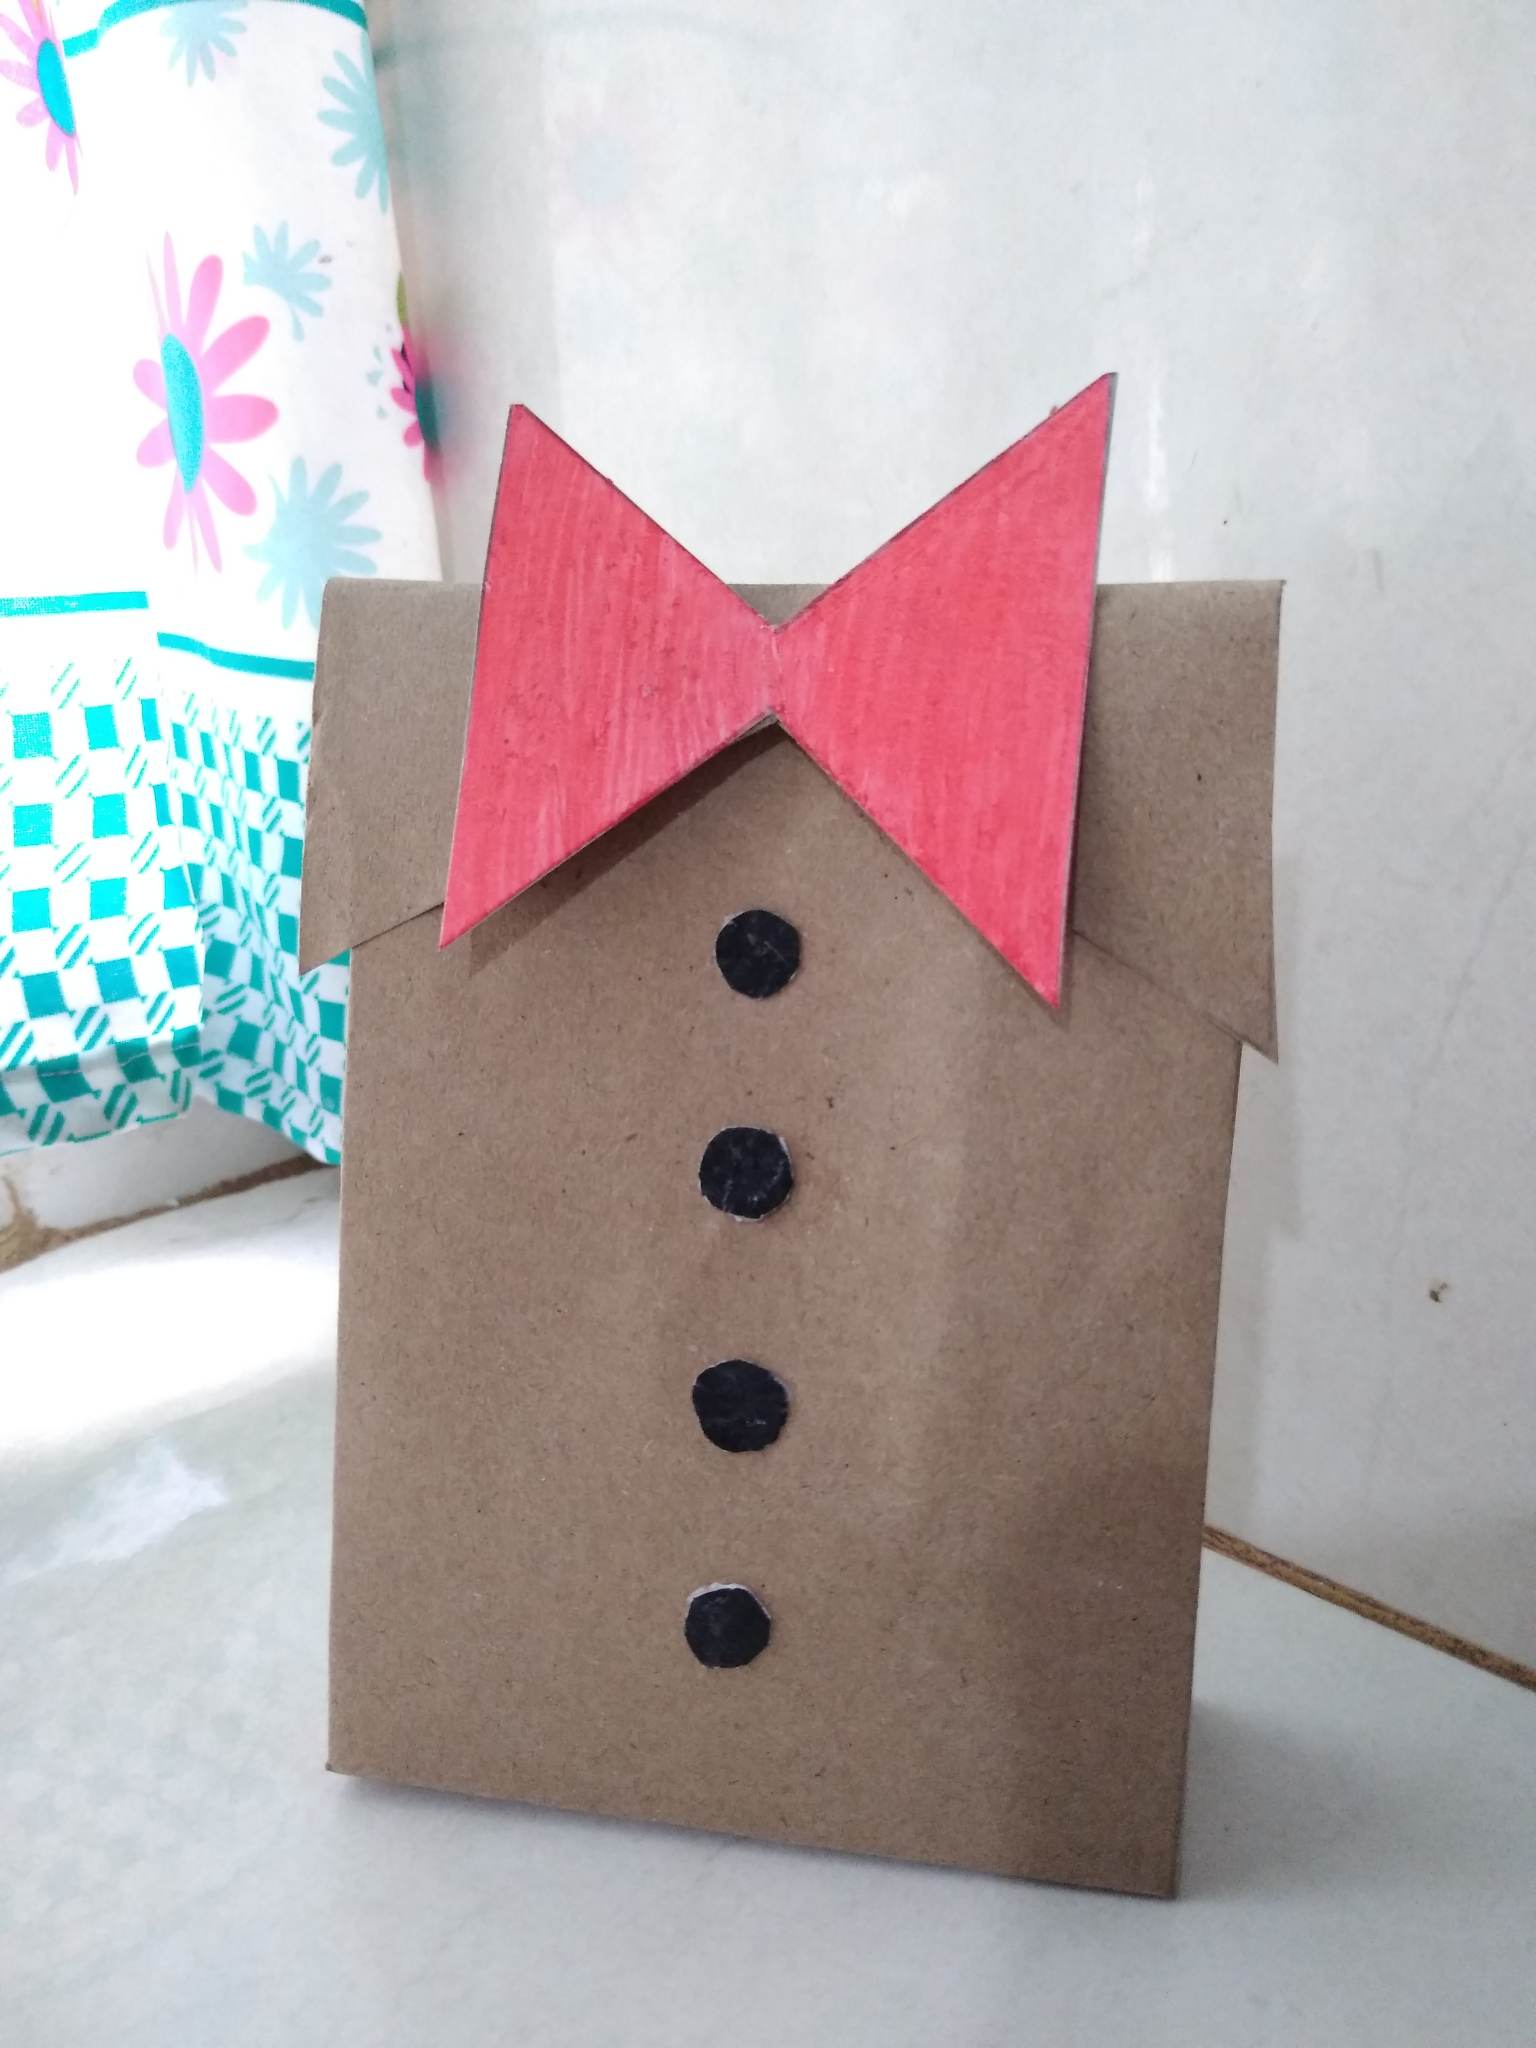
Paso 5: luego de haber pintado el lazo de color rojo quedará de la siguiente manera, y lo que haremos será pegarlo a la parte de arriba, pegamos el lazo y vamos a pegar también los círculos que simularán los botones ya que si vemos parece una cajita en forma de camiseta, y así como la adornamos para los hombres, o los niños, también la podemos adornar de manera femenina para las pequeñas de la casa, podemos hacer también cotillones para nuestros pequeños.
Step 5: after having painted the red ribbon it will look like this, and what we will do is glue it to the top, we glue the ribbon and we will also glue the circles that will simulate the buttons because if we see it looks like a little box in the shape of a T-shirt, and just as we decorate it for men or children, we can also decorate it in a feminine way for the little girls of the house, we can also make cotillions for our little ones.
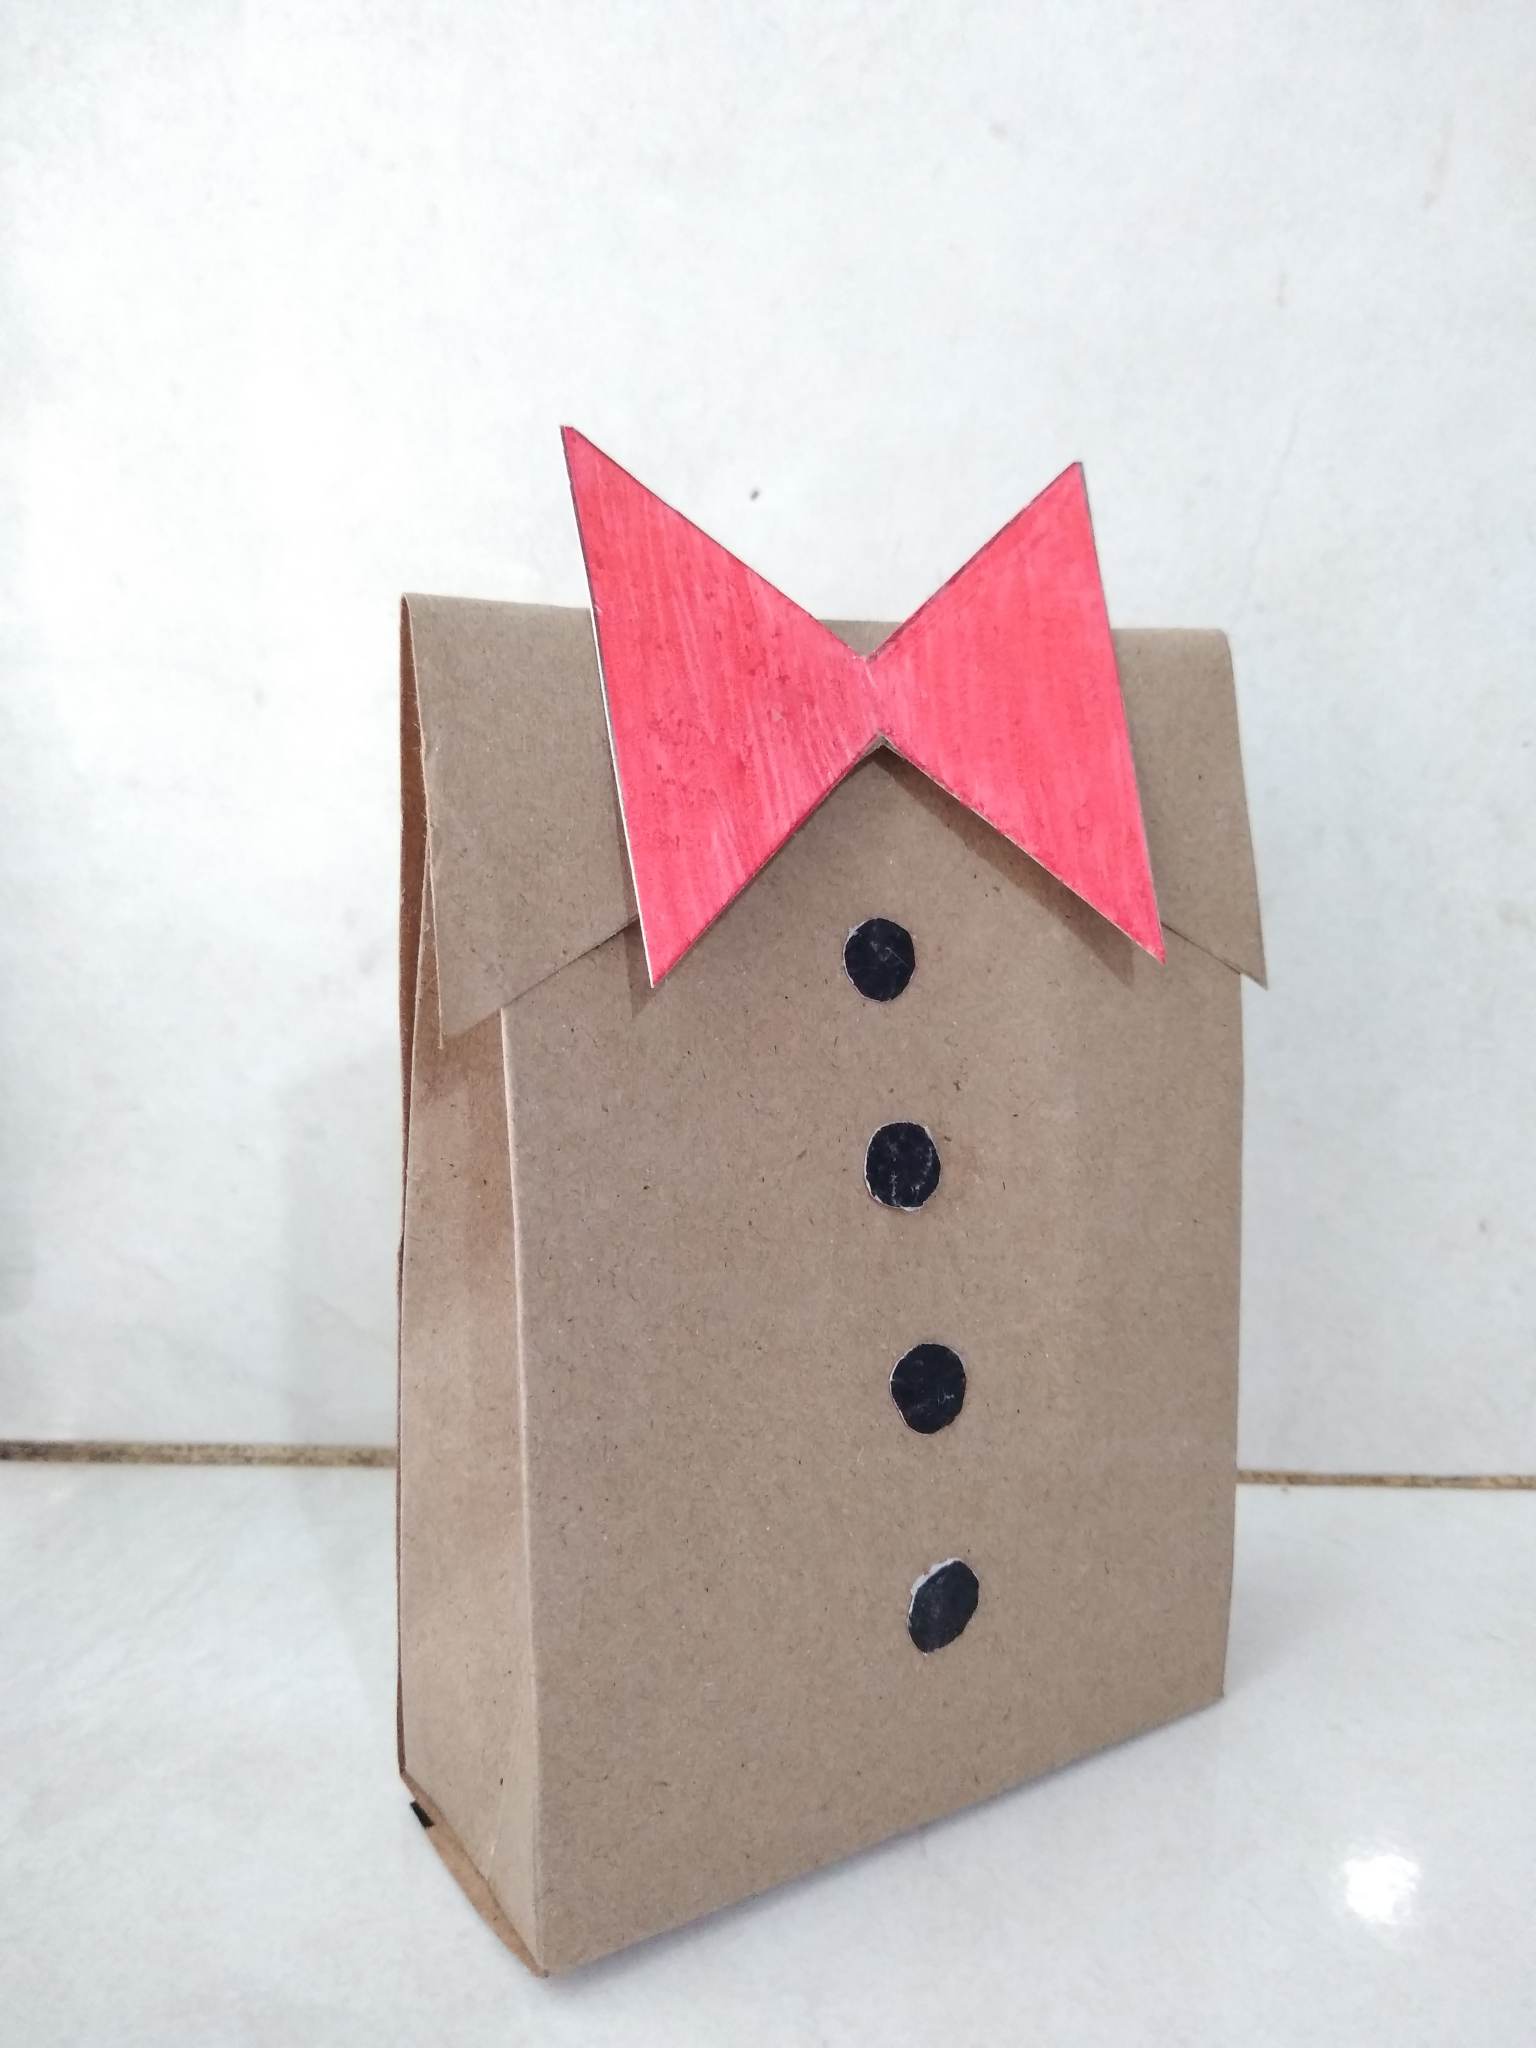
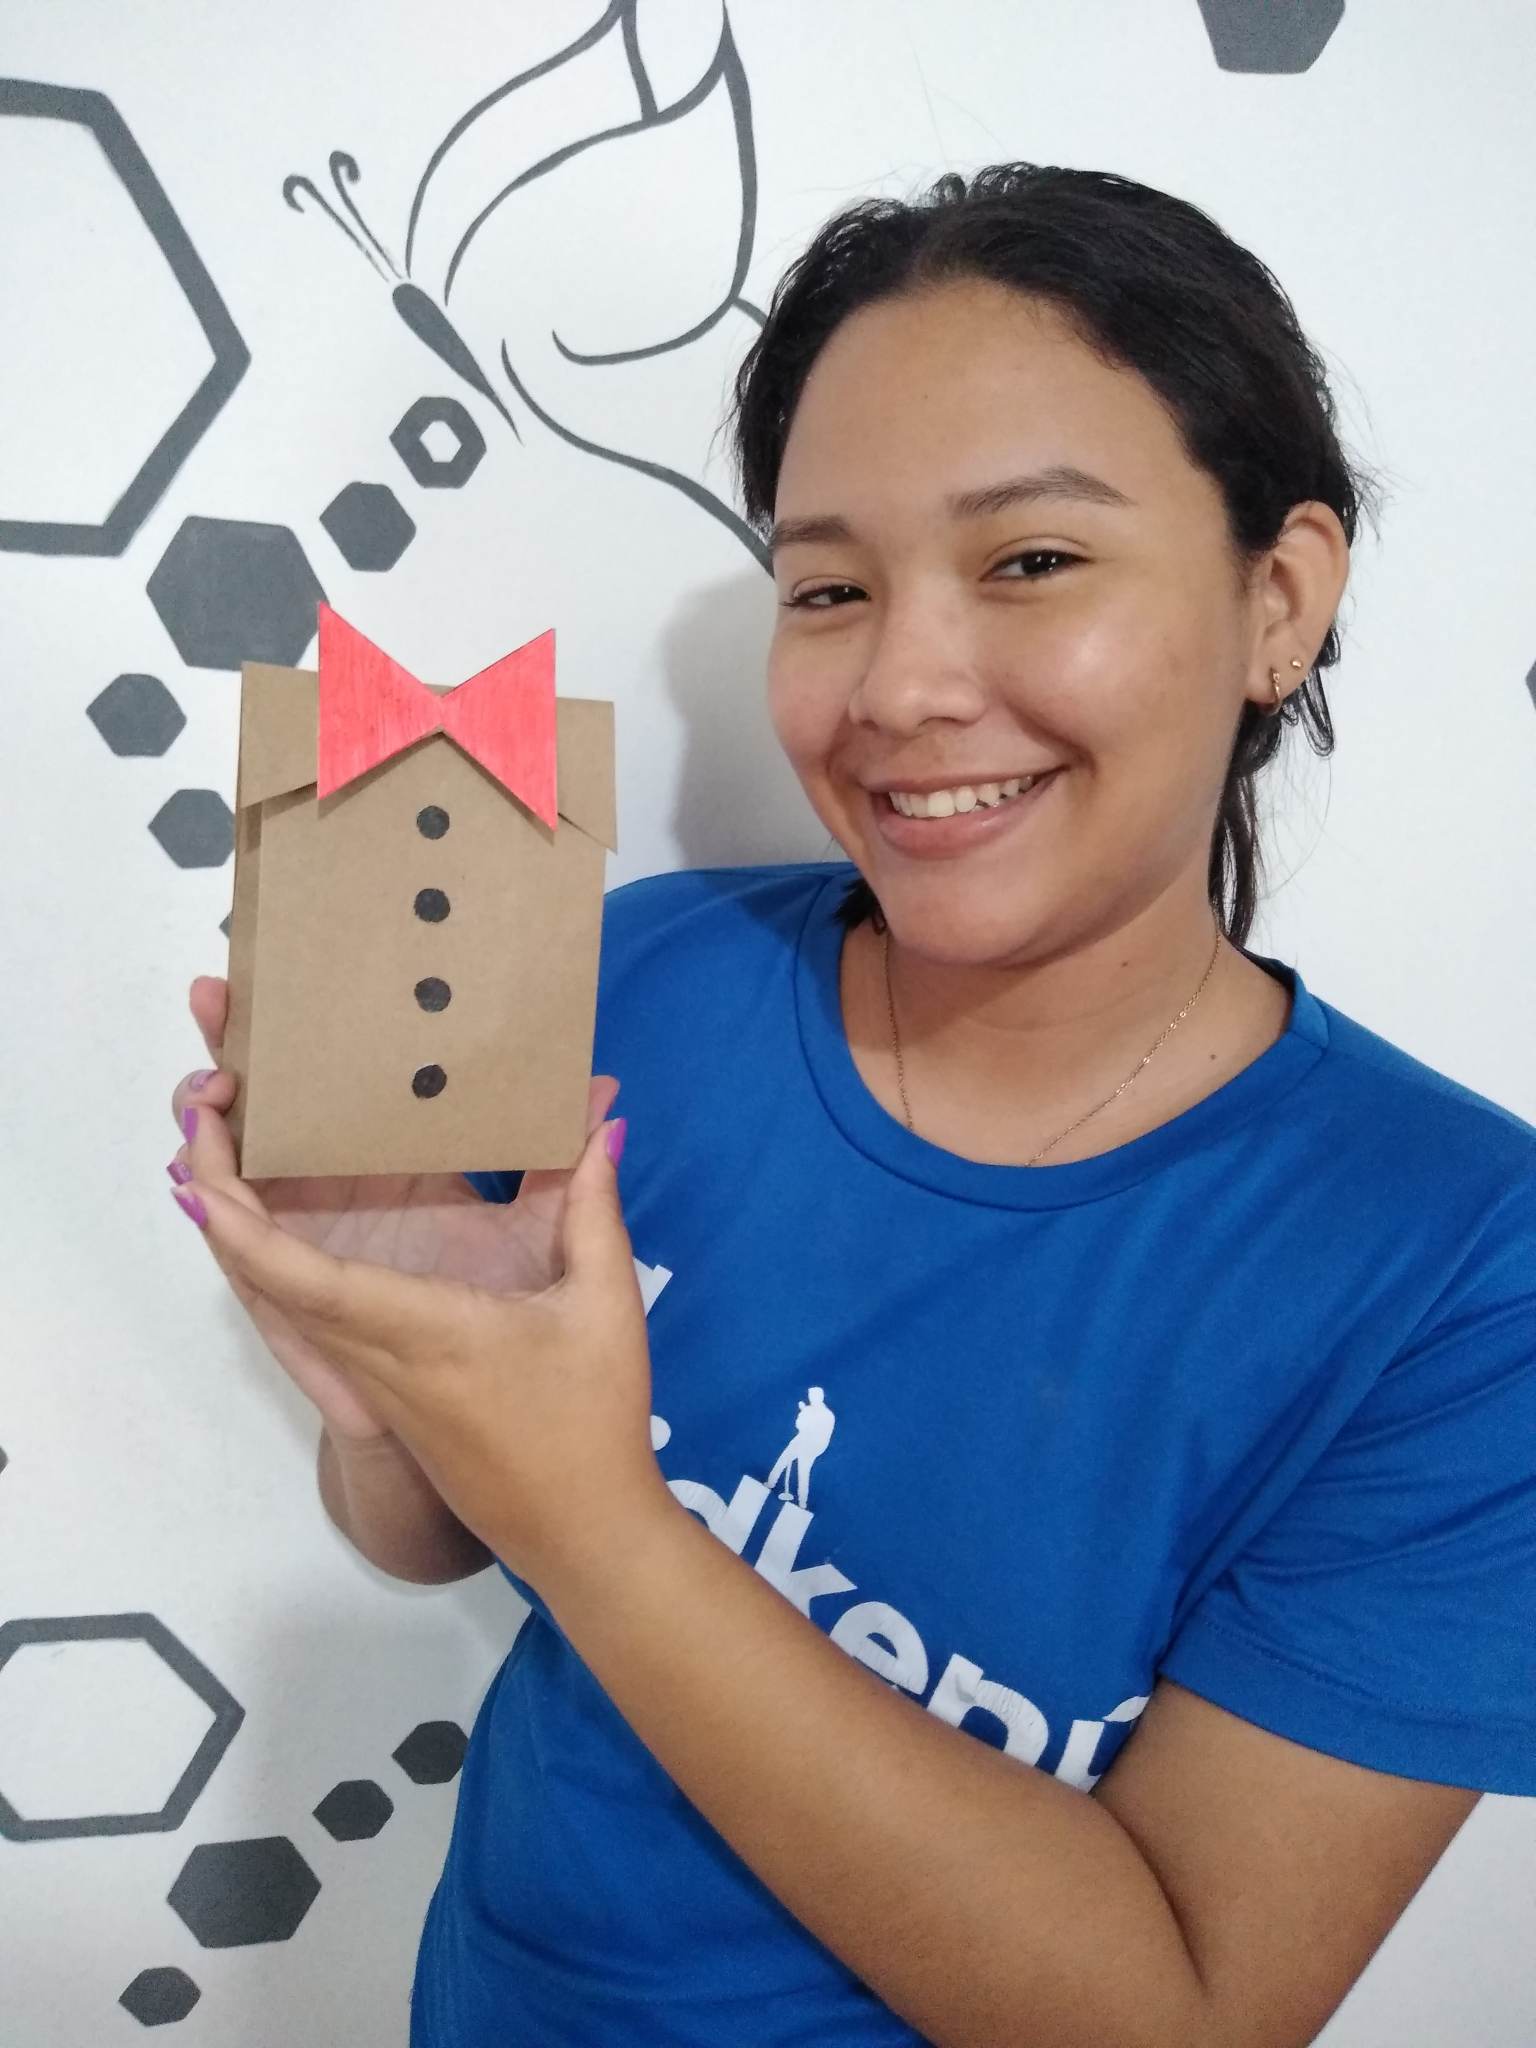
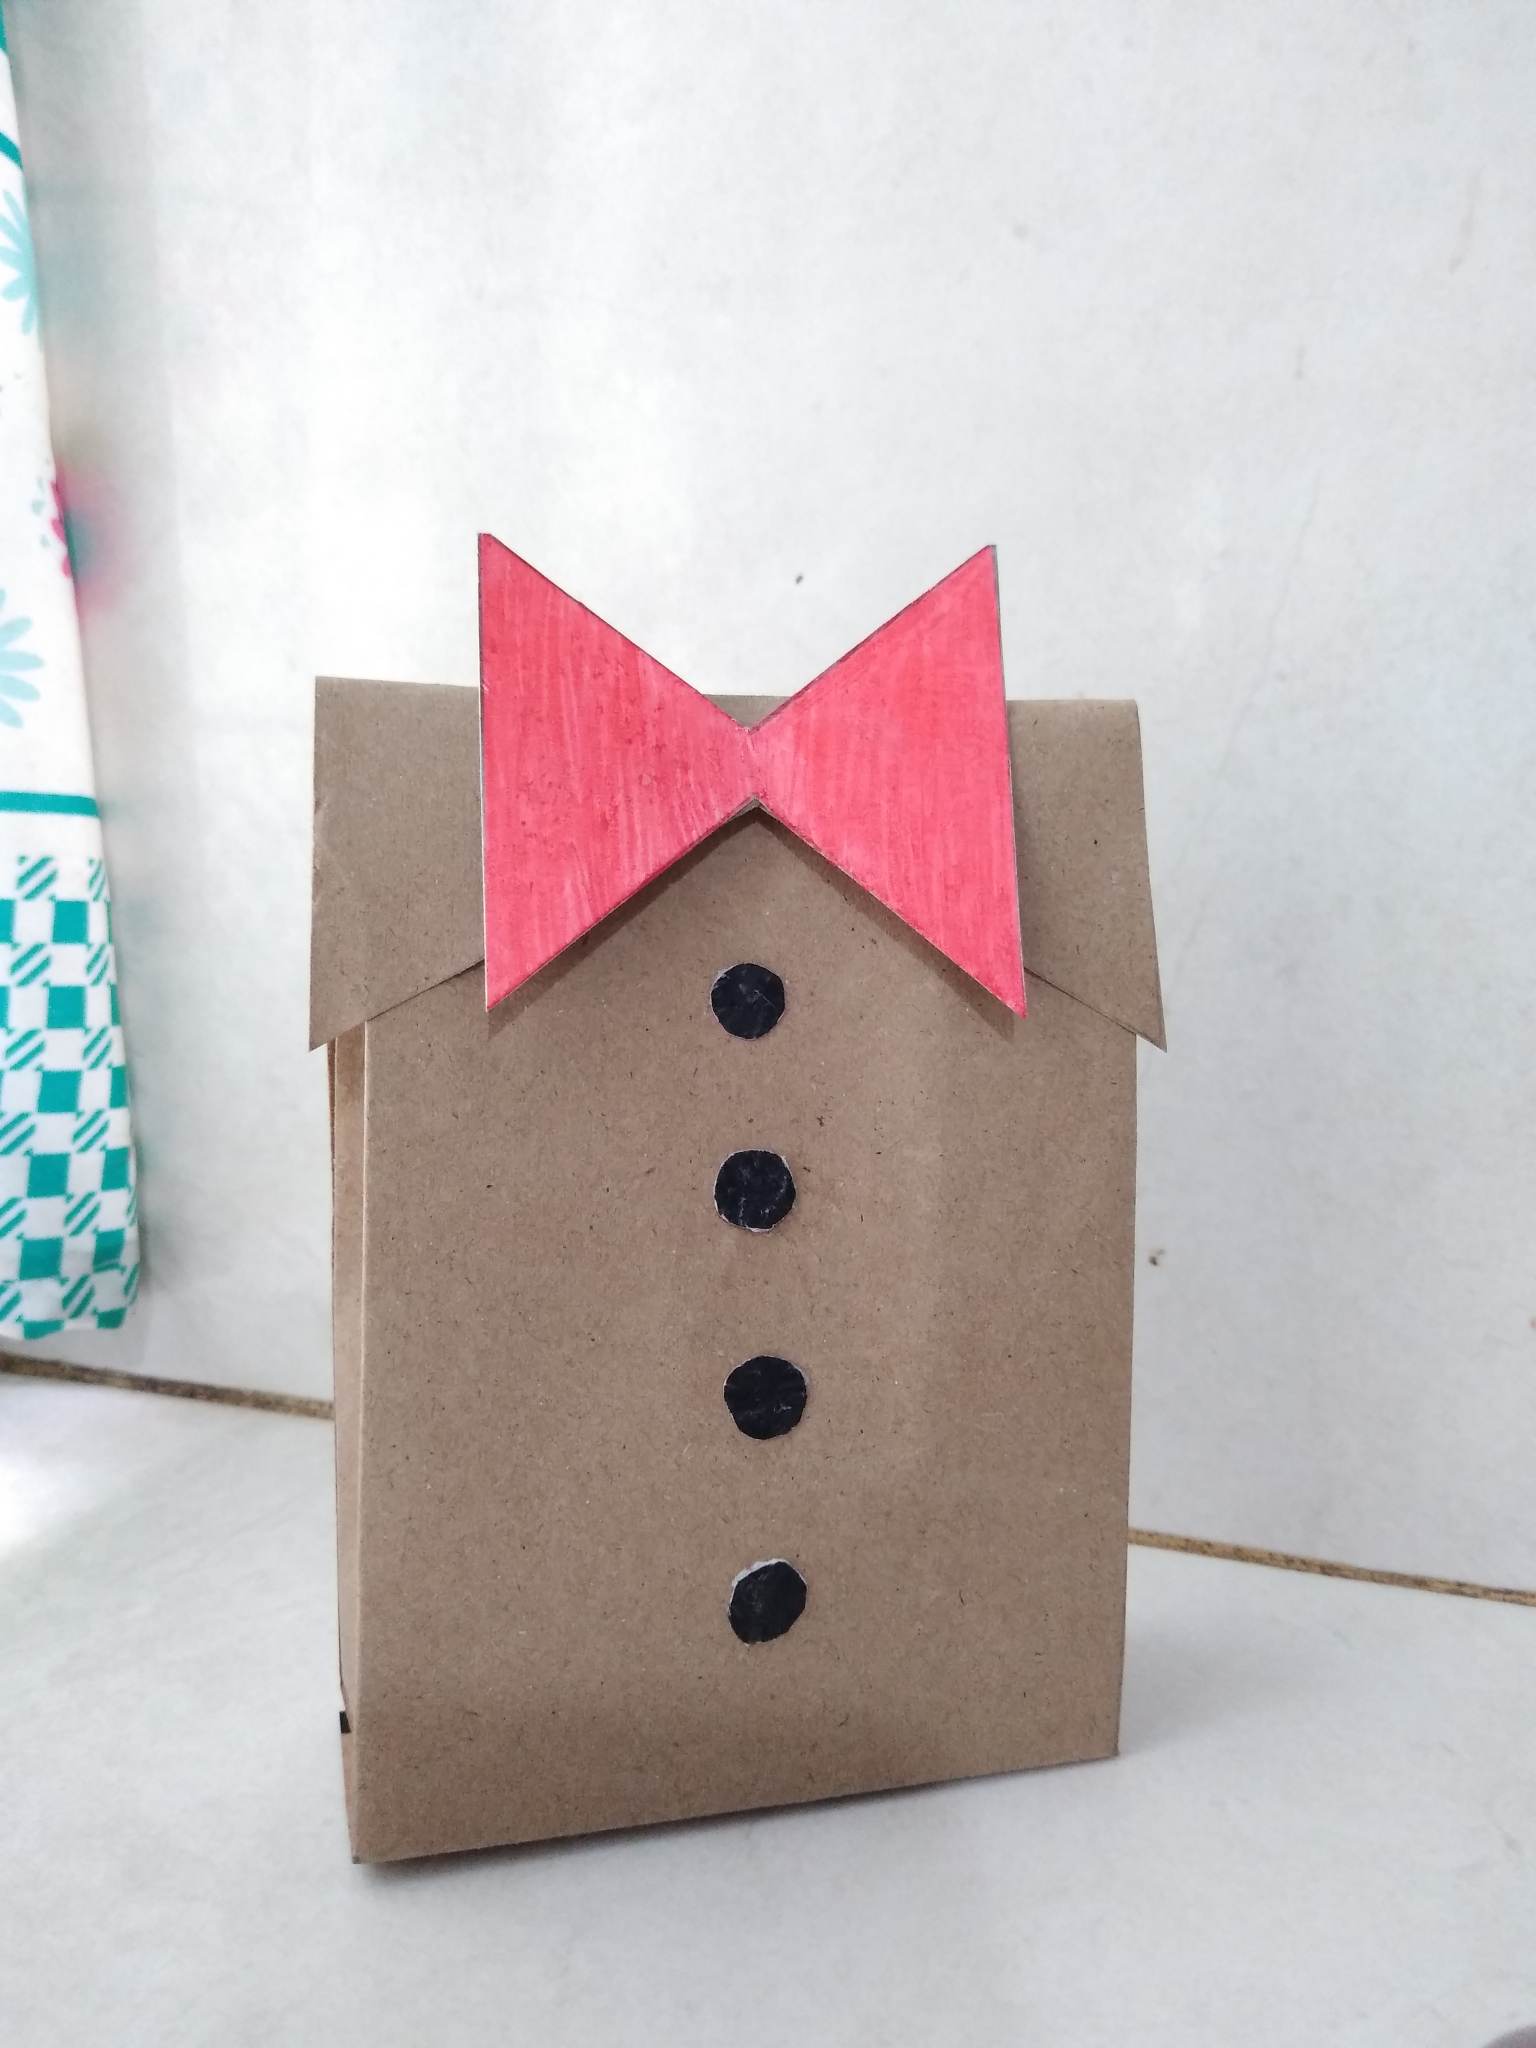
Final Result.

Thank you for sharing this post on HIVE!
Your content got selected by our fellow curator semarekha & you just received a little thank you upvote from us for your great work! Your post will be featured in one of our recurring compilations which are aiming to offer you a stage to widen your audience within the DIY scene of Hive. Stay creative & HIVE ON!
Please vote for our hive witness <3
Has sido curado por @visualblock / You've been curated by @visualblock
Bienvenidas delegaciones / Delegations welcome
Encuentra nuestra comunidad aquí / Find our community here
Trail de Curación / Curation Trail
https://twitter.com/1500464943317008386/status/1618655131519565837
The rewards earned on this comment will go directly to the people( @visualblock ) sharing the post on Twitter as long as they are registered with @poshtoken. Sign up at https://hiveposh.com.