[ESP-ENG] I teach you how to make beautiful anklets | Te enseño a hacer unas lindas tobilleras
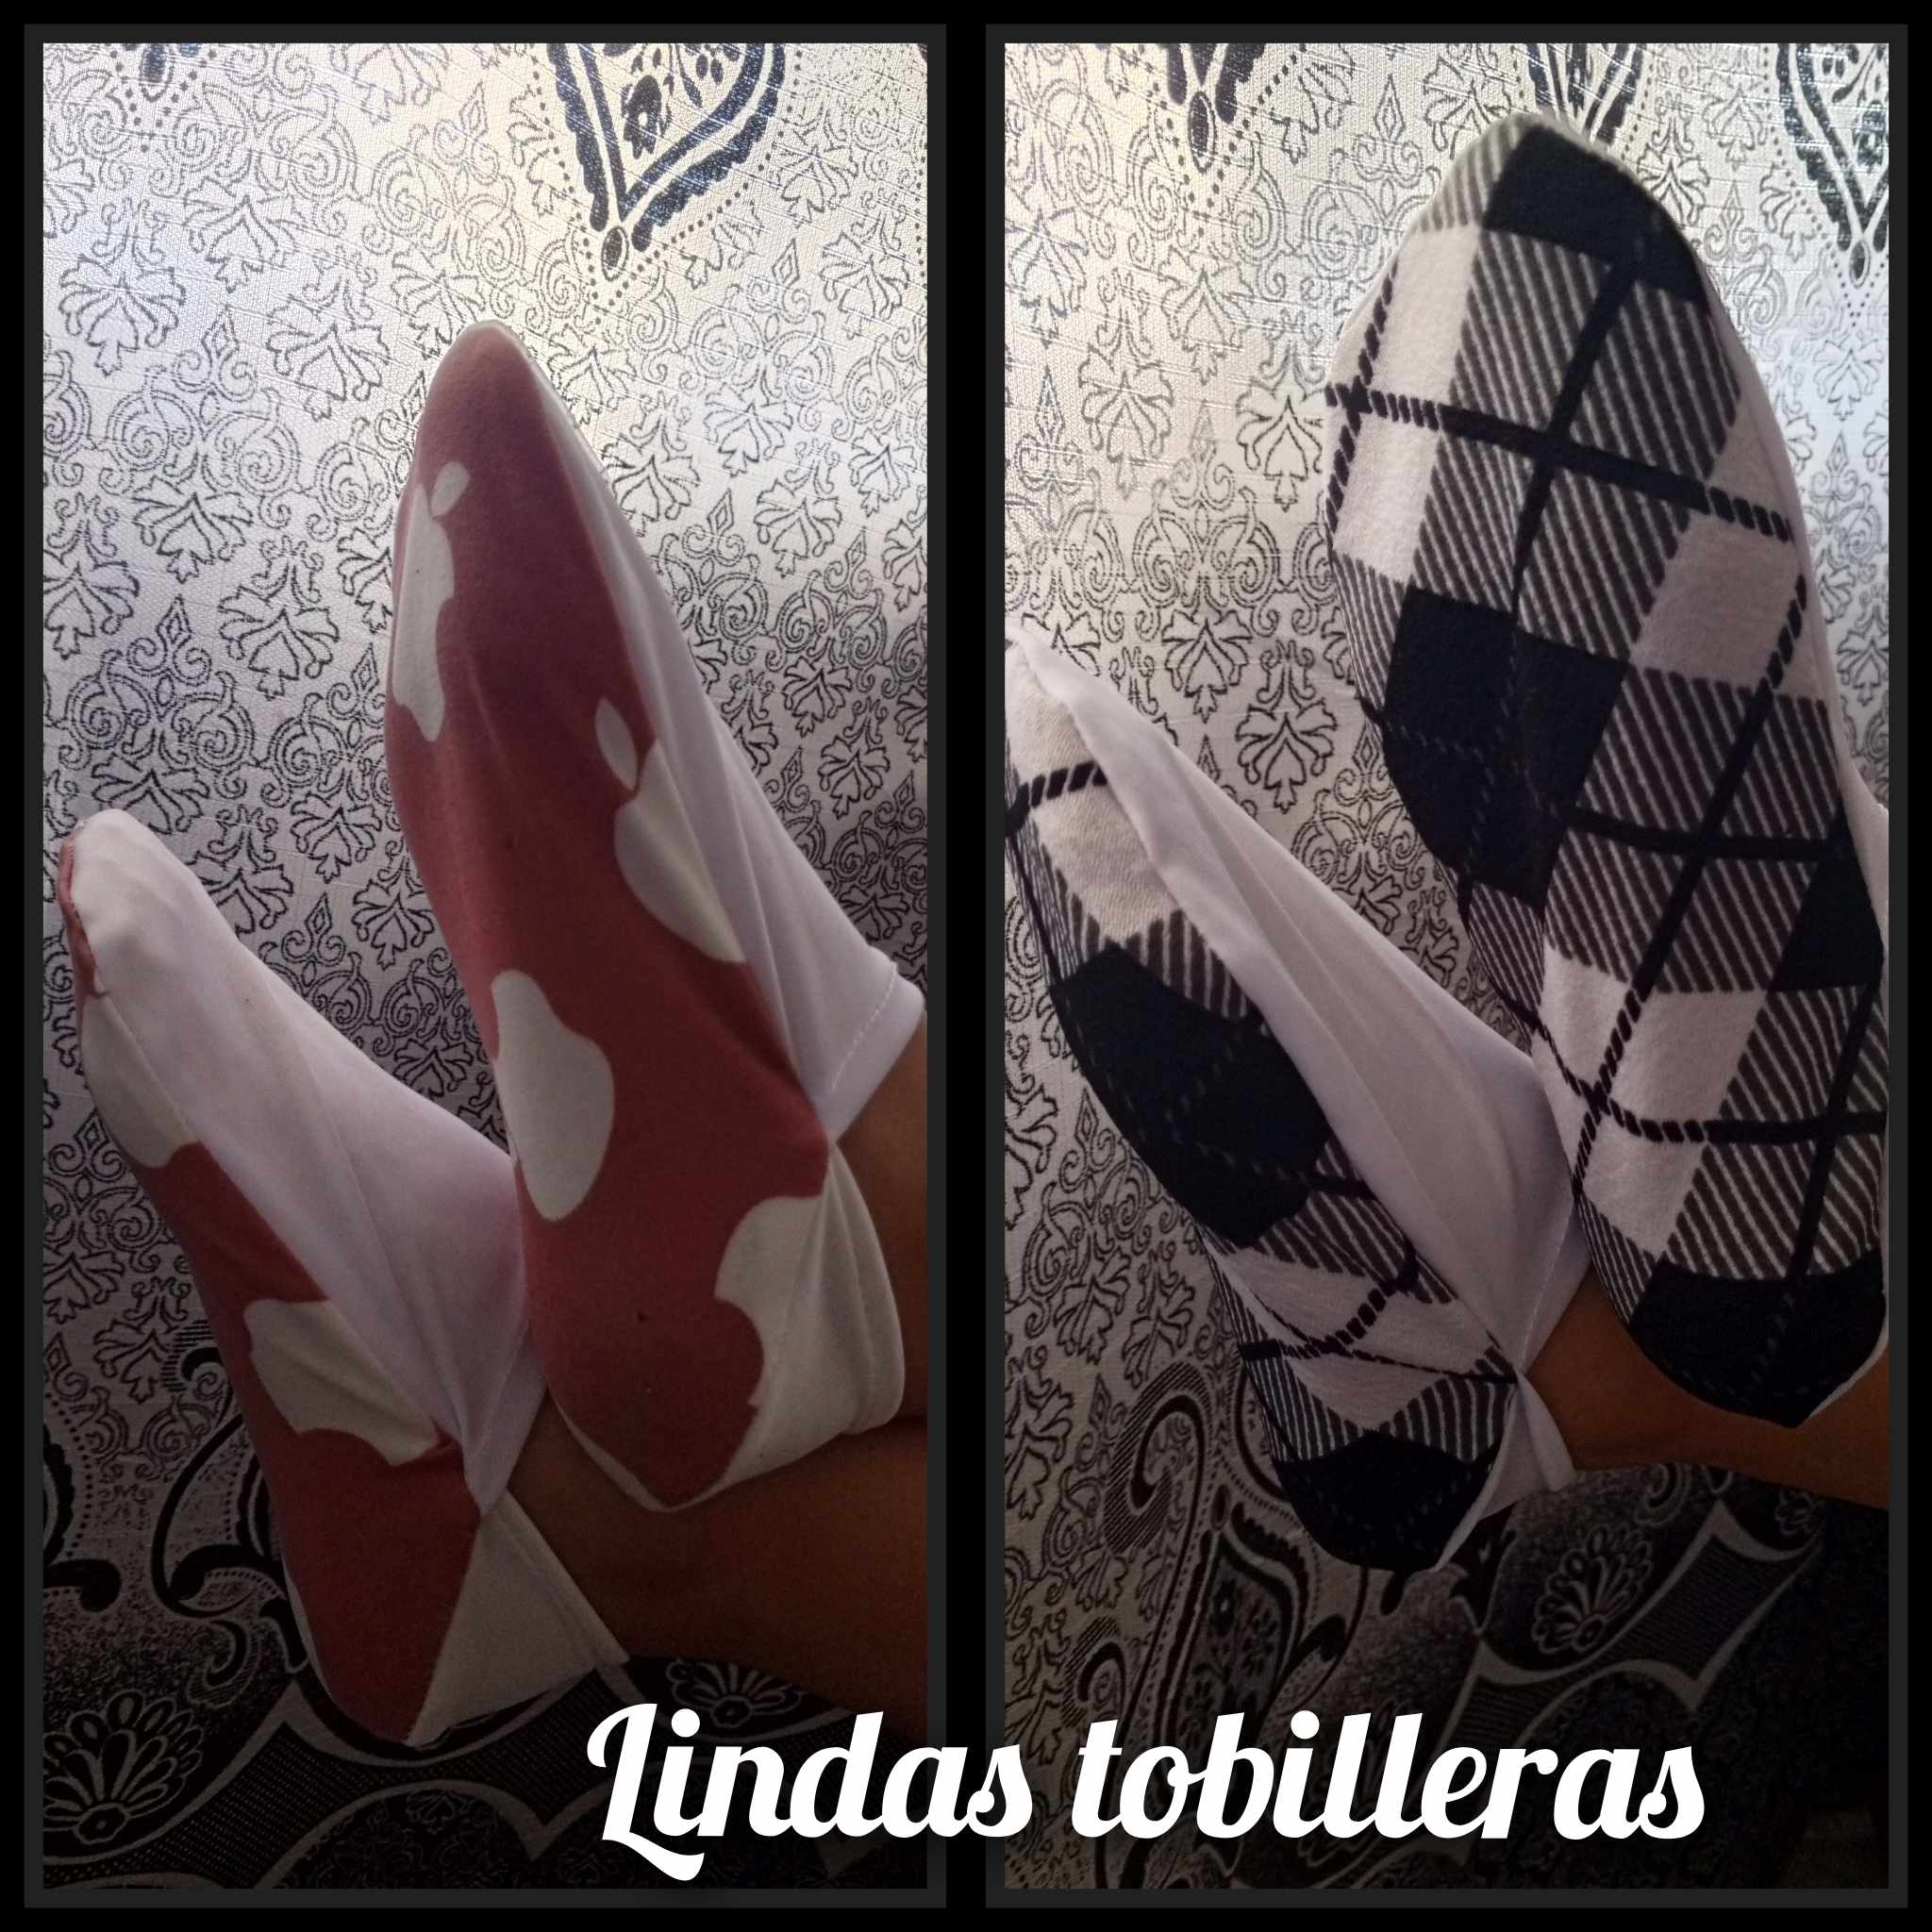
Hola amigos y amigas de hive el día de hoy quiero enseñarles a cómo hacer unas lindas tobilleras para estar en casa y también usarlas con nuestras cholas o para dormir o incluso para salir. Éstas tobilleras son tan necesarias para los zapatos que son bajitos y no queremos que se vea la media, entonces si eres de esos a los que les gusta mucho esto, quédate a ver el paso a paso de este divertido proceso.
.jpg)
.jpg)
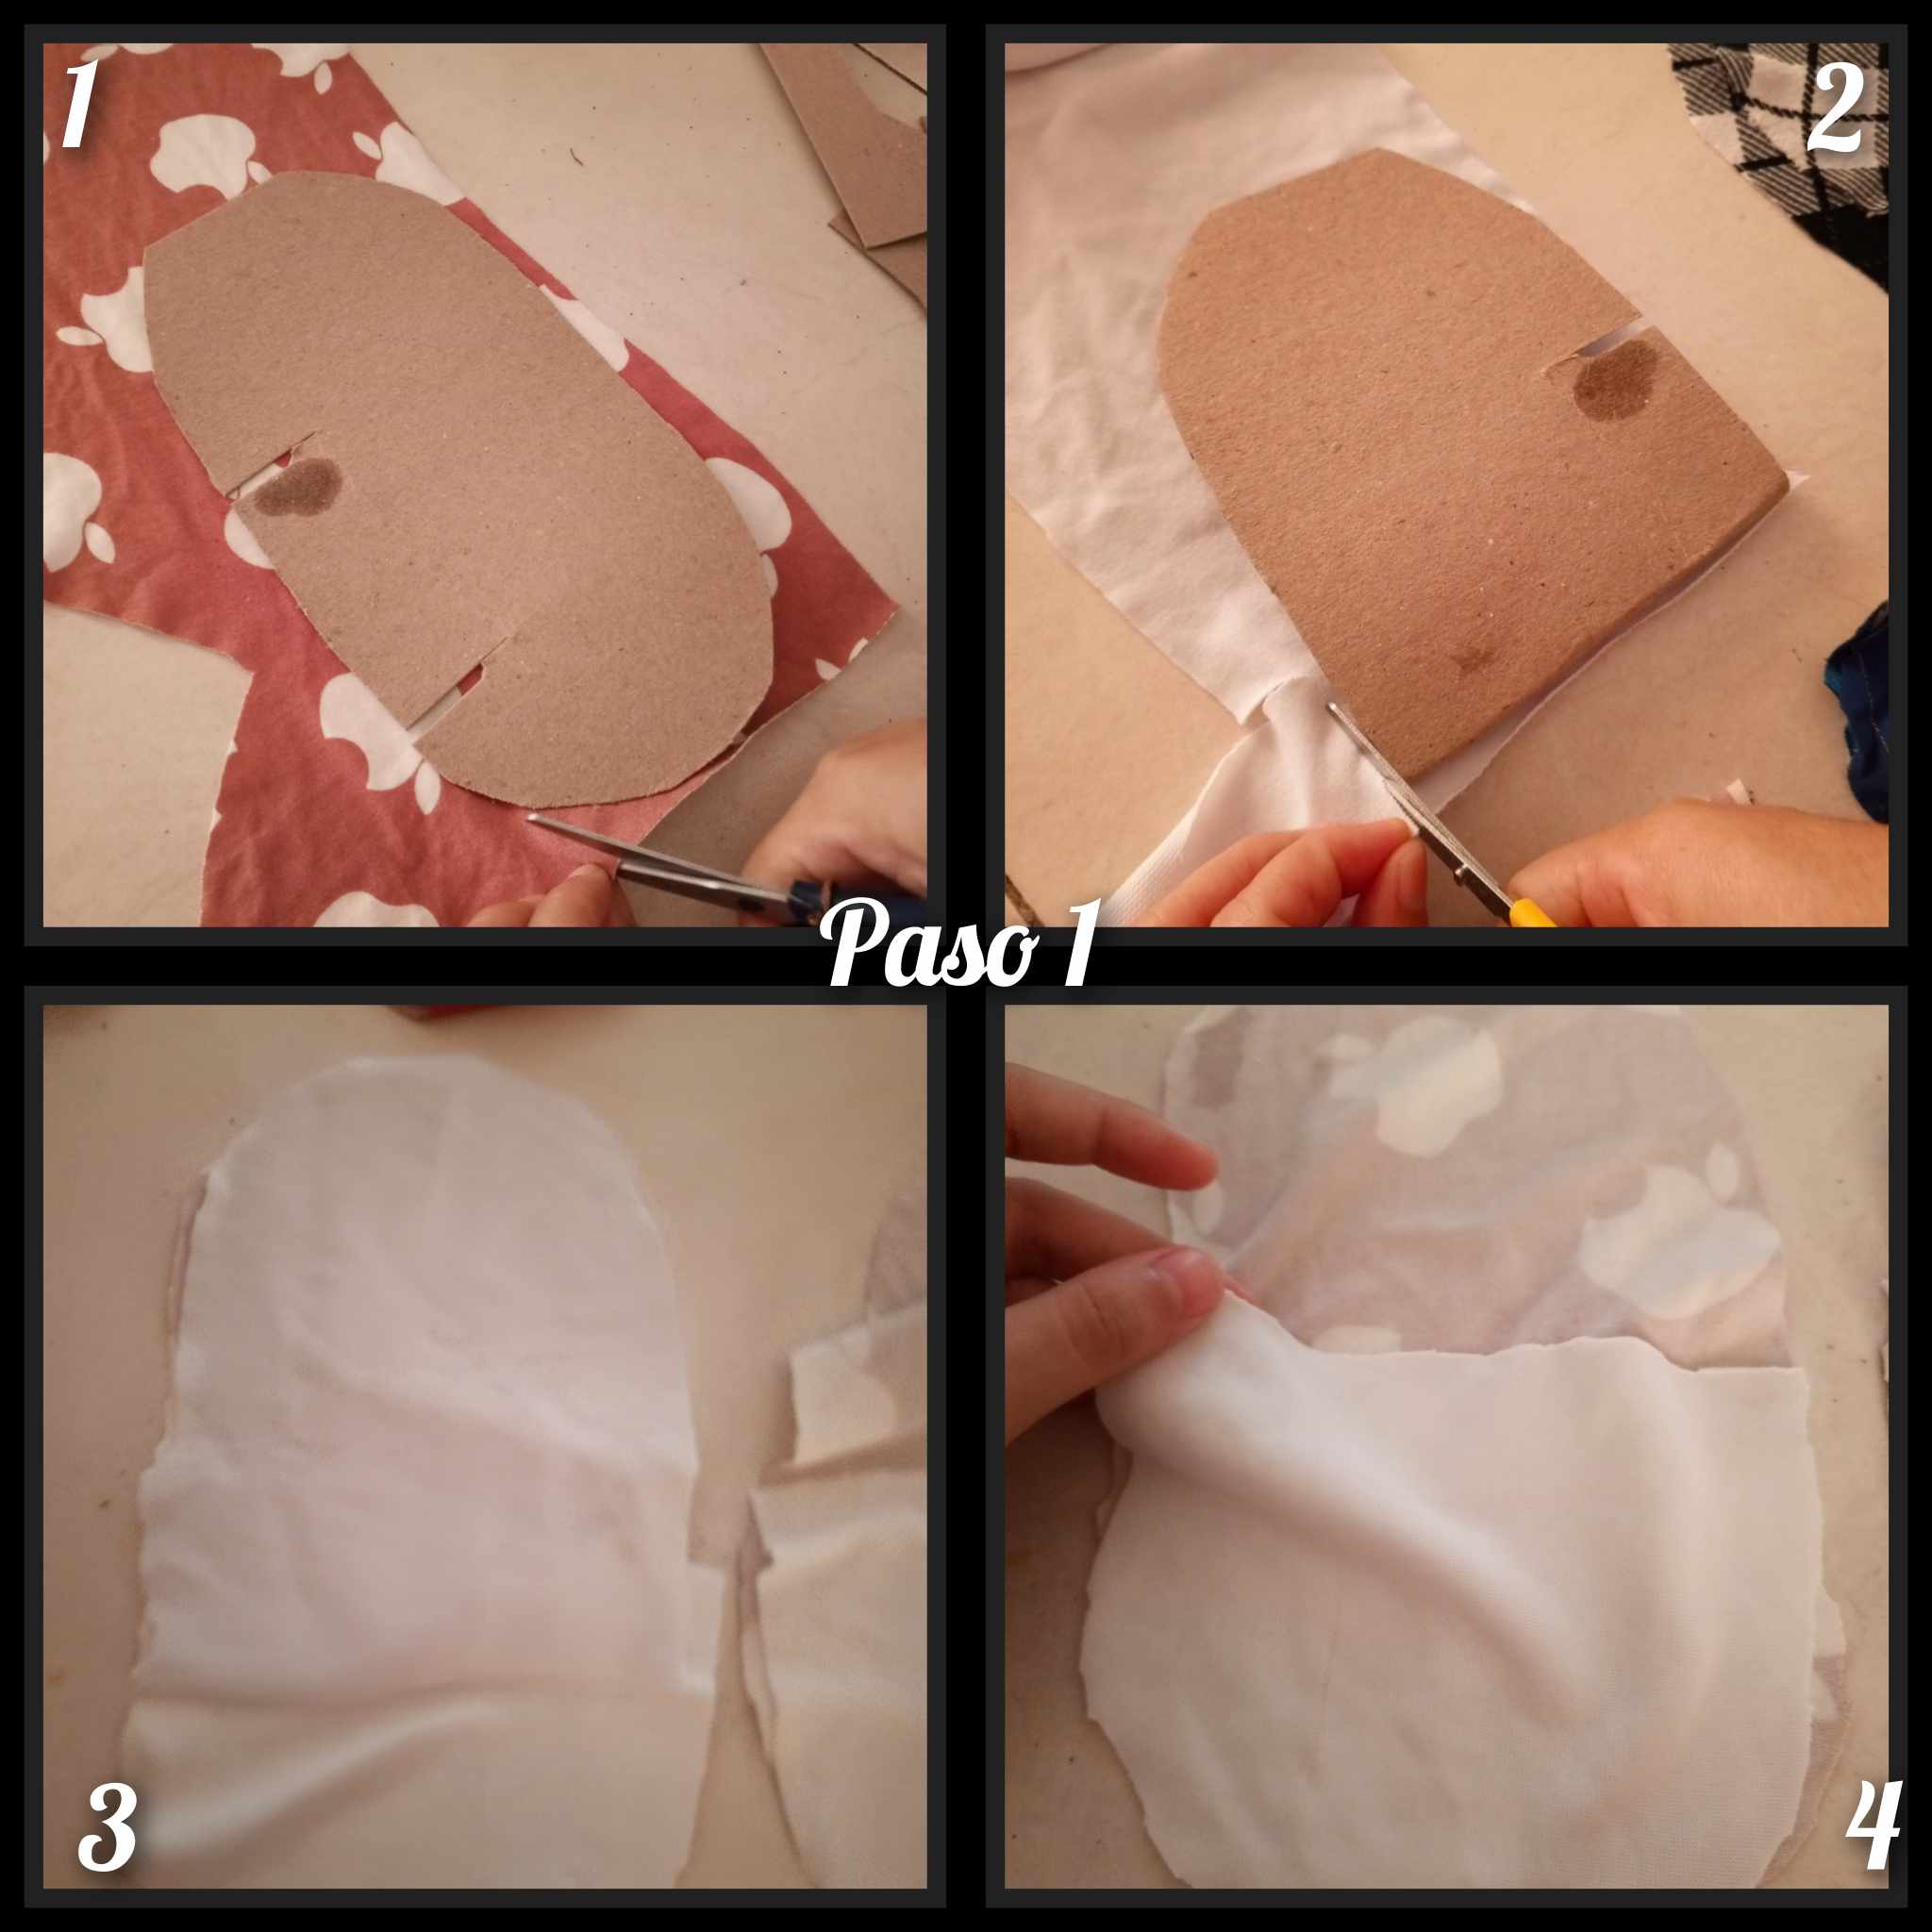
Paso 1: lo primero que haremos será marcar nuestra pisada en una cartulina para sacar la plantilla y así poder cortar las piezas a la media exacta. Luego de haber cortado la cartulina procederemos a plasmarla en la tela para poder cortarla y hacer nuestras tobilleras. Cómo la imagen lo muestra así cortaremos las piezas de ésta creación.
Step 1: the first thing we will do is to mark our footprint on a piece of cardboard to get the template so we can cut the pieces to the exact size. After cutting the cardboard we will proceed to shape it on the fabric to be able to cut it and make our anklets. As the image shows, this is how we will cut the pieces of this creation.
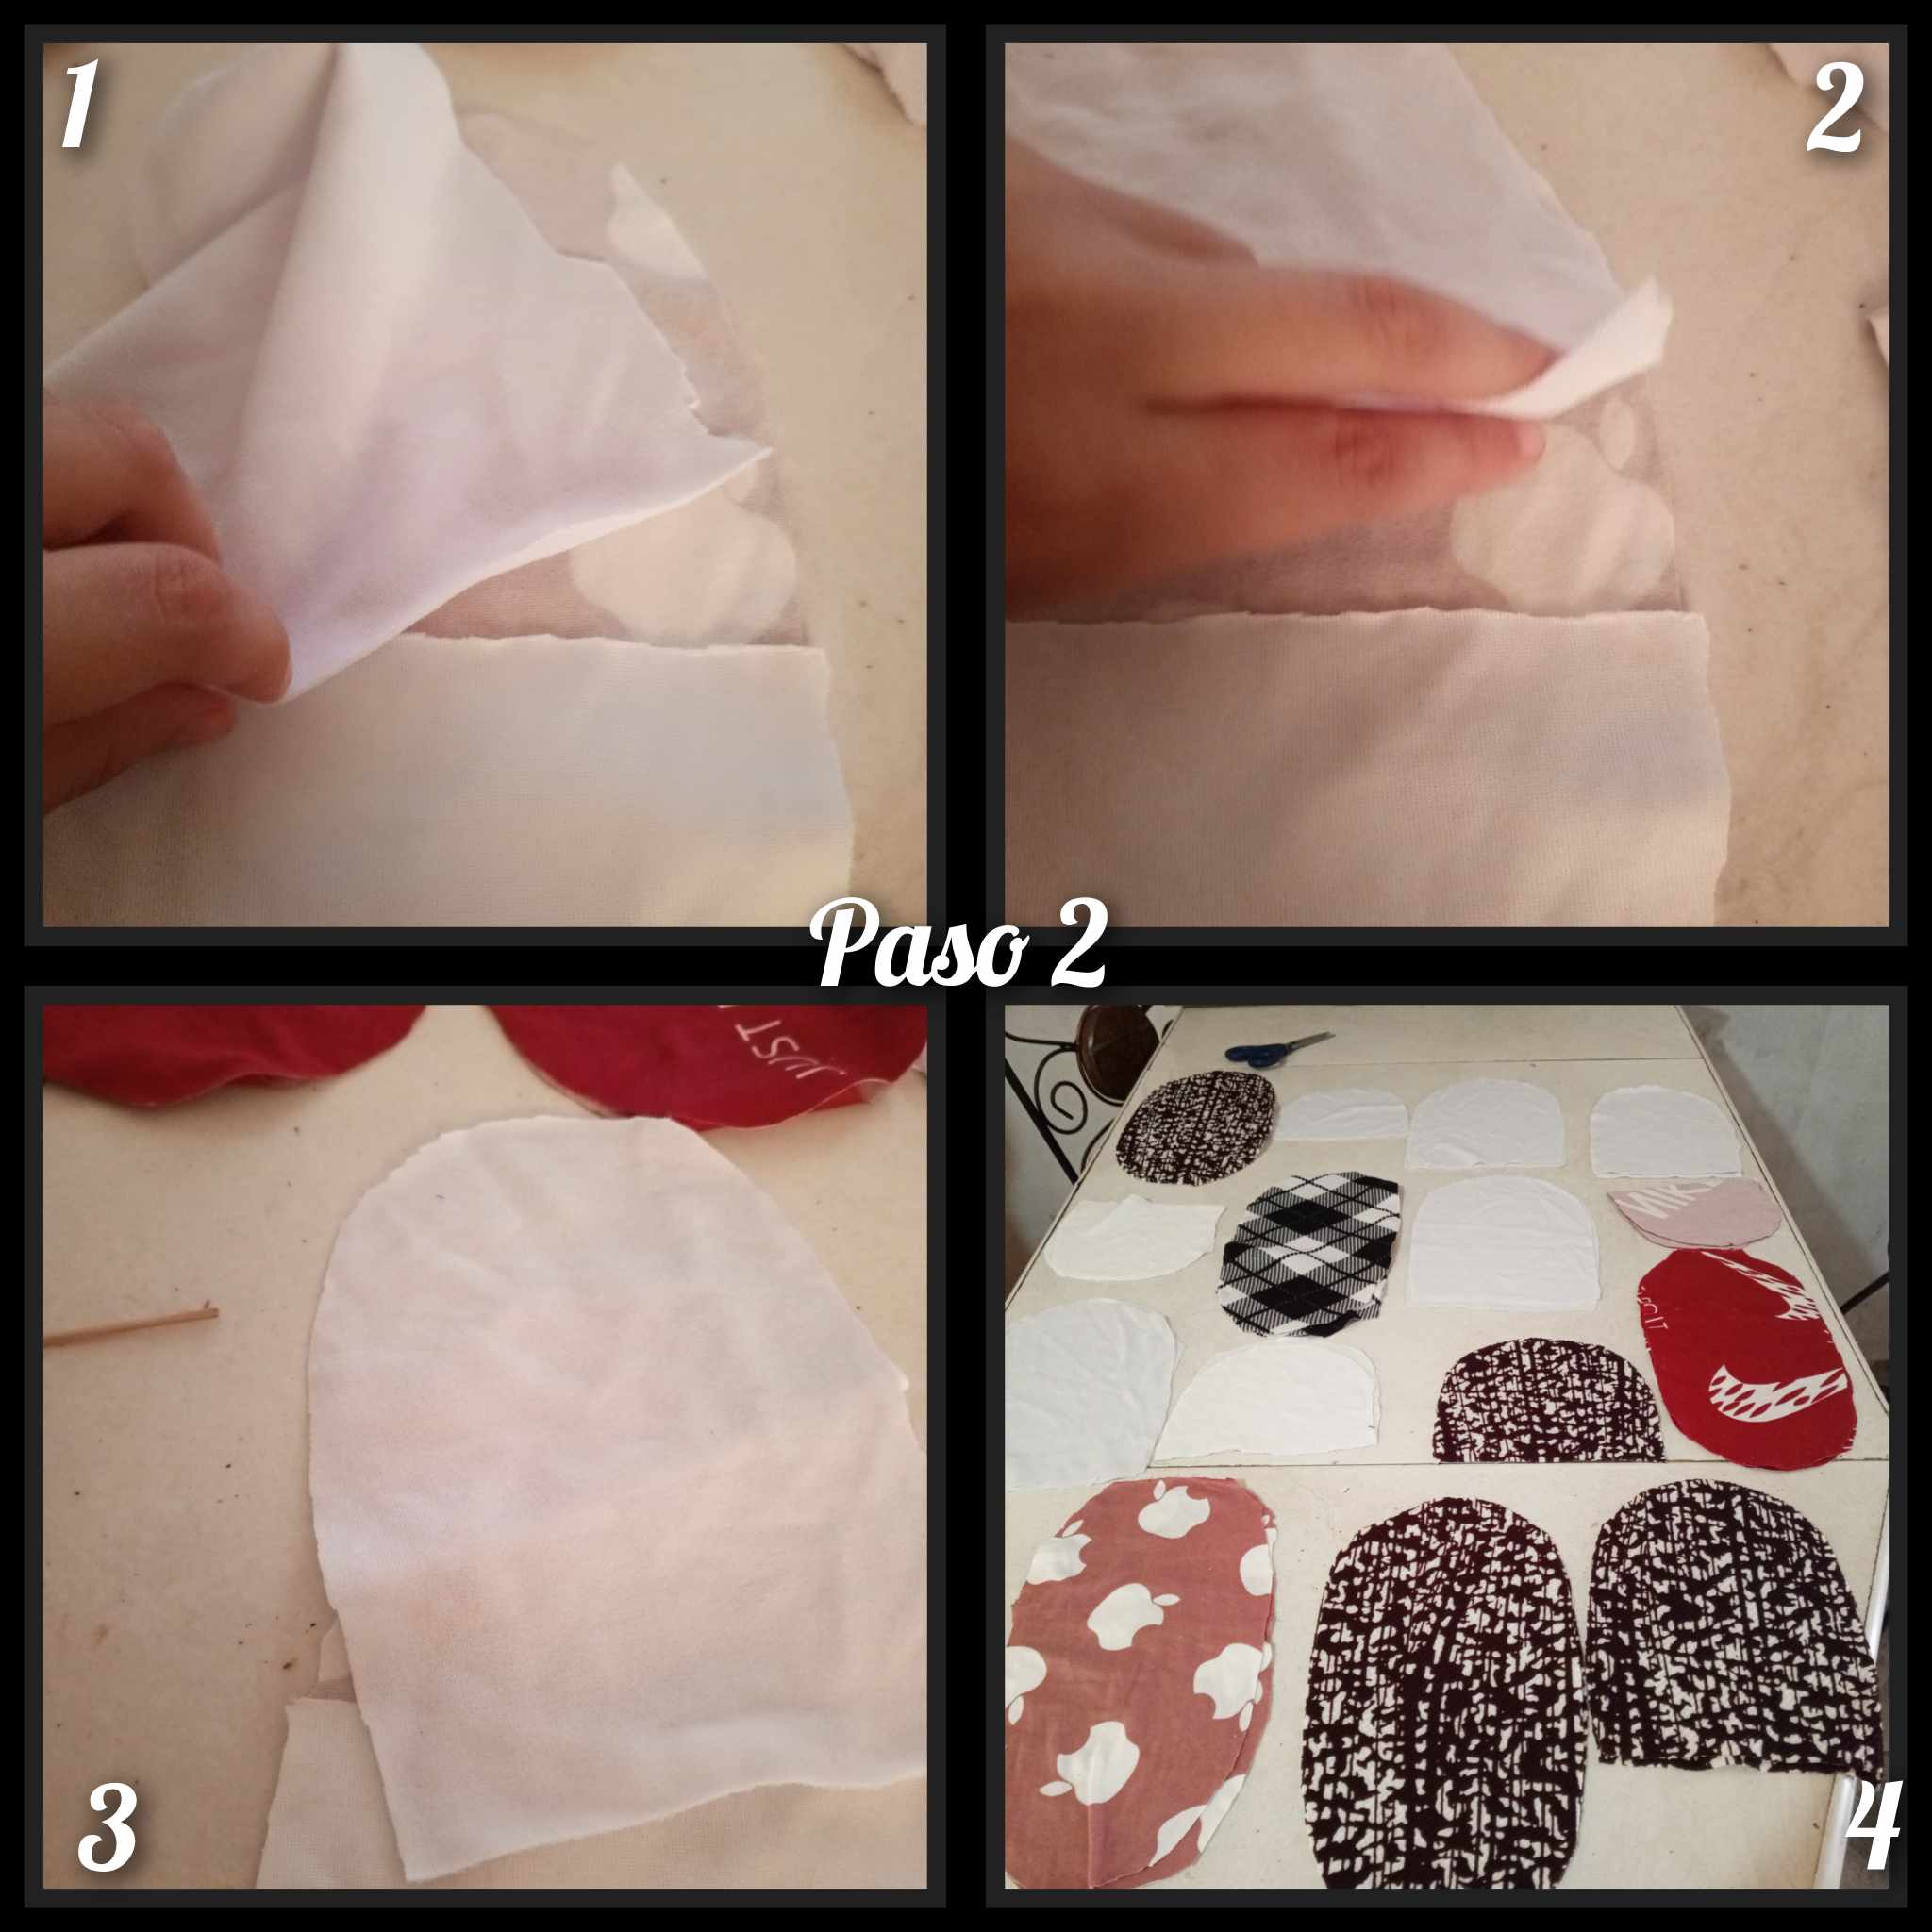
Paso 2: aquí podrán observar las piezas de nuestras tobilleras, las piezas son 3 por cada tobillera, la parte que va abajo que cubre toda la planta del pies, luego va la pieza que irá en el tobillo y luego la pieza que va encima que es la que cubre el pies.
Step 2: here you can see the pieces of our anklets, the pieces are 3 for each anklet, the part that goes down that covers the entire sole of the foot, then goes the piece that will go on the ankle and then the piece that goes on top which is the one that covers the foot.
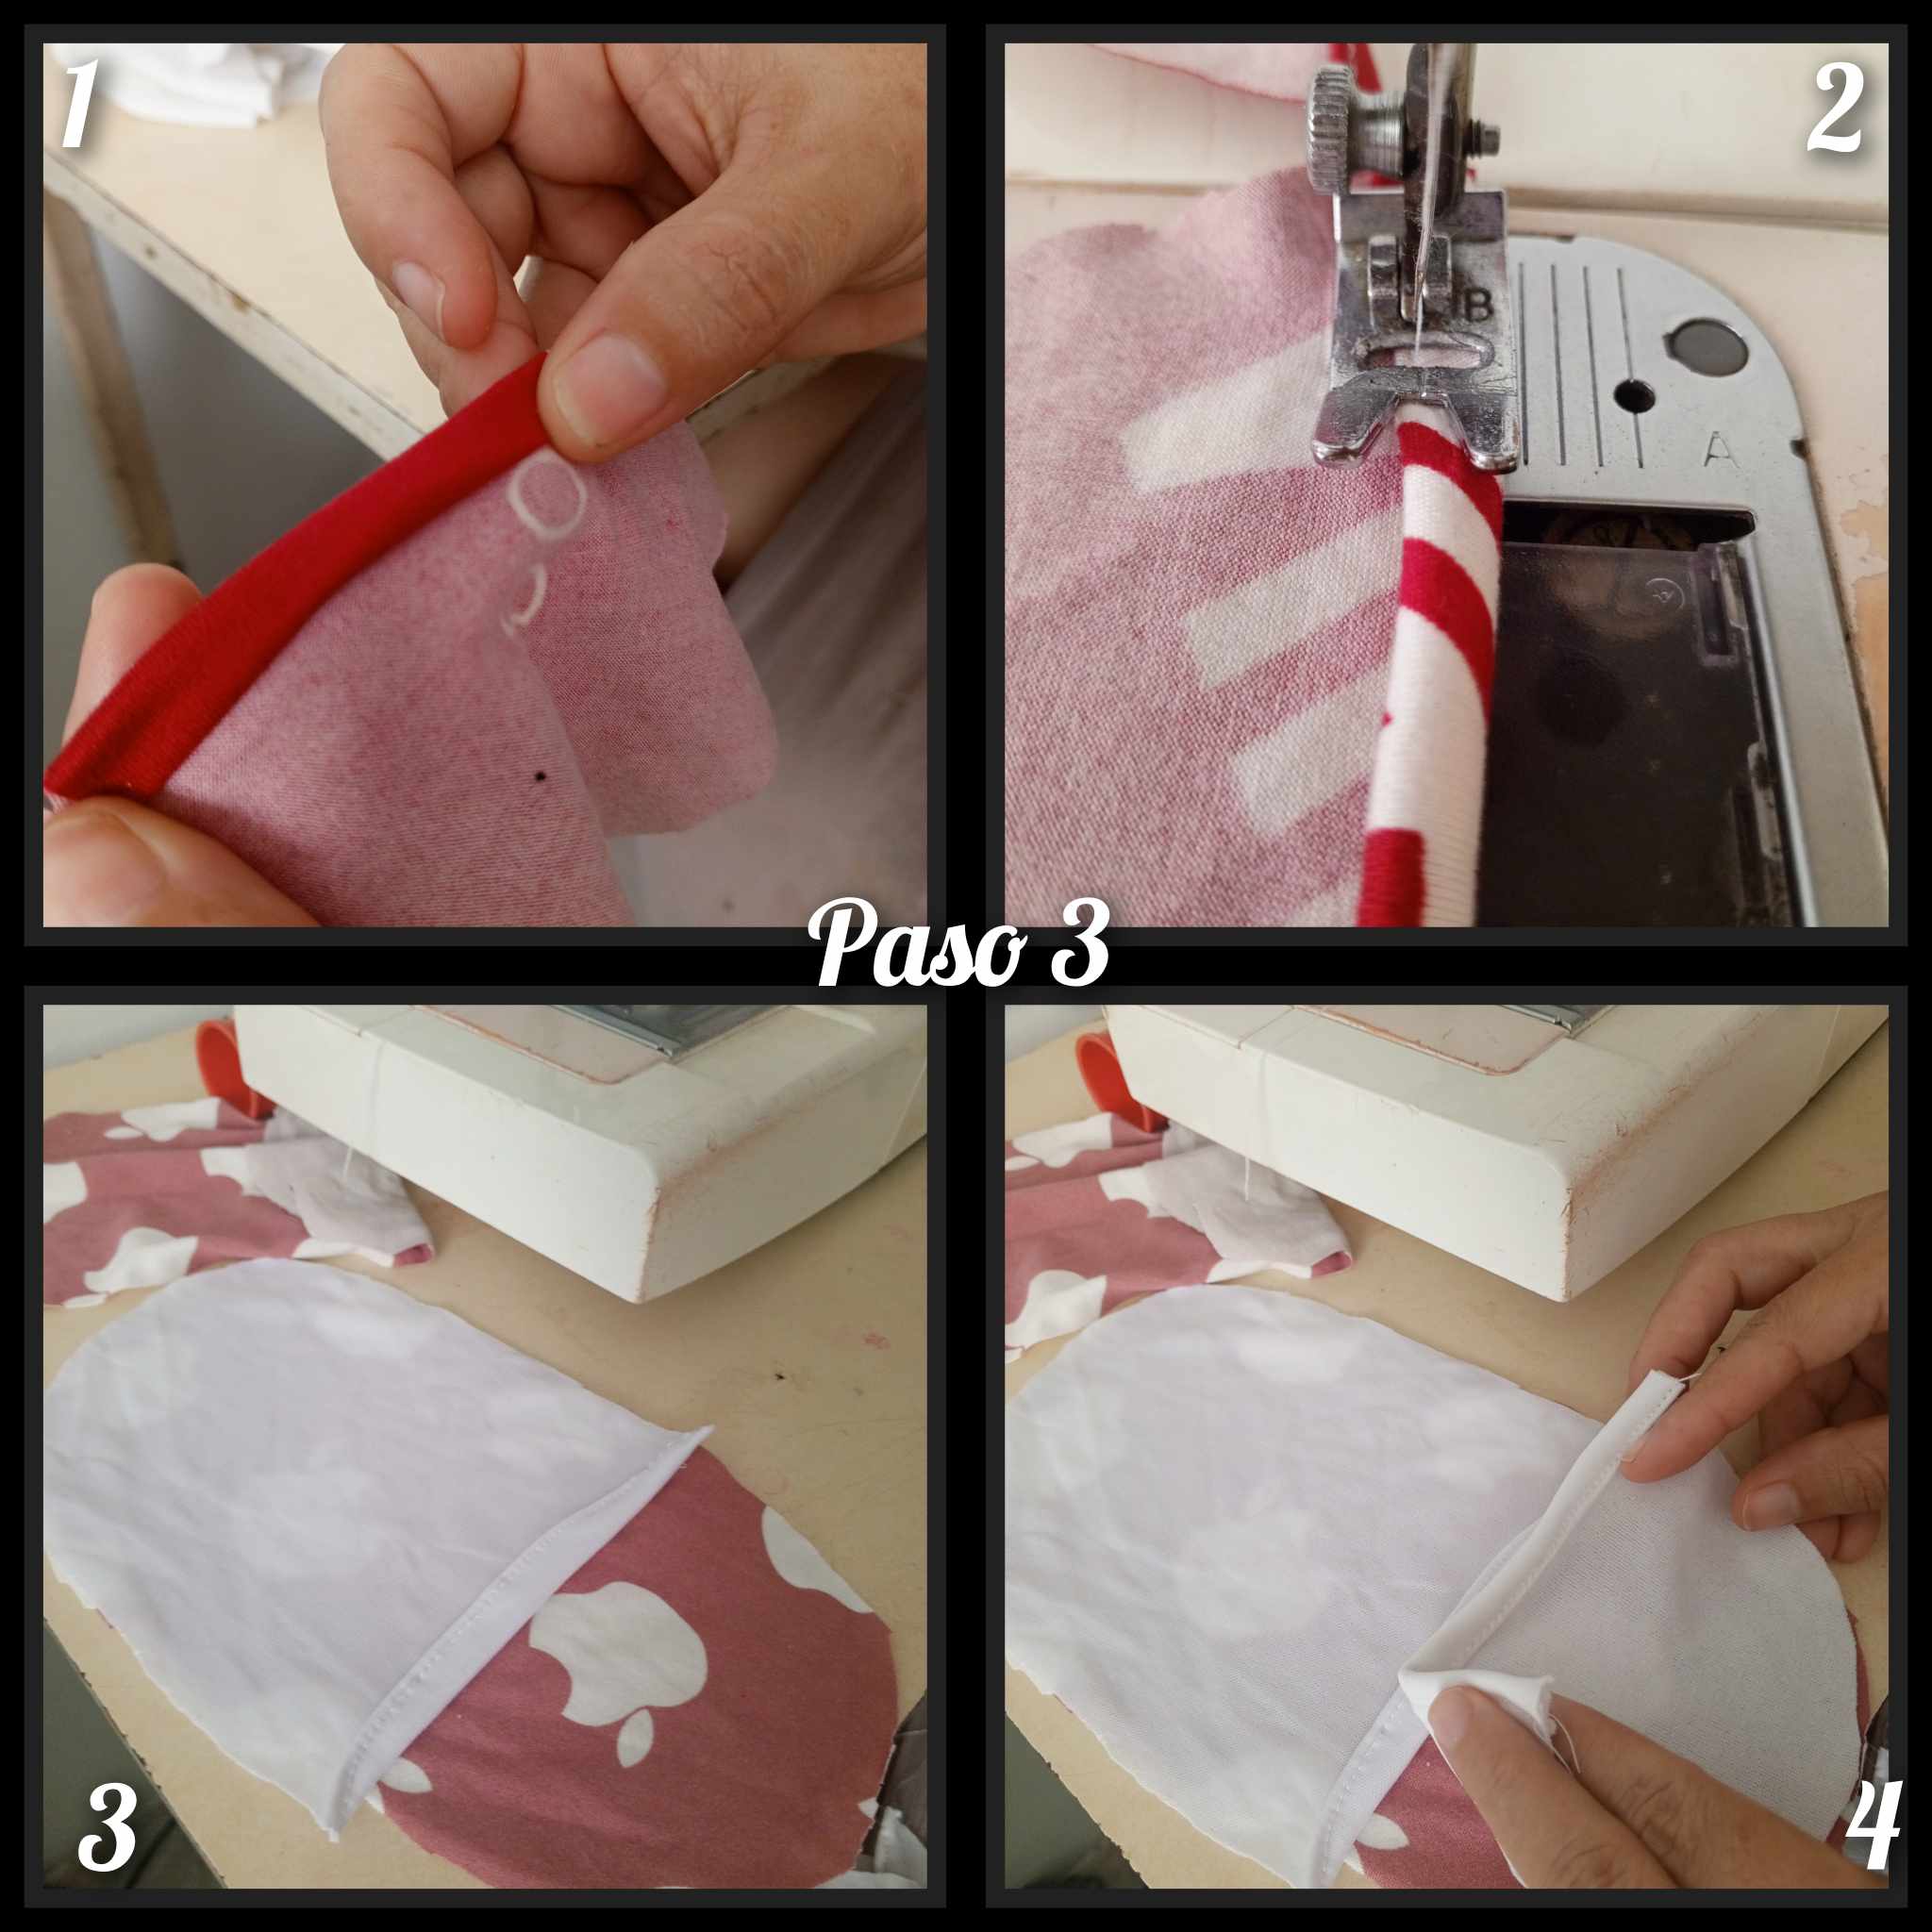
Paso 3: lo que procederemos a coser será la parte del tobillo, haremos un pequeño doblez el cual es necesario para tomar el ruedo y la tela no se vaya, colocaremos la parte de arriba que cubre el pies justo arriba de la parte que cubre la planta del pies, y luego coseremos la pieza que va en el tobillo y así es la estructura que debemos colocar para coser nuestra tobillera y pueda quedar como debe quedar.
Step 3: what we will proceed to sew will be the part of the ankle, we will make a small fold which is necessary to take the hem and the fabric does not leave, we will place the top part that covers the feet just above the part that covers the sole of the feet, and then sew the piece that goes on the ankle and so is the structure that we must place to sew our anklet and can be as it should be.
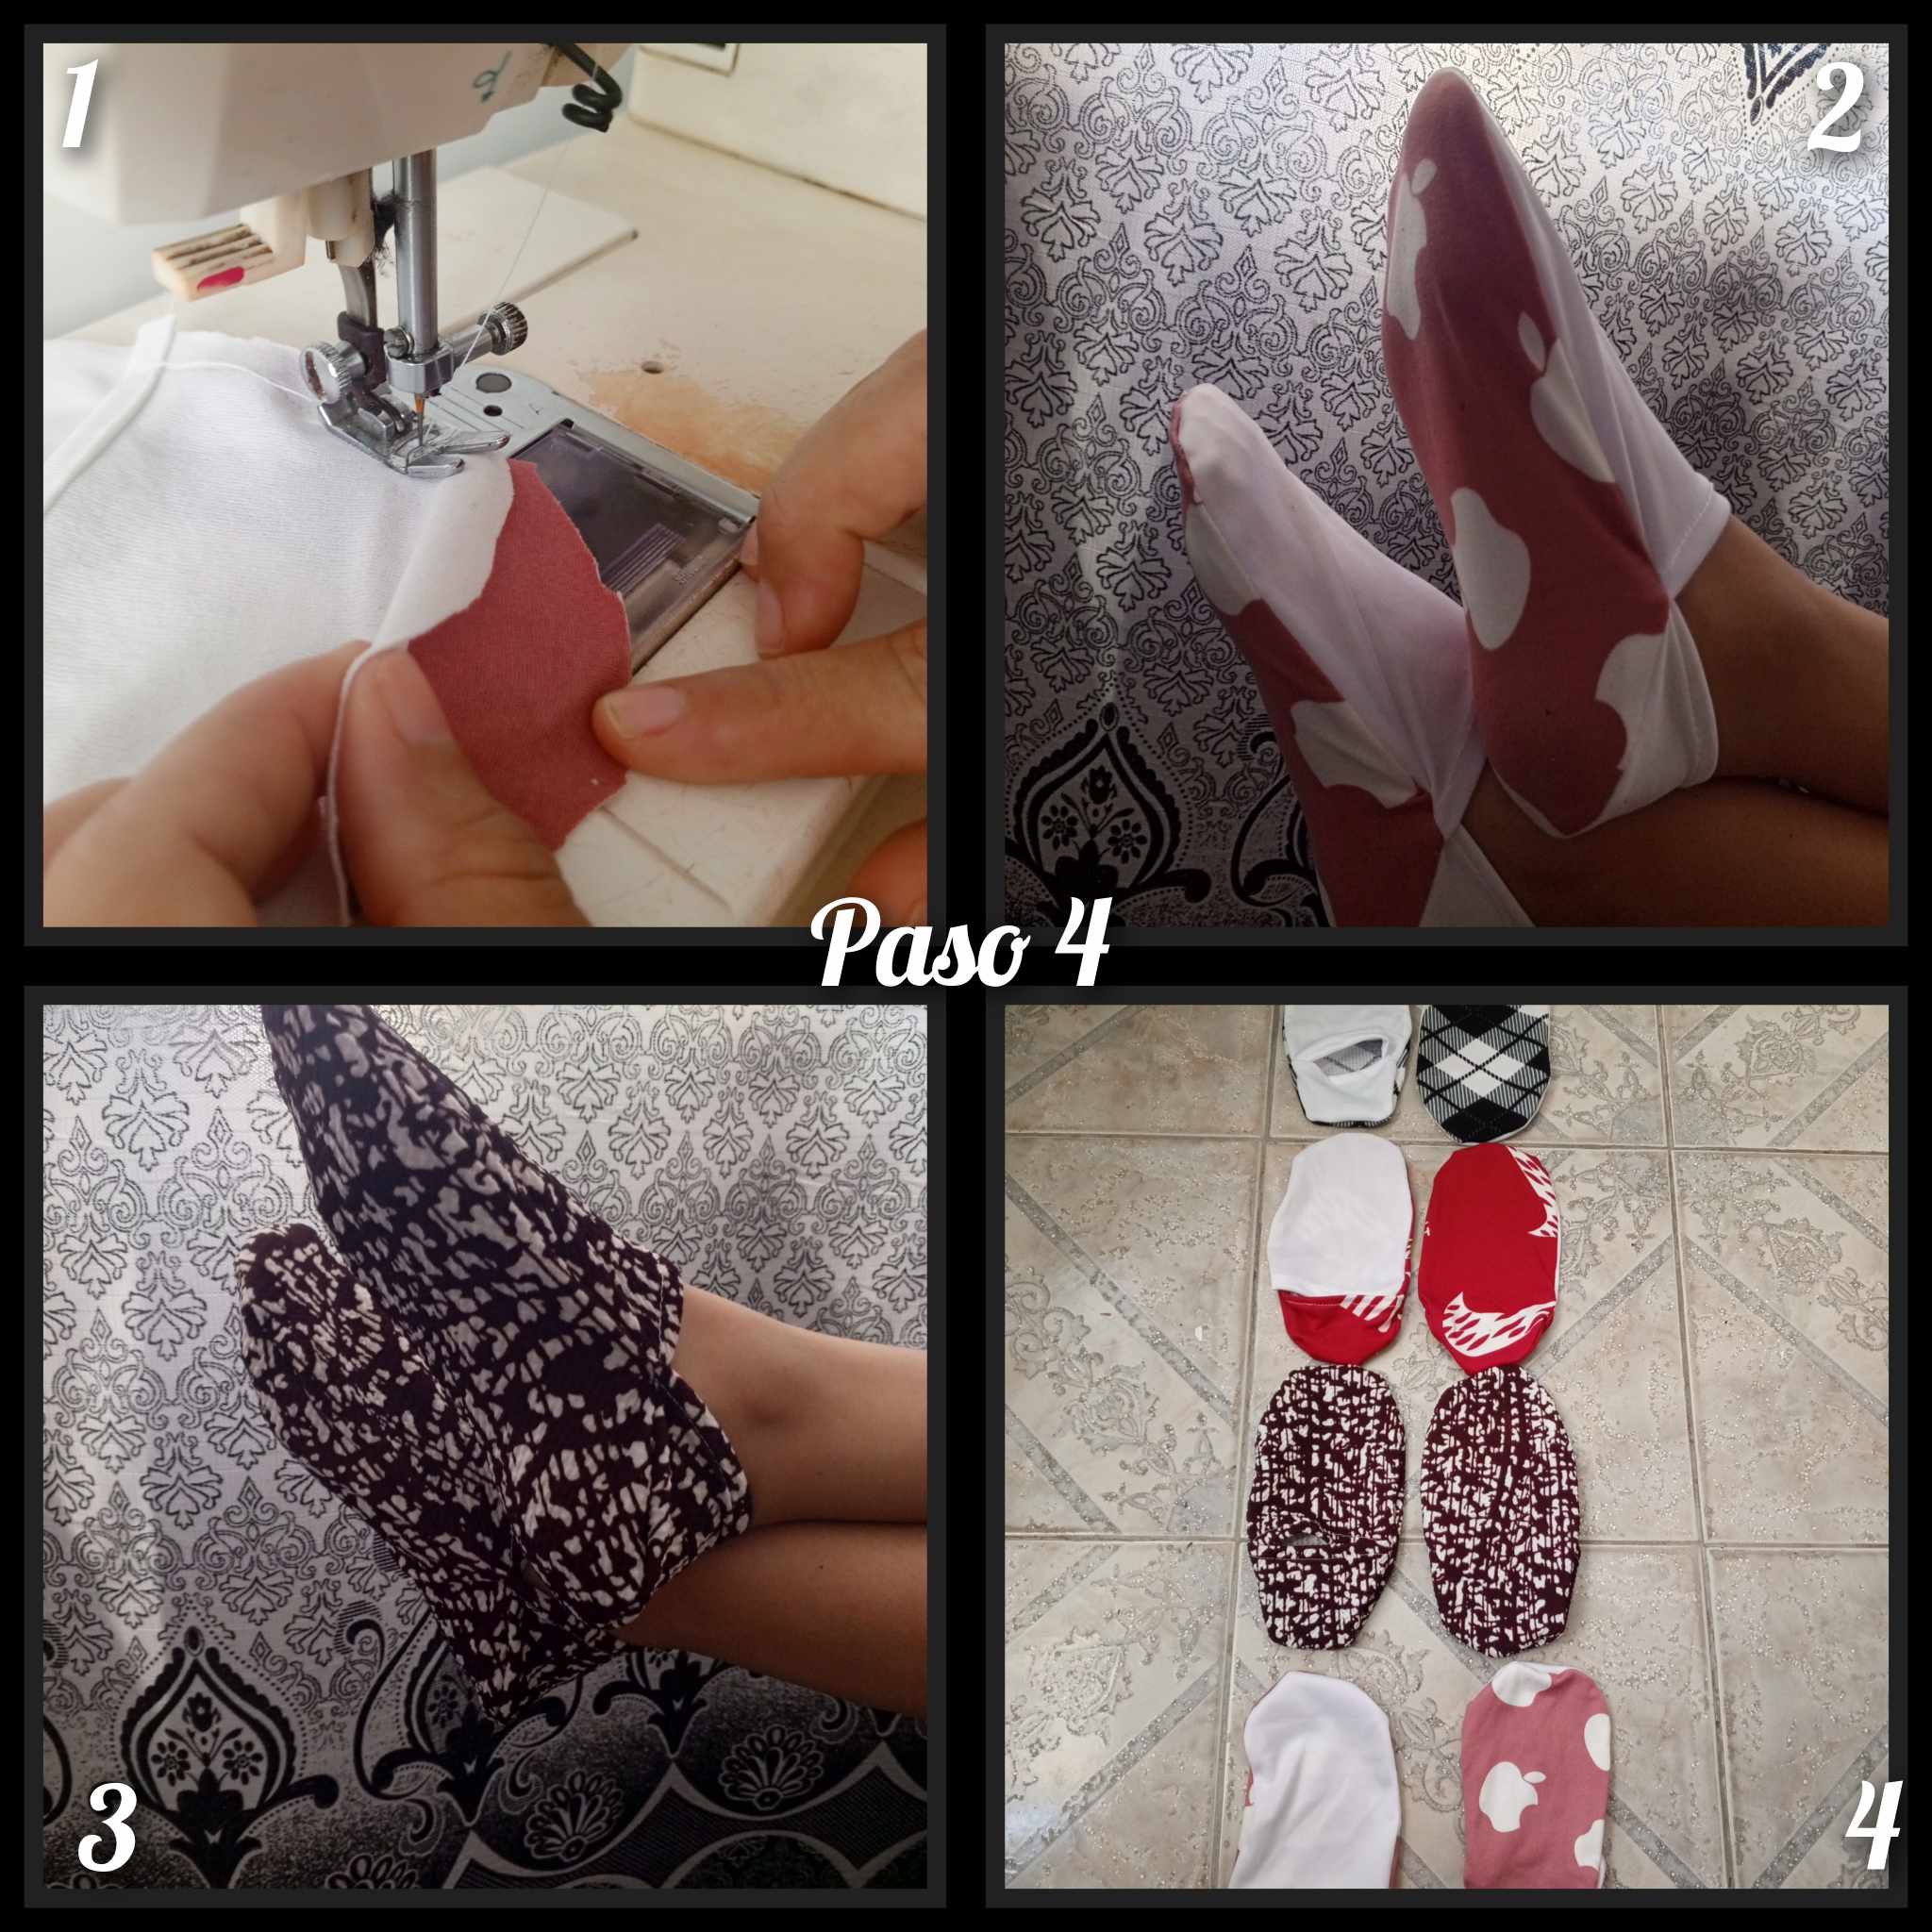
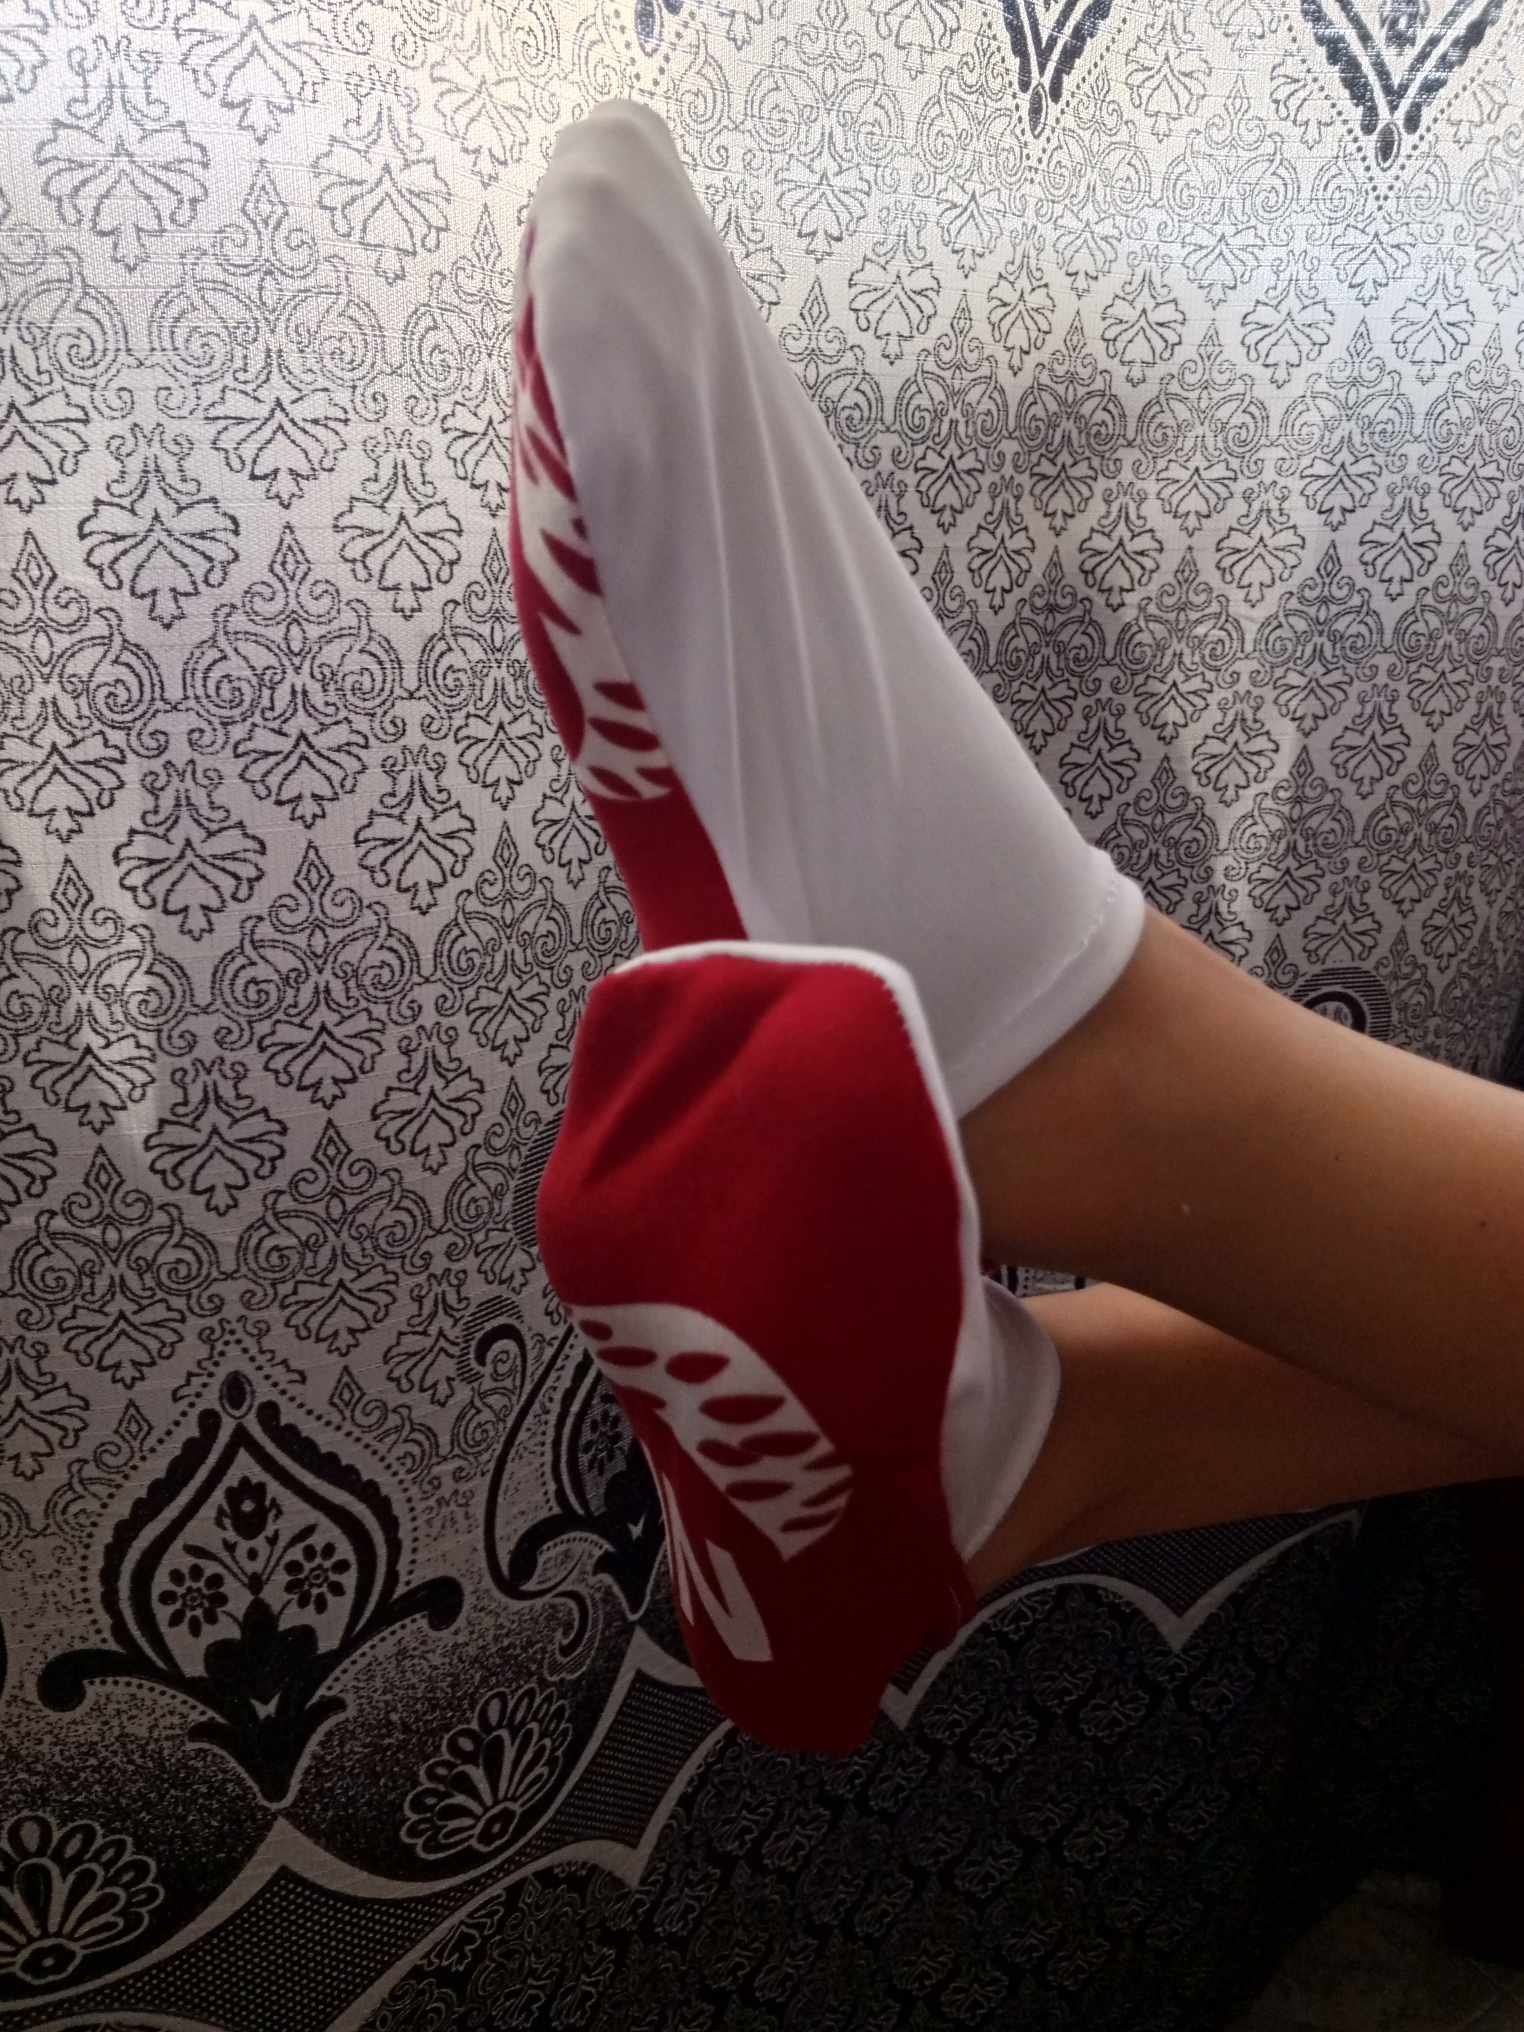
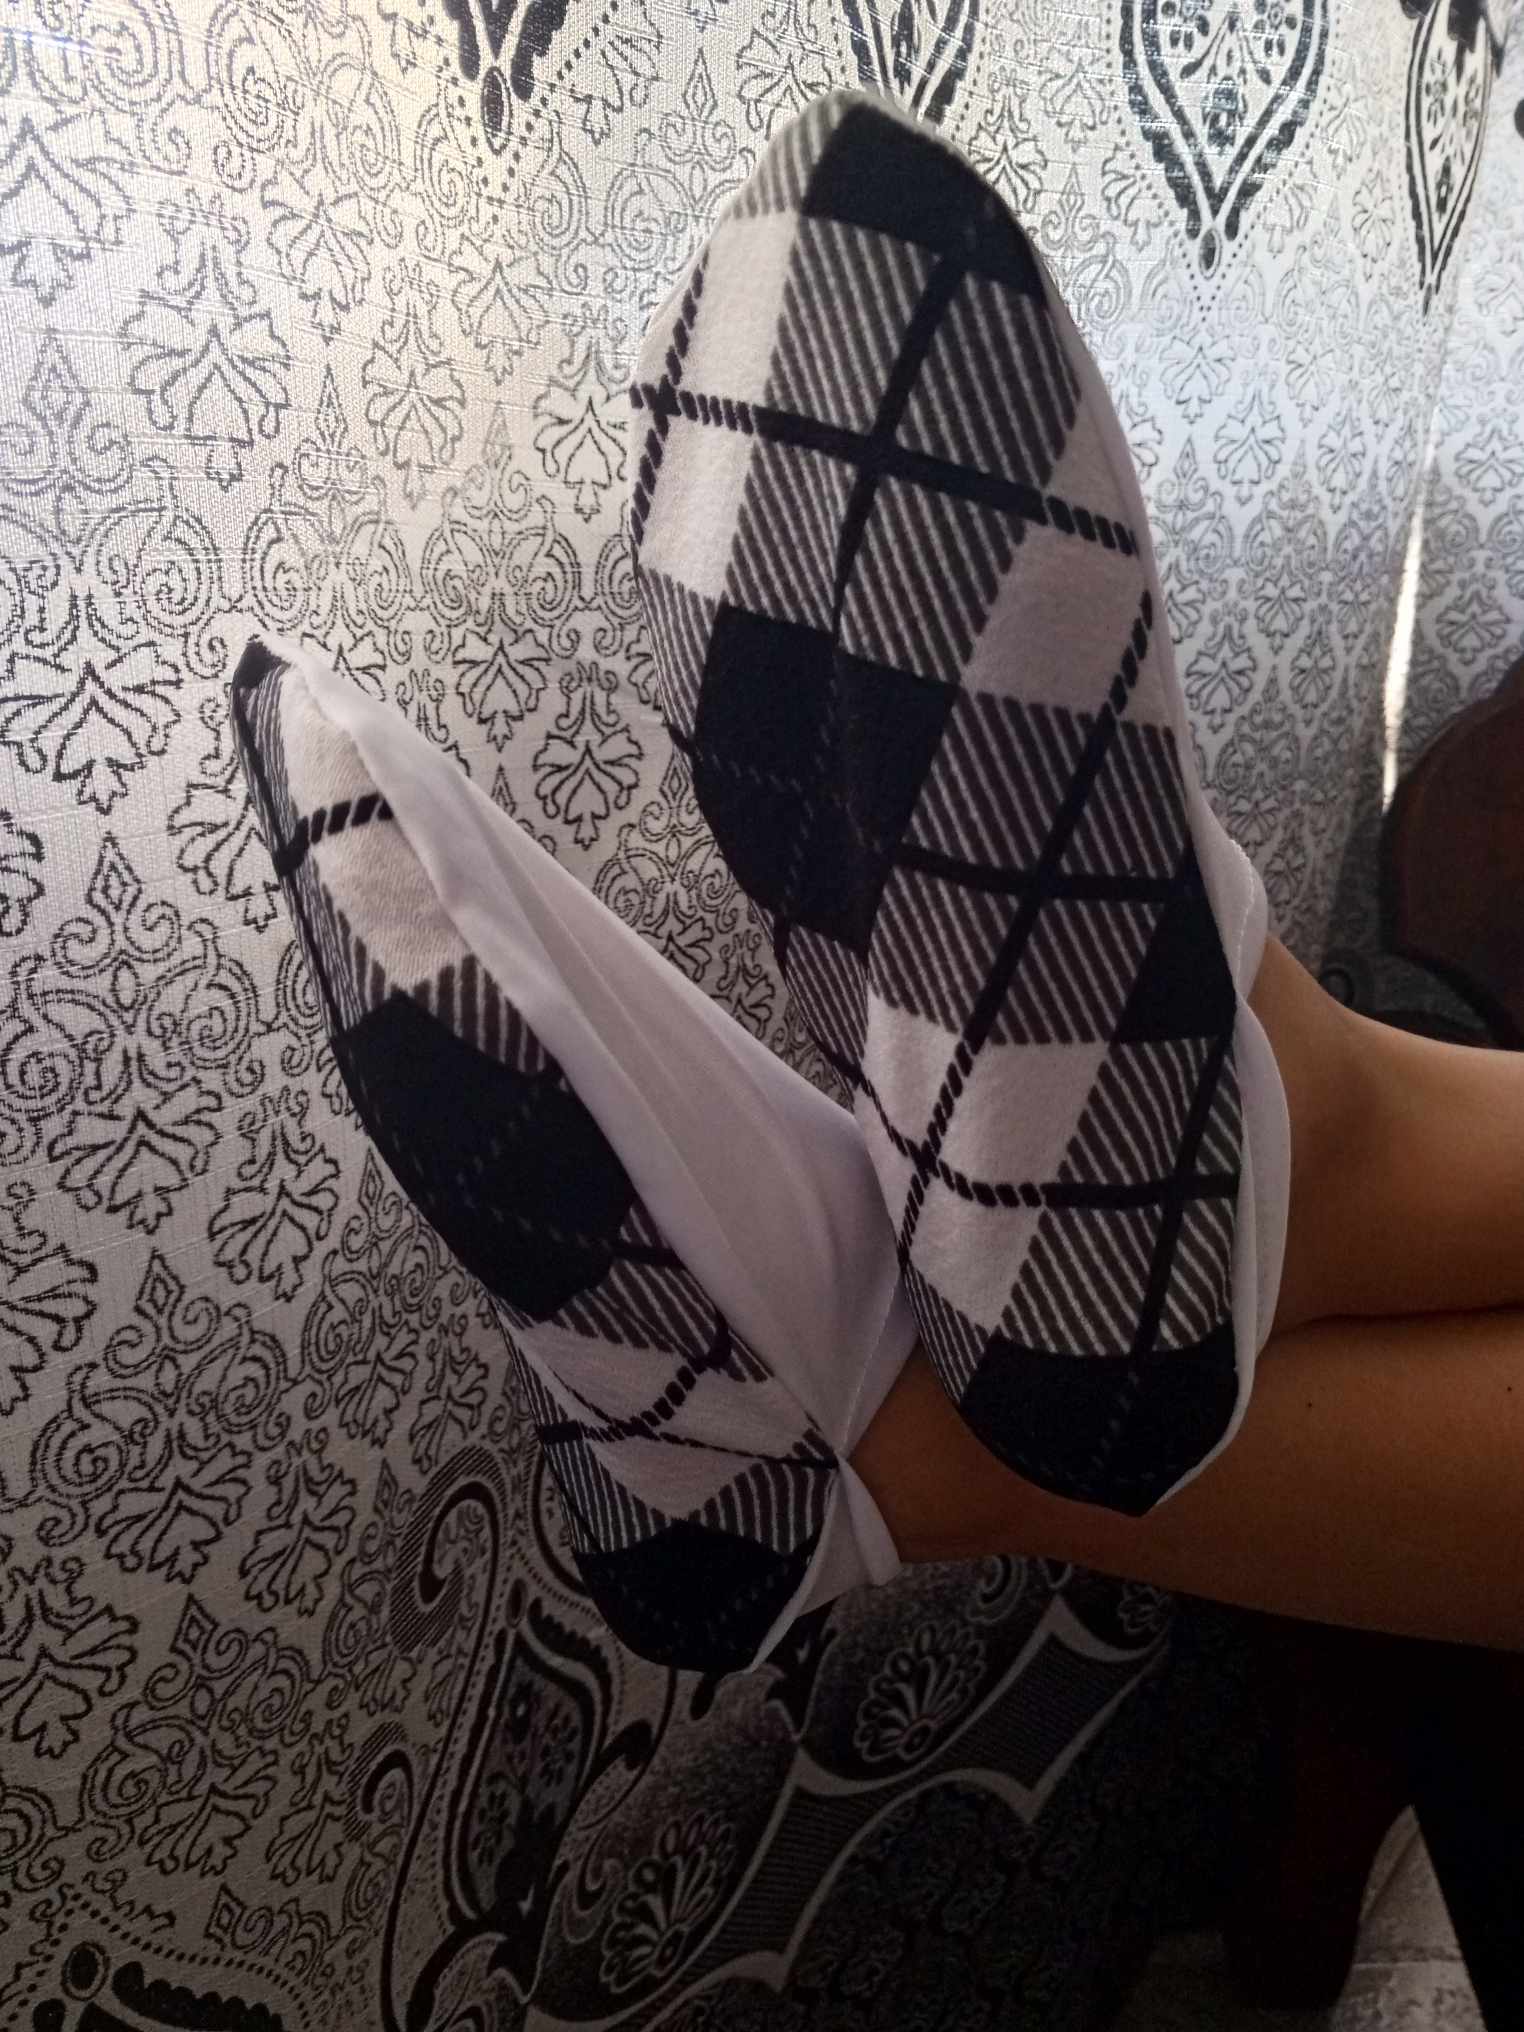
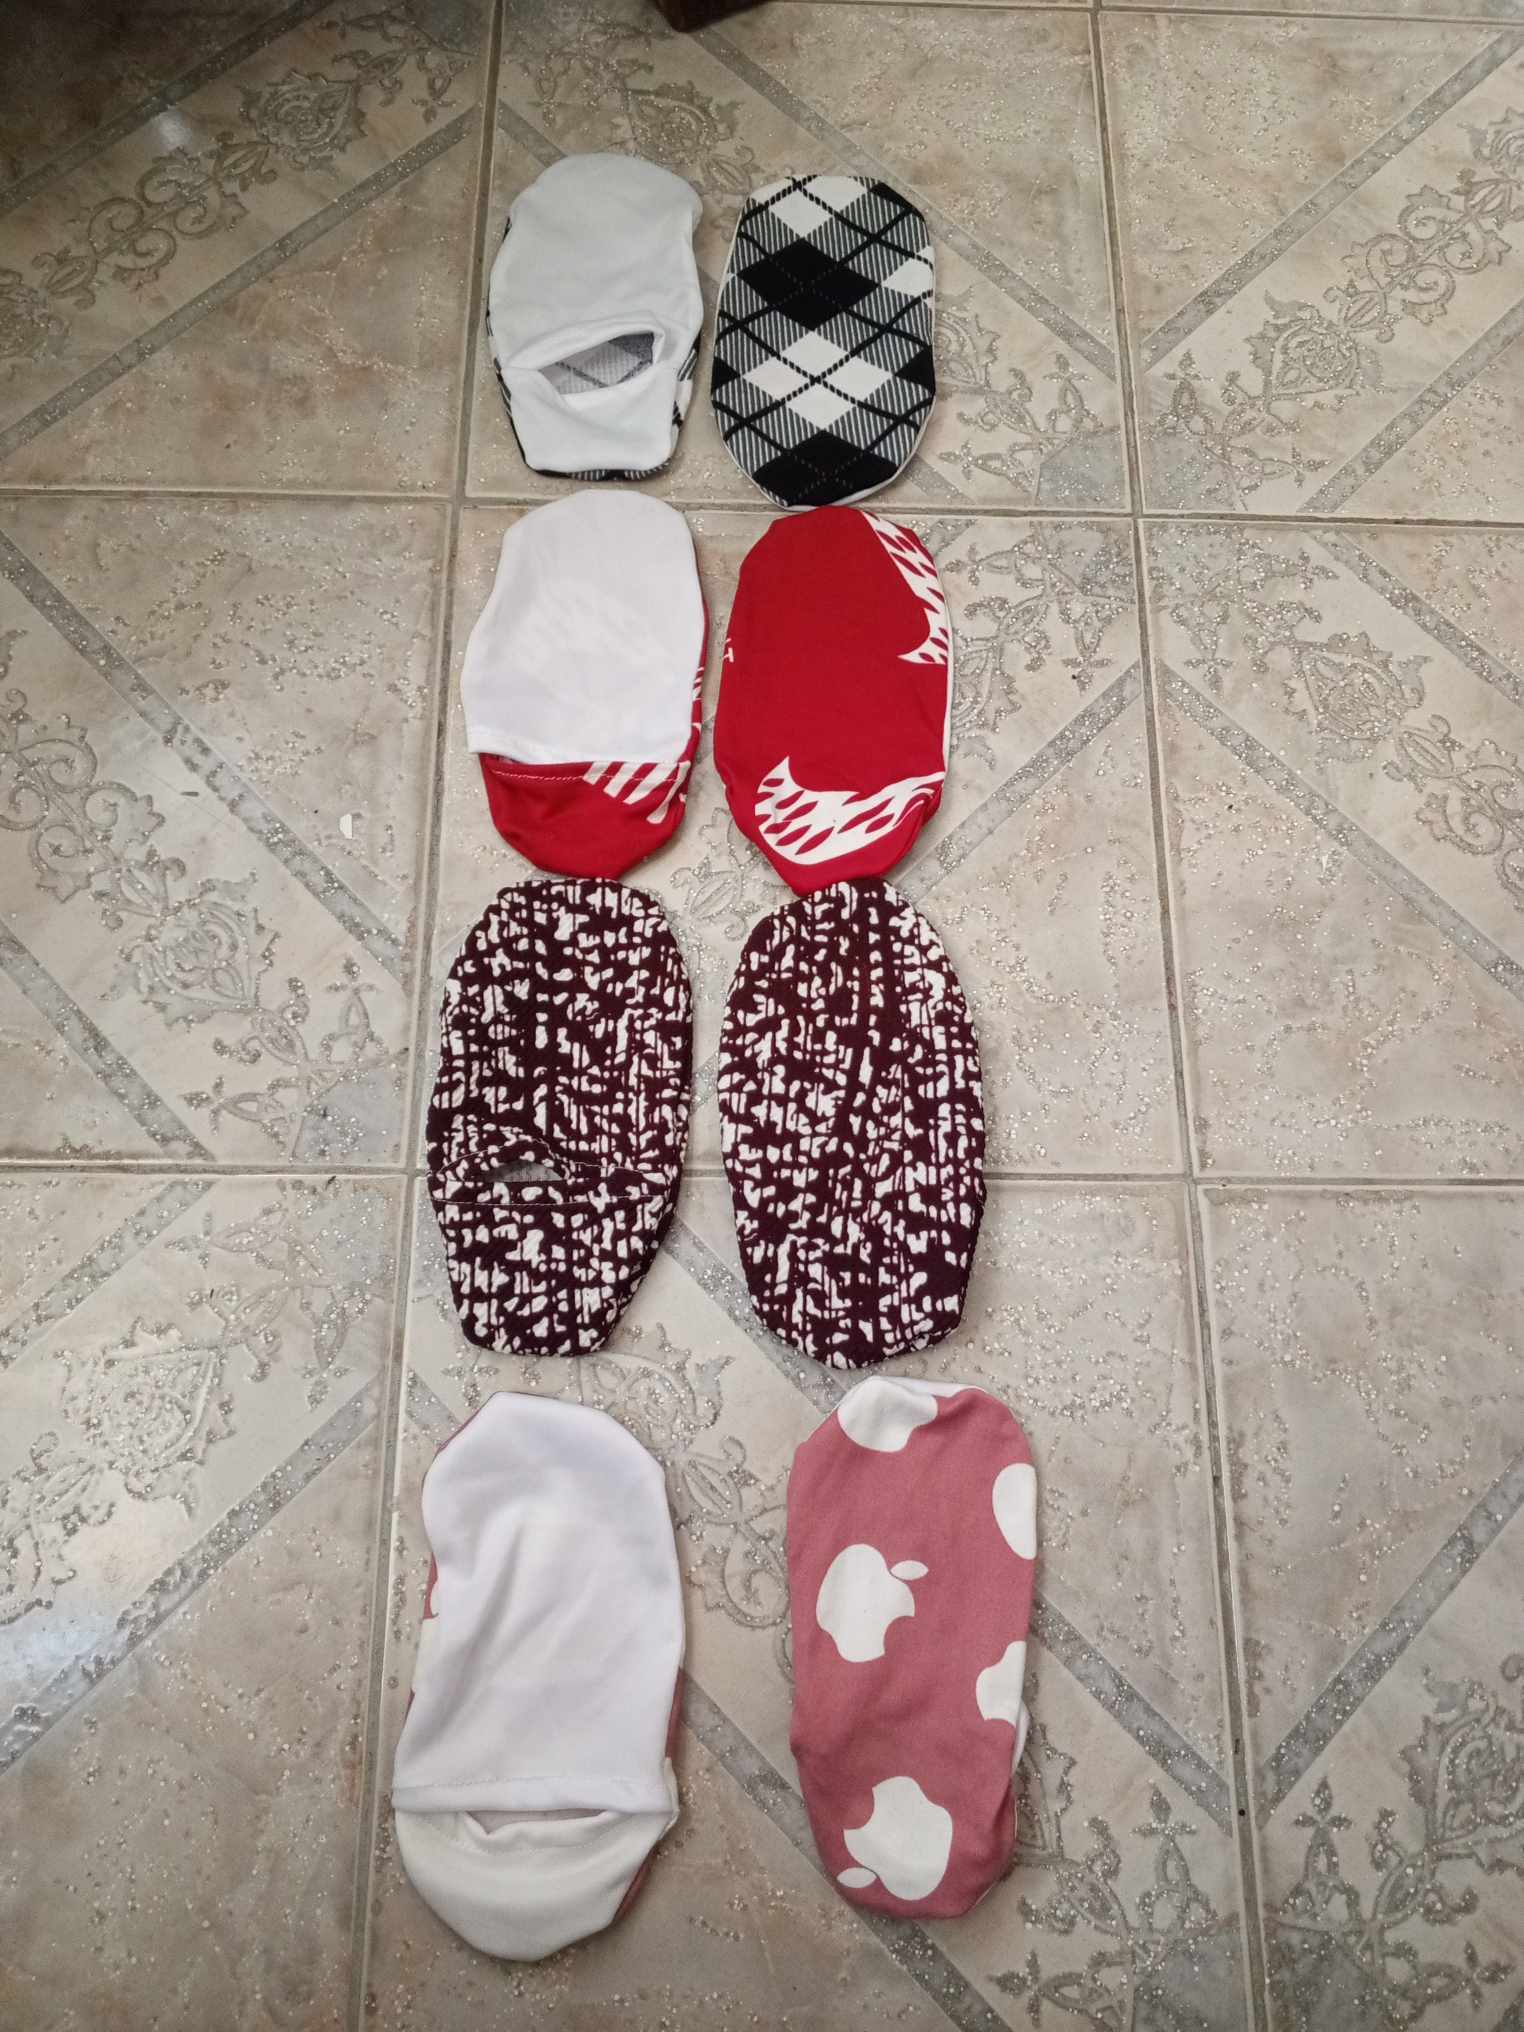
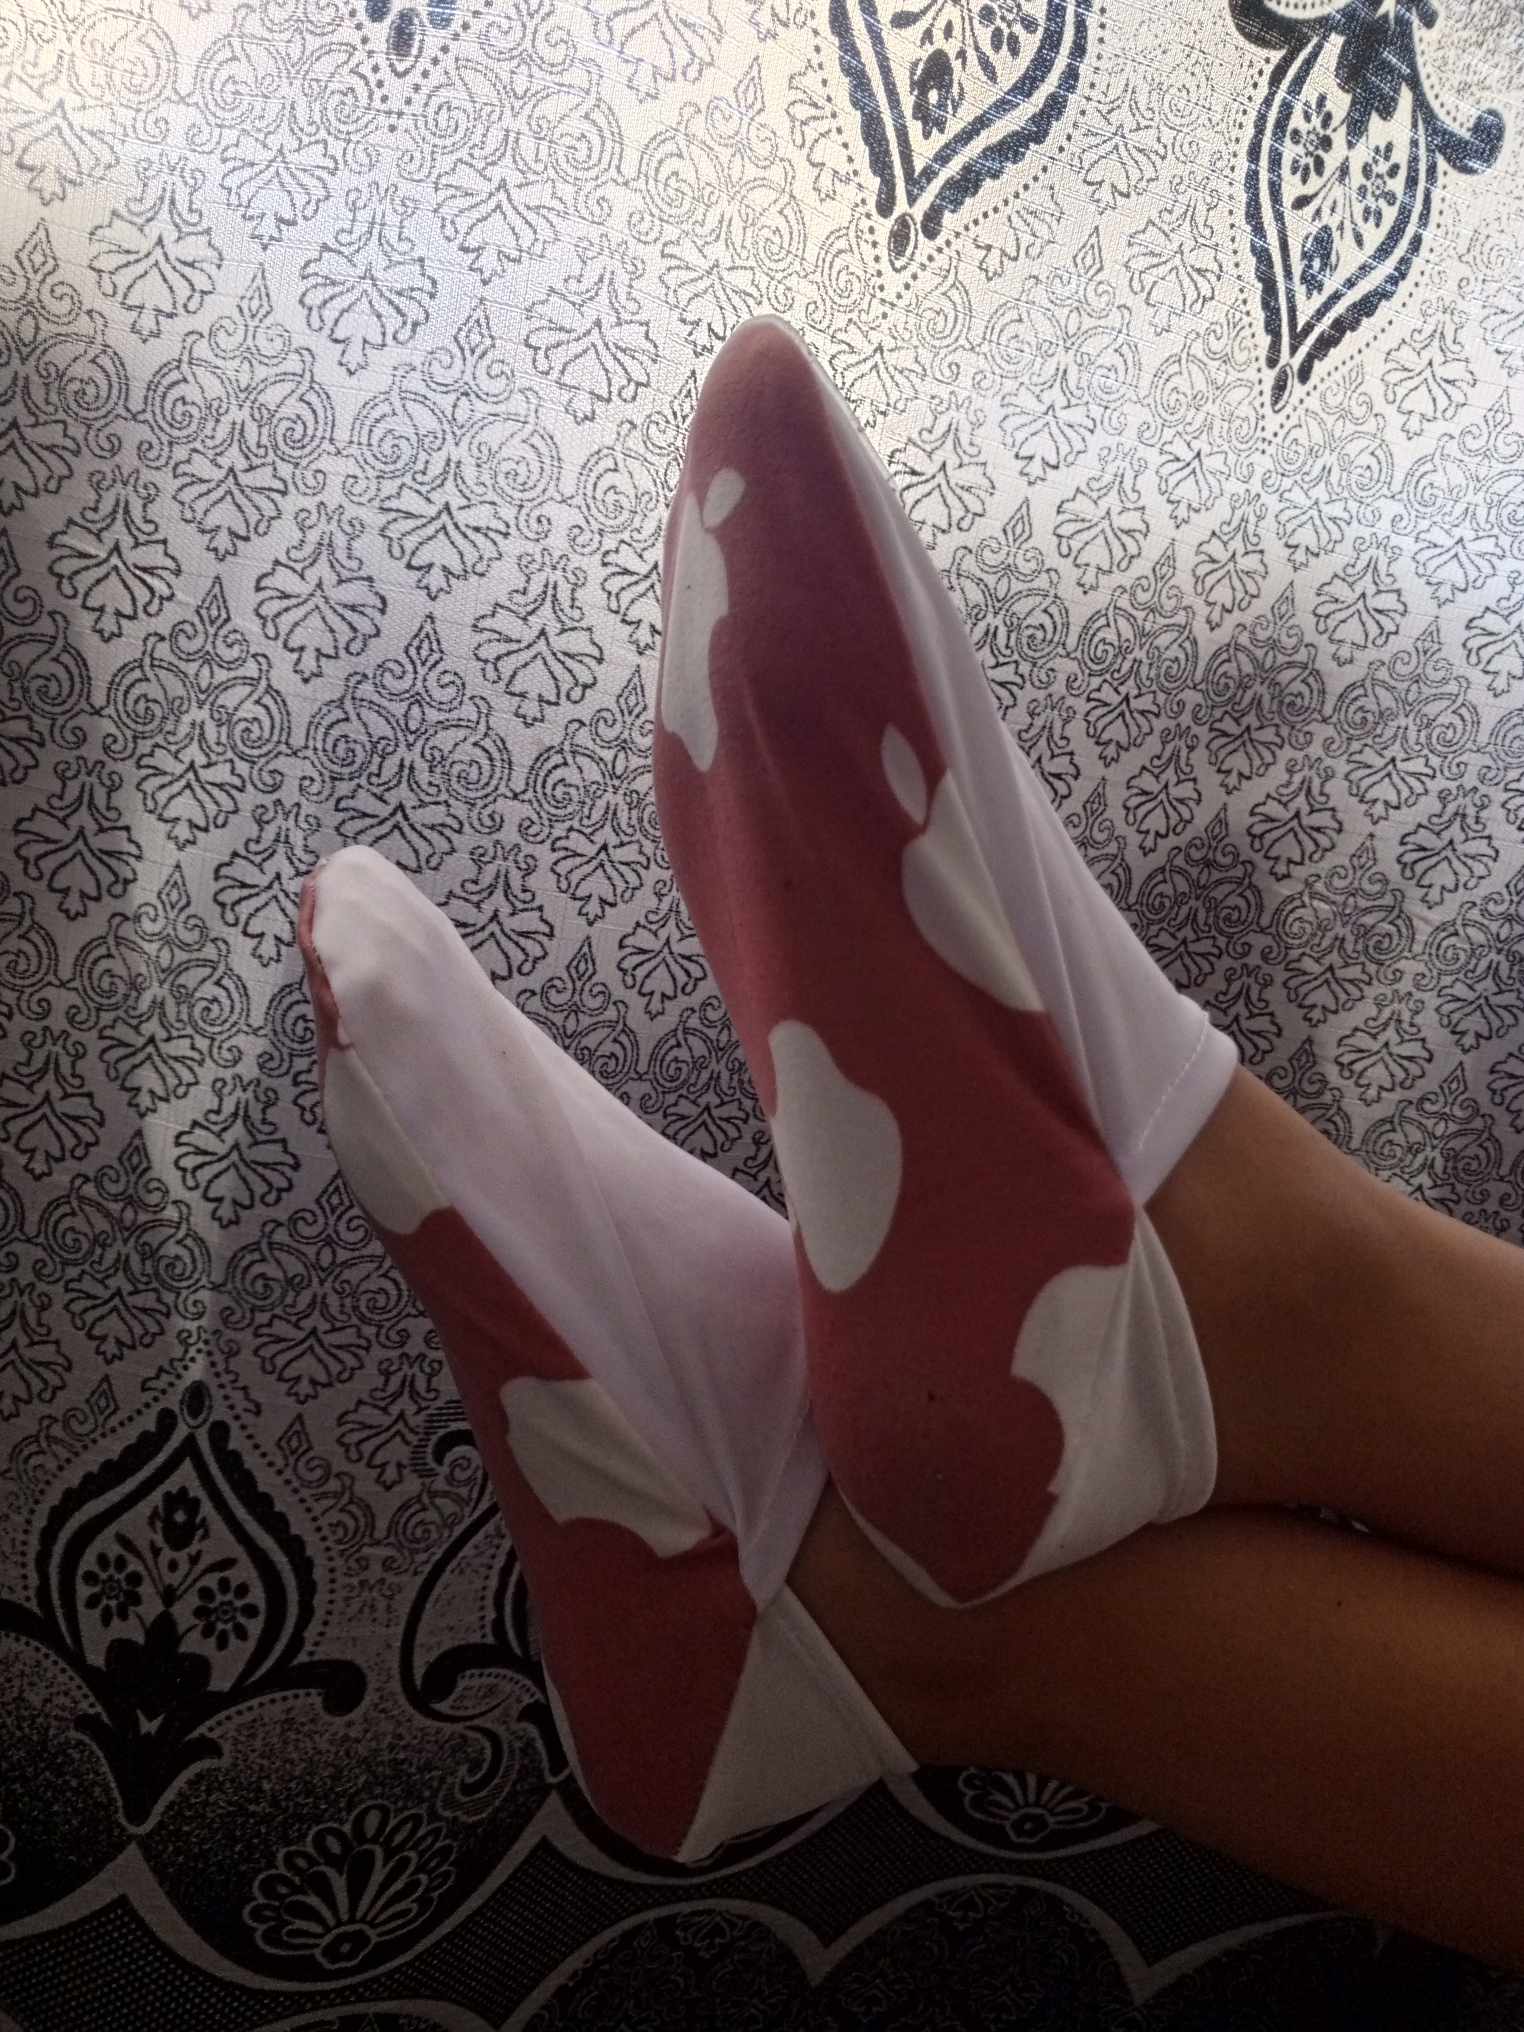
Paso 4: coseremos cuidadosamente todo el borde de nuestra tobillera uniendo las tres piezas que hacen parte de esta creación, y de esta manera culminamos, la verdad es súper fácil hacer estás tobilleras y son tan necesarias, se las recomiendo hacer con telas súper finitas y suaves porque al momento de usarlas son bastante cómodas, así que gracias por mirar este tutorial espero que les guste y también puedan hacerlo, bendiciones para todos.
Step 4: carefully sew the entire edge of our anklet joining the three pieces that are part of this creation, and thus culminated, the truth is super easy to make these anklets and are so necessary, I recommend making them with super thin and soft fabrics because at the time of use are quite comfortable, so thanks for watching this tutorial I hope you like it and you can also do it, blessings to all.

That is a smart creation. Perfect bedtime companion.
Este proyecto me parece una excelente idea para mantener nuestros pies cómodos dentro de casa, parecen una especie de pantuflas. Me gustó mucho esta idea porque se pueden elaborar con retazos.
Gracias por compartir esta idea con nosotros @eribetzi. Saludos 🤗
Hola @eribetzi, esta es una buena idea para aprovechar los retazos de tela, me gustó la combinación de colores, se parecen mucho a las pantuflas, gracias por compartir.
Saludos!
Oh me encanta y mucho porque adoro estar descalza☺️