[ESP-ENG] Making Beautiful Christmas Tree Mobile | Elaborando Hermoso Móvil de un Árbol Navideño
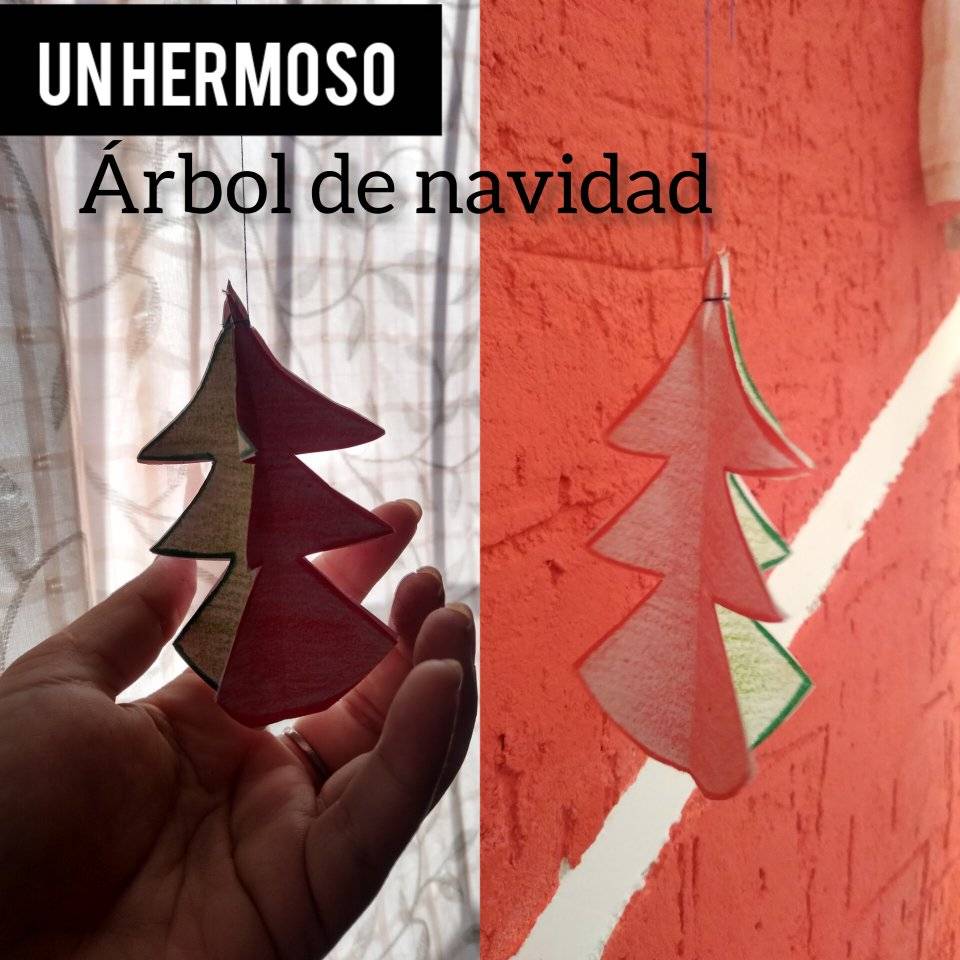
Hello my beautiful hive family, I hope you are all well and enjoying this beautiful month. I want to show you a detail that I made with cardboard in my house, it is based on a small Christmas tree and serves to decorate the empty spaces in our house. It is super easy to make, super cute and also serves the function of a mobile that turns while it is hanging, so let's see the step by step

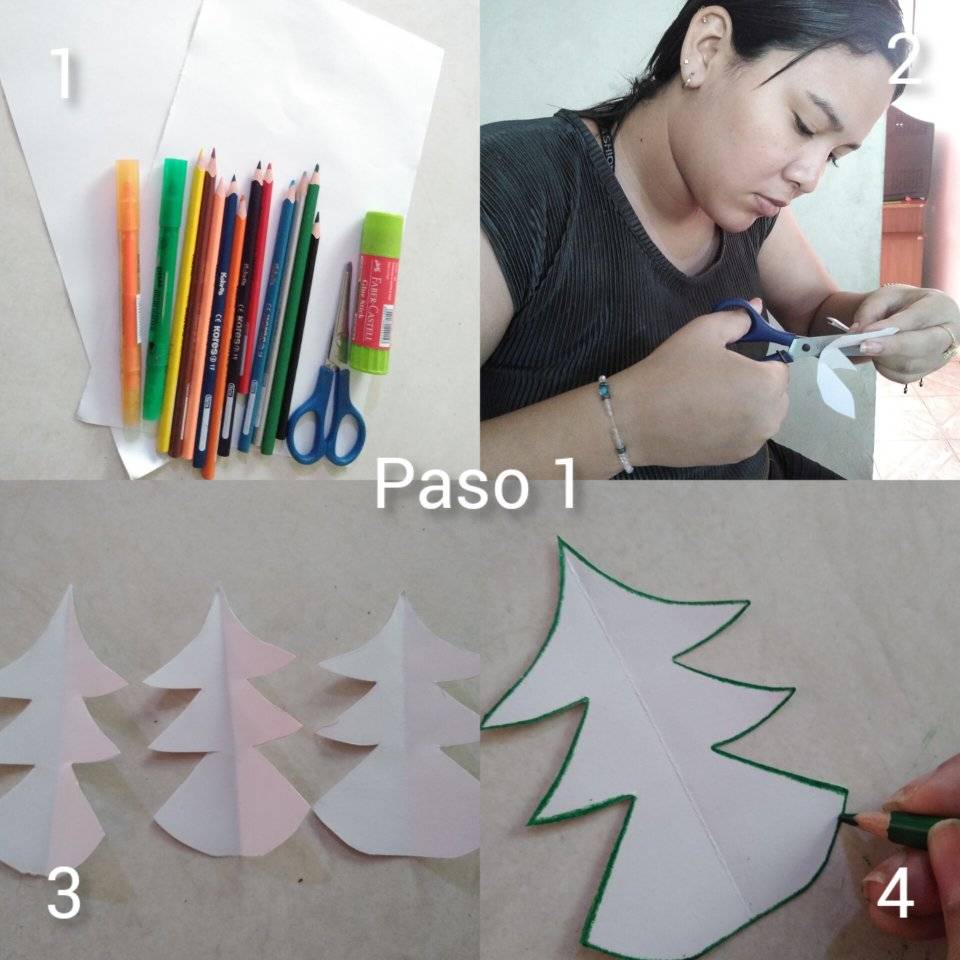
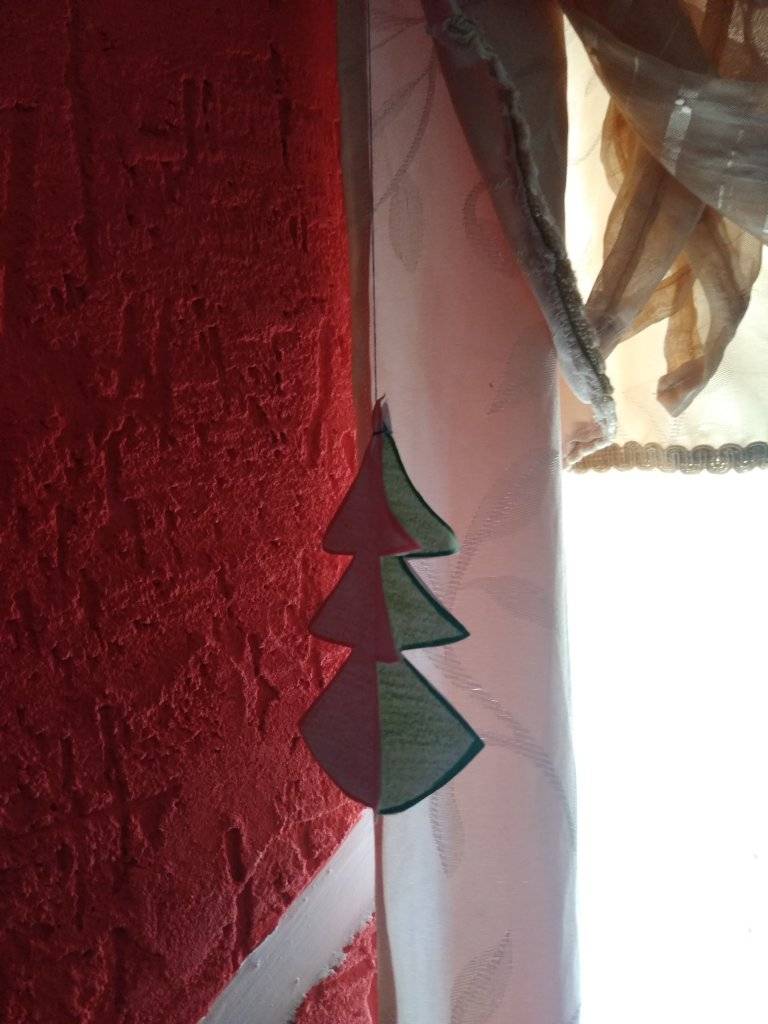
Paso 1: vamos a necesitar una cartulina blanca, colores, pega en barra o silicón al frío o caliente, tijeras. Procederemos a dibujar un árbol de navidad en la cartulina, el cual vamos a recortar, haremos 4 árboles.
Step 1: We will need a white cardboard, colors, glue stick or hot or cold silicone, scissors. We will proceed to draw a Christmas tree on the cardboard, which we will cut out, we will make 4 trees.

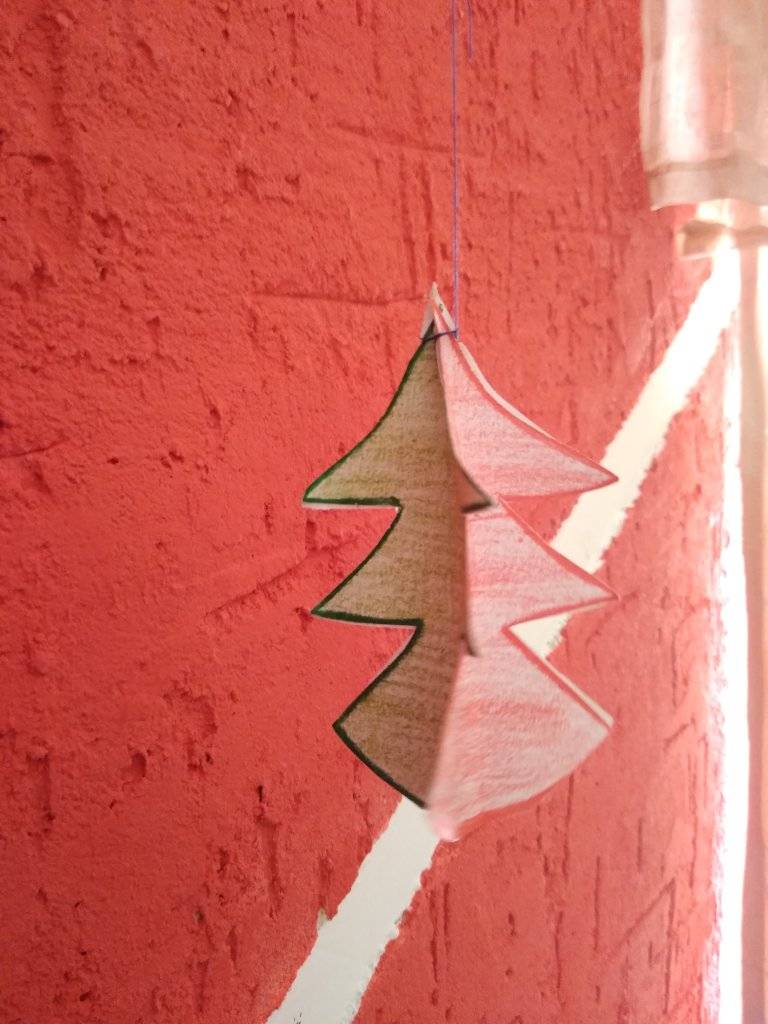
Paso 2: lo siguiente que procederemos a hacer será comenzar a sombrear nuestros arbolitos navideños con los colores que querramos. Yo en particular elegí el color verde y también el color rojo, así que los comencé a pintar por los bordes de la manera más oscura y ya la parte de adentro del árbol lo sombreo de manera más clarita para hacer un lindo contraste.
Step 2: the next thing we will proceed to do is to start shading our Christmas trees with the colors we want. I particularly chose green and also red, so I started painting the edges of the tree in the darker color and the inside of the tree I shaded it in a lighter color to make a nice contrast.
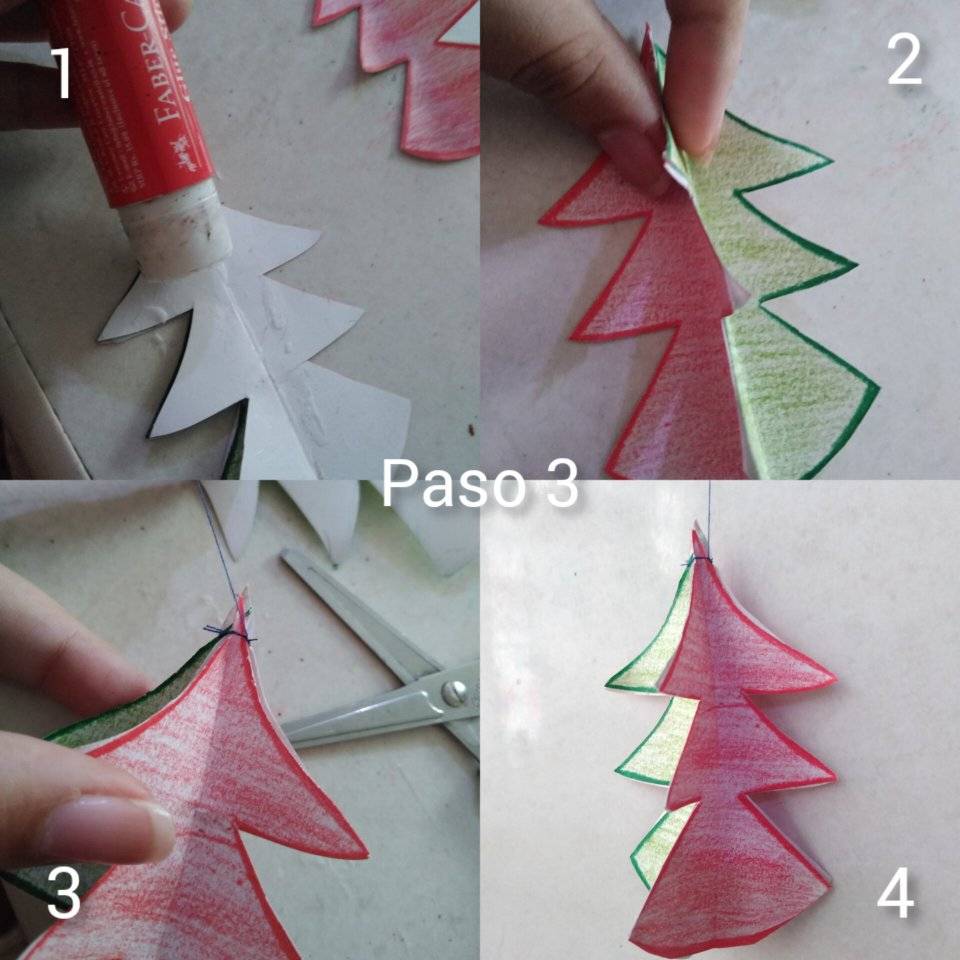
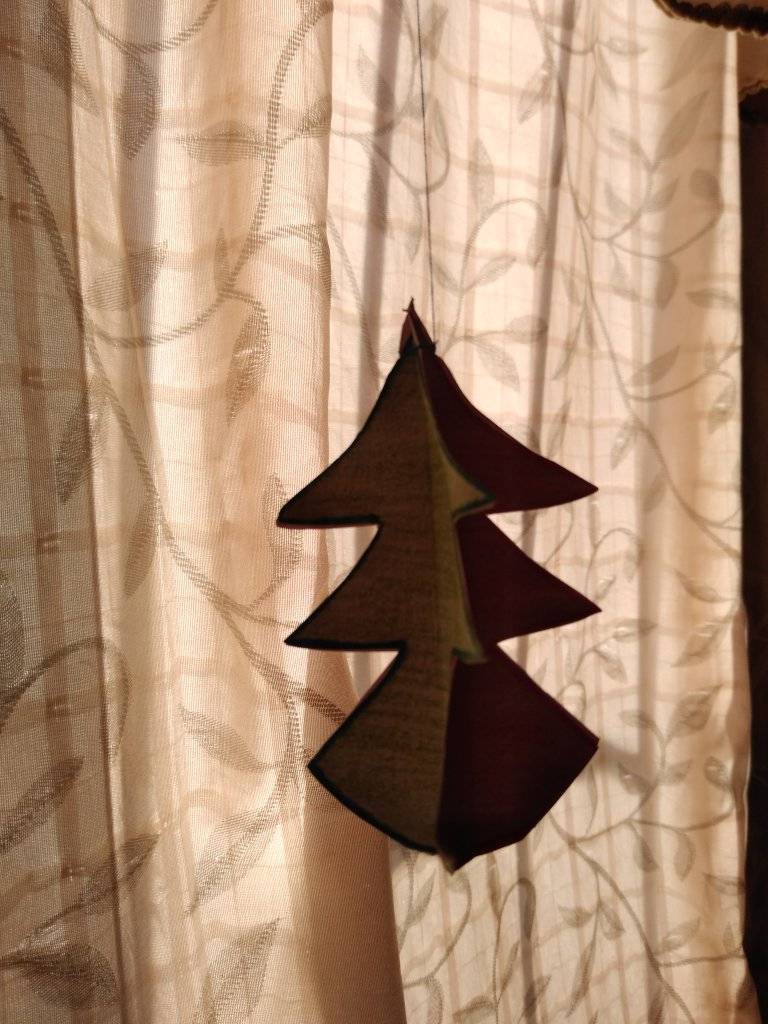
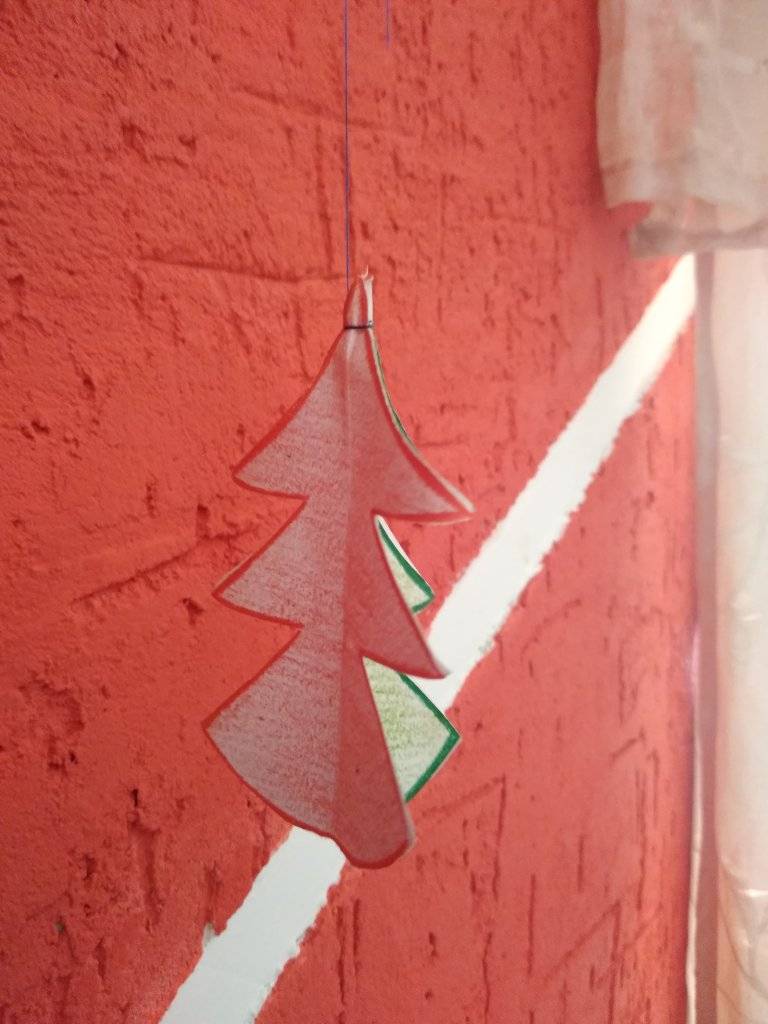
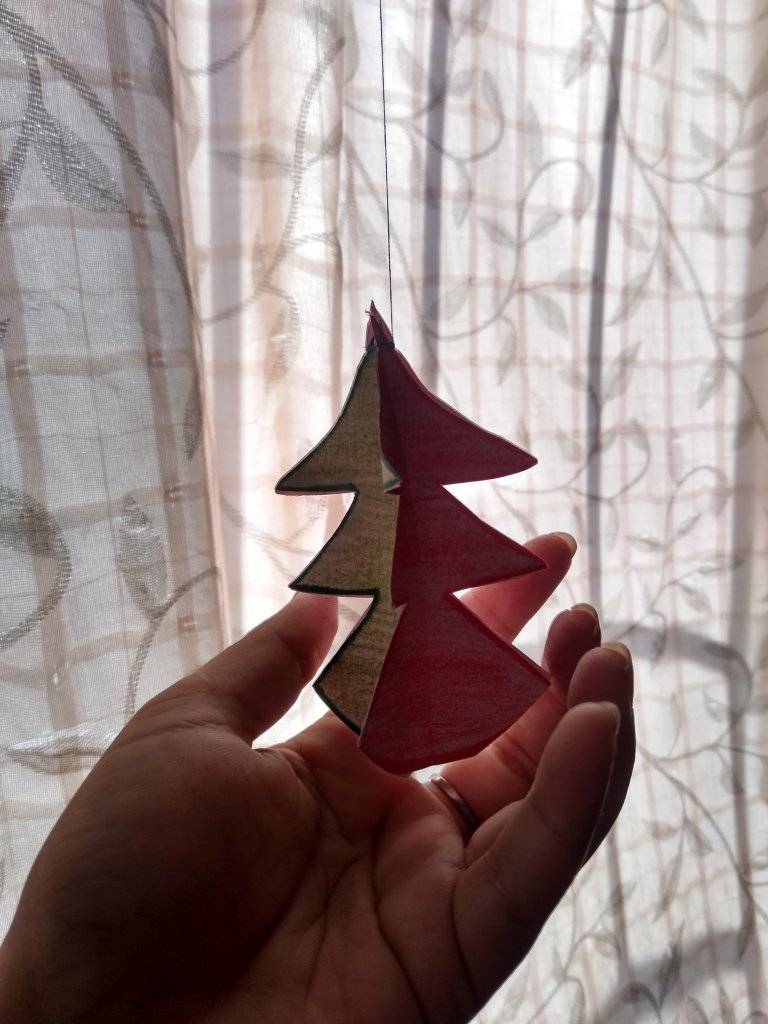
Paso 3: procederemos ya a culminar con nuestros arbolitos navideños pintados así que vamos a pegarlos como en la imagen se muestran, espalda con espalda procurando mantener el mismo tamaño, pegamos todos así y para finalizar adherimos un hilo el cual sostendrá nuestro árbol por la punta del mismo y así culminamos.
Step 3: We will proceed to finish with our painted Christmas trees so we will glue them as shown in the picture, back to back trying to keep the same size, we glue them all like this and finally we stick a thread which will hold our tree by the tip of it and so we finish.
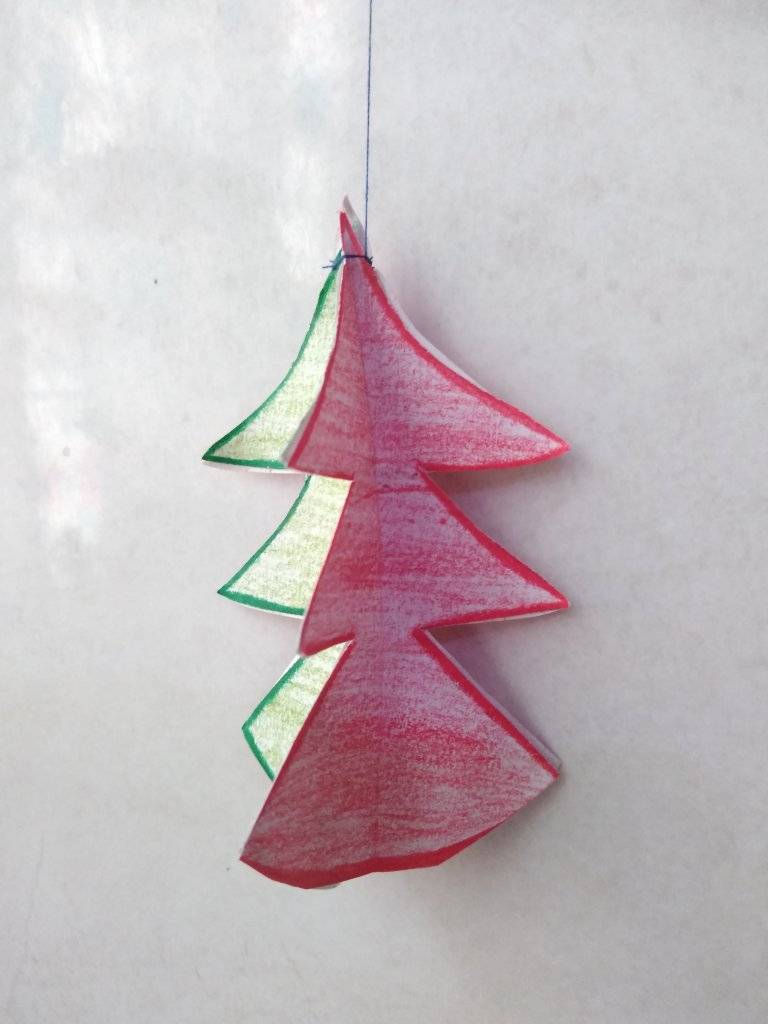
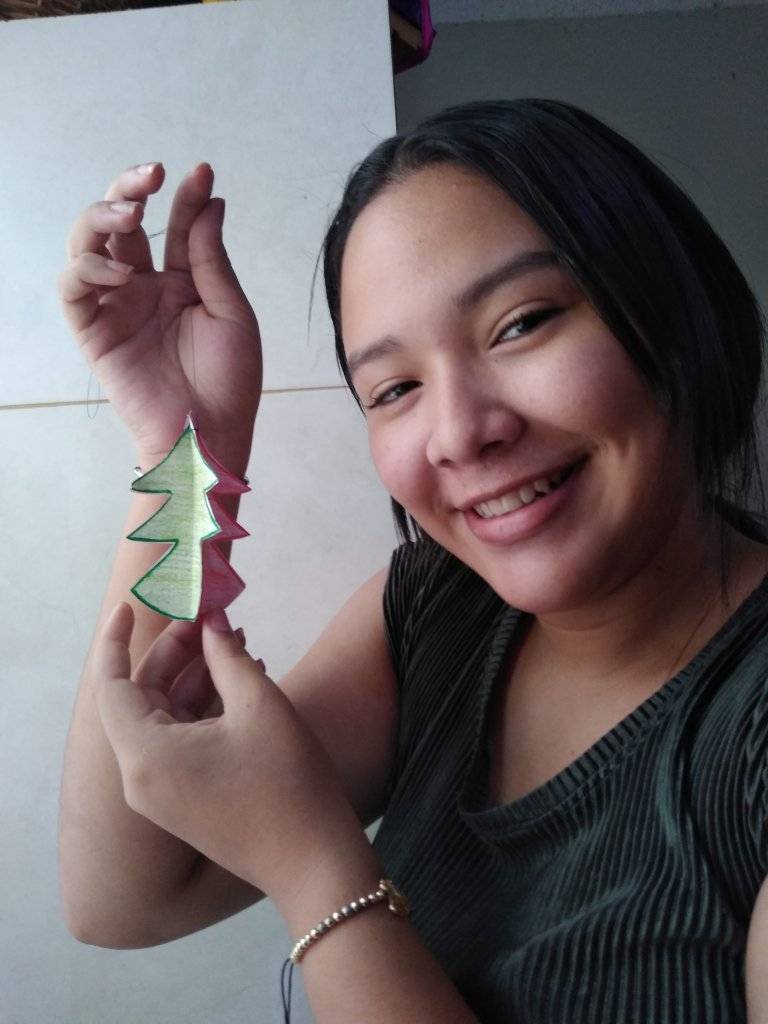
Final Result.
.png)
Thank you for sharing this post on HIVE!
Your content got selected by our fellow curator priyanarc & you just received a little thank you upvote from us for your great work! Your post will be featured in one of our recurring compilations which are aiming to offer you a stage to widen your audience within the DIY scene of Hive. Stay creative & HIVE ON!
Please vote for our hive witness <3
Muchas gracias por el apoyo que me brindan, me parece super genial e inspirador el apoyar a las personas me siento especial en esta gran plataforma, gracias y saludos a todos.