[ESP-ENG] Precious Handmade Bluma - The Art of Sewing | Preciosa Bluma Hecha a mano - El arte de Coser
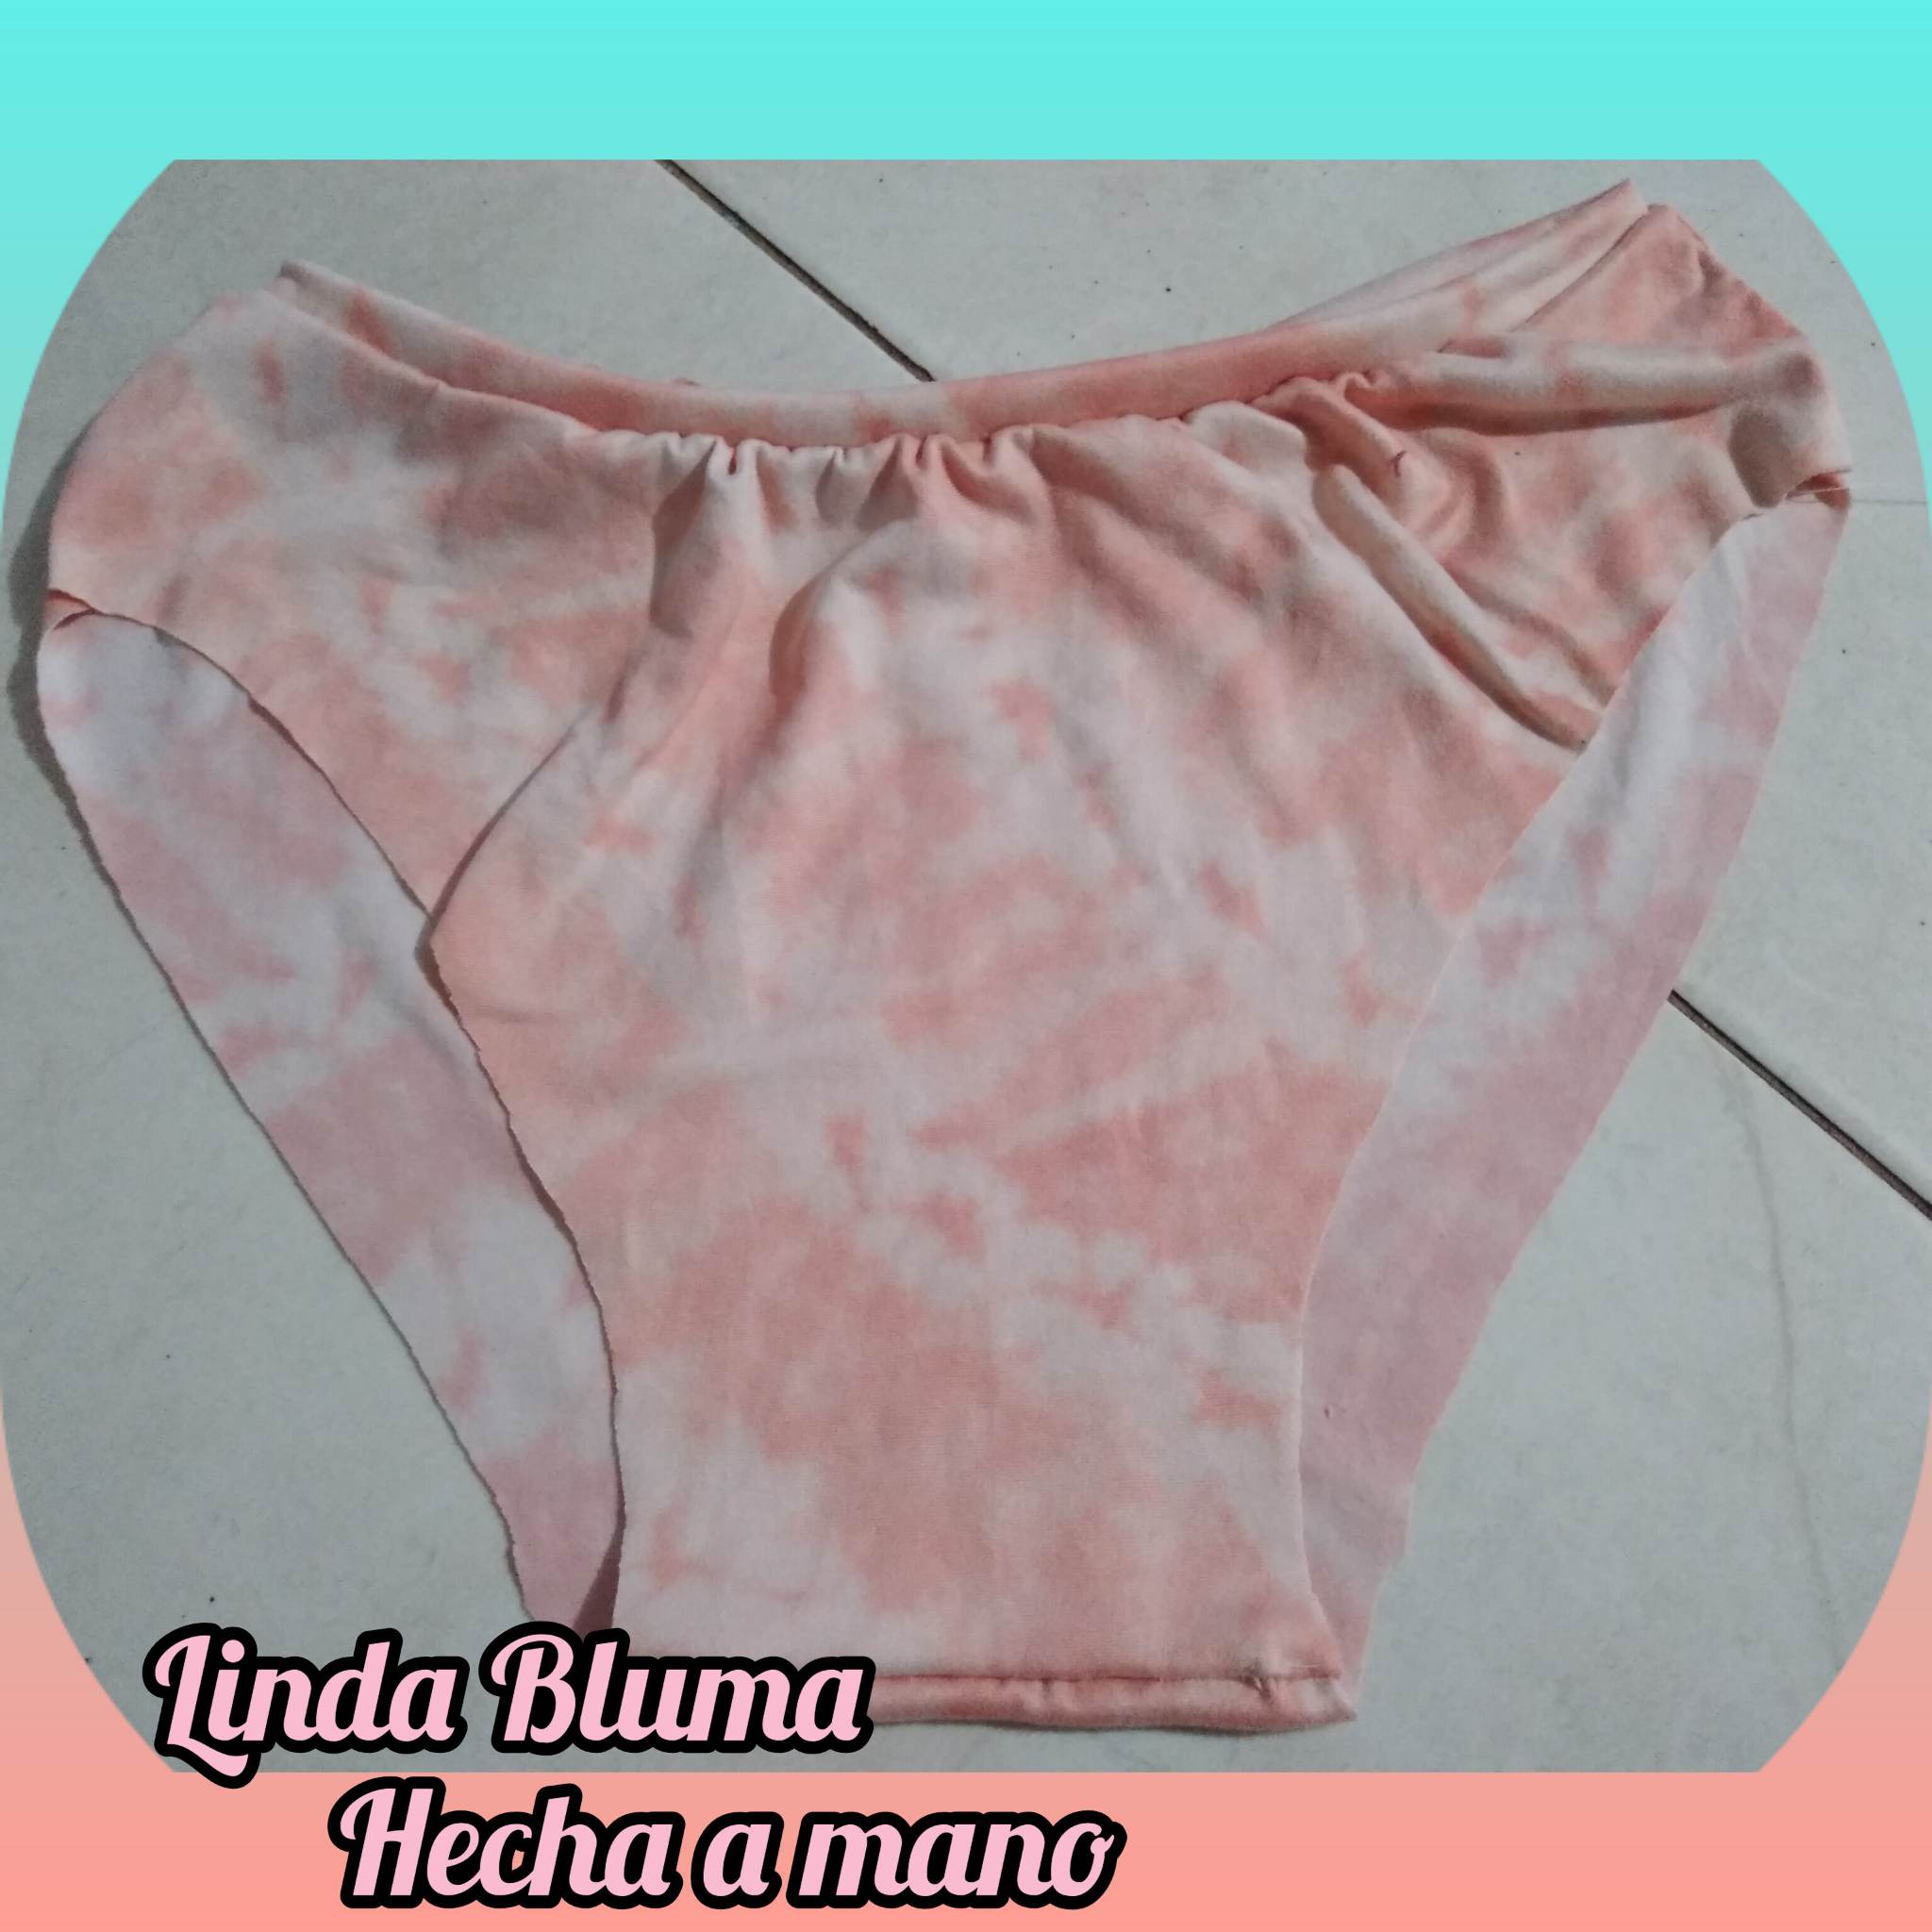
Hello my beautiful hive family, many blessings and greetings to all who take time to always read my posts, I am grateful for the support and love that I feel you give me, this encourages me every day to move forward and continue publishing new creations and experiences. Today I want to share with all of you and show you a bluma I made by hand, it is a challenge to sew by hand when we are already used to a sewing machine, but taking the challenge makes us better in our work and we learn much more, so I simply cut each piece and proceeded to make my bluma, so stay to see the step by step.
.jpg)
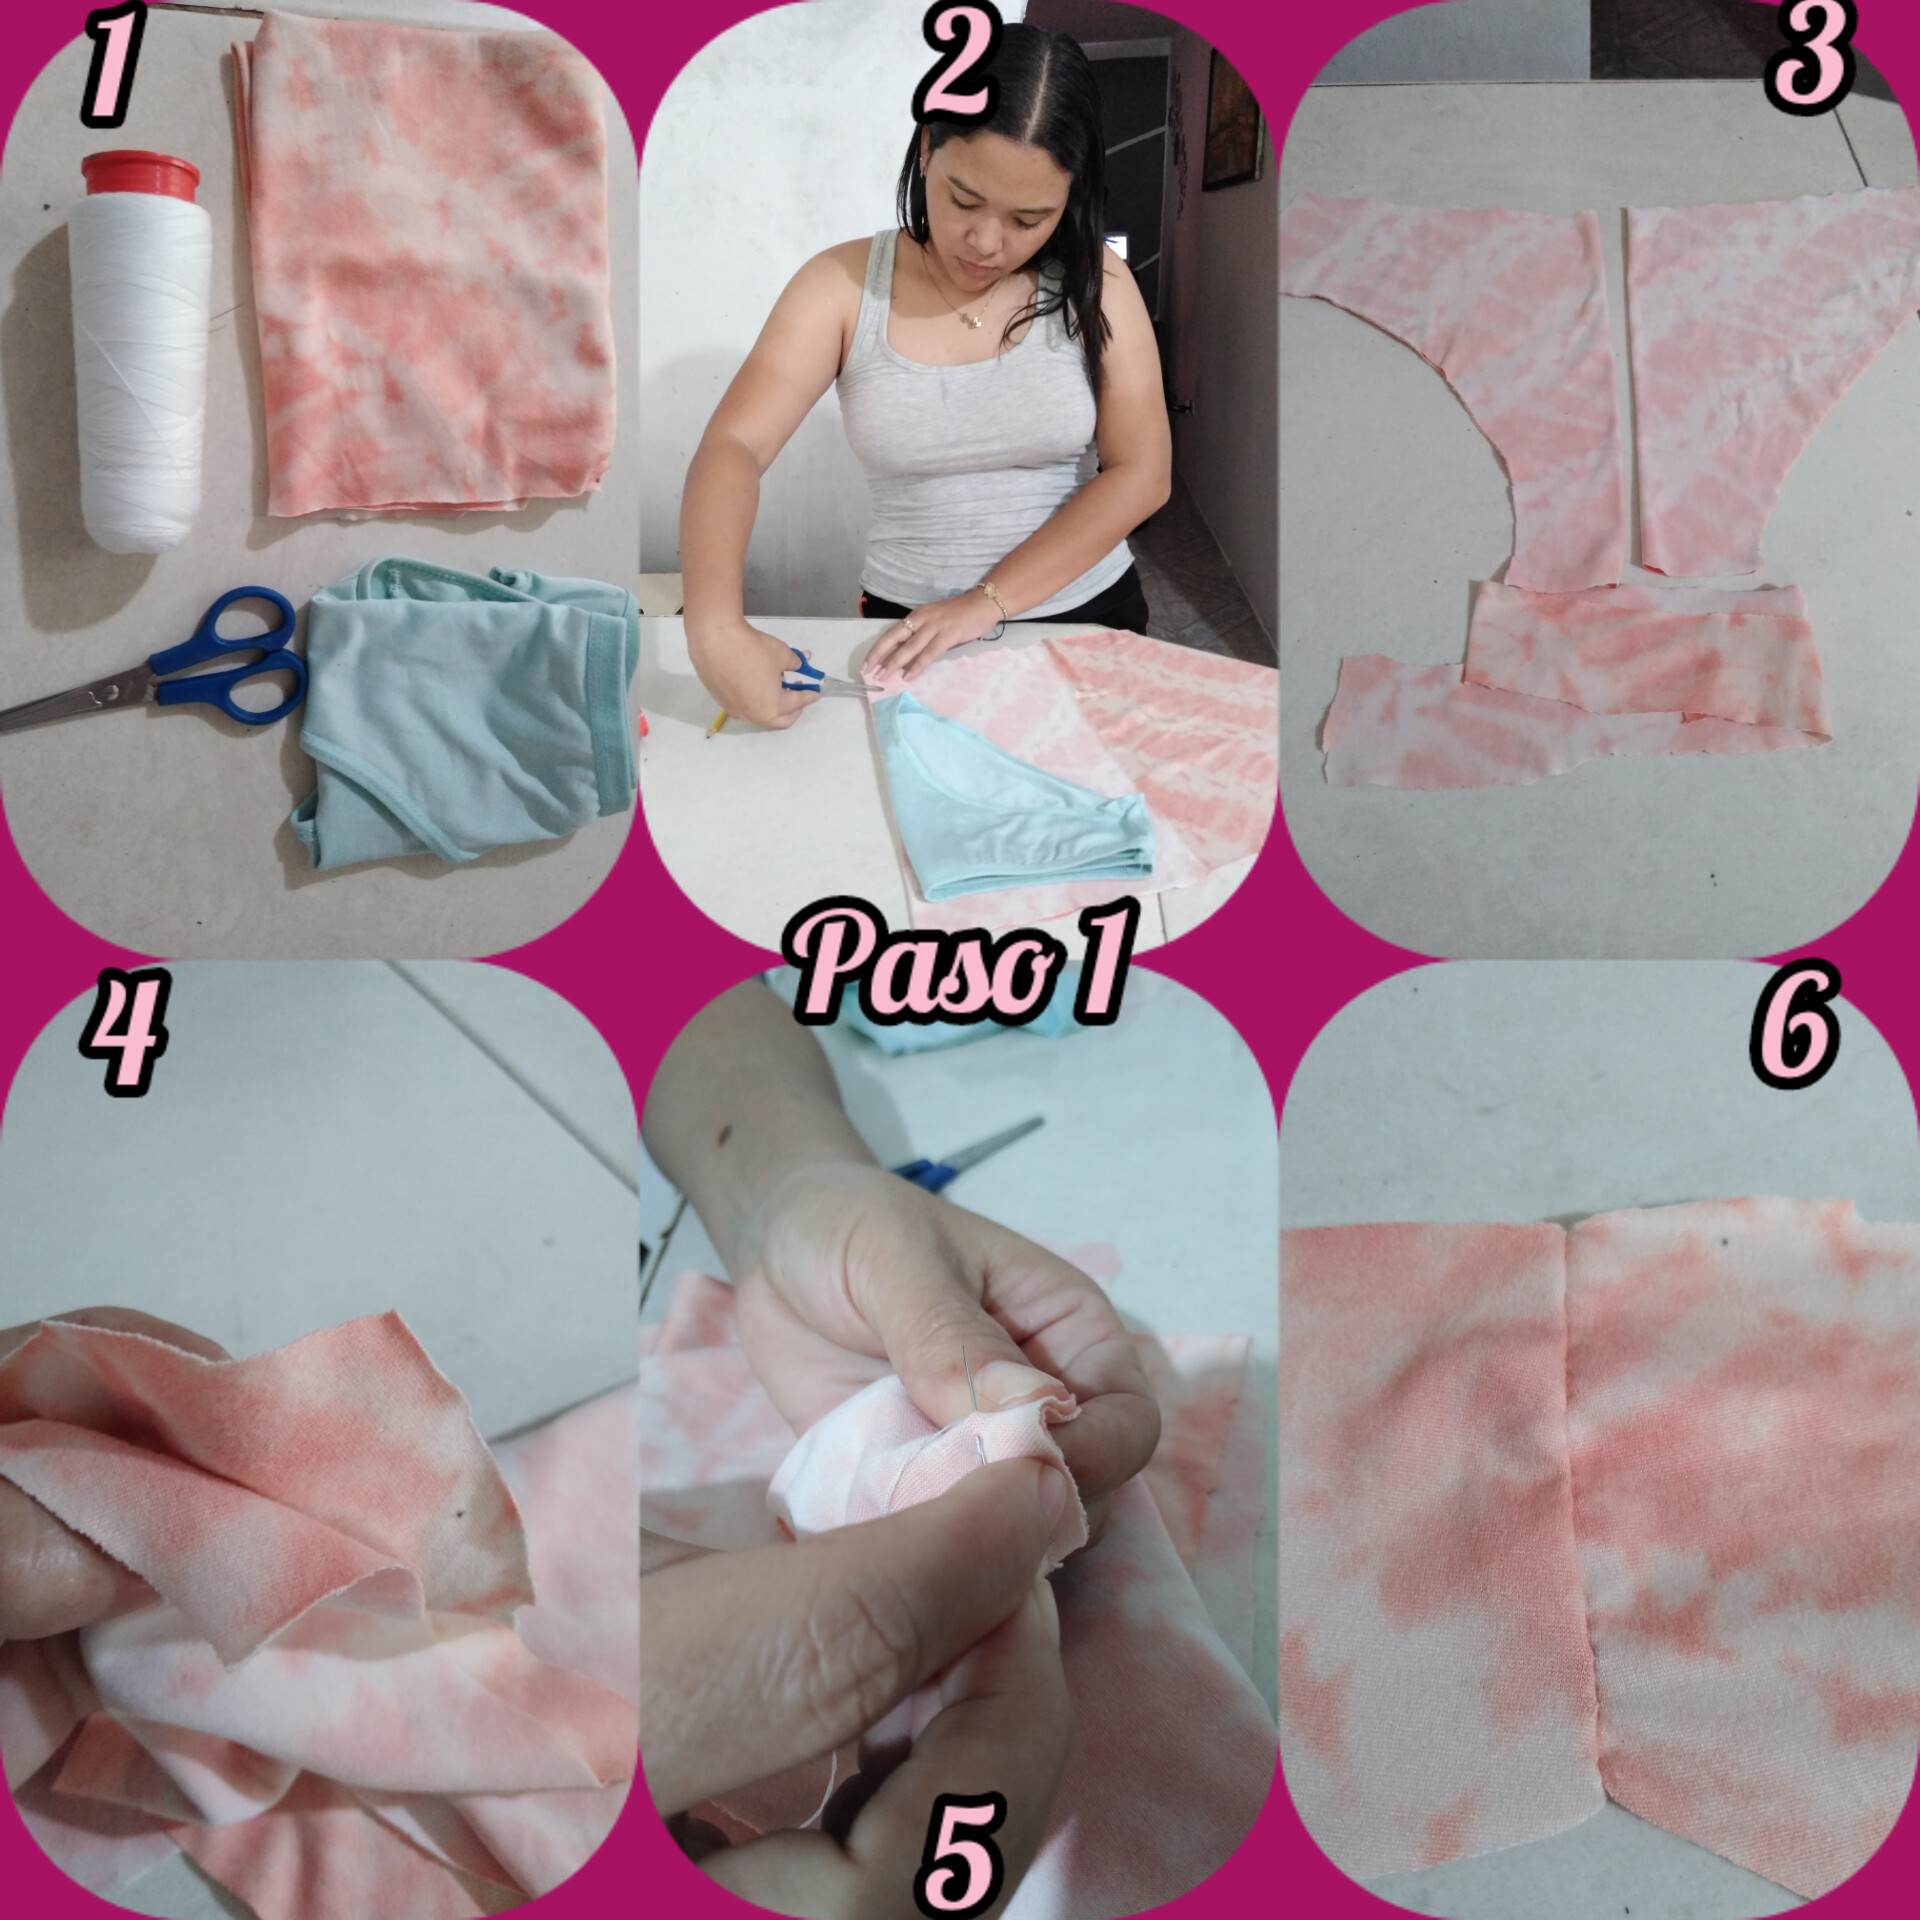
Paso 1: teniendo mis materiales, una tela que tengamos por ahí, procurando que sea un pedazo bastante grande, lo Procederemos a cortar según la medida que tengamos, luego de cortar las piezas es importante resaltar que se dividen en, la parte delantera y trasera de la bluma, la parte de las entre piernas y la pretina finita, luego de tener ya listas las piezas Procederemos a coser nuestra bluma a mano, coseremos primeramente los lados, uniendo así la parte delantera con la trasera.
Step 1: having my materials, a fabric that we have around, trying to be a fairly large piece, we will proceed to cut according to the size we have, after cutting the pieces it is important to note that are divided into, the front and back of the bluma, the part of the legs and the waistband finite, after having the pieces ready we will proceed to sew our bluma by hand, we will first sew the sides, thus joining the front with the back.
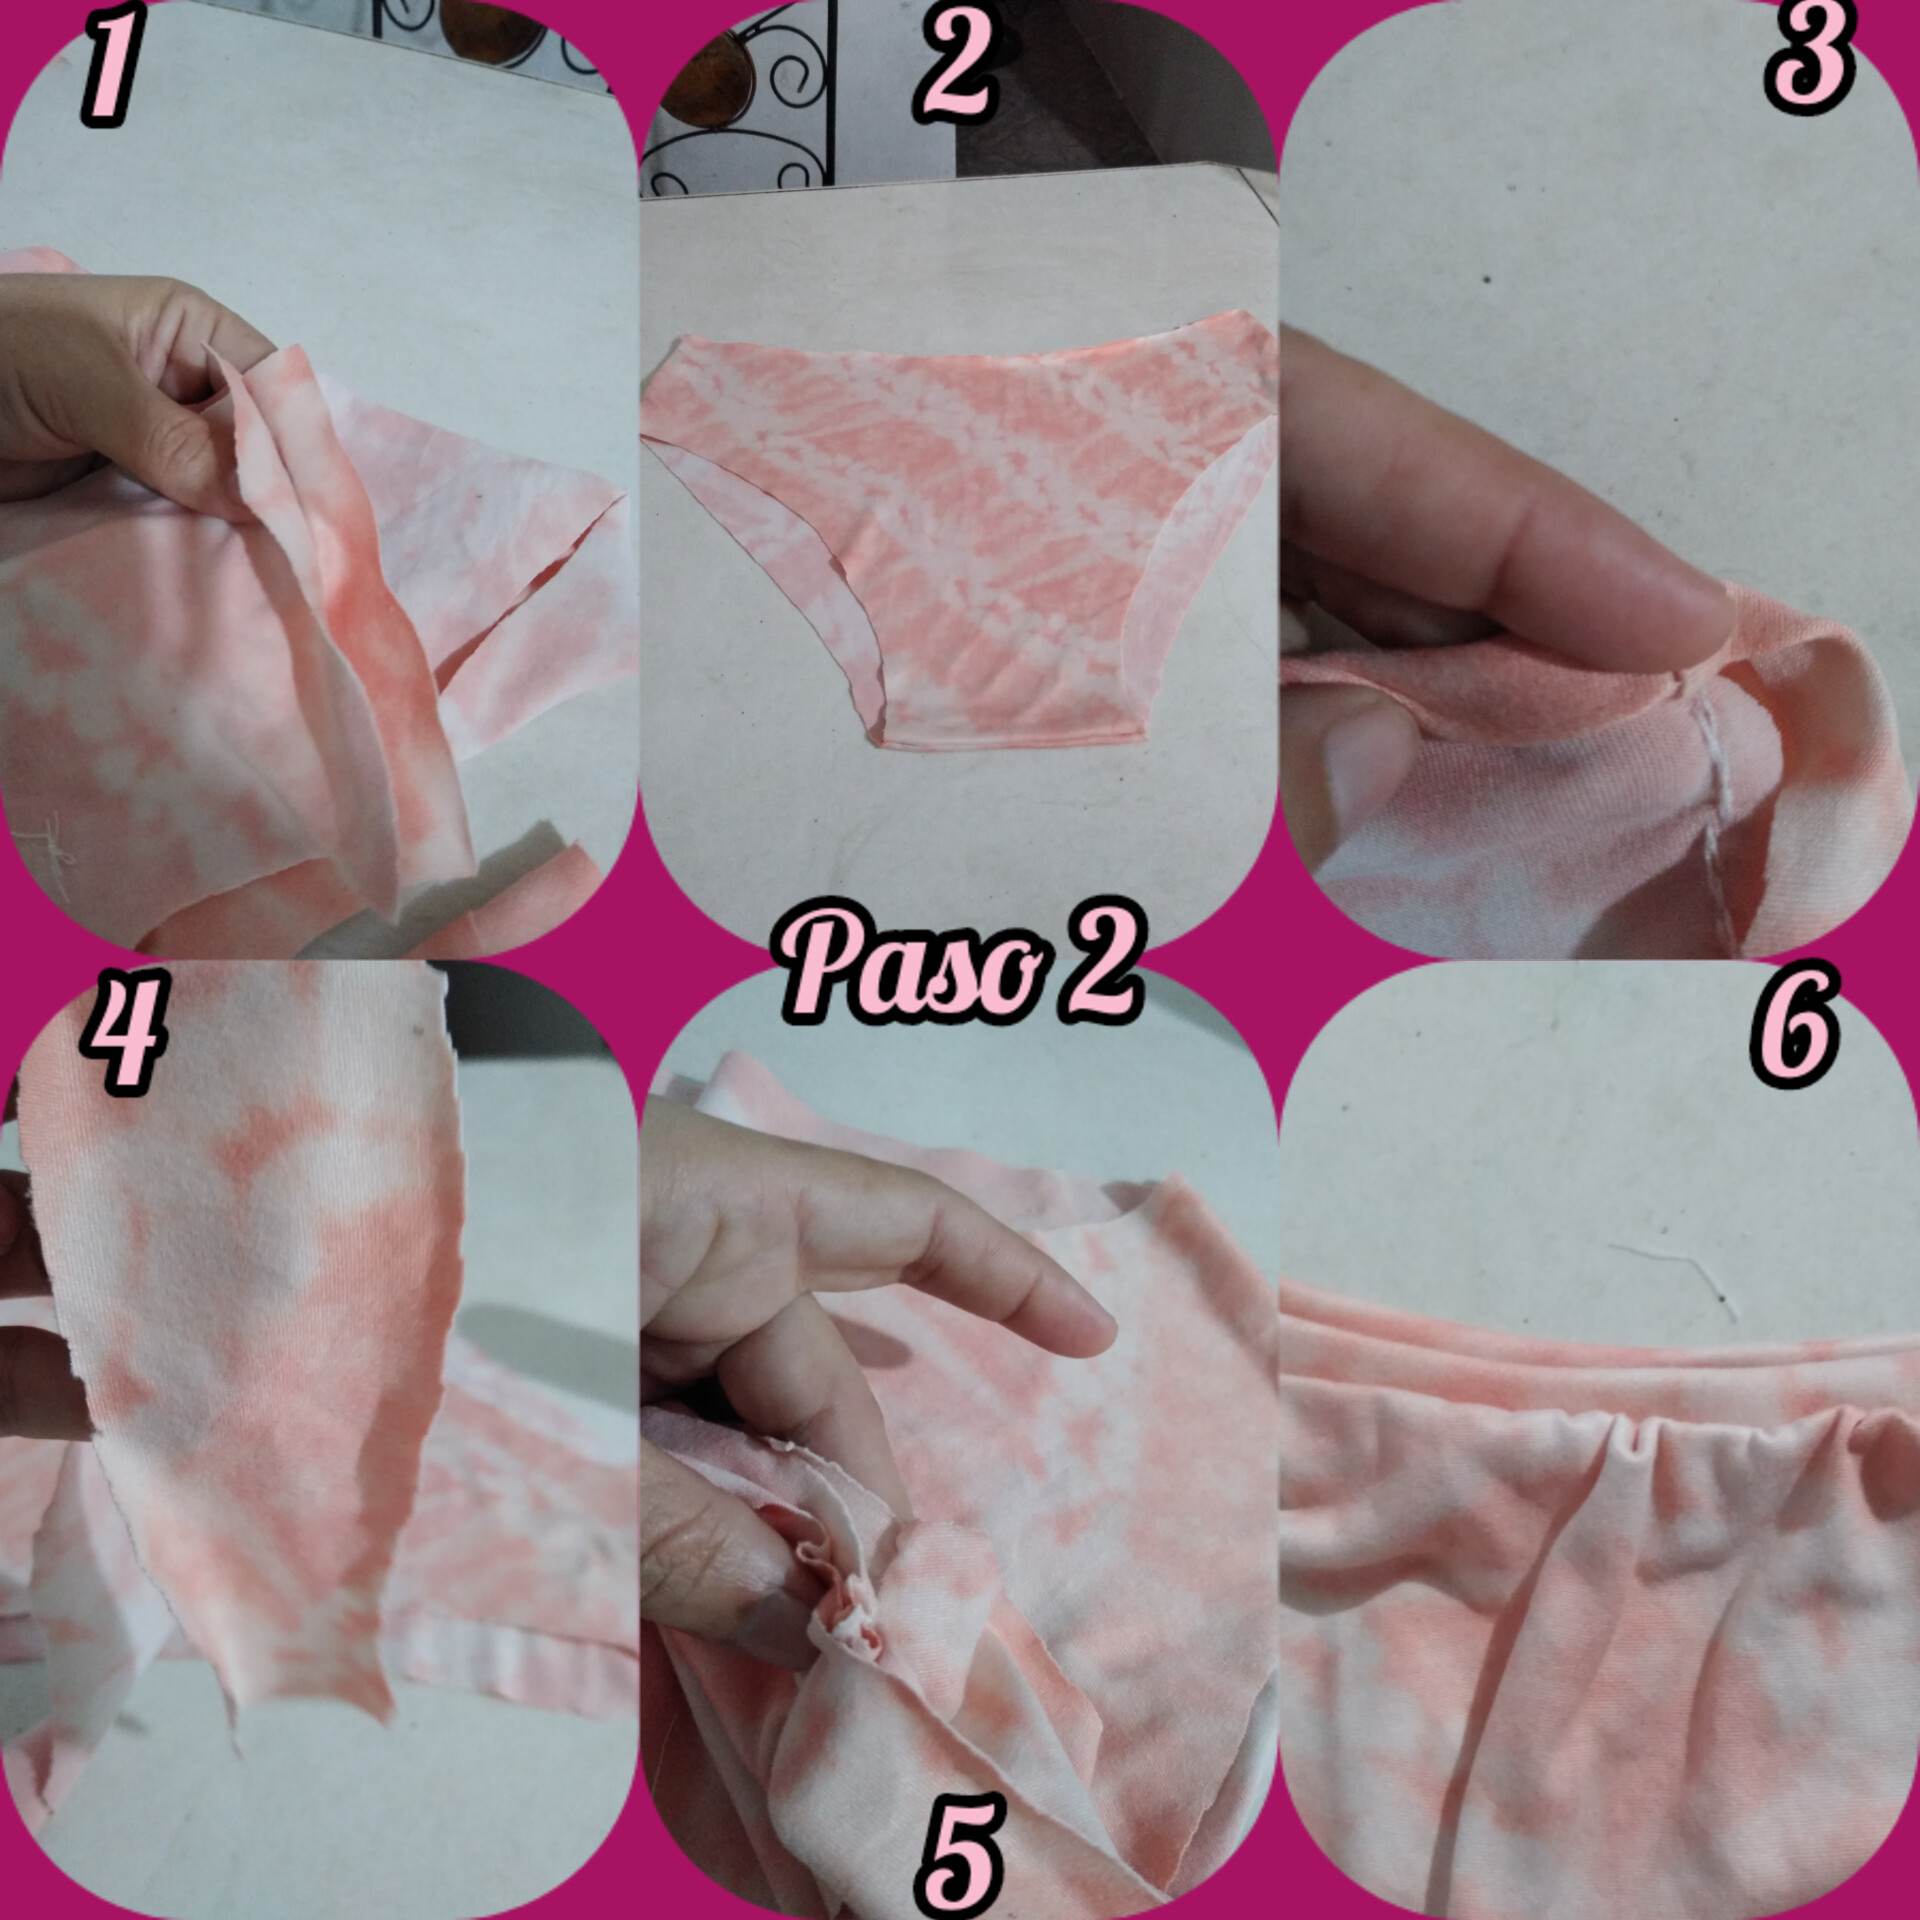
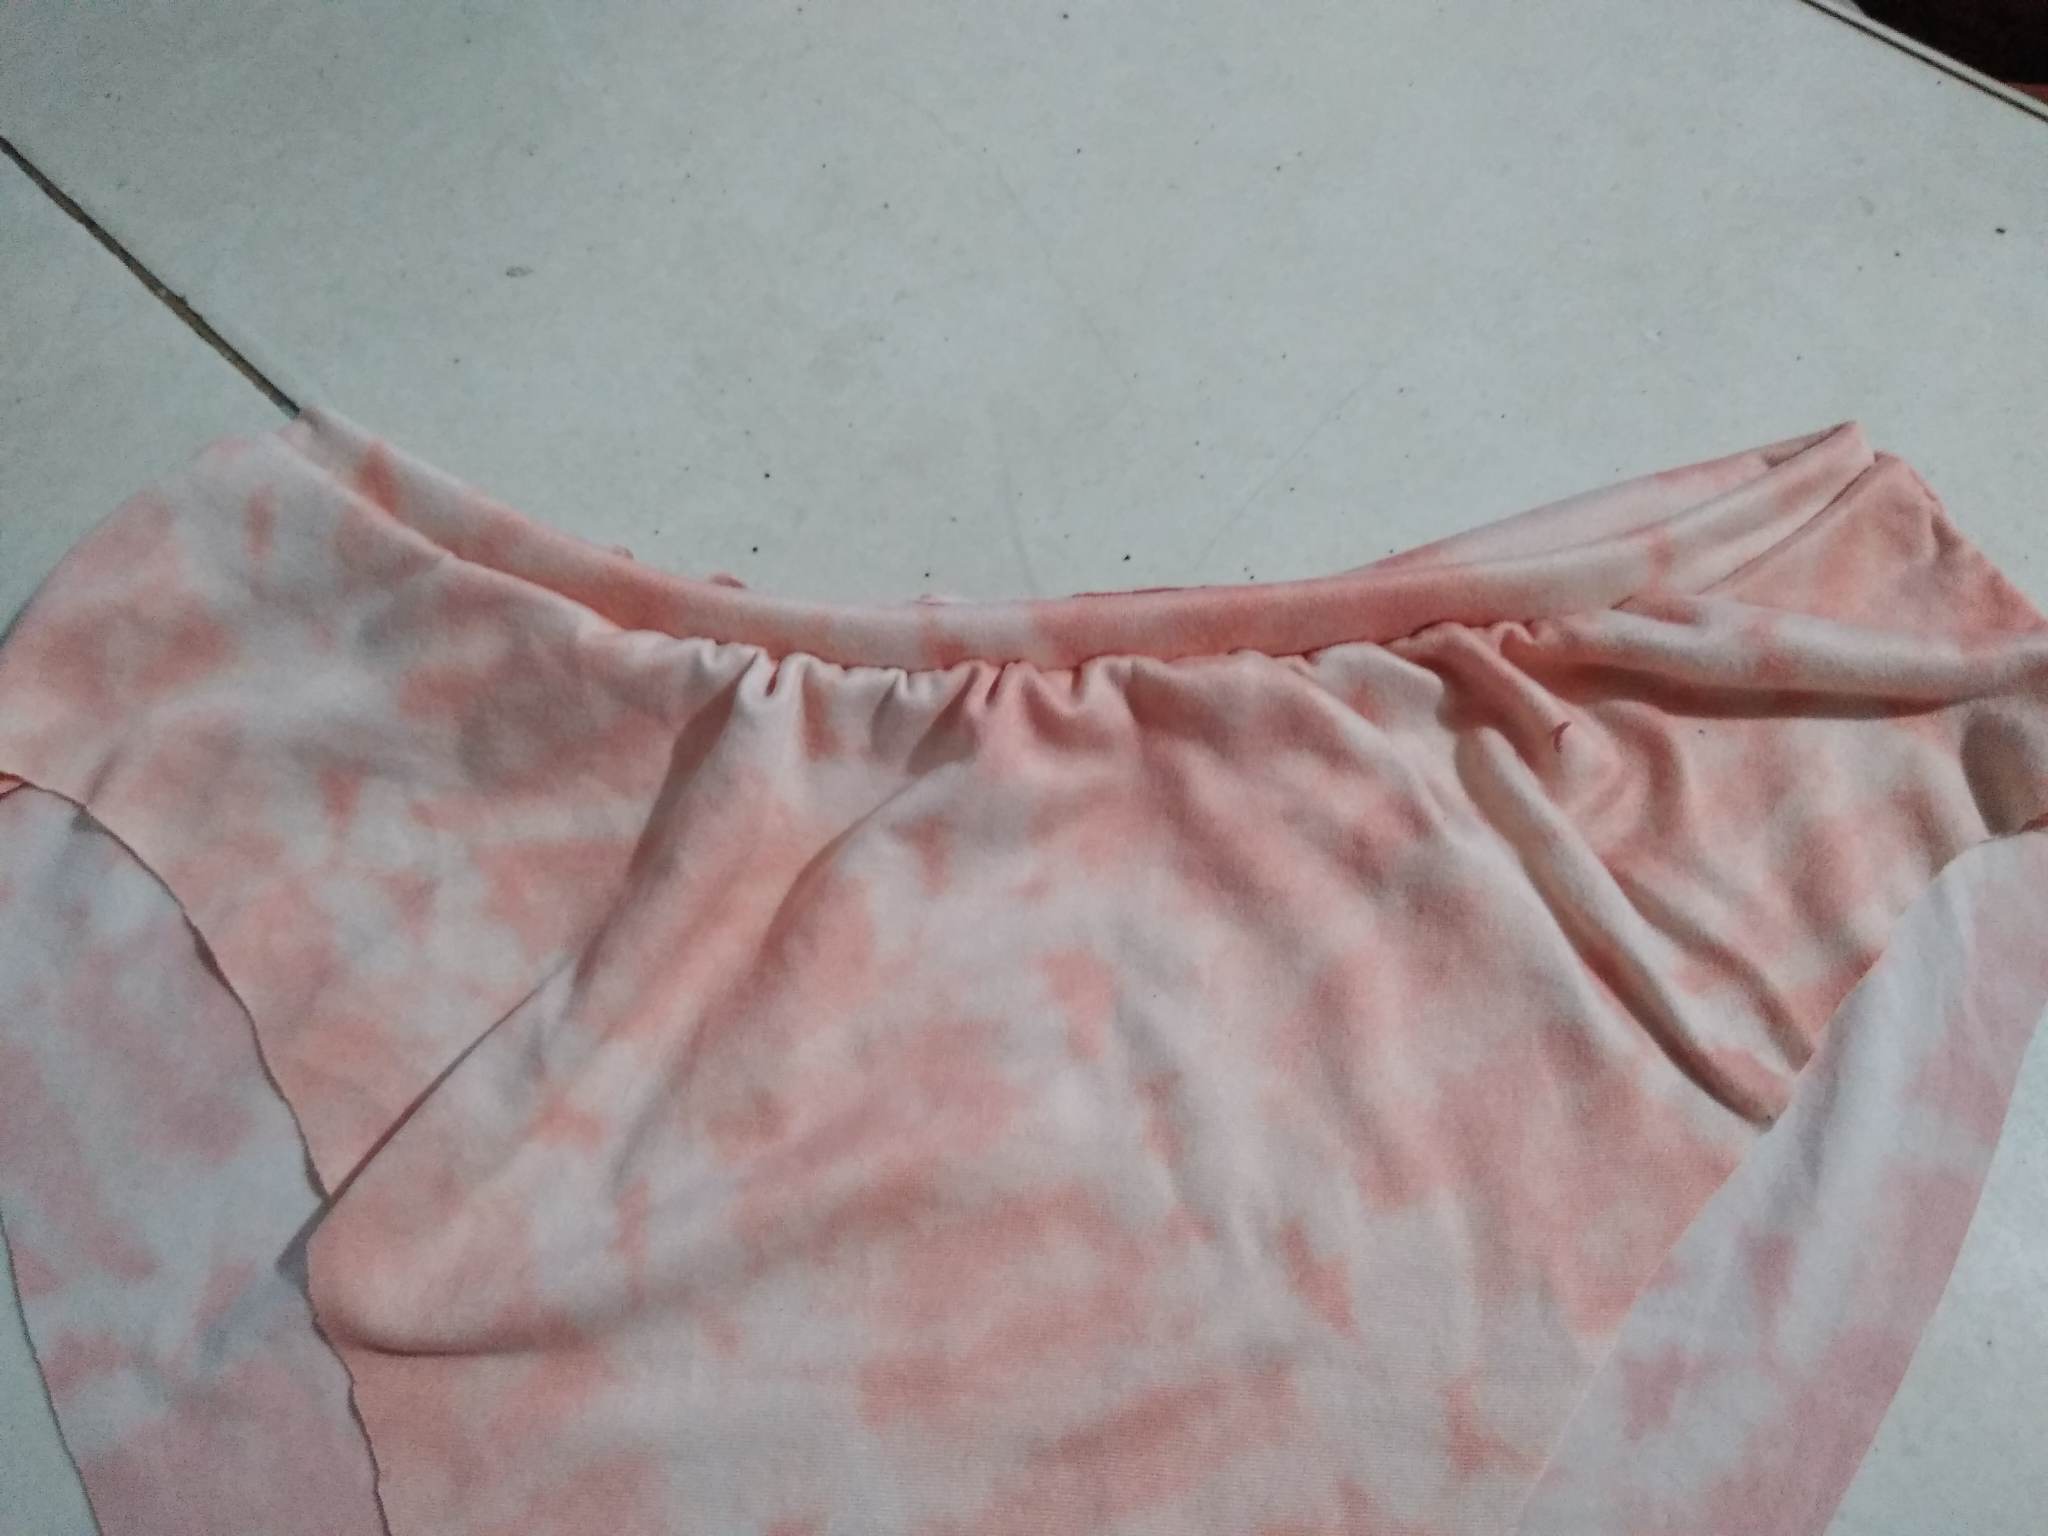
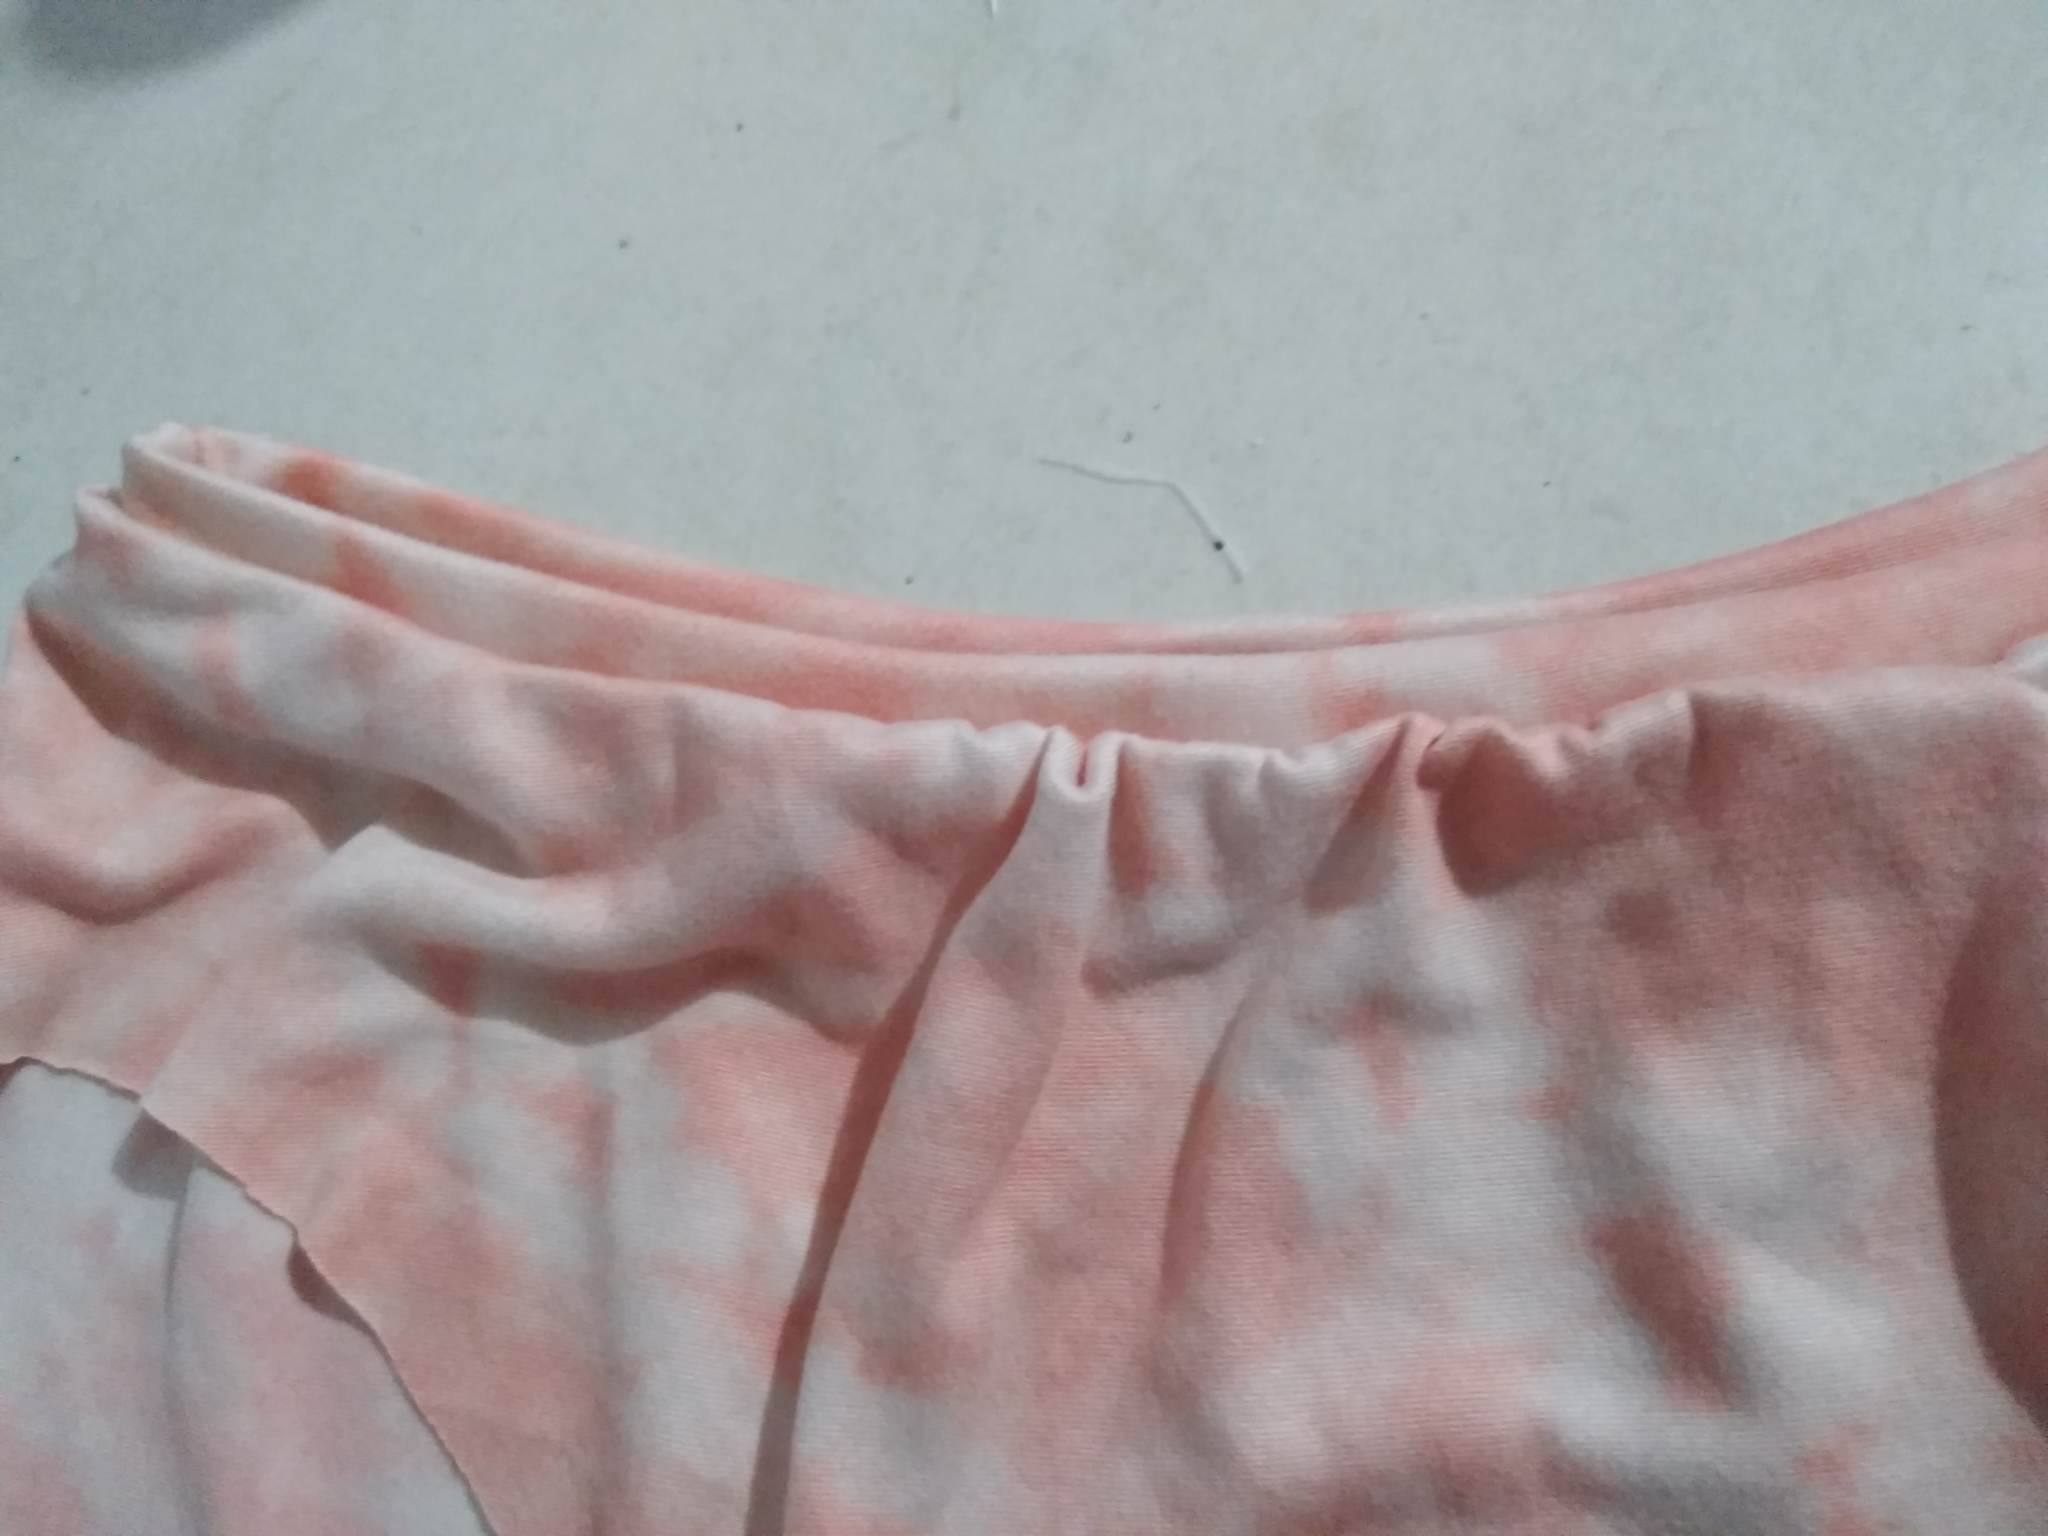
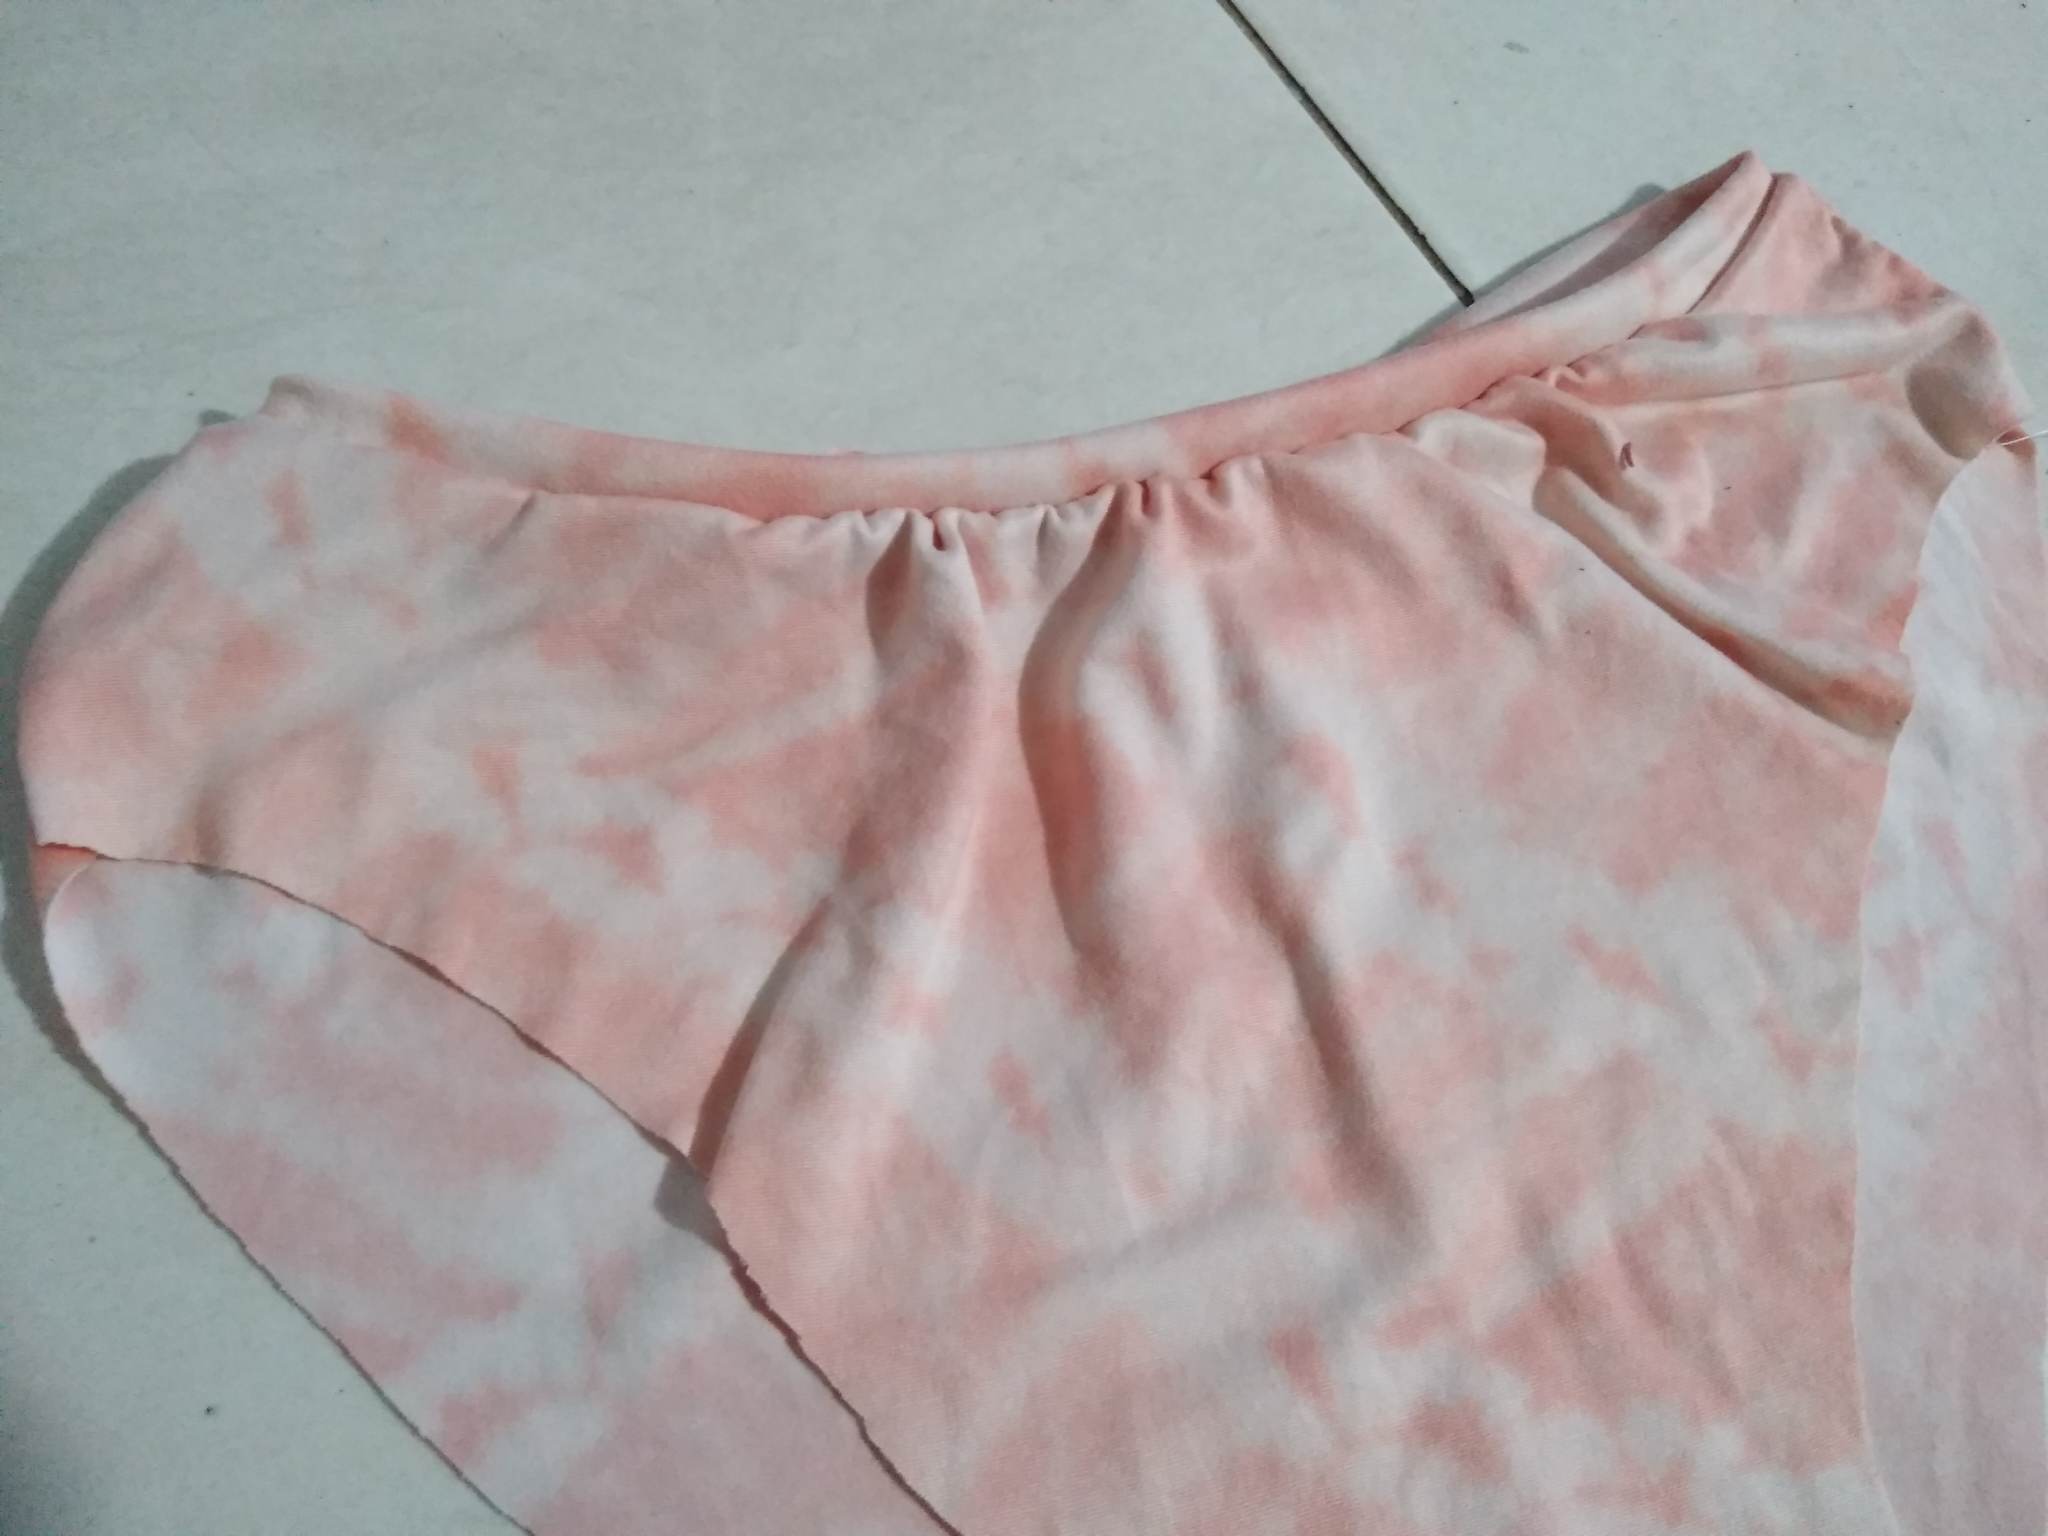
Paso 2: Seguimos cosiendo ambos lados para unir ambas partes, luego de haber cosido los lados lo siguiente que haremos será coser a la bluma, la parte de las entre piernas para cerrar cada detalle de nuestra bluma, luego de haber cosido ésto la bluma irá quedando como en la imagen lo muestra, procederé a coser lo que será la pretina de nuestra bluma, coseremos cuidadosamente hasta obtener el resultado que esperamos, así que coseremos nuestra pretina que es una de las cosas más importantes para que al momento de usar la bluma, ésta pueda quedar adherida a nuestro cuerpo.
Step 2: We continue sewing both sides to join both parts, after having sewn the sides the next thing we will sew to the bluma, the part between the legs to close every detail of our bluma, after having sewn this the bluma will be as shown in the image, I will proceed to sew what will be the waistband of our bluma, we will sew carefully until we get the result we expect, so we will sew our waistband which is one of the most important things so that when using the bluma, it can be attached to our body.
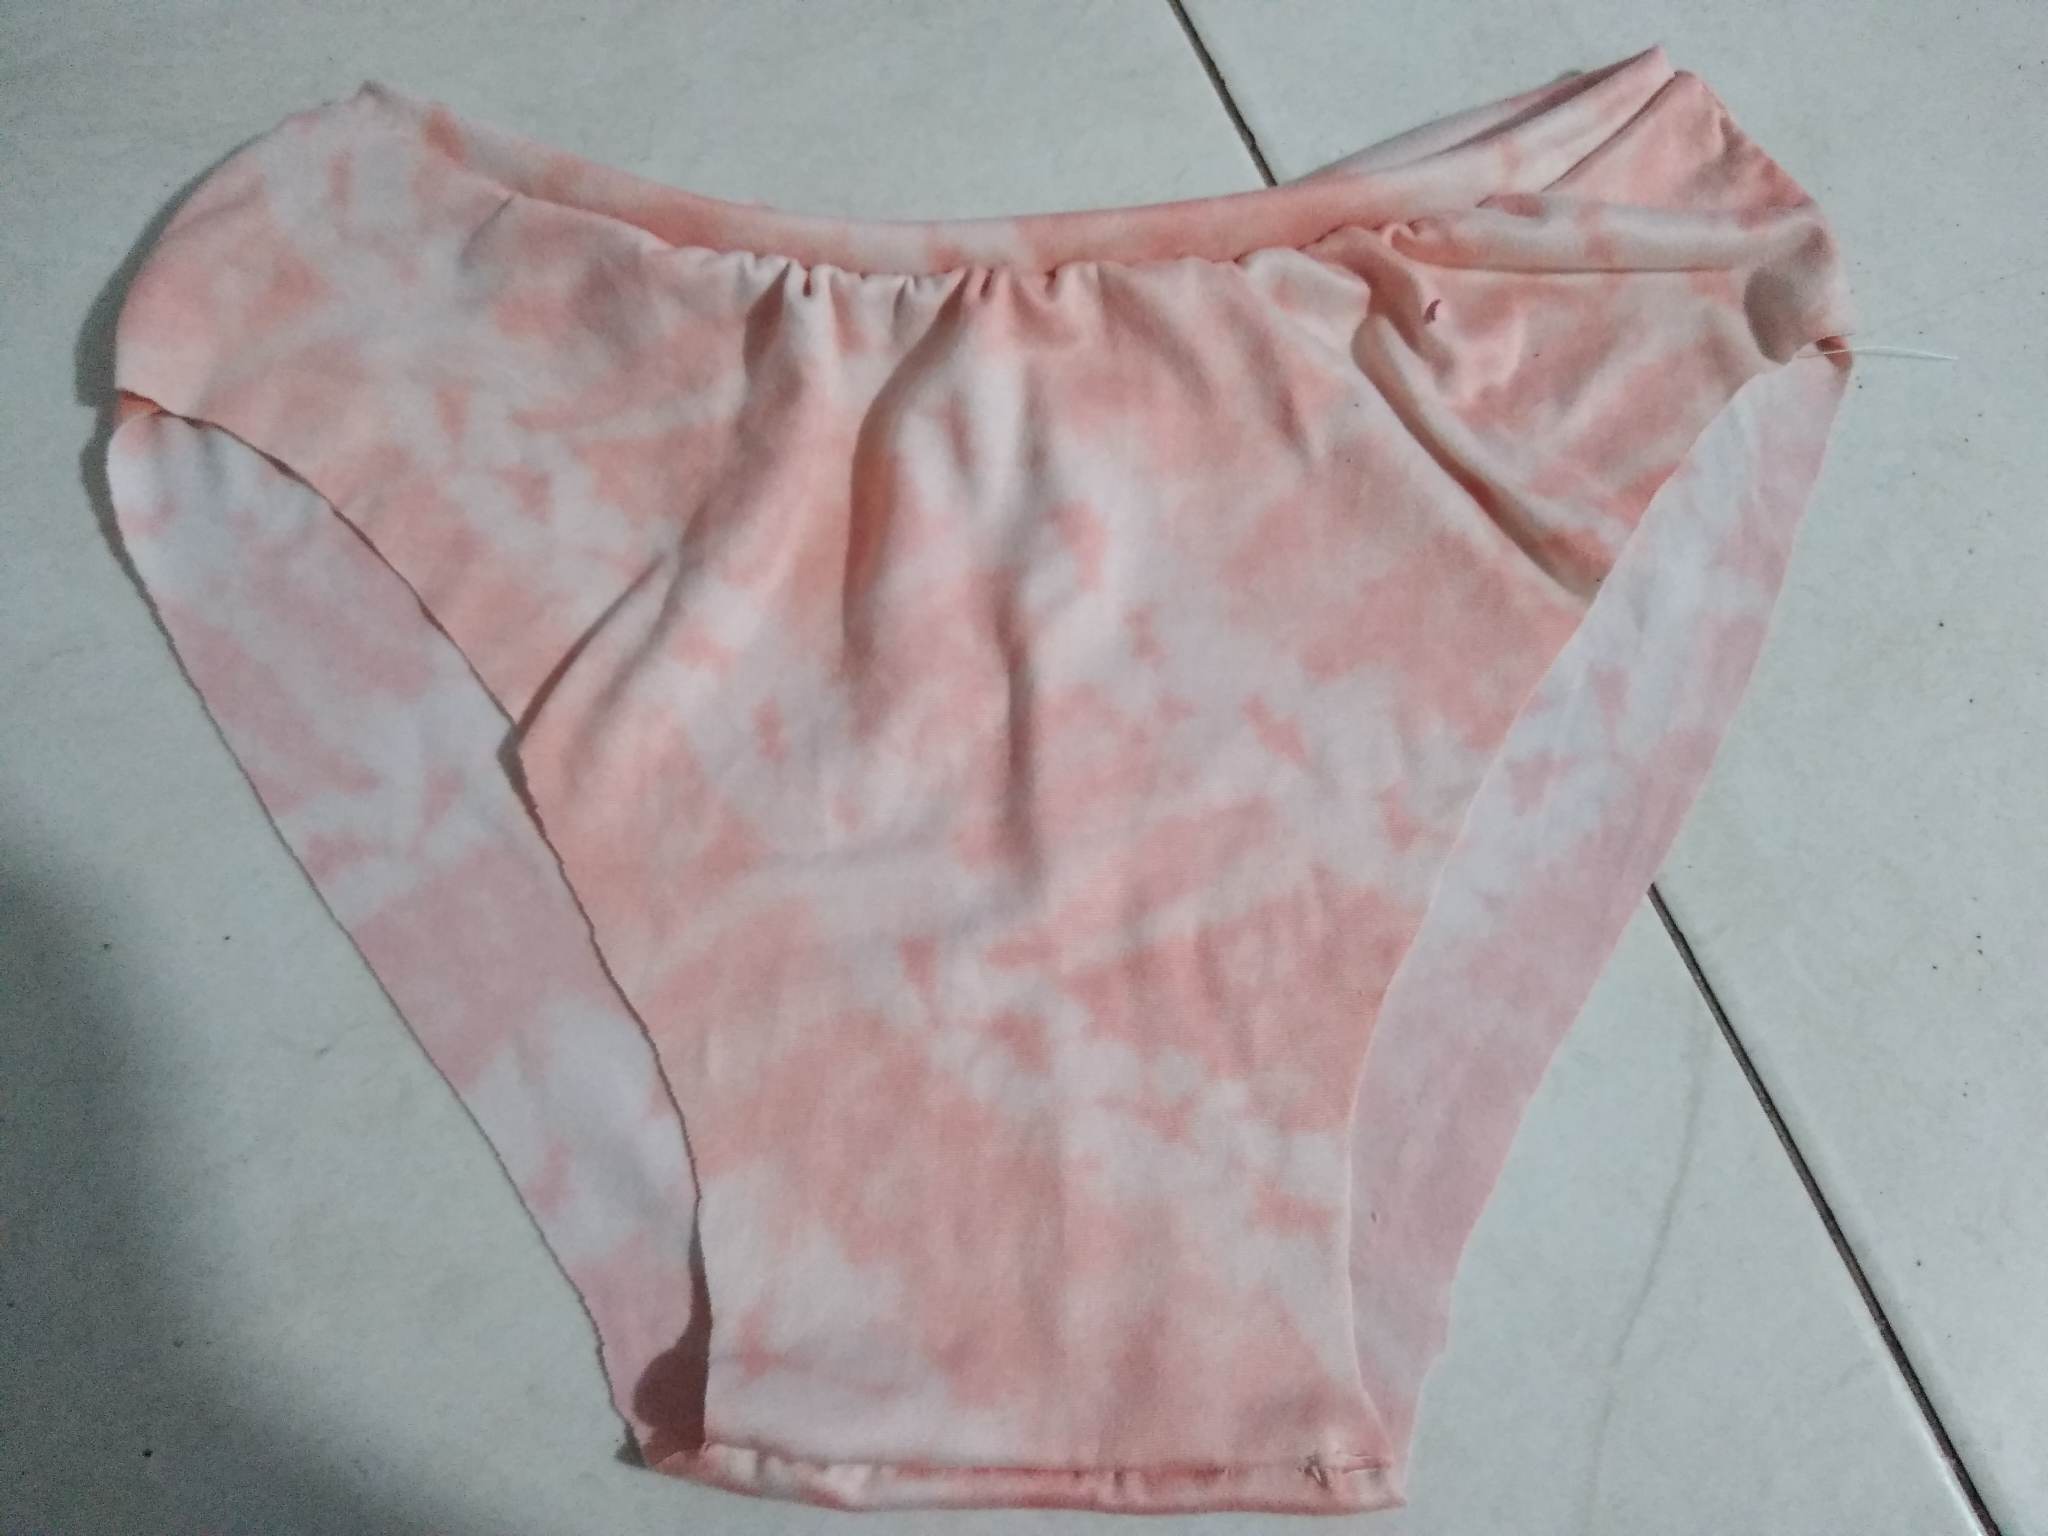
Final Result.
Thank you for sharing this post on HIVE!
Your content got selected by our fellow curator stevenson7 & you just received a little thank you upvote from us for your great work! Your post will be featured in one of our recurring compilations which are aiming to offer you a stage to widen your audience within the DIY scene of Hive. Stay creative & HIVE ON!
Please vote for our hive witness <3