[ESP-ENG] Tutorial to make-Mini Bra for Girls | Tutorial para hacer-Mini Brasier para Niñas
Welcome to my blog friends and friends of hive, happy and blessed day have all, what a joy to share with you all through this wonderful community. Today I want to share with you a little tutorial divided into three steps, in which I will show you how to make a bra for girls, when I talk about girl I mean 7 years old and up, my little sister juliet is 10 years old and she already deserves to wear a bra for girl or how other people can say a cotillita, so I made her a handmade one which she can wear under her flannels or shirts at home today either to go out, this is necessary and very useful in our girls today to take care of them and teach them that this is basic in their age. So I wanted to give this nice detail to my little sister so let's see the step by step.
.jpg)
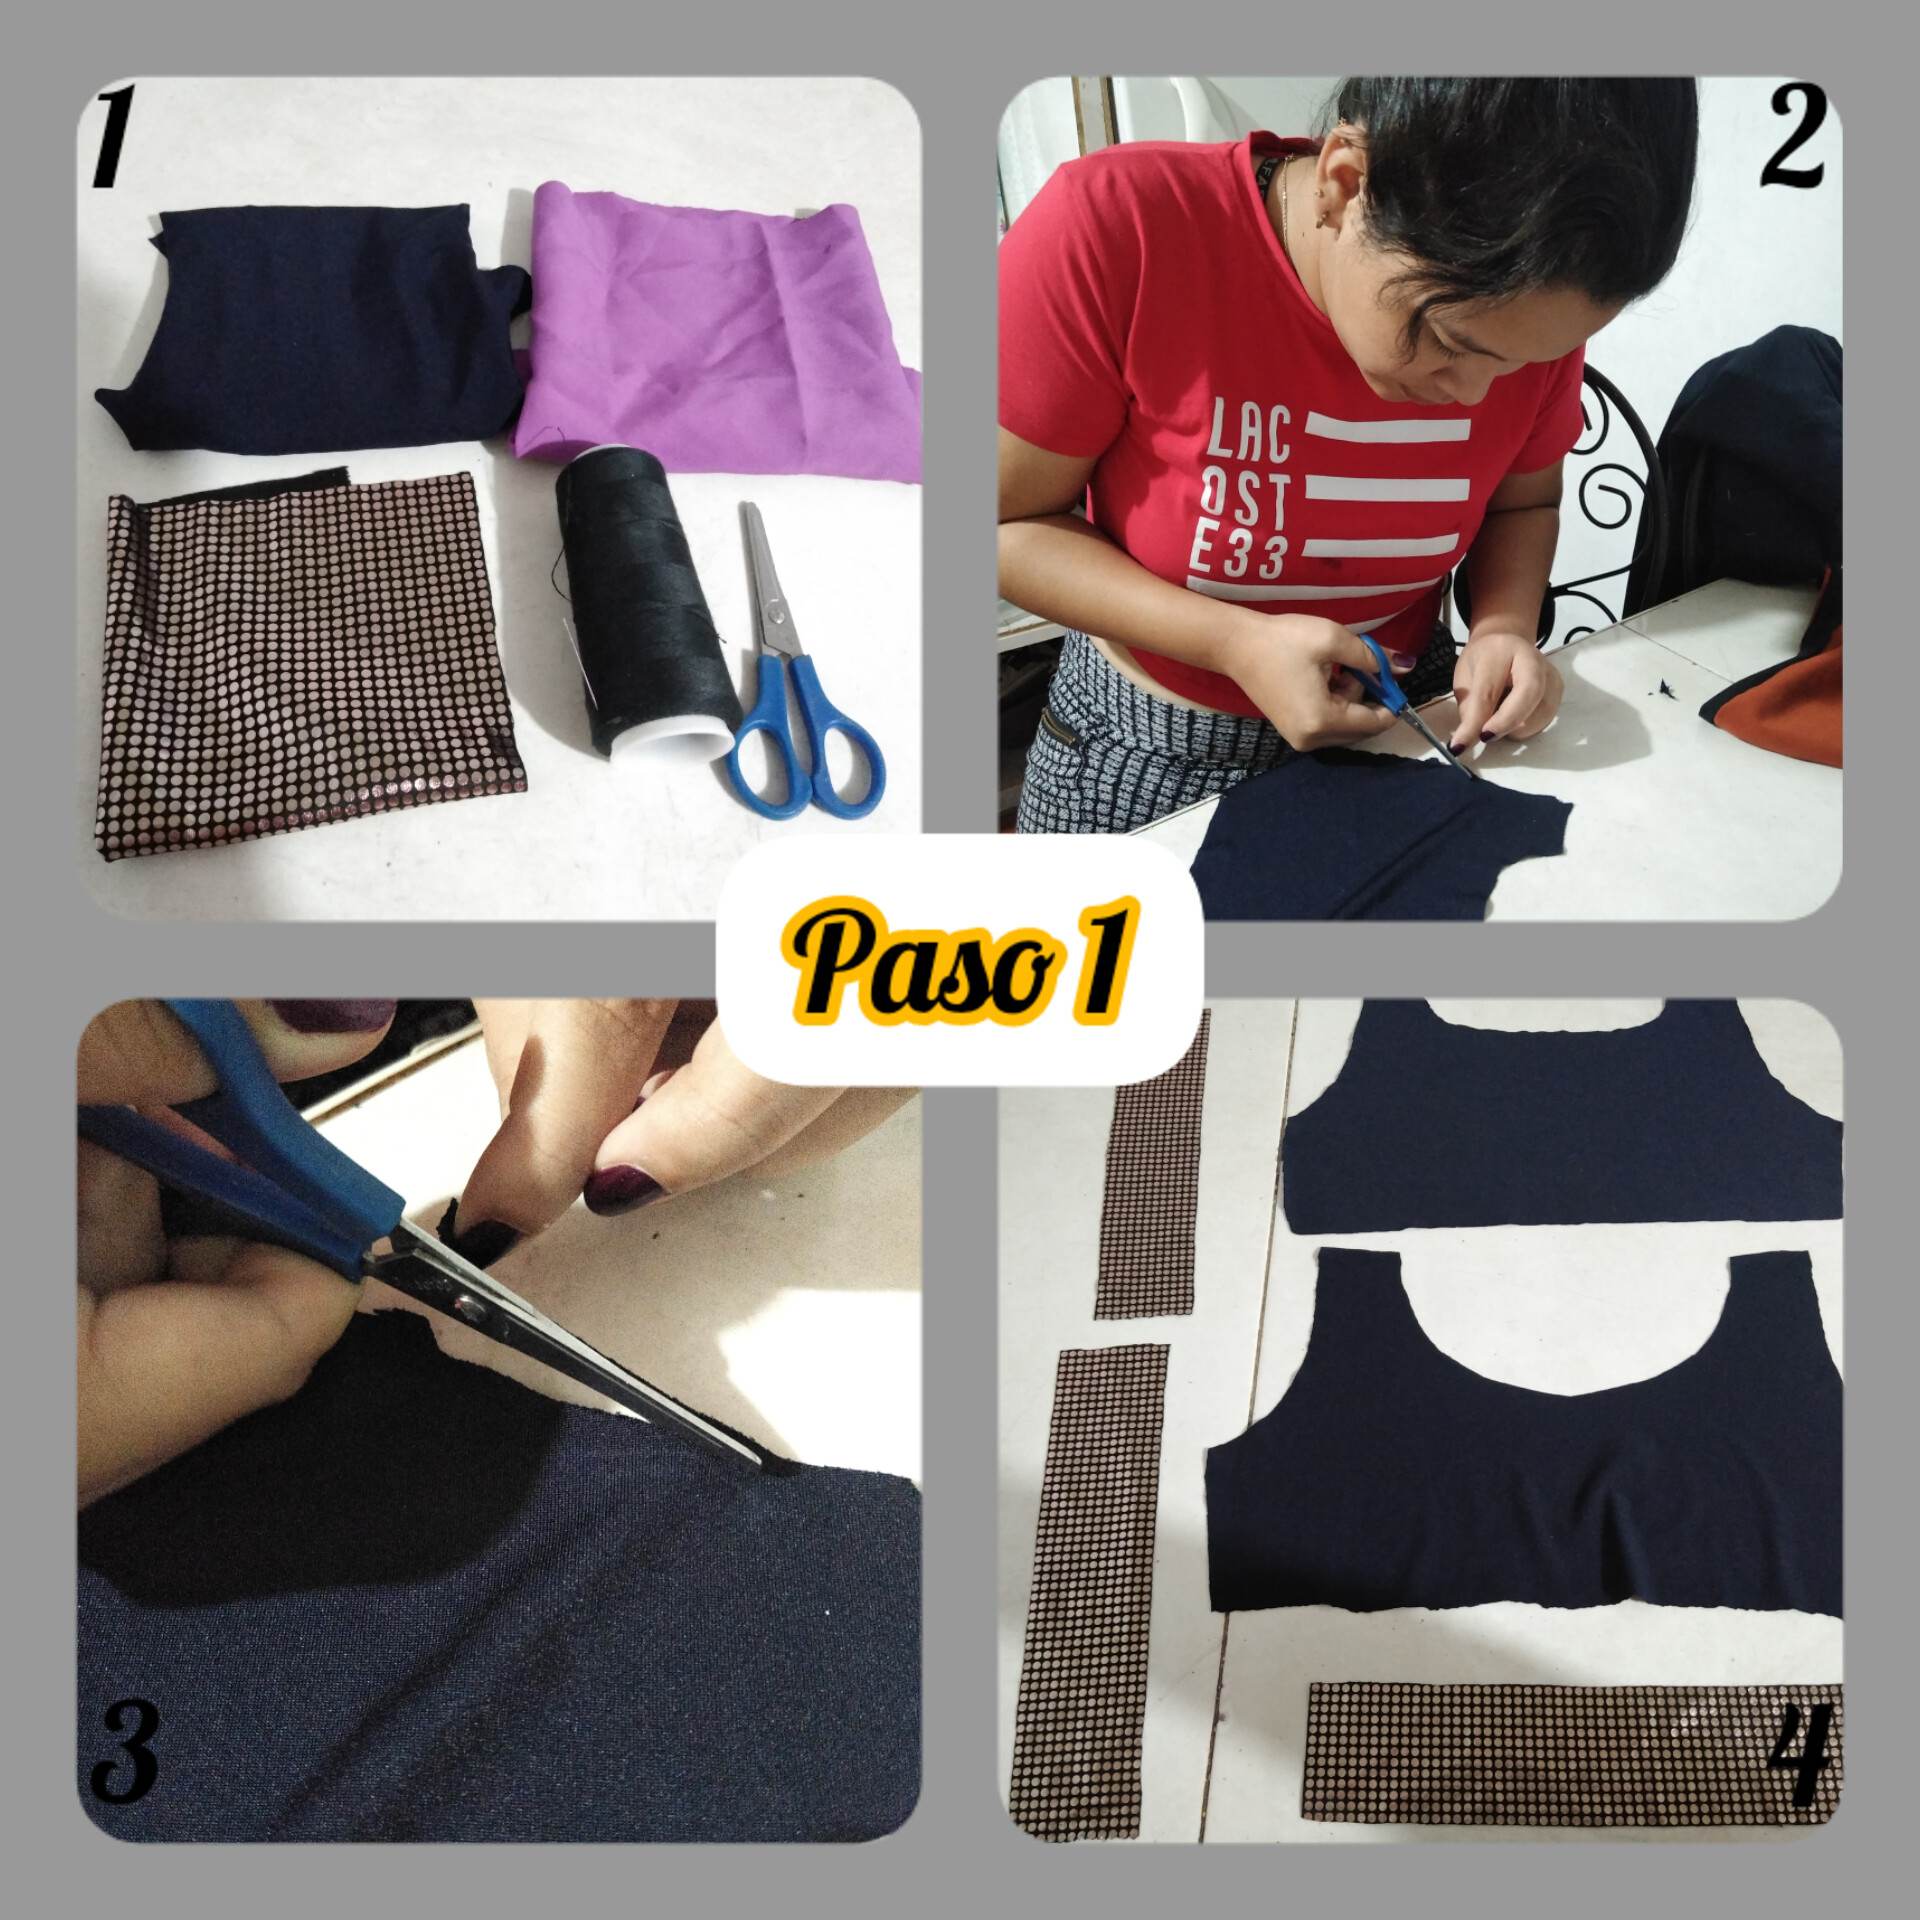
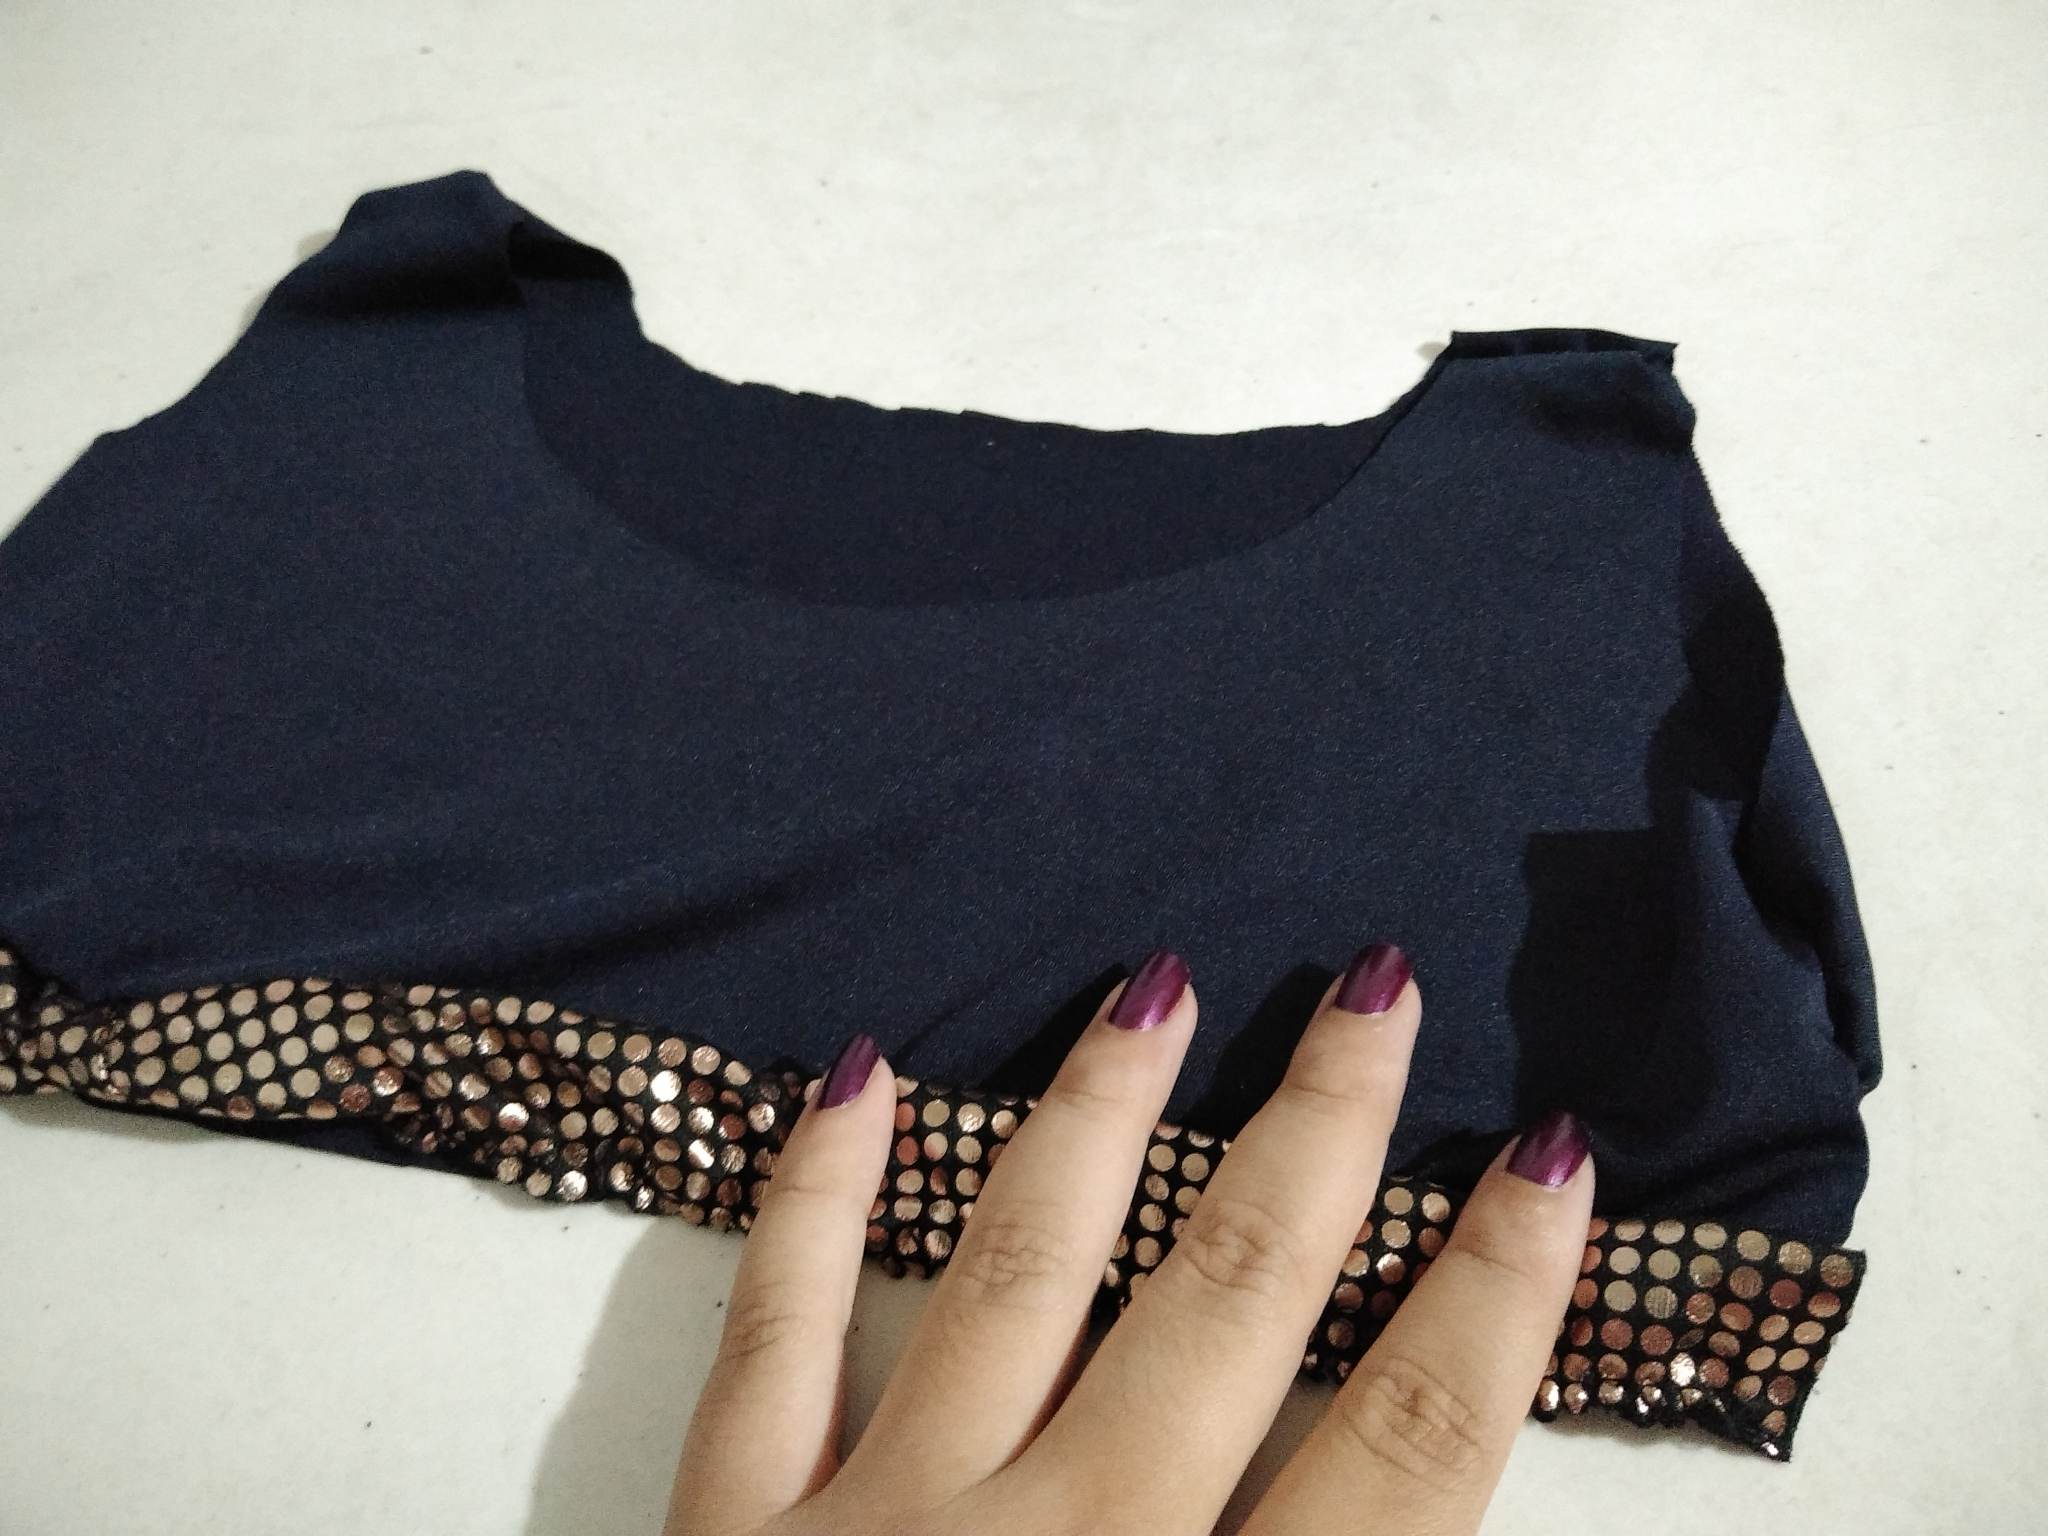
Paso 1: para realizar este mini brasier vamos a necesitar una tela stress, ya que es necesario que la tela pueda estirar para que quede cómoda al momento de nuestras niñas usarlo, podemos usar tela y combinada con otro tipo de tela para que se vea mucho más lindas, lo primero que haremos será cortar la forma de brasier, cortaremos tanto la parte delantera como la parte trasera procurando que ambas tenga la misma medida de ancho y de alto. Ya tendremos nuestra pieza las cuales eran aparte delantera que tiene el cuello mucho más abajo mientras que la parte trasera tiene el corte arriba y también cortamos algunas tiras que serán las que usaremos para colocar en la parte del ruedo del brasier.
Step 1: to make this mini bra we will need a stress fabric, as it is necessary that the fabric can stretch to be comfortable at the time of our girls use it, we can use fabric and combined with another type of fabric to look much prettier, the first thing we will do is cut the bra shape, cut both the front and the back making sure that both have the same width and height. We will already have our piece which were apart front that has the neck much lower while the back has the cut above and also cut some strips that will be the ones we will use to place in the part of the bra's ruffle.
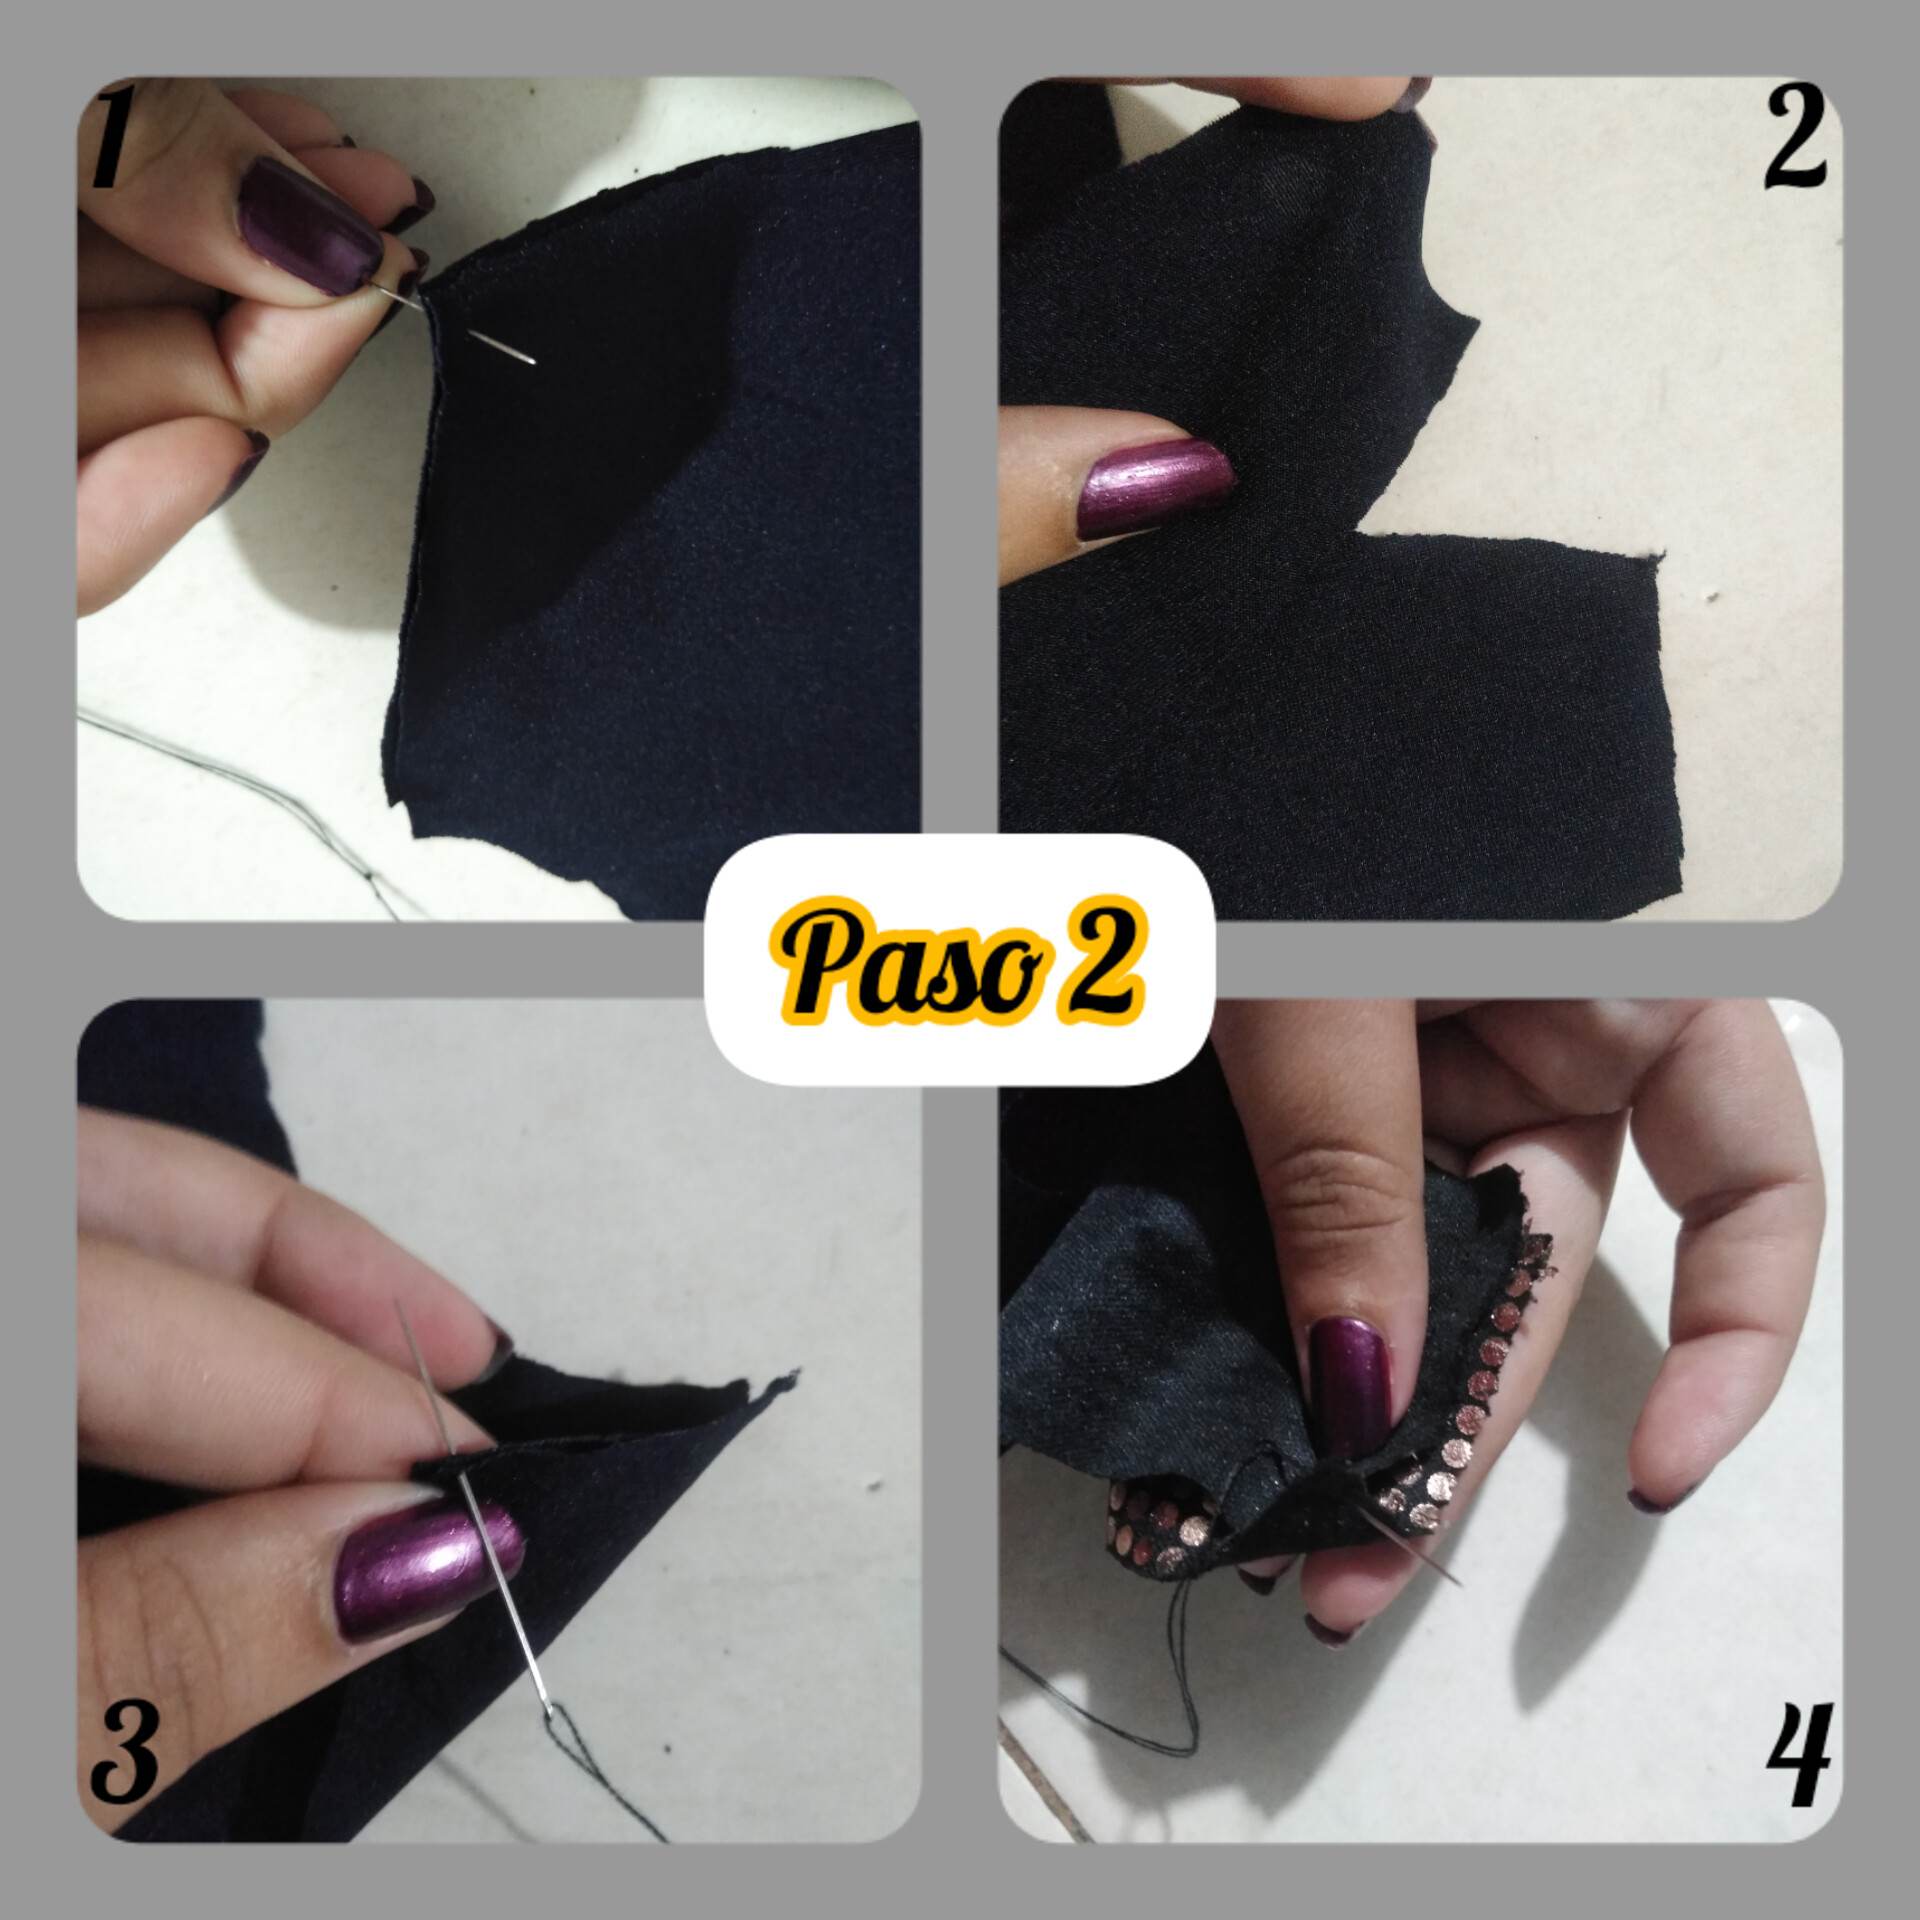
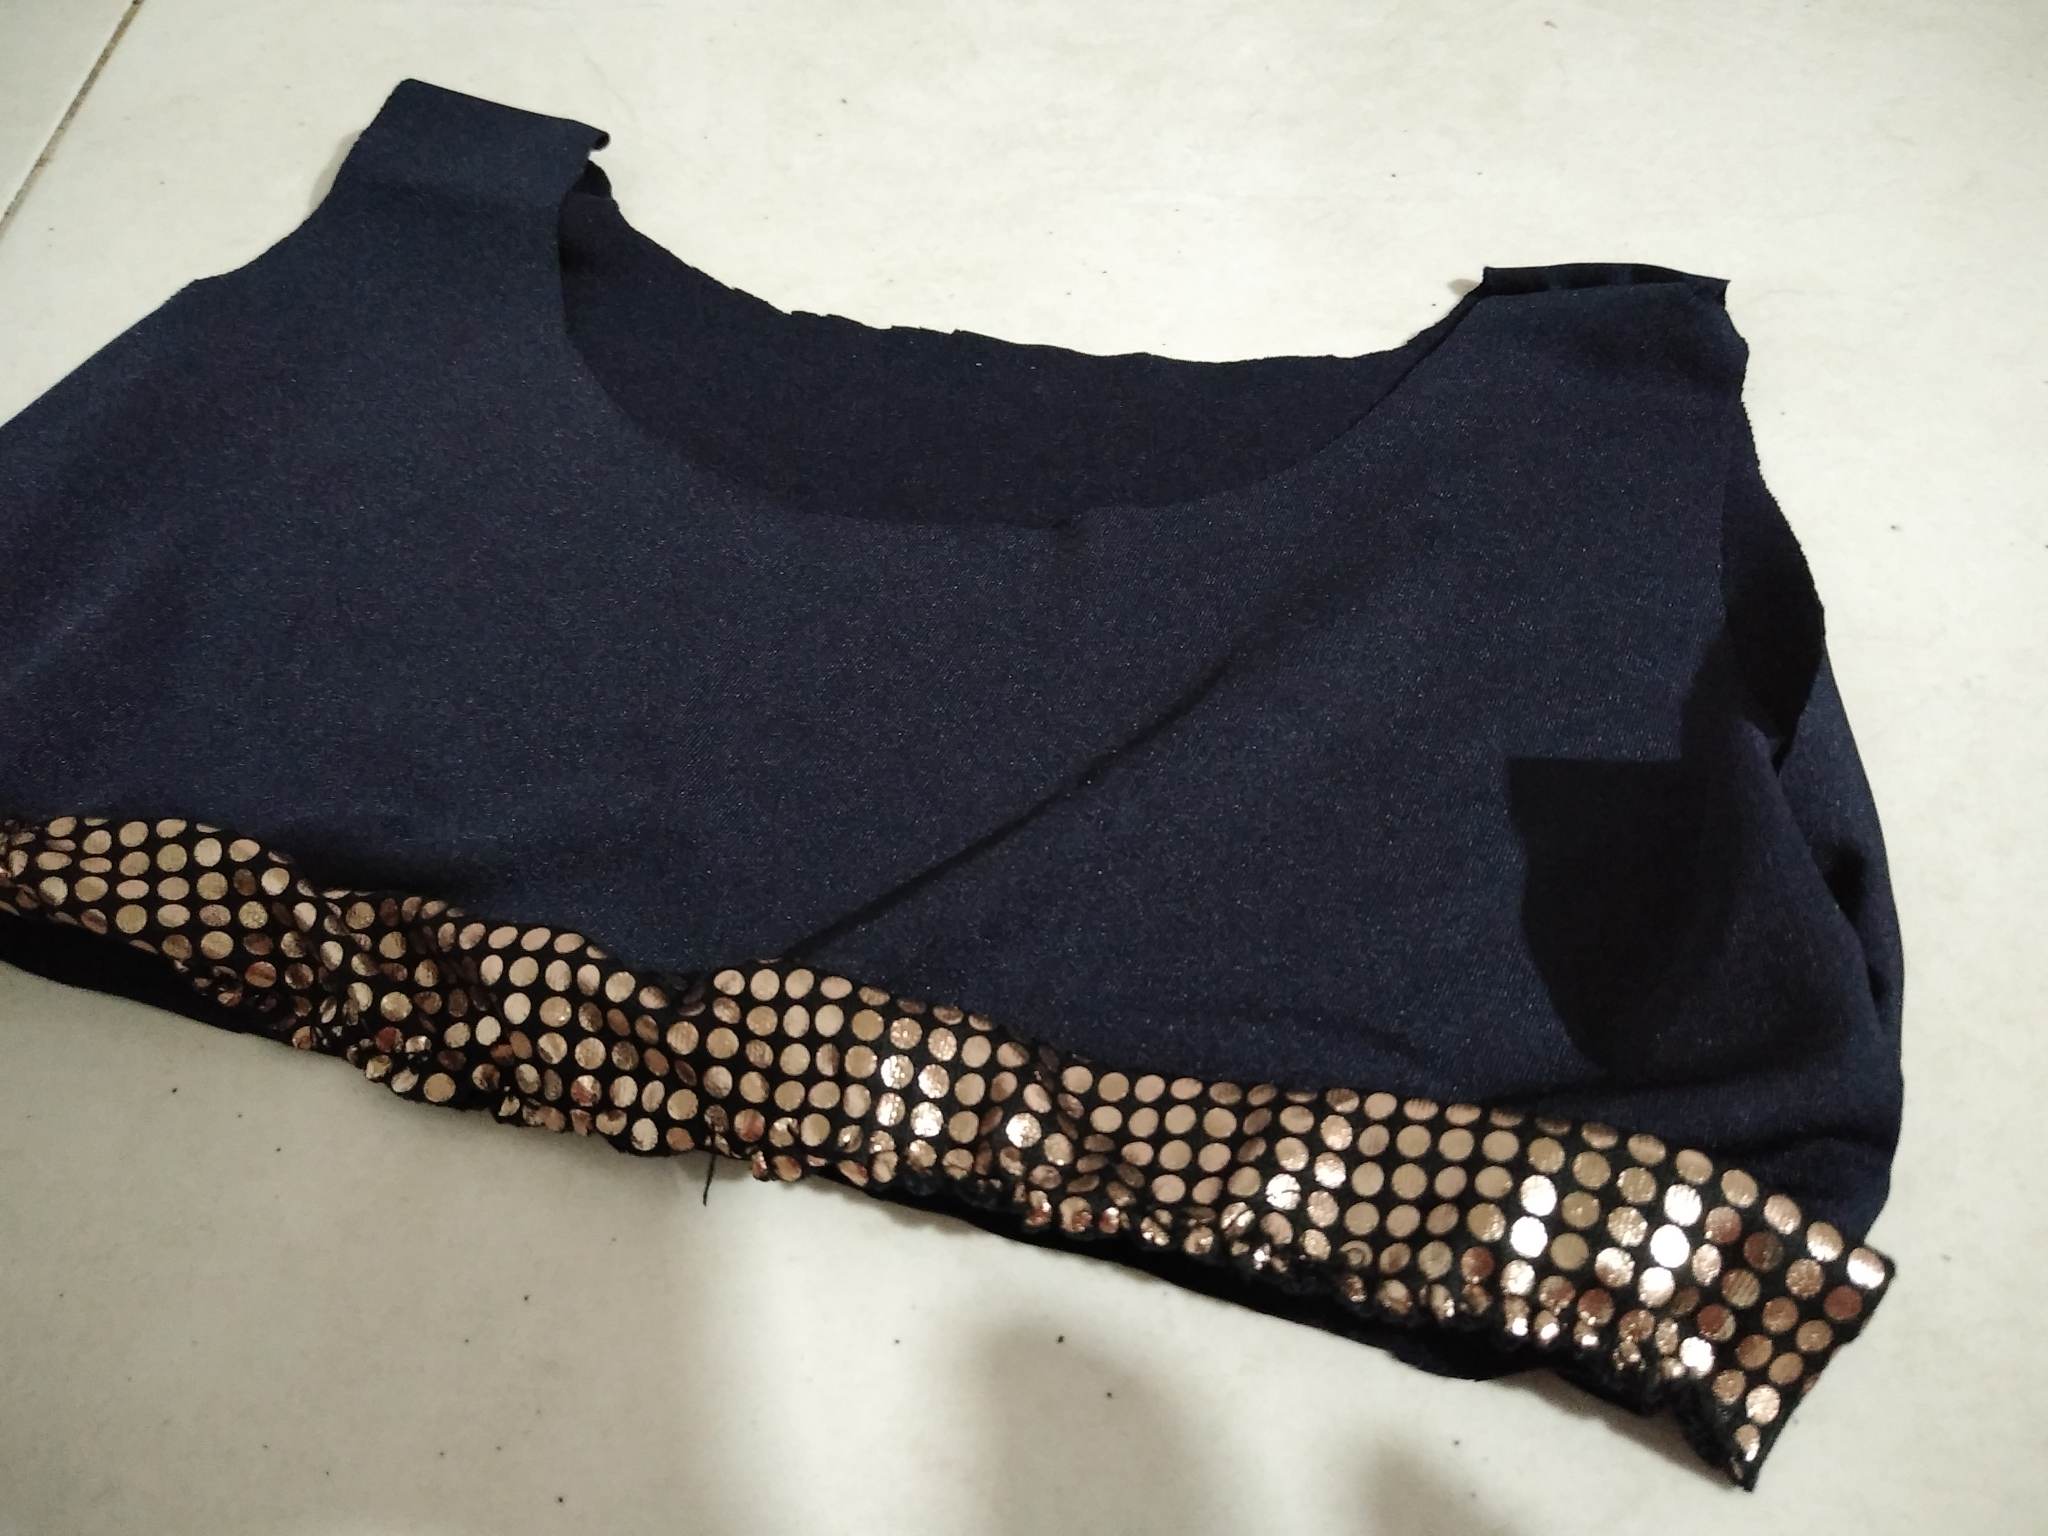
Paso 2: lo que haremos será colocar la parte delantera y la parte trasera de brasier en forma contraria para comenzar a cocer por dentro, comenzaremos cosiendo los lados de nuestro mini brasier y luego Procederemos a coser la parte de los tiros que irán en la parte de arriba. Cocer hemos muy bien por dentro procurando obtener un excelente acabado, como la pieza que usaremos para el ruedo de nuestro mini brasier no es tan larga de acuerdo al borde completo del brasier lo que haremos será coser y empatar está pieza como la imagen lo muestra.
Step 2: what we will do is to place the front and the back of the bra in the opposite way to start cooking inside, we will start sewing the sides of our mini bra and then proceed to sew the part of the straps that will go on top. As the piece that we will use for the hem of our mini bra is not so long according to the full edge of the bra, what we will do is sew and tie this piece as shown in the image.
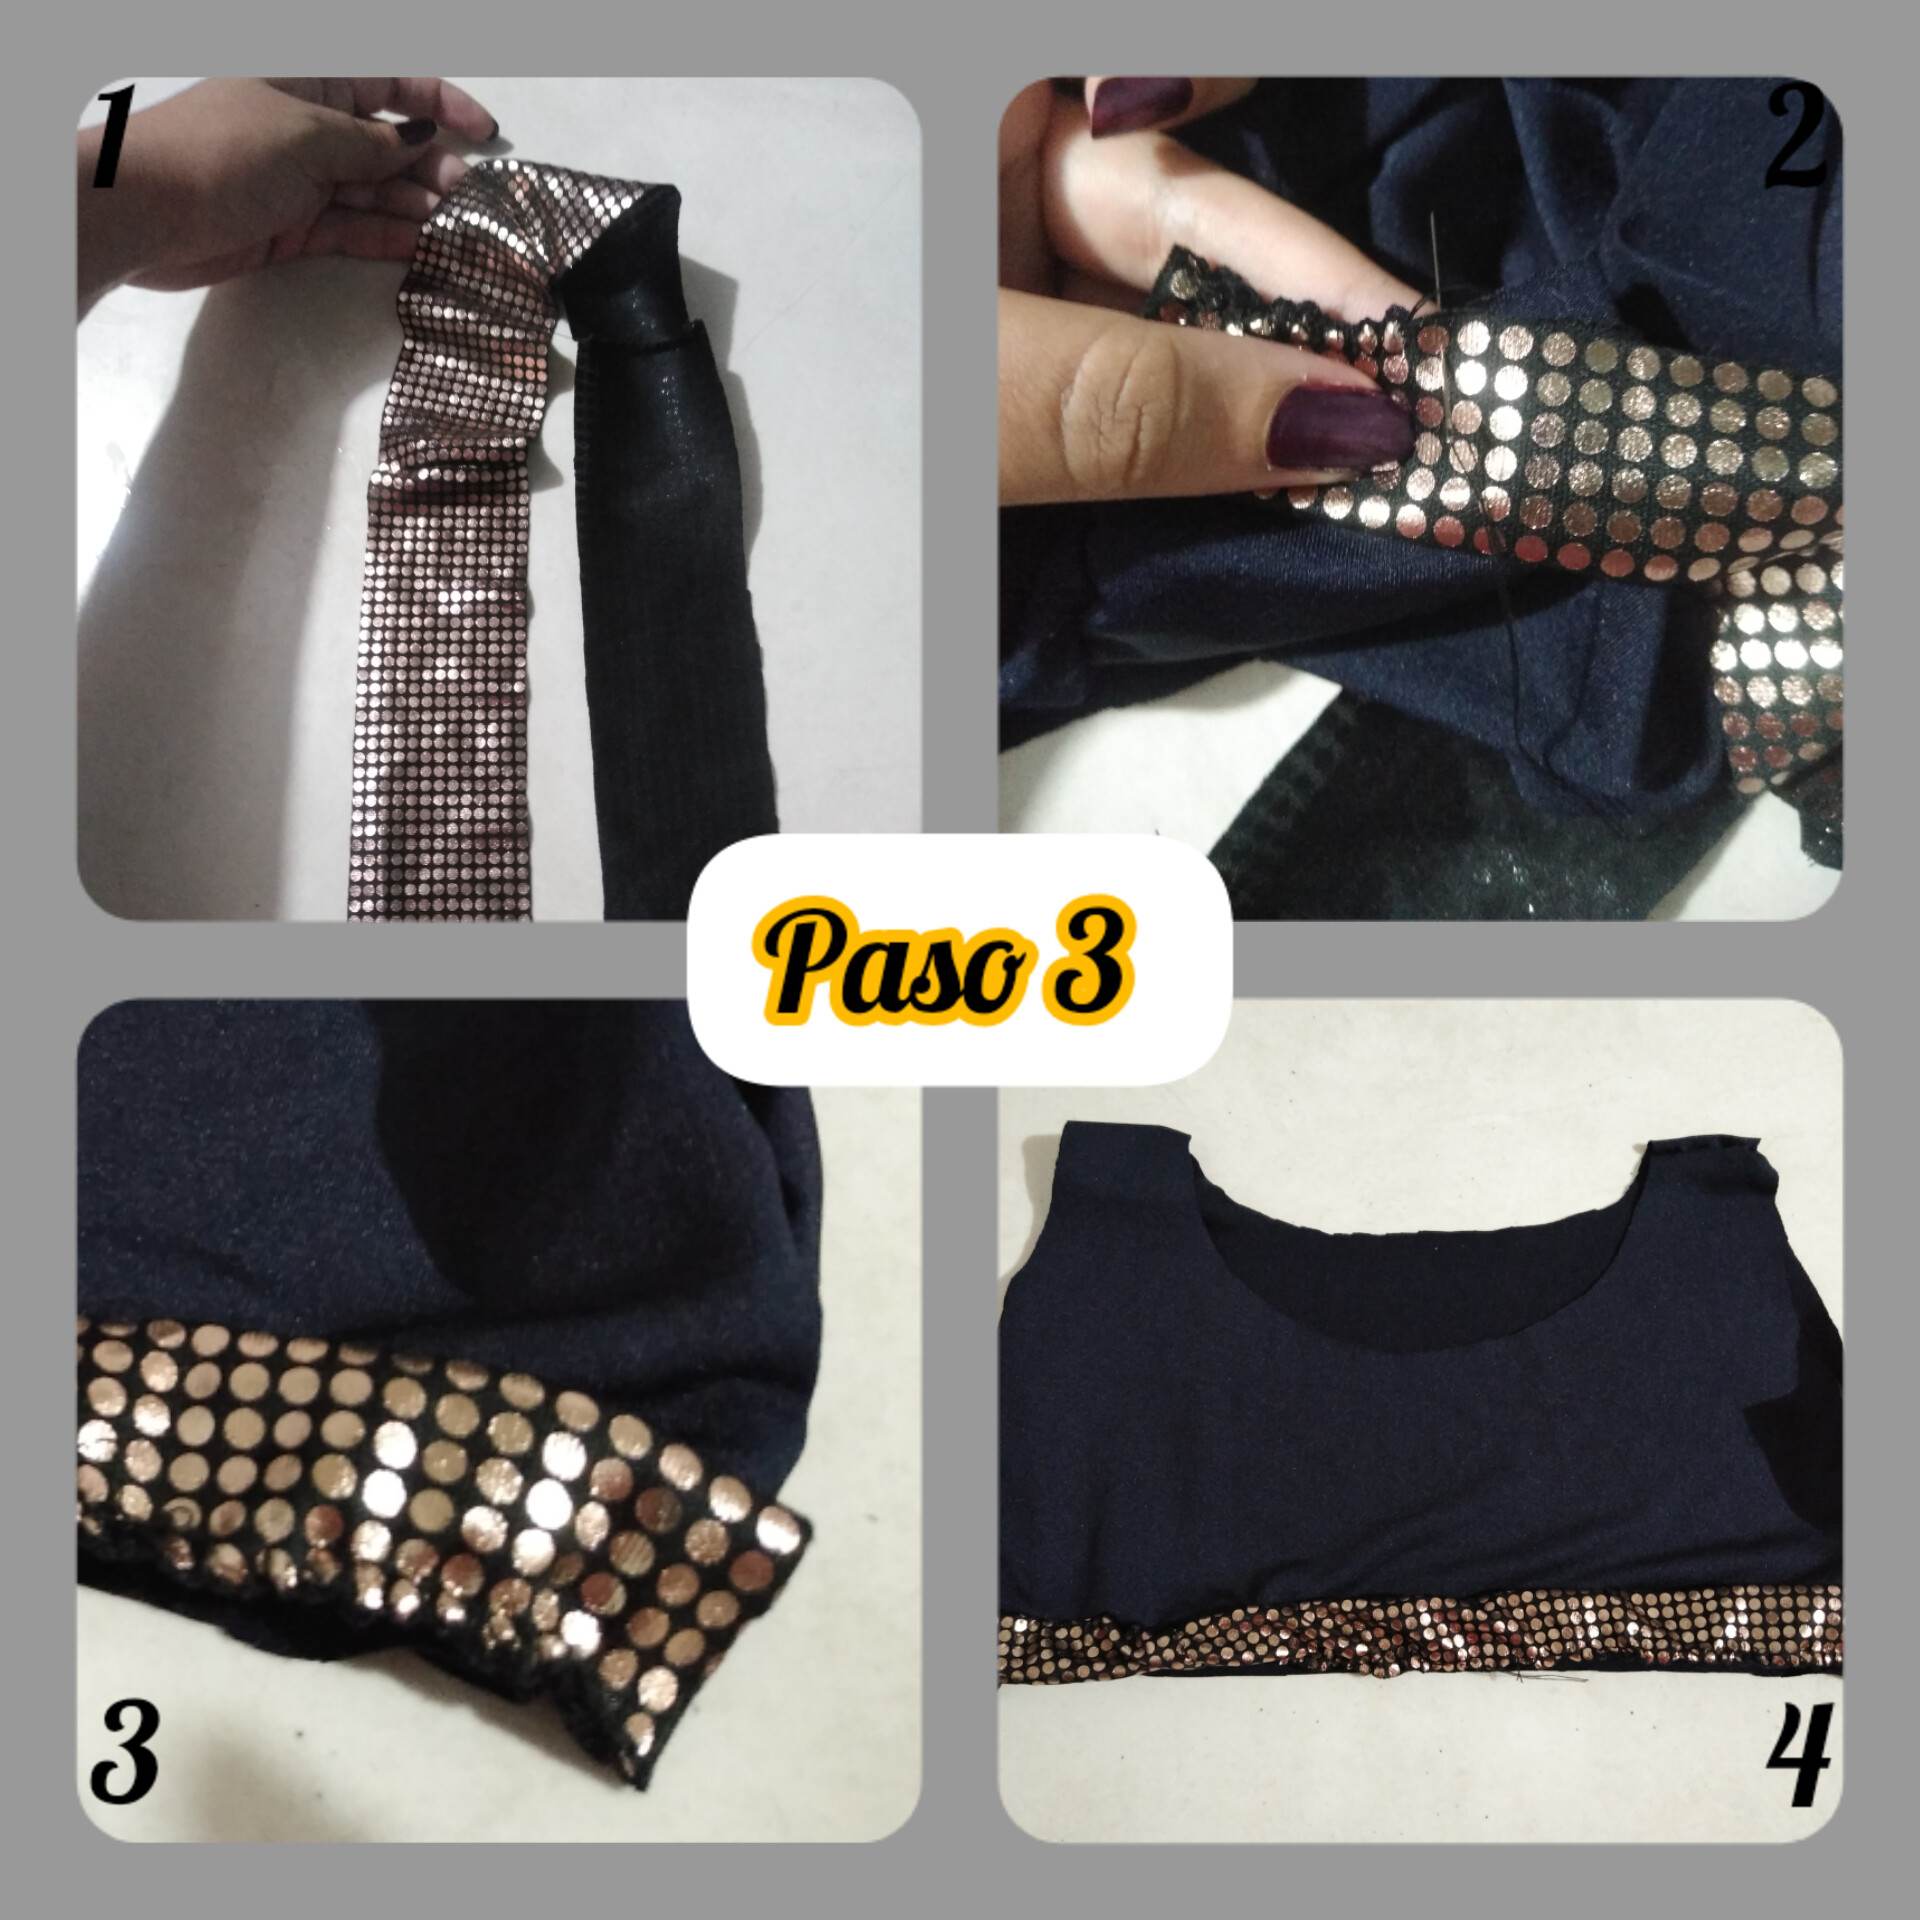
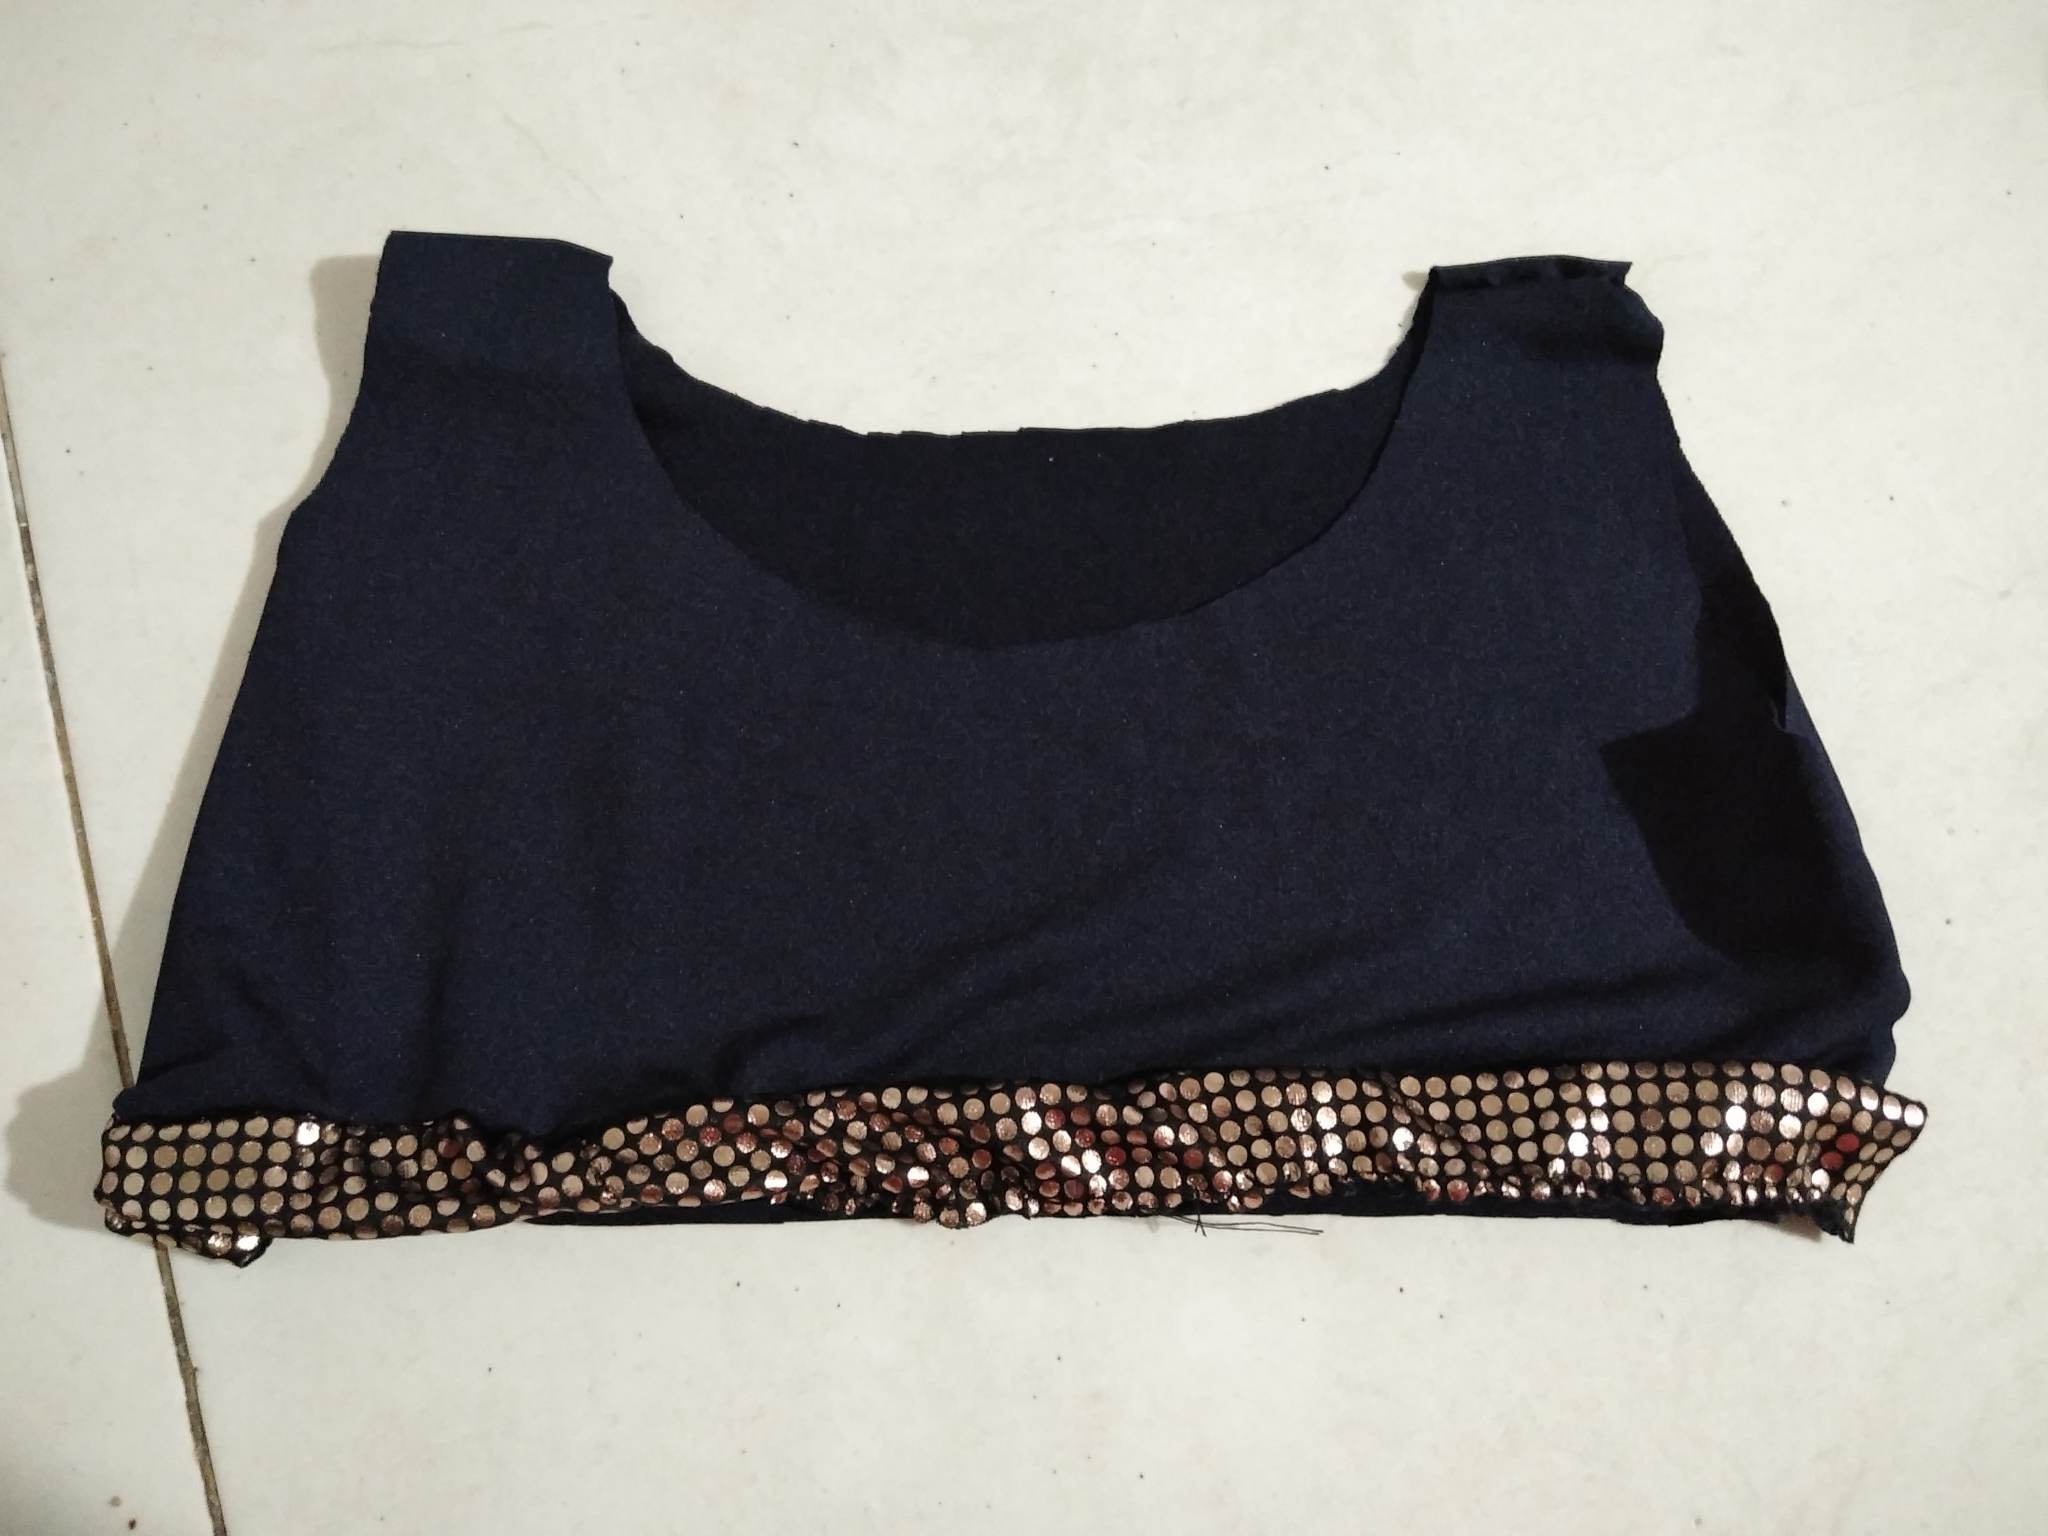
Paso 3: y luego de coser nuestra tira cosida dorada lo que procederemos a hacer será realizar un pequeño dobles para proceder a coserlo en el borde de nuestro mini brasier, esta tira dorada será la que usar hemos para que nuestro brasier tenga un toque de belleza, esto nos servirá para que se vea mucho más lindo y el se pueda ajustar al cuerpo de la niña. De esta manera culminamos los pasos para realizar el mini brasier para nuestras niñas, espero que les haya gustado tanto como a mi y que lo puedan intentar en casa.
Step 3: and after sewing our golden sewn strip what we will proceed to do will be to make a small double to proceed to sew it on the edge of our mini bra, this golden strip will be the one that we use to make our bra have a touch of beauty, this will help us to make it look much nicer and it can be adjusted to the body of the girl. This way we finish the steps to make the mini bra for our girls, I hope you liked it as much as I did and that you can try it at home.
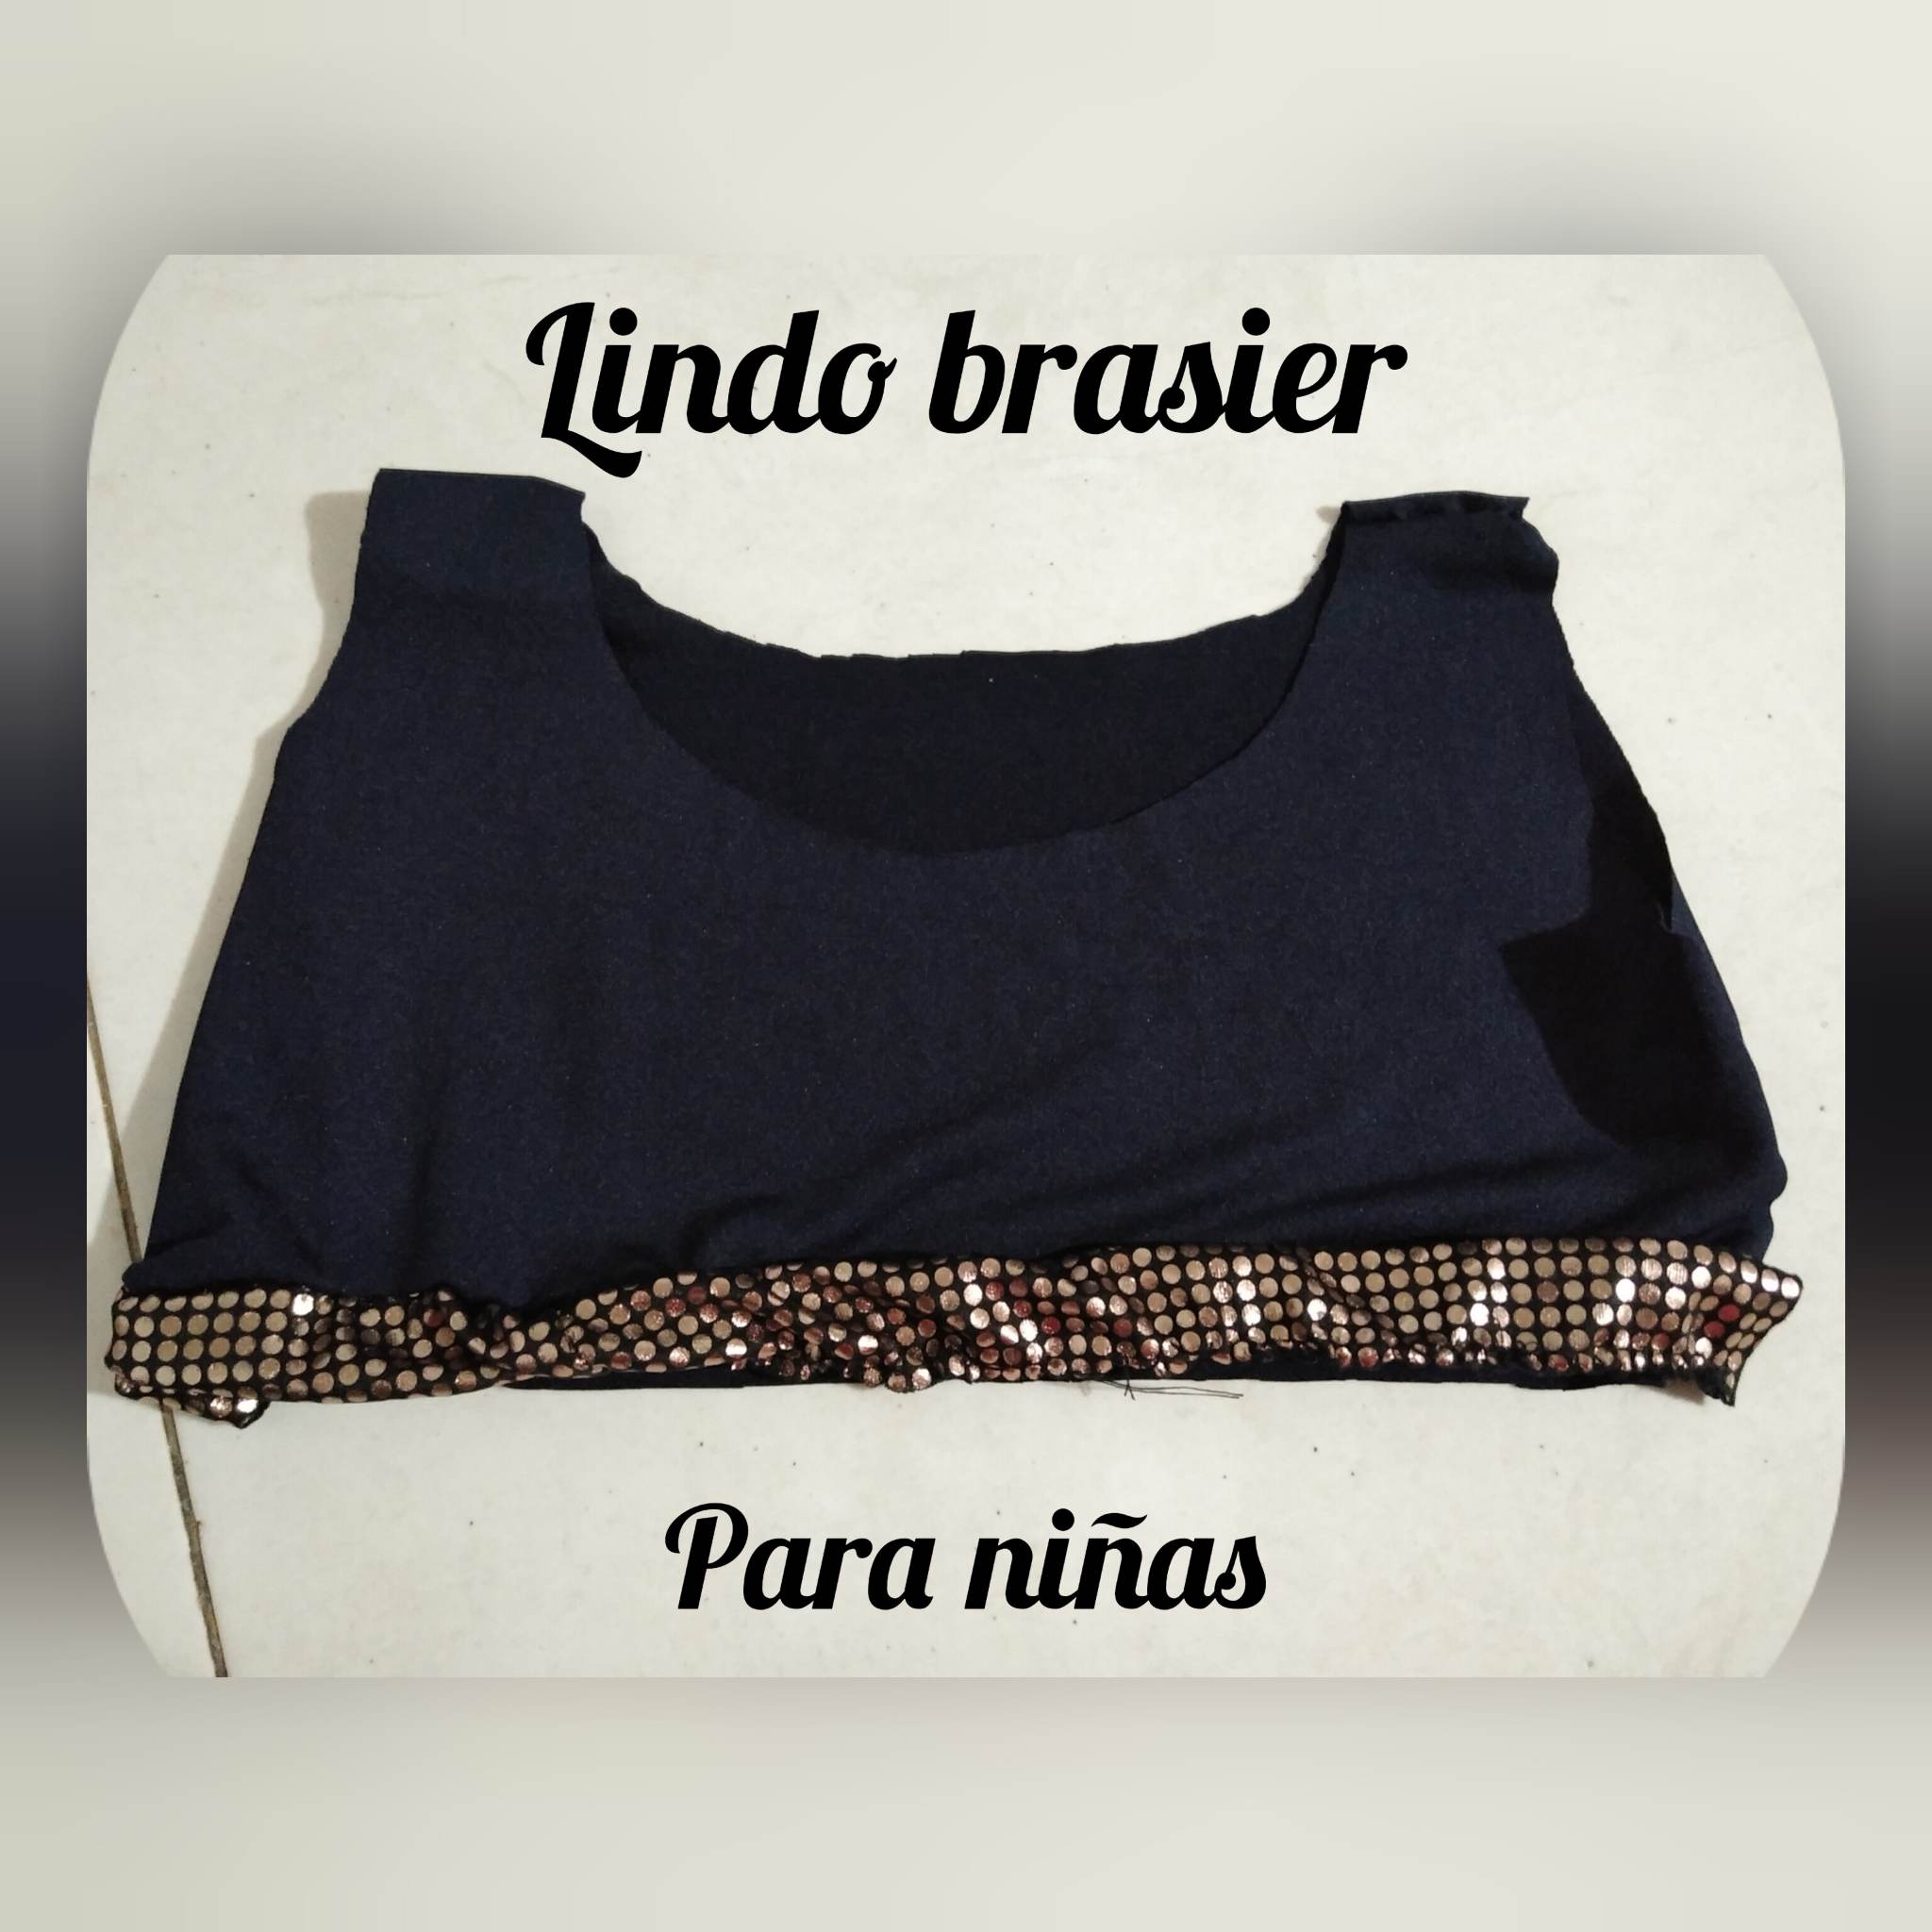
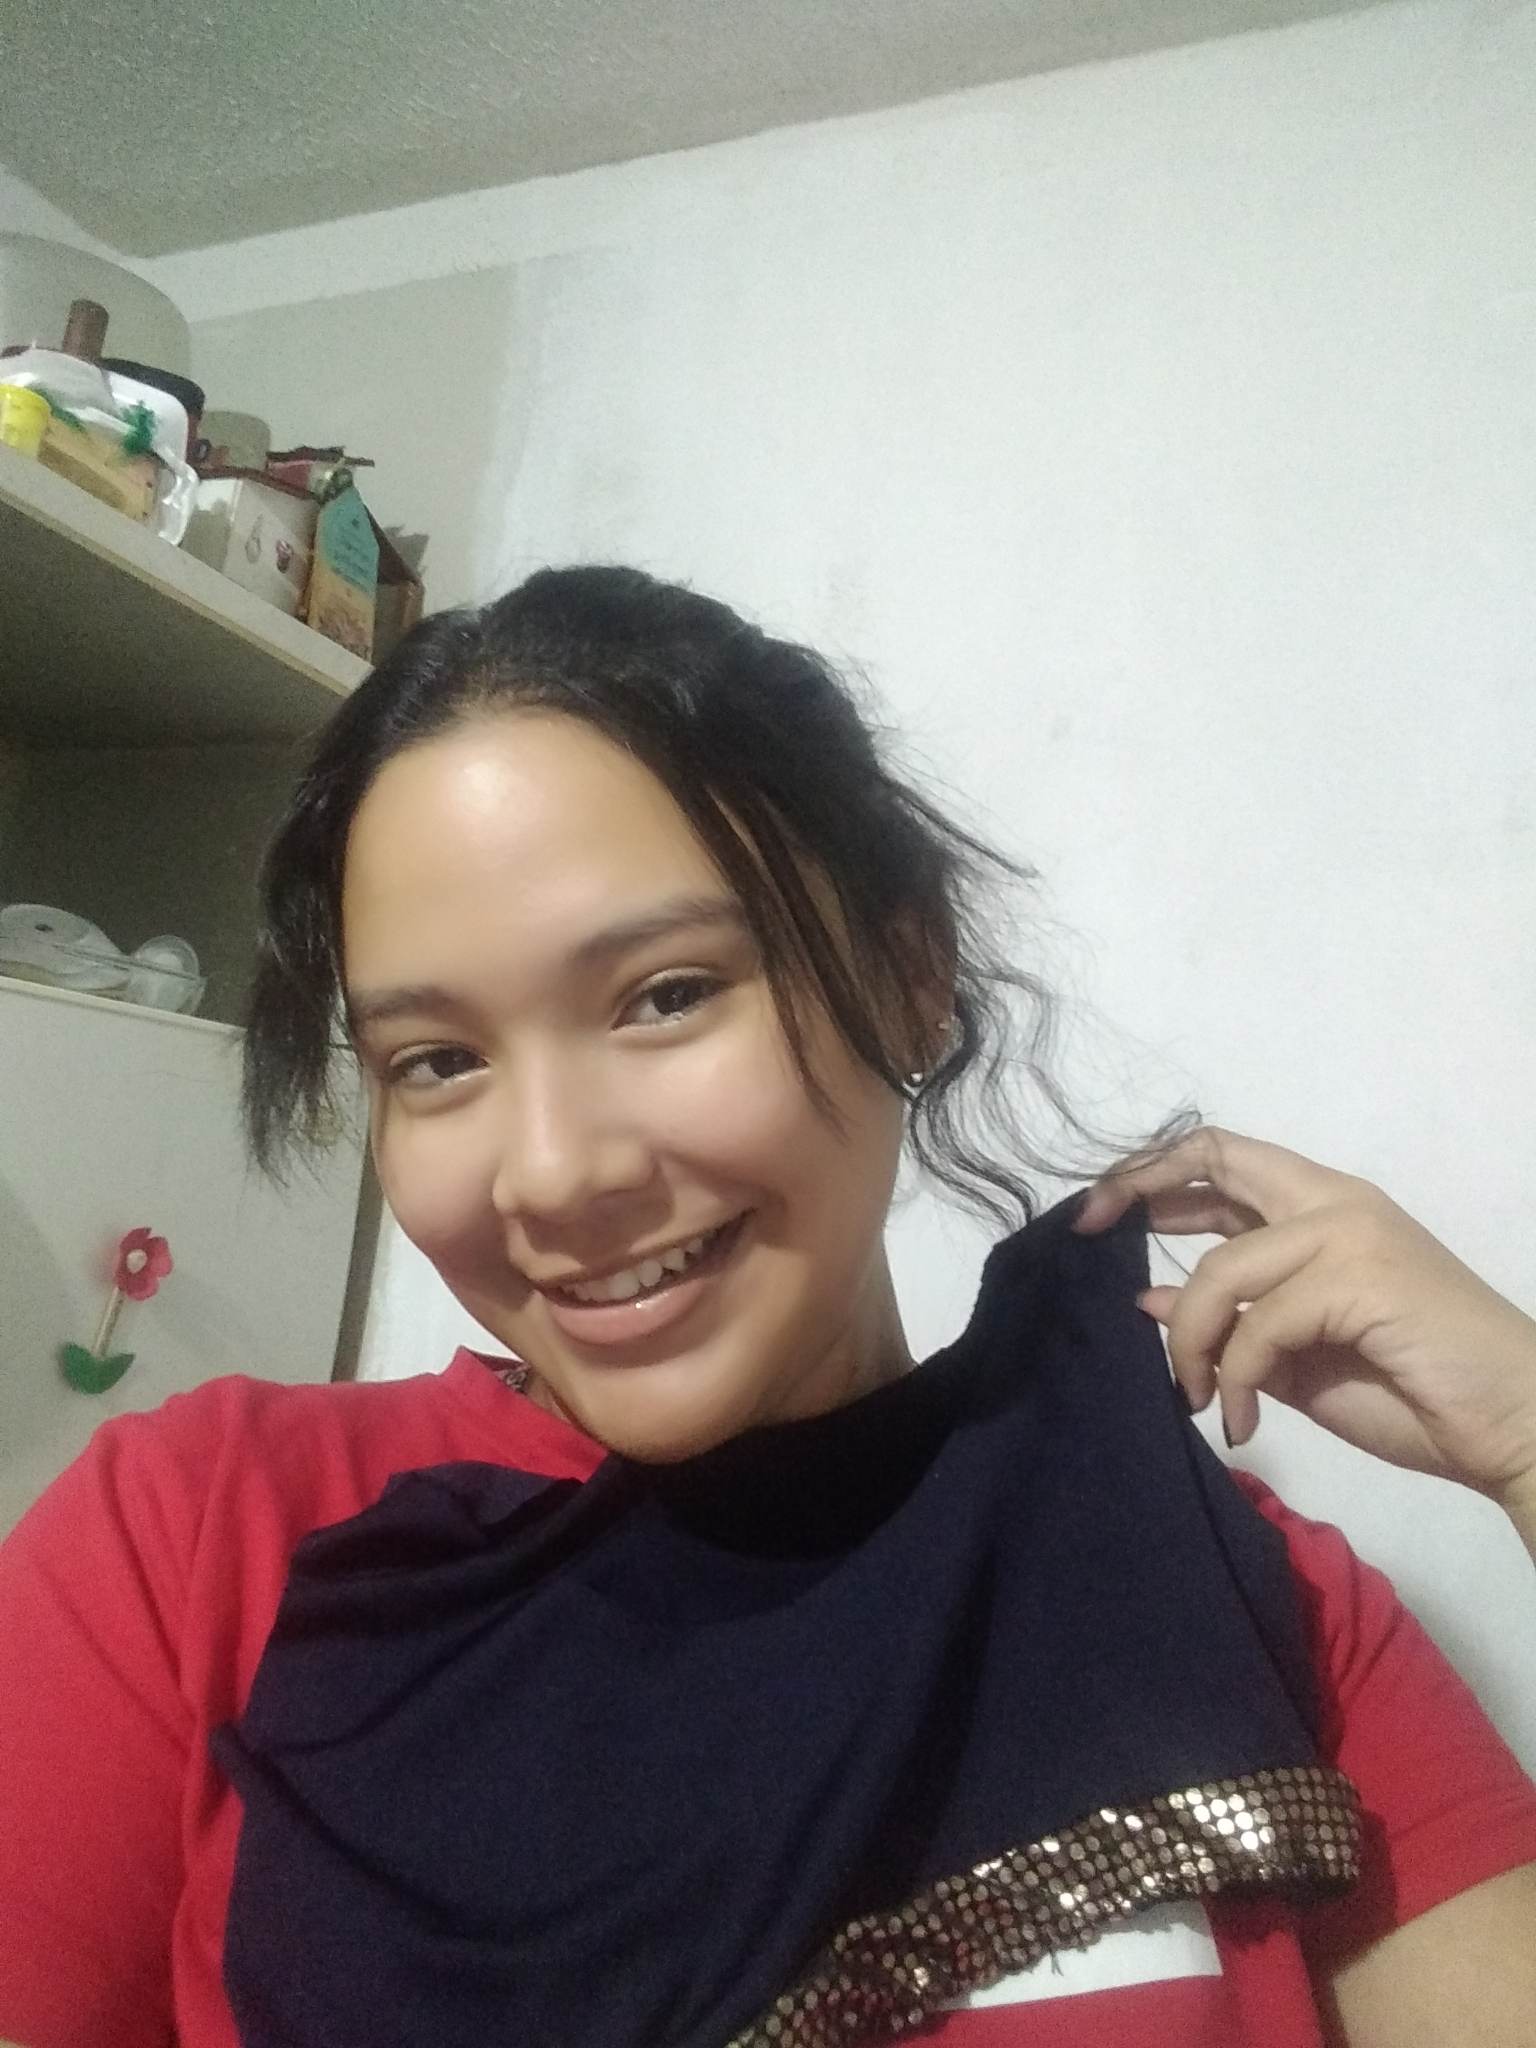
Final Result.
.jpg)

Saludos amiga @eribetzi, me gusto mucho.
Gracias amiga.