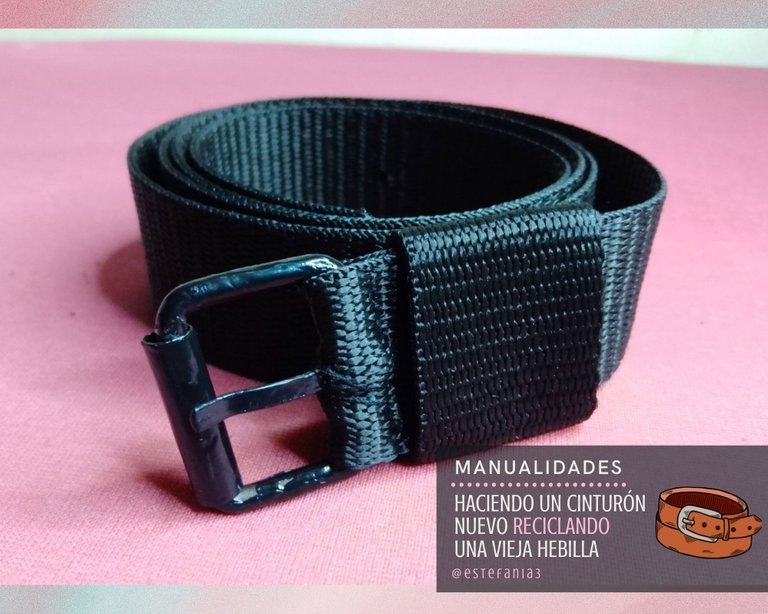
Manualidades: Haciendo un cinturón nuevo para mi hijo reciclando una vieja hebilla || Crafts: Making a new belt for my son by recycling an old buckle ♥

¡Hola Chicos!
Desde hace algún tiempo he estado en la búsqueda de un cinturón para mi hijo Enrique, ya que él tiene la cintura algo angosta y para ponerse cómodamente sus pantalones le hace falta uno.
Está en una edad en la que se complica un poco conseguir la ropa que le gusta, o son muy pequeñas o para adolescentes. Entonces, para buscarle una solución a esta situación, me di la tarea de comprar una cinta para renovar su viejo cinturón mientras conseguimos uno que se ajuste a él.
La cinta costo apenas 0.5$ el metro, lo único que no pude conseguir fue una hebilla, así que opté por usar la que ya tenía.
Me disfruté un mundo el hacerle este nuevo cinturón, además que va con un plus de amor incluido. El resultado fue tal y como lo imaginé y a mi hijo le encantó.
Ahora les voy a enseñar el paso a paso de como logré hacerlo y por si están pasando por un problema similar puedan encontrarle una solución. ♥
Hey guys!
For some time now I have been searching for a belt for my son Enrique, since he has a somewhat narrow waist and to comfortably put on his pants he needs one.
He is at an age where it is a bit complicated to get the clothes he likes, or they are very small or for teenagers. So, to find a solution to this situation, I set myself the task of buying a tape to renew his old belt while we get one that fits him.
The tape was only $0.5 per meter, the only thing I couldn't get was a buckle, so I opted to use the one I already had.
I really enjoyed making this new belt for him, plus it comes with a plus of love included. The result was just as I imagined and my son loved it.
Now I am going to show you step by step how I managed to do it and in case you are going through a similar problem you can find a solution. ♥
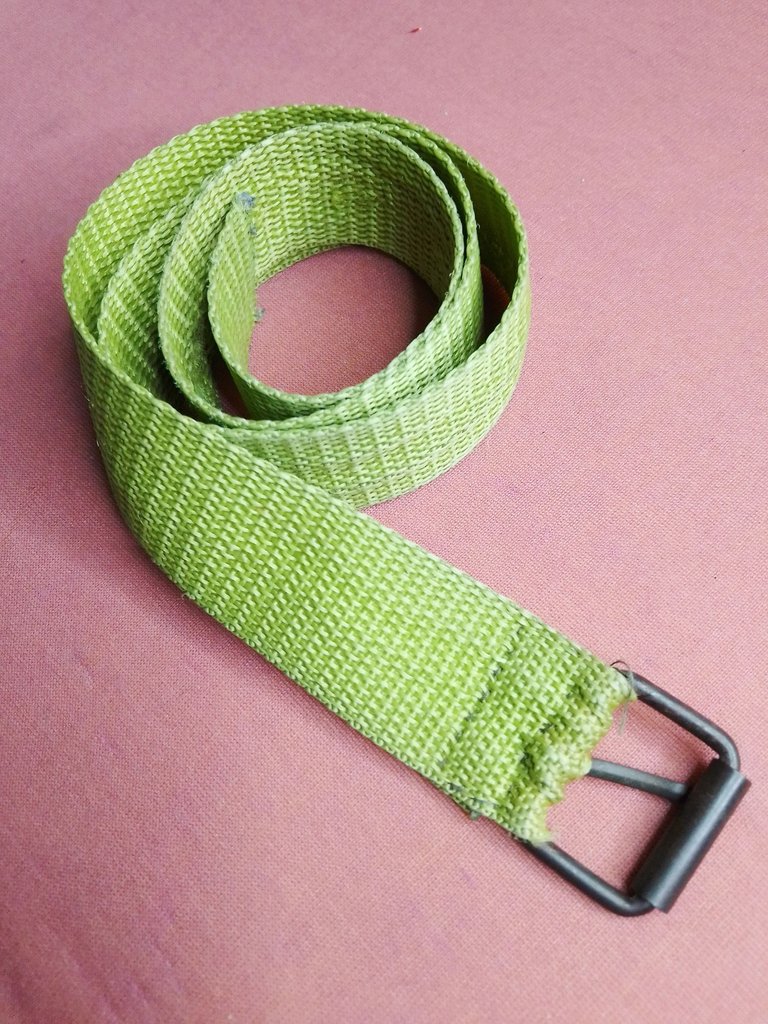
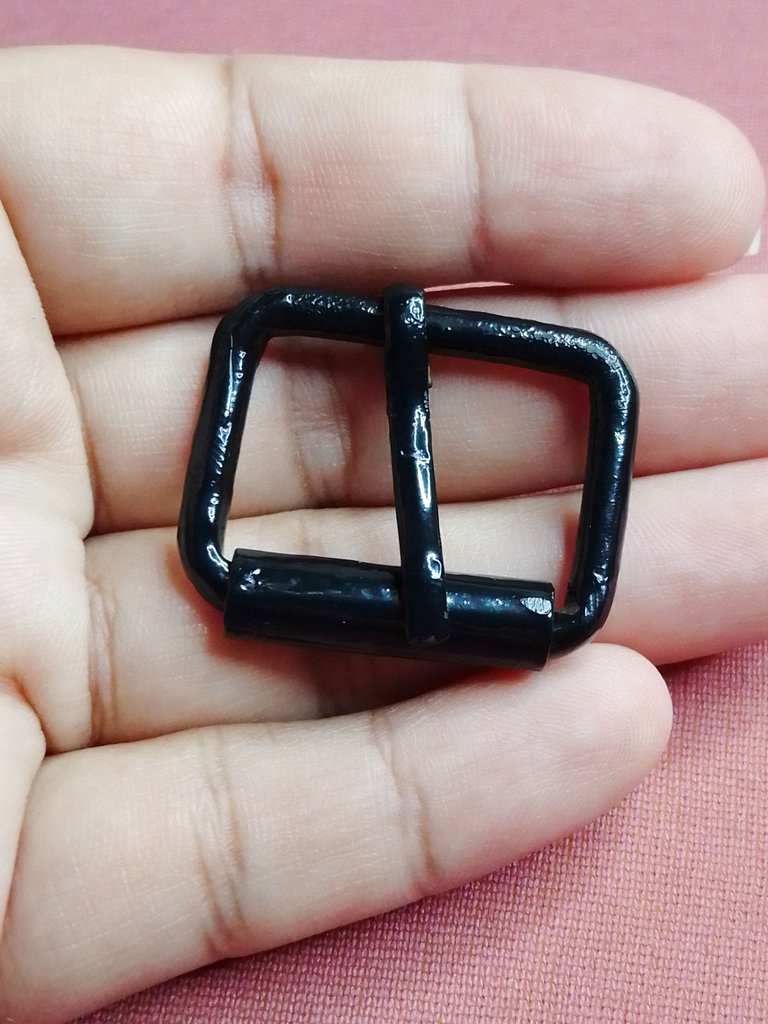
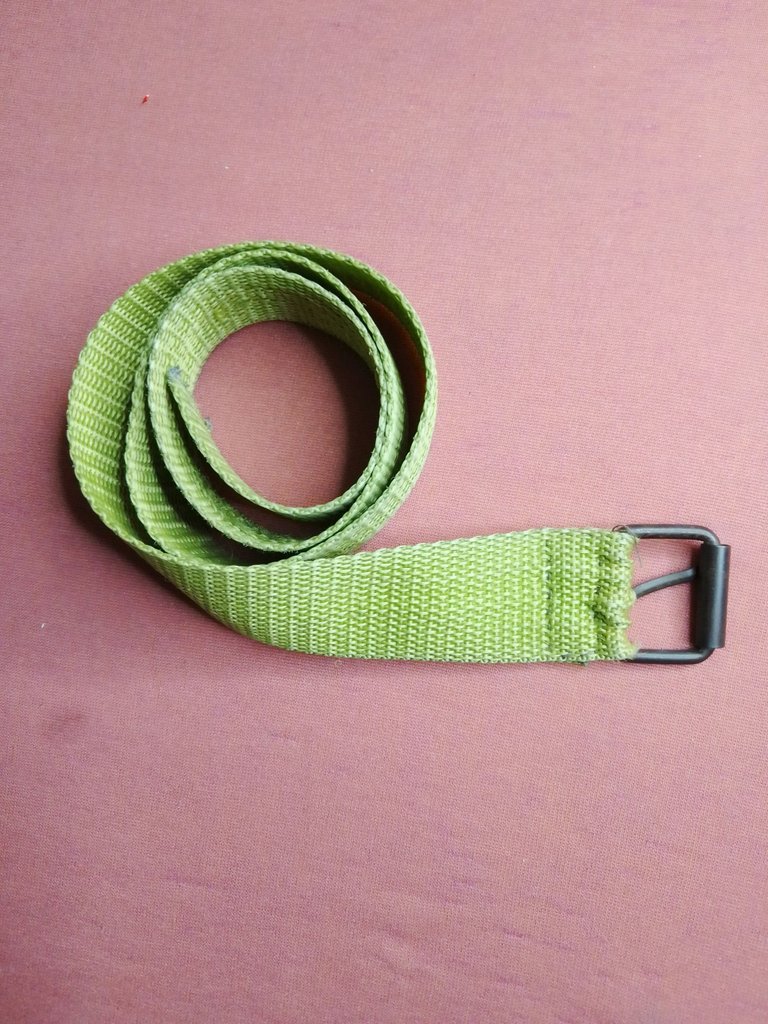
Esta es la vieja correa. Lo primero que hice fue recortarla para sacar la hebilla. Luego retiré la cinta que quedaba atada a ella y al hacerlo me di cuenta de que estaba un poco oxidada.
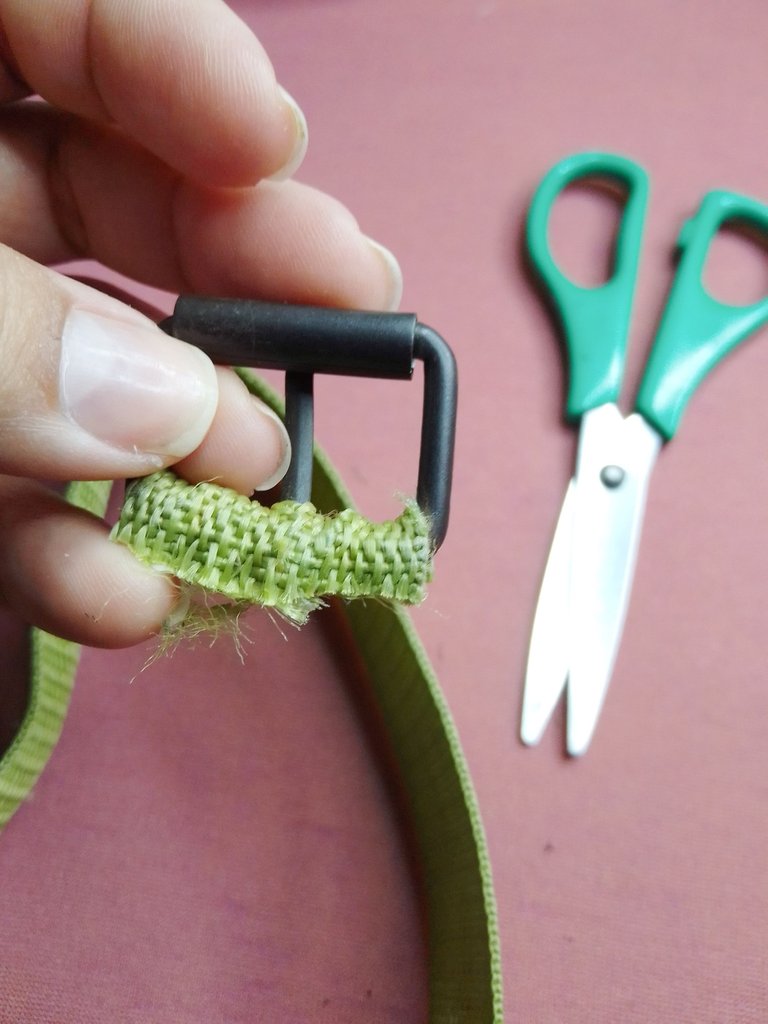
This is the old strap. The first thing I did was cut it to remove the buckle. Then I removed the tape that was attached to it and in doing so I noticed that it was a bit rusty.
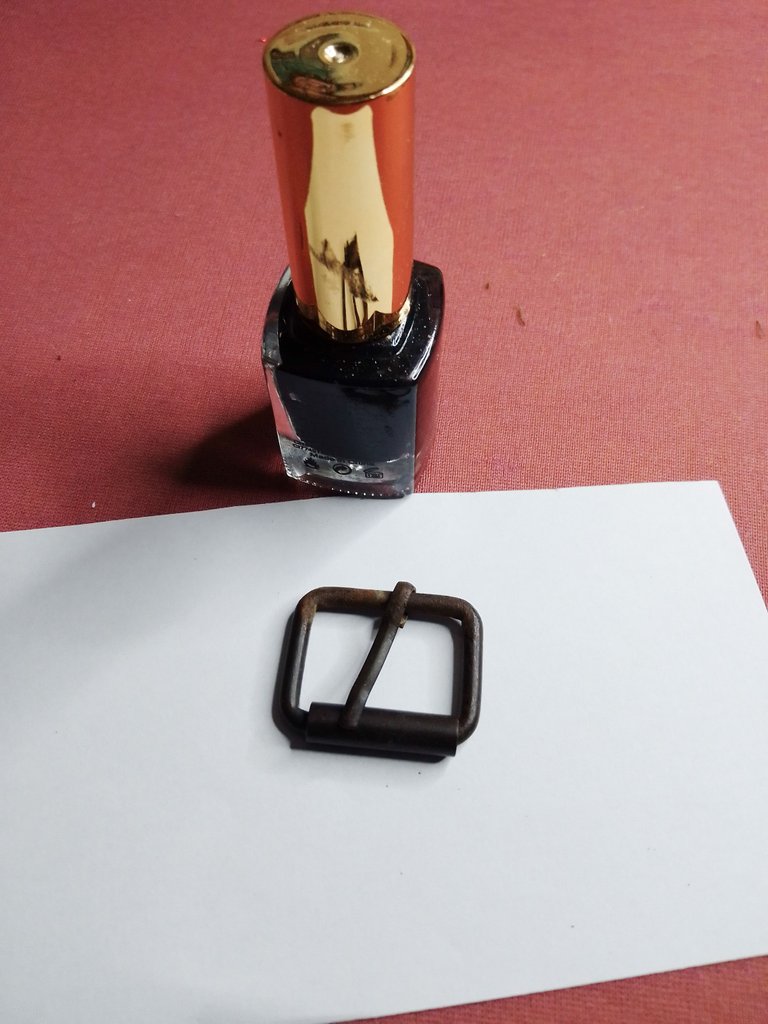
Se me ocurrió colocarme un poco de esmalte de uñas de color negro para detener el proceso de oxidación y que tuviera un mejor aspecto.
Con mucho cuidado pinte ambos lados de la hebilla y por supuesto, deje que secara muy bien antes de utilizarla.
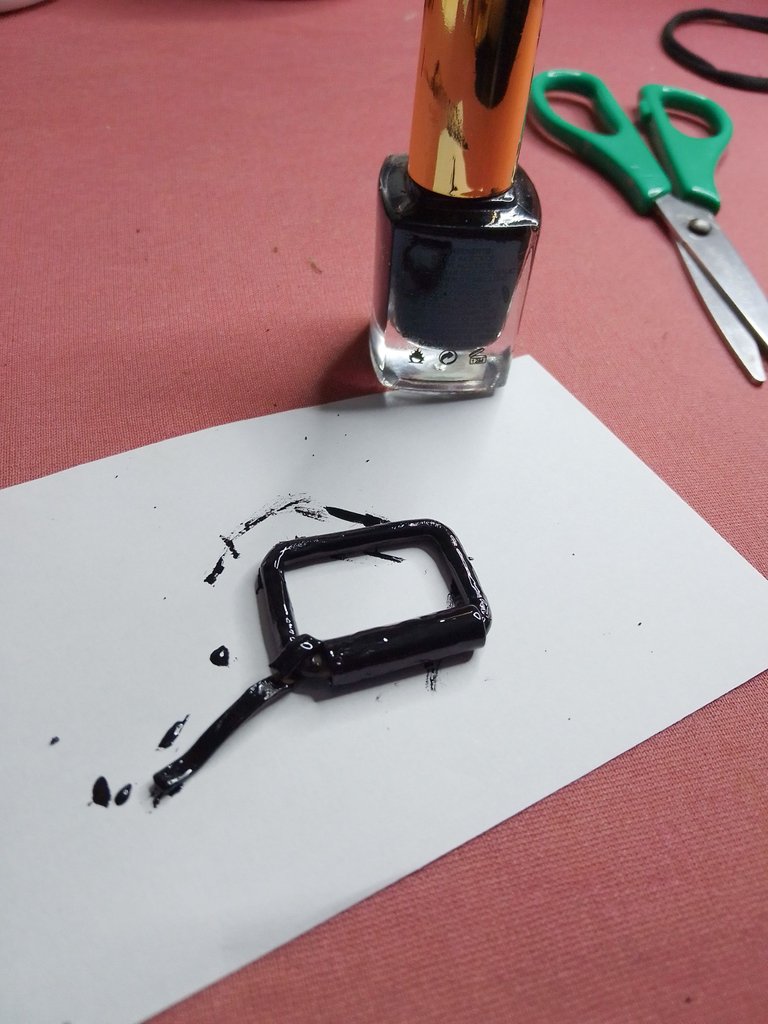
It occurred to me to put on some black nail polish to stop the oxidation process and make it look better.
Very carefully paint both sides of the buckle and of course, let it dry very well before using it.

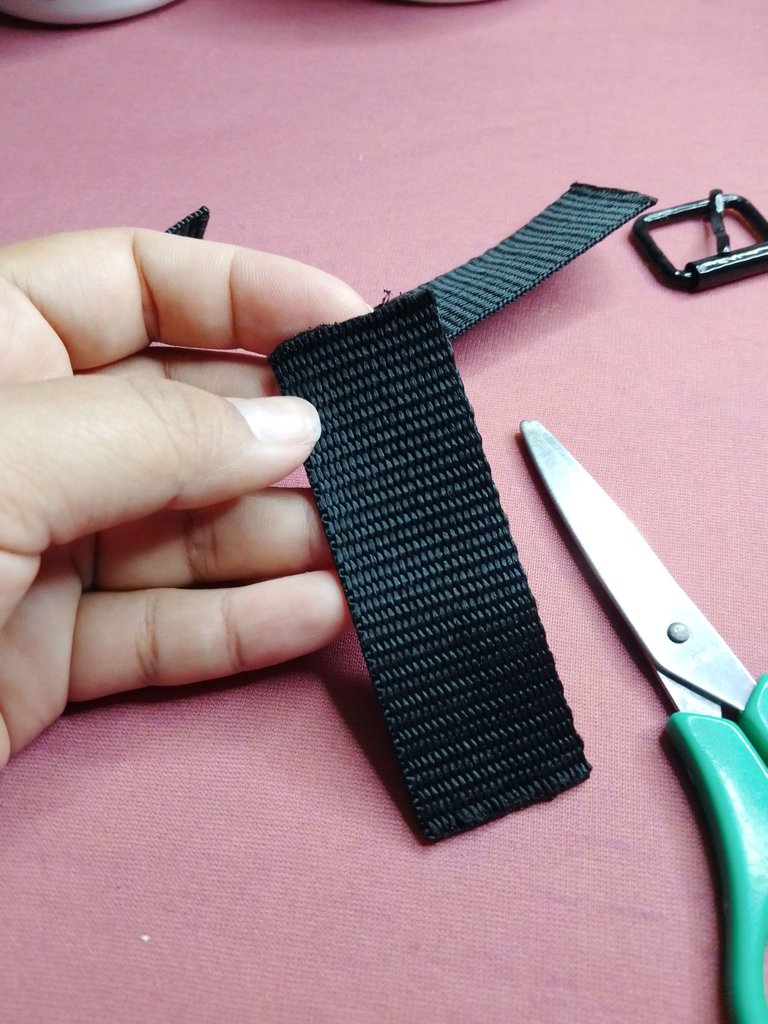
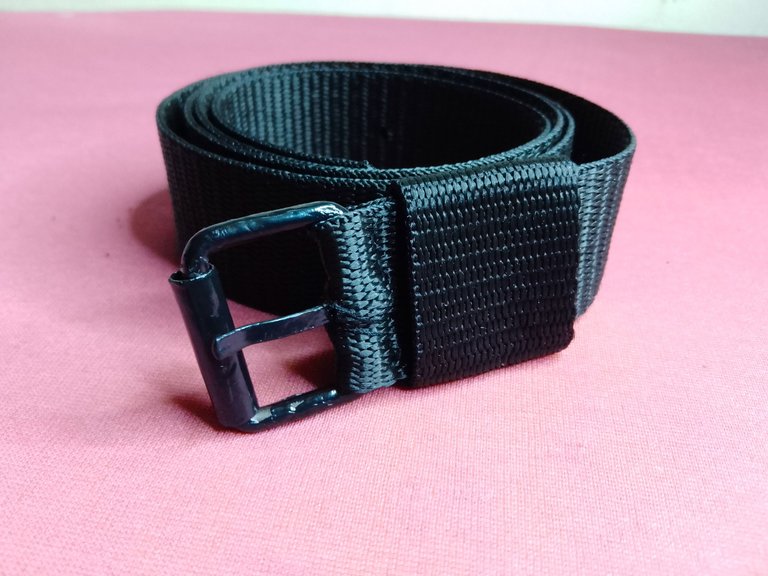
Para la base del cinturón compré un metro de Cinta Baggi de 30 MM de grosor. Esta es perfecta para la hebilla que tengo y es el mismo material de la anterior, aunque de color negro, que para ser de un niño es excelente porque evitamos que se manche.
Con un yesquero quemé ambos extremos para evitar que se deshilachara.

For the base of the belt I bought a meter of 30 MM thick Baggi Tape. This one is perfect for the buckle I have and it is the same material as the previous one, although it is black, which is excellent for a child because we prevent it from staining.
With a tinderbox I burned both ends to prevent fraying.
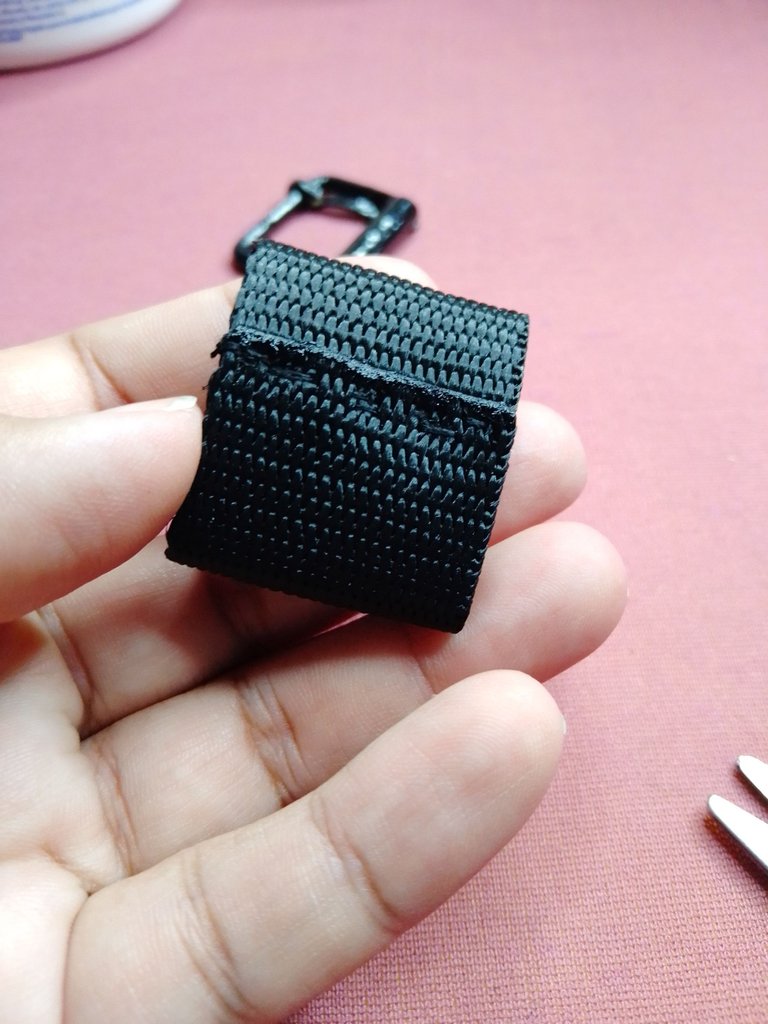
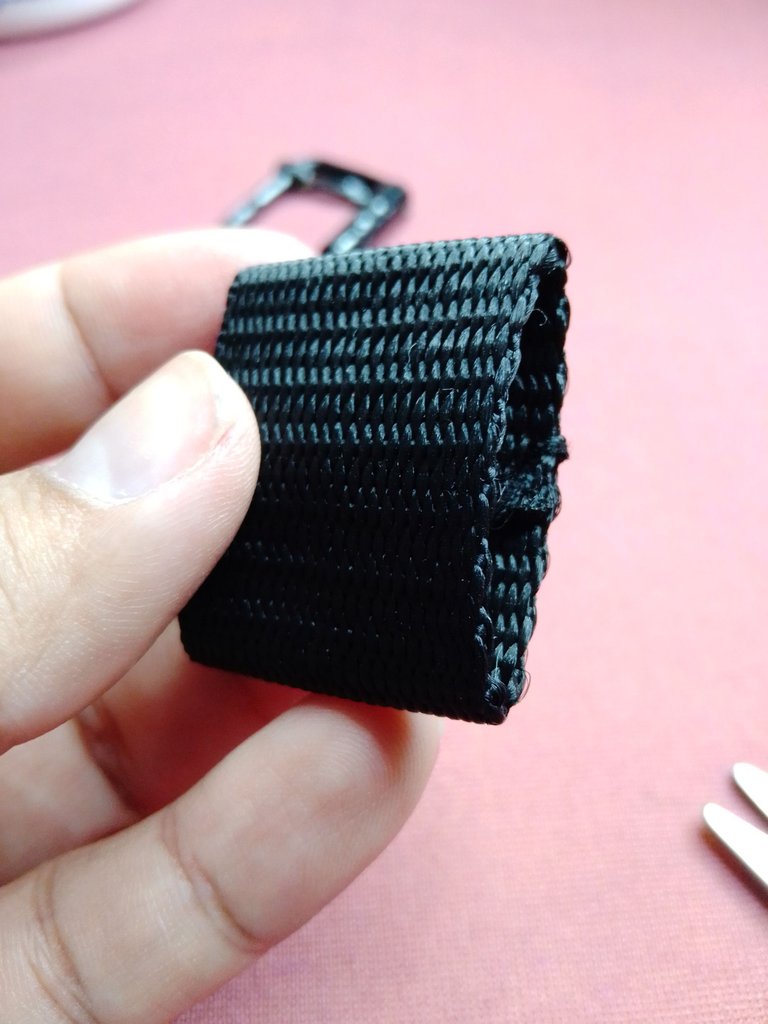
De este metro de cinta, corté 10 centímetros aproximadamente para hacer un sujetador. Aseguré los extremos quemando con el yesquero.
Coloqué la cinta en el centro para tomar la medida y doblé el sobrante para crear dos pestañas que se superpusieran una sobre la otra.
Luego cosí todo muy bien con hilo negro y así quedó listo el sujetador.
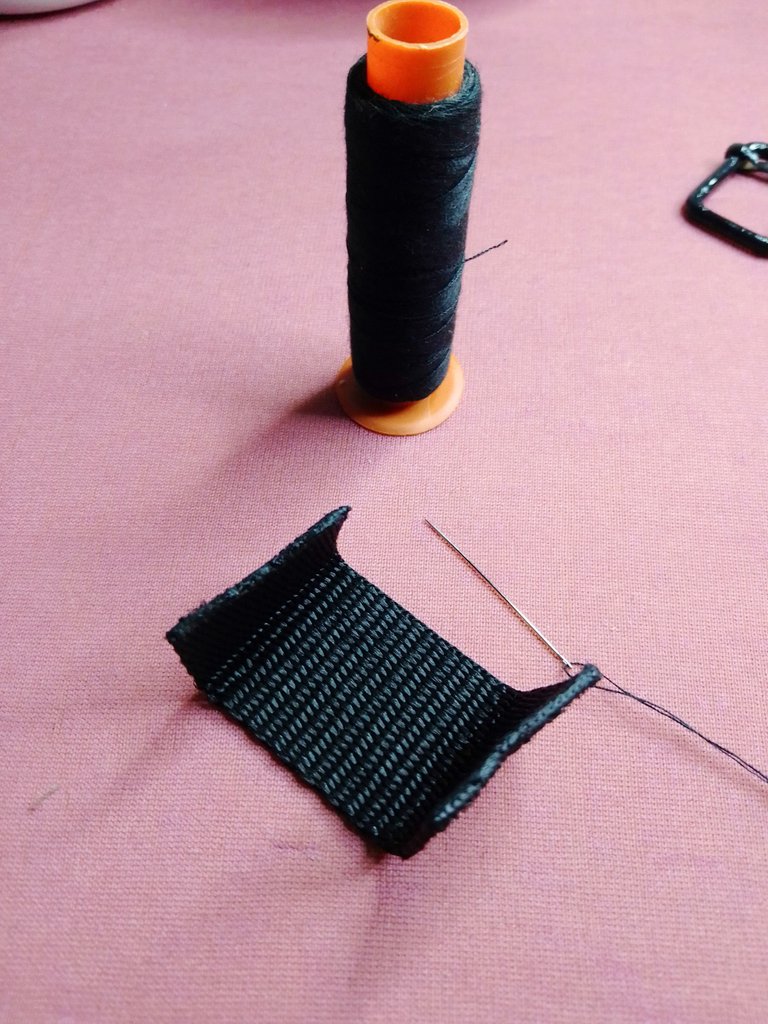
From this meter of ribbon, I cut approximately 10 centimeters to make a bra. I secured the ends by burning with the tinderbox.
I placed the tape in the center to take the measurement and folded the excess to create two tabs that overlapped one another.
Then I sewed everything very well with black thread and the bra was ready.

En la base del cinturón tomé uno de los extremos y doble unos 3 centímetros.
Con una punta de metal (en mi caso utilicé un picahielo) abrí un orificio calentándola previamente al fuego. Como el material es el plástico se abrió fácilmente y al mismo tiempo quedó sellado.
Luego pasé la hebilla por el interior de este agujero tal y como lo muestro en la foto.
At the base of the belt I took one of the ends and fold about 3 centimeters.
With a metal tip (in my case I used an ice pick) I opened a hole by heating it up beforehand. As the material is plastic it opened easily and at the same time it was sealed.
Then I passed the buckle through the inside of this hole as shown in the photo.
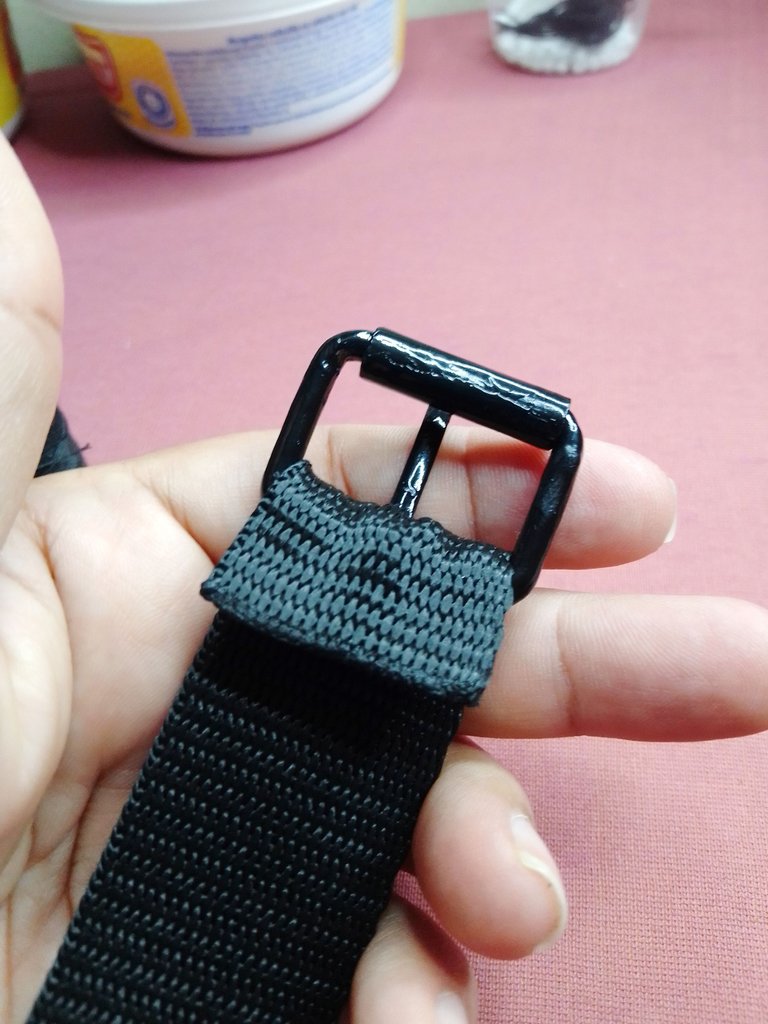
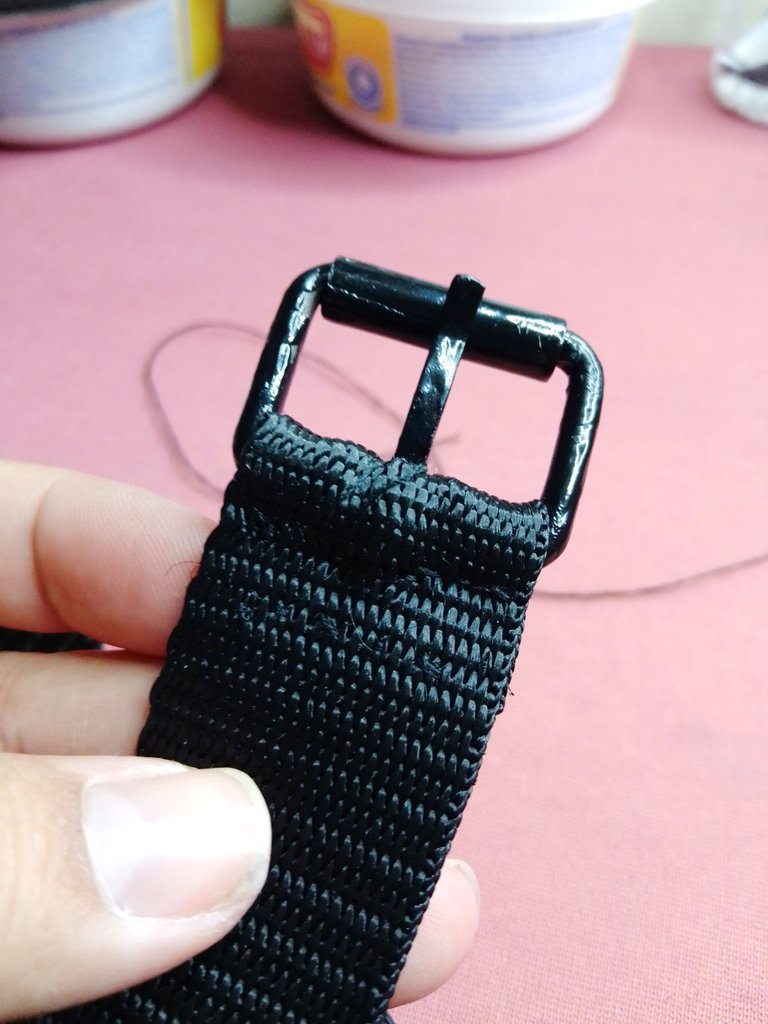
Con la aguja e hilo, cosí muy bien un recuadro para que quedara bien sujeta la hebilla y no se fuera a levantar la pestaña.

With the needle and thread, I sewed a square very well so that the buckle would be well secured and the tab would not lift.
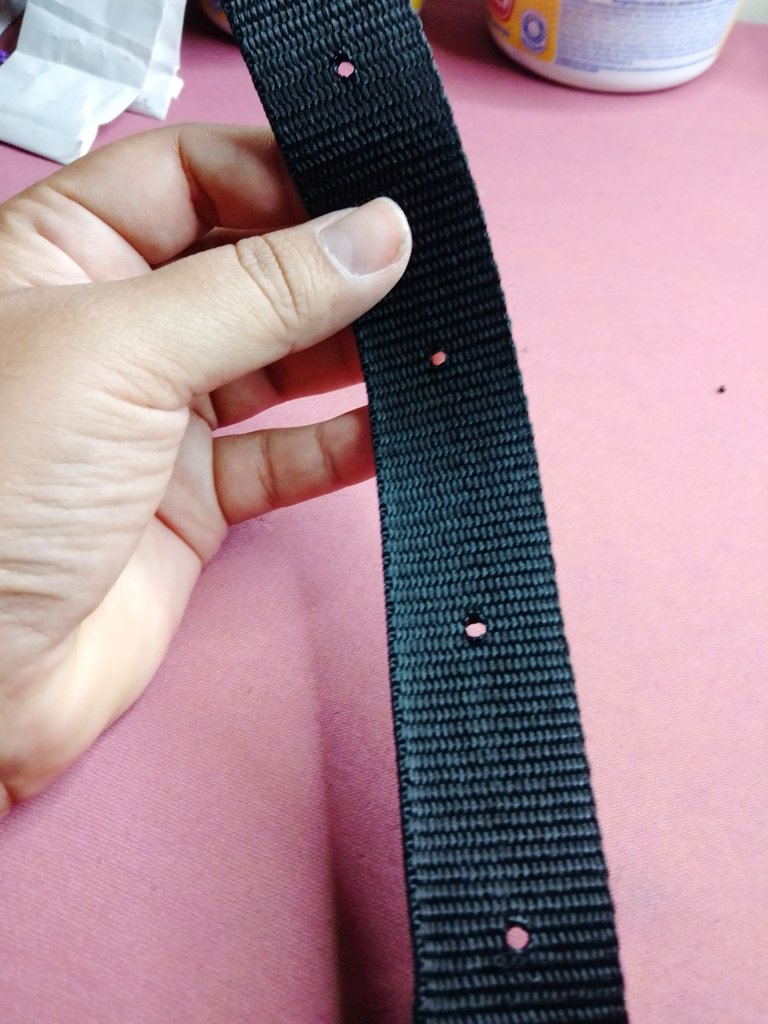
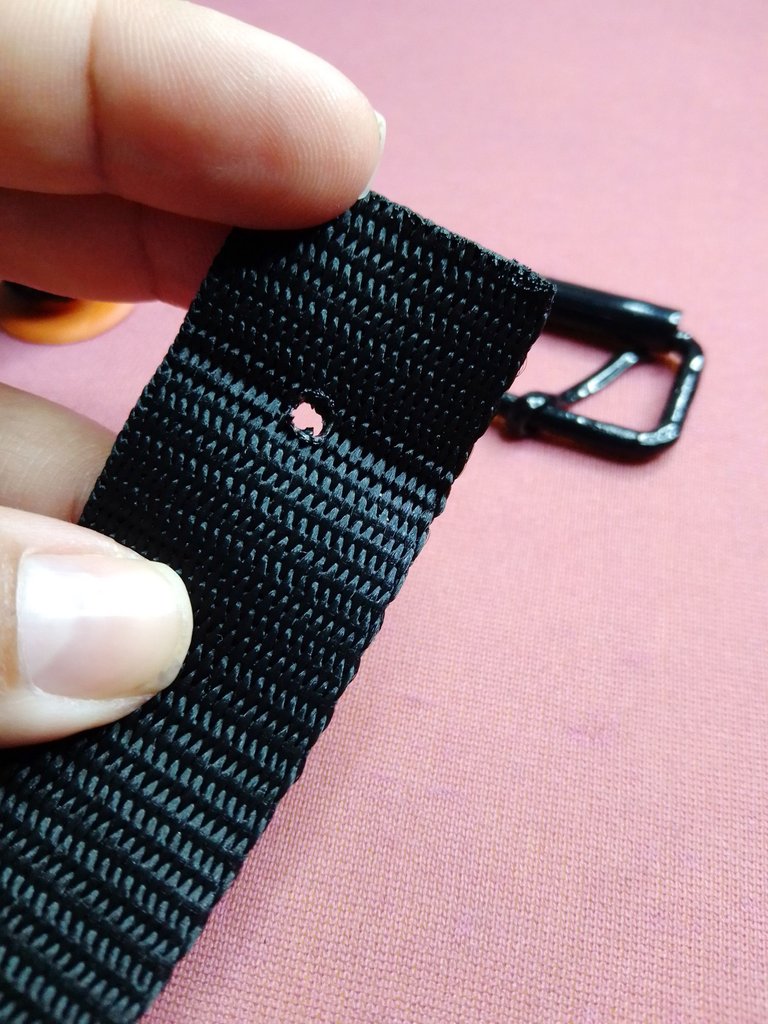
Y como ultimo detalle, en el extremo contrario hice algunos agujeros por donde se sujetaría el cinturón.
Estas medidas la tomé midiendo la cintura de mi hijo y luego hice marcas cada 5 centímetros para que le siga funcionando a medida que vaya creciendo.
A pesar de que es un cinturón provisional no pensamos descartarlo por completo cuando llegue el nuevo.
And as a last detail, in the opposite end I made some holes where the belt would be attached.
I took these measurements by measuring my son's waist and then I made marks every 5 centimeters so that it continues to work as he grows.
Although it is a provisional belt, we do not plan to rule it out completely when the new one arrives.
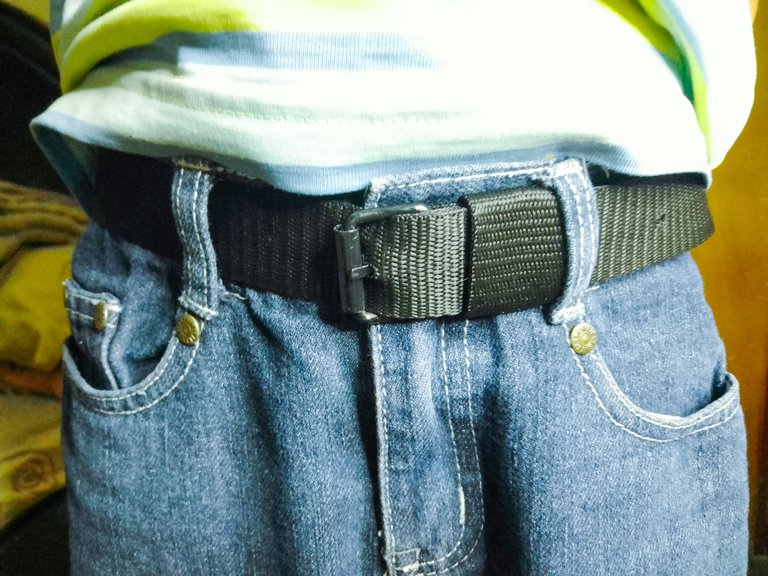
Pasamos de un viejo cinturón verde y un poco oxidado, a uno nuevo y con un aspecto mucho mejor.
Espero les haya gustado esta propuesta y les sea de mucho provecho. ♥
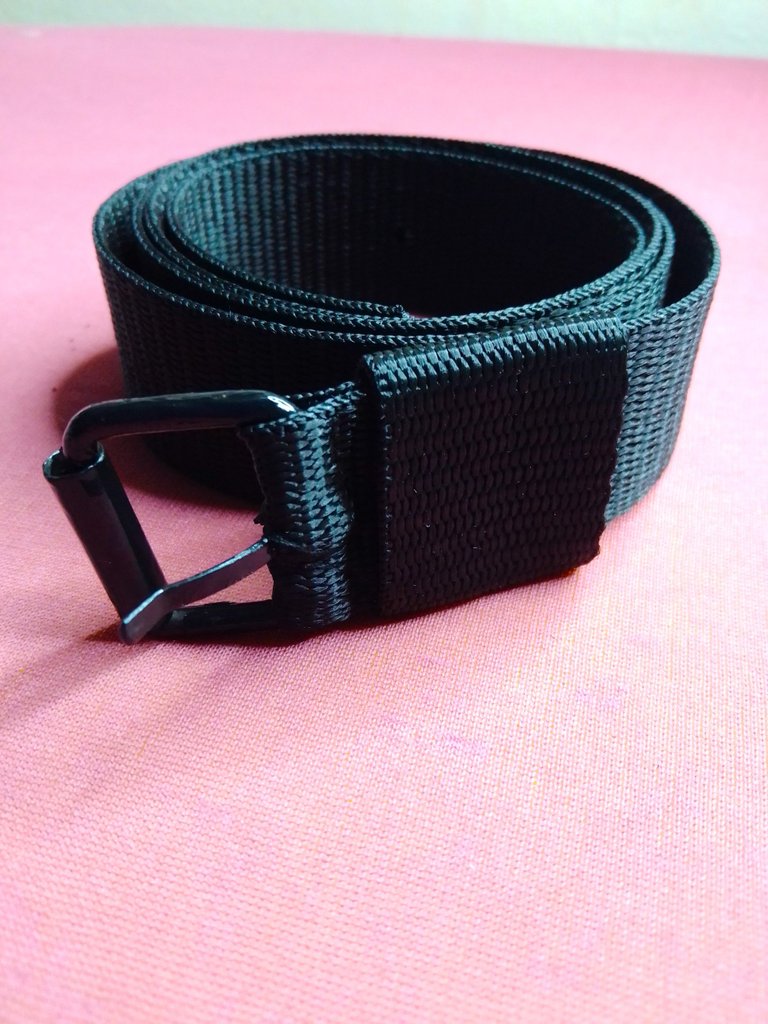
We went from an old, slightly rusty green belt to a newer, much better looking one.
I hope you liked this proposal and find it very useful. ♥

Espero haya sido de tu agrado y provecho.
Un gran abrazo a todos, y nos leemos en un próximo post
• Lakrearte en Hive •
Att: Estefania Garcia ♥

Imágenes y separadores de mi autoría
Portada editada en Canva
Fotografías tomadas con un Moto E7i power
Texto traducido en Google ImTranslate v.14.19
Thank you for sharing this amazing post on HIVE!
Your content got selected by our fellow curator @rezoanulvibes & you just received a little thank you via an upvote from our non-profit curation initiative!
You will be featured in one of our recurring curation compilations and on our pinterest boards! Both are aiming to offer you a stage to widen your audience within and outside of the DIY scene of hive.
Join the official DIYHub community on HIVE and show us more of your amazing work and feel free to connect with us and other DIYers via our discord server: https://discord.gg/mY5uCfQ !
If you want to support our goal to motivate other DIY/art/music/homesteading/... creators just delegate to us and earn 100% of your curation rewards!
Stay creative & hive on!