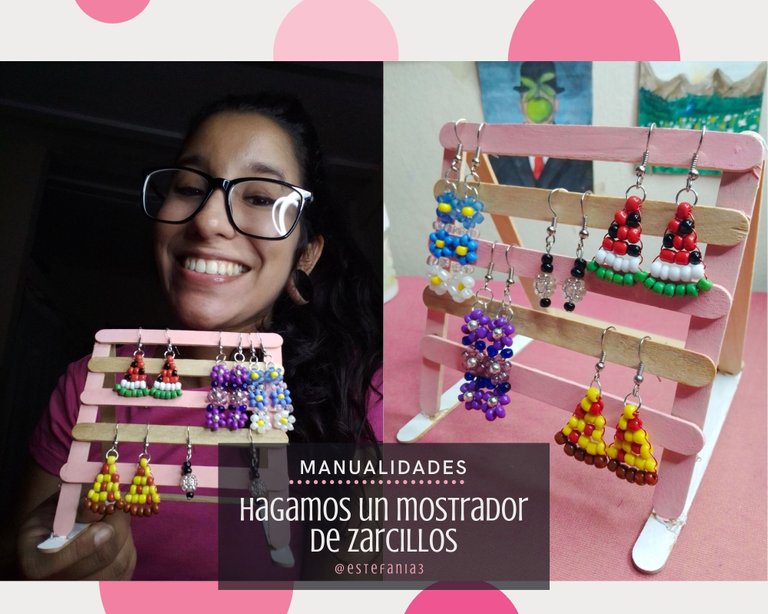
[ Es•En] Hagamos un Fabuloso Mostrador de Zarcillos con Palitos de Helado ♥

¡Hola Chicos!
Saludos a todos amigos de la comunidad de #Espavlog. Aunque este no es mi primer video publicado por acá, siento que se va pareciendo un poco más a lo que quiero mostrarles y estoy muy satisfecha por el resultado. Espero les guste tanto como a mí. ♥
En esta ocasión les traigo un breve tutorial para crear un mostrador de zarcillos con palitos de helado. No, no me comí un montón de helados para poder hacerlo, aunque ganas no me faltan 😅.
Compré estos palitos para manualidades en una tienda cercana, salieron 30 palitos en 1$ y la verdad es que me pareció bien chévere porque además de esto me sobrarán palitos para otra manualidad.
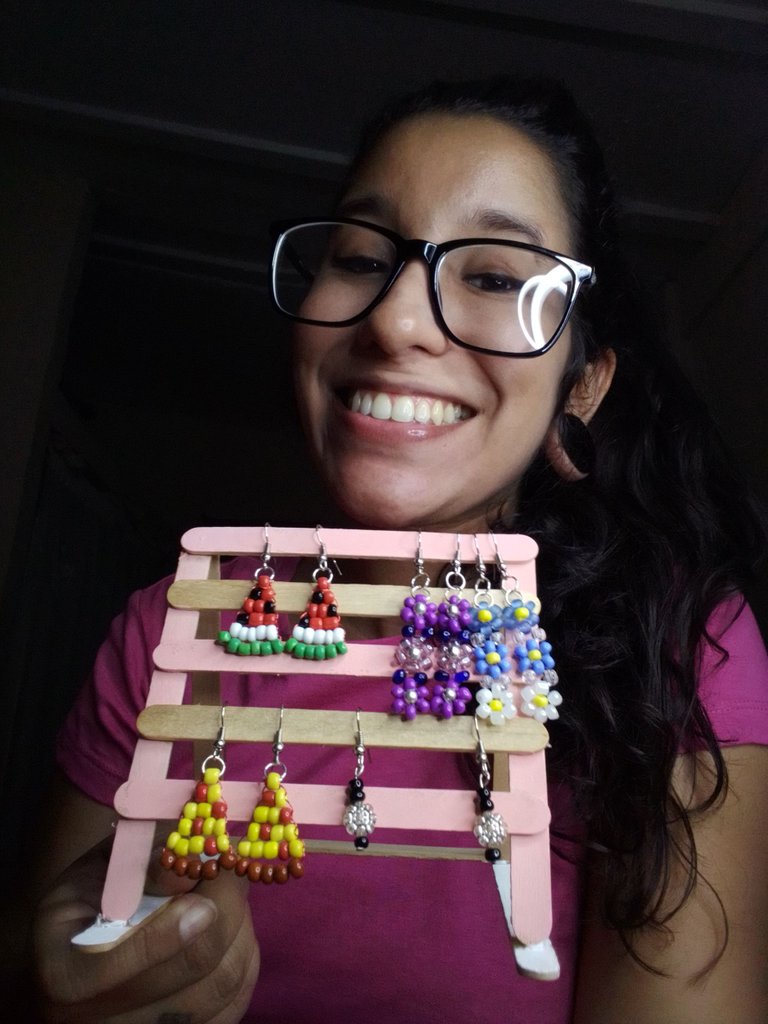
Este mostrador lo he creado para exhibir parte de las piezas que estoy creando para mi venta de bisutería, para la cual ya he creado una cuenta en Instagram como @lakrearte.accesorios por si quieren seguirme y adquirir alguna de ellas. 😊
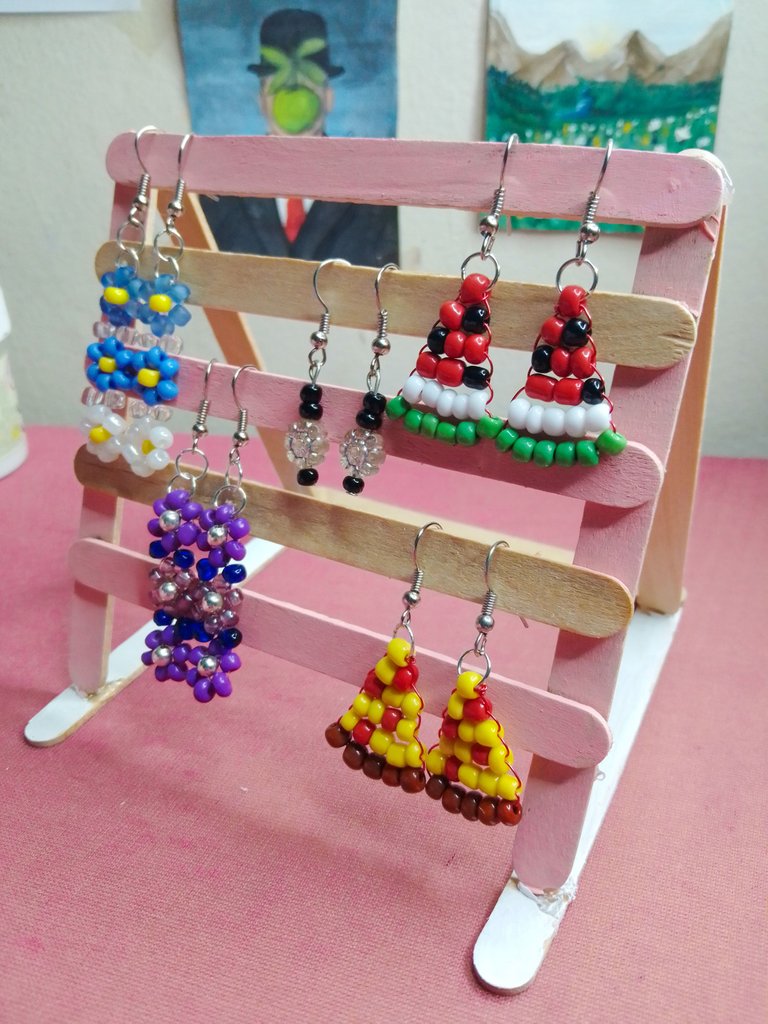
A la hora de tomar las fotos de los productos, es importante que el espacio donde se hagan sea ameno y realce aún más los diseños, por lo que me gustó la idea de mostrar algún un poco más rústico, ya que es algo que está en tendencia y me gusta mucho ese estilo.
Se hace súper rápido y sin muchas complicaciones, cualquiera puede lograr un resultado tan genial o hasta mejor que el que yo les muestro y lo mejor es que está hecho con mucho cariño con nuestras manos.
Además, es ideal si vas a participar próximamente en algún bazar o venta, porque al hacerlo un poco más grande, bien sea de altura o de ancho, lograrás exhibir de manera muy linda tu mercancía.
Así que bueno, los dejo con los materiales y el paso a paso para que puedan hacer este exhibidor de zarcillos. ♥
Hey guys!
Greetings to all friends of the #Espavlog community. Although this is not my first video published here, I feel that it looks a little more like what I want to show you and I am very satisfied with the result. I hope you like it as much as me. ♥
This time I bring you a short tutorial to create a counter of tendrils with popsicle sticks. No, I didn't eat a lot of ice cream to be able to do it, although I don't lack any desire 😅.
I bought these craft sticks at a nearby store, 30 sticks came out for $1 and the truth is that I thought it was really cool because in addition to this I will have sticks left over for another craft.
I have created this counter to exhibit part of the pieces that I am creating for my jewelry sale, for which I have already created an Instagram account as @lakrearte.accesorios in case you want to follow me and acquire any of them. 😊
When taking photos of the products, it is important that the space where they are made is pleasant and enhances the designs even more, so I liked the idea of showing some a little more rustic, since it is something that is in trend and I really like that style.
It is done super fast and without many complications, anyone can achieve a result as great or even better than the one I show them and the best thing is that it is made with great care with our hands.
In addition, it is ideal if you are going to participate in a bazaar or sale soon, because by making it a little larger, either in height or width, you will be able to display your merchandise in a very nice way.
So good, I leave you with the materials and the step by step so you can make this earring display. ♥
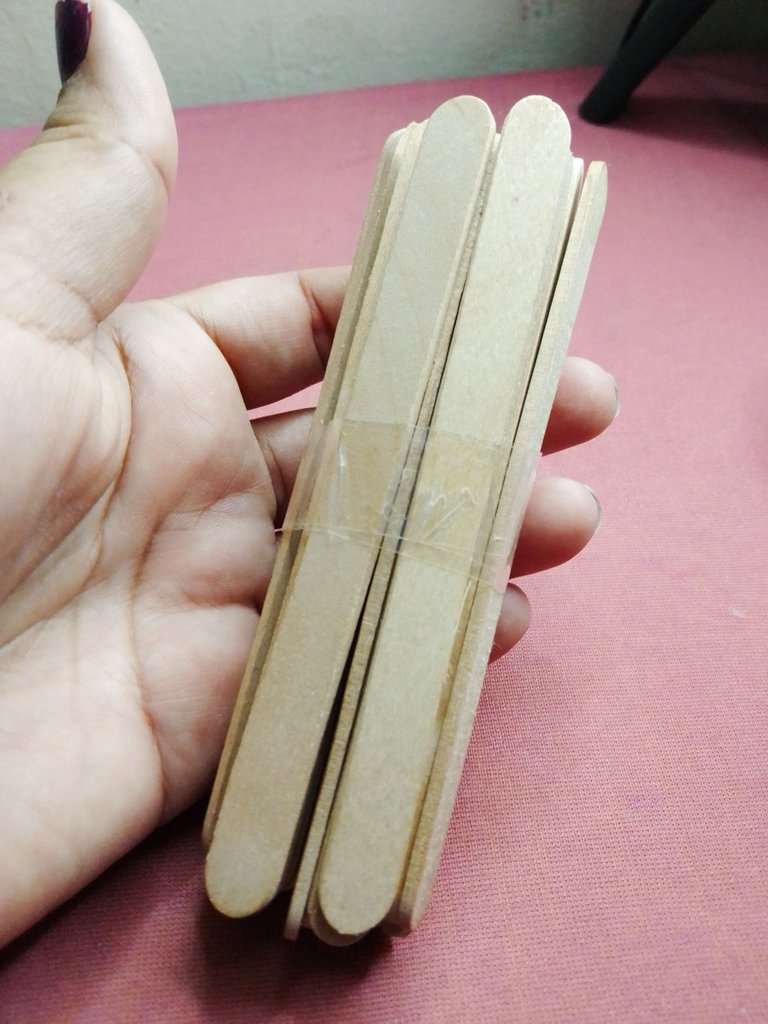
- Palitos de helado de madera
- Silicón
- Pintura al frío
- Pincel
- Wooden ice cream sticks
- silicone
- Cold paint
- Brush
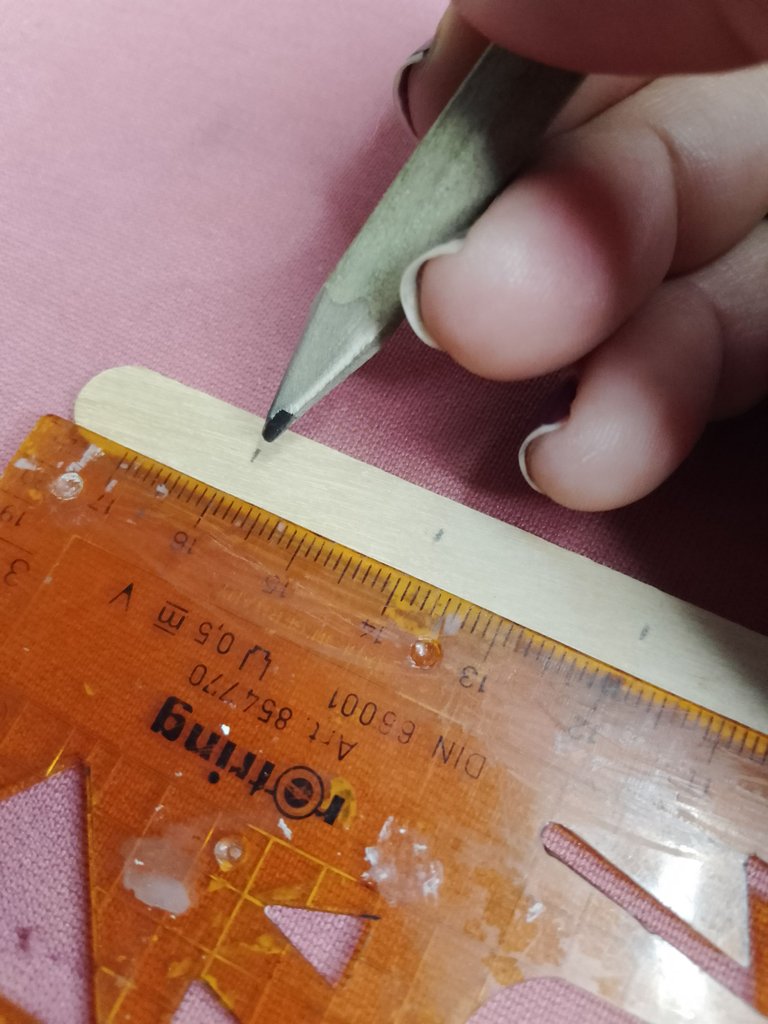
Primero vamos a tomar dos palitos de helado y vamos a marcar dos centímetros, comenzando desde el extremo superior y así hasta llegar al final.
Repetimos el proceso con el otro.
First we are going to take two ice cream sticks and we are going to mark two centimeters, starting from the upper end and so on until we reach the end.
We repeat the process with the other.

Armamos el boceto con otros palitos de cómo luciría nuestro mostrador. En este punto me di cuenta de que colocar un palito más en la parte inferior sería demasiado y no permitiría exhibir de manera correcta mis zarcillos. Así que opté por dejar este espacio vacío y borrar el puntito.
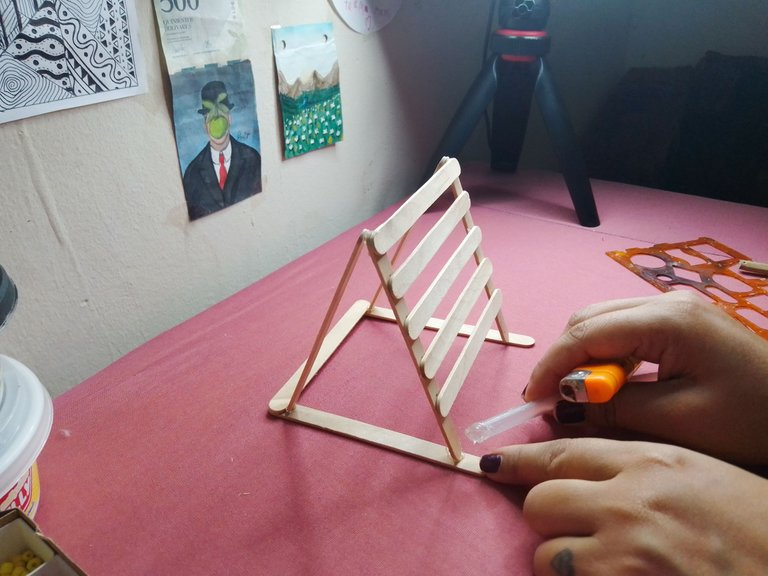
Para pegarlos utilicé silicón. Mi pistolita está dañada y una manera que encontré para solucionar esto fue calentar la punta del silicón con un encendedor. No podemos medir la cantidad exacta que vamos a usar, pero cumple su función. Así que no debemos frenarnos por no contar con las herramientas necesarias, solo buscar una solución.
Se pegan los palitos situándolos en los puntos que marcamos al inicio.
We put together the sketch with other sticks of what our counter would look like. At this point I realized that placing one more stick at the bottom would be too much and would not allow my tendrils to be properly displayed. So I opted to leave this space empty and delete the dot.
To stick them I used silicone. My pistol is damaged and one way I found to fix this was to heat the tip of the silicone with a lighter. We cannot measure the exact amount that we are going to use, but it does its job. So we should not hold back for not having the necessary tools, just look for a solution.
Stick the sticks by placing them in the points that we marked at the beginning.
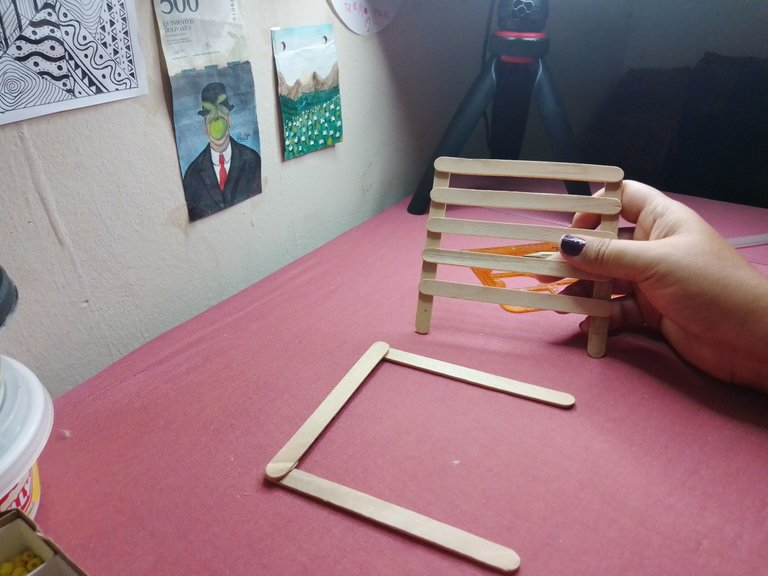
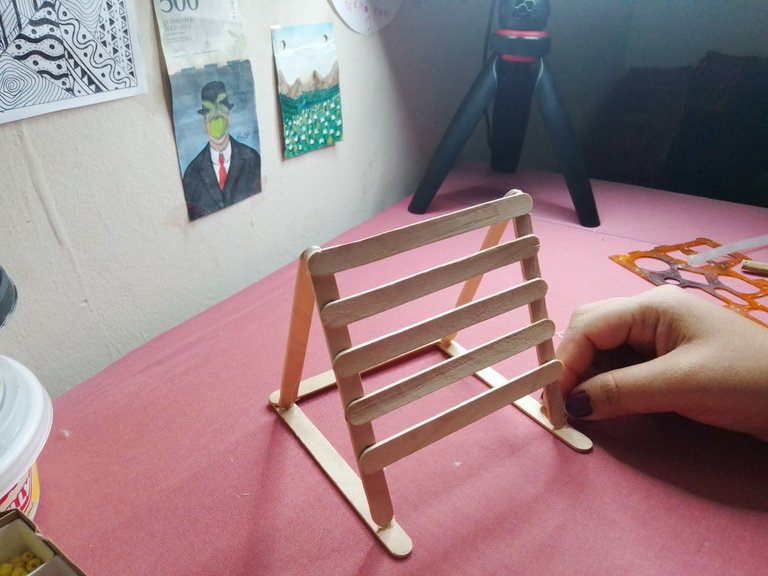
Necesitamos una base para el mostrador, así que pegaremos 3 palitos, dos en vertical y uno en horizontal que los conecte.
Hacemos presión para que queden bien fijados.

We need a base for the counter, so we will stick 3 sticks, two vertically and one horizontally connecting them.
We put pressure so that they are well fixed.
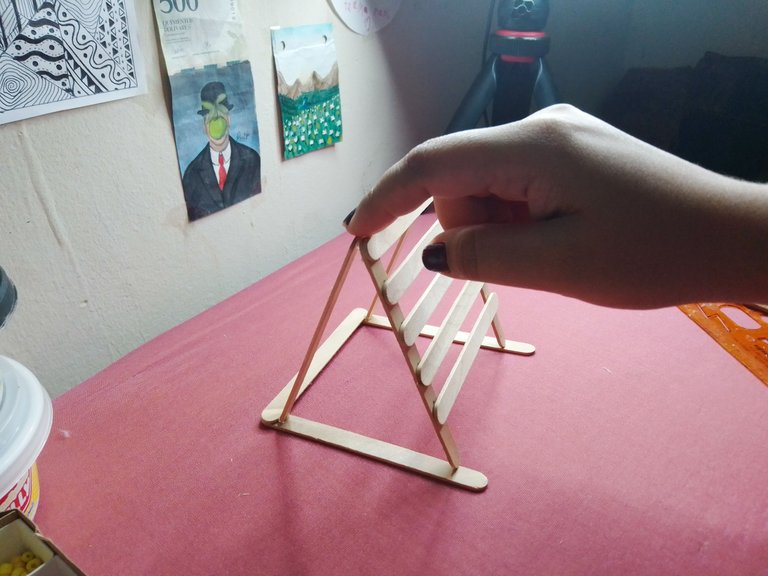
Para unir la base y la primera pieza creada, necesitaremos dos palitos que vayan en diagonal y nos sirvan de soporte.
En las fotografías te muestro la forma en la que debemos pegarlos y luego unirlo a la primera pieza. Por último, pegamos la primera pieza a la base y así logremos crear la estructura completa de muestro mostrador de zarcillos.
To join the base and the first piece created, we will need two sticks that go diagonally and serve as a support.
In the photographs I show you the way in which we must glue them and then join it to the first piece. Finally, we glue the first piece to the base and thus we can create the complete structure of our tendril counter.
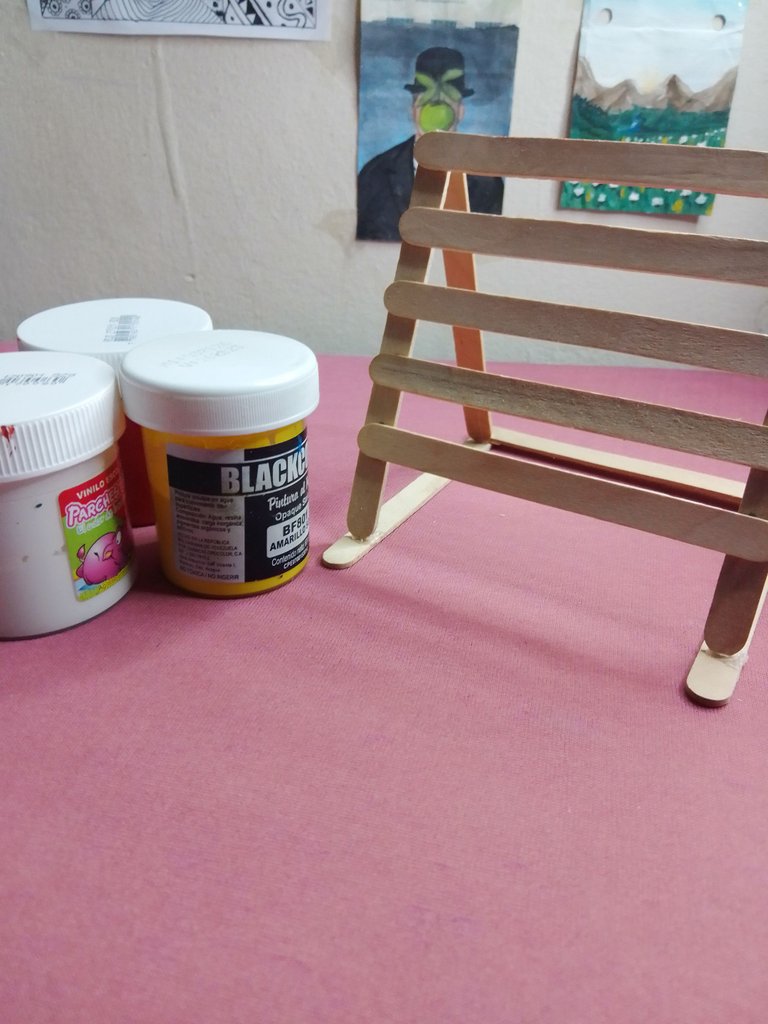
Ahora vamos a personalizarlo, yo he utilizado un color rosa salmón para pintar algunos de los palitos, un poco de blanco y el resto los dejé sin pintar para crear un lindo diseño que no realce por encima de los zarcillos que colocaré en él.
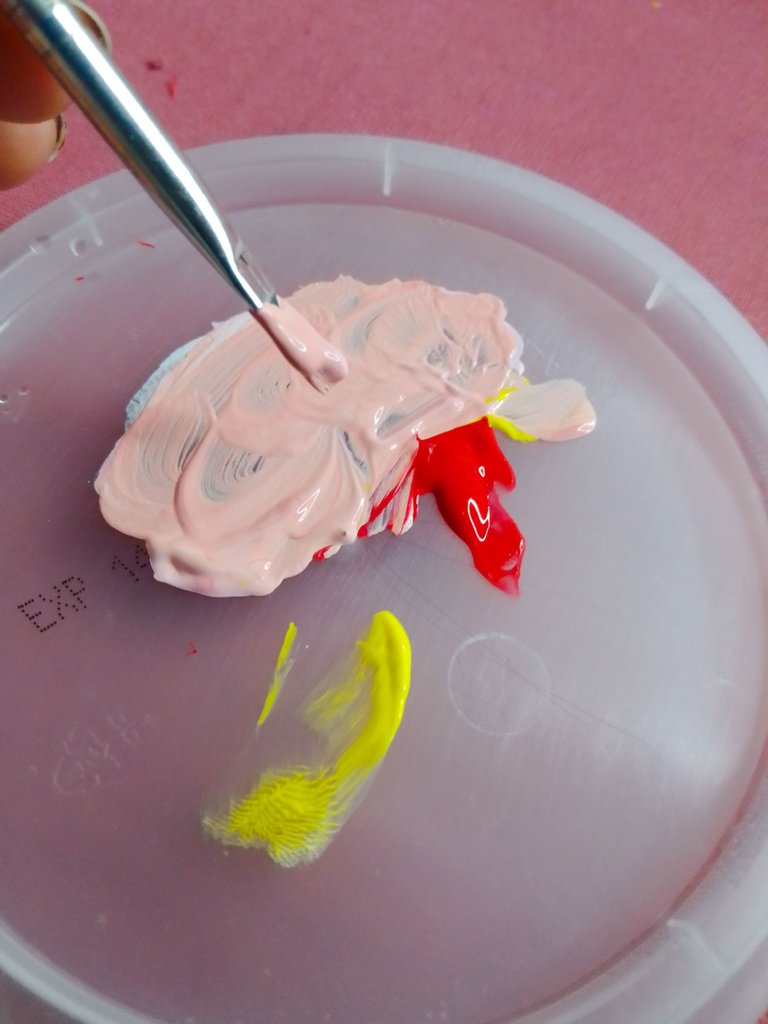
Now we are going to customize it, I have used a salmon pink color to paint some of the sticks, a little white and the rest I left unpainted to create a nice design that does not stand out above the tendrils that I will place on it.
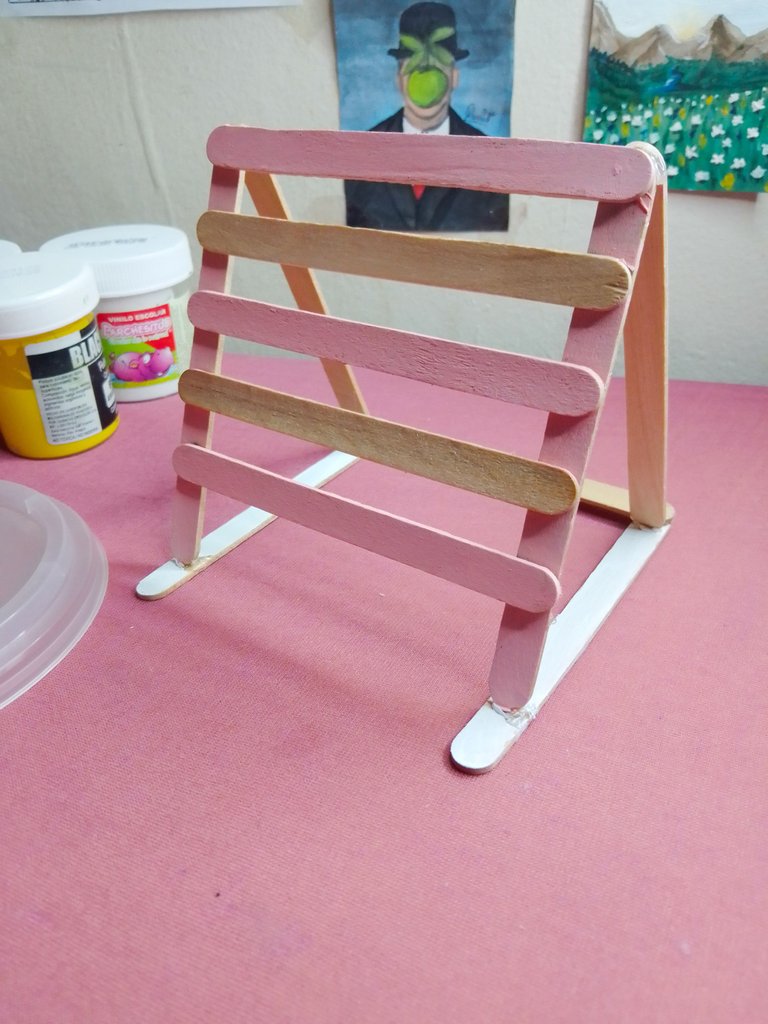
Y así quedó listo mi mostrador de zarcillos, súper lindo y que de ahora en adelante me estará acompañando en mis venta de bisutería.
Espero les haya gustado la propuesta y nos vemos en una próxima manualidad. ♥
And so my earrings counter was ready, super cute and from now on it will be accompanying me in my jewelry sales.
I hope you liked the proposal and see you in a next craft. ♥


Espero haya sido de tu agrado y provecho.
Un gran abrazo a todos, y nos leemos en un próximo post
• Lakrearte en Hive •
Att: Estefania Garcia ♥

Imágenes y separadores de mi autoría
Portada editada en Canva
Video editado en Capcut
Música agregada en Capcut: Cooking Time - Lux-Inspira
Fotografías tomadas con un Moto E7i power
Texto traducido en Google ImTranslate v.14.19
▶️ 3Speak
Hola 👋. Esta fácil y divertido, lo mejor es que lo podemos hacer con los peques de la casa.
Siii. Estás manualidades con palitos son lo máximo para compartir con nuestros hijos. Muchas gracias por comentar, me alegra que te haya gustado la propuesta 🤗✨💕
mas fino señorita excelente, a seguir creando.
Muchas gracias por el apoyo 🤗💕
Que bonito ver como con poco se puede hacer mucho. Excelente tutorial, esperamos el próximo. Muchas gracias por preferir a #EspaVlog
Muchas gracias, me alegra mucho que mi contenido haya gustado y por supuesto, pronto vengo con más. Saludos 🤗💕