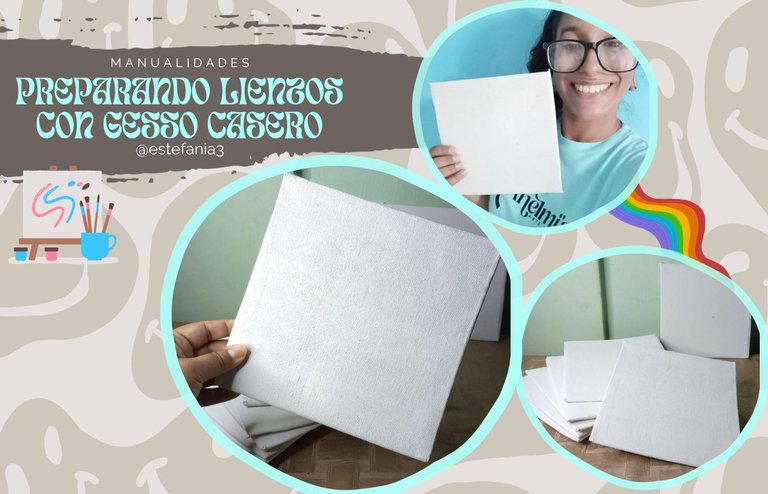
Preparando lienzos con Gesso Casero (Tutorial) || Preparing canvases with homemade Gesso (Tutorial) ♥

¡Hola Chicos!
El día del evento mis niños de pintura tendrán que hacer una obra de arte con motivo navideño sobre un pequeño lienzo. La idea es que todos sean del mismo tamaño y que lo que varíe sea la pintura que se haga.
El problema lo teníamos cuando mi compañera fue a la tienda donde los venden ya listos para pintar y solo quedaban dos pequeños. Mis alumnos son 6 y el costo que seguía eran los de 4$, cosa que no era accesible para los bolsillos de ninguno.
Así que la mejor alternativa que encontramos fue comprar la tela de lienzo y prepararlos. Anteriormente yo había pintado con un lienzo similar al que se haría, forré un trozo de cartón con lona y pinté directo sobre ella. Lo que no tenía conocimiento es que estos deben llevar una mezcla especial para que la tela no absorba toda la pintura.
En vista de que la compañera que sabía hacerlo no asistió el día que ibamos a prepararlos, busqué en Internet y encontré una formula bastante económica y efectiva para hacerlo. La verdad era más sencillo de lo que parecía así que me puse manos a la obra y comencé a trabajarlos.
Les voy a contar a detalle cada paso para que puedan hacer estos lienzos en casa. Les aseguro que les encantarán. ♥
Hello Guys!
On the day of the event my painting children will have to make a Christmas themed artwork on a small canvas. The idea is that they will all be the same size and that what varies is the painting that is done.
The problem we had was when my colleague went to the shop where they sell them ready to paint and there were only two small ones left. My students are 6 and the cost was still the 4$ ones, which was not affordable for any of them.
So the best alternative we found was to buy the canvas and prepare them. I had previously painted with a canvas similar to the one that would be made, I lined a piece of cardboard with canvas and painted directly on it. What I didn't know is that these must have a special mixture so that the canvas doesn't absorb all the paint.
Since my colleague who knew how to do it didn't show up the day we were going to prepare them, I searched the Internet and found a fairly cheap and effective formula to do it. The truth was simpler than it seemed, so I got down to work and started working on them.
I am going to tell you in detail each step so that you can make these canvases at home. I assure you that you will love them. ♥
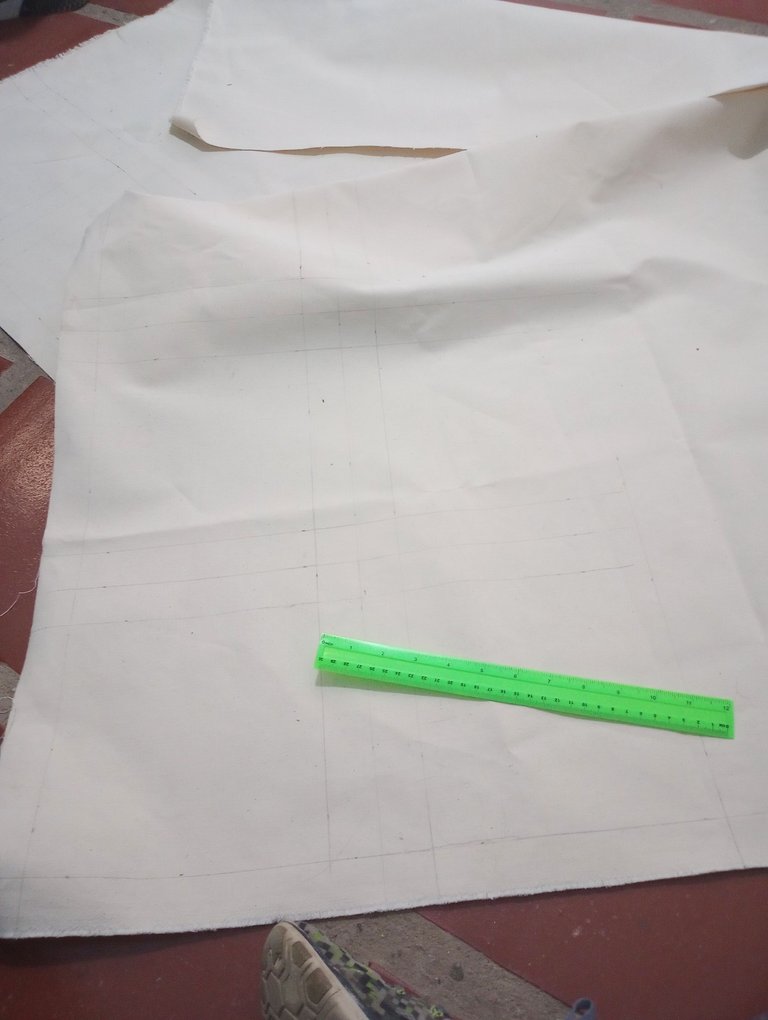
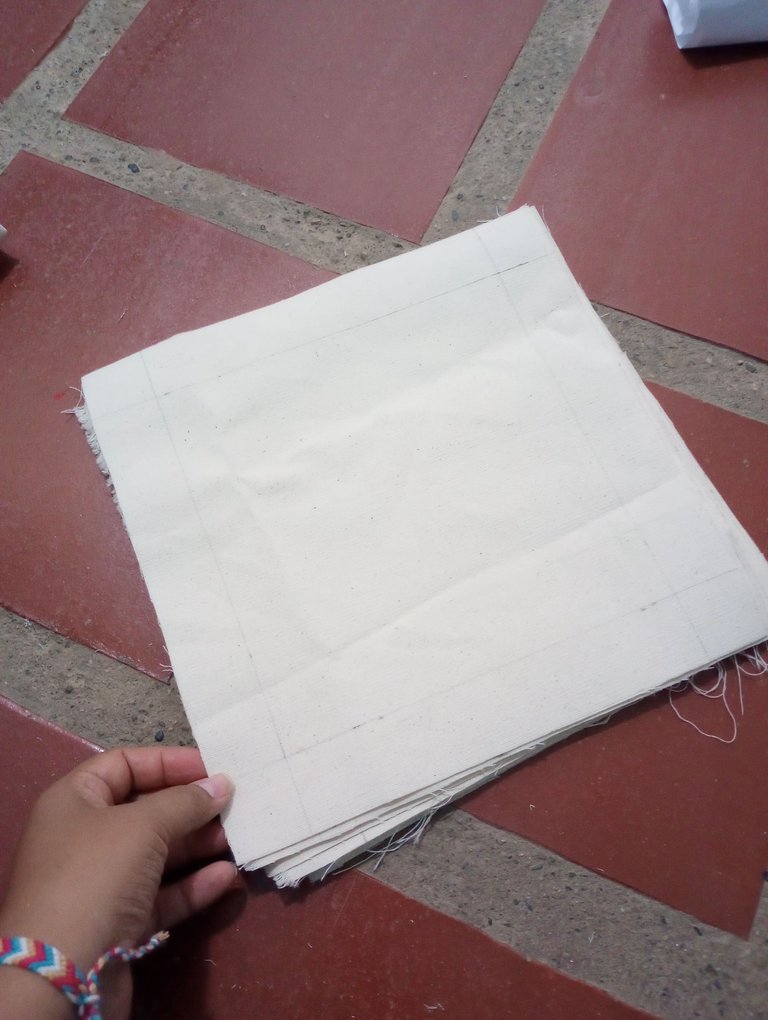
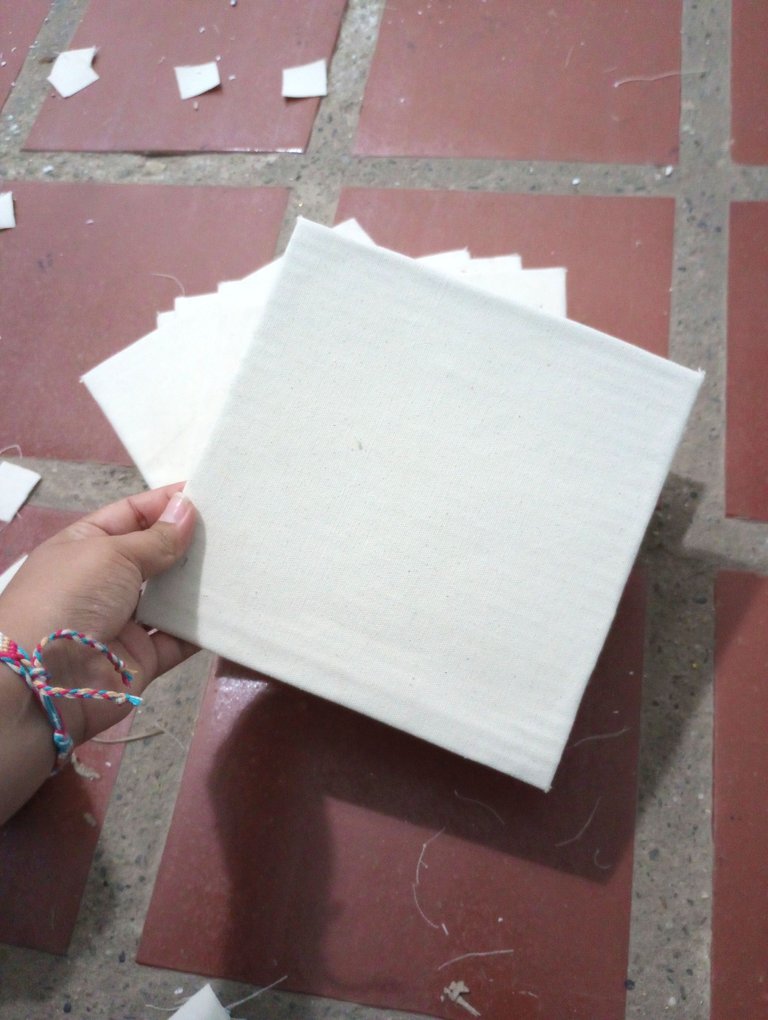
Lo primero que hice fue medir y marcar los lienzos con lápiz. Los hice de 20 por 20 centímetros, por supuesto dejando de cada uno de los lados una pestaña de 3.5 centímetros para poder doblar y pegarlos en la parte posterior del cartón.
De un metro de tela salen unos 24 lienzos así. Luego los corté uno por uno y reservé para el siguiente paso.
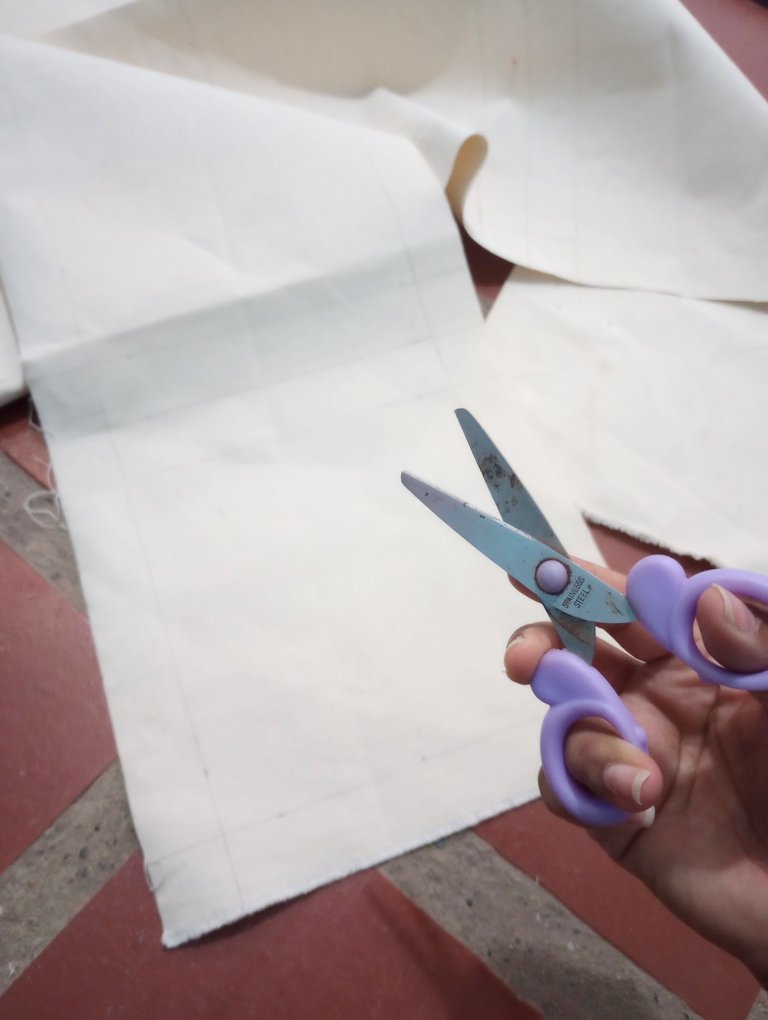
The first thing I did was to measure and mark the canvases with a pencil. I made them 20 by 20 centimetres, of course leaving a 3.5 centimetre flange on each side so that I could fold them and stick them to the back of the cardboard.
About 24 canvases come out of one metre of fabric. Then I cut them one by one and reserved them for the next step.
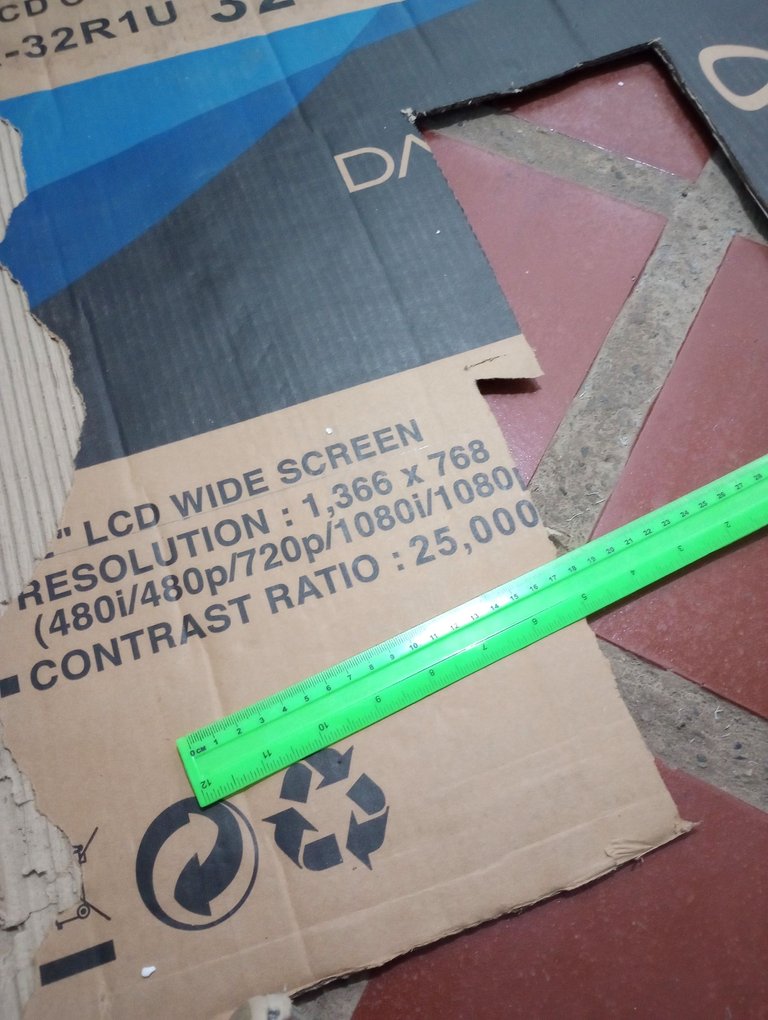
Es momento de hacer lo mismo con el cartón, se mide y cortan de 20 centímetros para el alto y ancho. Te recomiendo que utilices un cartón lo más firme y liso posible.
En nuestro caso no teníamos muchas opciones ya que las cajas se han utilizado mucho en las decoraciones y estos eran los retazos que quedaron.
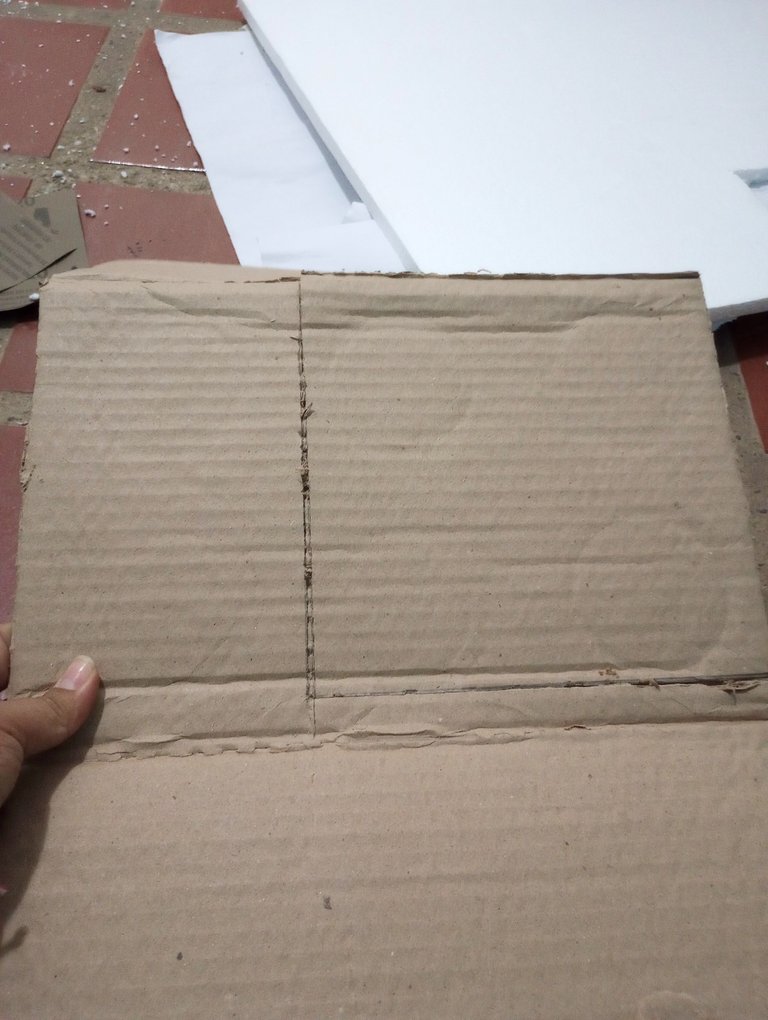
Now it's time to do the same with the cardboard, measure and cut 20 centimetres for the height and width. I recommend that you use cardboard that is as firm and smooth as possible.
In our case we didn't have many options as the boxes have been used a lot in decorations and these were the scraps that were left.
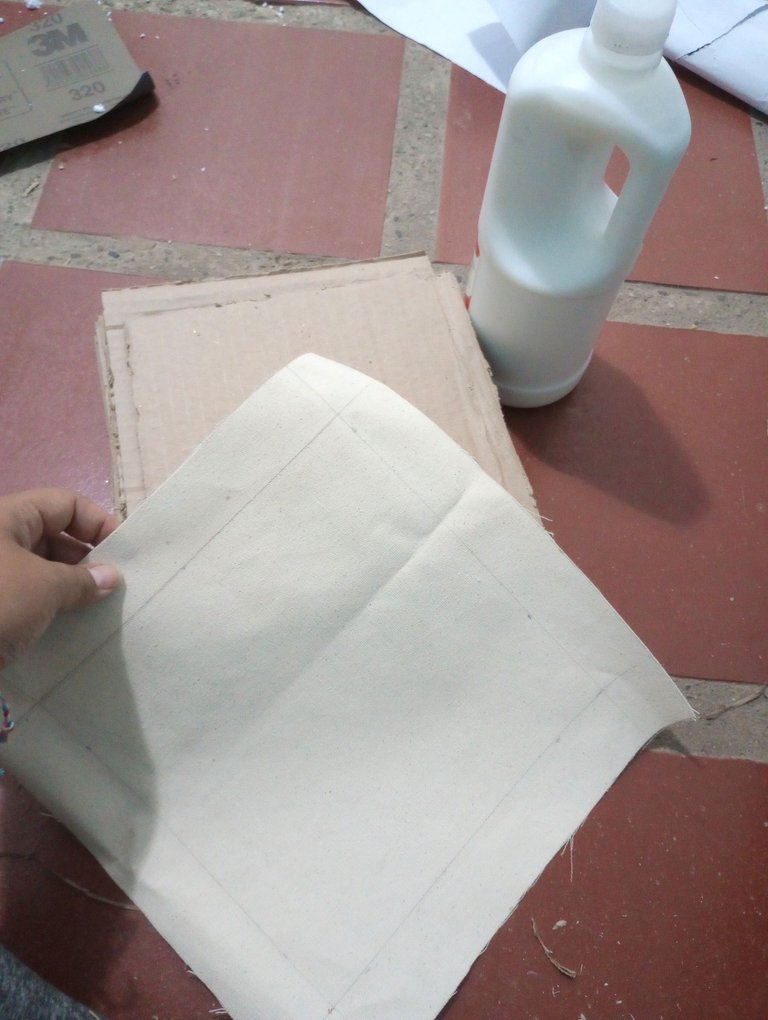
Ahora vamos a pegarlos. Se coloca una capa de pega por toda la superficie del cartón que estará pegado a la tela.
Los pegamos y hacemos presión para que queden bien adheridos entre sí. Luego cortamos todas las esquinas de la tela, como se observa en la segunda imagen, y procedemos a pegar cada una de ellas.
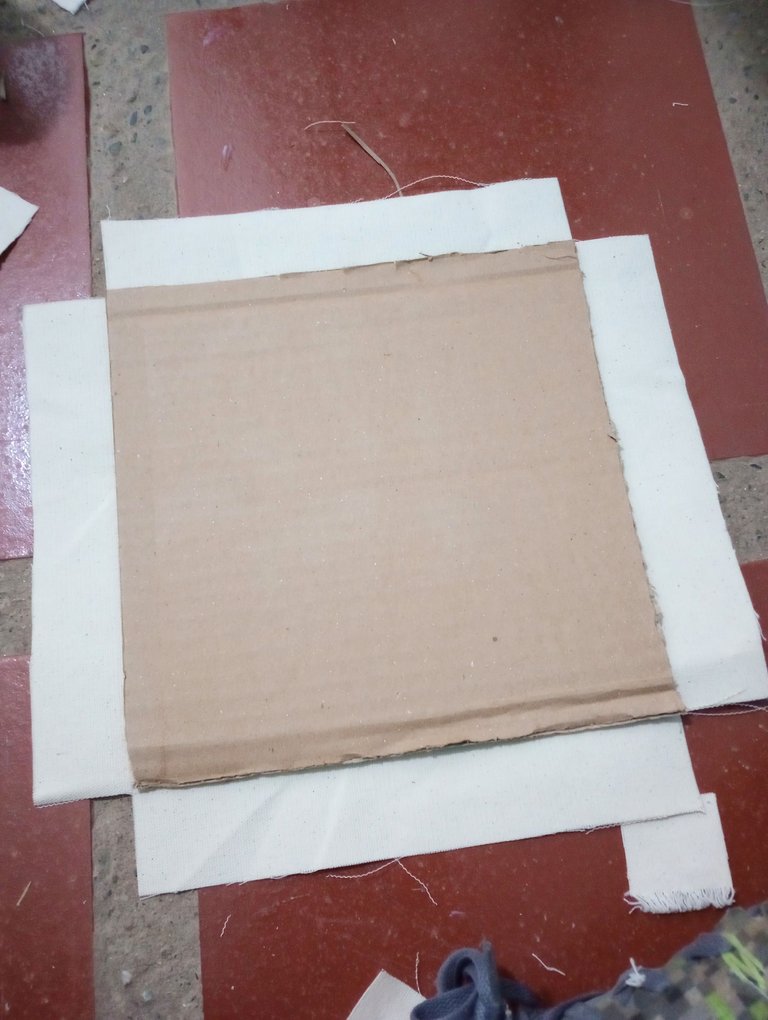
Now we are going to glue them together. Put a layer of glue all over the surface of the cardboard that will be glued to the fabric.
We glue them and press them together so that they are well adhered to each other. Then we cut all the corners of the fabric, as shown in the second picture, and proceed to glue each one of them.
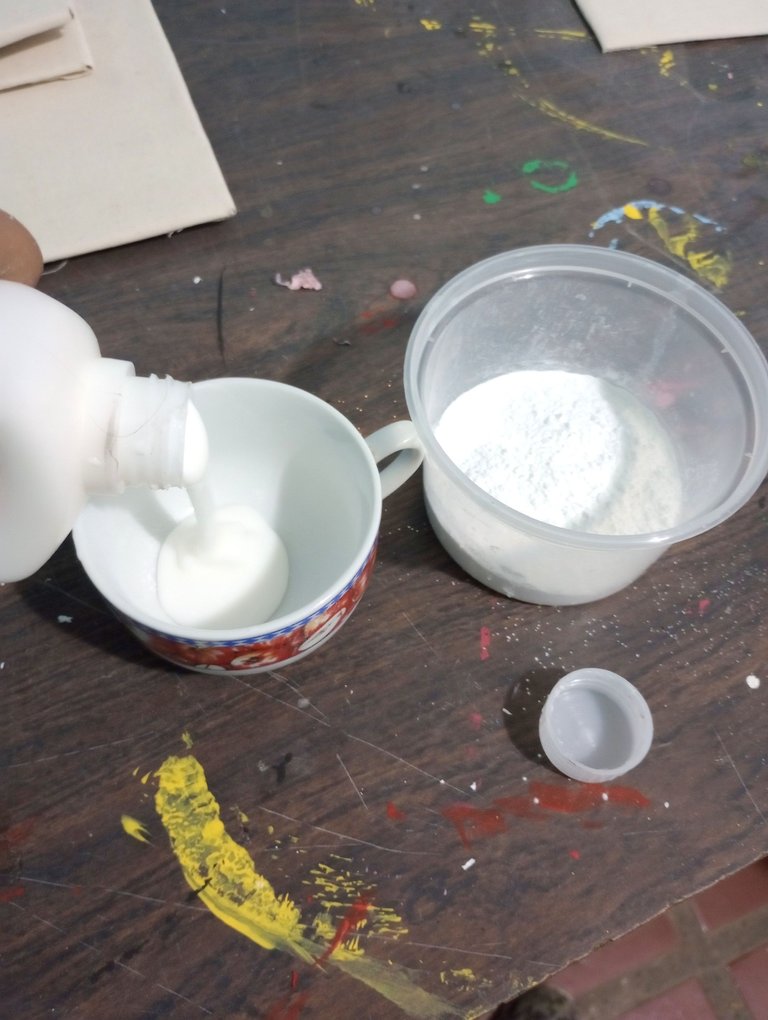
Una vez listos los lienzos, es momento de prepararlos. Para esto vamos a hacer un Gesso casero, que es la mezcla que se le coloca a la tela para poder pintarla.
Para la mezcla utilicé:
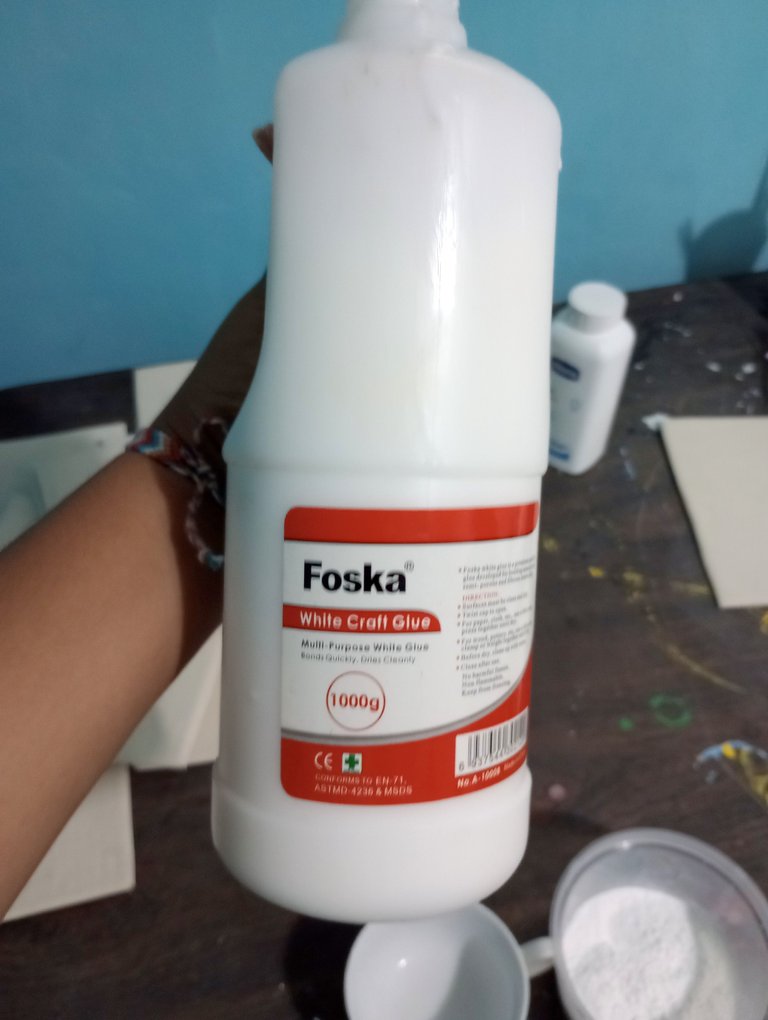
- 1 parte de pega blanca
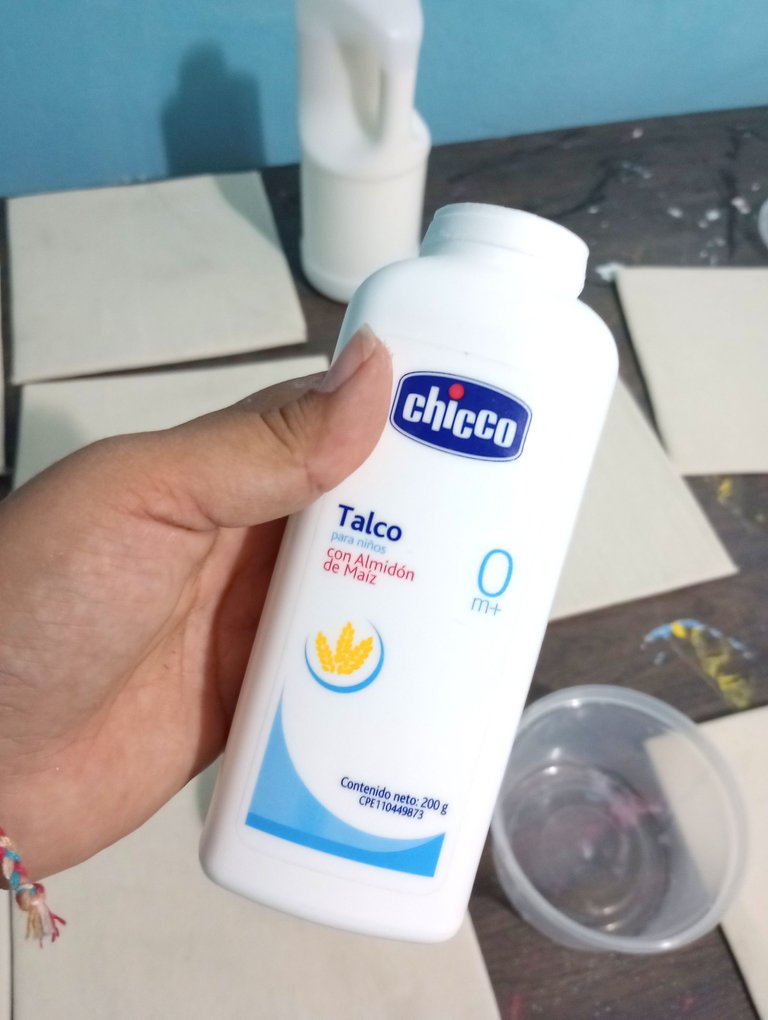
- 1 parte de talco (también se puede utilizar almidón de maíz)
- 2 partes de pintura blanca
Se miden todos los ingredientes y se van colocando en un envase.
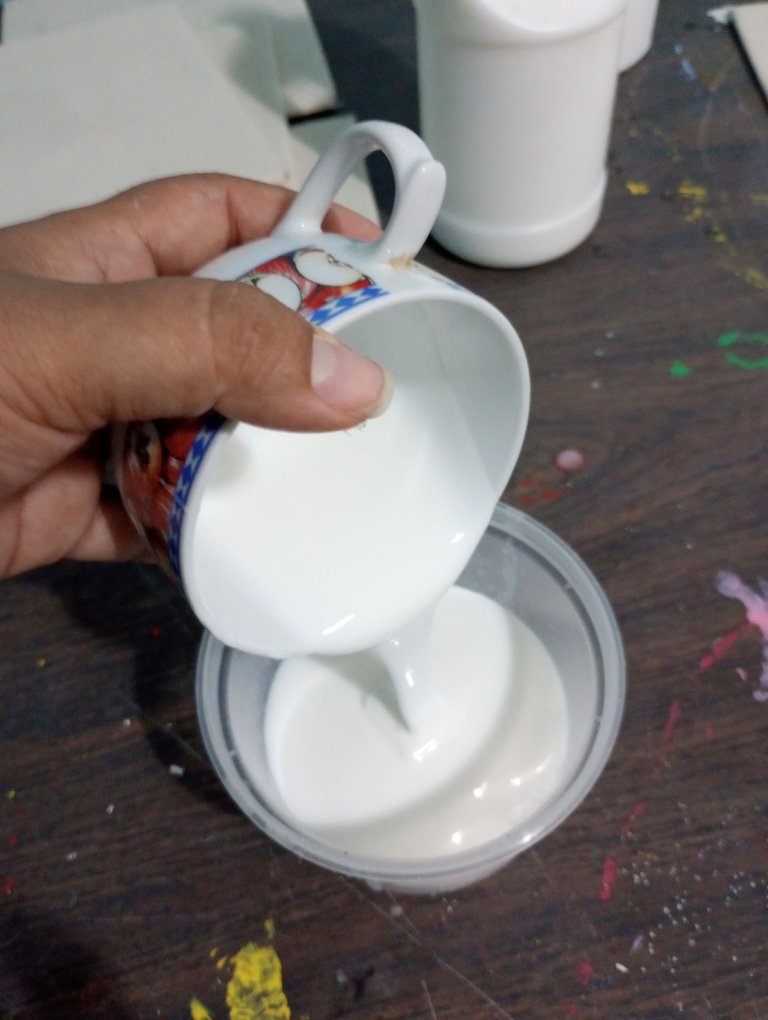
Once the canvases are ready, it is time to prepare them. For this we are going to make a homemade Gesso, which is the mixture that is applied to the canvas to be able to paint it.
For the mixture I used:
- 1 part white glue
- 1 part of talcum powder (you can also use corn starch)
- 2 parts of white paint
All the ingredients are measured and placed in a container.
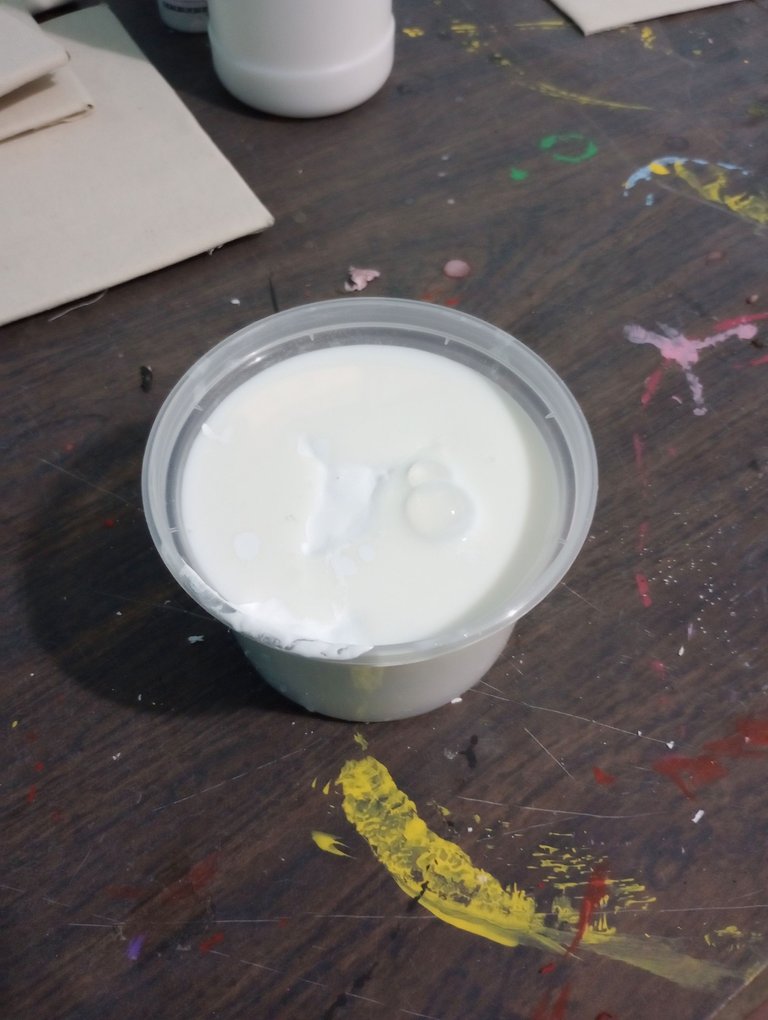

Mezclamos con ayuda de una paleta o cuchara hasta integrar completamente. No importan que queden grumitos porque estos después se perfeccionan con una lija.
Mix with the help of a trowel or spoon until completely integrated. It doesn't matter if any lumps remain, because they can be smoothed out with sandpaper.

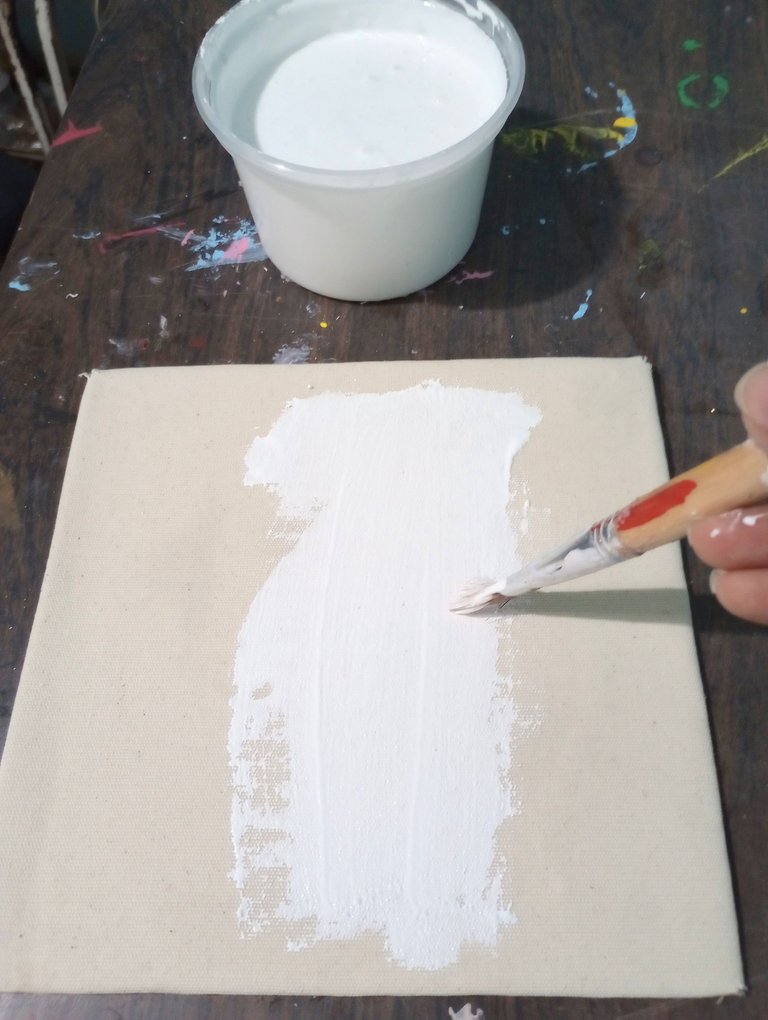
Con el Gesso listo vamos a comenzar a pintar todos los lienzos. Esta es una mezcla que rinde muchísimo. Se pinta en una sola dirección y se deja secar.
Luego se le agrega una segunda capa, pintando en la otra dirección, es decir que si pintaste primero de arriba a abajo, la siguiente capa será de izquierda a derecha. Así nos aseguramos de cubrir bien la superficie.
With the Gesso ready we will start painting all the canvases. This is a mixture that yields a lot. You paint in one direction only and let it dry.
Then add a second layer, painting in the other direction, i.e. if you painted first from top to bottom, the next layer will be from left to right. This way we make sure we cover the surface well.

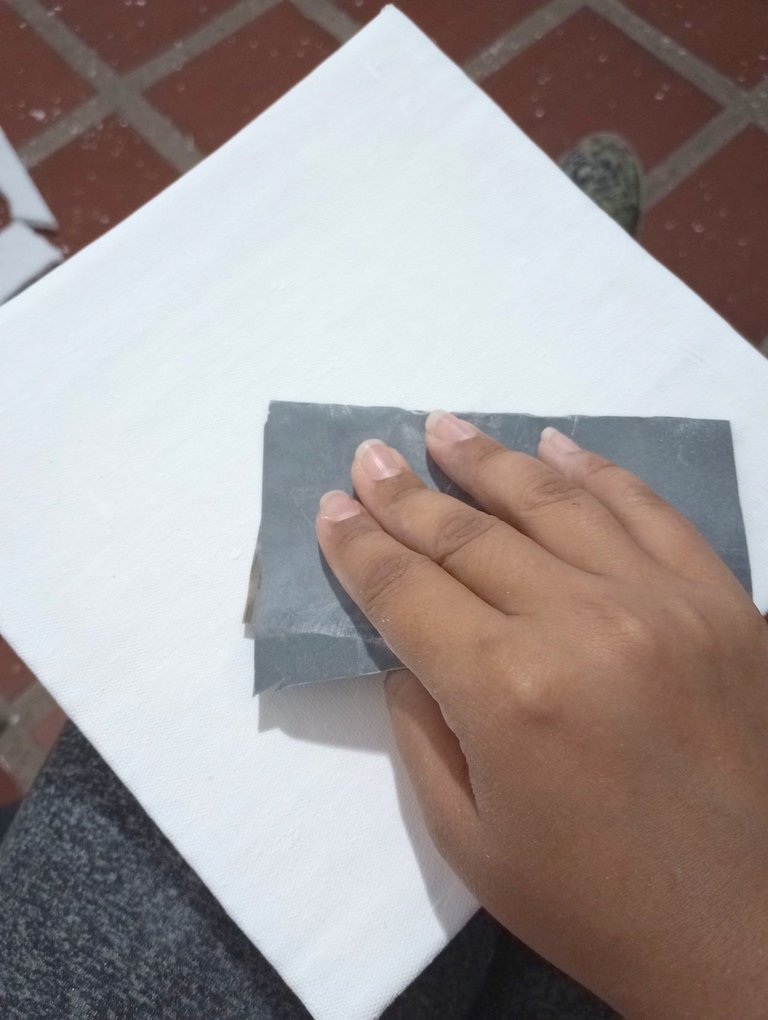
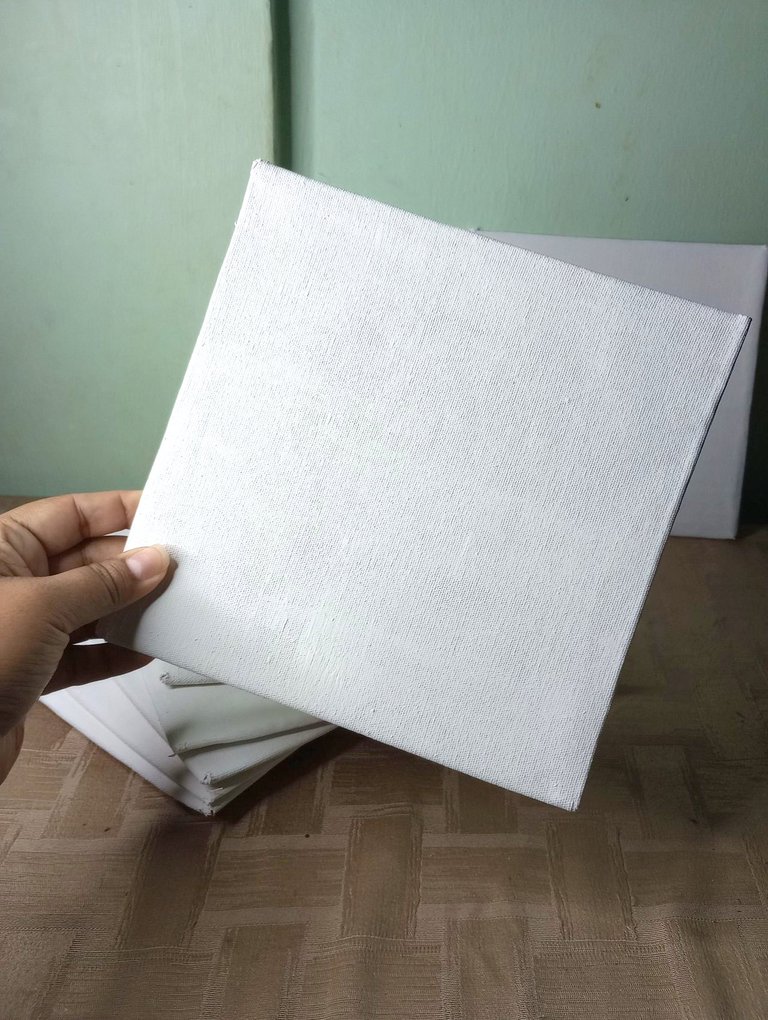
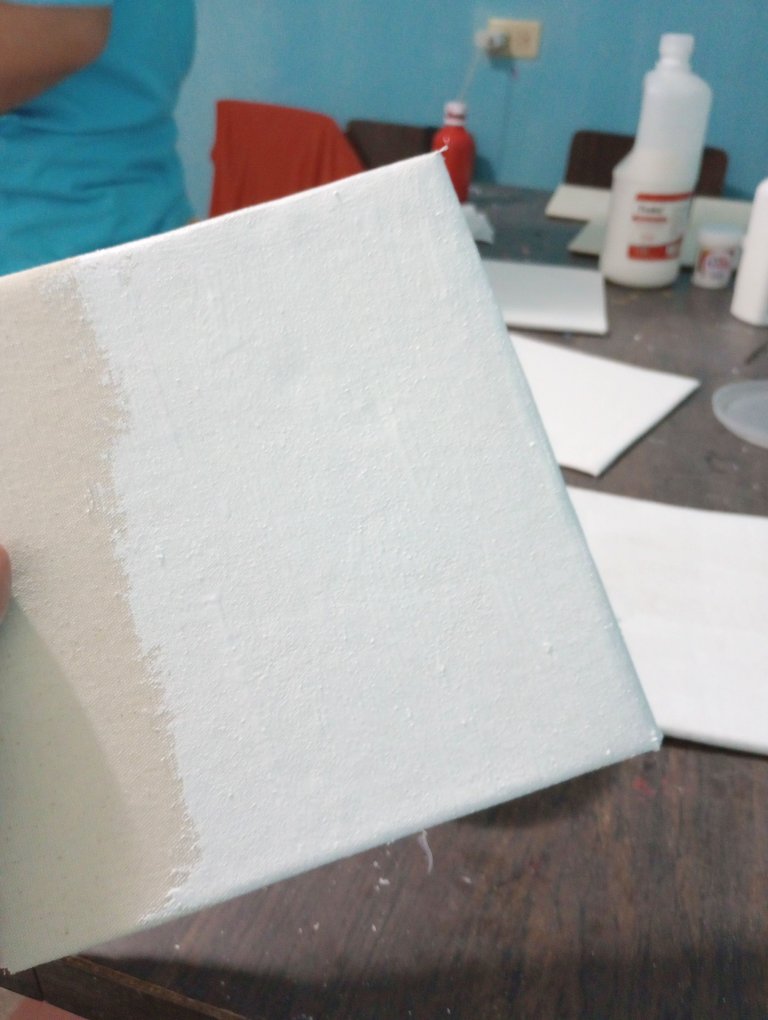
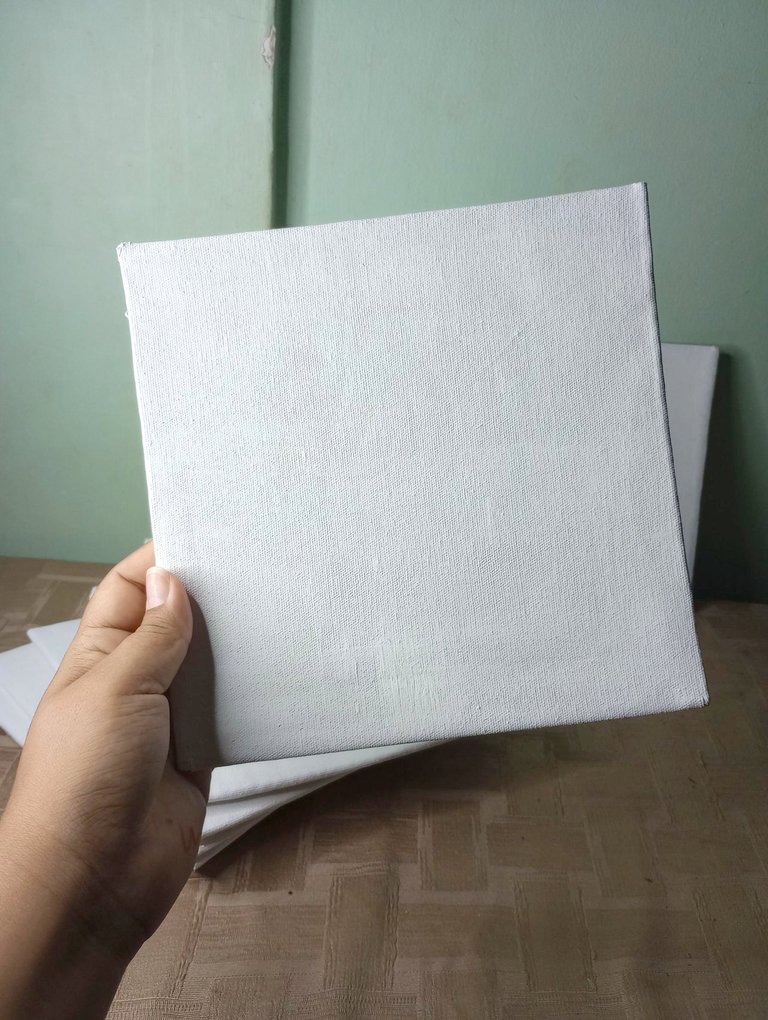
Una vez seco el lienzo le vamos a pasar una lija muy fina por la superficie. Debes pasar la mano hasta sentir que no queda nada áspero. Se debe pasar ligeramente en movimientos circulares, la idea no es retirar el material sino curar las imperfecciones.
Así tendremos listos los lienzos para pintar. Espero les haya gustado este pequeño tutorial y hagan muchos para pintar grandes obras. ♥
Once the canvas is dry, sand the surface with very fine sandpaper. You must pass your hand over it until you feel that there is nothing rough. The idea is not to remove the material but to cure the imperfections.
This way we will have the canvases ready to paint. I hope you liked this little tutorial and make many to paint great works. ♥


Espero haya sido de tu agrado y provecho.
Un gran abrazo a todos, y nos leemos en un próximo post
• Lakrearte en Hive •
Att: Estefania Garcia ♥

Imágenes y separadores de mi autoría
Portada editada en Canva
Fotografías tomadas con un Moto G31
Texto traducido en Google ImTranslate v.14.27
Ahhhhh homemade gesso! So awesome! I must try this, thank you! 😃
!BEER
!LUV
@phoenixwren sent you LUV 🙂 (1/1)
Made with LUV by crrdlx
Thanks for your support ✨☺️
This is awesome. I'll bookmark this for future projects with my kids. :D
Thanks for sharing. My child loves to paint too so this is a great idea. I might be able to use this in the future.
Excelente tutorial, me encantó
Me alegra te haya gustado! Espero te sea de utilidad ☺️✨
Yay! 🤗
Your content has been boosted with Ecency Points, by @phoenixwren.
Use Ecency daily to boost your growth on platform!
Support Ecency
Vote for new Proposal
Delegate HP and earn more
😊✨
https://twitter.com/hivediy47901/status/1732368987864875455
Muchas gracias por el apoyo 😊
Esto es increibble. que gran trabajo has realizado, es una idea grandiosa que nos servirá muchísimo!
Me alegra que te haya gustado el post y espero puedas sacarle mucho provecho 😊✨