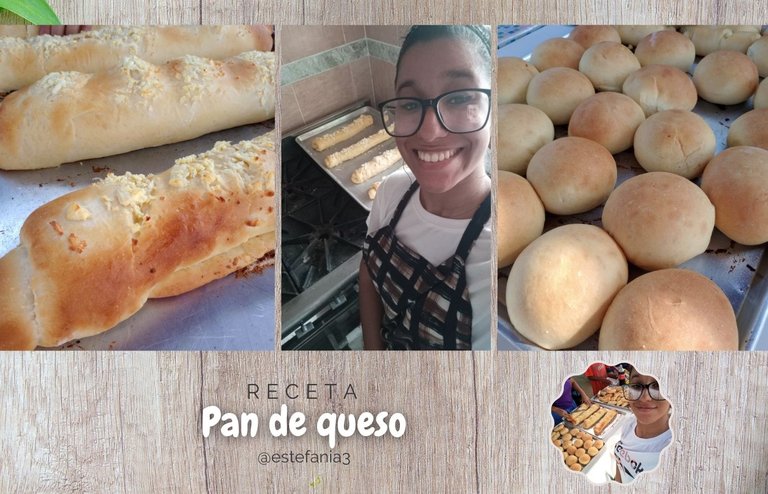
Receta: Pan de queso || Recipe: Cheese bread ♥

¡Hola Chicos!
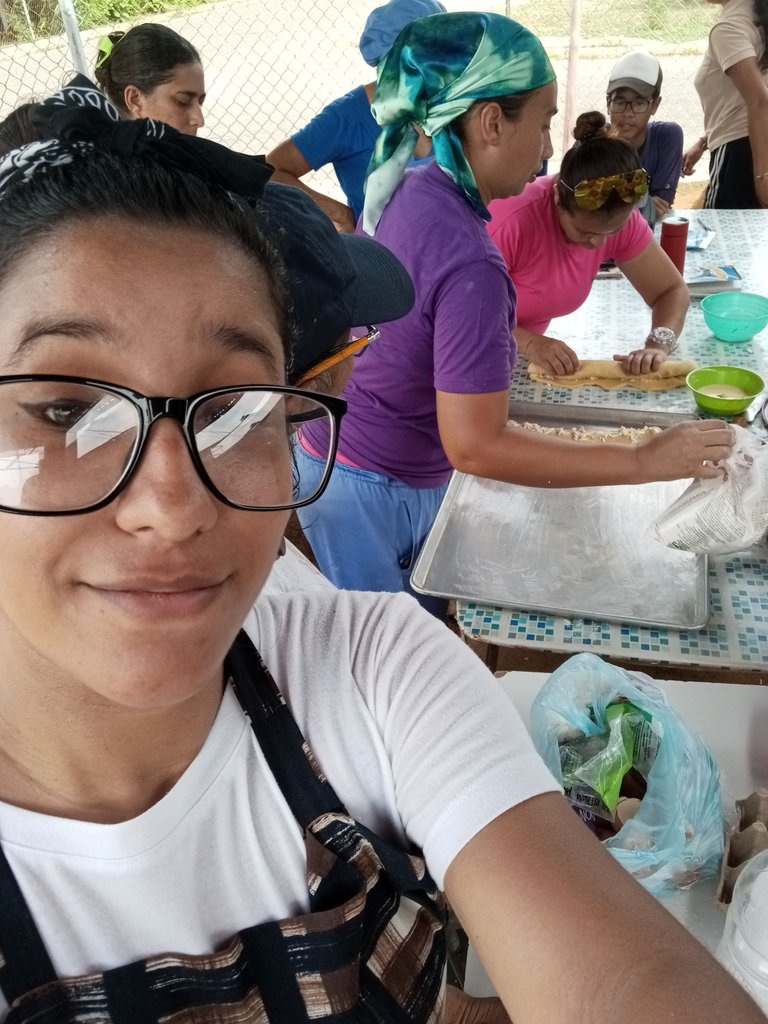
Hoy vengo a compartir con ustedes una nueva receta, esta vez una de las que preparamos el lunes pasado en la clase de panadería.
Anteriormente les compartí la de los cachitos de jamón y queso, que quedaron espectaculares cabe destacar, y hoy les traigo la de pan de queso, que es un pan como su nombre lo indica, hecho con queso y que además cuenta con un sabor dulce y suave.
Este pan me sorprendió por lo sabroso que es y la verdad es que estoy ansiosa por prepararlo en casa porque con o sin queso queda divino. ♥
Así que no se hable más y vayamos con los ingredientes y el paso a paso para hacer estos deliciosos panes de queso. 😊
Hello Guys!
Today I come to share with you a new recipe, this time one of the ones we prepared last Monday in the bakery class.
Previously I shared with you the ham and cheese cubes, which were spectacular, and today I bring you the cheese bread, which is a bread as its name suggests, made with cheese and also has a sweet and mild flavor.
This bread surprised me by how tasty it is and the truth is that I am eager to prepare it at home because with or without cheese it is divine. ♥
So no more talk and let's go with the ingredients and the step by step to make these delicious cheese breads. 😊
INGREDIENTES || INGREDIENTS
Para 4 panes de queso de 450 gr aprox.:
- 1 kg de harina de trigo todo uso
- 200 gr de azúcar
- 200 gr de margarina
- 1 cucharadita de sal
- 4 huevos
- 4 cucharadas de leche en polvo
- 20 gr de levadura
- 300 gr de agua tibia
- 1 kg de queso semiduro
For 4 cheese breads of 450 gr. approx:
- 1 kg all-purpose wheat flour
- 200 gr of sugar
- 200 gr margarine
- 1 teaspoon salt
- 4 eggs
- 4 spoonfuls of powdered milk
- 20 grams of yeast
- 300 grams of warm water
- 500 grams of semi-hard cheese
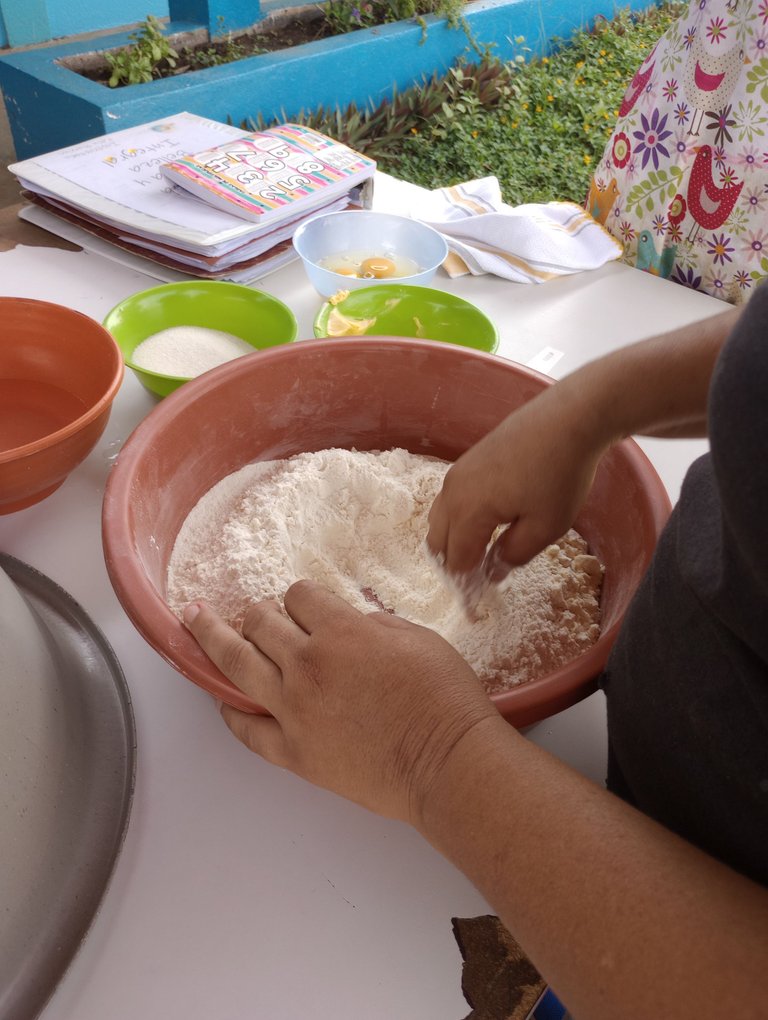
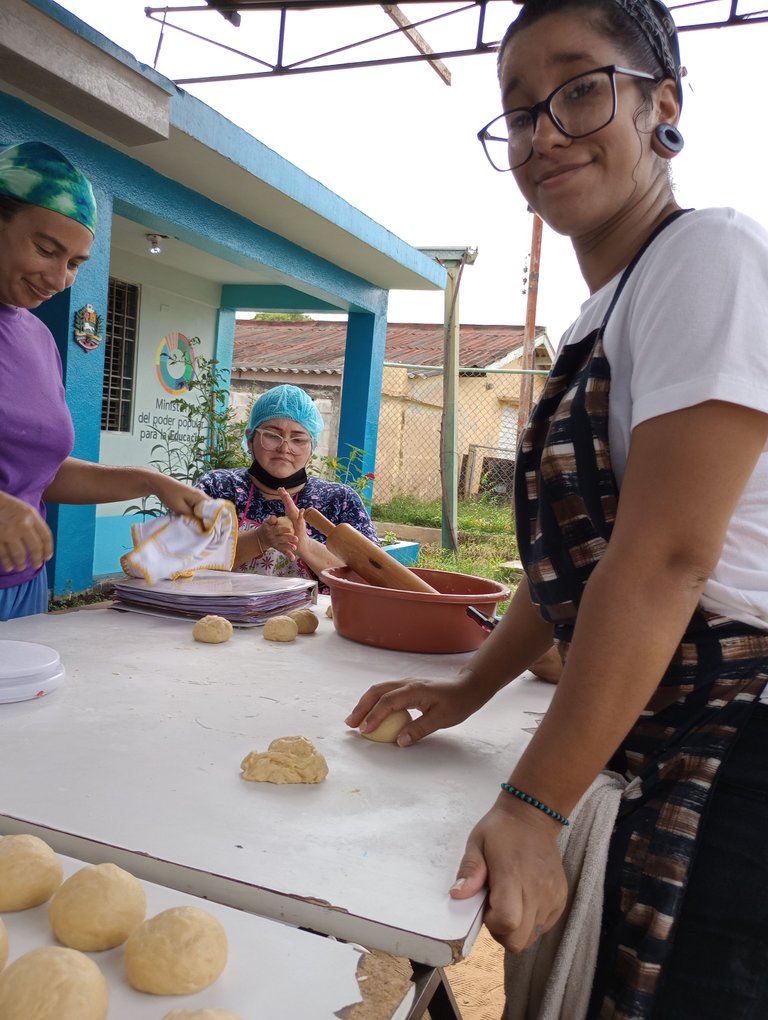
Para comenzar como siempre pesaremos y prepararemos todos los ingredientes necesarios para la receta.
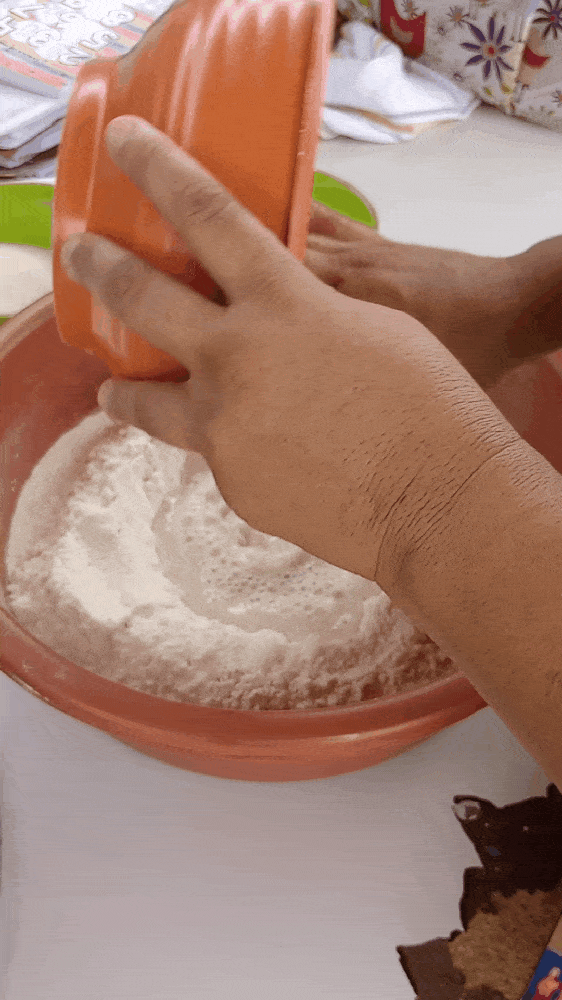
Tamizamos el harina de trigo y unimos a la leche en polvo.
Hacemos un volcán y agregamos en el agua la levadura para disolverla. Una vez no queden granitos sin disolver, agregamos en el centro de la harina, la cual debemos abrir en forma de volcán.
To begin, as always, we will weigh and prepare all the ingredients necessary for the recipe.
Sift the wheat flour and add it to the powdered milk.
We make a volcano and add the yeast in the water to dissolve it. Once there are no undissolved granules, we add in the center of the flour, which we must open in the form of a volcano.
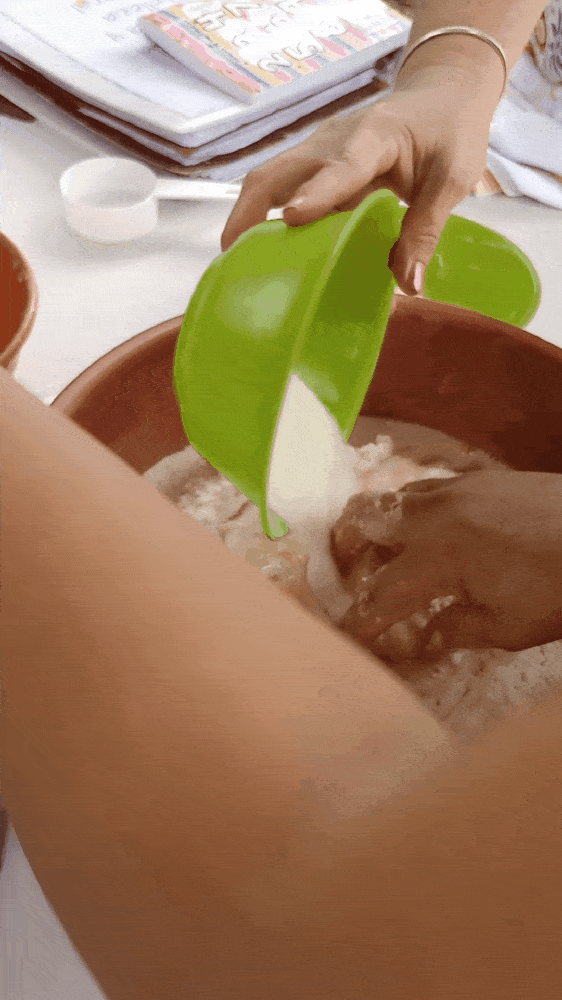
Agregamos los huevos y vamos a ir rompiéndolos con la mano, sin integrar aun a la harina. Luego colocamos el azúcar y al estar completamente disuelta comenzamos a mezclar con la harina y la leche.

Add the eggs and break them by hand, without integrating them with the flour. Then add the sugar and when it is completely dissolved, start mixing with the flour and the milk.
Luego de que la harina este bien integrada al resto de los ingredientes le agregamos la margarina. Esto hará que nuestra masa se vuelva bastante pegajosa, pero no te preocupes, esto con el amasado se va a ir absorbiendo y poco a poco lograremos nuestra masa lisa.
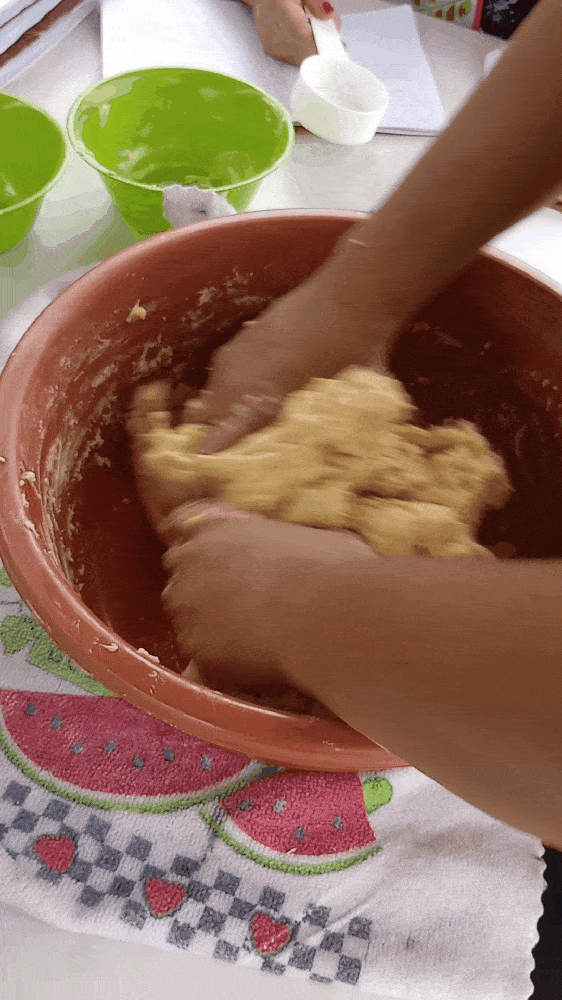
No es necesario agregar más harina. solo amasar.
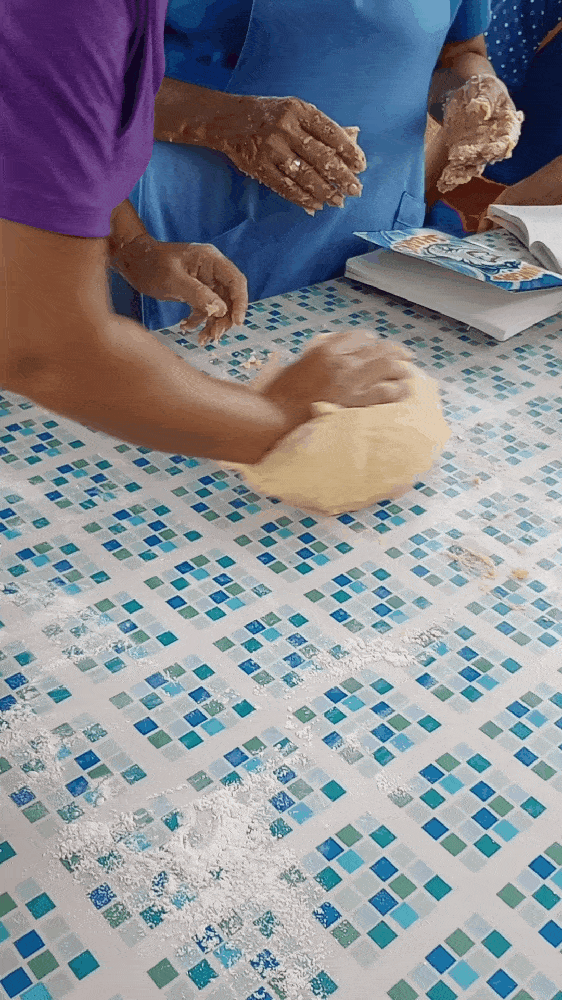
Pasamos al mesón y vamos a continuar con el amasado.
After the flour is well integrated with the rest of the ingredients, add the margarine. This will make our dough quite sticky, but don't worry, this will be absorbed with the kneading and little by little we will achieve our smooth dough.
It is not necessary to add more flour, just knead.
We move to the counter and we will continue with the kneading.


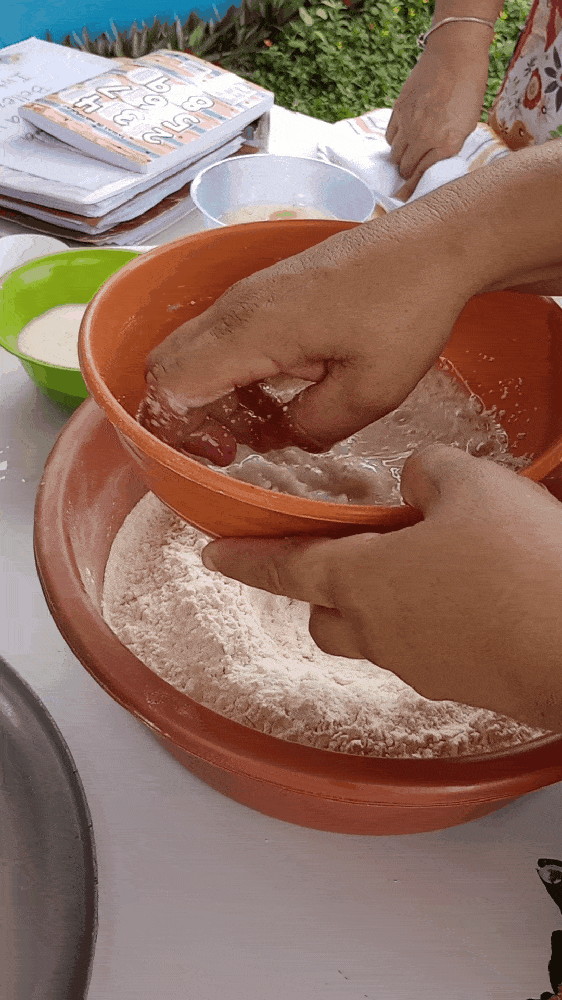
Al cabo de unos minutos la masa se vuelve súper pegajosa y puede que se pegue al mesón donde la estas amasando, para solucionar esto se le agrega solo un poco de harina de trigo, sin excederse para que no quede seco el pan.
After a few minutes the dough becomes super sticky and may stick to the counter where you are kneading it, to solve this add just a little wheat flour, without overdoing it so that the bread is not dry.
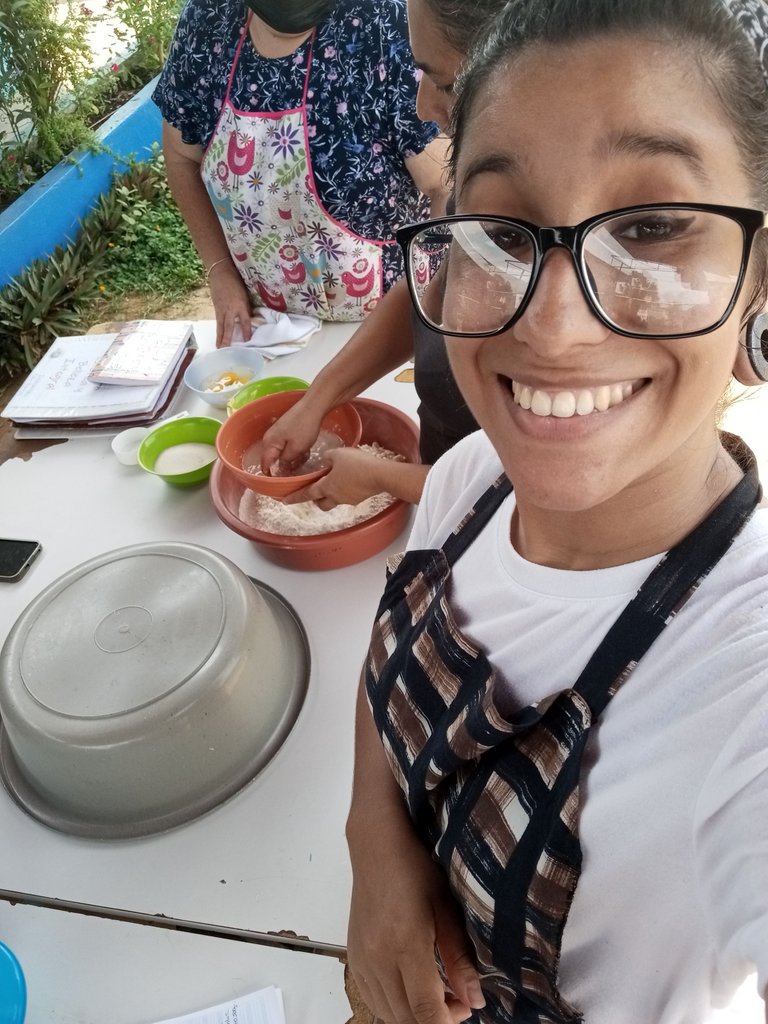
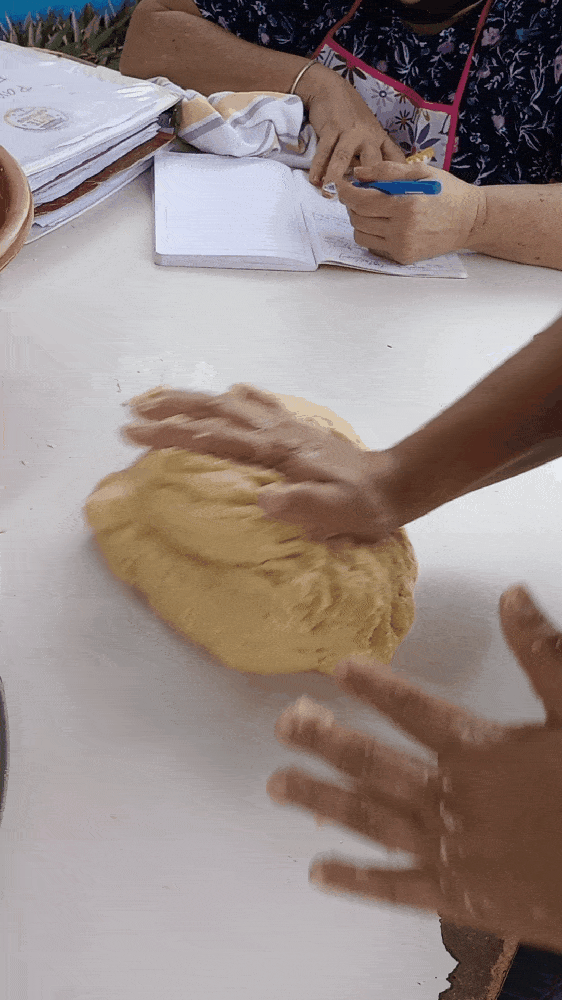
Luego que la masa se vuelva manejable y elástica, comprobamos que al introducir un dedo, esta recobre su forma rápidamente. Así sabremos que está lista. Luego la dejaremos reposando por 15 minutos.
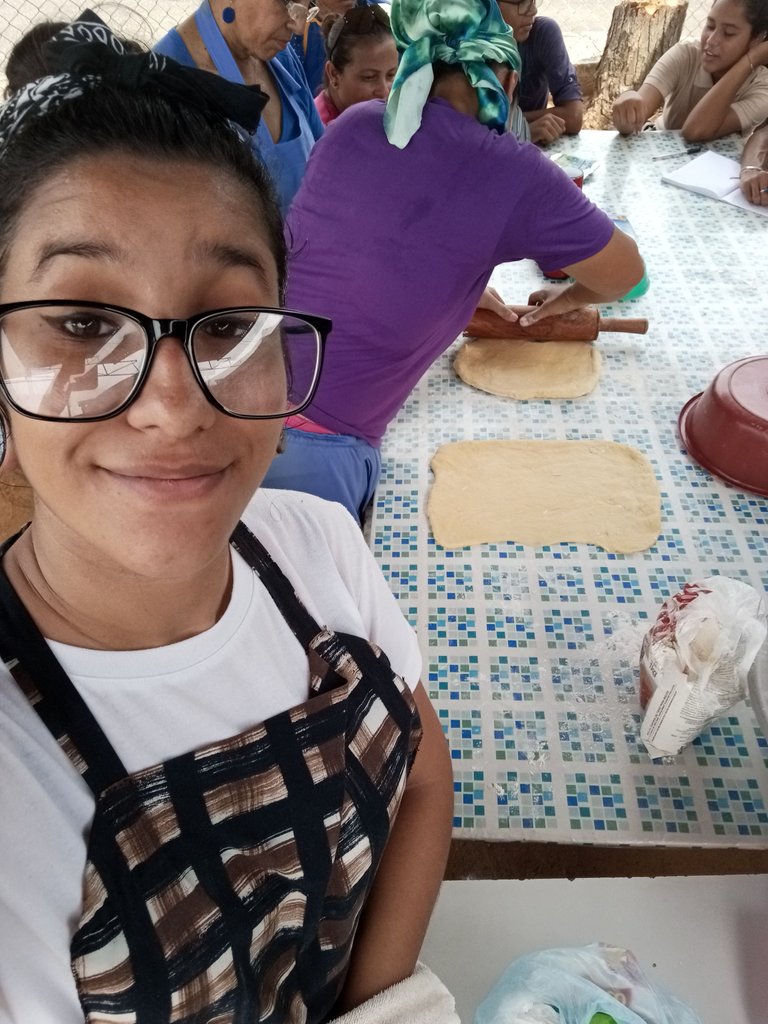
Esta es la masa de la otra compañera, pues estábamos haciendo la misma preparación dos veces.
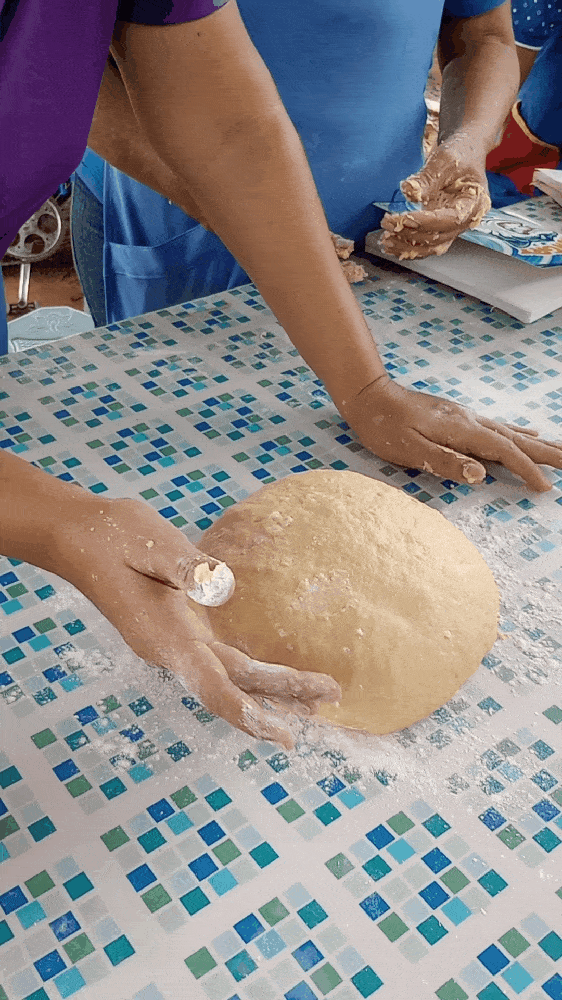
After the dough becomes manageable and elastic, we check that when we introduce a finger, it recovers its shape quickly. This way we will know that it is ready. Then we will let it rest for 15 minutes.
This is the dough of the other partner, because we were making the same preparation twice.
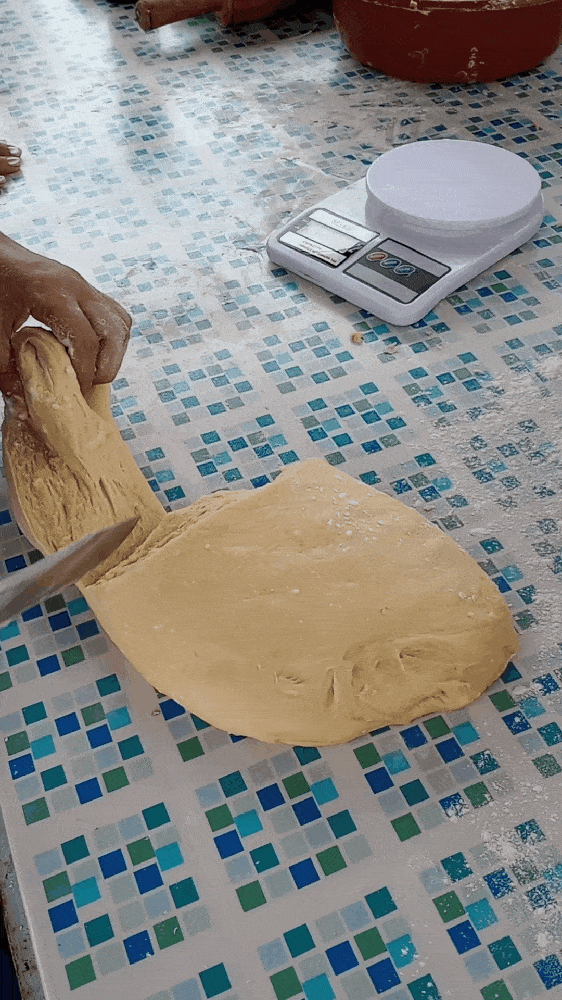
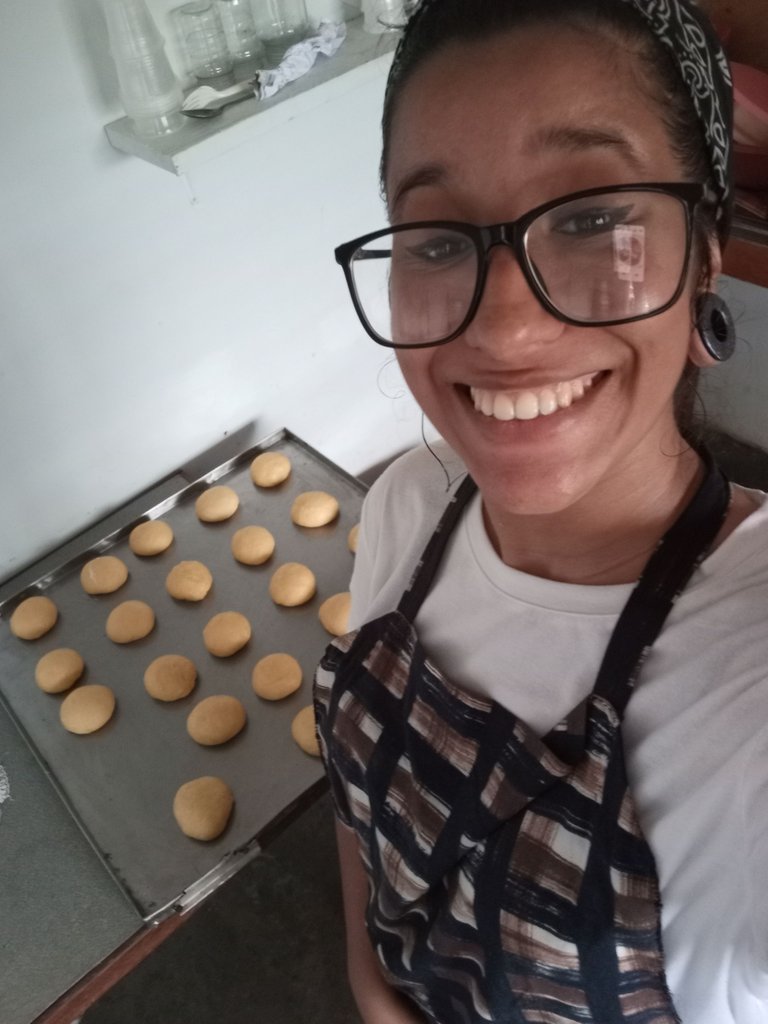
Transcurrido este tiempo vamos a sacar el gas a la masa y luego vamos a pesar su totalidad. Esa cantidad la dividimos en 4 y luego vamos a comenzar a armar los panes, aplanando con ayuda de un rodillo para darle forma rectangular.
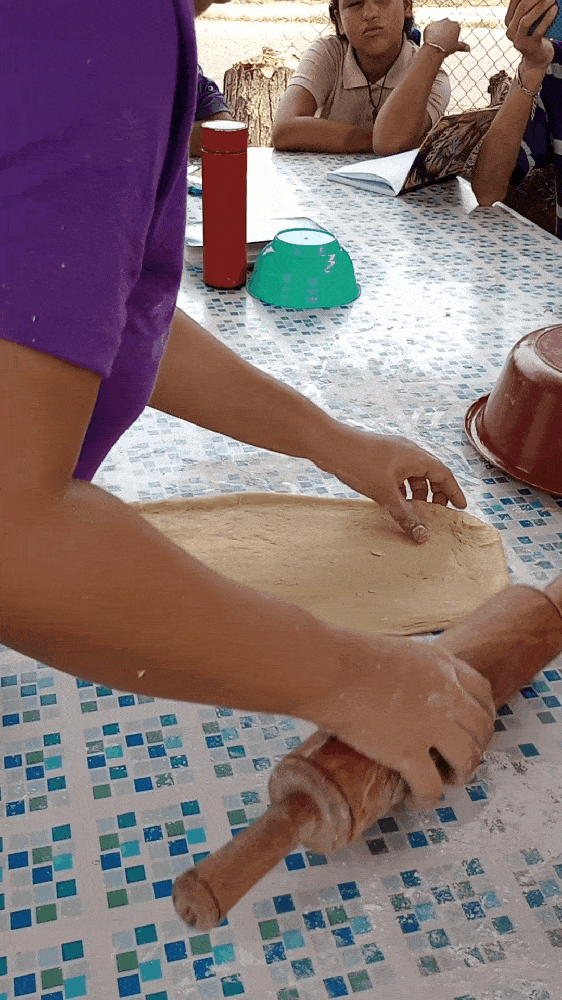
After this time we are going to remove the gas from the dough and then we are going to weigh its totality. We divide that amount into 4 and then we will begin to assemble the loaves, flattening them with the help of a rolling pin to give them a rectangular shape.
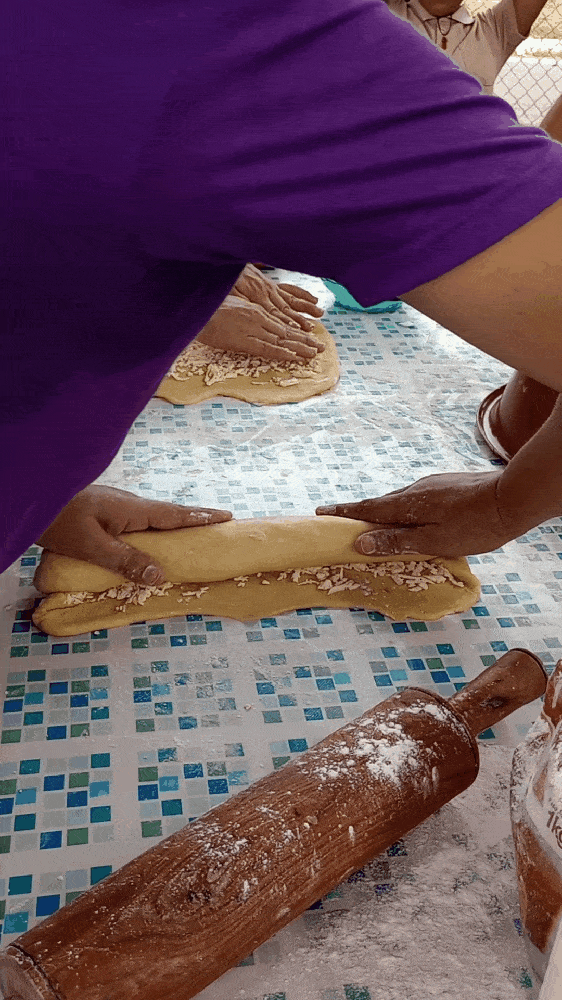
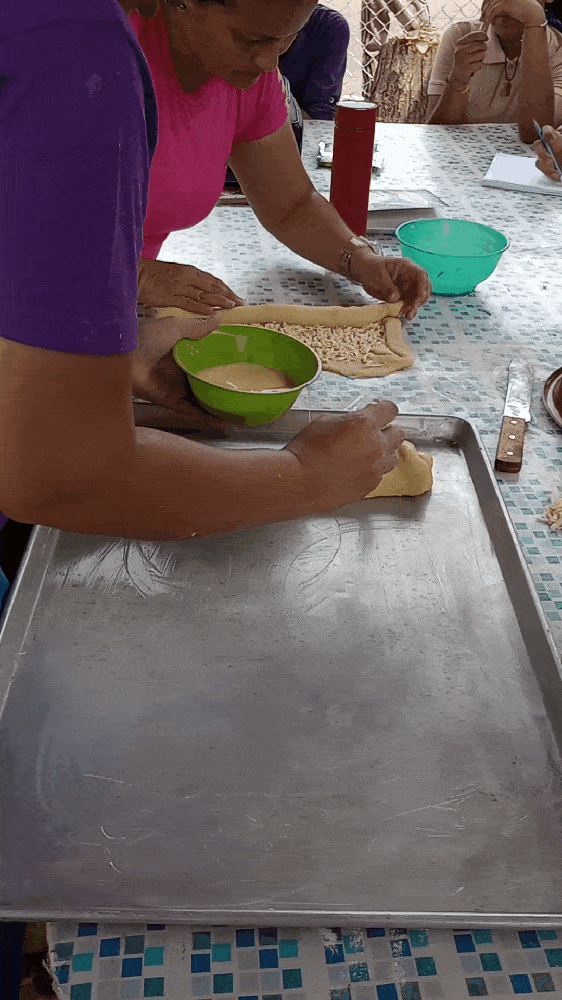
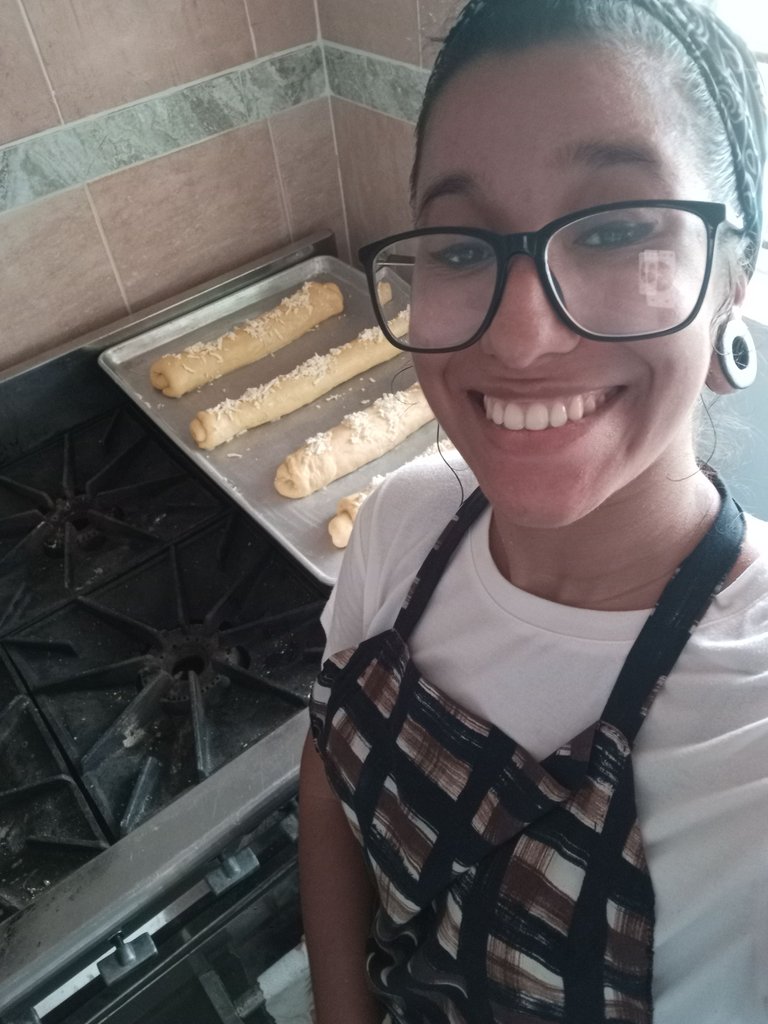
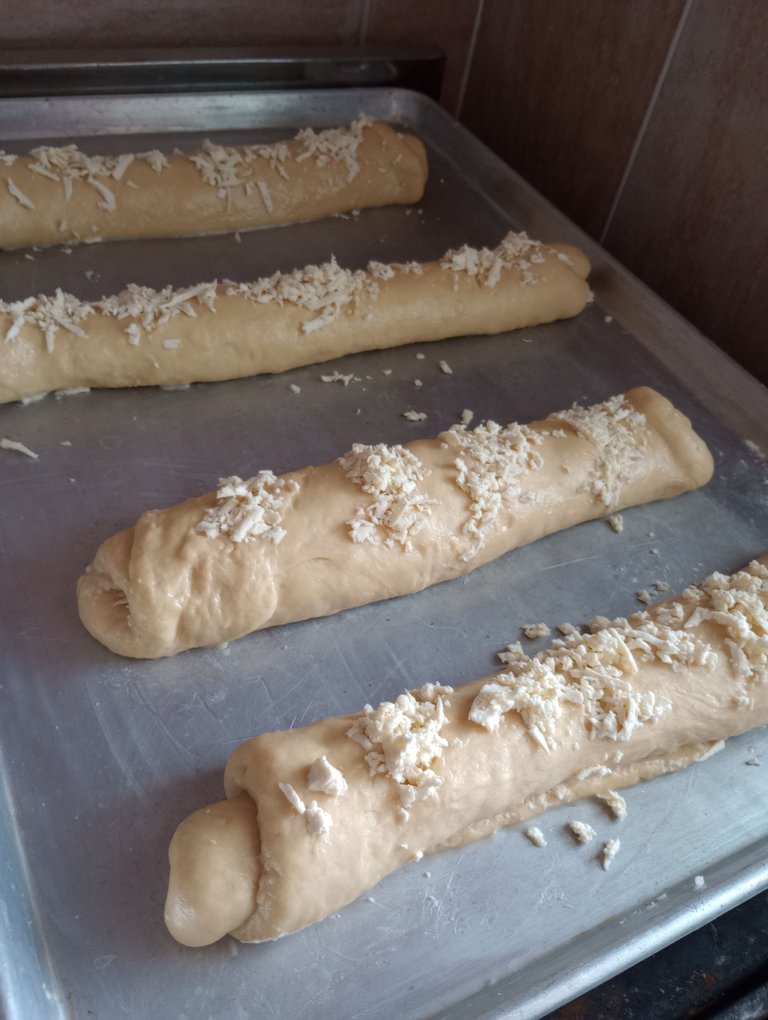
Finalmente colocamos el queso en la superficie, dejando libre uno de los extremos, al cual le colocaremos un poco de agua y luego cerramos el pan.
Al doblarlo tenemos que doblar todos los extremos de la masa hacia el interior para que así el queso quede bien cubierto y no se seque.
Luego hacemos unos cortes en la parte superior, en los cuales le colocaremos un poco más de queso.
Pero antes de hacerlo barnizaremos los panes con leche líquida, azúcar, un poco de sal y yema de huevo.

Finally we place the cheese on the surface, leaving one of the ends free, to which we will add a little water and then we close the bread.
When folding it we have to fold all the ends of the dough towards the inside so that the cheese is well covered and does not dry out.
Then we make some cuts in the upper part, in which we will put a little more cheese.
But before doing so, we will glaze the breads with liquid milk, sugar, a little salt and egg yolk.
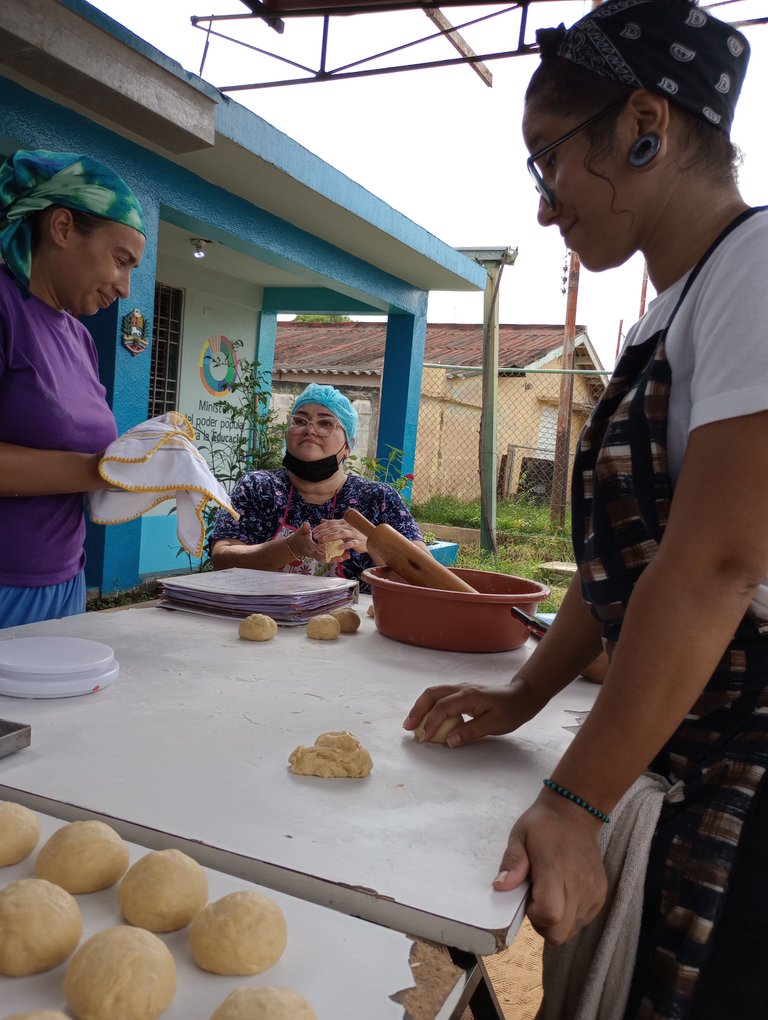
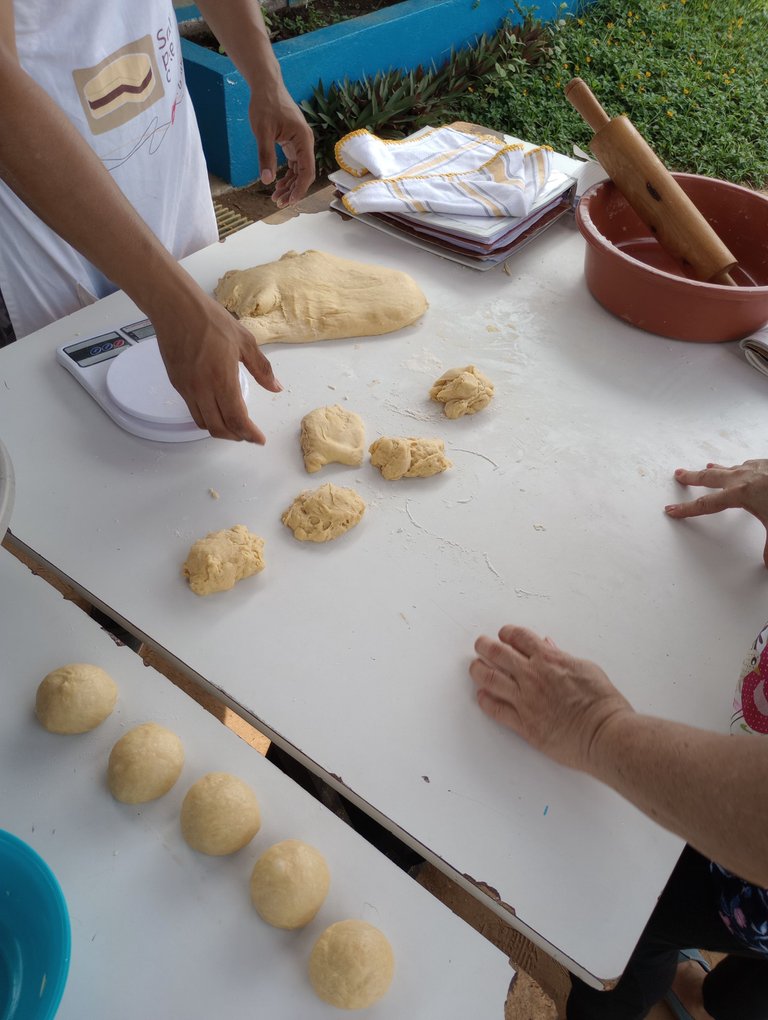
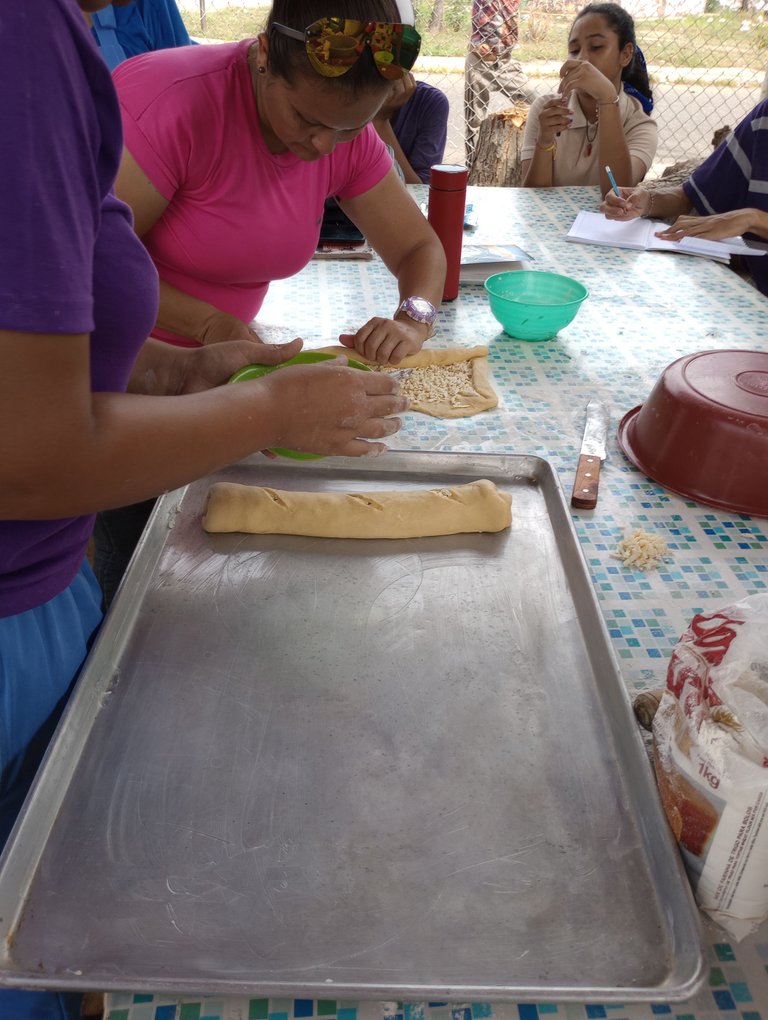
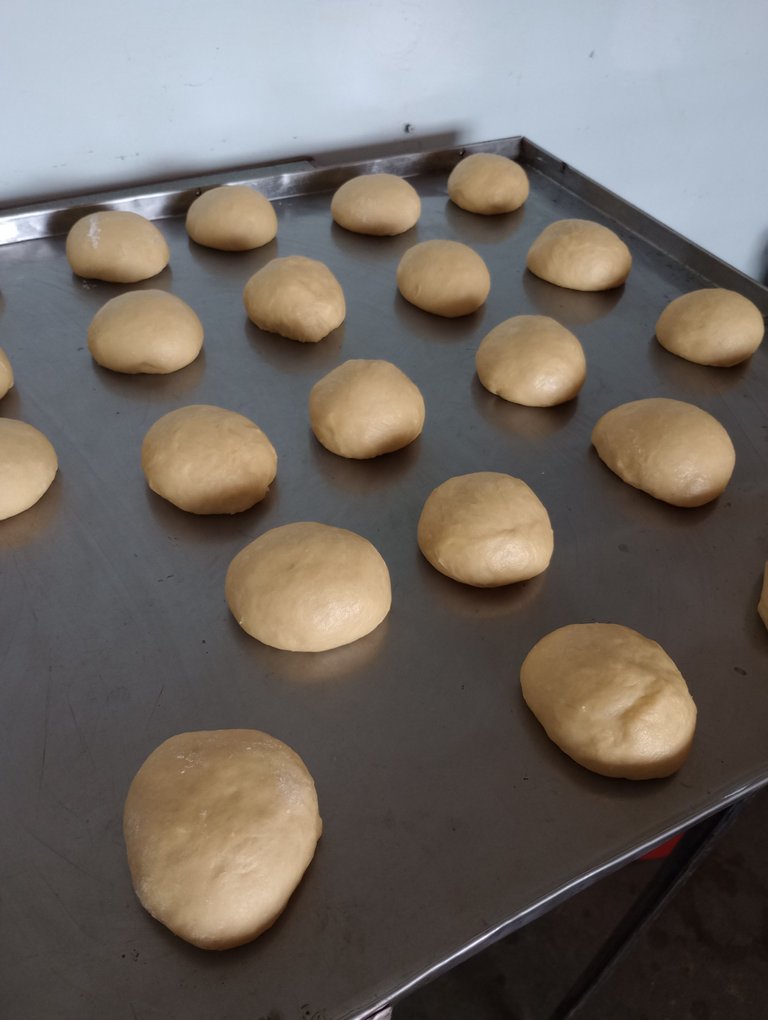
Como les comenté antes hicimos dos masas de la misma receta, y como nos habíamos quedado sin queso, la profesora nos indicó que hiciéramos bolitas de pan.
Estas las colocamos al igual que el pan de queso sobre una bandeja engrasada con manteca.
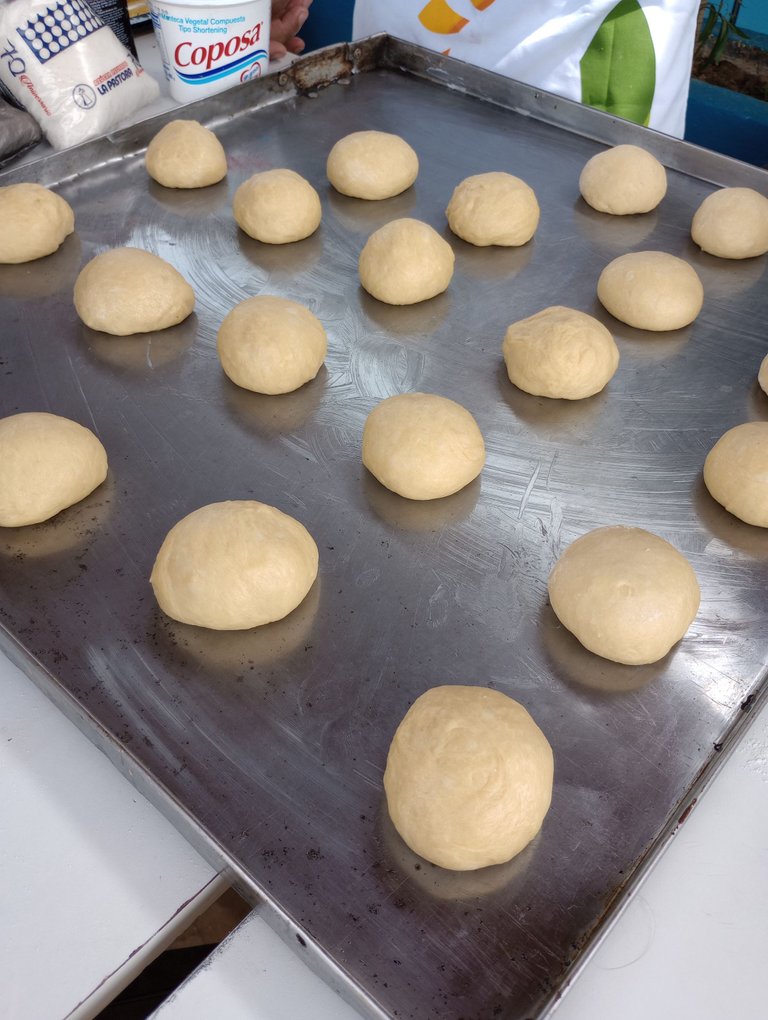
As I mentioned before, we made two doughs from the same recipe, and since we had run out of cheese, the teacher told us to make bread balls.
We placed them, just like the cheese bread, on a greased tray with butter.
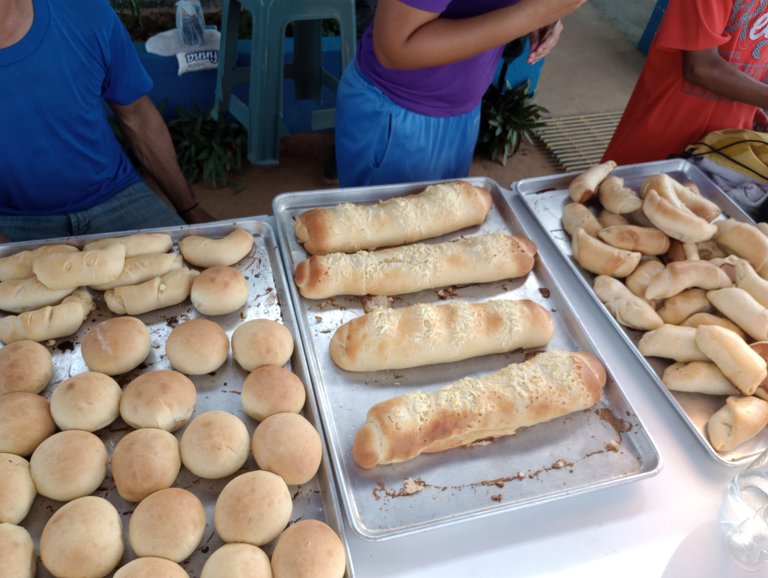
Luego dejamos levar los panes por unos 45 minutos y luego llevamos al horno por el mismo tiempo.
Then we let the breads rise for about 45 minutes and then we put them in the oven for the same time.
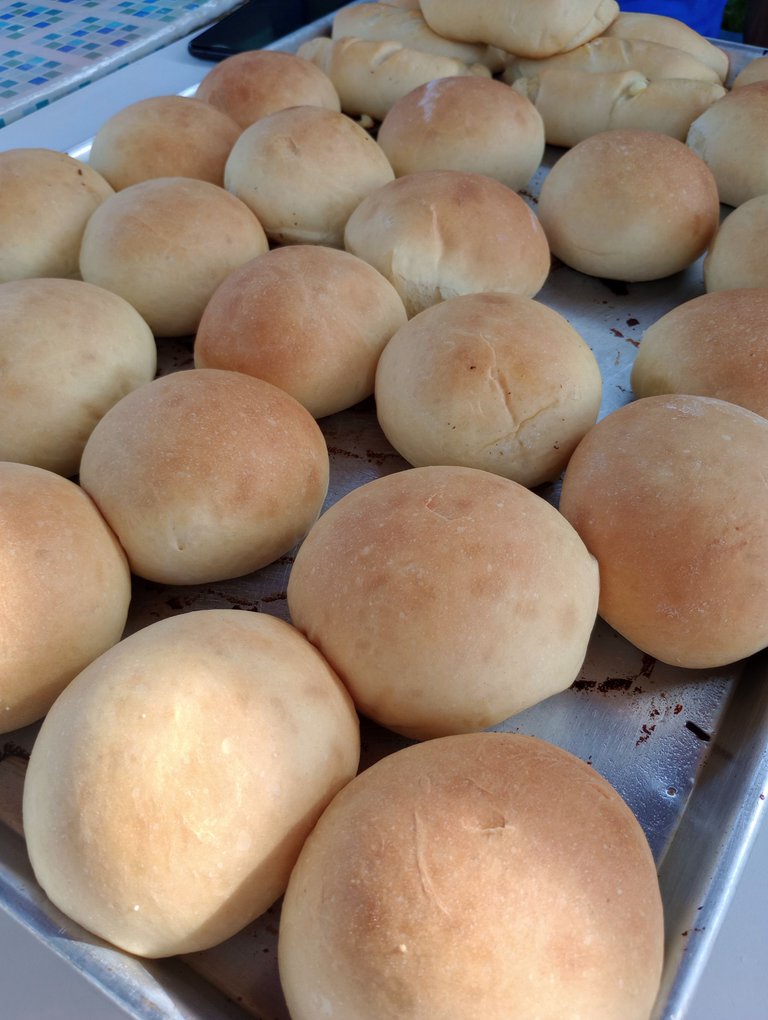
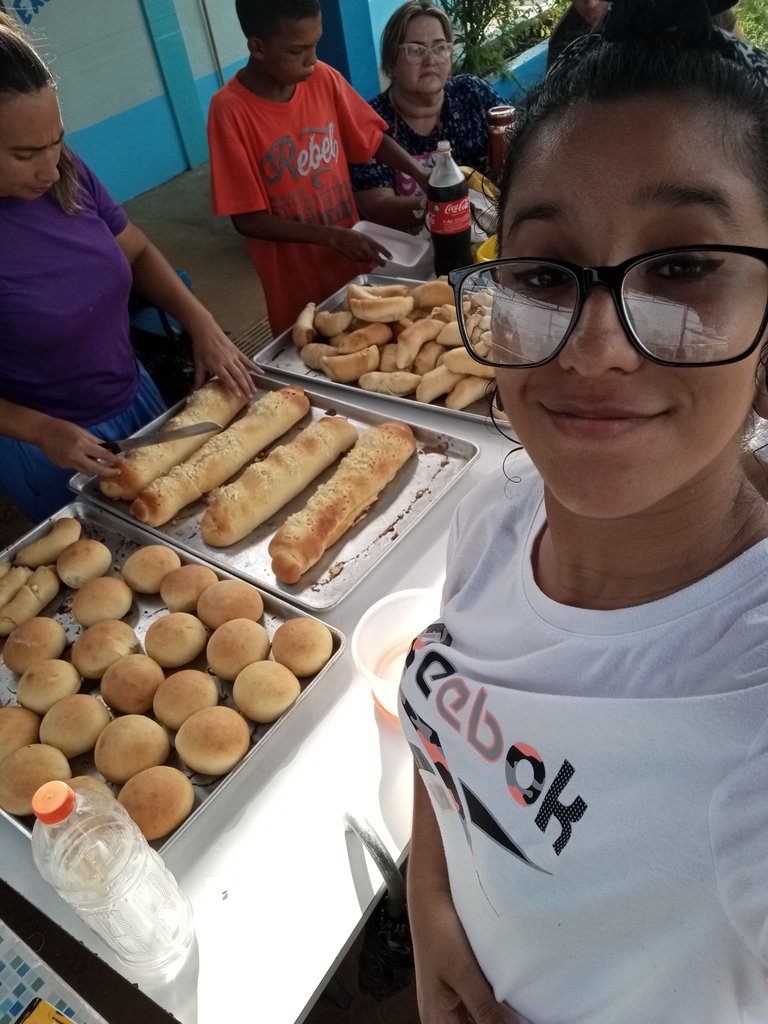
Así quedaron listos ambas versiones del pan de queso, la verdad es que son bien sabrosos y vale la pena hacerlos porque tienen ese toquecito dulce que enamora. ♥
Espero les haya gustado la receta y los hagan en casa 😊

This is how both versions of the cheese bread were ready, the truth is that they are very tasty and worth making because they have that sweet touch that makes you fall in love with them. ♥
I hope you liked the recipe and make it at home 😊

Espero haya sido de tu agrado y provecho.
Un gran abrazo a todos, y nos leemos en un próximo post
• Lakrearte en Hive •
Att: Estefania Garcia ♥

Imágenes y separadores de mi autoría
Portada editada en Canva
Fotografías tomadas con un Moto G31
Texto traducido en Google ImTranslate v.14.27
@tipu curate 4
Upvoted 👌 (Mana: 35/75) Liquid rewards.
Thanks for your support ♥
You are welcome :)
Congratulations, your post has been upvoted by @dsc-r2cornell, which is the curating account for @R2cornell's Discord Community.
Enhorabuena, su "post" ha sido "up-voted" por @dsc-r2cornell, que es la "cuenta curating" de la Comunidad de la Discordia de @R2cornell.
Thanks for your support ♥
I’m loving the GIF.images 👌🏼 Awesome! And these batches look delicious btw ! Well done my friend.
Salivating! 🤪
You clearly have a good experience and also a family history of baking and cooking skills.
I always appreciate “bakes” more than “cooks”
Great to see
I'm glad you like my posts with gif, I think you can appreciate much better the execution of a recipe in this way and even more if you are not the one who controls each step, as in this case. In my house I do take the time to be "frozen" so that the photo comes out well hahahaha.
And yes, it is something that takes a lot of work and is a branch of the kitchen that takes its process and dedication. Greetings friend and thanks for visiting my blog.
Yes it was the GIFs that made the post for me :) really attention grabbing and engaging.
Wow those bread looks really amazing and tasty 😁
You should definitely come join us on Sundays for #creative-sunday at the Hive Learners community to share more amazing recipes like this. I also will be nominating this post for some upvote from them.
Here's a link to read more about #creative-sunday.
https://peakd.com/hive-153850/@kronias/hive-learners-community-creative-sunday-initiative-announcement-oror-everyone-is-winner
Thank you very much for the invitation! I will take into account your proposal to see if I dare to go next saturday ♥
https://leofinance.io/threads/view/itsme9001/re-leothreads-2b8dwvquy
The rewards earned on this comment will go directly to the people ( itsme9001 ) sharing the post on LeoThreads,LikeTu,dBuzz.
Amiga esos panes te quedaron excelente te felicito de todo corazón ❤️ que Dios te continúe bendiciendo tus manos y te de cada dia mucha sabiduría. Gracias por compartir tu receta. Bendiciones 🙌 🤗
Bueno debo corregir "nos quedaron" porque todos los del curso pusimos nuestro granito de arena para la elaboración de estos panes. Me alegra que te hayan gustado y espero puedas prepararlos pronto ♥
Me parece excelente tu corrección de hecho yo quise hacerlo también pero ya había enviado el comentario y me di cuenta al seguir admirando las imágenes de los panes y de lo espectacular que les quedaron, de igual manera muchas Felicitaciones 👏 😉 y bendiciones 🙏🙌🤗