Receta: Pastel de Red Velvet || Recipe: Red Velvet Cake ♥

¡Hola Chicos!
Hoy voy a compartirles la receta de un pastel bastante colorido y llamativo, que además de lucir bien sabe delicioso. Se trata del pastel de Red Velvet.
La primera vez que lo vi en un programa de cocina me causó muchisima curiosidad y me imaginaba que su sabor era como de algun fruto rojo o algo similar.
Al descubrir que este era debido al colorante que se le agregaba me desinteresó el asunto, pues dije en mi mente "es un pastel normal pintado de rojo".
Y en mi ultima clase de repostería nos enseñaron a prepararlo. Su procedimiento es muy diferente al pastel tradicional y además tiene un sabor increíble gracias al cacao que se le agrega.
Superó mis expectativas y espero estarlo preparando pronto para disfrutar aún más de su sabor.
Hoy les compartiré el procedimiento que entre yo y mis compañeras logramos en clase y espero les sea de mucha utilidad para ustedes. 😊
Hello Guys!
Today I am going to share with you the recipe for a very colorful and eye-catching cake, which besides looking good tastes delicious. It is the Red Velvet cake.
The first time I saw it on a cooking show I was very curious and I imagined that its flavor was like a red fruit or something similar.
When I discovered that this was due to the coloring that was added to it, I was disinterested in the matter, because I said in my mind "it's a normal cake painted red".
And in my last baking class they taught us how to prepare it. Its procedure is very different from the traditional cake and it also has an incredible flavor thanks to the cocoa added to it.
It exceeded my expectations and I hope to be preparing it soon to enjoy its flavor even more.
Today I will share with you the procedure that I and my classmates and I hope it will be very useful for you. 😊
INGREDIENTES || INGREDIENTS
- 125 gr de margarina repostera
- 125 gr de margarina Mavesa
- 500 gr de azúcar
- 6 huevos
- 500 gr de harina de trigo
- 2 taza de leche de larga duración
- 3 cucharadas de vinagre
- 4 cucharadas de cacao
- 3 cucharadas de colorante rojo en polvo
- 1 cucharadita de bicarbonato
- 2 cucharadas de esencia de nata
Para el frosting de queso crema:
- 400 gr de margarina repostera
- 100 gr de queso crema
- 1 kg de azúcar pulverizada
- 2 cucharadas de esencia de nata
- 125 gr of margarine
- 125 gr Mavesa margarine
- 500 grams of sugar
- 6 eggs
- 500 gr of wheat flour
- 2 cups of long-life milk
- 3 tablespoons of vinegar
- 4 tablespoons cocoa
- 3 tablespoons of powdered red coloring
- 1 teaspoon of baking soda
- 2 tablespoons cream essence
For the cream cheese frosting:
- 400 gr pastry margarine
- 100 gr cream cheese
- 1 kg of powdered sugar
- 2 tablespoons of cream essence
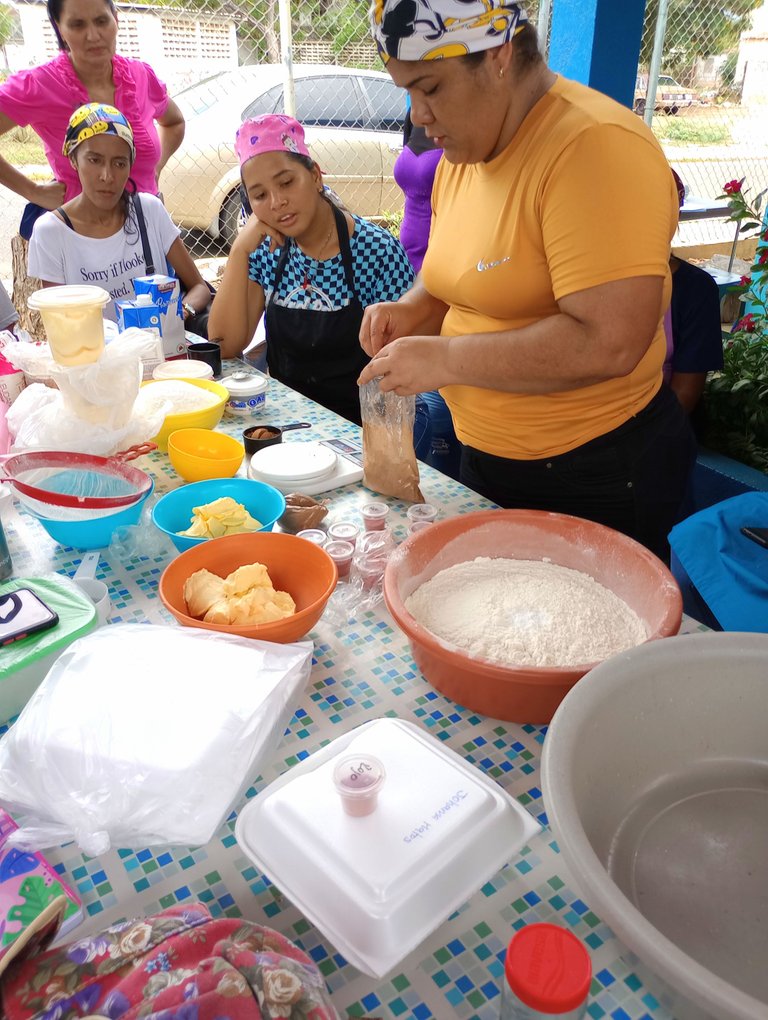
Iniciamos la preparación pesando y midiendo todos los ingredientes y colocándolos en envases individuales.
La harina se debe tamizar junto al cacao en polvo.
Start the preparation by weighing and measuring all the ingredients and placing them in individual containers.
The flour should be sifted together with the cocoa powder.
En un bowl grande vamos a colocar a cremar las margarinas junto al azúcar y al estar bien suaves agregamos las yemas de huevo.
In a large bowl we are going to cream the margarines together with the sugar and when they are very soft we add the egg yolks.
Agregamos la esencia y la mitad de la leche, esta vamos a mezclarla con el vinagre y dejaremos reposar hasta que se corte.
También agregamos el bicarbonato.

We add the essence and half of the milk, this we are going to mix it with the vinegar and let it stand until it is cut.
We also add the baking soda.
Agregamos la otra parte de la leche la cual mezclamos con el colorante rojo.
Luego agregamos de golpe toda la harina de trigo, integramos con un batidor manual y luego reforzamos con la batidora eléctrica para evitar que queden grumos.
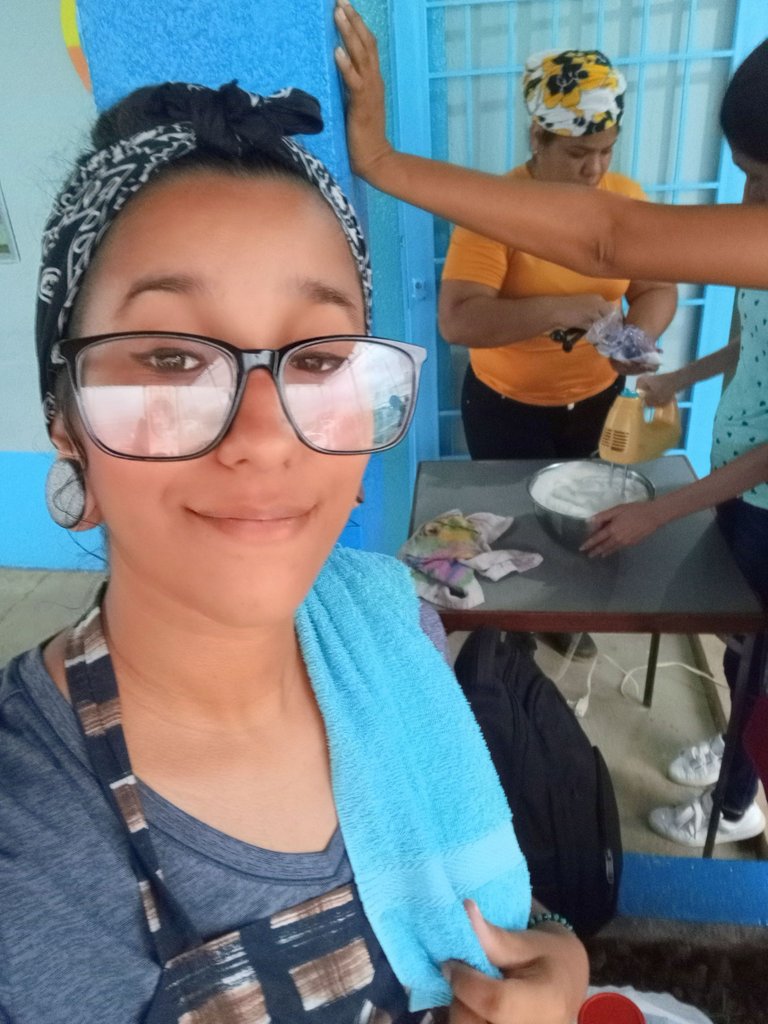
Por otro lado las claras las vamos a batir a punto de nieve. Luego las integramos con movimientos envolventes a la mezcla.
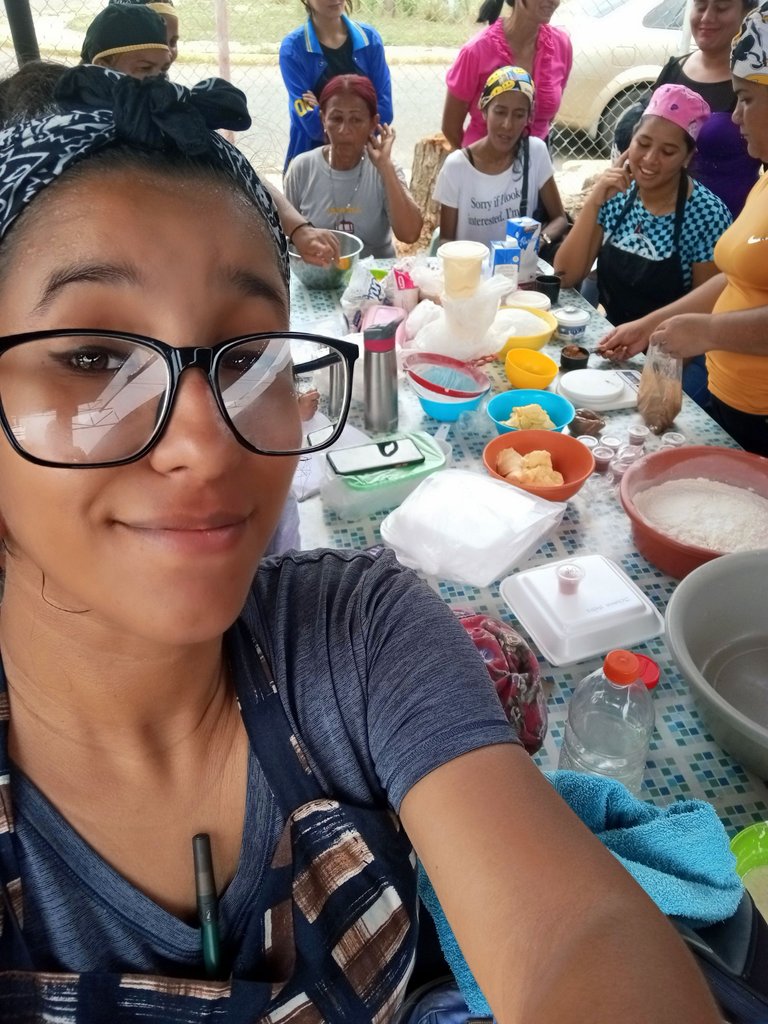
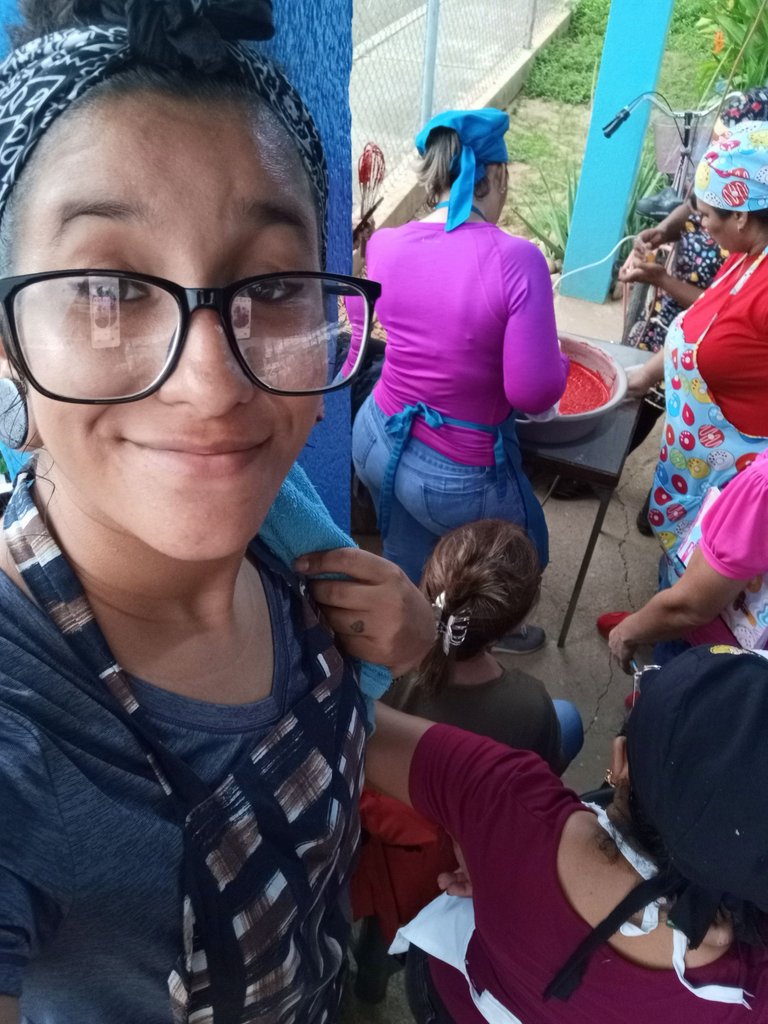
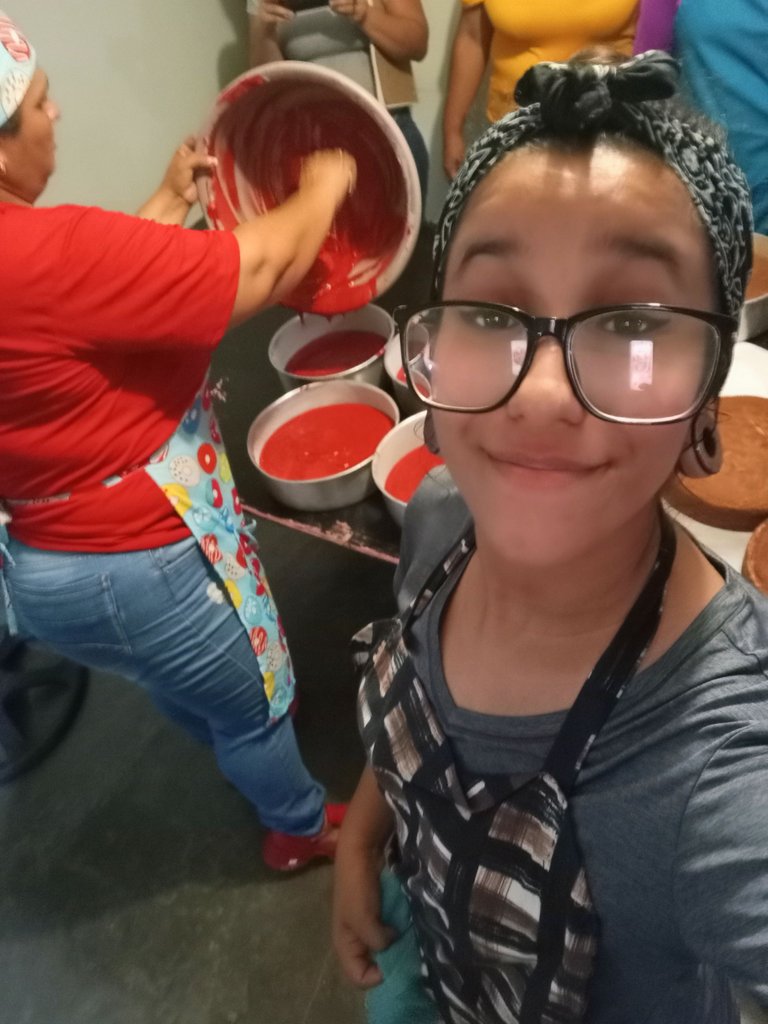
El poder documentar esta parte del proceso fue un poco complicado ya que habían muchas personas cerca de quien mezclaba y apenas pude captar ciertas cosas. El grupo de repostería no es fácil pero hago mi mayor esfuerzo. 😊
Add the other part of the milk and mix it with the red coloring.
Then we add all the flour all at once, we integrate with a hand mixer and then we reinforce with the electric mixer to avoid lumps.
On the other hand, beat the egg whites until stiff. Then we integrate them with enveloping movements to the mixture.
Being able to document this part of the process was a bit tricky as there were many people around the mixer and I could barely capture certain things. The pastry group is not easy but I do my best. 😊
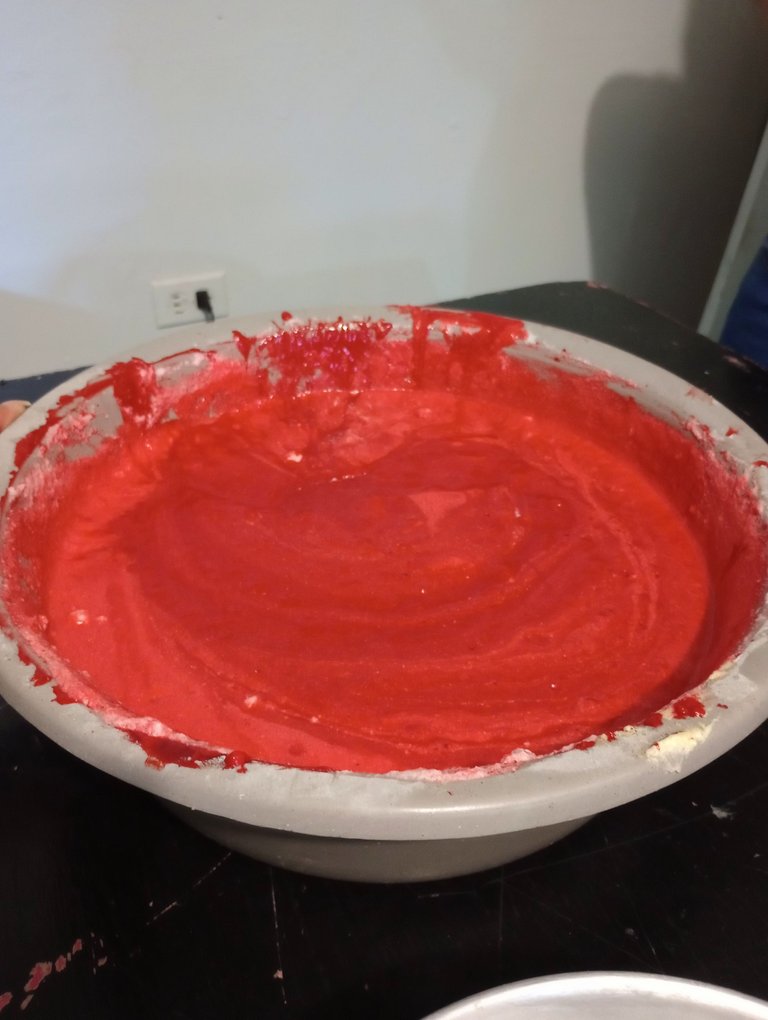
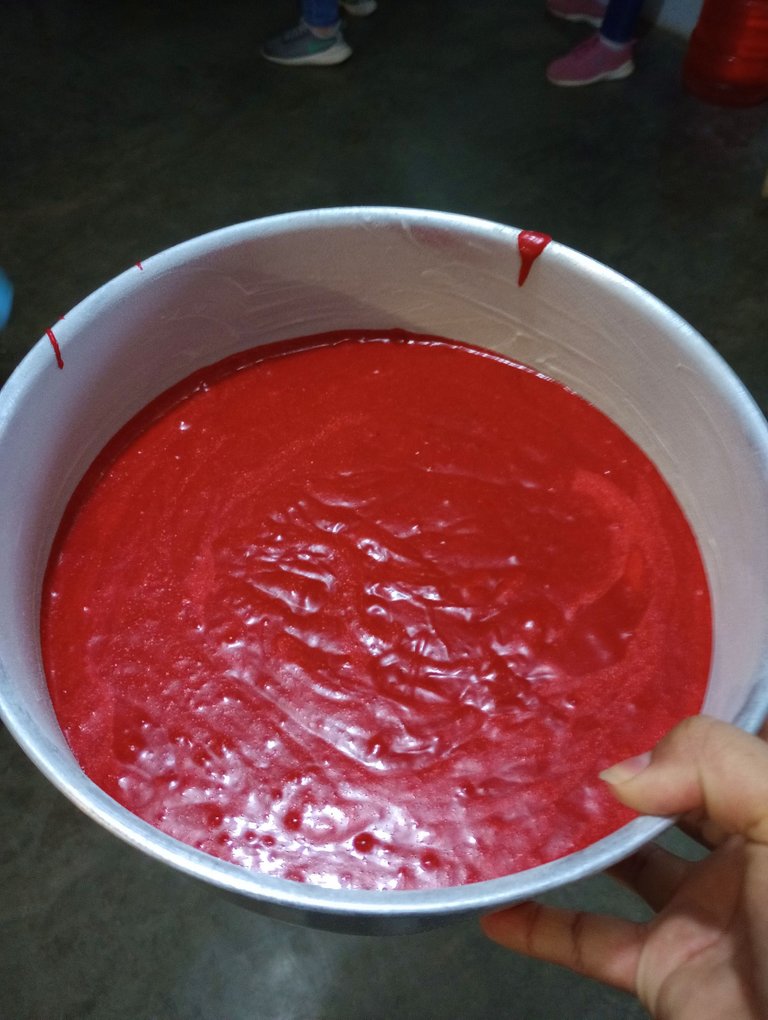
Una vez mezclado todo es momento de colocarlo en moldes.
En nuestro caso como hicimos 3 veces la receta nos tocó colocarlo en 4 moldes, los cuales engrasamos y enharinamos previamente.
La mezcla queda con rojo bien intenso. ♥
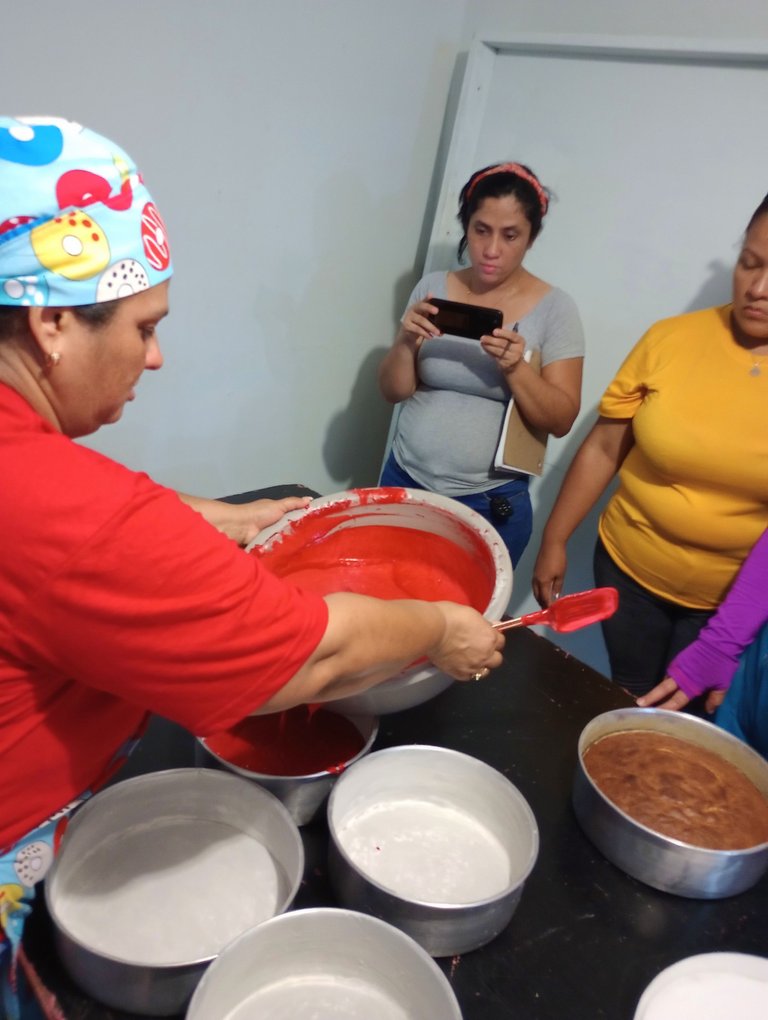
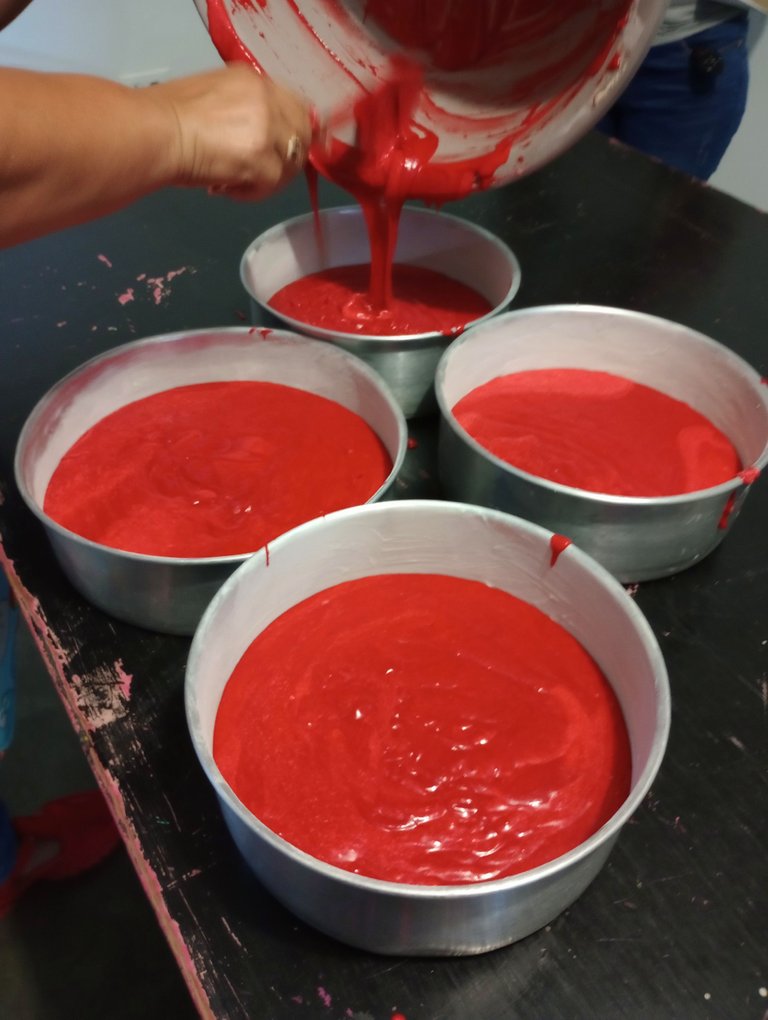
Once everything is mixed it is time to place it in molds.
In our case, as we made the recipe 3 times, we had to place it in 4 molds, which we previously greased and floured.
The mixture is a very intense red. ♥
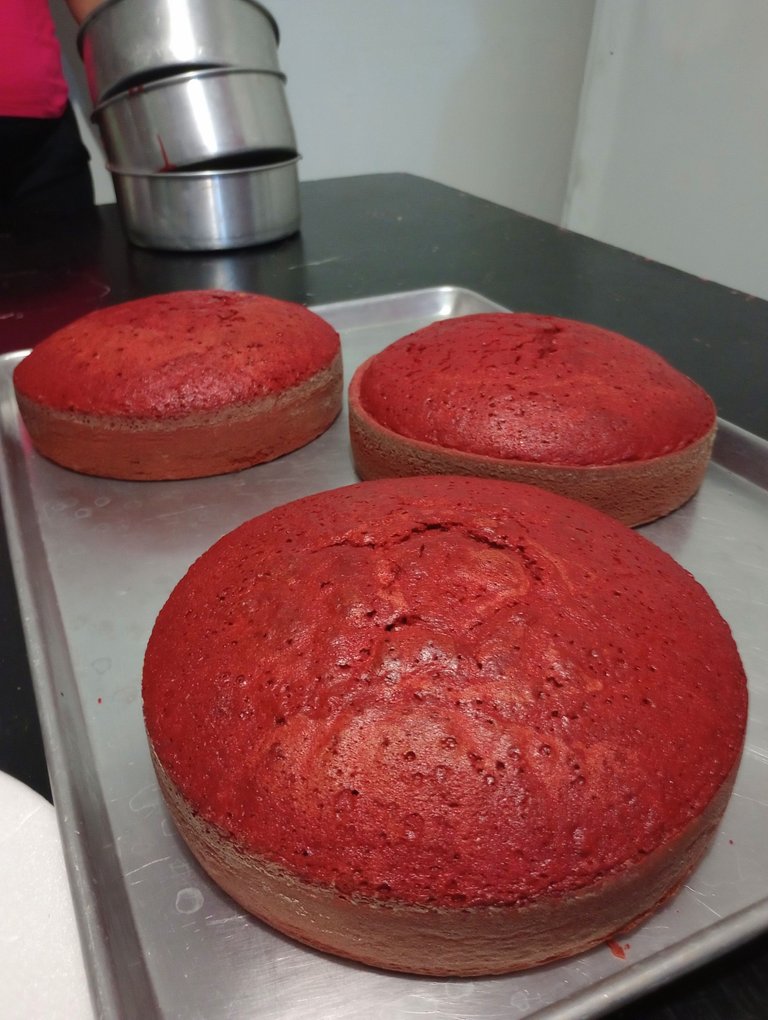
Las llevamos al horno por unos 45 minutos o hasta que al introducir un palillo este salga completamente limpio.
Dejamos reposar y luego desmoldamos para decorar.
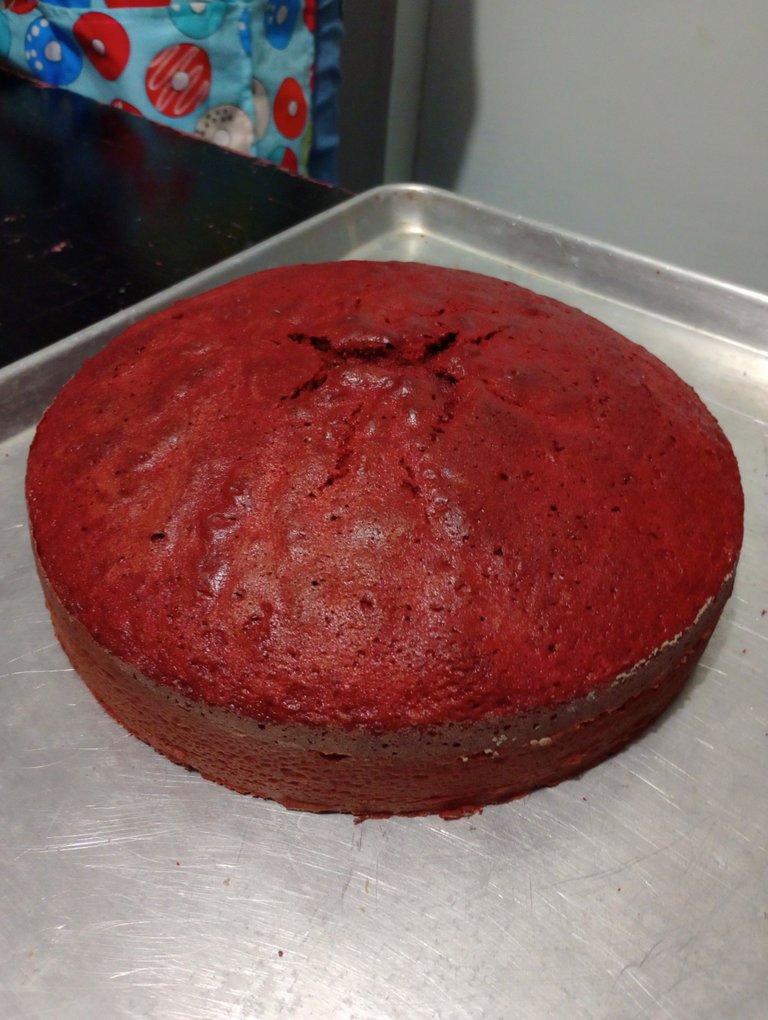
Bake in the oven for about 45 minutes or until a toothpick comes out completely clean.
Let stand and then unmold to decorate.
Para el frosting lo que debemos hacer es mezclar el queso crema junto a la margarina y una vez este bien cremoso vamos a comenzar a agregar la azúcar pulverizada.
Es importante contar con una batidora de buena potencia porque se hace una mezcla bien pesada.
Vamos a ir integrando con ayuda de una paleta todo lo que vaya quedando sin mezclar en los bordes del bowl.
Y finalmente agregamos la esencia.
For the frosting what we must do is mix the cream cheese with the margarine and once it is very creamy we will start adding the powdered sugar.
It is important to have a high-powered mixer because it makes a very heavy mixture.
We are going to integrate with the help of a paddle all that remains unmixed at the edges of the bowl.
And finally add the essence.
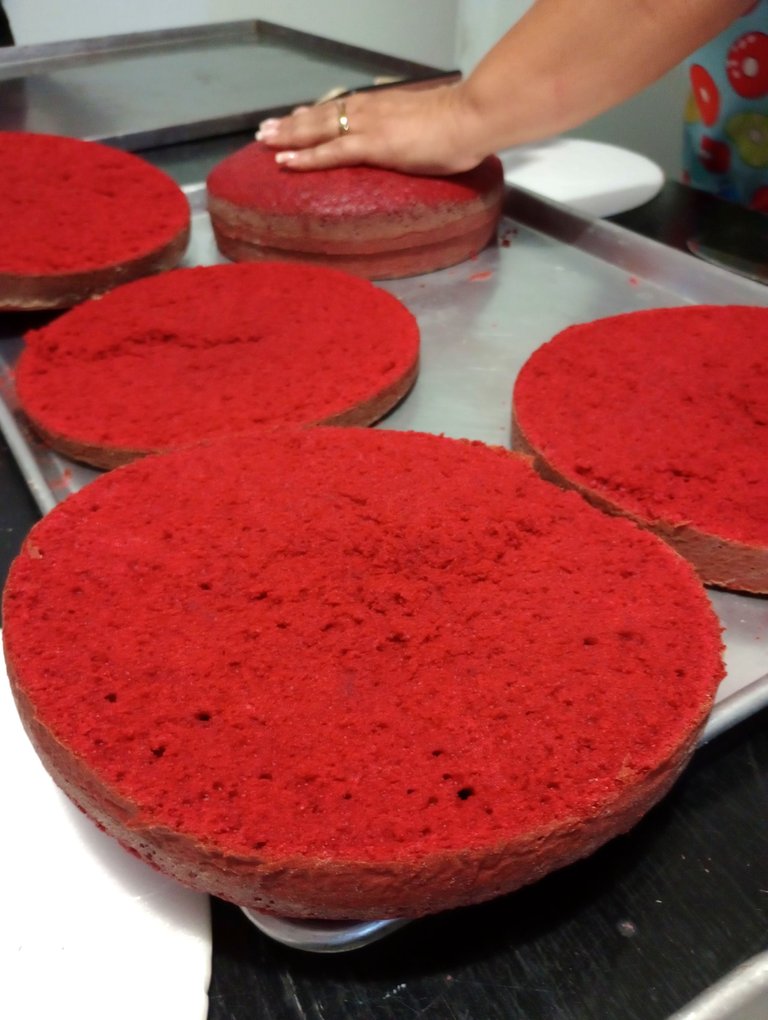

Ahora a rellenar y decorar. ♥
Los pasteles los cortamos a la mitad, luego colocamos una capa del frosting en el centro, colocamos la otra tapa del pastel y cubrimos con el frosting toda la superficie del pastel.
Luego decoramos con un poco de las migas del pastel, que podemos obtenerlas al cortarlo a la mitad o también de la "barriguita" que se le hace en la parte superior al hornearse.
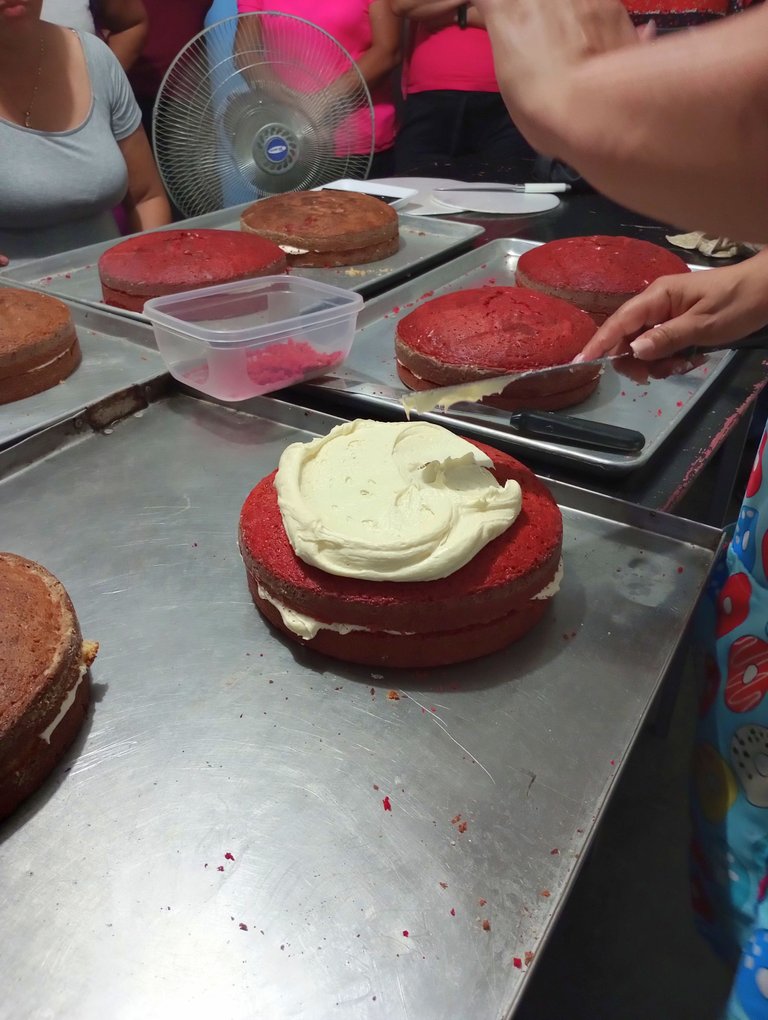
Now to fill and decorate. ♥
We cut the cakes in half, then place a layer of frosting in the center, place the other cake top and cover with frosting the entire surface of the cake.
Then decorate with some of the cake crumbs, which can be obtained by cutting the cake in half or also from the "belly" that is made on the top of the cake when it is baked.
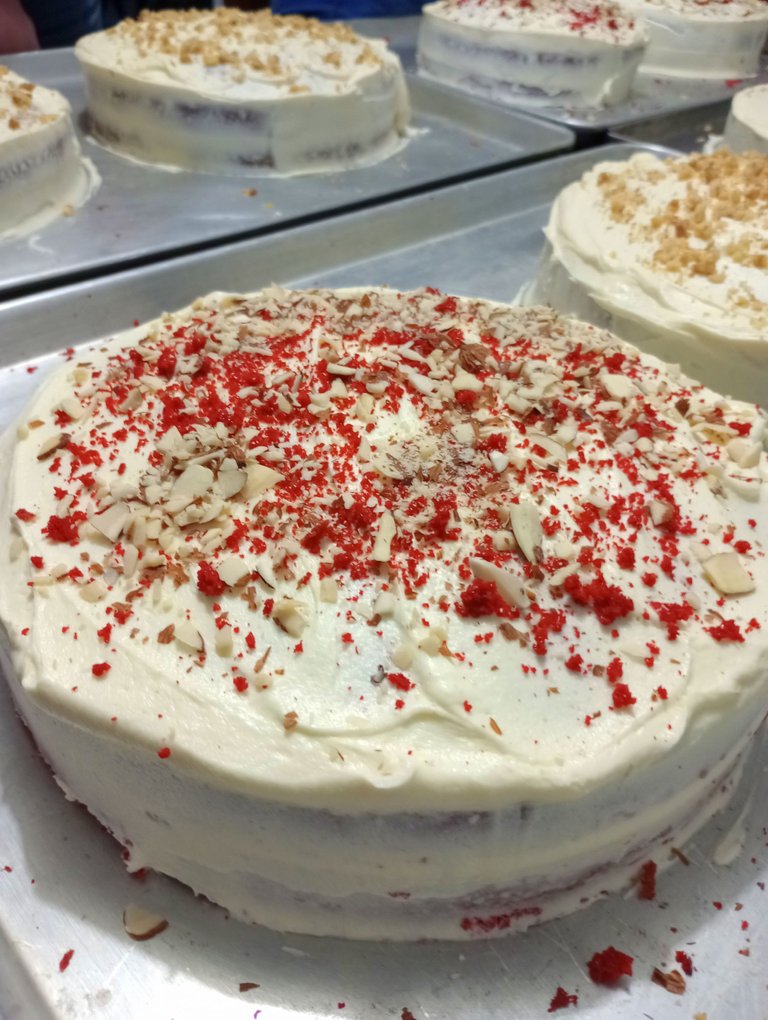
Y así quedo el pastel de Red Velvet, con un sabor dulce y en el que se siente ligeramente el cacao. Y en combinación con el frosting quedó espectacular. ♥
Espero les haya gustado la receta y les sirva de inspiración para sus próximas preparaciones. 😊
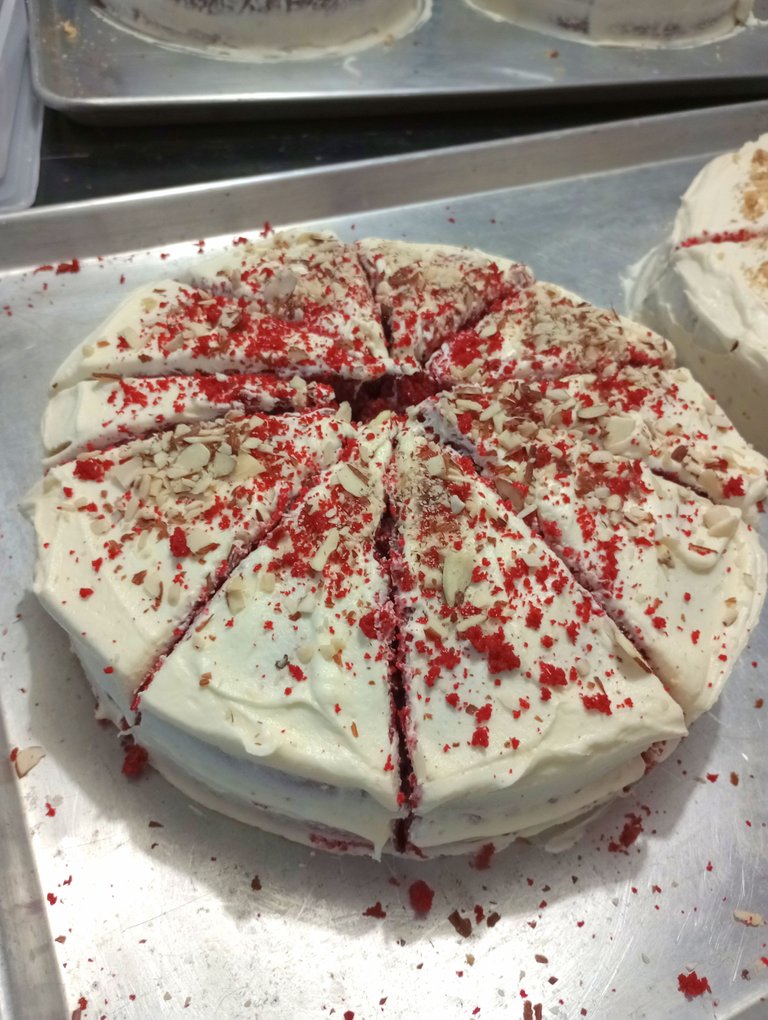
And this is how the Red Velvet cake turned out, with a sweet flavor and a slight cocoa flavor. And in combination with the frosting it was spectacular. ♥
I hope you liked the recipe and it will serve as inspiration for your next preparations. 😊


Espero haya sido de tu agrado y provecho.
Un gran abrazo a todos, y nos leemos en un próximo post
• Lakrearte en Hive •
Att: Estefania Garcia ♥

Imágenes y separadores de mi autoría
Portada editada en Canva
Fotografías tomadas con un Moto G31
Texto traducido en Google ImTranslate v.14.27
¡Felicidades! Esta publicación obtuvo upvote y fue compartido por @la-colmena, un proyecto de Curación Manual para la comunidad hispana de Hive que cuenta con el respaldo de @curie.
Si te gusta el trabajo que hacemos, te invitamos a darle tu voto a este comentario y a votar como testigo por La Colmena.
Si quieres saber más sobre nuestro proyecto, te invitamos a acompañarnos en nuestro servidor de Discord.
Muchas gracias por el apoyo a mi post ♥
Wow, the texture of those red velvet cup cakes looks absolutely PERFECT !! Really nicely laid out post.... how on earth did you get the small video inlays?
hahaha they are not videos my friend, they are gifs. Try to upload one to the page and you will see that it is possible as long as it is not too heavy. Maximum 15 mb to load correctly. Cheers and I'm glad you liked the cake ♥
Thanks for the tip..... I shall try it indeed!!
Me vine a curiosar: el Red Velvet se ve buenisismo. Me encantó ayer la se zanahorias. Esta se ve tan buena. :)
Sii esta y la de zanahoria no tienen comparacion. Saludos amigo!
Join the foodie fun! We've given you a FOODIE boost. Come check it out at @foodiesunite for the latest community updates. Spread your gastronomic delights on and claim your tokens.
Thanks for you support ♥
Que divino se ve el Red Velvet😍 tengo mucho tiempo que no como uno, espero pronto poenr en práctica esta receta. Te felicito, se ve espectacular😋
Esta es riquisima y espero puedas intentarla amiga. saludos ♥