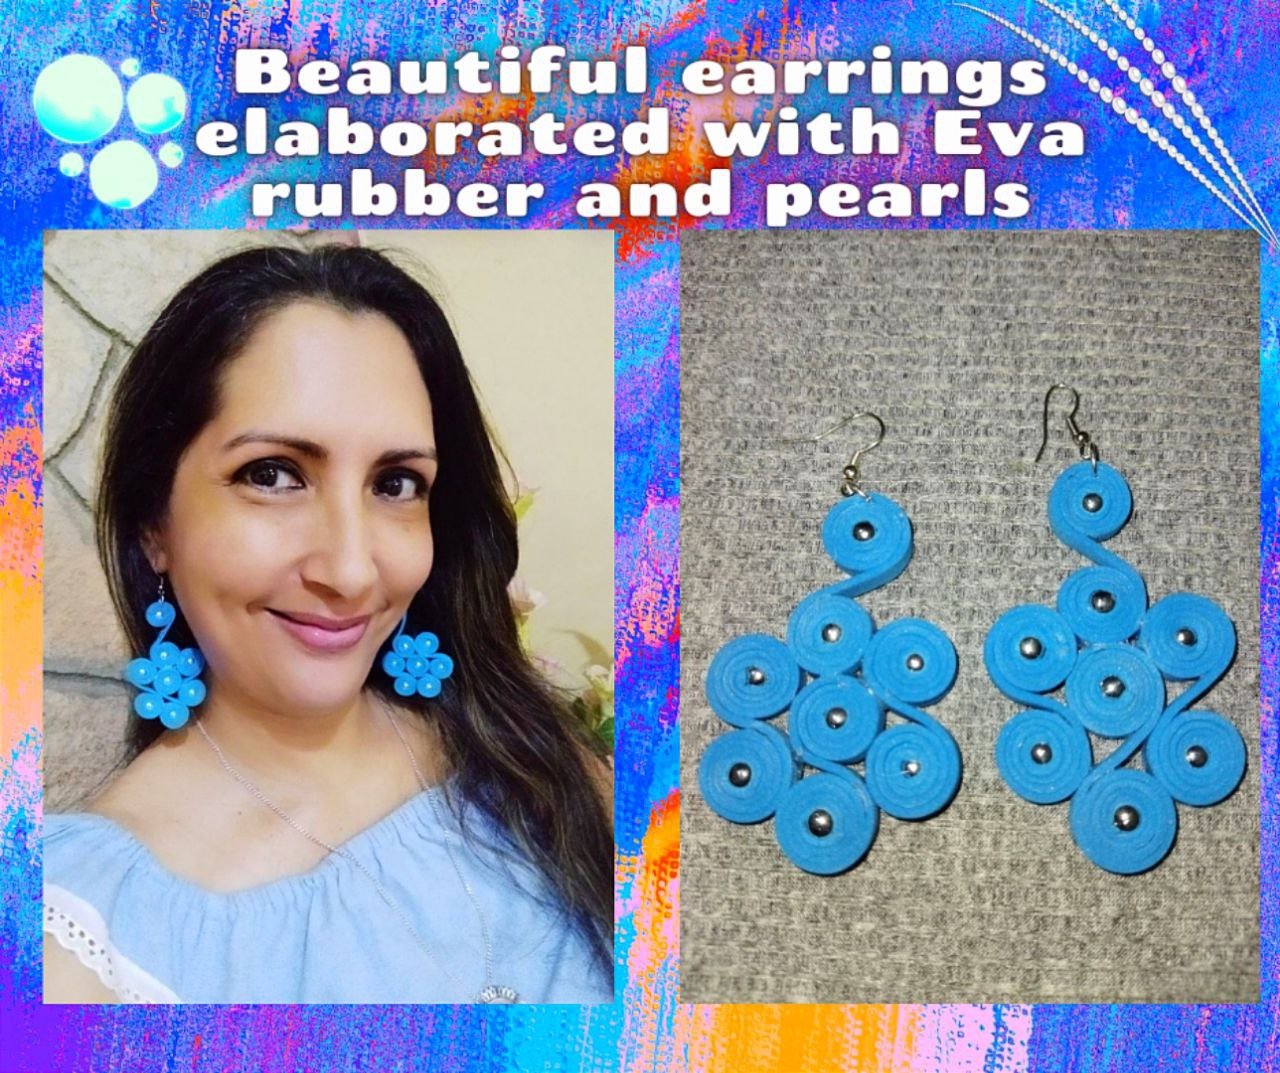
Beautiful earrings made with eva rubber and silver colored pearls [ESP|ENG]

Un saludo mi querida comunidad @Jewelry feliz día 💙 no se si lo han notado pero el azul es uno de mis colores favoritos al momento de elegir un accesorio o prenda. Estos hermosos pendientes elaborados con goma eva y perlas color plata me gustaron muchísimo como lucen se ven muy delicados y elegantes, aunque primera vez que utilizo este material para elaborar prendas pero les puedo decir que es muy resistente y ademas de ser super liviano ideal para elaborar zarcillos grandes se sienten demasiado cómodos. El proceso es muy fácil y tienes la opción de usar el color de goma eva que quieras o que mas te guste ya que viene en una gran variedad de colores incluso combinar también con la cuenta en otro color. Ahora materiales en manos que comenzamos con nuestro paso a paso
Greetings my dear community @Jewelry happy day 💙 I don't know if you have noticed but blue is one of my favorite colors when choosing an accessory or garment. These beautiful earrings made with eva rubber and silver colored pearls I really liked how they look very delicate and elegant, although first time I use this material to make garments but I can tell you that it is very resistant and besides being super light ideal for making large tendrils feel too comfortable. The process is very easy and you have the option to use the color of eva rubber you want or that you like because it comes in a variety of colors and even combine also with the bead in another color. Now materials in hands we start with our step by step

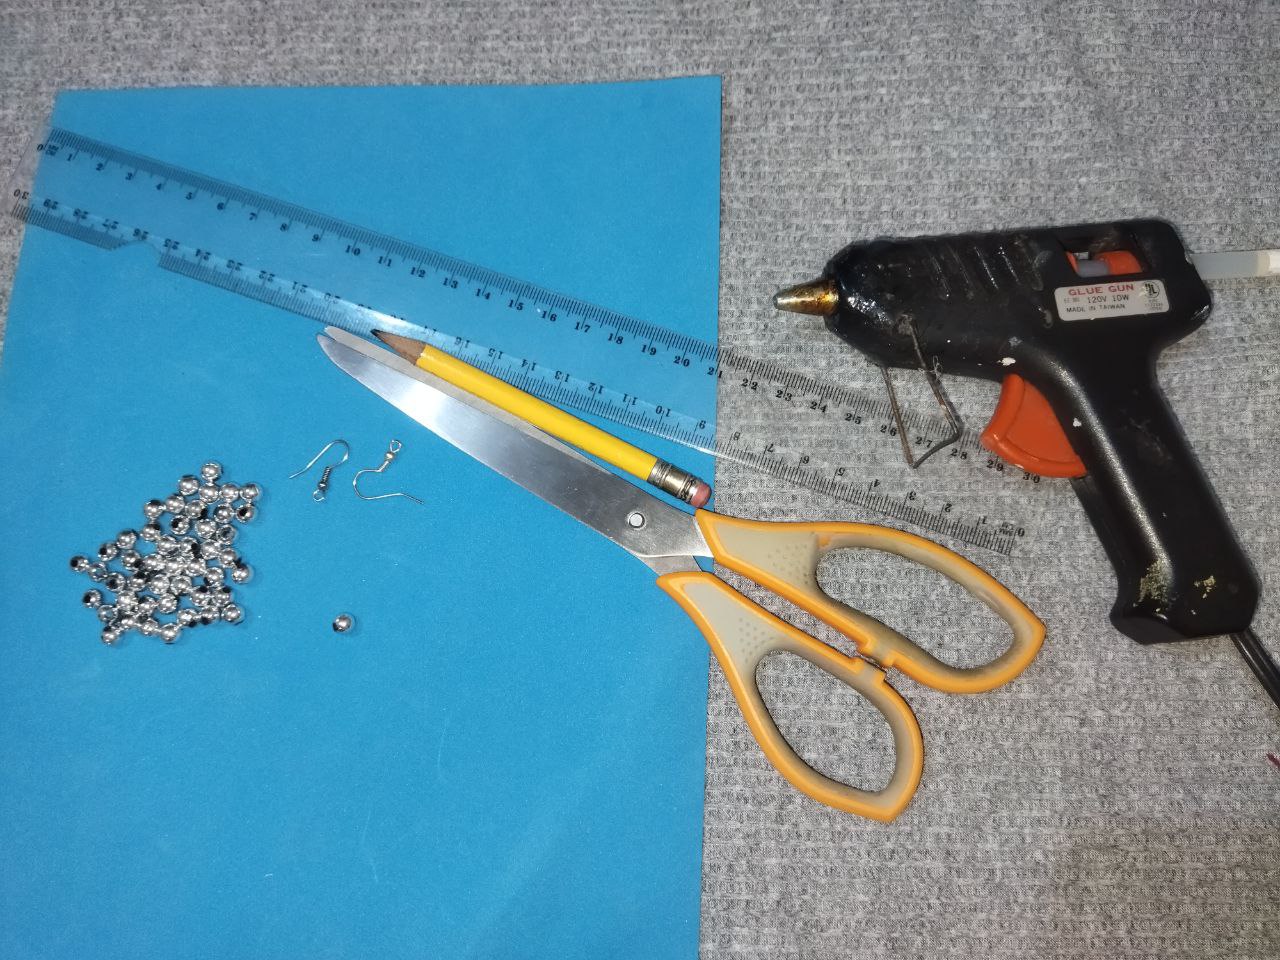
- Goma Eva azul
- Perlas color plata
- Silicona caliente
- Anzuelos para zarcillos
- Tijera
- Lápiz
- Blue Eva rubber
- Silver beads
- Hot silicone
- Hooks for tendrils
- Scissors
- Pencil
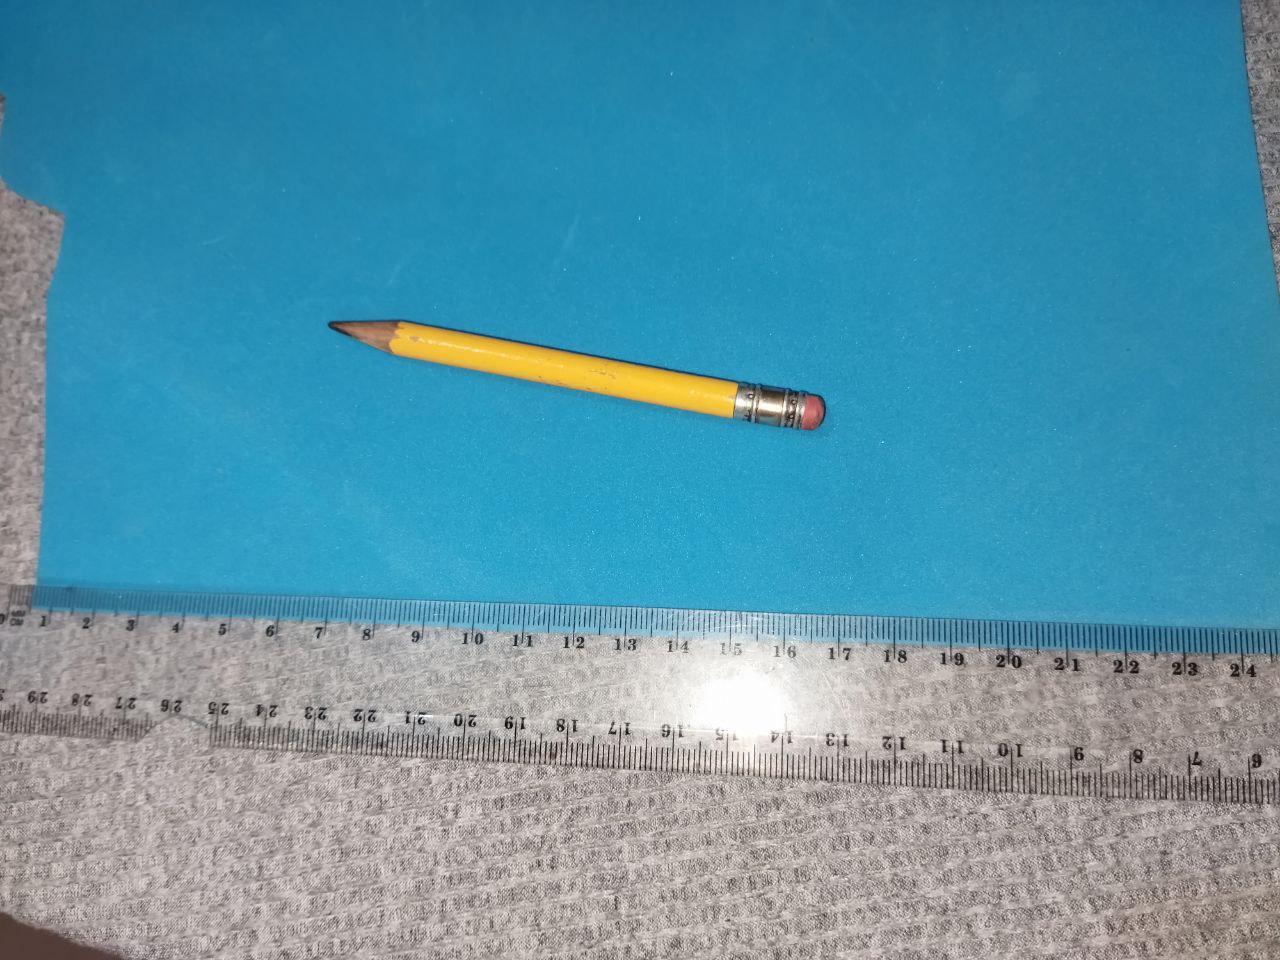
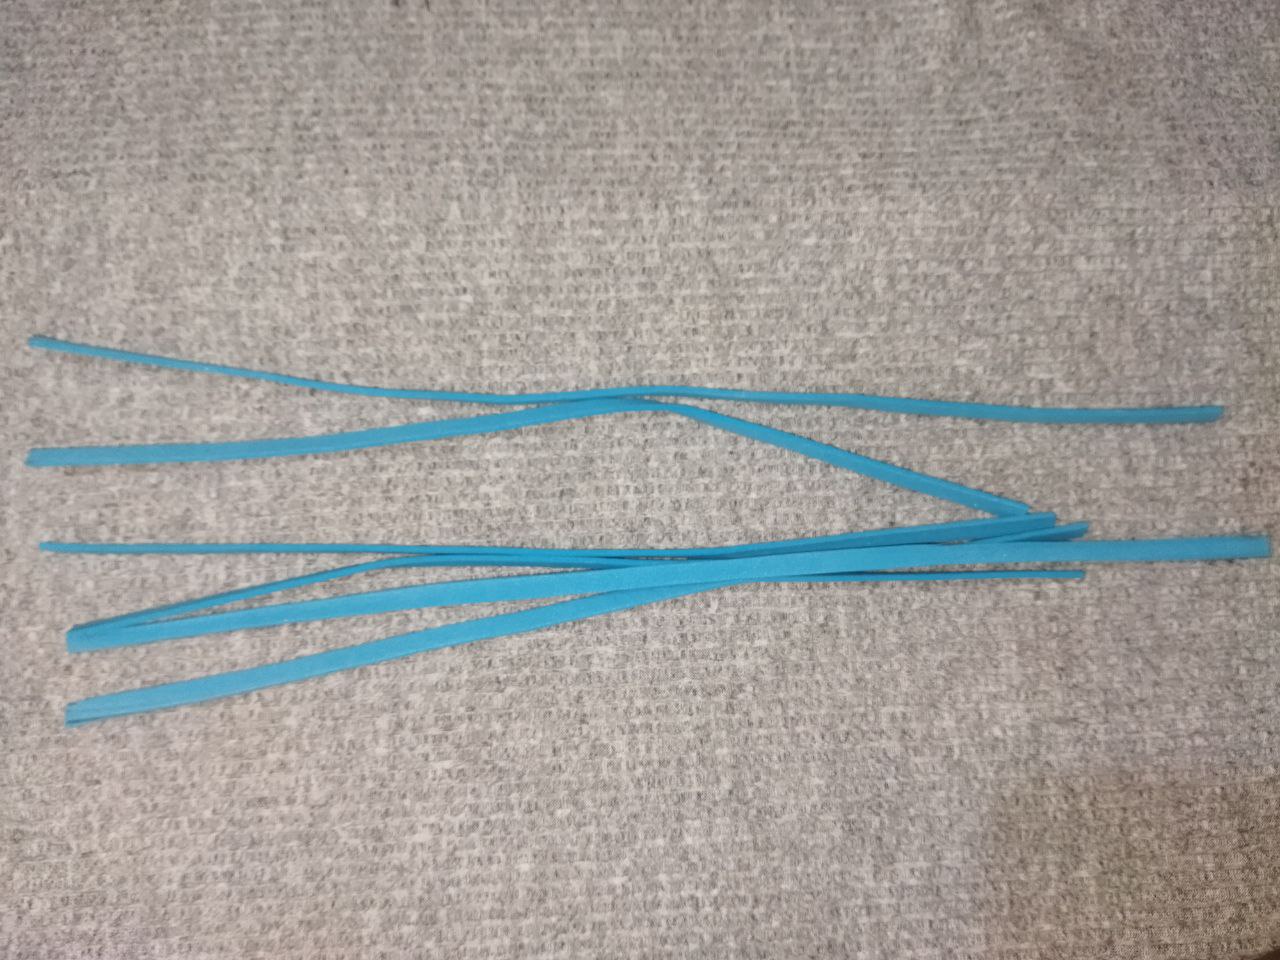
Vamos a comenzar con la elaboración de estos hermosos zarcillos y para esto lo primero que tenemos que hacer con la ayuda de una regla es marcar con un lápiz unas tiras de 1/2 centímetro de ancho y 25 de largo y seguidamente las recortamos para cada zarcillo vamos a necesitar 4 tiras entonces realizaremos un total de 8 tiras para el par
Let's start with the elaboration of these beautiful tendrils and for this the first thing we have to do with the help of a ruler is to mark with a pencil some strips of 1/2 centimeter wide and 25 long and then cut them for each tendril we will need 4 strips then we will make a total of 8 strips for the pair.
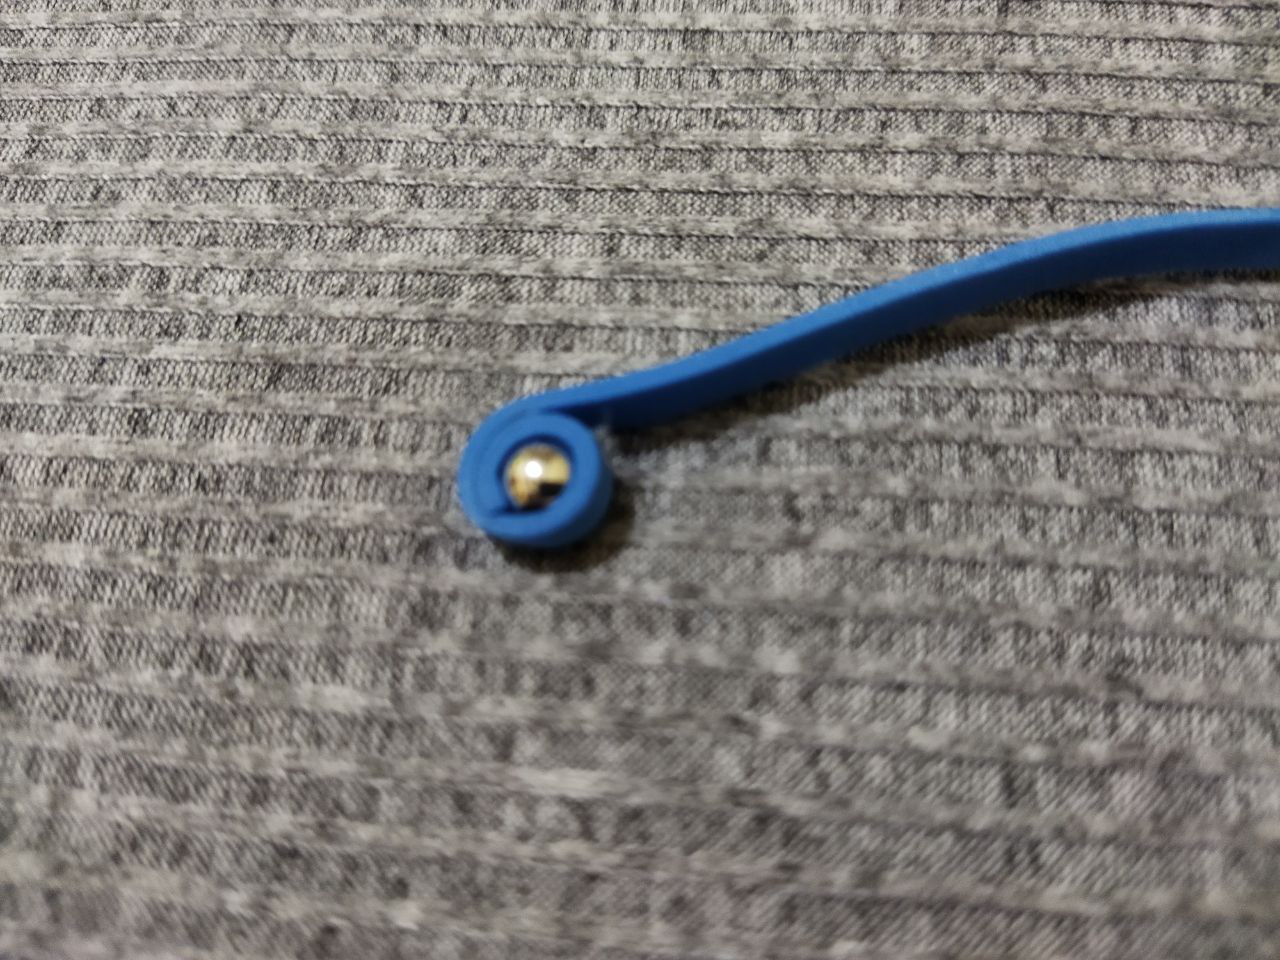
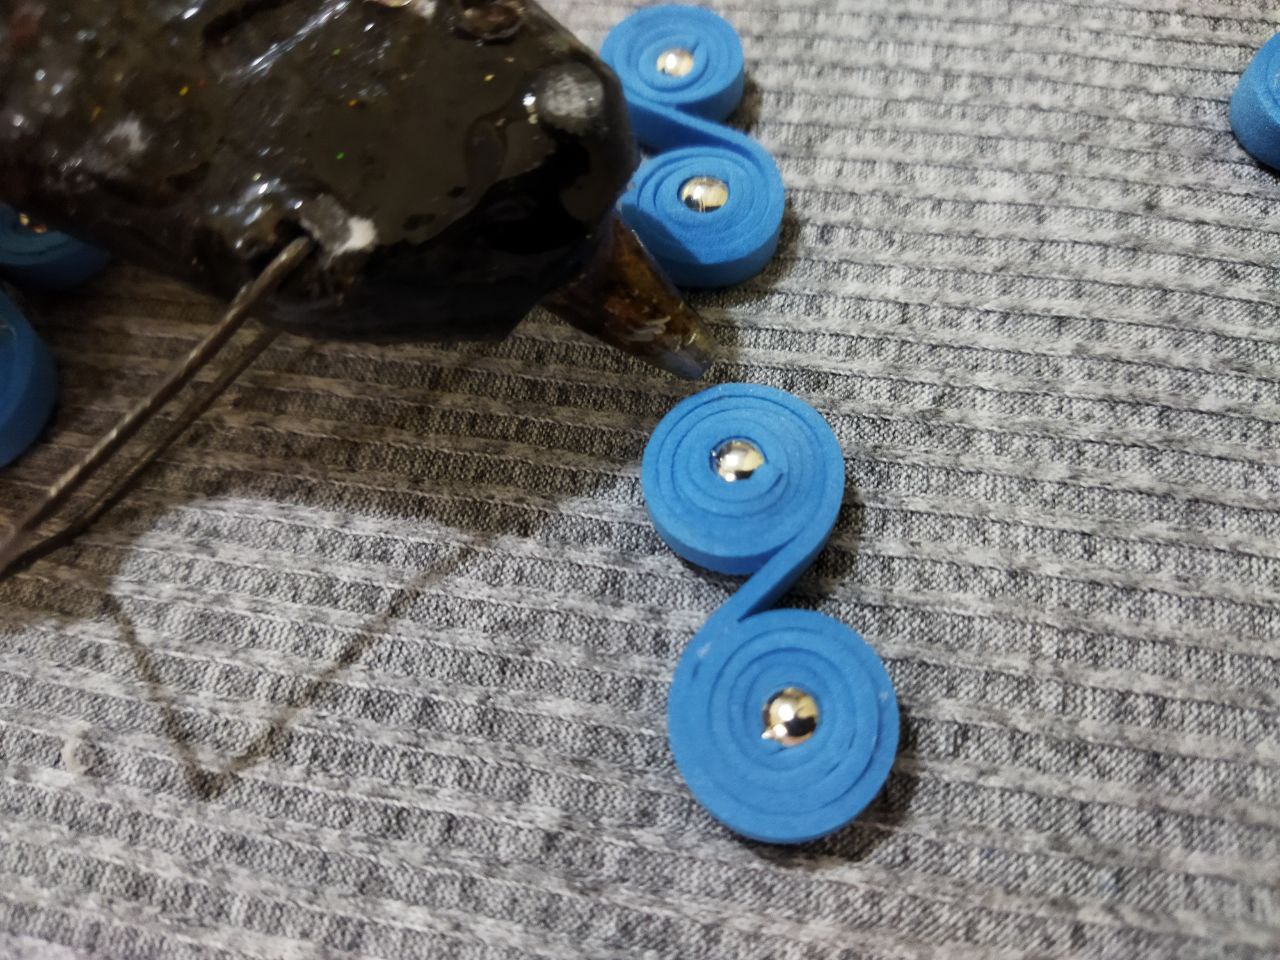
Después de tener todas las tiras completas procedemos armar las cuatro piezas para cada zarcillo, aplicamos un poco de silicona caliente o fría en uno de los extremos de la tira y colocamos la perla, tratando que los huecos de la cuenta queden a los lados para ocultarlas cuando enrollemos. Comenzamos a envolver la perla con la tira de goma eva le damos aproximadamente 5 vueltas, ahora en el otro extremo de la tira vamos a realizar el mismo procedimiento pero envolvemos del lado contrario es decir uno hacia la izquierda y otro hacia la derecha.
After having all the strips complete we proceed to assemble the four pieces for each tendril, we apply a little hot or cold silicone on one end of the strip and place the pearl, trying that the holes of the bead are on the sides to hide them when we roll. We begin to wrap the bead with the eva rubber strip, we give it approximately 5 turns, now in the other end of the strip we are going to make the same procedure but we wrap the opposite side, that is to say, one to the left and the other to the right.

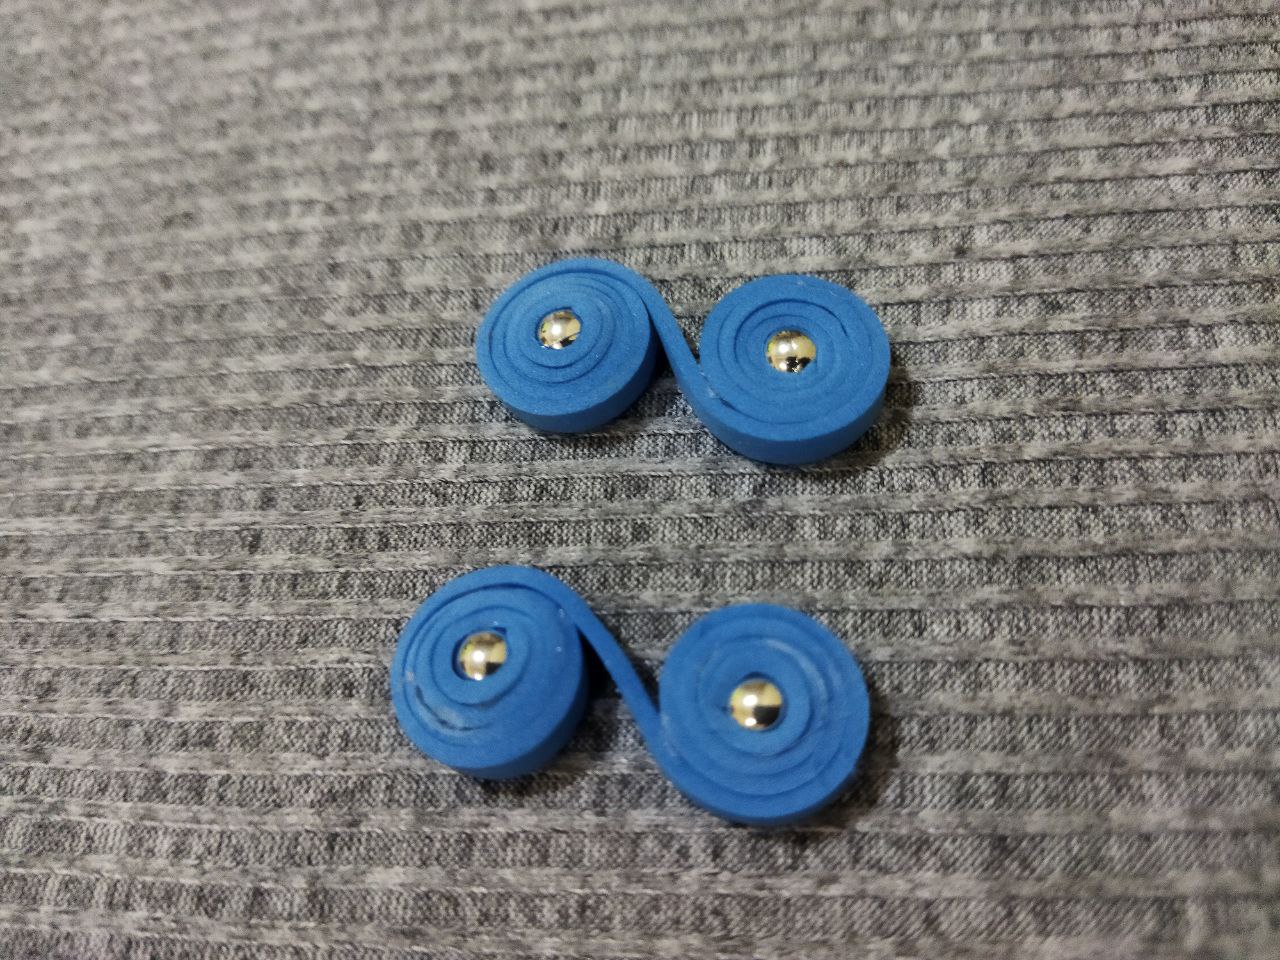
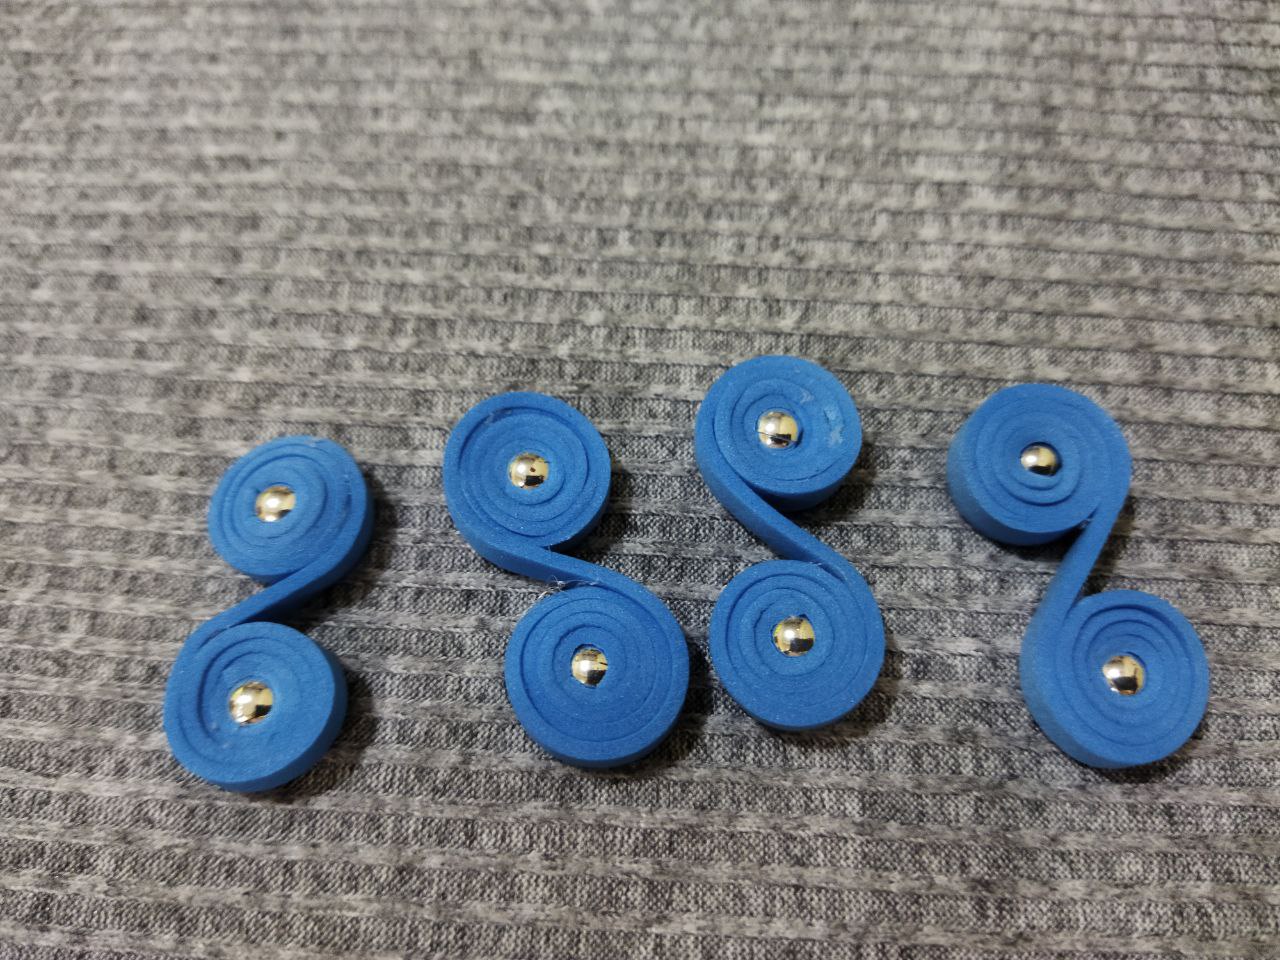
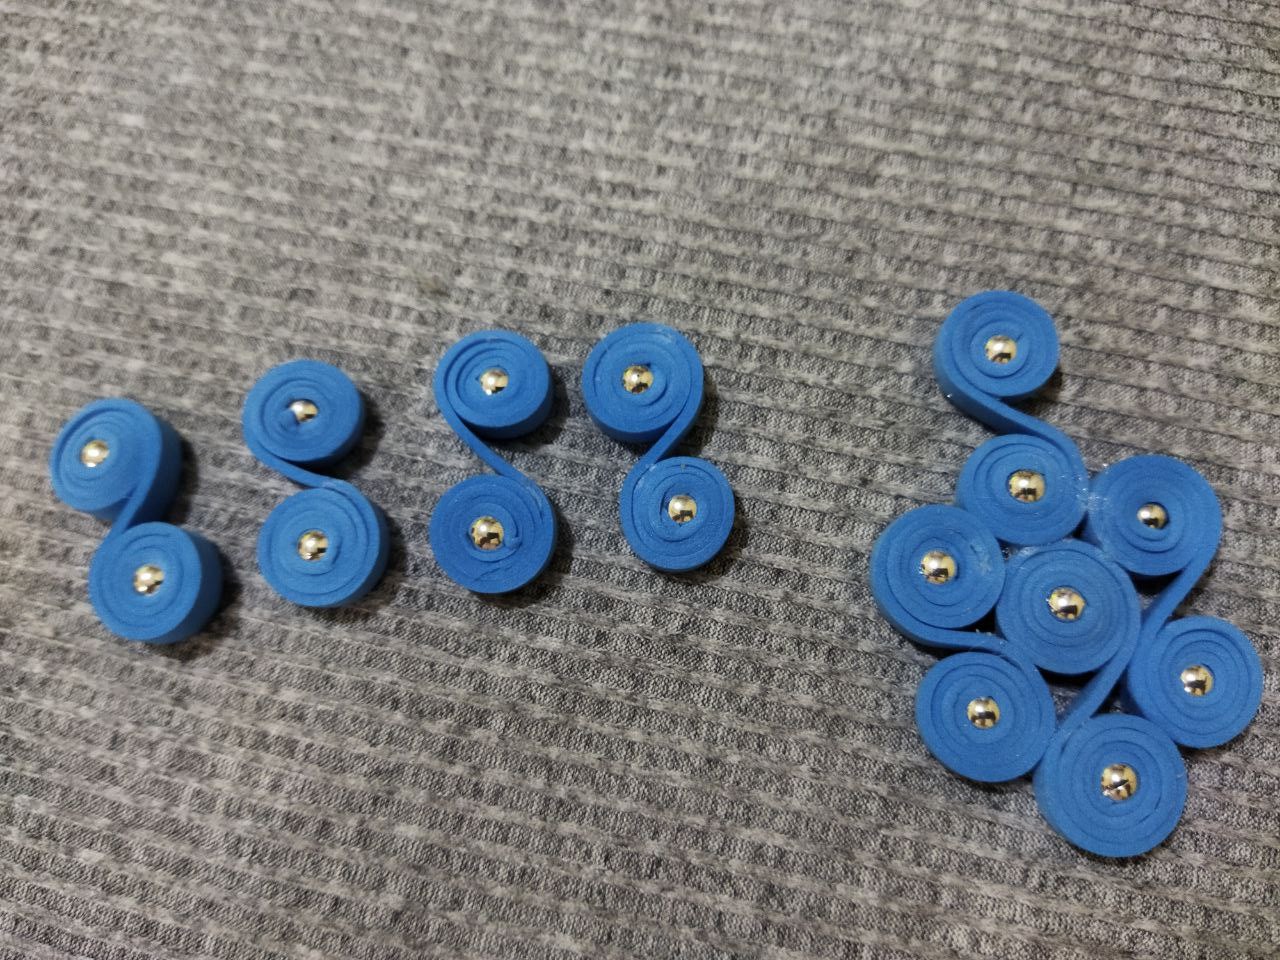
Cuando enrollemos ambos lados debemos dejar un pequeño marguen o espacio que separe cada circulo, la figura parece una S, y como le comente son cuatro para armar cada zarcillo
When we roll up both sides we must leave a small margin or space that separates each circle, the figure looks like an S, and as I said there are four to assemble each tendril.
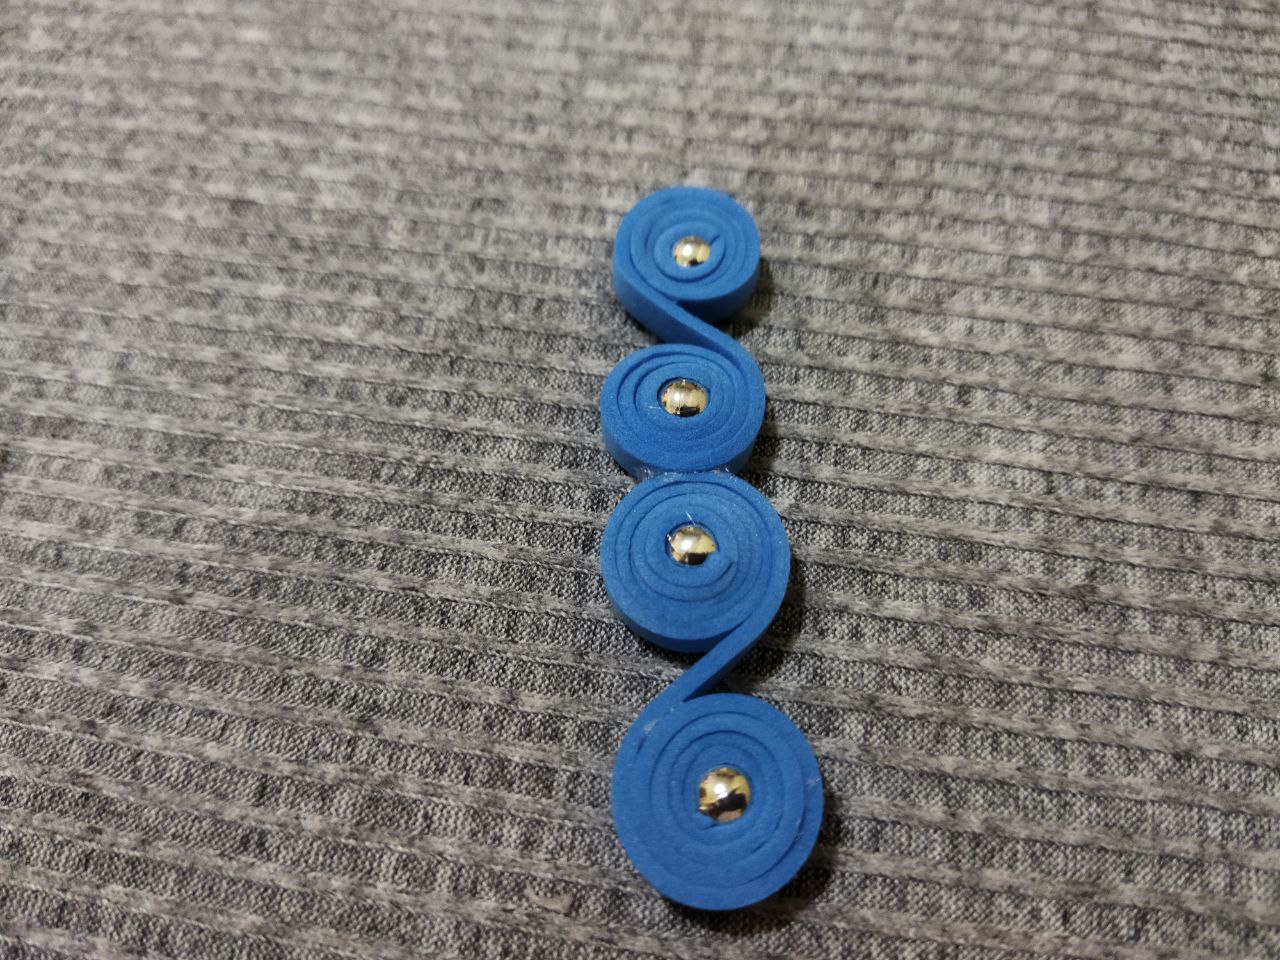
Para armar el zarcillo lo primero que vamos hacer es pegar con silicona una figura debajo de otra siguiendo la secuencia del enrollado o en sentido contrario. si la primera esta enrollada hacia el lado derecho la otra se debe colocar hacia el izquierdo y se unen en forma vertical
To assemble the tendril, the first thing we are going to do is to glue with silicone one figure under the other following the sequence of rolling or in the opposite direction. If the first one is rolled to the right side, the other one should be placed to the left and they should be joined vertically.
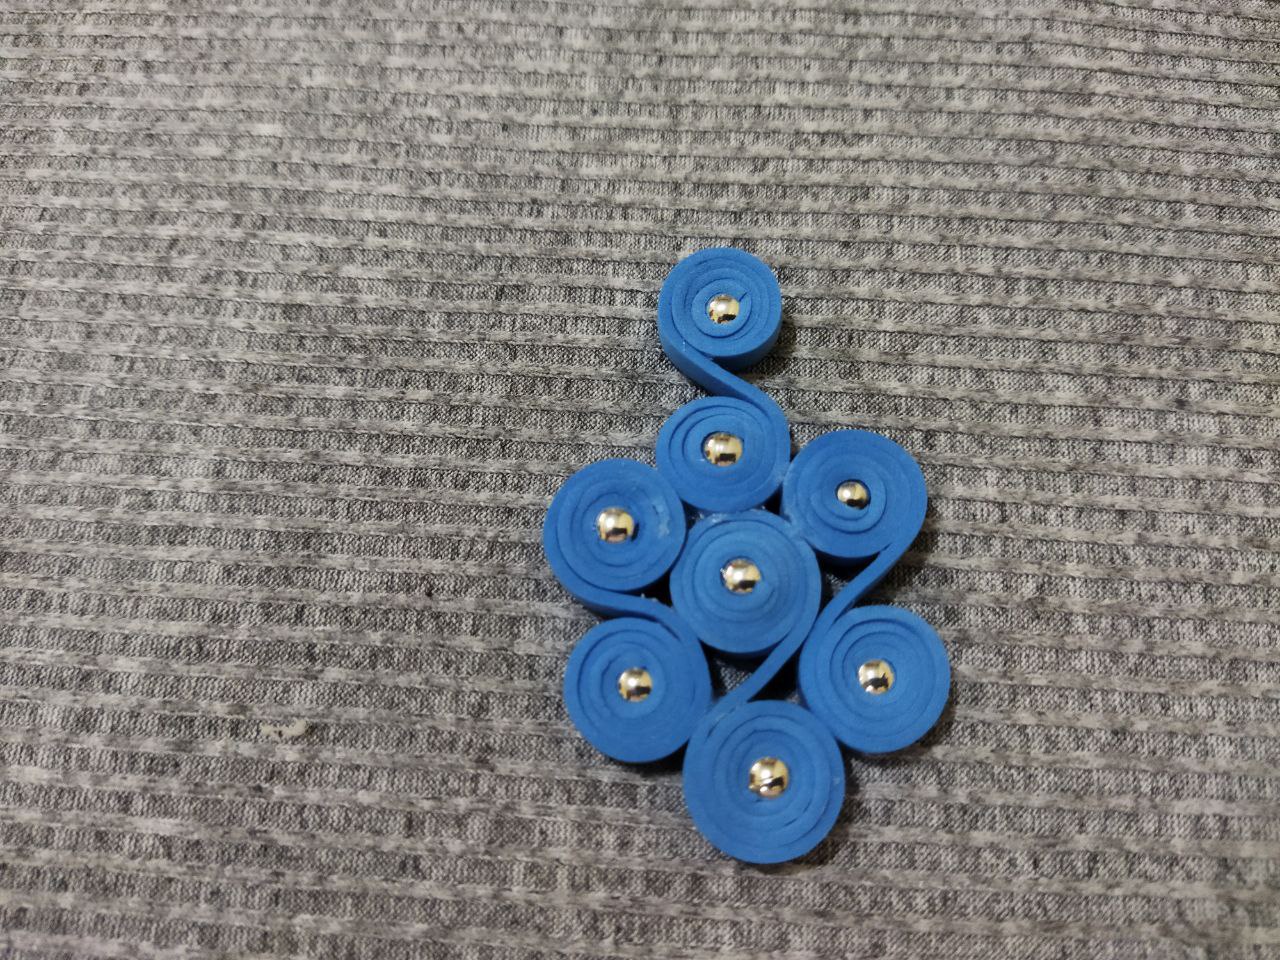
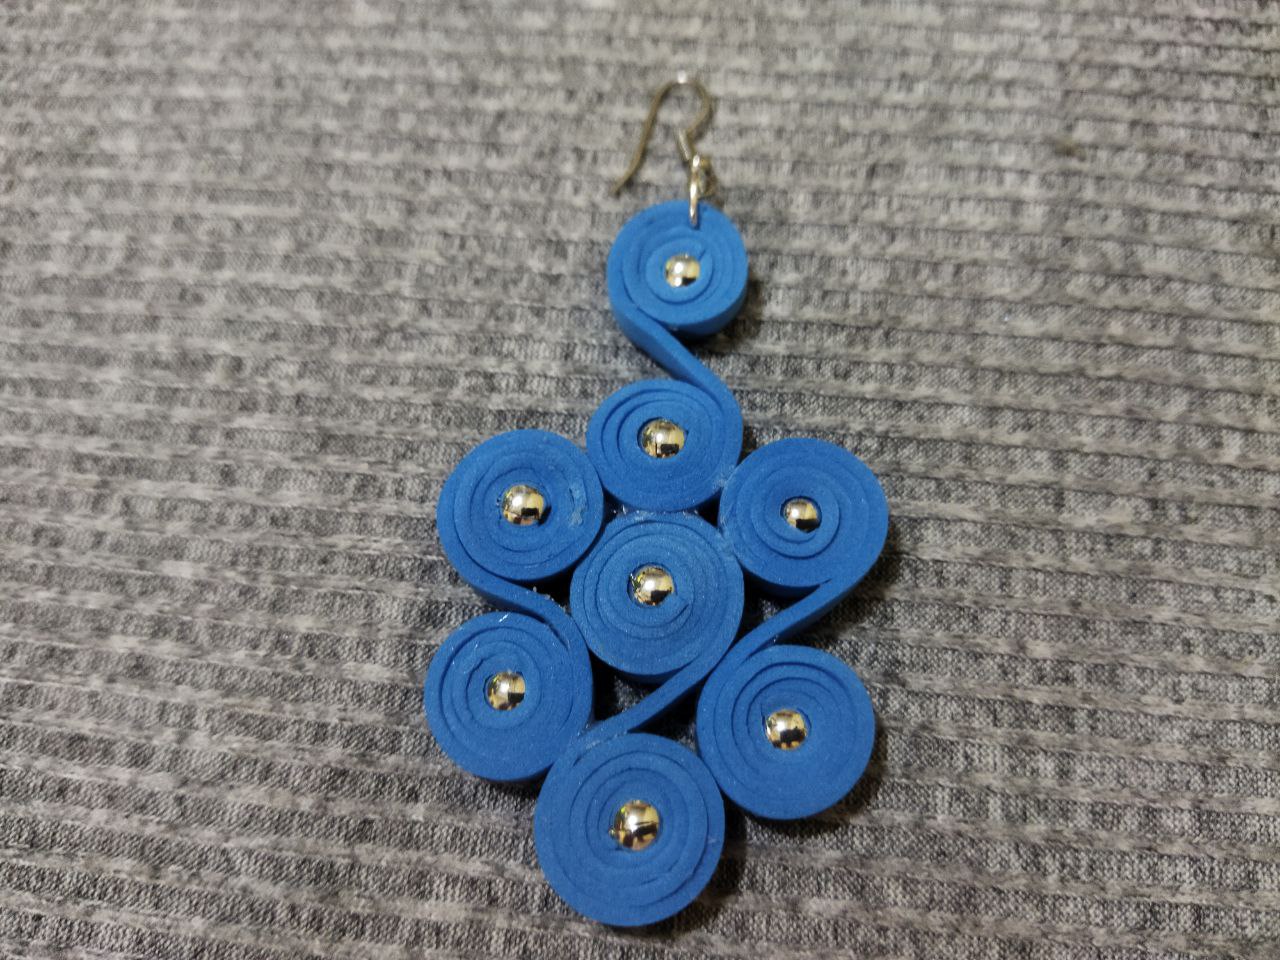
Las dos piezas restantes las vamos a pegar en cada lado como se muestra en la imagen. Un circulo debe quedar libre y nos ubicamos en el segundo que es la unión de las dos piezas anteriores y pegamos una de cada lado y la figura que se forma tiene parecido a una flor. La única recomendación es que al utilizar el silicon debemos tratar de aplicar lo necesario para que el acabado sea el deseado y no se vean los sobrante de pegamento ya que afean lo delicado de la prenda
The two remaining pieces will be glued on each side as shown in the image. One circle should be left free and we place ourselves in the second one which is the union of the two previous pieces and we glue one on each side and the figure that is formed resembles a flower. The only recommendation is that when using the silicone we must try to apply the necessary so that the finish is as desired and do not see the leftover glue as they affect the delicacy of the garment.
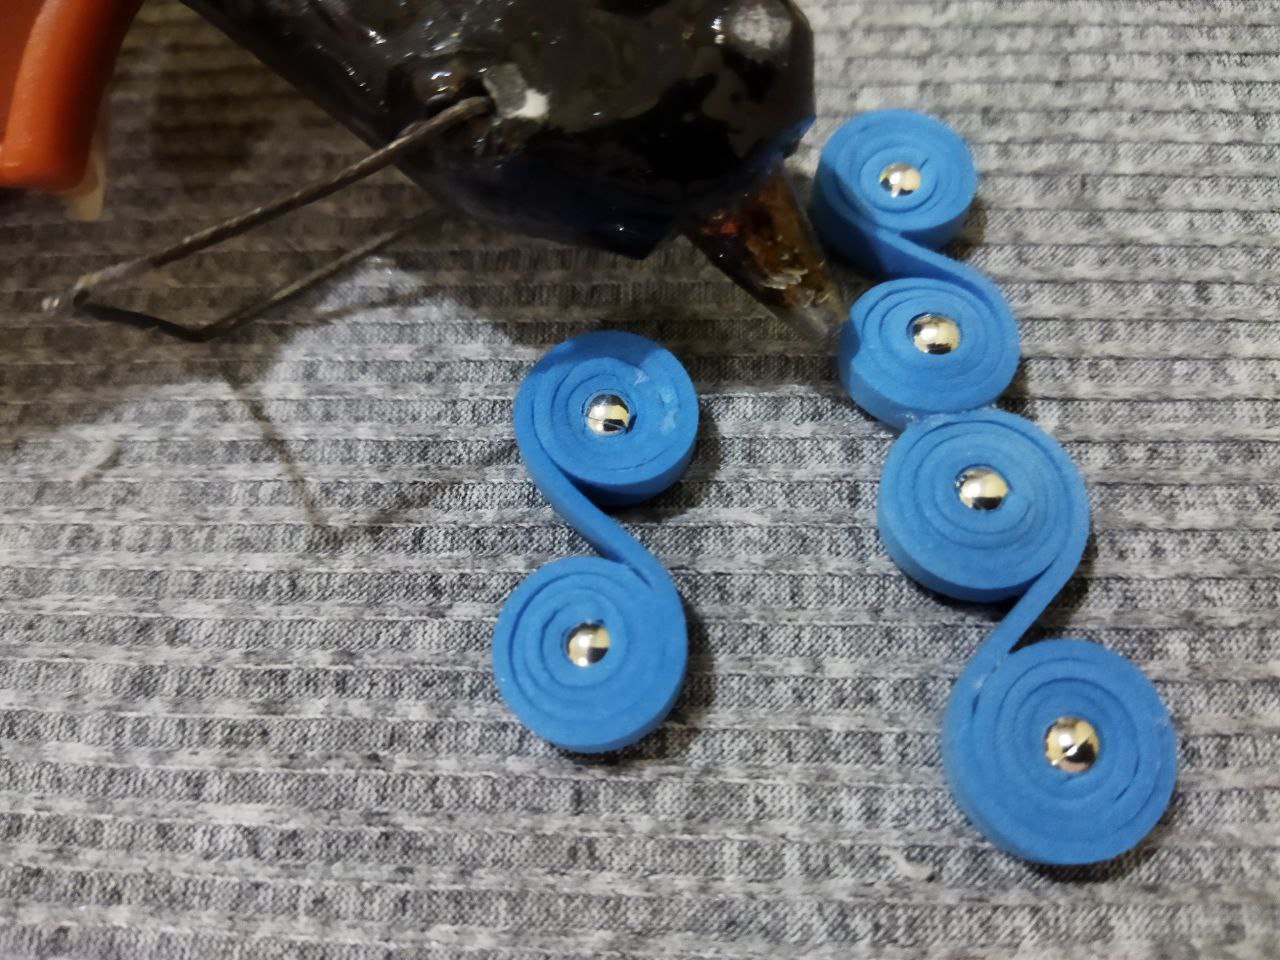
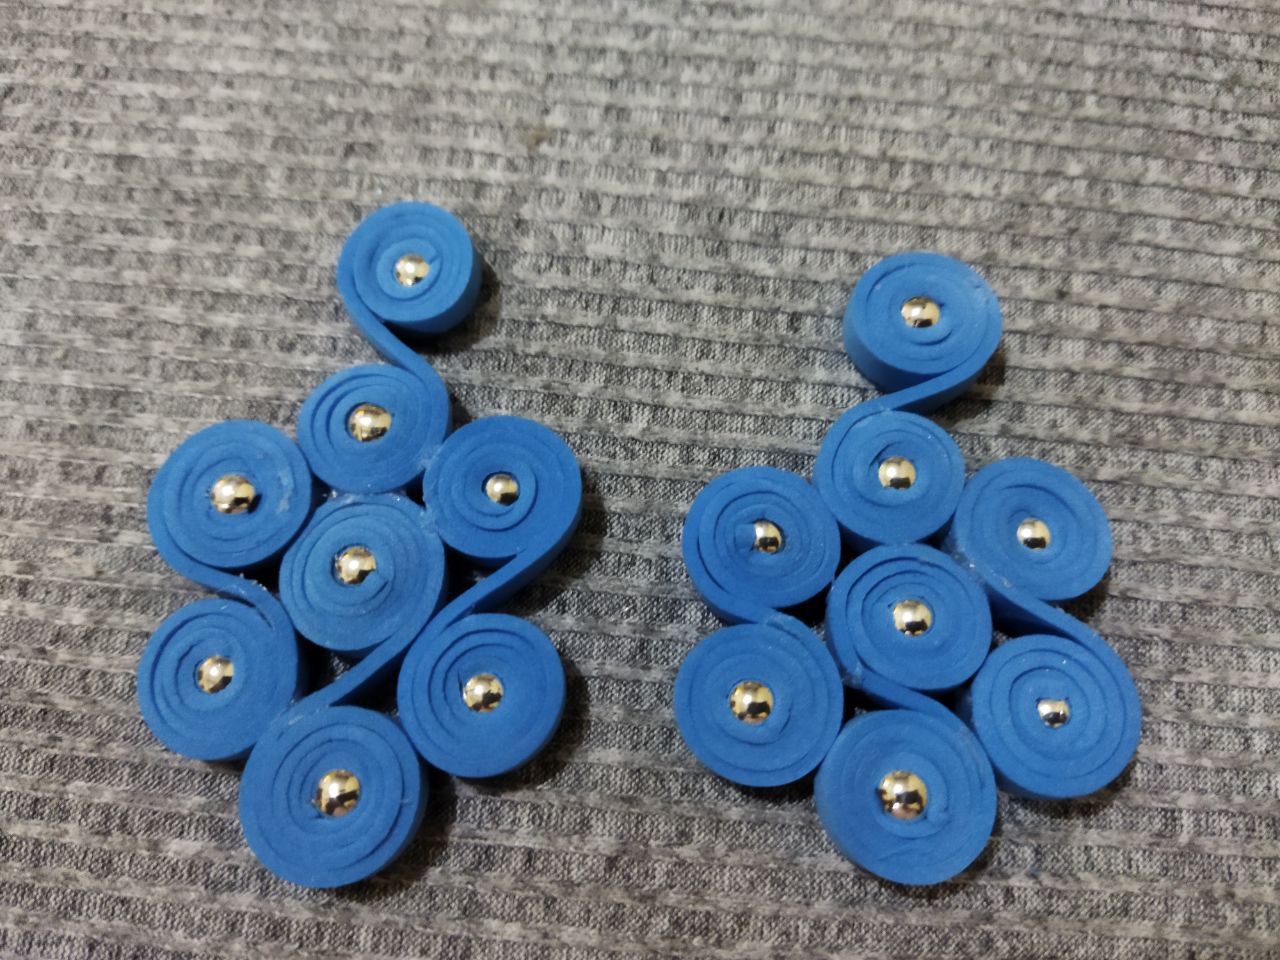
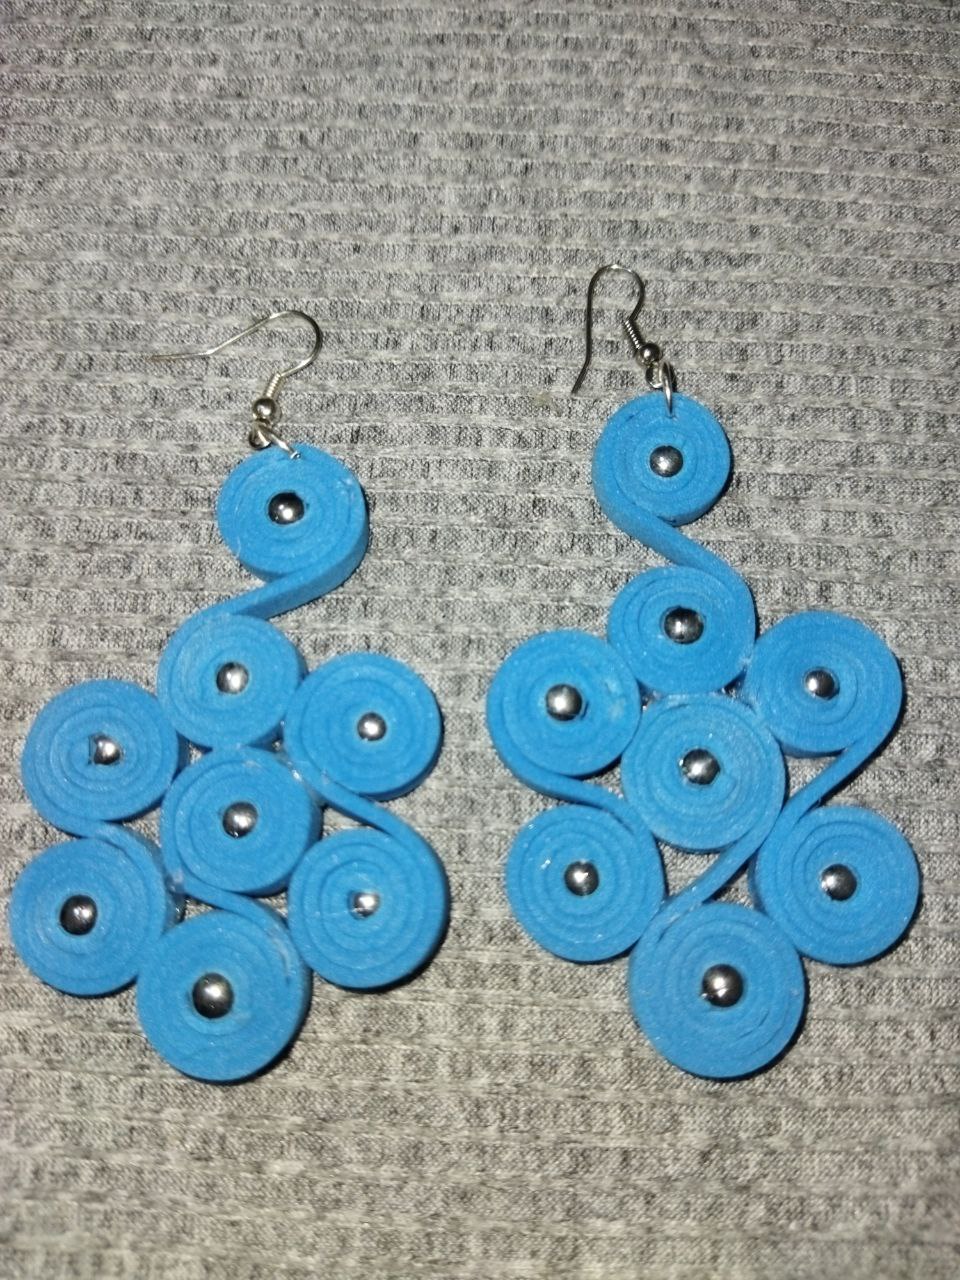
Con las otras cuatro piezas vamos a realizar el mismo procedimiento que hicimos anteriormente para realizar una replica igual
With the other four pieces we are going to perform the same procedure as we did before to make the same replica.
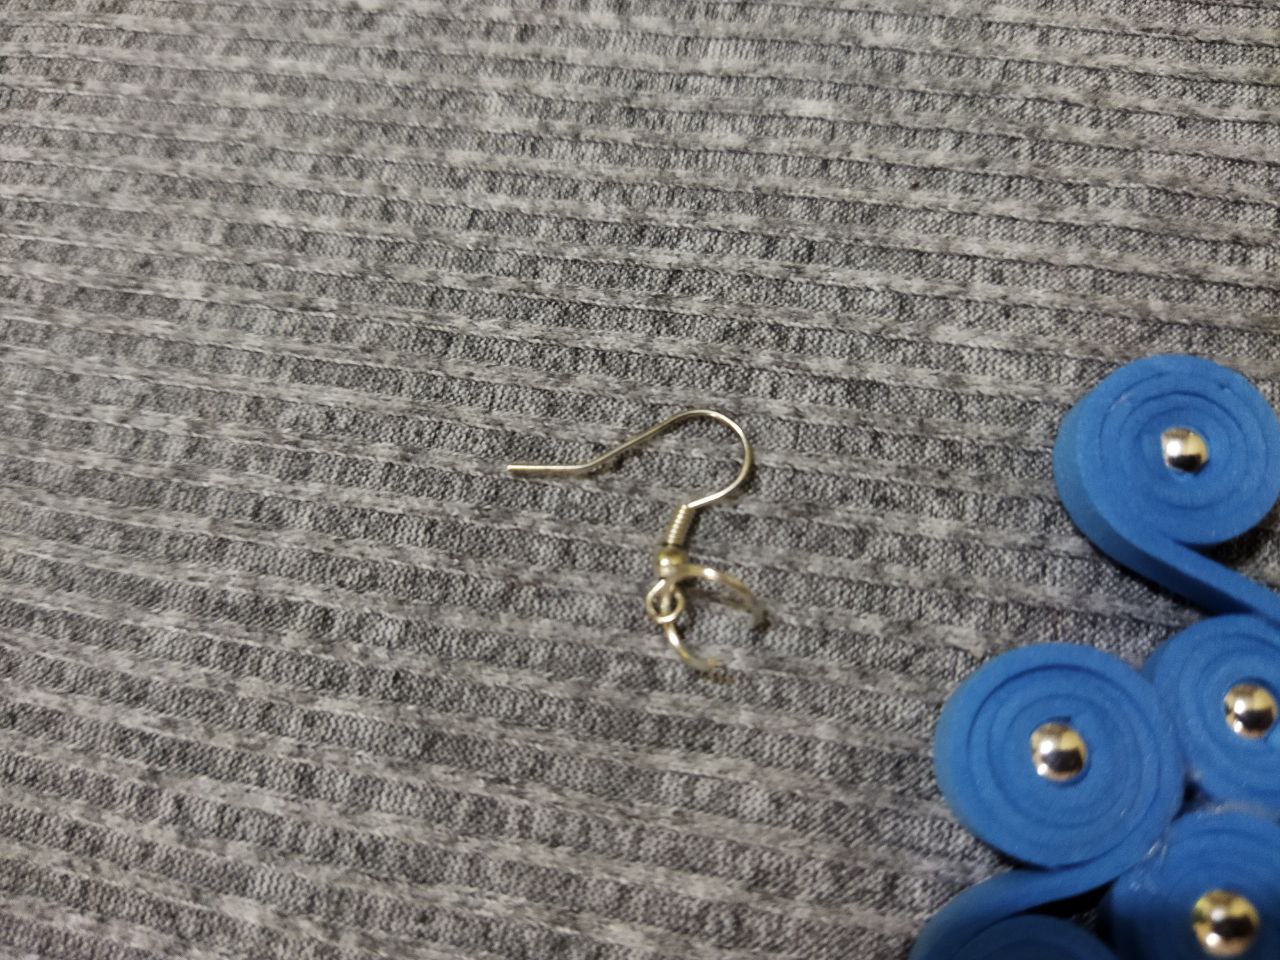
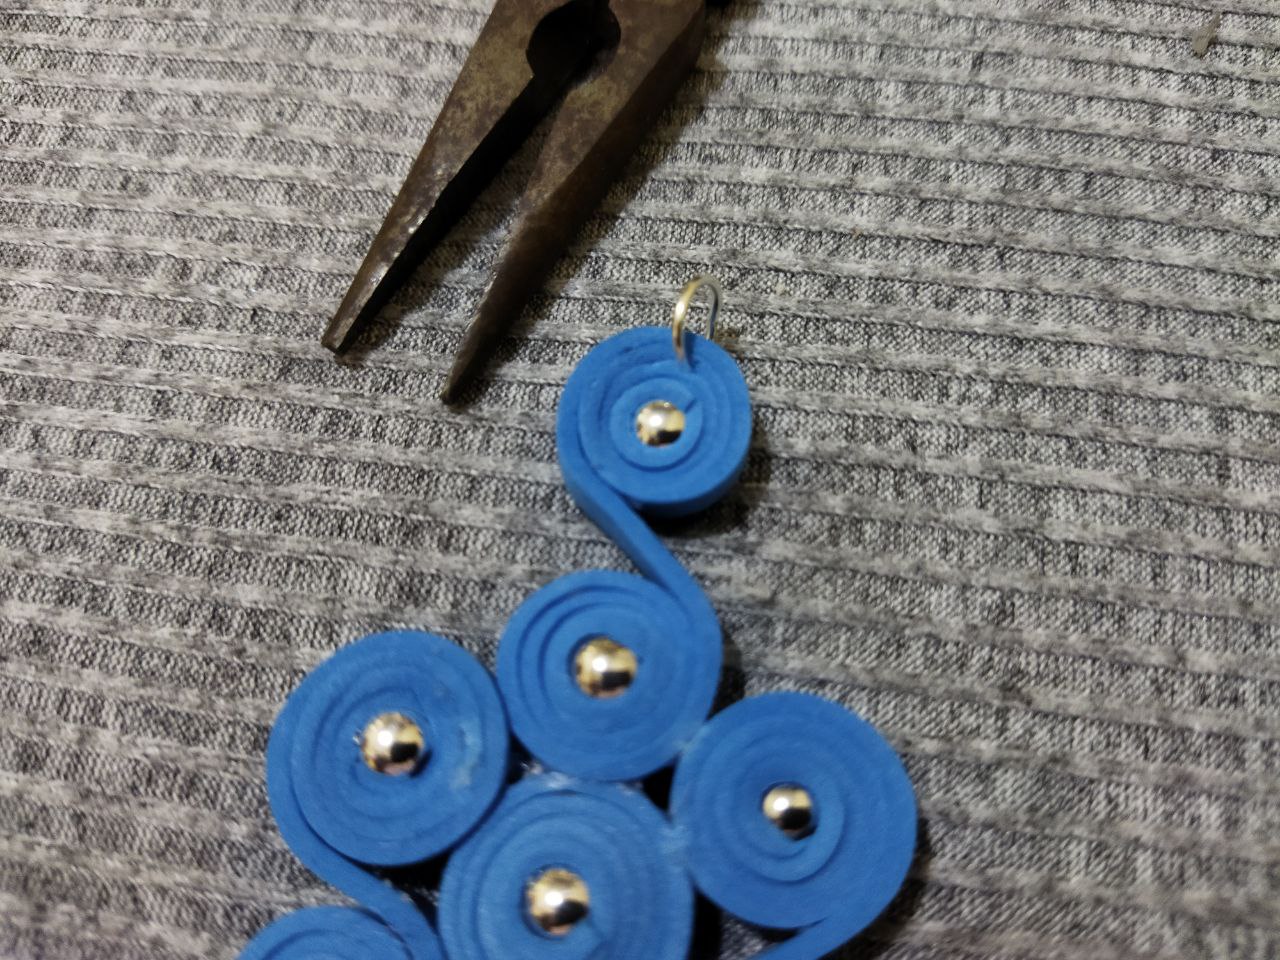
Por ultimo con la ayuda de una pinza le colocamos en la parte superior de cada pieza el anzuelo para zarcillos
Finally, with the help of a plier, we place the hook for tendrils in the upper part of each piece.
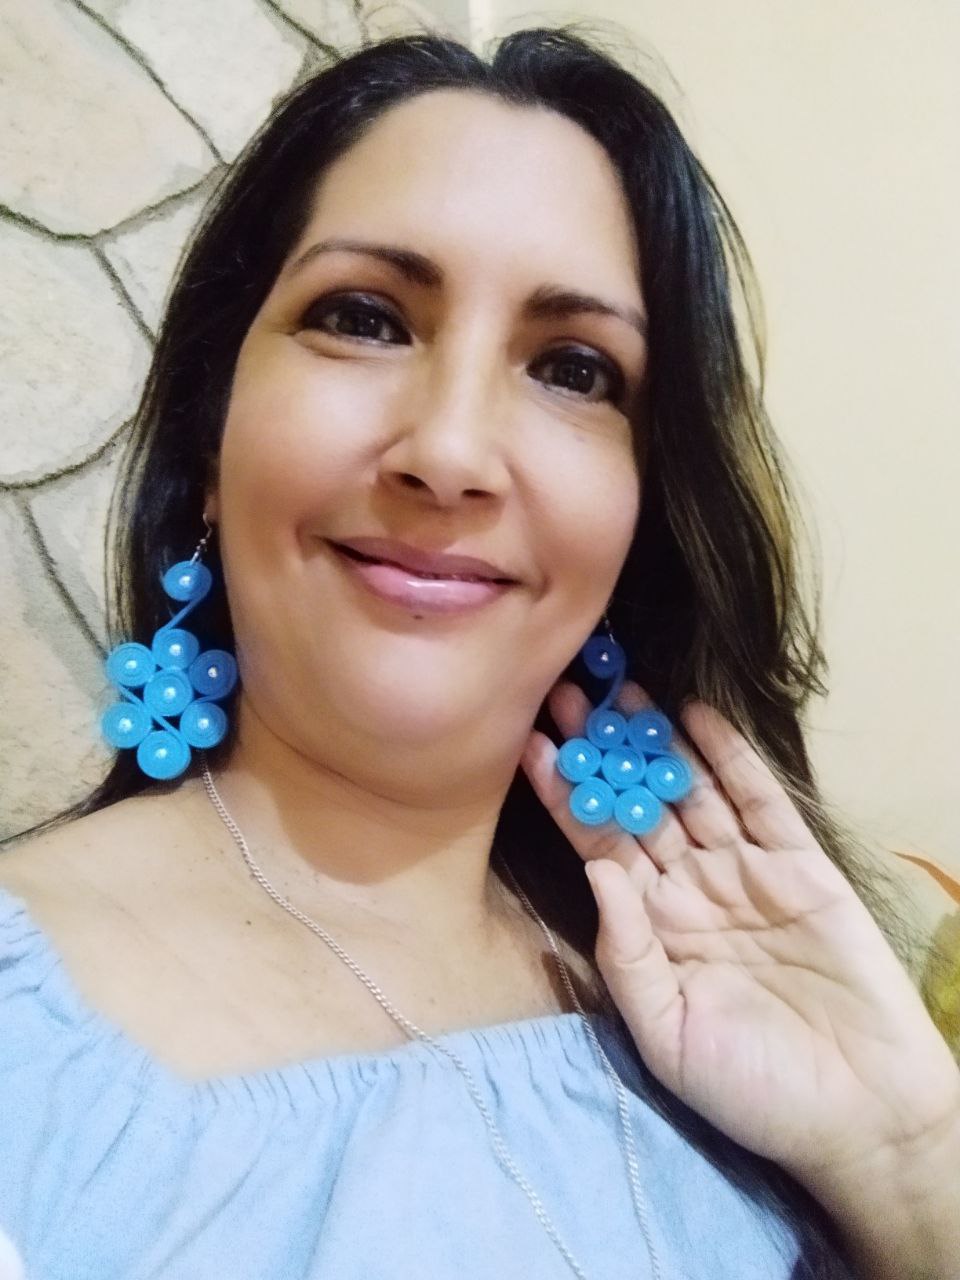
Listo ! De esta manera terminamos estos hermoso zarcillos con tan solo tener a mano unas tiras en goma eva y perlas o cuentas, me encanto el resultado de este diseño. Espero se animen a realizarlos. Con esmero y dedicación podemos lograr muchas cosas que nos proponemos
Done ! In this way we finished these beautiful tendrils with just having at hand some strips of eva rubber and pearls or beads, I love the result of this design. I hope you are encouraged to make them. With care and dedication we can achieve many things we set out to do.

| Pueden seguirme en 💙: | You can follow me on 💙: |
|---|---|
| eveyese1312 | |
| Discord | eveyese1312#6211 |
Las fotos y el contenido son de mi autoria
Imágenes editadas en PowerPoint Canva y PicMonkey
Para la traducción usé el traductor: DeepL
The photos and content are my own.
Images edited in PowerPoint Canva and PicMonkey
For the translation, I used the translator: DeepL
https://twitter.com/1260211375881814016/status/1592039355258146816
The rewards earned on this comment will go directly to the people( @madushanka ) sharing the post on Twitter as long as they are registered with @poshtoken. Sign up at https://hiveposh.com.
Se te ven muy lindos los zarcillos.
Jamás he usado el foami para trabajar prendas, veo que hay muchos diseños para trabajar. Quizá lo intente un día de estos.
Saludos y feliz día. 🙋☕🤗
Hola @creacioneslelys si yo también quedé encantada con el resultado quedan muy hermosos además este material tiene una gran variedad de colores. Gracias por visitar 😌 saludos y exito
Un espectáculo de diseño amiga @eveyese1312 que lindo ver como con gotas Eva se pueden hacer estos sencillos y económicos diseños, es bonito ver lo que has podido lograr y tu paso a paso.
Gracias 😌@hive-189504 si muchas veces con lo menos pensamos logramos elaborar diseños muy hermosos y hasta como ustedes dicen súper económico, la goma Eva es un material muy versátil y también es bien resistente y sus colores me encantan. Gracias ☺️ por apoyar y dejar su comentario. Gracias y éxito