Pendant inspired by a beautiful sunset by the sea made in quilling paper. Filigree technique [ESP|ENG]
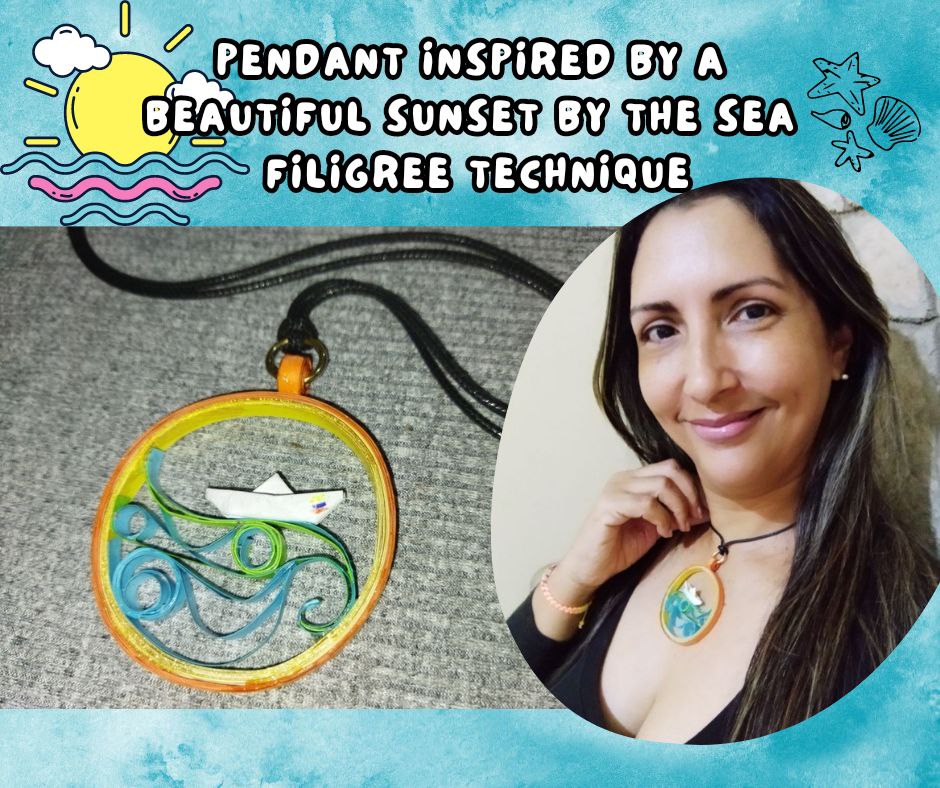
Un saludo mi querida comunidad @Jewelry feliz día 💜 la inspiración al crear cualquier proyecto es algo que me caracteriza, en estos días vi un atardecer hermoso a orillas de la playa, ademas que una de las cosa que me encanta observar y realizo con mucha frecuencia, la belleza de los colores reflejados en el mar mientras poco a poco se sumerge el sol en la inmensidad del mar, no esta demás decir que en la zona del oriente de Venezolano se puede disfrutar desde cualquier rincón la mas hermosas puesta de sol. Por esto hoy les traigo un proyecto que en un lindo colgante se encierra todo esta descripción que les acabo de hacer, un gran aro en dos colores que representa el sol y dentro se encuentra el mar y un lindo barquito de papel que se mese en el vaivén de las olas. Para elaborar este colgante utilice la técnica filigrana, que cada día me enamoro mas de ella. Ahora materiales en manos que comenzamos con nuestro paso a paso
Greetings my dear community @Jewelry happy day 💜 inspiration to create any project is something that characterizes me, these days I saw a beautiful sunset on the shores of the beach, plus one of the things I love to watch and I do very often, the beauty of the colors reflected in the sea while gradually the sun sinks into the vastness of the sea, it is not superfluous to say that in the area of eastern Venezuelan can be enjoyed from any corner the most beautiful sunset. For this reason today I bring you a project that in a nice pendant encloses all this description that I just did, a large ring in two colors that represents the sun and inside is the sea and a cute little paper boat that sways in the swaying of the waves. To make this pendant I used the filigree technique, which I fall in love with more and more every day. Now materials in hands that we start with our step by step

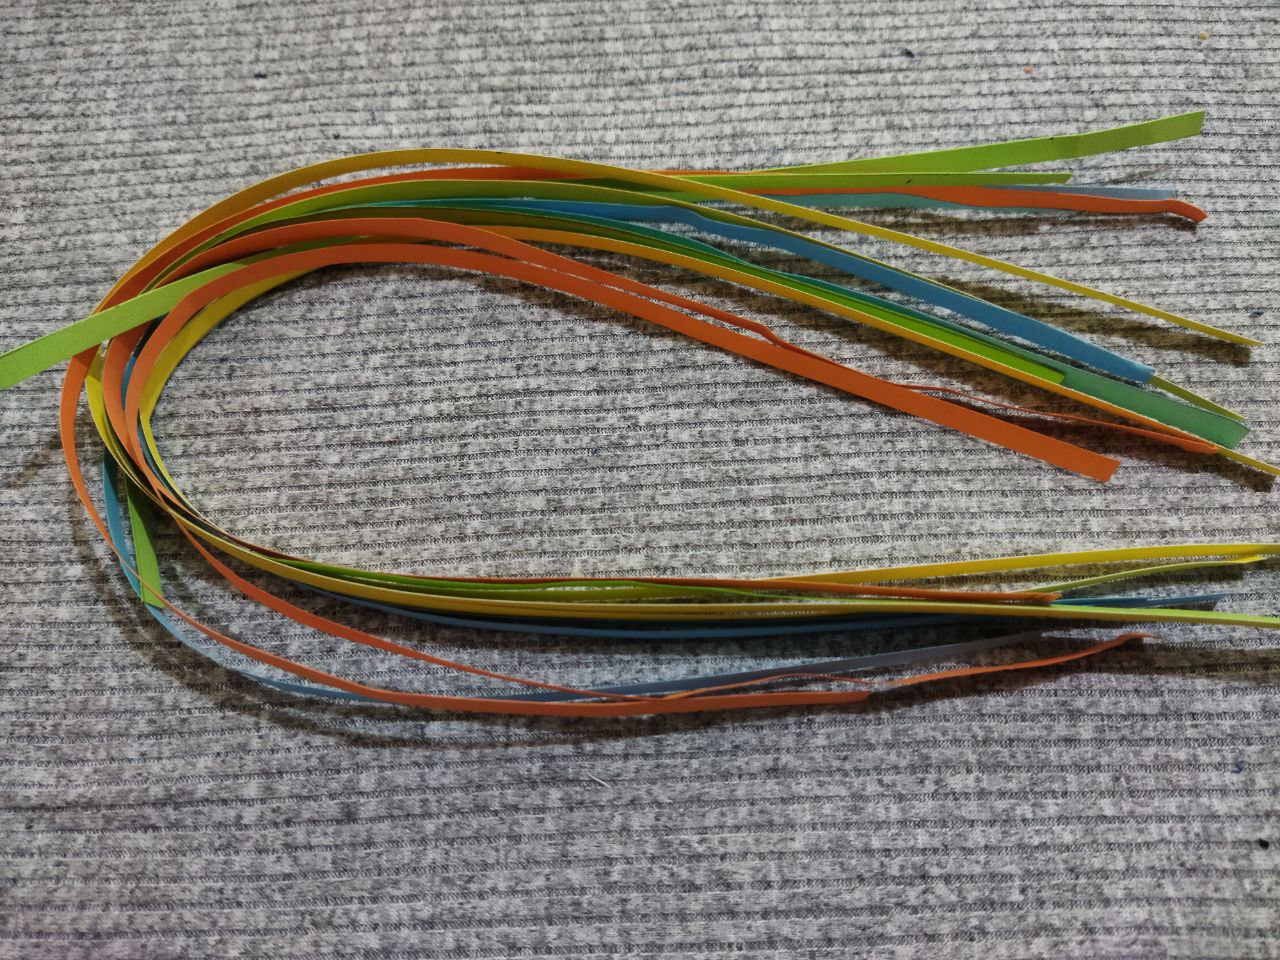
- Tiras de papel quilling de diferentes colores amarillo, naranja, azul y verde
- Papel blanco
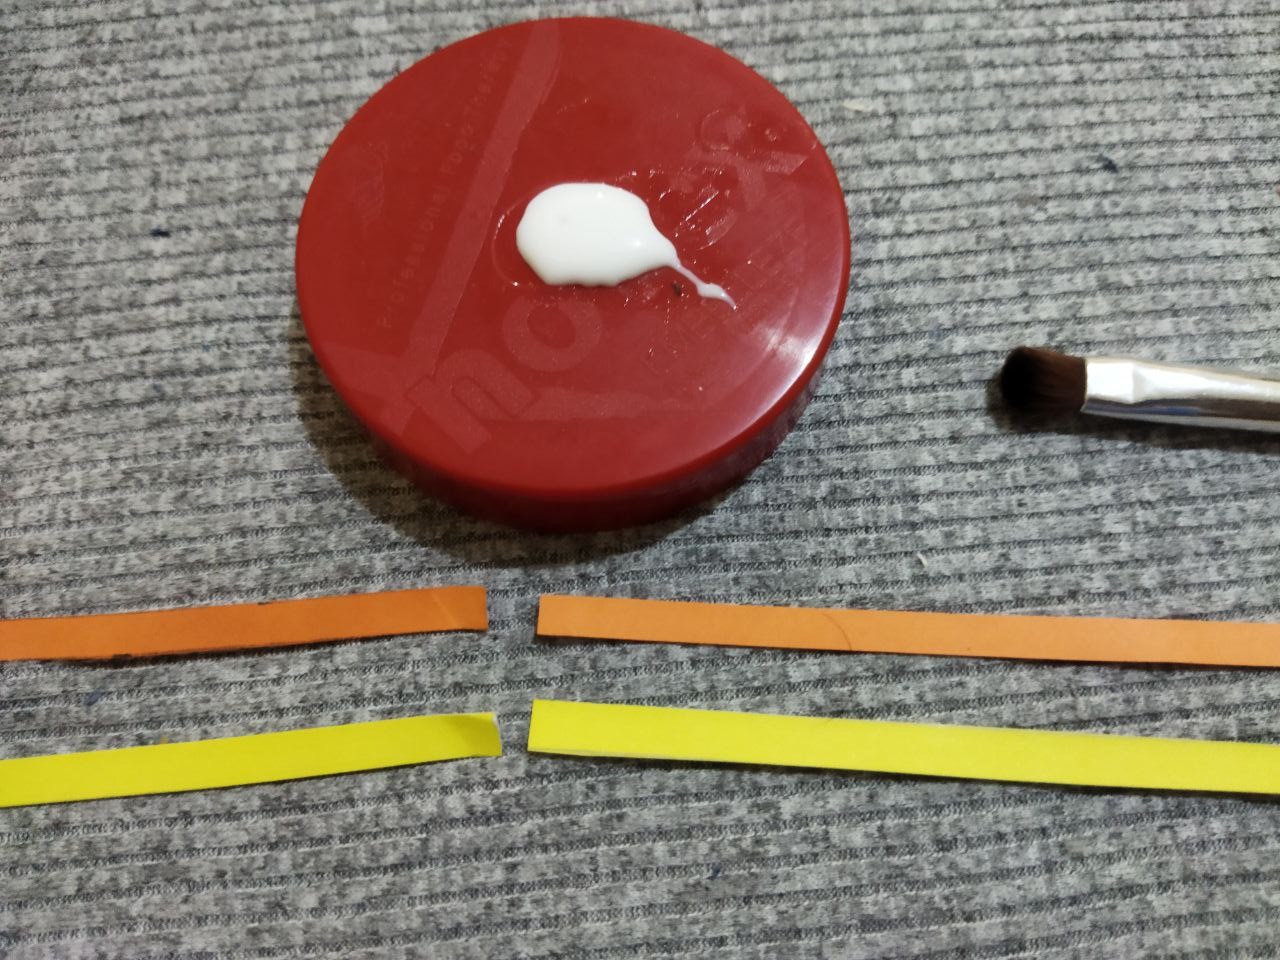
- Cola blanca fuerte
- Pincel
- regla
- Tijera
- Argolla de metal dorada
- Cordón negro
- Strips of quilling paper of different colors: yellow, orange, blue and green.
- White paper
- Strong white glue
- Paintbrush
- ruler
- Scissors
- Gold metal ring
- Black cord

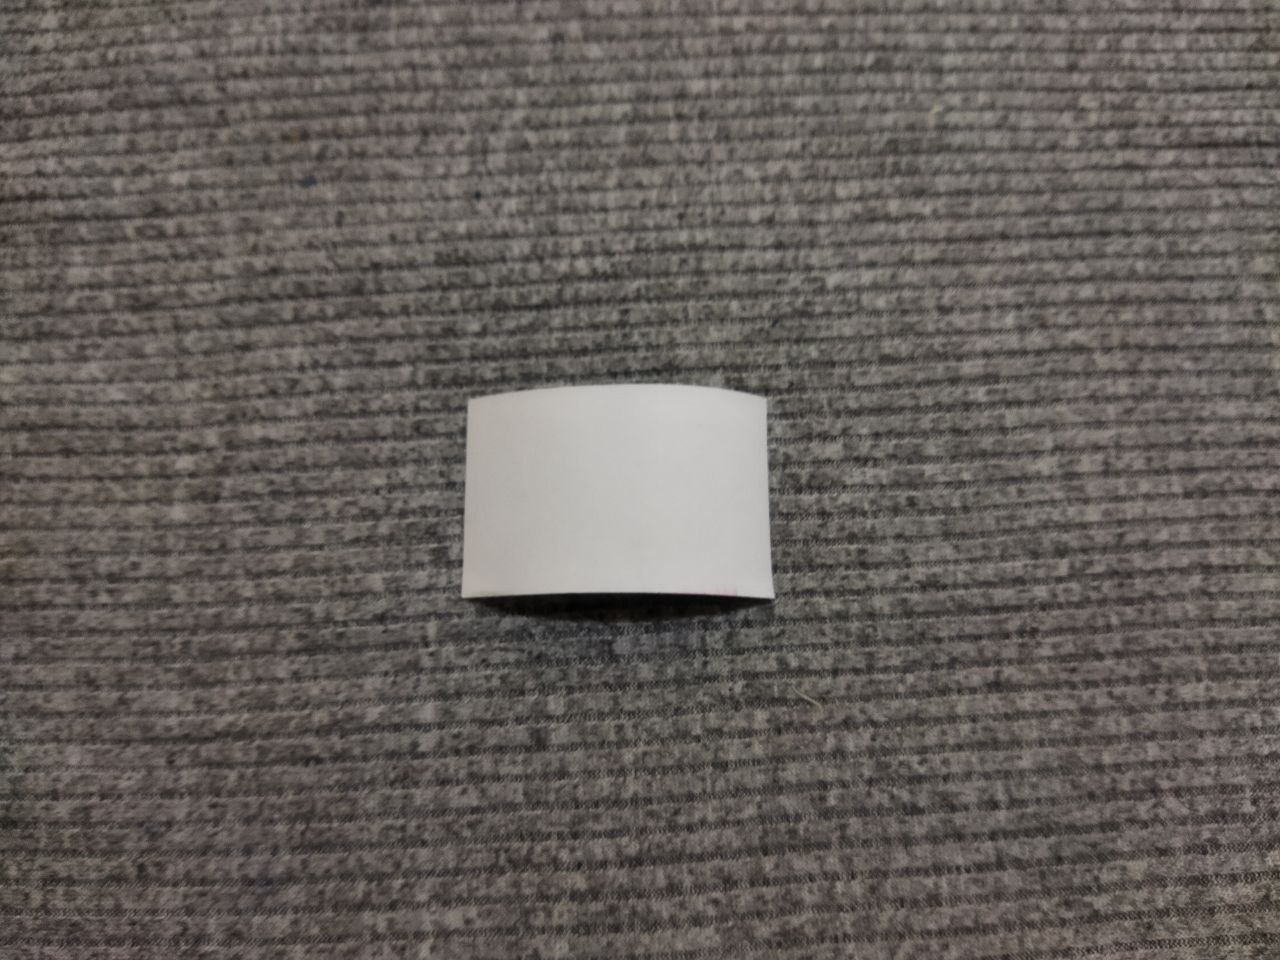
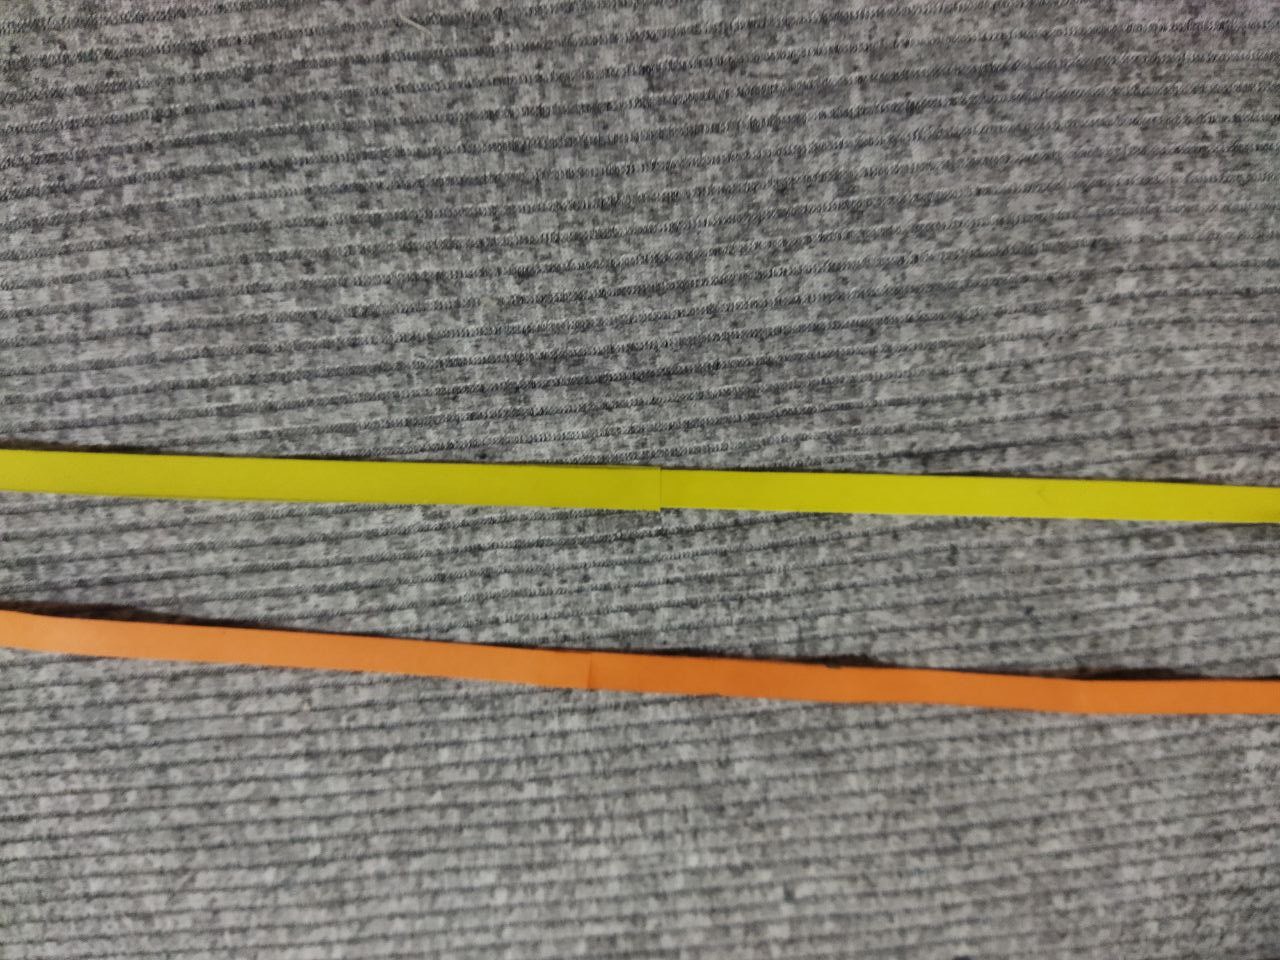
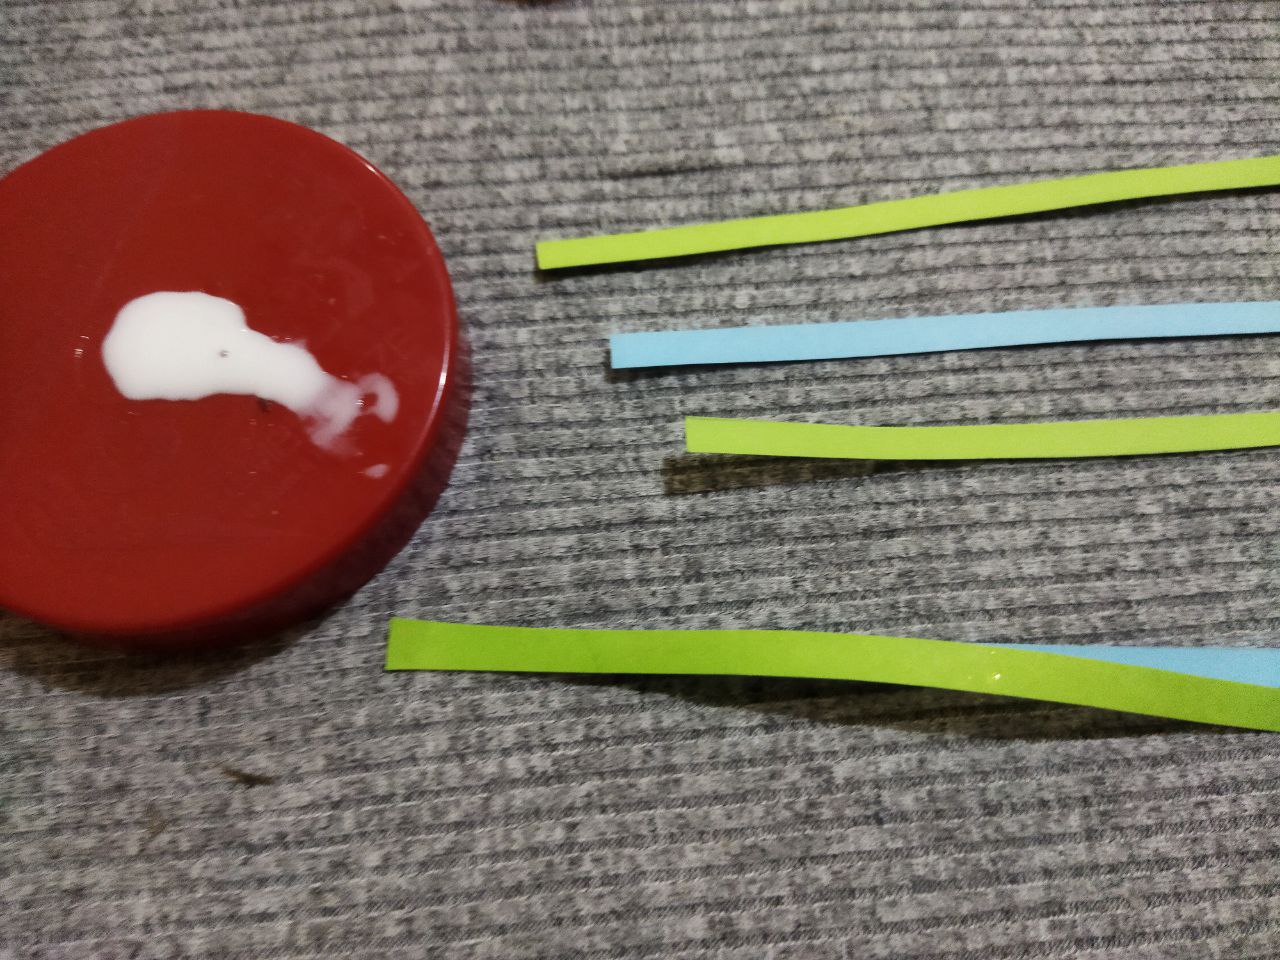
Comenzamos con este nuevo proyecto que les comparto hoy primeramente elaborando la cantidad de tiras necesarias para elaborar este diseño las cuales tendrán 4 milímetro de ancho en diferentes colores como amarillo, naranja, azulo y verde. Como también cortamos en papel blanco un cuadro de 3 centímetros por 5 centímetros, con el que vamos a elaborar un pequeño barco de papel
We start with this new project that I share with you today by first making the amount of strips needed to make this design which will be 4 millimeters wide in different colors such as yellow, orange, blue and green. We also cut in white paper a square of 3 centimeters by 5 centimeters, with which we are going to make a small paper boat.
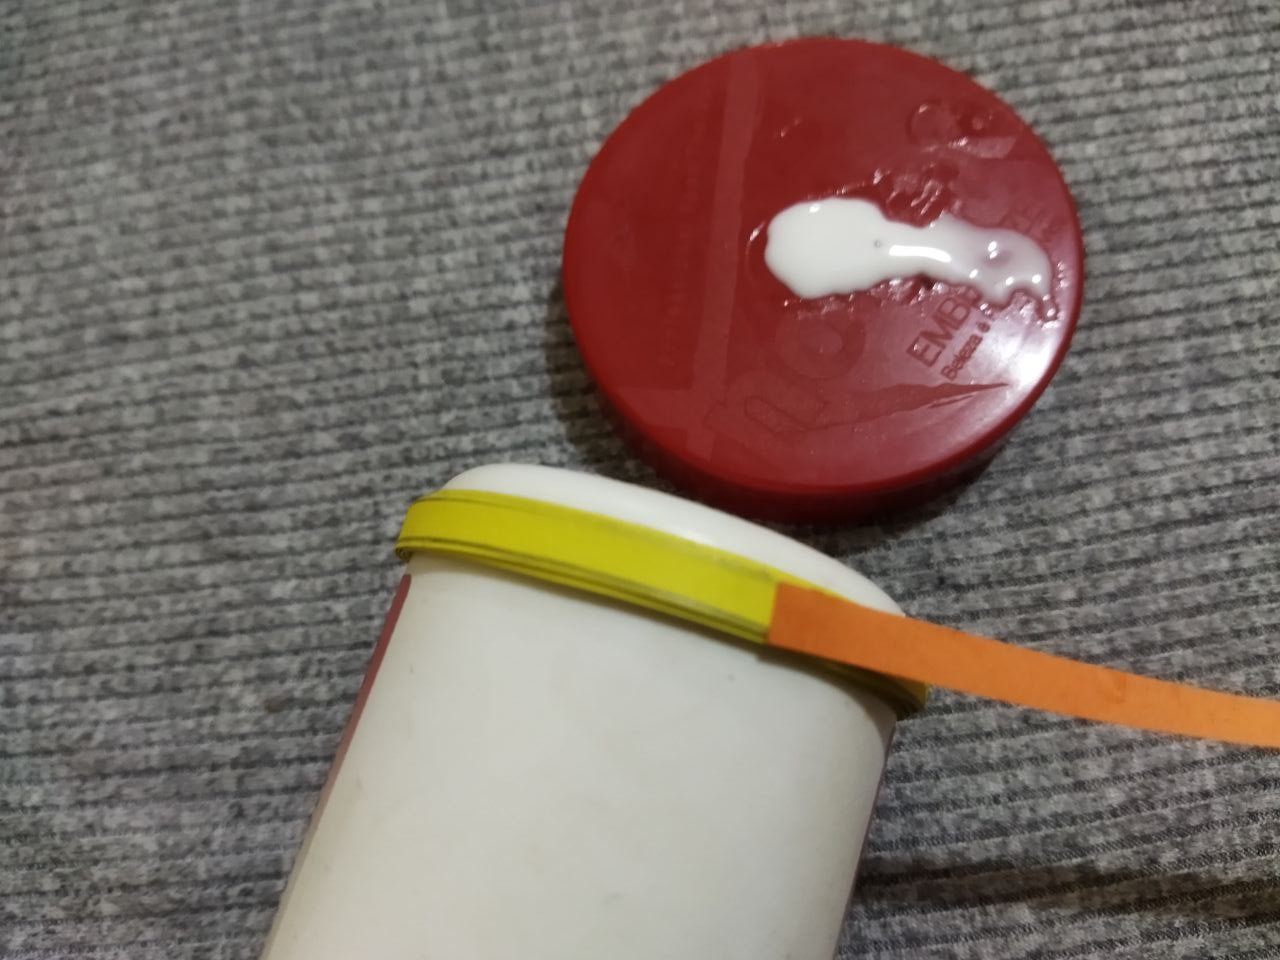
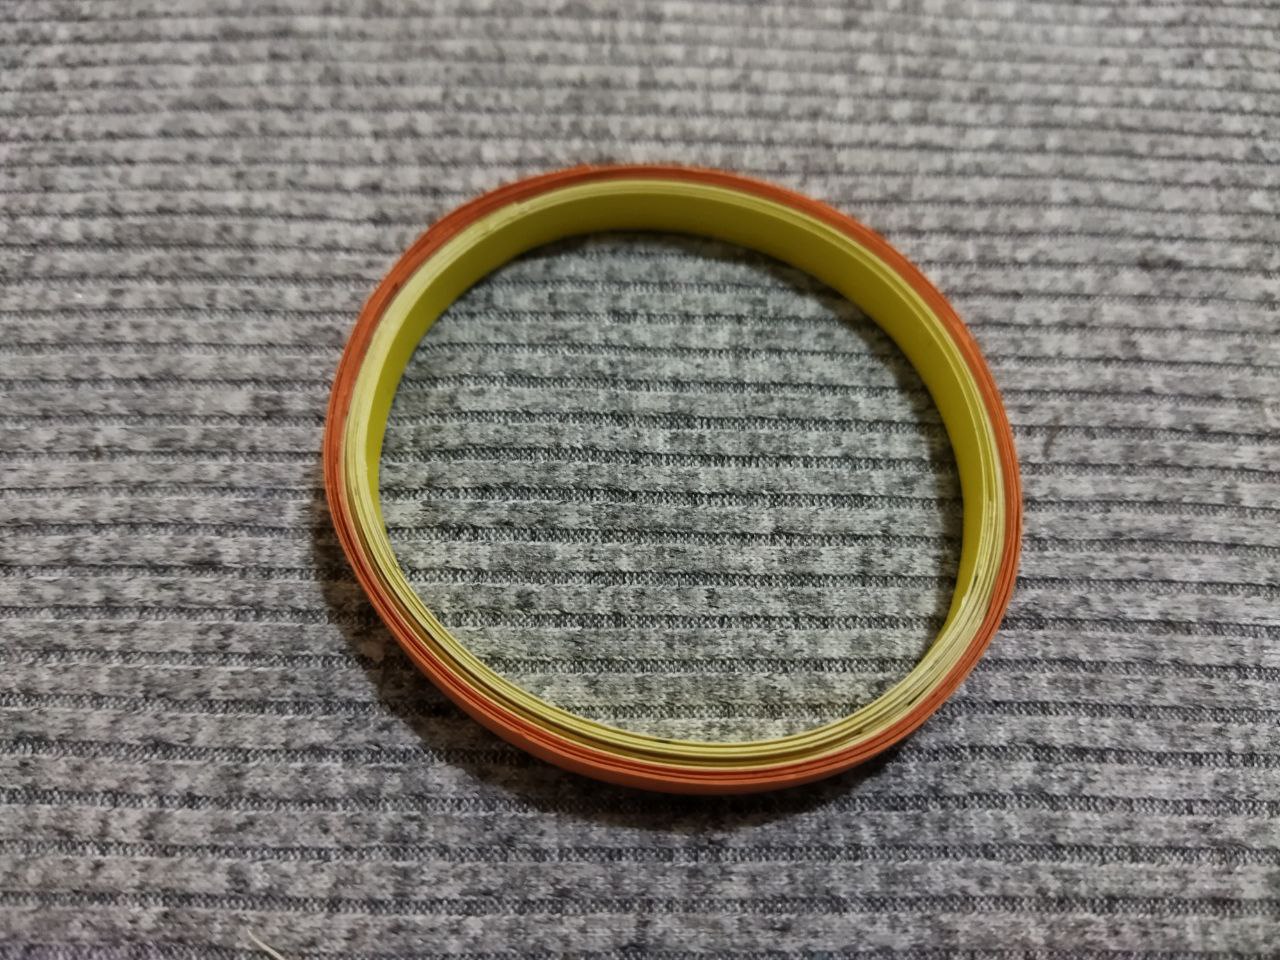
La primera figura en elaborar es el sol para el cual vamos a necesitar unir las tiras amarilla aplicando un poco de cola blanca como también las tiras naranja, con esto vamos a elaborar un aro. Buscamos un envase del tamaño de circunferencia que nos parezca ideal y comenzamos a enrollar primeramente el color amarillo aplicando de vez en cuando un poco de cola blanca luego continuamos con el color naranja, repetimos el mismo procedimiento, finalizando aplicando cola en la ultima punta de la tira para sujetar bien nuestro aro. por ultimo sacamos del frasco que fue el molde que utilice para esto con mucho cuidado
The first figure to elaborate is the sun for which we will need to join the yellow strips applying a little white glue as well as the orange strips, with this we are going to elaborate a ring. We look for a container of the size of circumference that seems ideal to us and we begin to roll up first the yellow color applying from time to time a little white glue then we continue with the orange color, we repeat the same procedure, finishing applying glue on the last end of the strip to hold our ring well. finally we take out of the bottle that was the mold that I used for this carefully.

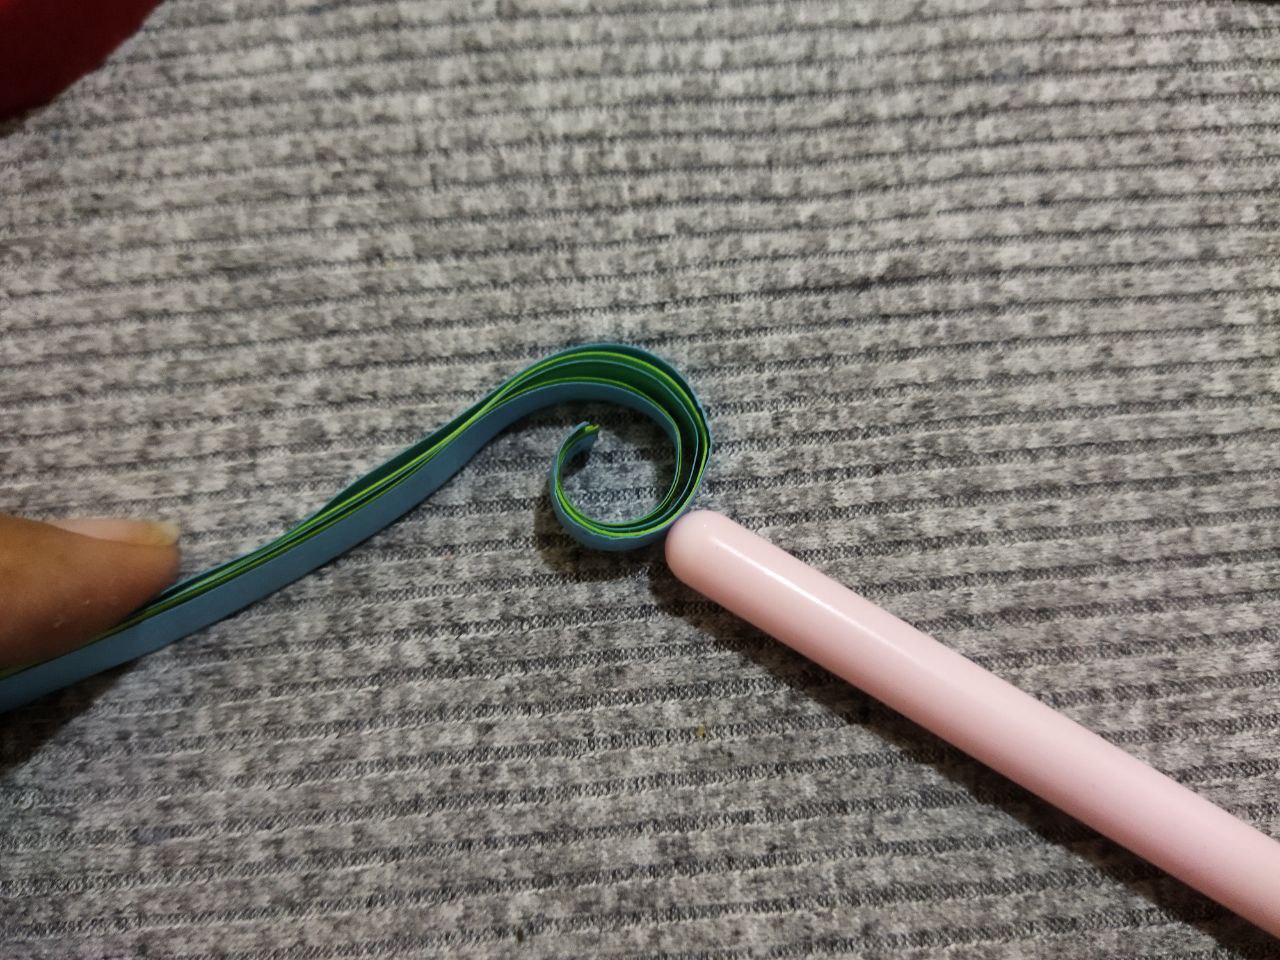
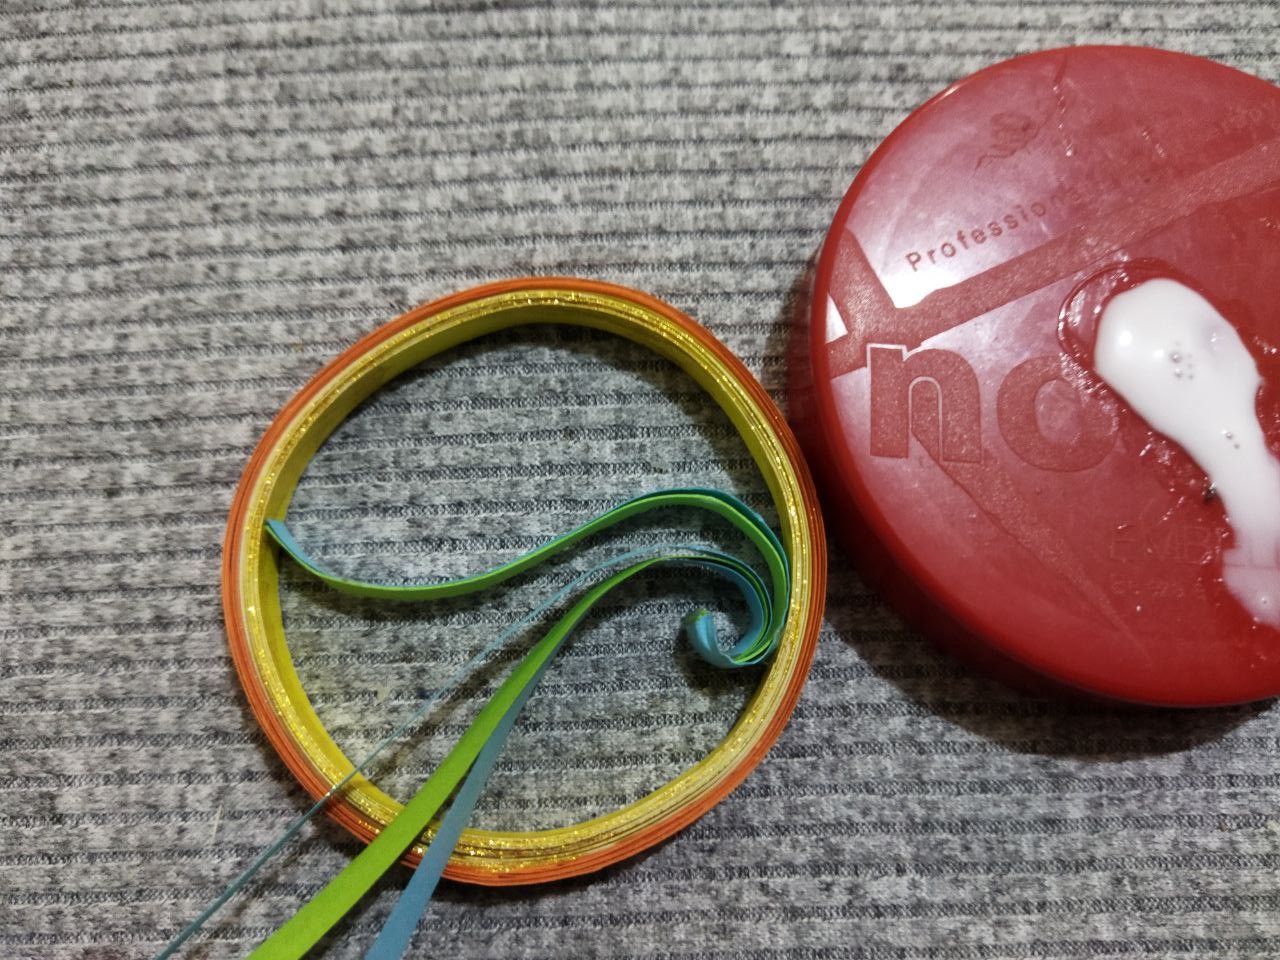
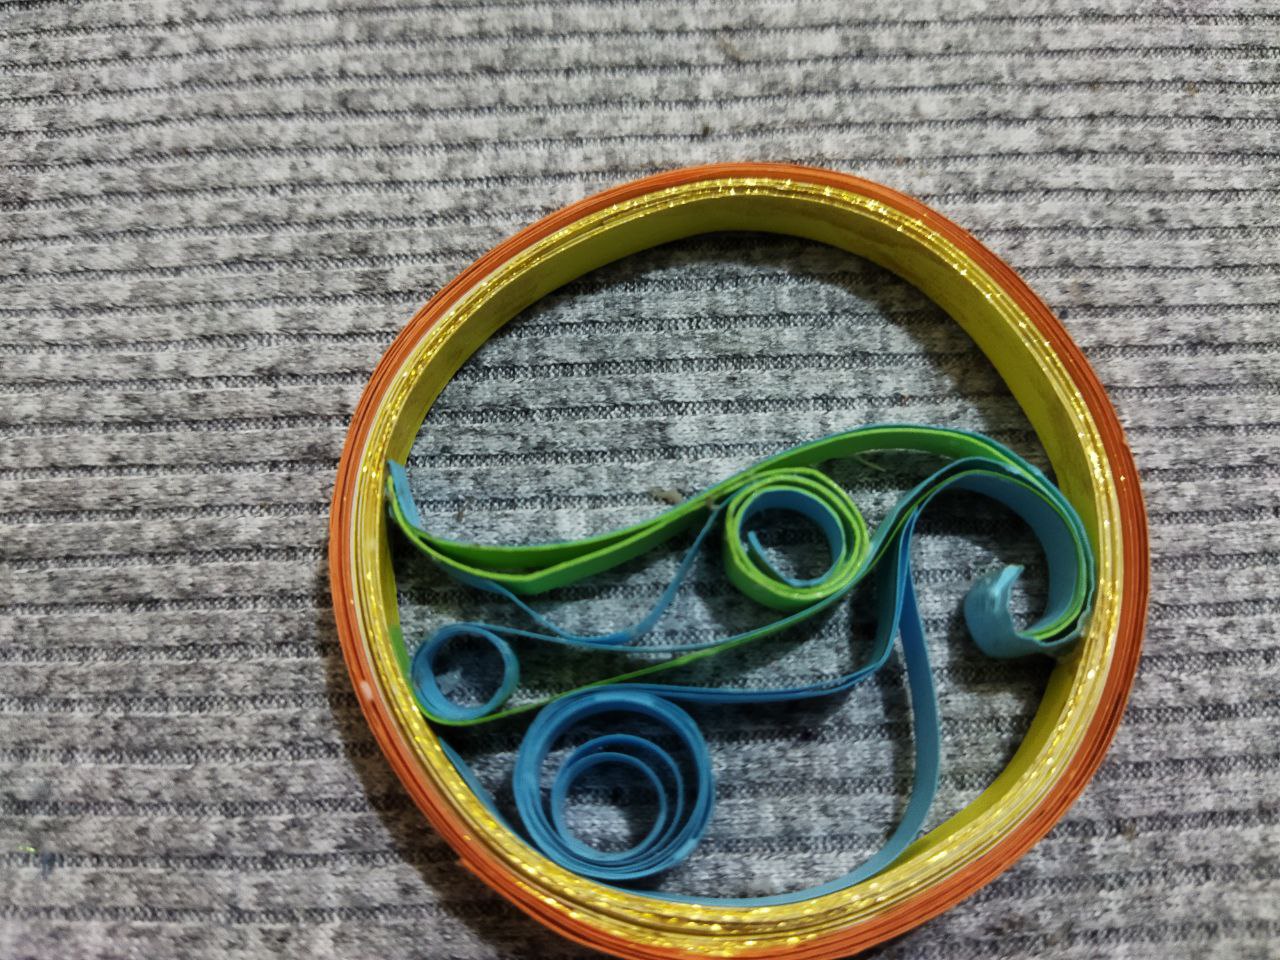
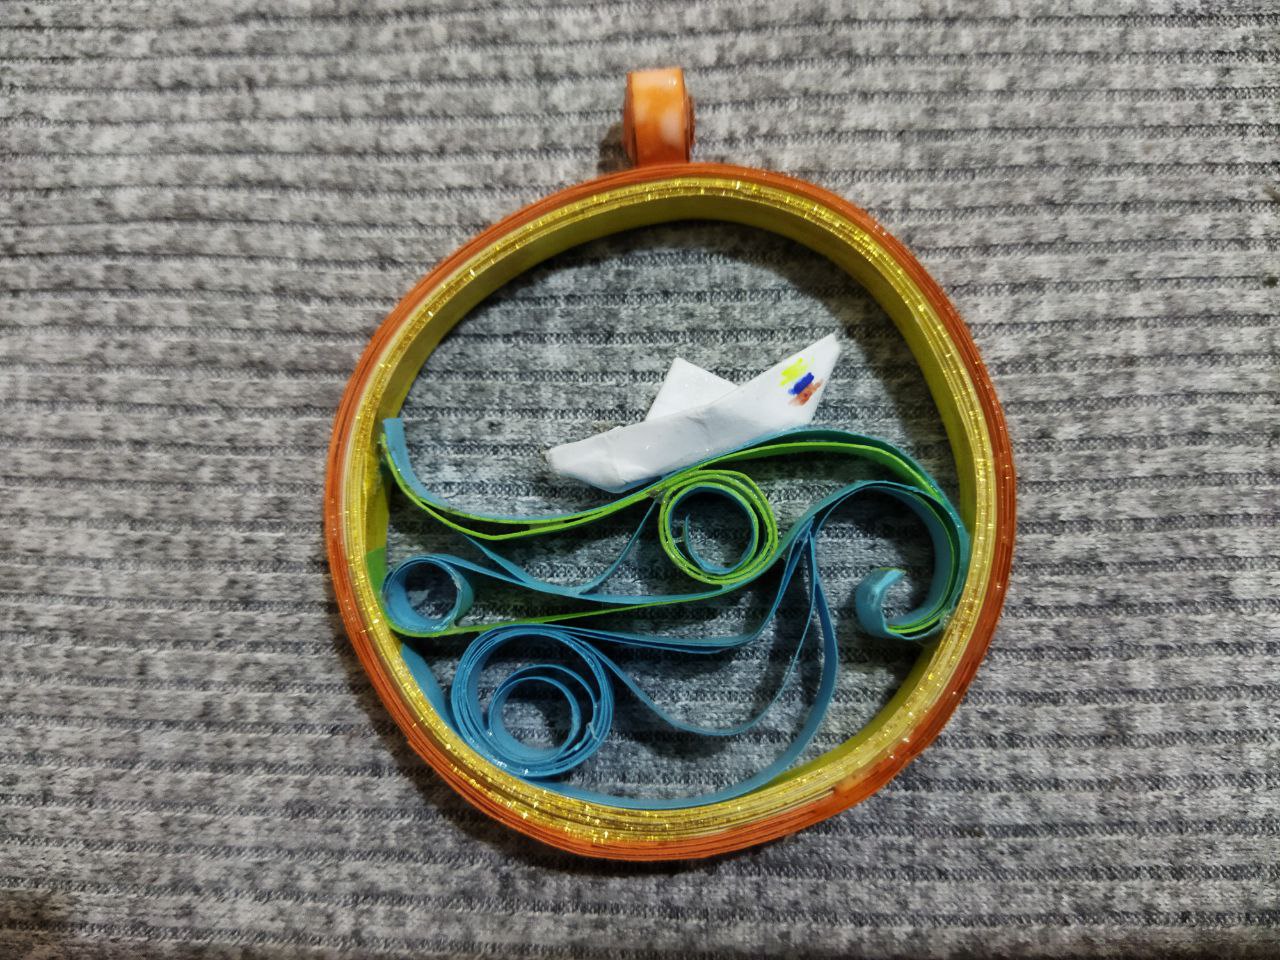
Ahora unimos por las puntas las tiras azules y verdes en forma alternada es decir una azul y una verde y así hasta pegar las 5 tiras. Luego con la ayuda de el mango del pincel el cual utilice como herramienta para rizar el papel y crear el efecto ondulado de las olas del mar. Primero las pegue todas en uno de los extremos dentro del aro luego con un estilo libre fui pegando y creando de un extremo a otro hasta lograr simular un mar con muchas olas
Now we join the blue and green strips alternately, that is to say, one blue and one green and so on until we glue the 5 strips together. Then with the help of the handle of the brush which I used as a tool to curl the paper and create the wavy effect of the sea waves. First I glued them all at one end inside the ring and then with a free style I was gluing and creating from one end to the other until I managed to simulate a sea with many waves.

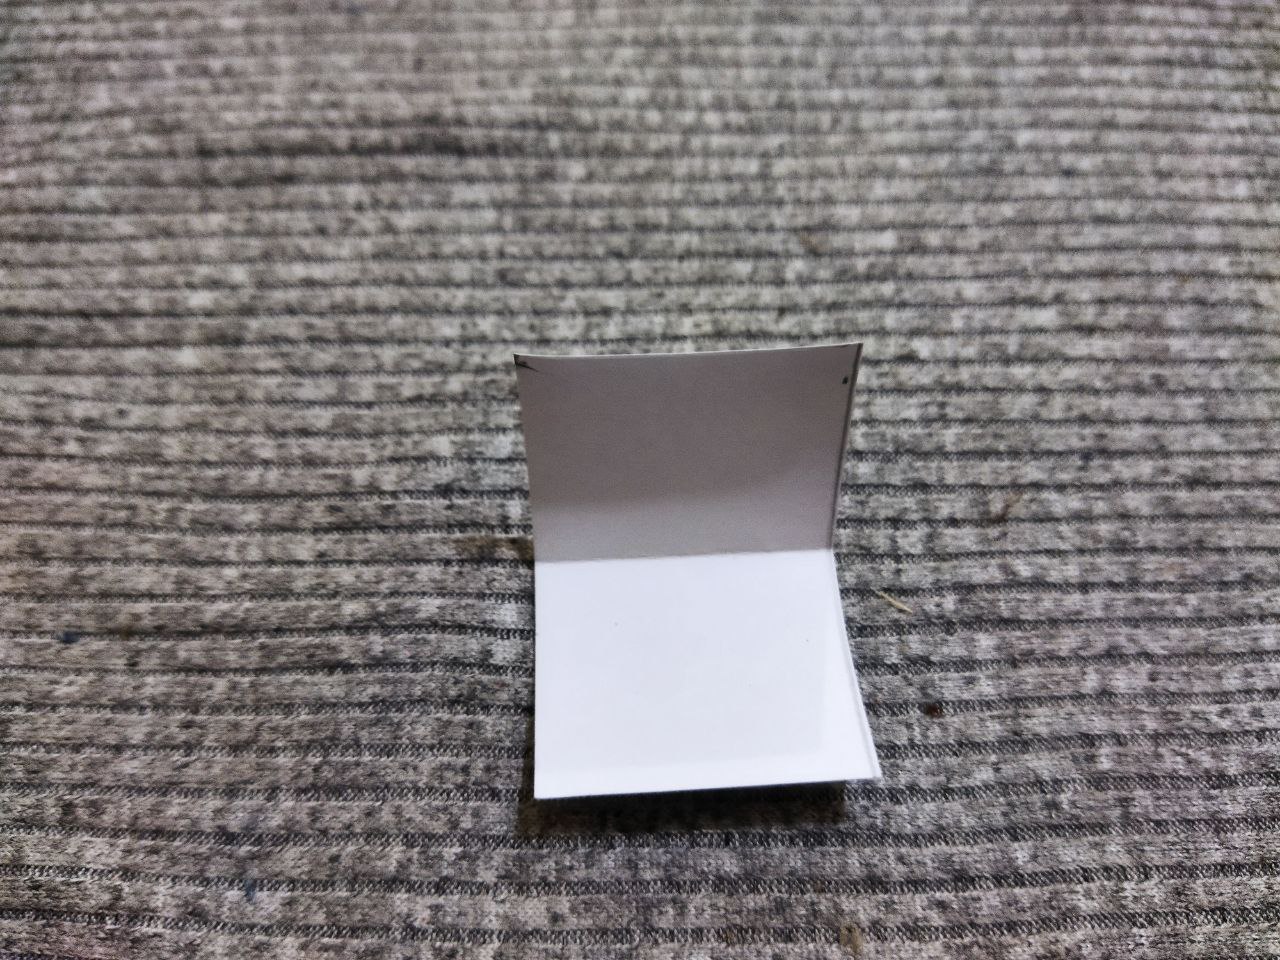
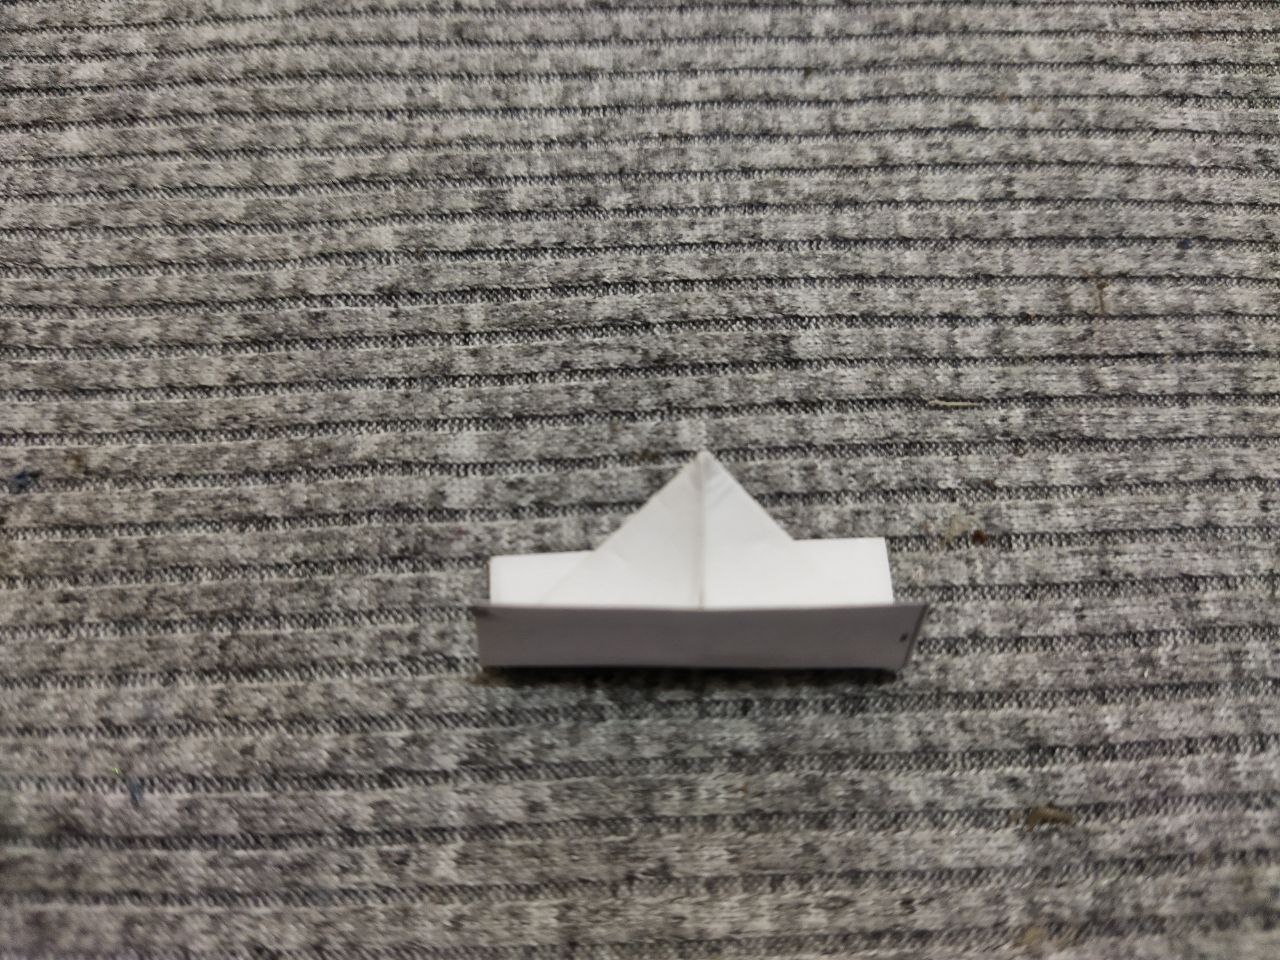
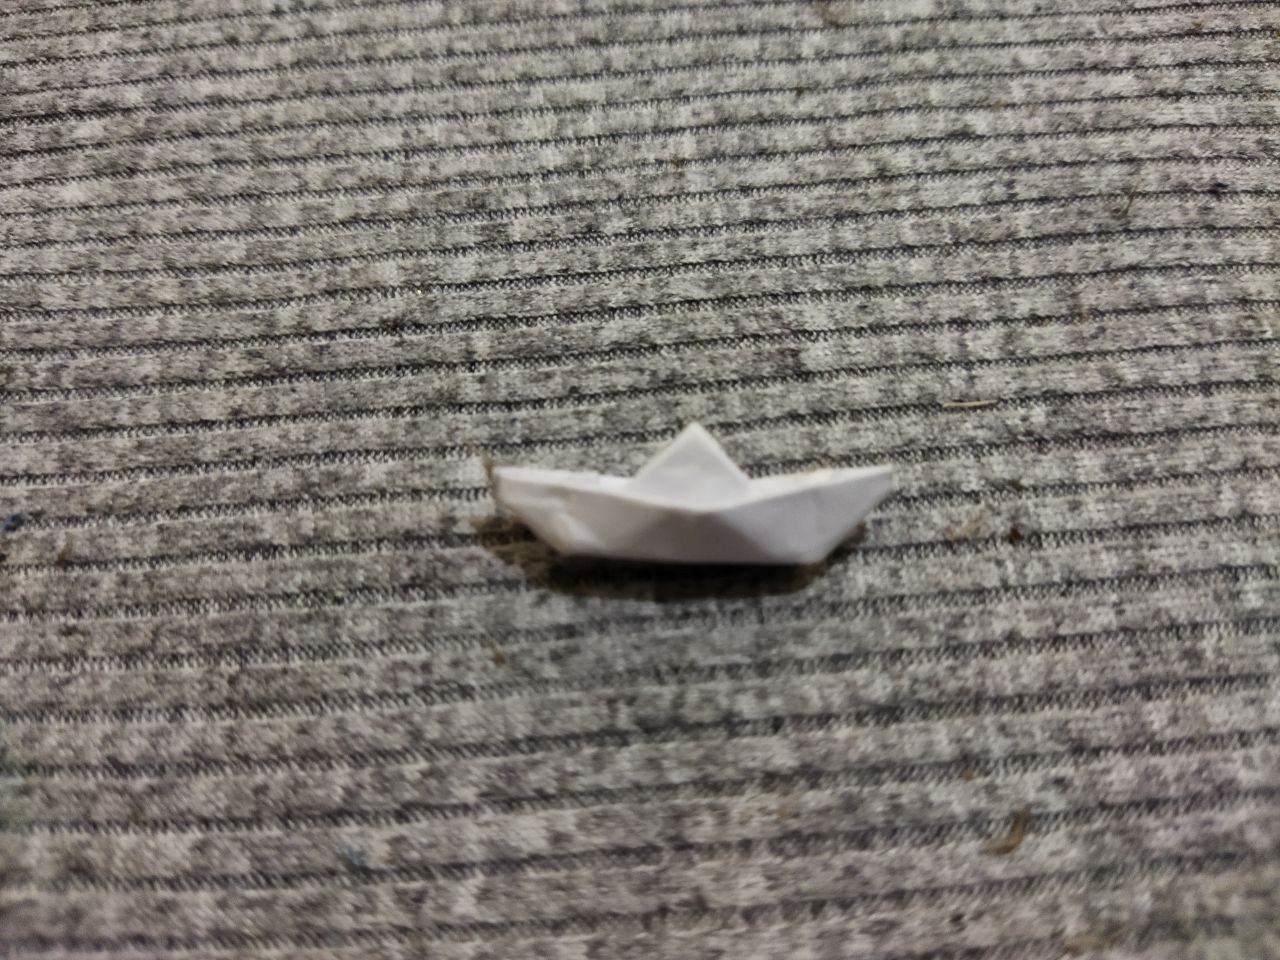
Como ultimo elemento de nuestro paisaje esta un pequeño barco de papel que elaboramos en una pieza de papel blanco de 3 centímetros por 5 centímetros. Este es un pequeño origami que casi todos aprendimos en la escuela. Doblamos el rectángulo por la mitad y traemos la parte superior hacia el centro haciendo un triangulo, luego el sobrante de la parte inferior lo doblamos hacia arriba quedara como un sombrero. Abrimos la figura y formamos un rombo y de allí al tirar de ambas puntas se forma el barquito. Como es una pieza pequeña hay que tener un poquito de paciencia
As the last element of our landscape is a small paper boat that we made in a piece of white paper of 3 centimeters by 5 centimeters. This is a little origami that almost all of us learned in school. We fold the rectangle in half and bring the upper part towards the center making a triangle, then the excess of the lower part we fold it upwards, it will look like a hat. We open the figure and form a rhombus and from there when we pull both ends we form the little boat. As it is a small piece you have to have a little bit of patience.

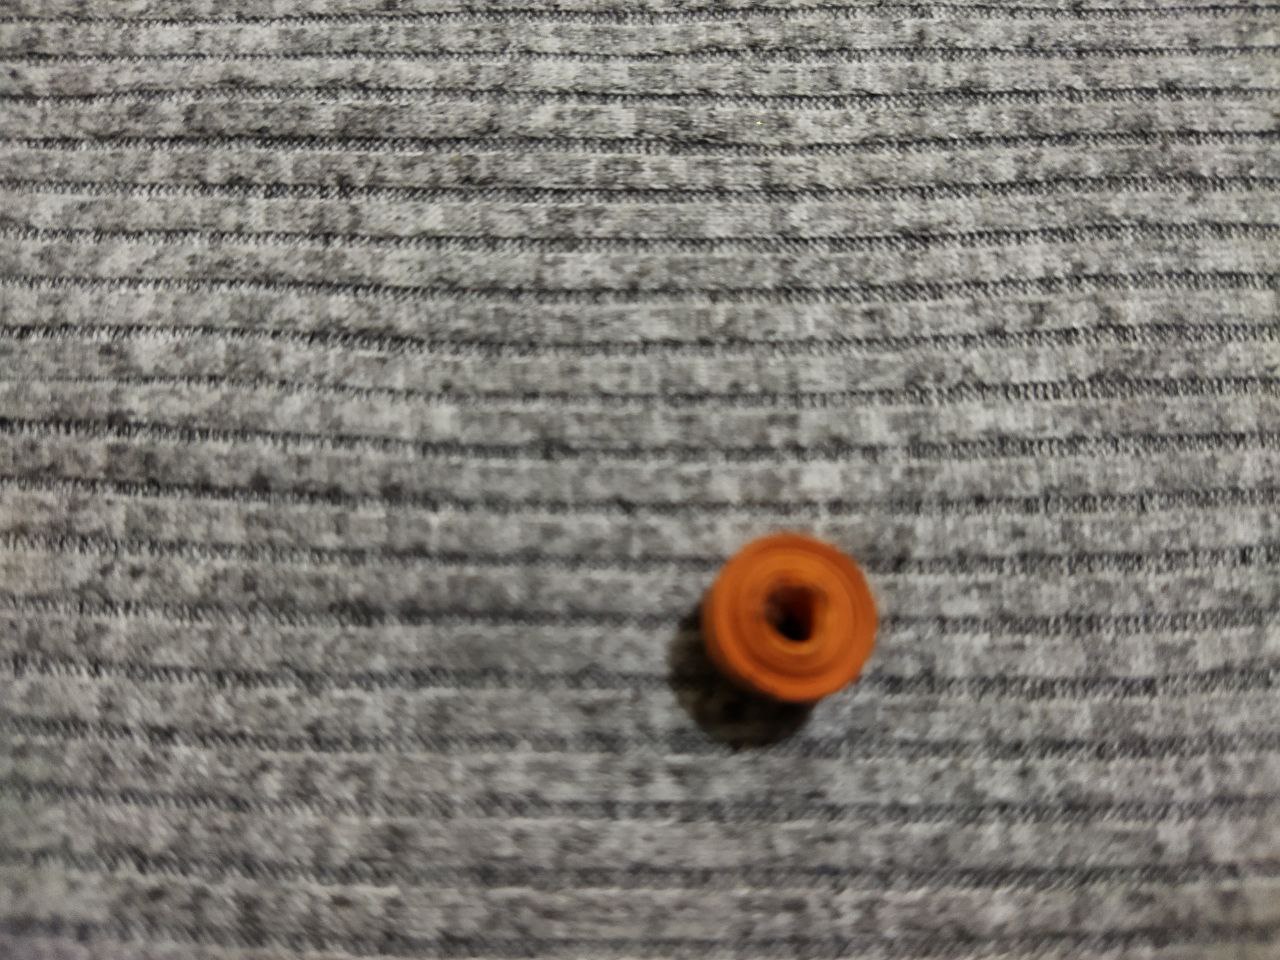
Por ultimo hacemos un circulo cerrado en color naranja que servirá para enganchar el aro del colgante. Para fortalecer y proteger la pieza le echamos cola blanca fuerte con un pincel dejamos secar para aplicar cada mano.
Finally we make a closed circle in orange color that will be used to attach the ring of the pendant. To strengthen and protect the piece we apply strong white glue with a brush and let it dry before applying each coat.

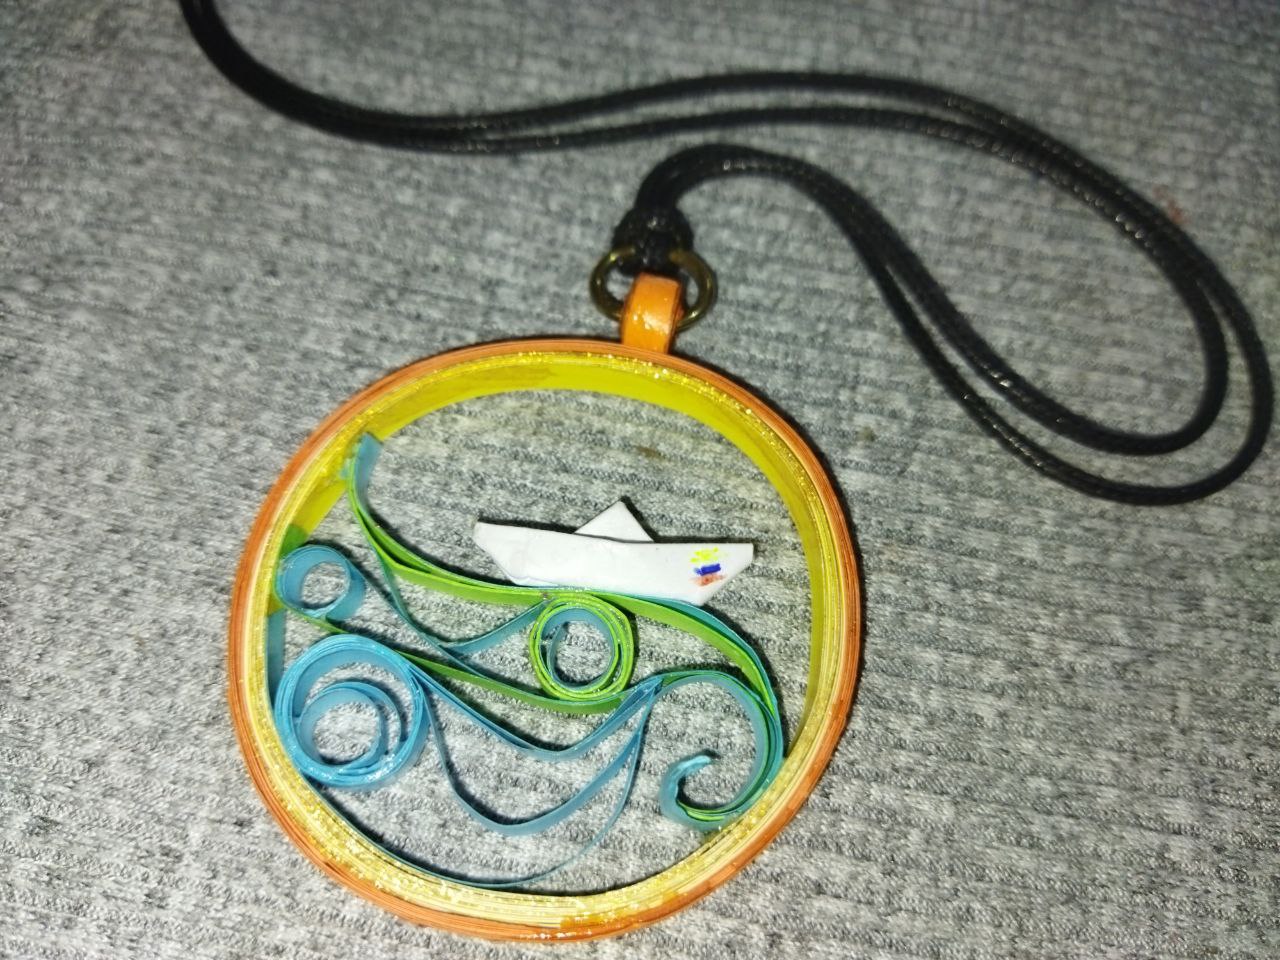
Por ultimo con la ayuda de na pinza le colocamos la argolla de metal dorada para guindar nuestro cordón
Finally with the help of a clamp we place the golden metal ring to hang our cord.
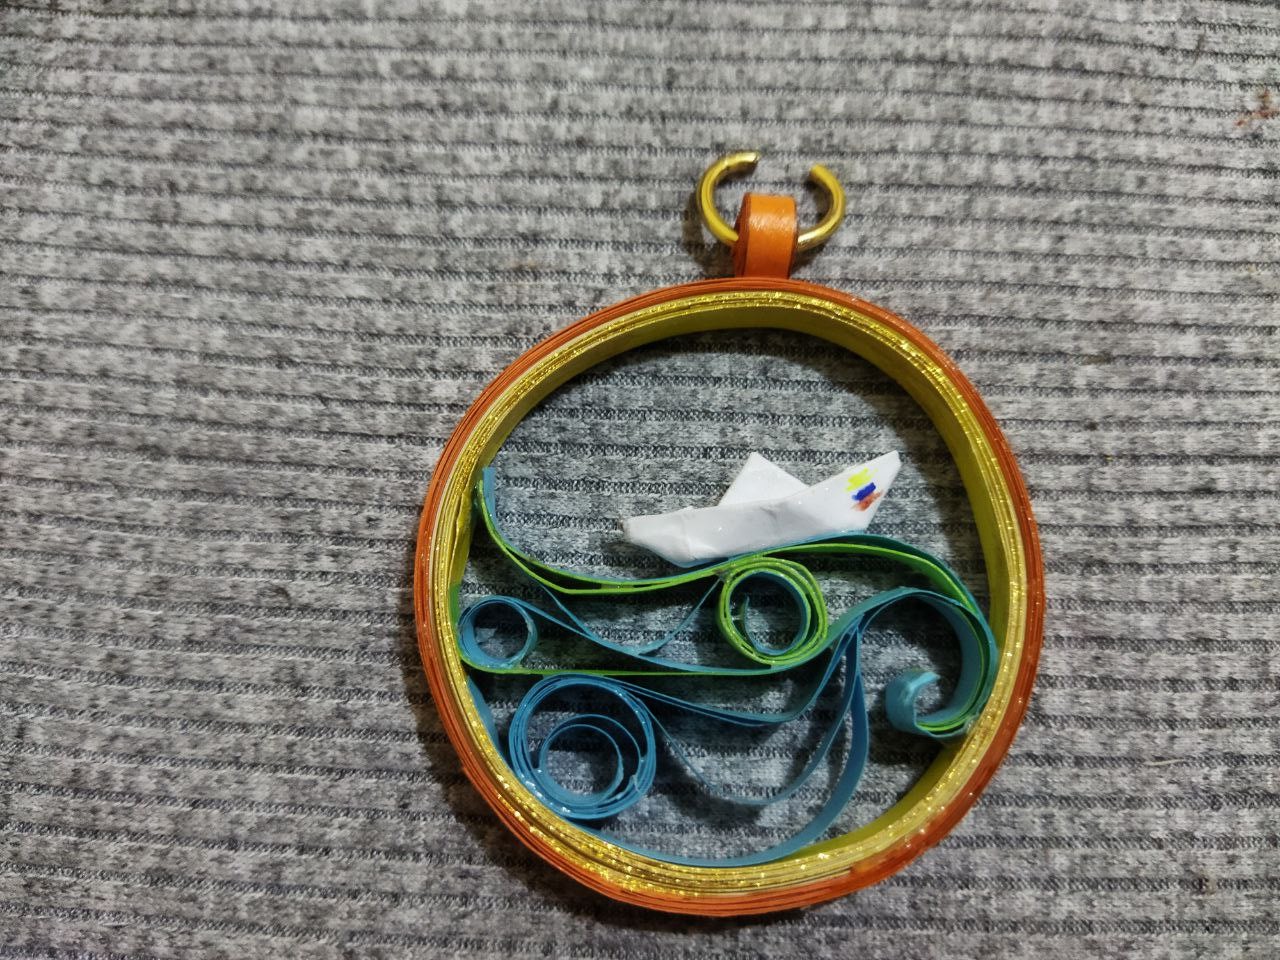
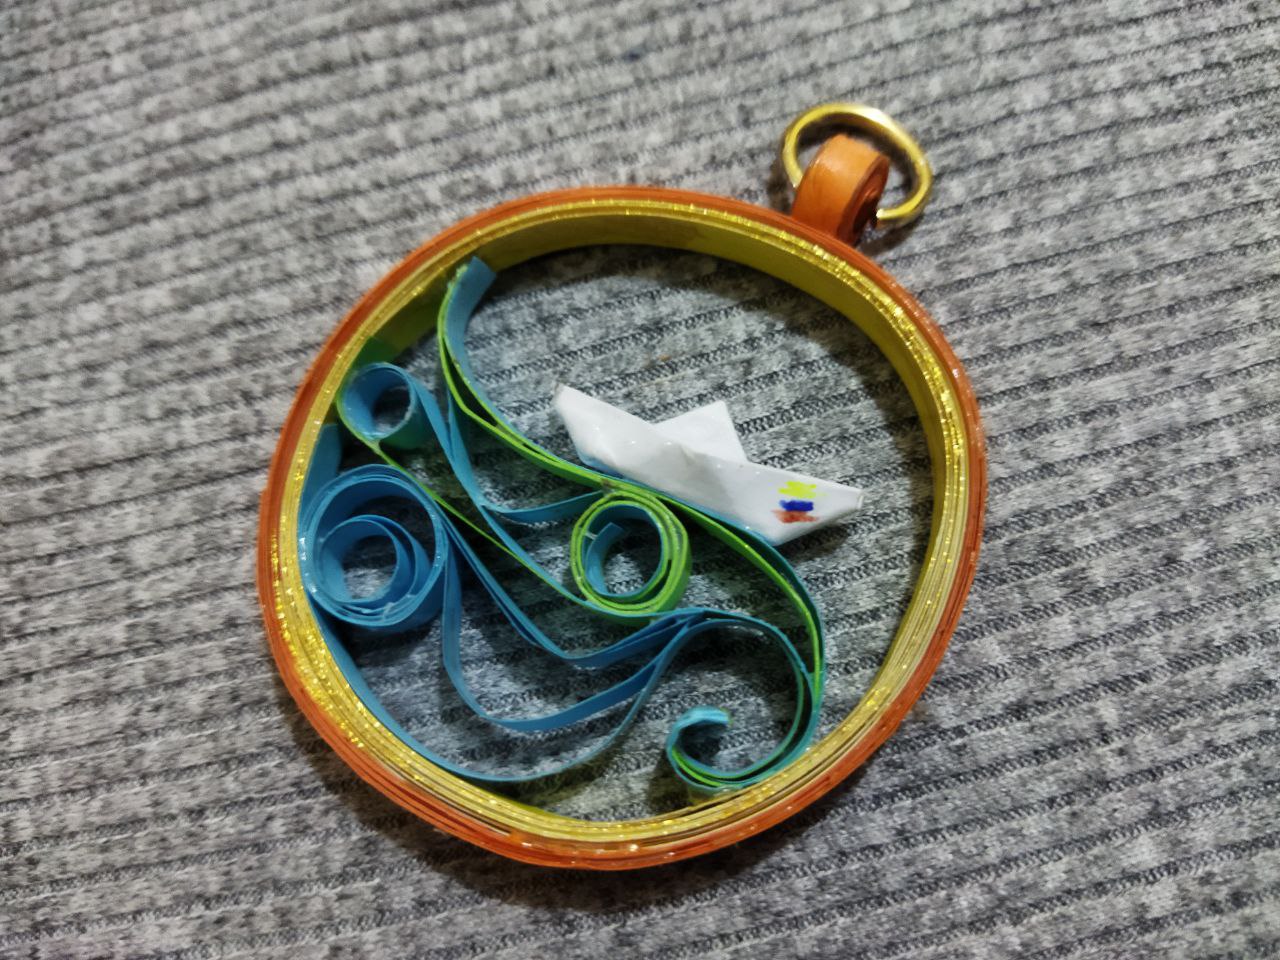
Ahora si Listo!!! ya culminamos con este hermoso proyecto como fue el diseño de un Colgante inspirado en un hermoso atardecer a orillas del mar, elaborado en quilling paper. Filigree technique, es una técnica muy linda y fácil de aprender todo es cuestión de practica. Con esmero y dedicación podemos lograr muchas cosas que nos proponemos
!! Un saludo y nos vemos en una próxima oportunidad!!
Now we are done with this beautiful project as it was the design of a pendant inspired by a beautiful sunset by the sea, made in quilling paper. Filigree technique, is a very nice technique and easy to learn everything is a matter of practice. With care and dedication we can achieve many things we set out to do.
!! Greetings and see you in the next opportunity!


| Pueden seguirme en 💙: | You can follow me on 💙: |
|---|---|
| eveyese1312 | |
| Discord | eveyese1312#6211 |
Las fotos y el contenido son de mi autoria
Imágenes editadas en PowerPoint Canva y PicMonkey
Para la traducción usé el traductor: DeepL
The photos and content are my own.
Images edited in PowerPoint Canva and PicMonkey
For the translation, I used the translator: DeepL
Un hermoso medallon amiga @eveyese1312 es bonito el tema de las olas del mar y el barco, aunque se ven endebles por ser pocas tiras, imaginamos que la pega le da la estabilidad necesaria. Lindo medallon 😉
Hola mi querida comunidad @hive-189504, pues si me asegura de darle varias capas de cola blanca y además esperar que secaran muy bien entre una otra hasta lograr la textura deseada fuerte y firme. Gracias por su valioso comentario. Mil bendiciones
Un trabajo hermoso @eveyese1312 muy bien explicado y los colores armonizan entre ellos 🤗
Hola @marleyn me alegra mucho que te haya gustado mi trabajo 😊 en realidad le pongo mucho amor a cada proyecto que realizo para compartir con ustedes. Mil bendiciones para ti y que pases un hermoso fin de semana
Ahhh..que bonito. El barquito está fantástico. Cuánta creatividad amiga.
Hola amiga @artsugar gracias ☺️ si realizar ese barquito de papel me hizo recordar mucho mi infancia. Me alegra que te haya gustado mi trabajo. Mil bendiciones para ti
Wave and boat inside the locket, what a great combination! Nice work.
Congratulations @eveyese1312! You have completed the following achievement on the Hive blockchain And have been rewarded with New badge(s)
Your next target is to reach 60000 upvotes.
You can view your badges on your board and compare yourself to others in the Ranking
If you no longer want to receive notifications, reply to this comment with the word
STOPCheck out our last posts:
Support the HiveBuzz project. Vote for our proposal!