CREATIVE SUNDAY- A FROG MADE WITH SUGAR PAPER AND STRAW- DIY
My kids love it with they do some creative artwork with me, making a frog with sugar paper and straw with them was so much fun. join me as I show you the steps to making it.
Greetings everyone, it's another creative Sunday in the Hive learners community. A lot to learn and share with others am glad to be part of it.

LIST OF THINGS USED
- Sugar paper (Green)
- straw
- Paper gum
- scissor
- Pencil
- Coloured hard paper from a disposable bag( Black, white and red)
THE MAKING
Step 1
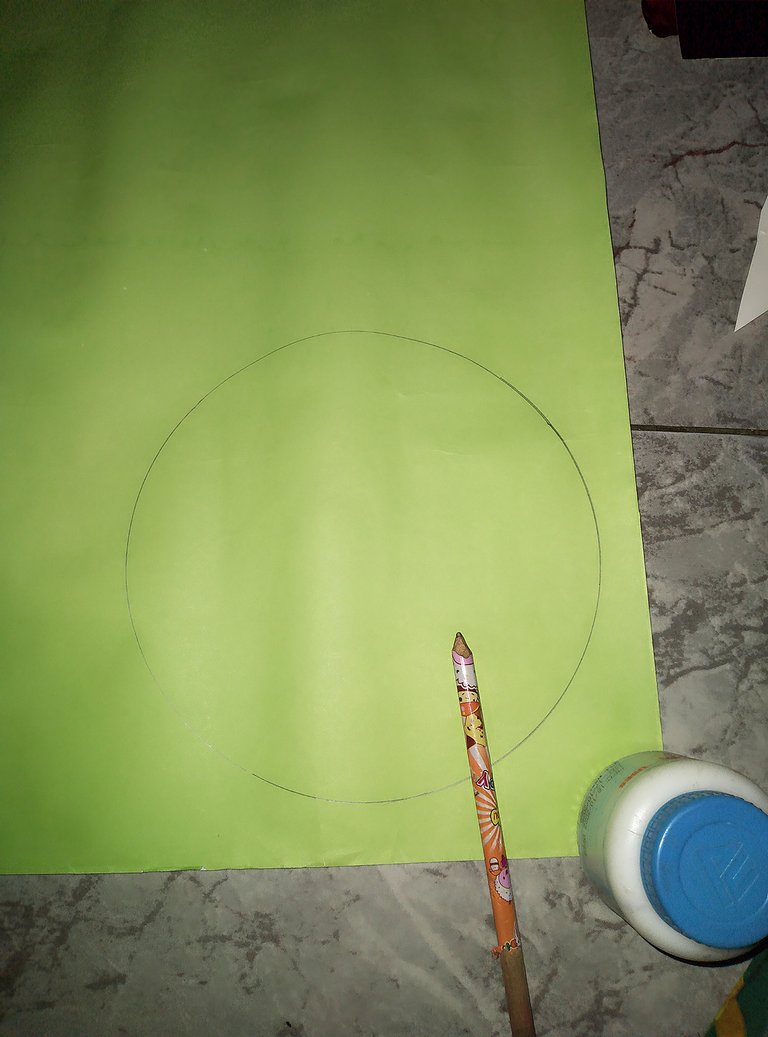

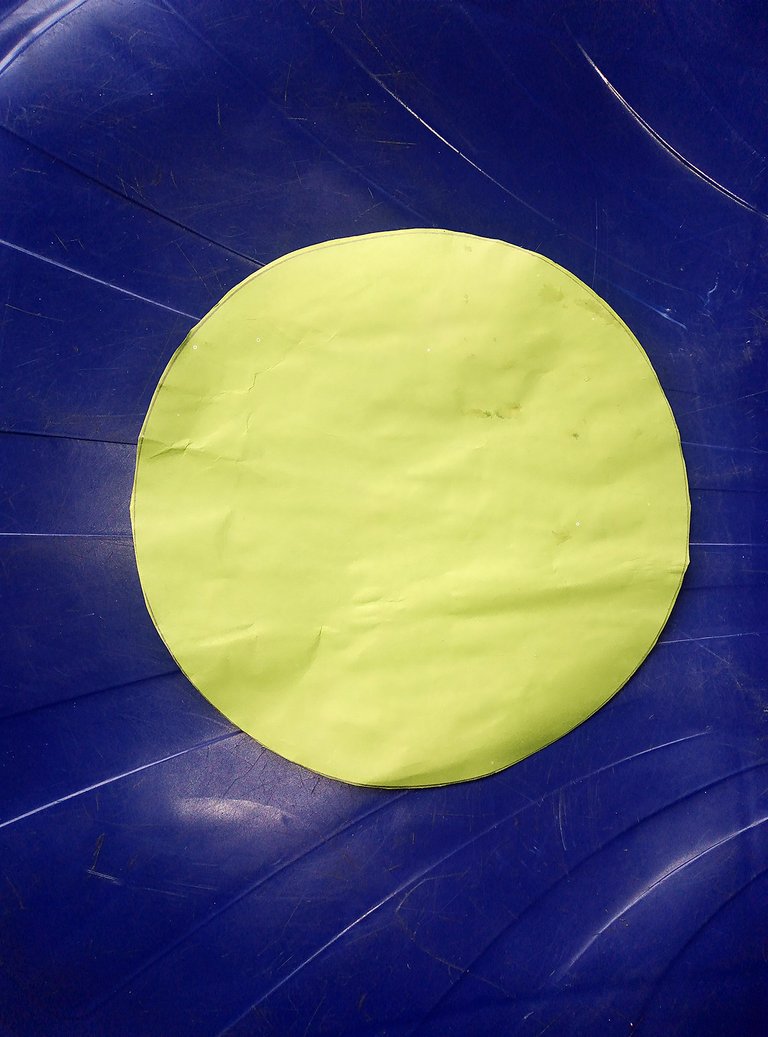
Making sure all the materials are available, the sugar paper is the first material we would be using. The sugar paper is very soft, unlike the cardboard paper, I fold the paper into two equal parts and glue them together to make it hard. Placing the glued hard sugar paper on the floor or a hard surface, get a plate that has a round-shaped opening to draw a big circle, after drawing the circle with a pencil, we cut the circle with the scissor and place it aside.
Step 2
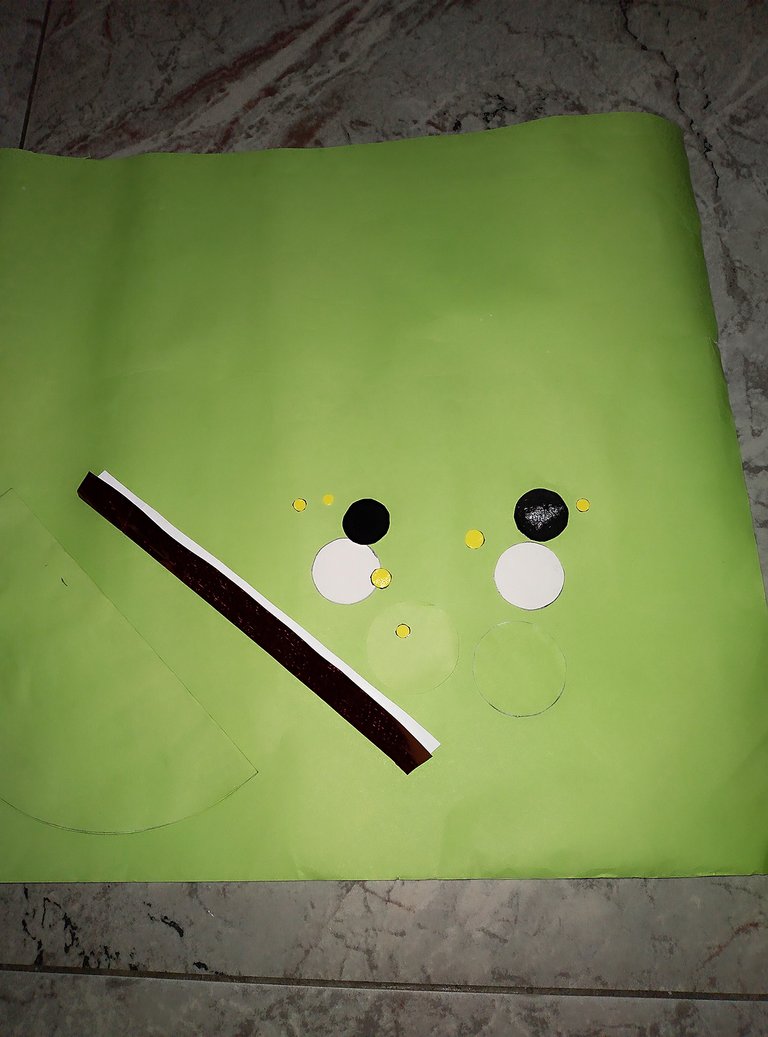
Get the black, red and white coloured hard paper, I got from a disposable bag from a wedding ceremony, then I got another round-shaped object to make smaller circles of different sizes and different colours. I cut out a green small circled shape. Also, cut out a long rectangular shape and place it aside.
Step 3
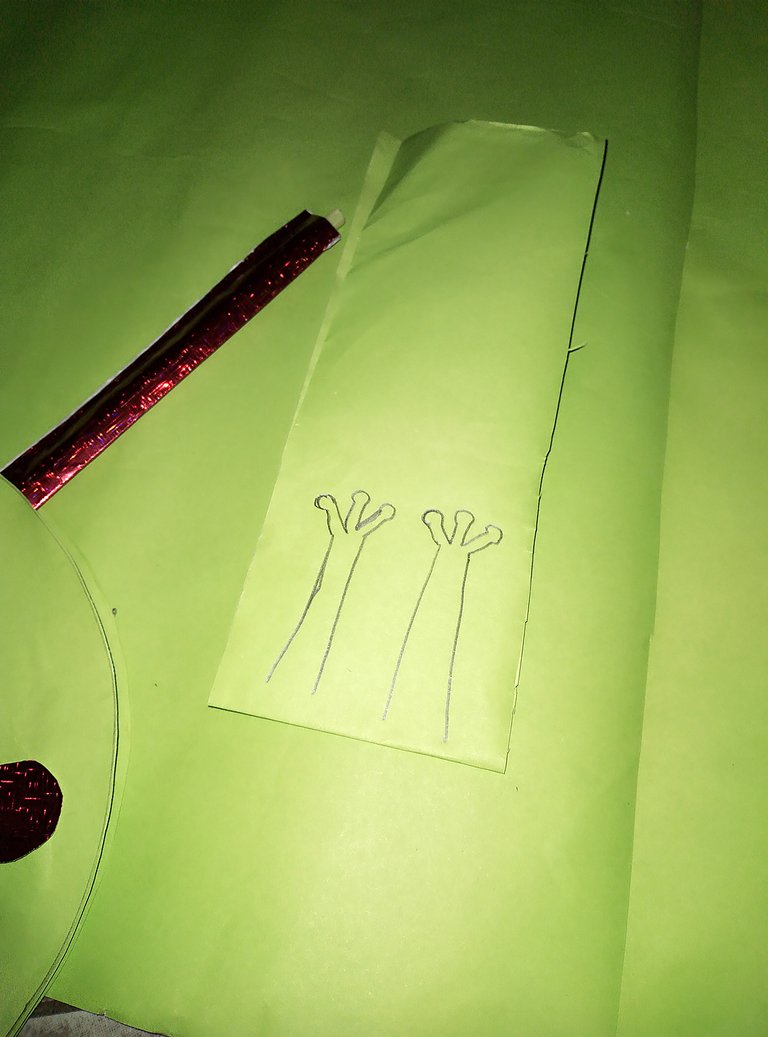
I used the pencil to draw the hands of the frog on the sugar paper, cut it and placed it aside.
Step 4
PUTTING ALL SHAPES TOGETHER
At this stage our frog is almost ready, all we need to do is put all the cutout shapes together. This is the part my daughter joined me when she saw all the shapes I have cut aside to make the frog. she could recognize the big circled, small circles and a rectangle.
Step 5
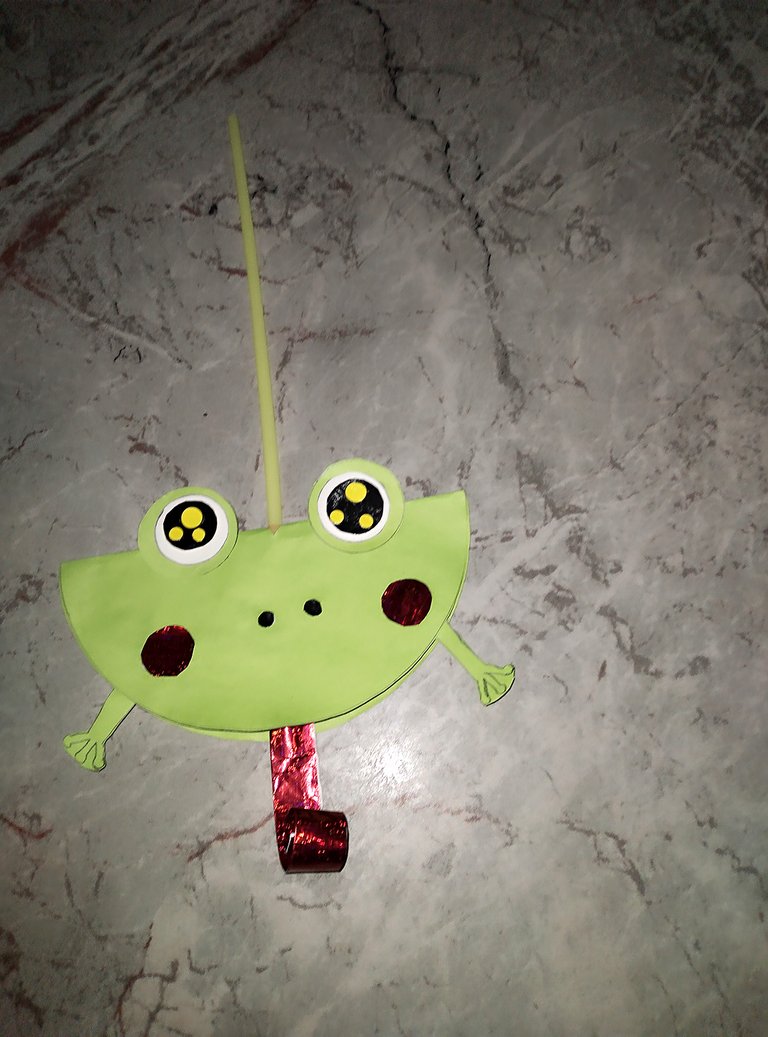
For the first big circle, I folded the paper into equal half to make it a semi-circle. Exactly on top of the line of the half circle, I placed the first green small circle shape to make the eyes after which I placed the white colour, the black colour and finally the smallest yellow colour for them to stick to one another I used a paper gum.
furthermore, I placed a small black circle in the middle of the half circle and a red bigger shaped circle by the side to create a smiling frog. Our frog is almost ready, we make a small opening at the middle of the eyes of our frog, I passed a straw through it and placed the red rectangular shape in-between the circle and glue it with the paper gum to hold them together with the frog. This would be the tongue of the frog. I roll it up to make a round twist so that when I blow air with the straw, the roll-up opens like the tongue of the frog.
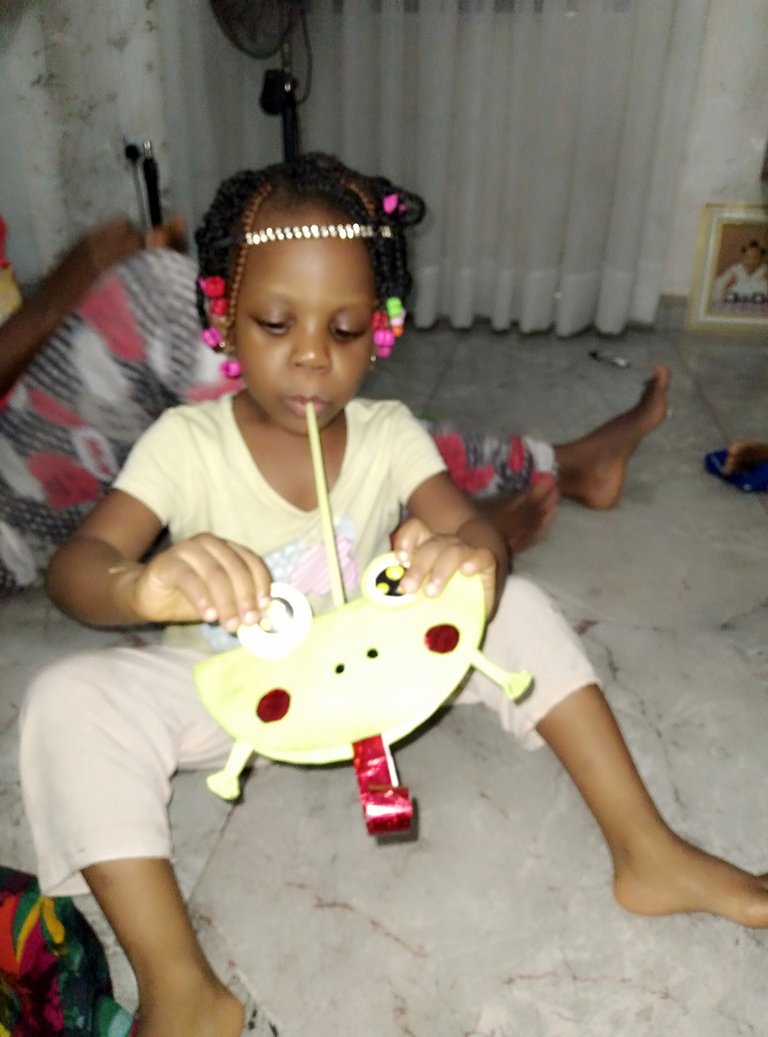
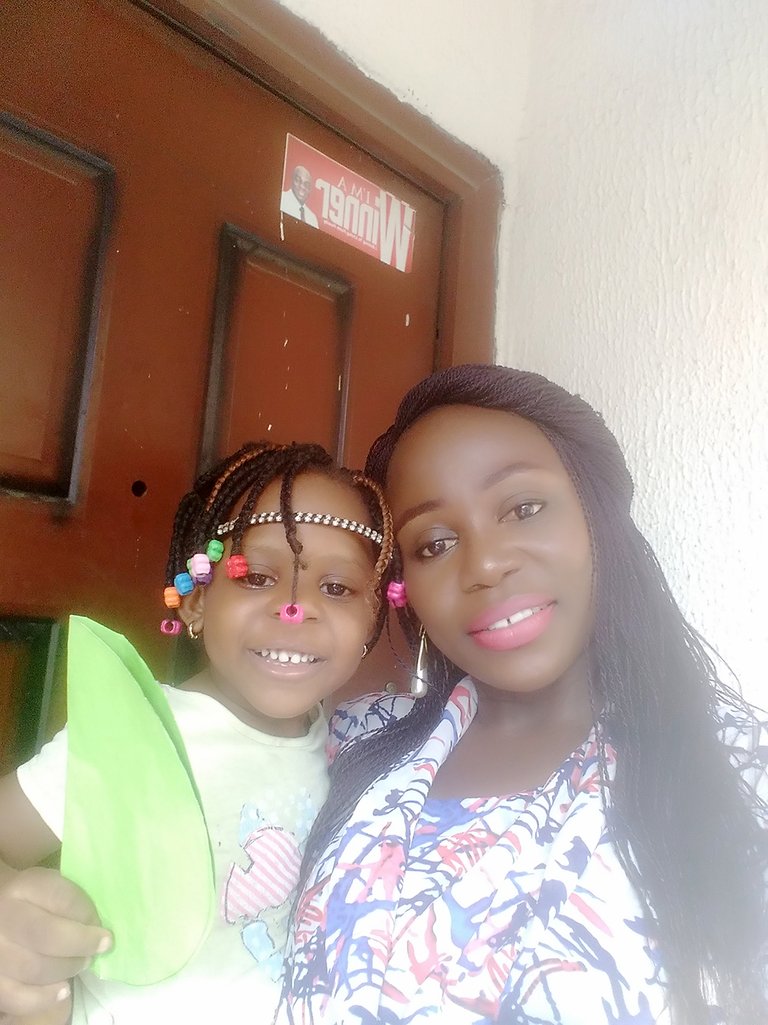
My baby was so excited to try it out. it was fun with the kids.
Its DIY you can try out with your kids at home and you could also do this with your pupils at school.
I hope you enjoyed the making. Thank you for reading.
All pictures are my original photos.
!giphy great work
!PIZZA
Via Tenor
Yay! 🤗
Your content has been boosted with Ecency Points, by @floraada.
Use Ecency daily to boost your growth on platform!
Support Ecency
Vote for new Proposal
Delegate HP and earn more
$PIZZA slices delivered:
@bhattg(1/10) tipped @floraada
Aww...this is beautiful flora
I love how you are getting your kids to be creative as well 😇✅
I should try one project with my kids before the vacation is over
Thanks for sharing my dear ❤️
Congratulations @floraada! You have completed the following achievement on the Hive blockchain And have been rewarded with New badge(s)
Your next target is to reach 5000 upvotes.
You can view your badges on your board and compare yourself to others in the Ranking
If you no longer want to receive notifications, reply to this comment with the word
STOPCheck out our last posts: