Create my own destiny, gain confidence and courage in my southern conscience and get where I want.
Take off the blindfolds, face my fears and know that everything is done as I hope.
And I'm going there, I don't doubt it, because the universe is abundant.
I take a leap of faith
ᕼEᒪᒪO, ᗯEᒪᑕOᗰE TO ᗰY PᑌRPᒪE ᗯORᒪᗪ 🟣
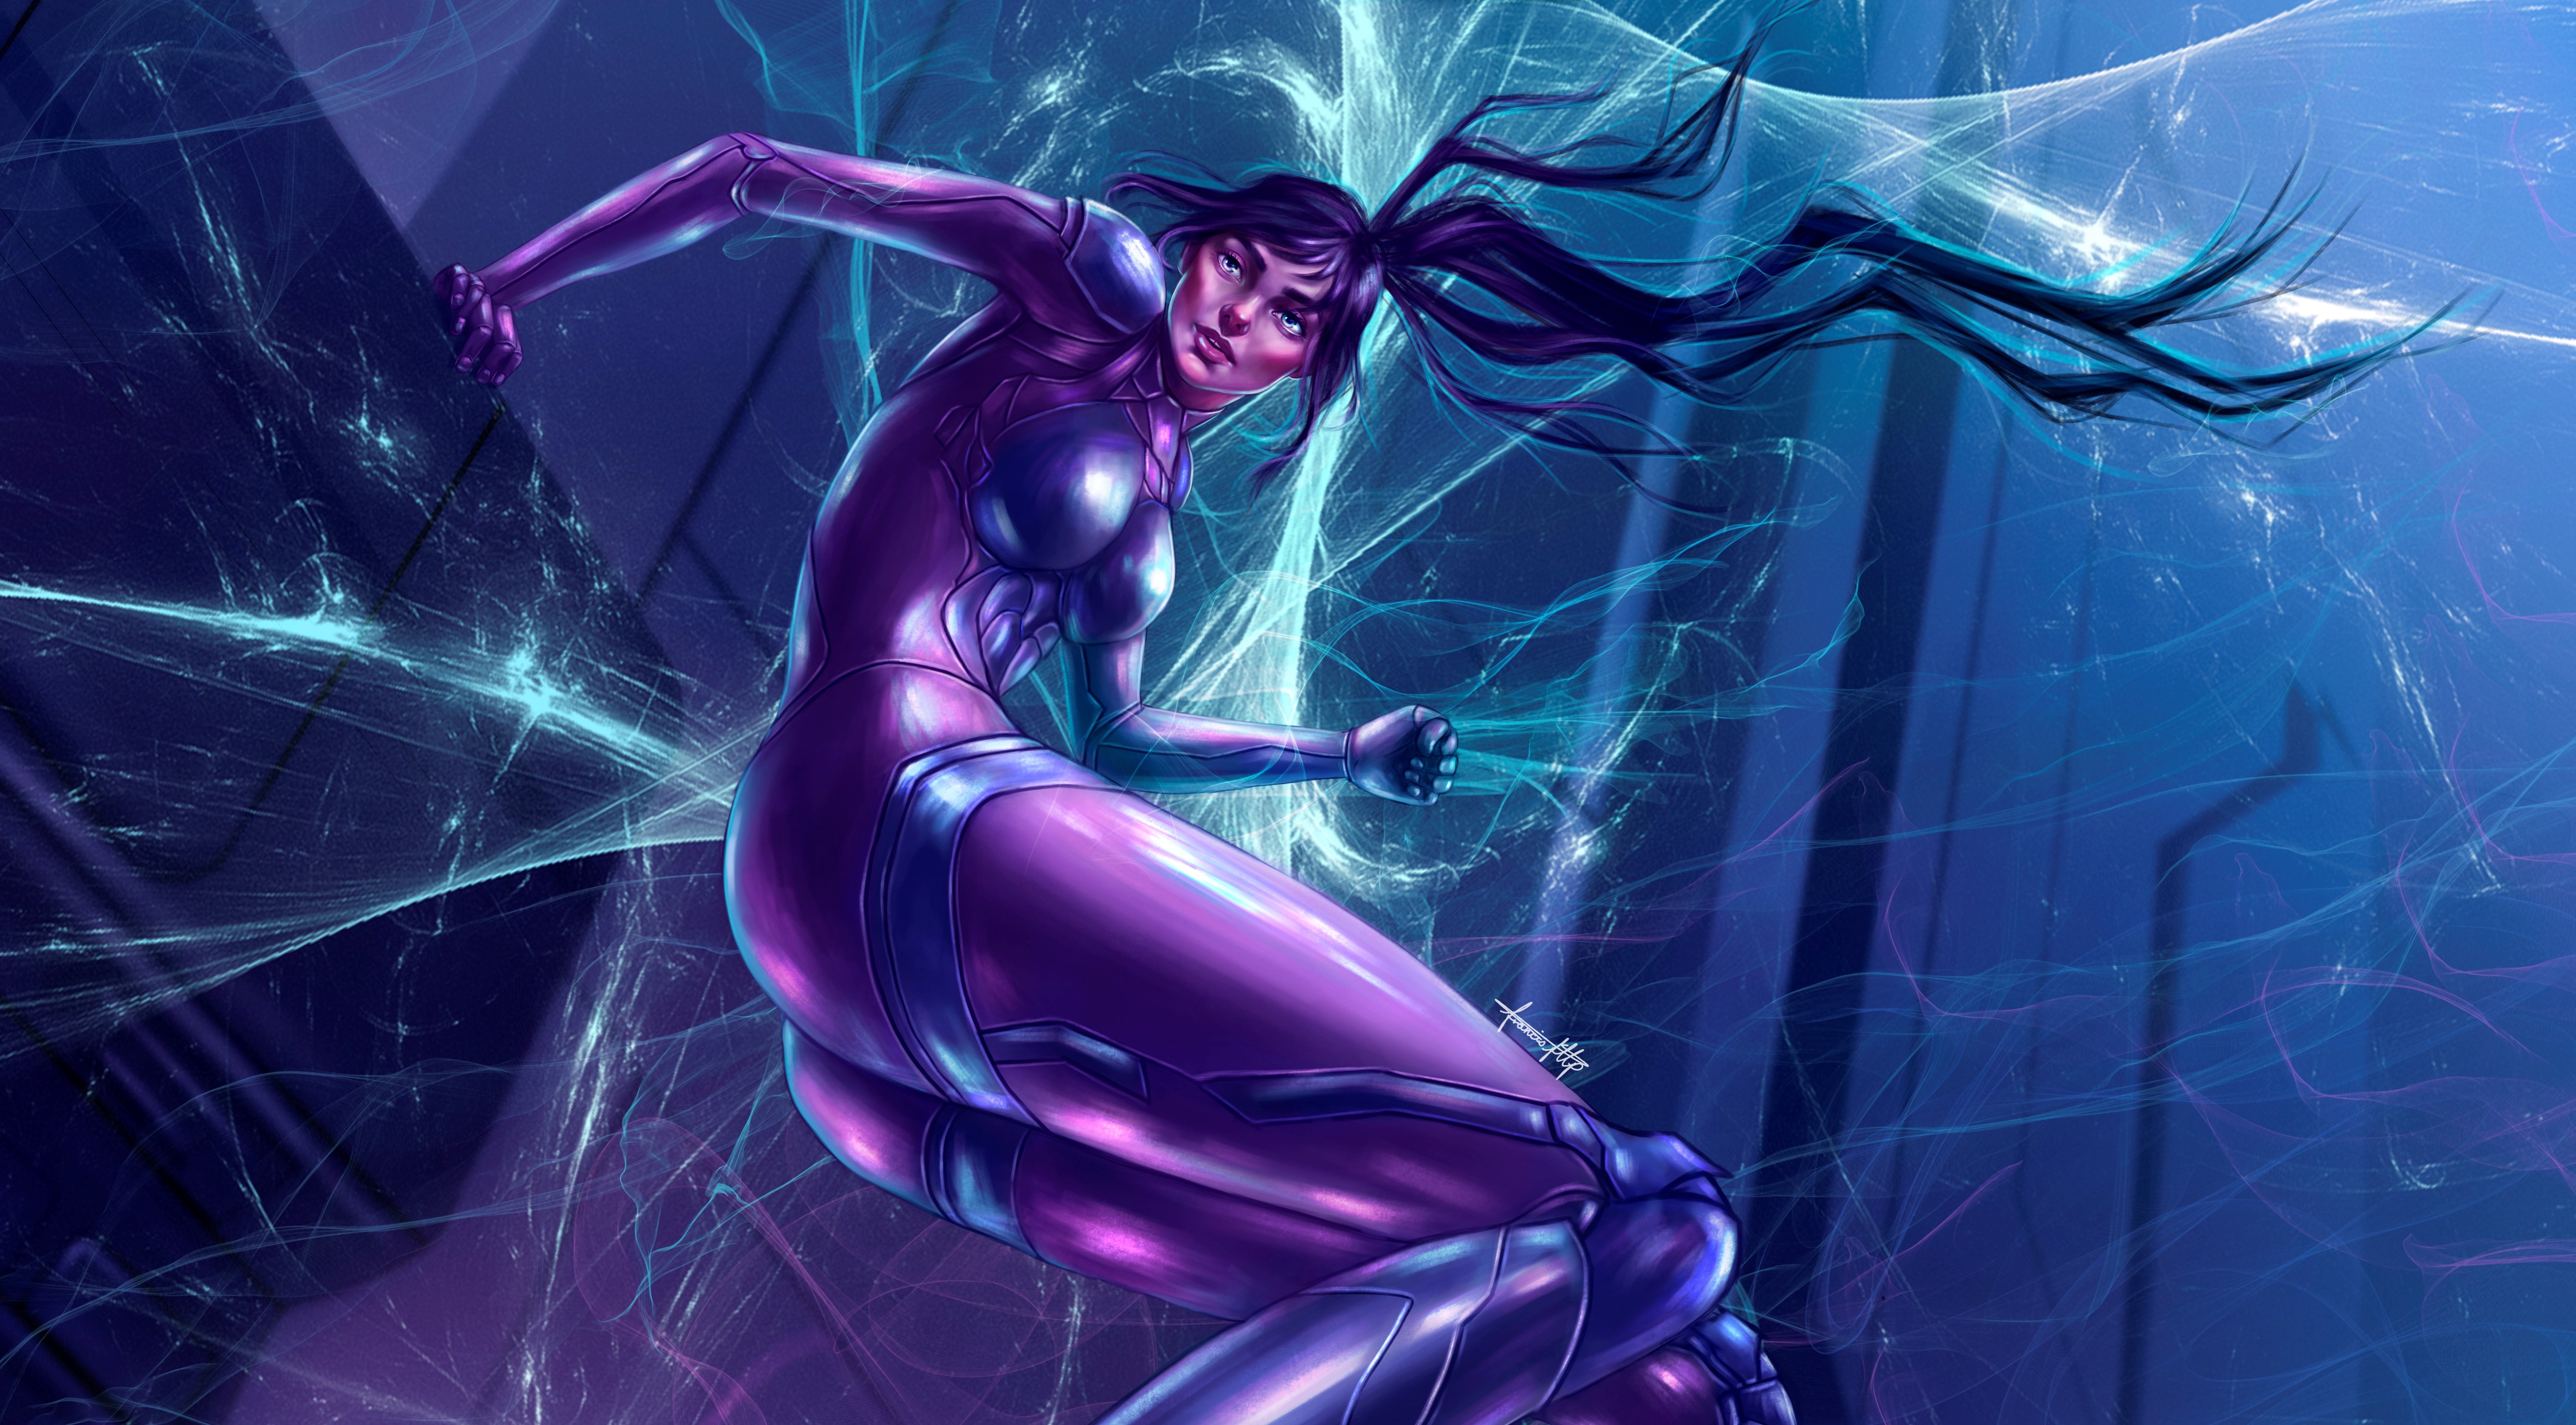
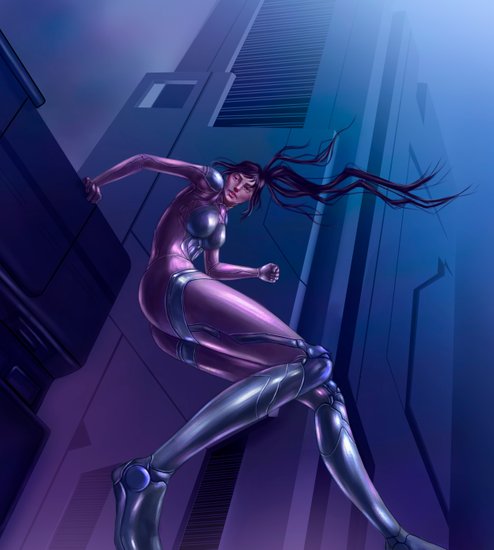
"Leap of Faith" is a digital artwork that shows you the more human side of a cyborg girl. Inspired by my own story of feeling different and apart in real life.
But in reality, this artwork captures emotion and movement creating a stunning visual effect, depicting a brave and determined woman who dares to live a unique experience in the world. I use vibrant colors and geometric shapes to create a contrast between the human figure and the futuristic environment.

TEᑕᕼᑎIᑕᗩᒪ IᑎᖴORᗰᗩTIOᑎ:
I work with an Huion Kamvas 20.
Laptop.
Photoshop CC 2019 program.
Drawing Dimensions: 5000x5564 pixels.
PROᑕESS Oᖴ ᗪRᗩᗯIᑎG:
STEP 1:
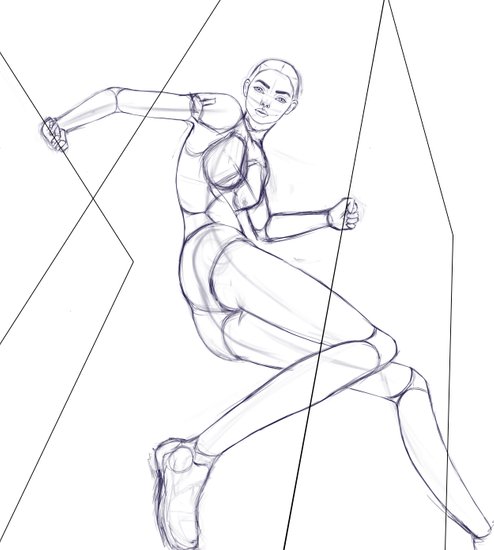
The first thing I do is to have a clear idea of what I want to express and transmit. Then, I look for references to help me visualize my idea. Next, I make a quick sketch with some loose or quick strokes, to capture the essence and concept of my work. At this stage I am not concerned with details or precision, only composition and balance.
Next, I create a new layer over the sketch to remove excess lines and give more clarity to my work. In this layer, I work with defined and careful lines, to highlight the figure and the movement, and in an orderly way. In this way, I give shape and personality to my work, and prepare it for the next steps.
In the following image you can see the defined lines.
STEP 2:
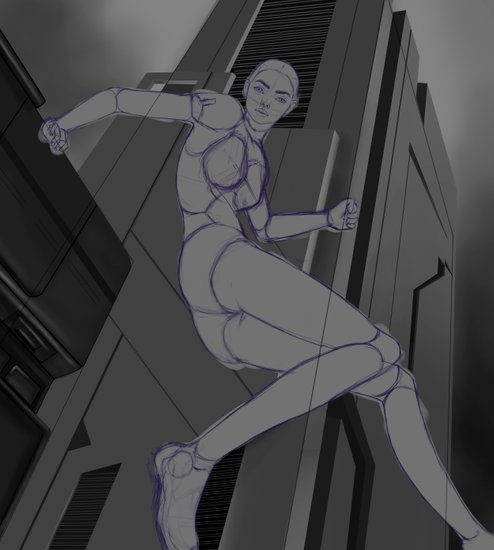
After having the lines defined, the next step is to add the grayscale base color. This step is important to establish the tonal values of the work, i.e., light and dark. As you can see, the background is not completely white, but has a light gray tone. I do it this way to be able to work better in the following steps with black and white paint, that is, to have a contrast with the background and create depth and volume. This way, when I add color, the lighting and shape of the subject is not lost.
To add the base color to grayscale, I use a layer below the sketch layer. This way, I can paint without affecting the lines and without going outside the outline. I use a soft brush with variable opacity to create smooth transitions between tones. I start with a medium gray and then add shadows and highlights depending on the direction of the light and the shape of the subject.
In the following image you can see the base color in grayscale.
STEP 3:
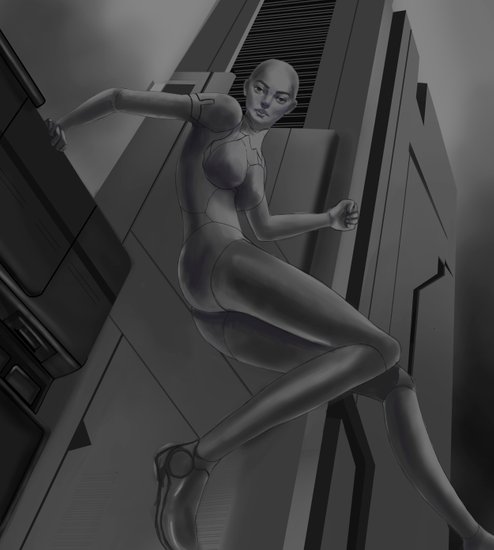
In this step, the goal is to give more realism and definition to the work, painting in black and white. To do this, I use a single brush, but with different sizes and pressures, to create different effects and textures. With the brush, I add shadows and lights, following the same direction of the light that I established in the previous step. I also define little by little some details, such as the folds of the clothes, the wrinkles of the skin, the features of the face, etc. They don't need to be very precise, just give the idea of shape and volume.
In this part, I worked on a layer below the sketch layer and above the base color. This way, I can paint without erasing the lines or altering the tonal values. I can also adjust the opacity of the layer if I want to soften or intensify the painting effect.
In the following image you can see the result of this step."
STEP 4:
In this step, the goal is to finish painting with black and white, making as many details as possible to start adding color. To add color, I use the same brush as in the previous step, but with more care and precision. With the brush, I go over and reinforce the shadows and lights, creating contrasts and brightness. I also make new details, being able to differentiate the robot parts. I try to make them as realistic and coherent as possible, taking into account the shape, texture and material of each element.
STEP 5:
In this step, the goal is to finalize the artwork, finishing all the details and lighting. After doing the process of adding color on the skin, I worked on painting more details over the color, using a smaller brush and with more pressure, to create more definition and texture. Since working with this technique involves painting over the black and white, you have to keep painting over it and blurring some edges that are too light or too dark, to create a more realistic and harmonious effect. I also went over and reinforced some highlights and shadows, to create more contrast and volume. Thus, I was giving the final touches to the work, taking care of every detail and every color.
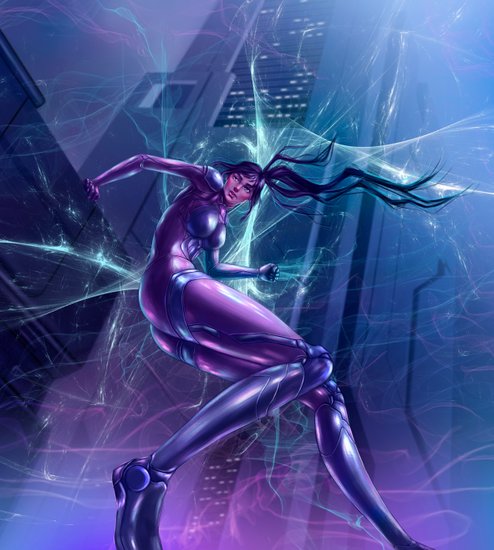
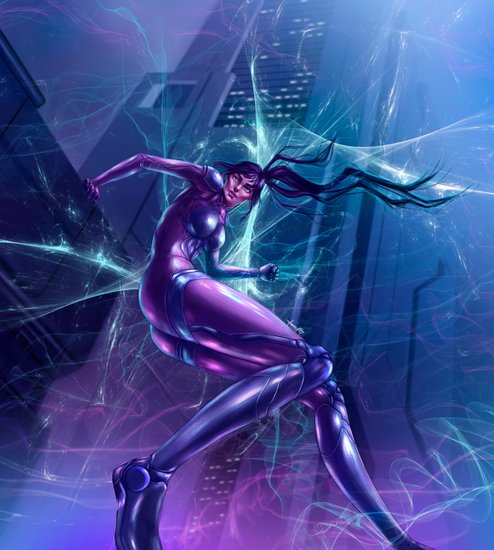
ᖴIᑎISᕼEᗪ ᗪRᗩᗯIᑎG
In this step, the goal is to give the final touches to the artwork, adding some effects and filters to give it more personality and style. After finishing all the details and lighting, I worked on making him the lights of some parts of the body, like the eyes, etc. These lights give her that cyborg touch, something I like to add in all the cyborg girls I've done, to show her technological and futuristic side. I also applied a filter which is color balance, so you can have that feeling that everything complements or blends together, creating a more harmonious and balanced color palette.
PROᑕESS Iᑎ GIᖴ ᗩᑎIᗰᗩTIOᑎ
If you want to see more of my art, you can access in the following links, In this website, you will find more digital artworks that I have created, with different themes, styles and techniques. You can also see the creation process of some of them.
SOᑕIᗩᒪ ᑎETᗯORKS
Instagram | Twitter | Facebook | Pinterest | Behance
ᑎᖴT
Foundation | Makersplace | Knownorigin | Async | Rarible | Opensea | NFTshowroom | Virtua
Before I say goodbye, I want to thank you for being here and supporting my work. It is a pleasure to share with you my passion for digital art and cyborg girls. I sincerely hope that you liked my work, that it has transmitted something to you and that it has inspired you. If so, leave me a comment and I will be happy to answer you, to know your opinions and suggestions. Thank you very much for your attention.
🤗
ᑌᑎTIᒪ ᑎE᙭T TIᗰE!
ᗷᒪESSIᑎGS!
💜💜💜
Hey volviste, cuanto me alegra verte de regreso, saludos. Tu arte es increible😍
Well done Francis on your digital self-portrait NFT art piece. You show a good step by step process for me to learn from. My art is done by hand with paper, scissors and glue before minting the collage as NFT at the showroom on Hive. See you at the gallery.
Best wishes from the south coast of Africa.