The Infiltration Of Zenith Base.

https://play.3speak.tv/embed?v=frankevor/gb1hdg0d
Aloy gathered her companions to launch a rescue mission for Beta and GAIA. Using Tilda's secret tunnel, the group bypassed open terrain toward the launch tower. Aloy coordinated team positions while using stealth and heavy melee strikes alongside Erend to dismantle patrolling Specter units silently.


Knowing there was no turning back, I called my companions together to begin the push to rescue Beta and GAIA. Zo confirmed over the comms that everyone was en route, leaving Aloy to wait by the campfire as silence fell over the coast.


Before long, the team gathered, and Tilda suggested they should move immediately now that everyone had arrived.
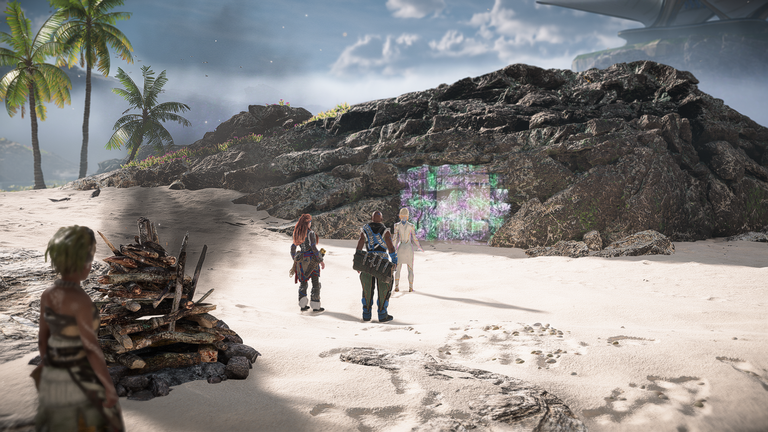


Tilda led the group to a concealed secret door, revealing an ancient tunnel escape route running all the way across the water from the island ruins. She explained that she had hidden the passage from the other Zeniths to move undetected.


Stepping through the tunnel, we emerged near the base of the massive launch tower. With open terrain offering zero cover, Tilda pointed out that the tunnel approach was our only option, warning us that heavy Specter patrols guards the path with more ready to deploy from the hangars.


Aloy dispatched Alva and Kotallo to their designated assignment, deliberately withholding their target location when Tilda questioned their departure, a clear sign that neither Aloy nor Sylens fully trusted her motives.


As Tilda moved back to hack into the local security systems, Aloy and Erend advanced toward the launch tower. Machine carcasses littered the field alongside active Specter units patrolling strict routes.


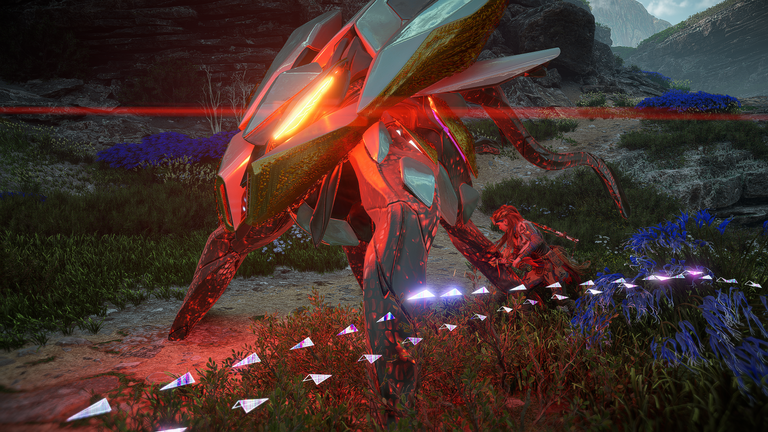
Highlighting a nearby Specter's path, I crouched into cover and tracked its movements, looking for an opening while Erend stayed close behind.
When the first Specter drifted near my hiding spot, I lunged forward with a Silent Strike.


The heavy hit failed to destroy the machine outright, breaking stealth and forcing us into a close-quarters melee brawl until the Specter collapsed.

Fortunately, a second Specter patrolling the far side of the zone remained unaware of the fighting, giving us time to drop back into cover.

The remaining Specter caught a brief glimpse of us as it swept the perimeter, forcing us to remain still until its search state reset and it resumed its loop.


Tailing the machine carefully, we triggered another brief alert before breaking line of sight a second time.
Once the Specter returned to its routine, I closed the distance and landed a second Silent Strike, dealing massive damage before rolling away into a new hiding spot before the machine recovered from its stun.


Waiting out its brief confusion, I closed in for one final Silent Strike and followed up with a quick melee combo to finish off the machine for good.
The next post will be coming soon. Screenshots are my take from the game and I took the game logo that I used on the thumbnail picture from online.
SEE YOU.
That second Silent Strike was much cleaner, the timing on the hit and immediate retreat made it look like you had the whole patrol route memorized.
The secret tunnel was a smart way to reach the launch tower. I liked how Aloy used stealth instead of rushing into the open field. The Specter fights also made this part exciting.
The secret tunnel was a really clever way to approach the launch tower without crossing the open terrain. I also liked how the Specter encounters turned into a stealth-and-patience challenge instead of just a straight fight.