Freshly Baked Sesame Croissants
Freshly Baked Sesame Croissants
Hello fellow Foodies,
I hope you had a good start to the weekend.
I love cooking, but I also love baking and that is, what I have for you today.
I wanted to try out something different and chose croissants. But not ordinary croissants.
I made Sesame Croissants.
Let's get right into it. It is a simple recipe. Everyone can do it and you always have fresh baked goods available, even if price hikes continue.
Ingredients (Dough)
For the dough, you need two kinds of flour. First you need wheat flour type 405 and then either wheat flour type 1050 or hulled wheat flour. That is up to you and your preferences.
Dough
- 250g hulled wheat flour or wheat flour type 1050
- 125g wheat flour type 405
- 1 sachet of dried yeast (I do not have fresh yeast, but you can use 7g of fresh yeast, if you like)
- 2 teaspoon of salt
- 1 1/2 teaspoon of sugar (The first time baking Sesame Croissants, I tried it with less salt and sugar and it lacked definitely a bit more of both)
- 3 tablespoons of vegetable oil (take any vegetable oil you like most)
- 200ml lukewarm water
- 50g to 100g additional flour in bowl for your hands to knead the dough
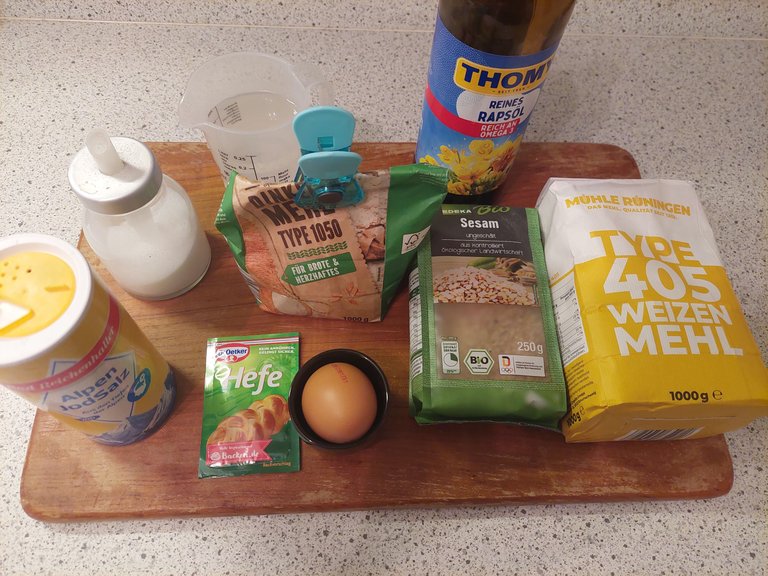
Ingredients (for basting and sprinkling the dough)
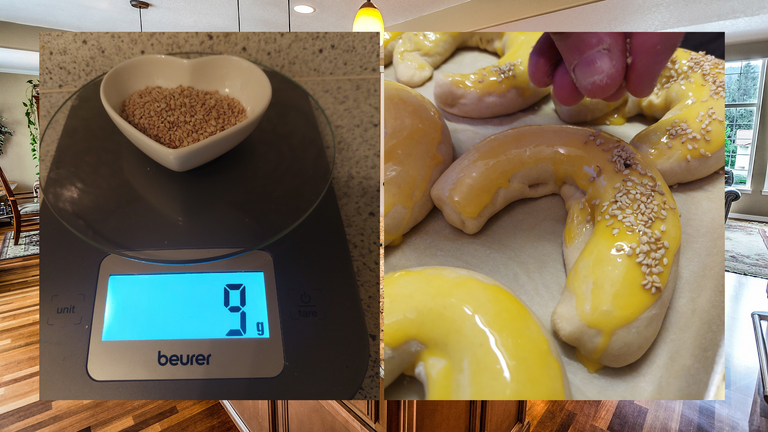
- 1 egg yolk and 1 teaspoon of oil to baste the dough and about 10-15g (I like more sesame on my croissants, so I dredged a little bit more on the croissants) white sesame seeds

Preparation
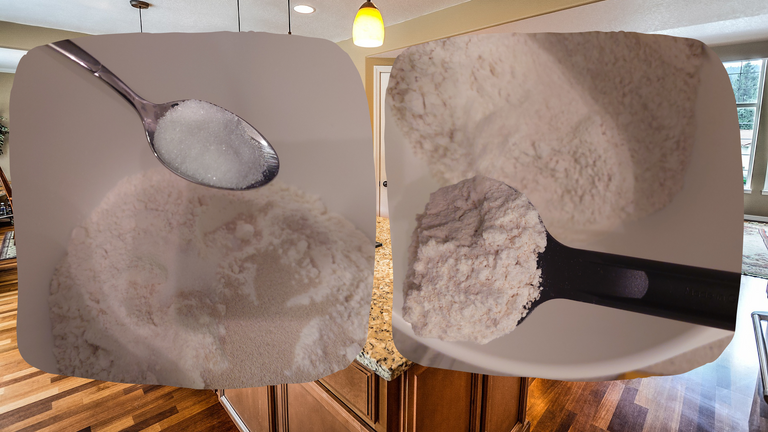
Step 1
I poured both varities of flour into a baking-dish, put the dried yeast, salt and sugar into it and mixed everything for a few seconds.
I then formed a well in the middle of the mixture and filled it with the three tablespoons of vegetable oil.

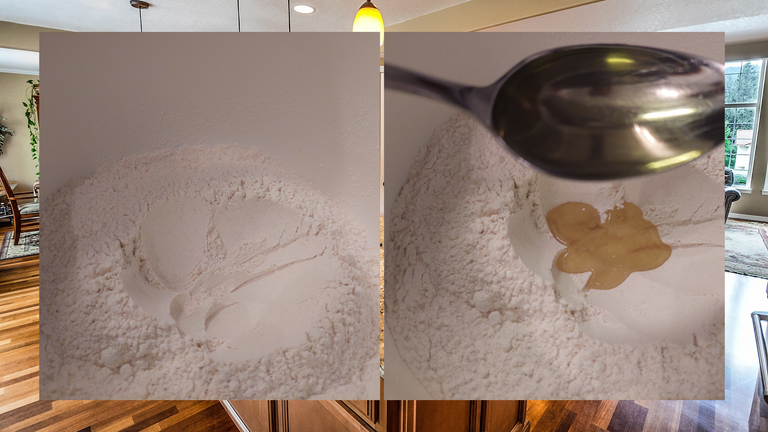
Step 2
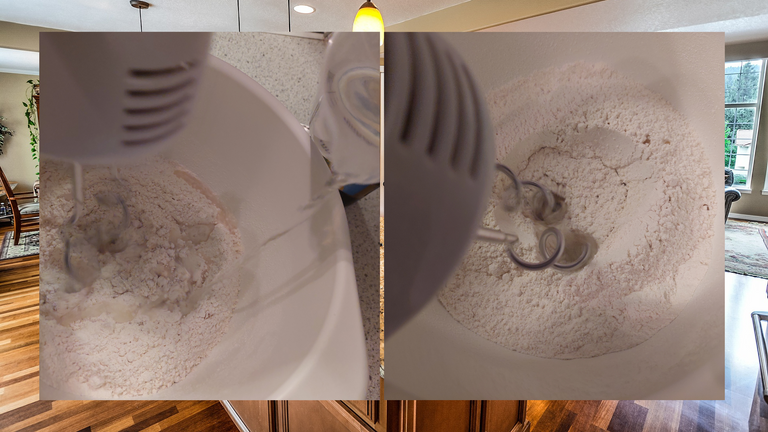
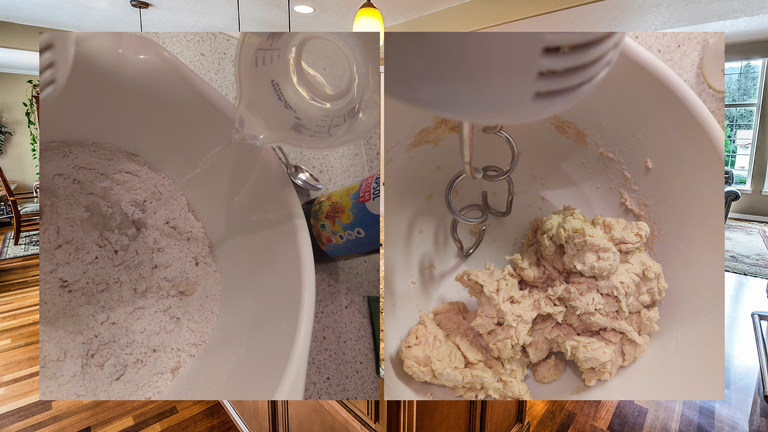
After that, I blended the yeast dough with the hand mixer. I started in the middle of the baking-dish, where the well was and poured the lukewarm water in it in small portions. I kneaded the dough with the dough hooks until it was solid and then proceeded by kneading the dough for additional 2 or 3 minutes by hand until it was elastic and not sticky anymore.
Here you can use the additional flour for your hands, because in the beginning, it ist quite sticky.
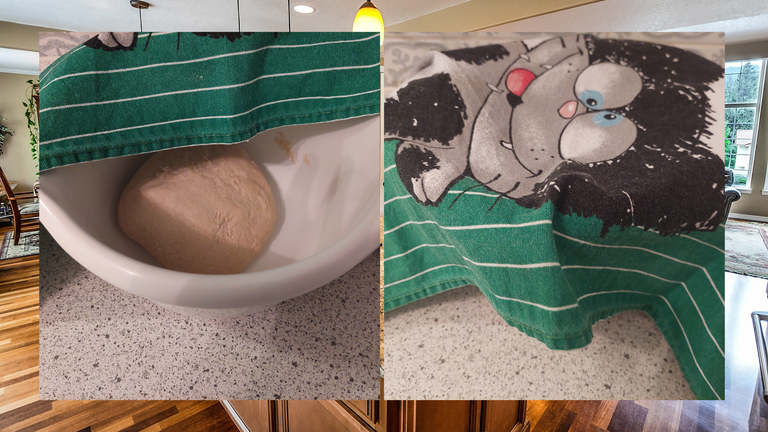
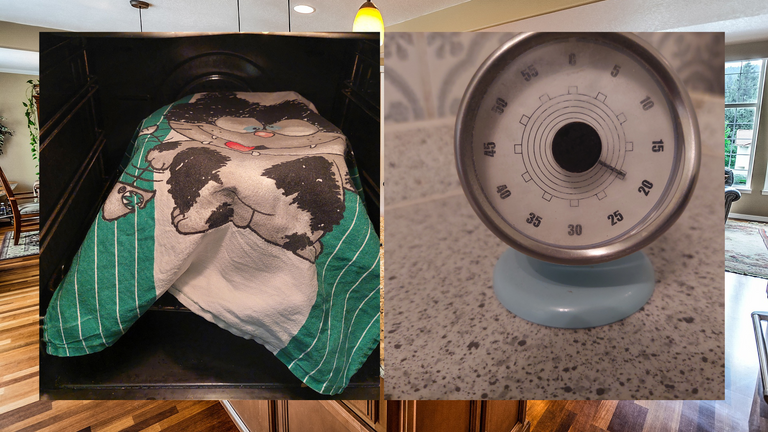
Step 3
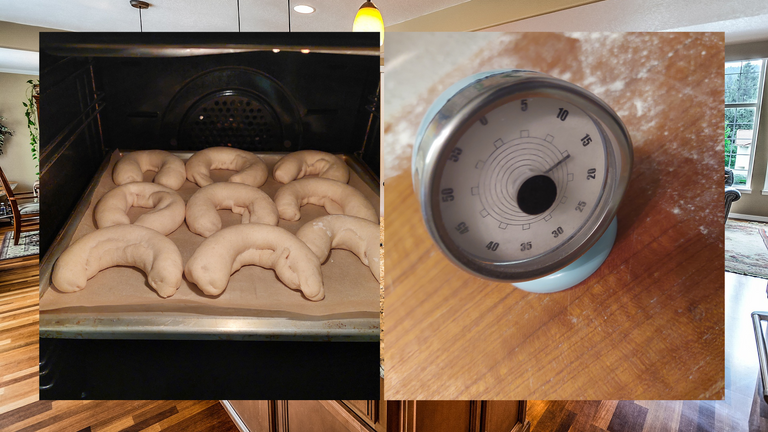
Now we had to wait. I put a towel over the baking-dish and put it in the oven. I preheated it to 50 degree and turned it off before I put the dish in.
You need to wait approximately 20 minutes in order to have the dough doubled, but it can take a little longer, when the yeast is not that fresh anymore (even dried yeast can expire or diminish in quality).
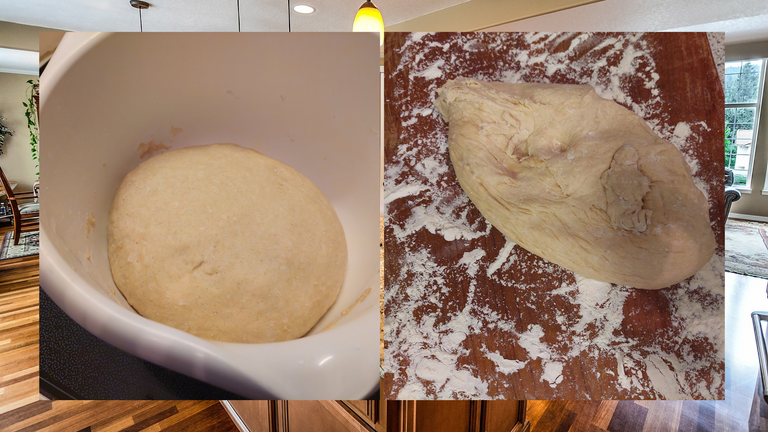
Step 4
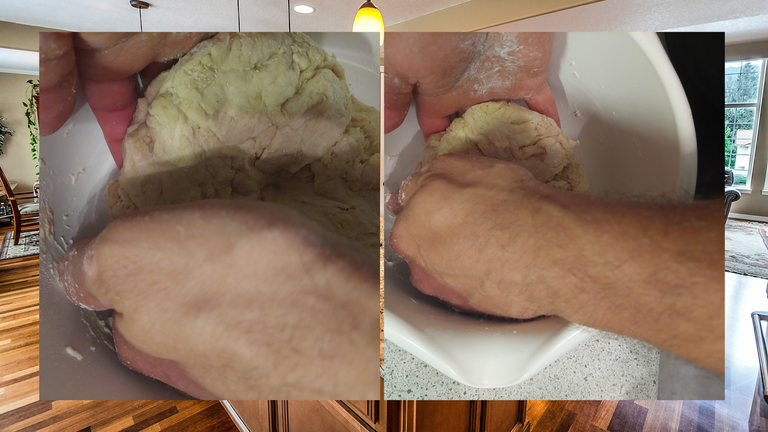
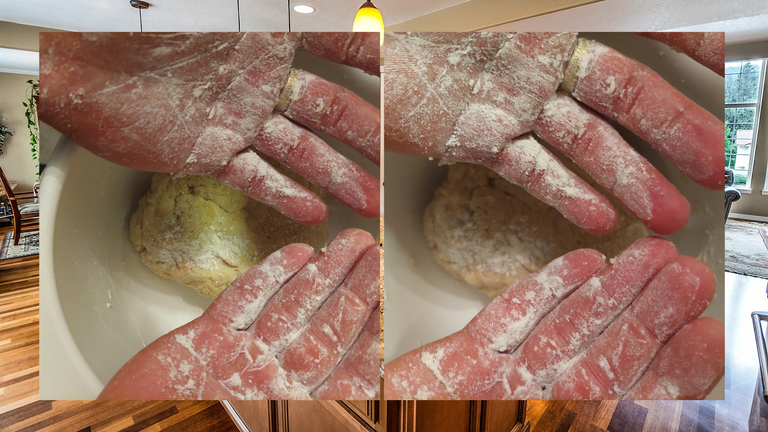
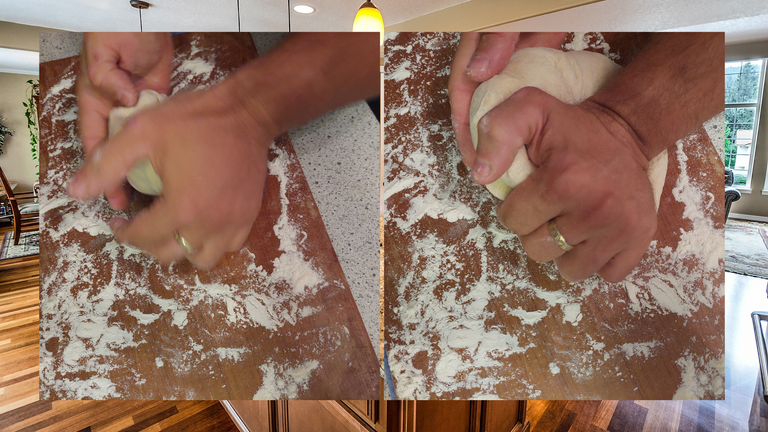
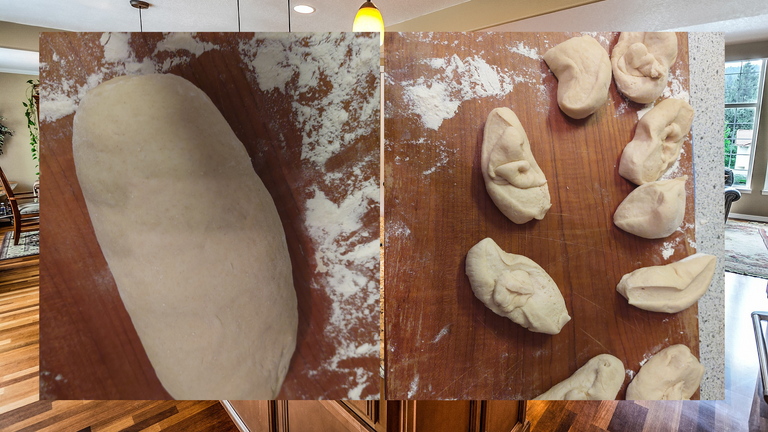
When the dough has doubled, you can put it on a floured countertop and knead it thoroughly once more by hand. It gets real smooth after a while and you can form it so much better.
Form a thick dough roll and cut 10 equal slices of it (about 65g if you adhered to the recipe)
Step 5
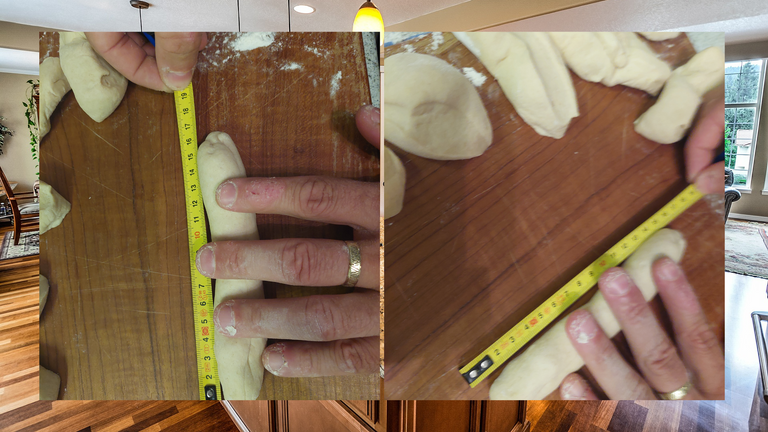
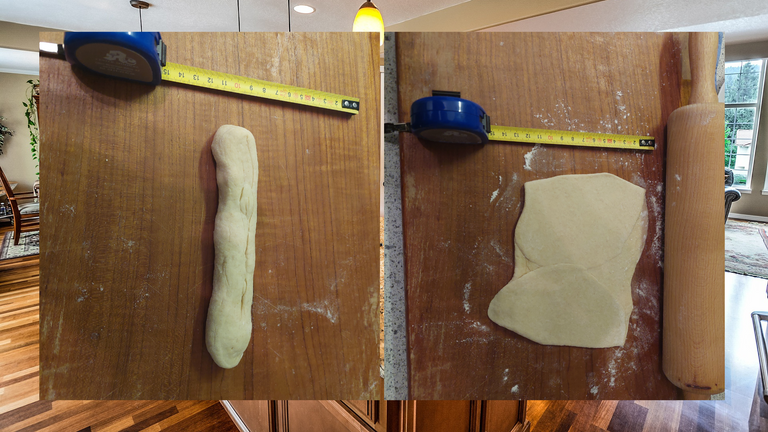
Form each individual piece of dough to a dough roll of about 15 cm. I didn't get two pieces, who looked anything like the other, but in theory, they ought to look about the same.
Step 6
I then rolled the dough rolls with rolling pin into thin slices of about 8 to 10 cm witdh. As I said earlier. My slices were not in the slightest similar to each other, but I made do with what I had.
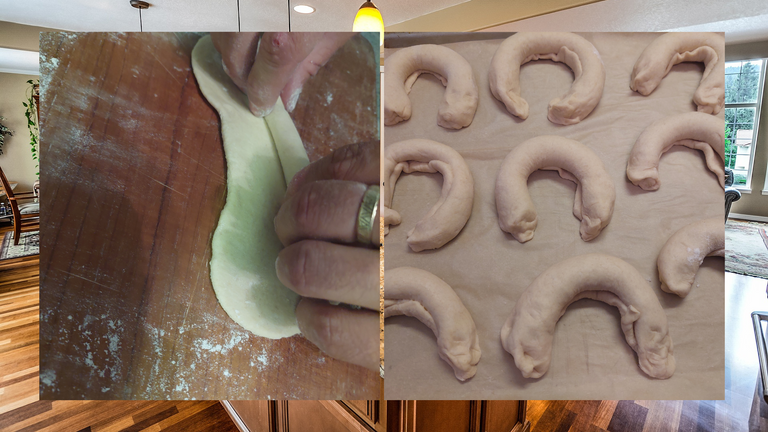
I rolled every dough piece up and formed croissants with blunt ends with them.
Step 7
The tricky part was putting them all on one tray but with my master puzzle skills, I did it somehow :o).
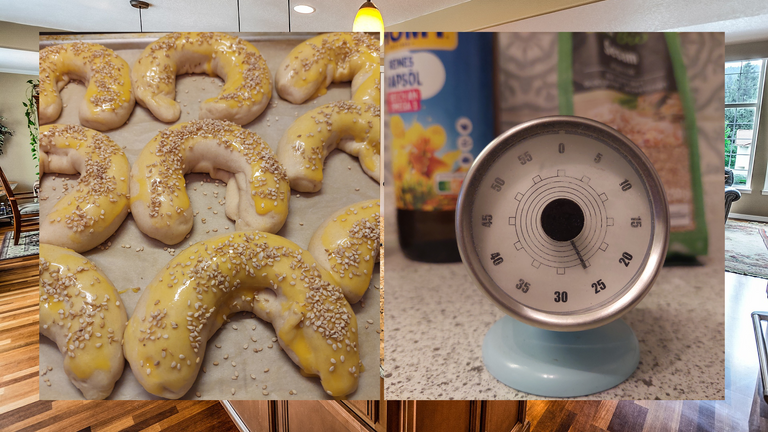
I then put it in the preheated oven (50 degrees) for an additional 15 minutes for the dough to rise.
Step 8
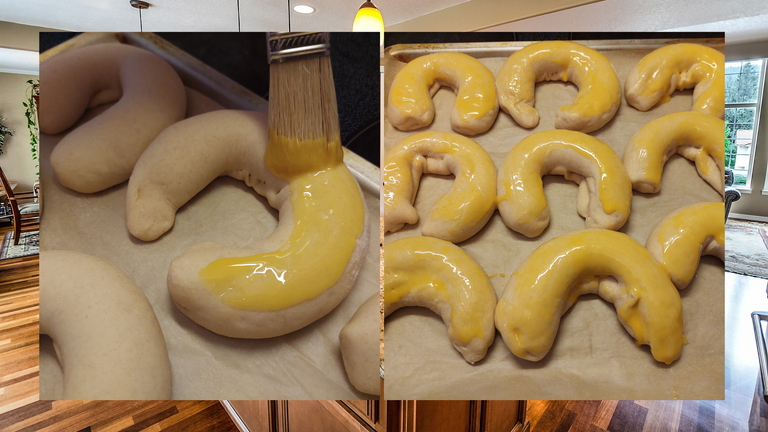
The dough rose enough for me to proceed with the basting of the croissants.
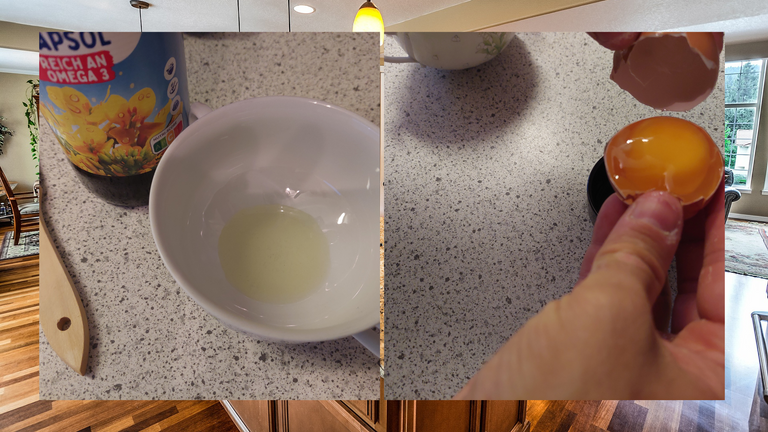
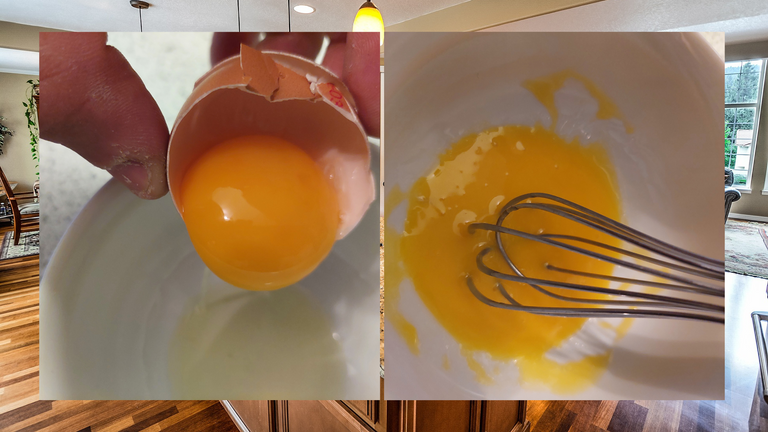
I whisked the yolk and vegetable oil together and brushed the mixture equally on each croissant and sprinkled them generously with sesame seeds.
Step 9
The oven was preheated to 200 degeree top heat/bottom heat.
I put the tray in the oven for about 25 minutes and let it cool off on a cooling rack after that.

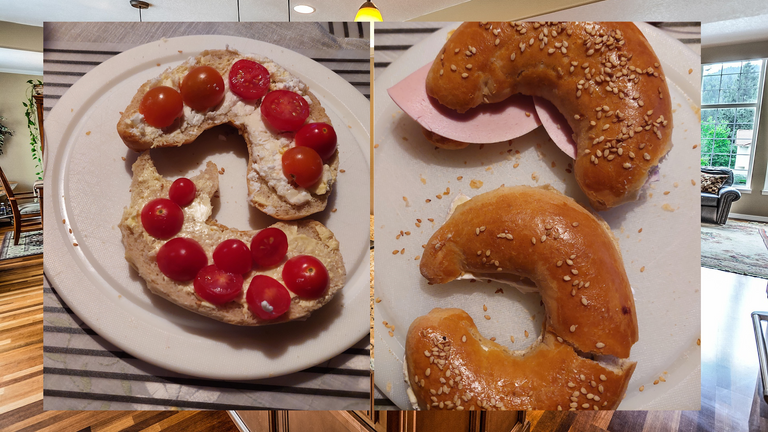
Step 10 - Enjoy your meal
Sesame croissants are versatile like any other dough. I love sweet spread as well as savory cold cuts on them equally as you can see :o)
Try it out. It is a lot of fun and you are more independent from price hikes or shortages. That will be crucial in the coming months in my opinion.
Have a great weekend everybody.
Freedomprepper
All pictures are mine.
Background picture for mashups is from pixabay.com and is license free.
This is awesome @freedomprepper!
It is always my dream to bake bread but I don't have baking tools!
Thanks for sharing this baking process, I will surely try it!😍
Thank you very much @missellimac :)
I started very humble with just the essentials myself and bought fancy equipment like brushes and stuff along the way. It is really fun and a lot cheaper in the long run, when you use all your opened flour sachets.
Have a great start into the week :).
!PIZZA
Fantastic work! That is great precision there!!
Thank you very much :).
!PIZZA
Long, long time ago I used to bake... this is a good reminder to do it again, as I had a similar recipe that we liked. Maybe I should try your one. Thanks for the reminder :)
Hey @mipiano
I'm glad, I helped to remind you of how fun baking can be :o).
Try it out, it was delicious. I am no professional, I try out what I am curious about and oftentimes I am not pleased with myself or the recipe, but this was pretty good :).
!PIZZA
PIZZA Holders sent $PIZZA tips in this post's comments:
freedomprepper tipped mypathtofire (x1)
hafiz34 tipped freedomprepper (x1)
freedomprepper tipped mipiano (x1)
freedomprepper tipped cakefox (x1)
freedomprepper tipped missellimac (x1)
@freedomprepper(1/10) tipped @artemisart (x1)
Please vote for pizza.witness!
Amazing my friend they look really yummy you did an amazing job thanks for sharing the recipe have a blessed day @freedomprepper 😎

Made in Canva
!ALIVE
This post has been curated by the Alive And Thriving Team, we curate good content in the We Are Alive Tribe that is on topic for #AliveAndThriving, and it's included in our daily curation report on @aliveandthriving.
@freedomprepper! You Are Alive so I just staked 0.1 $ALIVE to your account on behalf of @aliveandthriving. (18/40)
The tip has been paid for by the We Are Alive Tribe through the earnings on @alive.chat, feel free to swing by our daily chat any time you want.

Thank you for sharing this amazing post on HIVE!
Your content got selected by our fellow curator @stevenson7 & you just received a little thank you via an upvote from our non-profit curation initiative!
You will be featured in one of our recurring curation compilations and on our pinterest boards! Both are aiming to offer you a stage to widen your audience within and outside of the DIY scene of hive.
Join the official DIYHub community on HIVE and show us more of your amazing work and feel free to connect with us and other DIYers via our discord server: https://discord.gg/mY5uCfQ !
If you want to support our goal to motivate other DIY/art/music/homesteading/... creators just delegate to us and earn 100% of your curation rewards!
Stay creative & hive on!
Thank you very much @diyhub team and @stevenson7 for your upvote and for curating my article.
:)
Congratulations @freedomprepper! You have completed the following achievement on the Hive blockchain and have been rewarded with new badge(s):
Your next target is to reach 80 posts.
You can view your badges on your board and compare yourself to others in the Ranking
If you no longer want to receive notifications, reply to this comment with the word
STOPTo support your work, I also upvoted your post!
Check out the last post from @hivebuzz:
Uuuuh i would love one with my coffee right now, look delicious! 😍
Thank you very much @cakefox :). Although, judging by your name, you'd prefer cake :o).
!PIZZA
10 steps!!
Doesn't look easy! 🙂
I think my wife would love to read this post!
Anyway, have a slice of !PIZZA and have FUN with !LOLZ
lolztoken.com
Because they're outstanding in their field.
Credit: reddit
@freedomprepper, I sent you an $LOLZ on behalf of @hafiz34
@cryptoshots.nft 🔫 3D Shooter LIVE on Hive. Play and earn DOOM!!
(1/10)
cool It's a very detailed and painstaking job
Delicious
Thank you :). It really was.
!PIZZA