Alfileteros de pulsera || Bracelet pincushions
Hola a todos, bienvenidos de nuevo a mi blog. Espero hayan tenido un muy buen viernes y estén listos para empezar un maravilloso fin de semana.
El día de hoy les daré el paso a paso de cómo elaborar alfileteros de mano tipo pulsera que son muy cómodos y útiles cuando estamos cosiendo a mano o utilizando la máquina de coser.
Les enseñaré cómo hice dos diseños diferentes para que se animen también a elaborarlos en sus hogares.
Sin más, comencemos.
Hello everyone, welcome back to my blog. I hope you had a great Friday and are ready to start a wonderful weekend.
Today I will give you the step by step of how to make bracelet pincushions that are very comfortable and useful when we are sewing by hand or using the sewing machine.
I will show you how I made two different designs so that you can also make them at home.
Without further ado, let's get started.

Editado en Canva || Edited in Canva

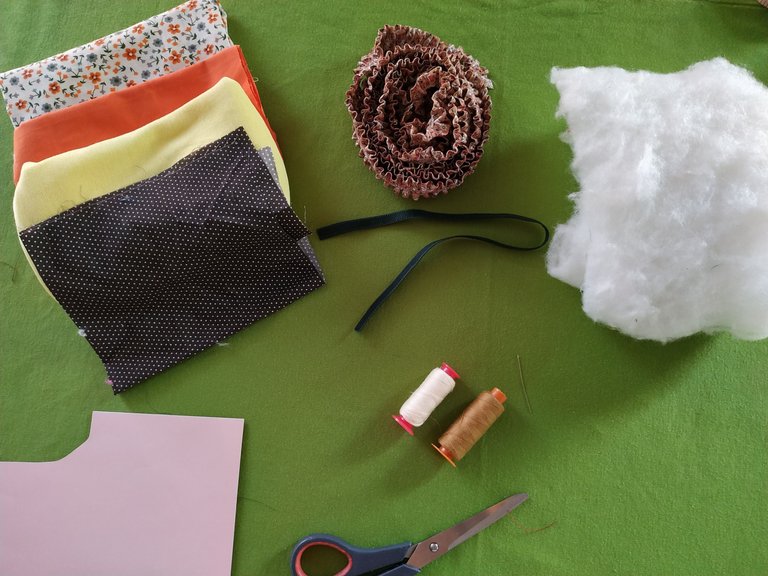
- Recortes de telas.
- Guata o relleno.
- encaje o elástico.
- hilo y aguja.
- alfileres y tijera.
- cartón para hacer los moldes.
- Fabric offcuts.
- Wadding or padding.
- lace or elastic.
- thread and needle.
- pins and scissors.
- cardboard to make the molds.

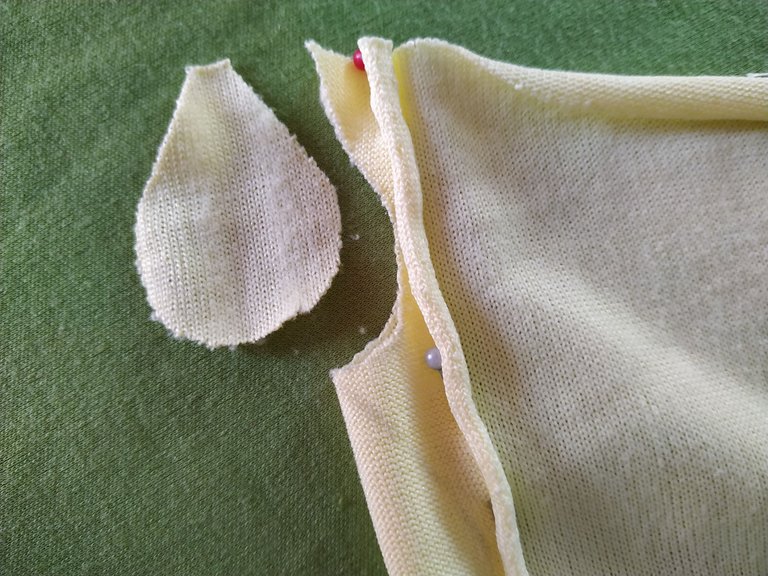
El primer diseño que hice fue uno en forma de girasol. Aproveche que tenía telas de color amarillo y marrón.
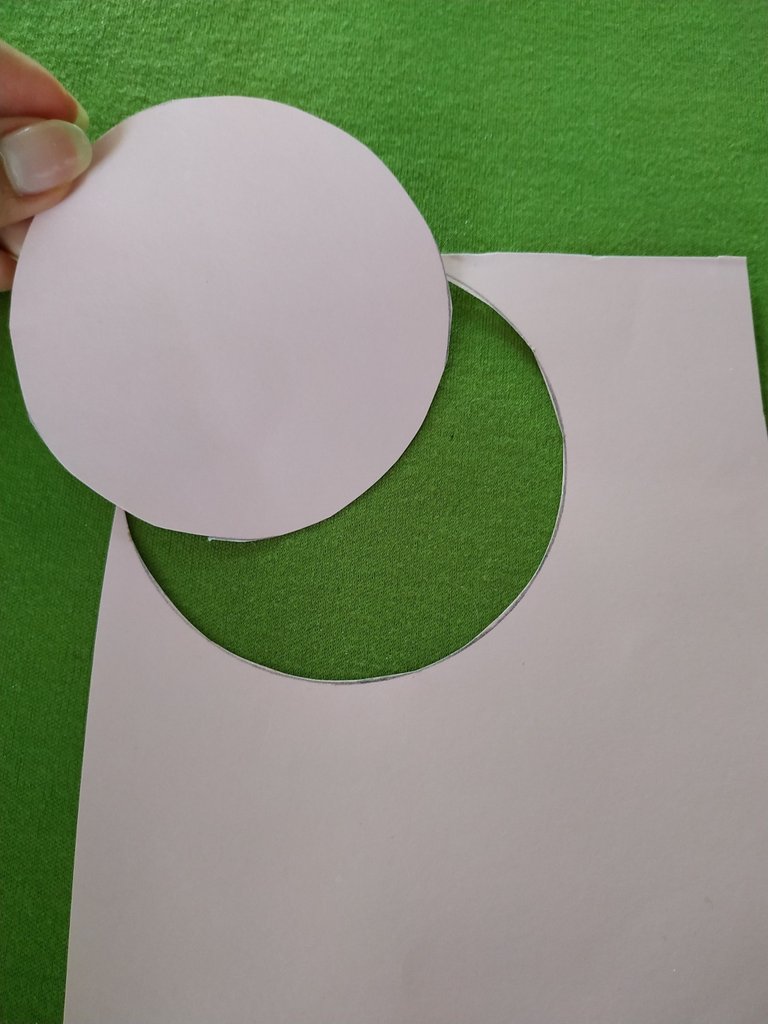
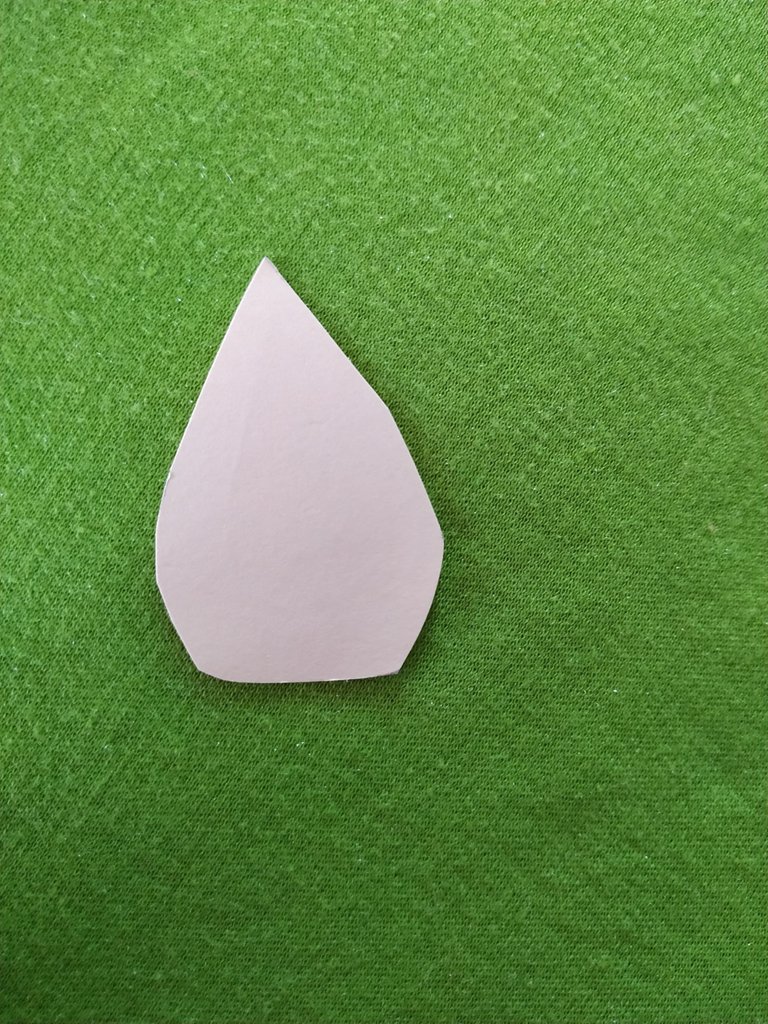
Para poder elaborarlo recorte dos moldes en una cartulina, un círculo y uno con forma de gota de agua que serán los pétalos.
The first design I made was one in the shape of a sunflower. I took advantage of the yellow and brown fabrics I had.
In order to make it I cut two molds in a cardboard, a circle and one in the shape of a drop of water that will be the petals.
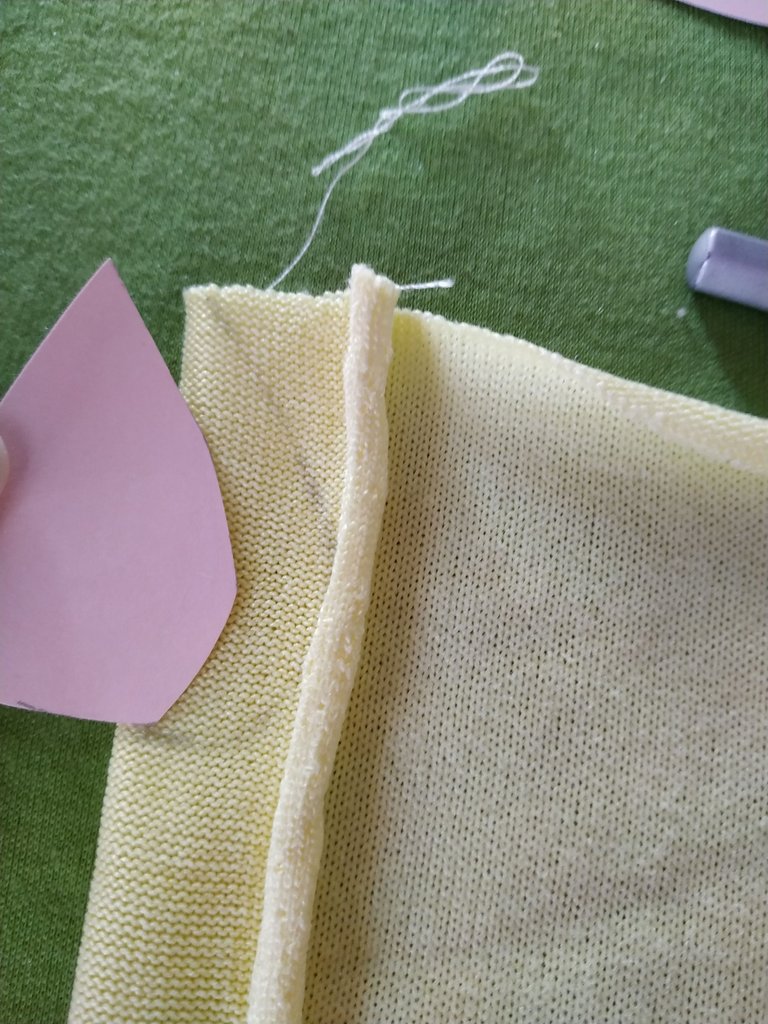
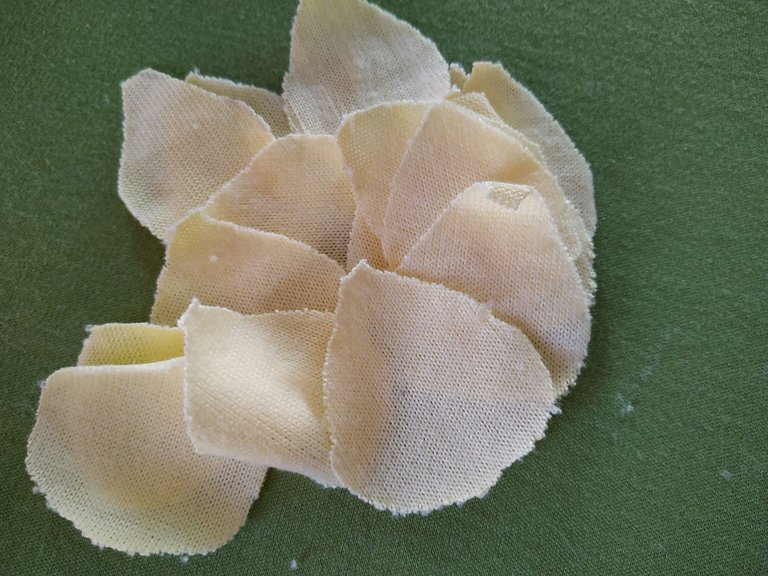
Tome la tela de color amarillo y la doble, luego coloque el molde arriba de ella y empecé a hacer trazos por todo el contorno con un lápiz.
Luego recorte y repetí el proceso hasta obtener 18 pétalos.
I took the yellow fabric and folded it, then placed the mold on top of it and began to trace all around the outline with a pencil.
I then trimmed and repeated the process until 18 petals were obtained.
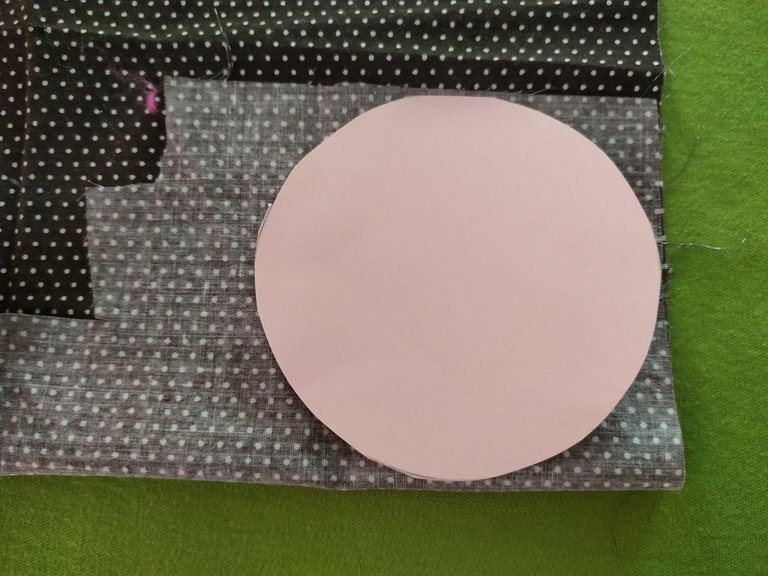
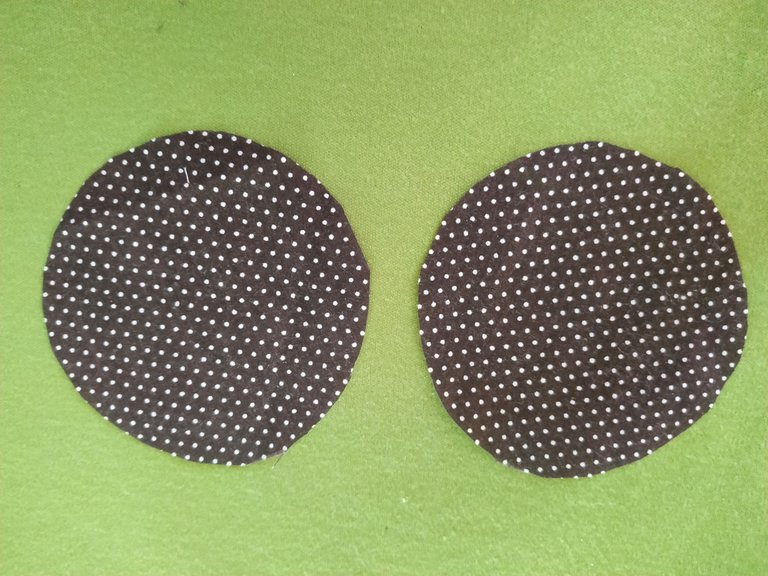
Para hacer el centro del girasol tome la tela de color marrón, la doble a la mitad y coloque arriba de ella el molde circular.
Recorte y me quedó dos círculos iguales.
To make the center of the sunflower, take the brown fabric, fold it in half and place the circular mold on top of it.
Cut it out and I was left with two equal circles.
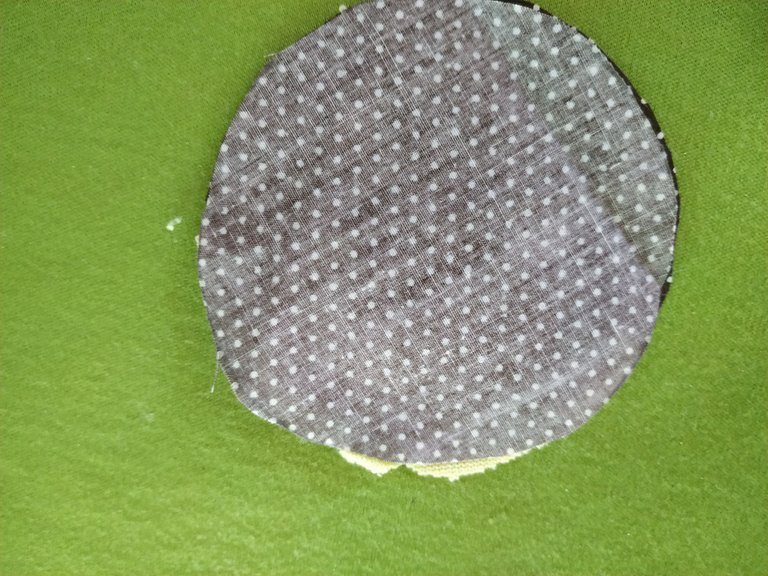
Para empezar a armar el girasol, coloque uno de los círculos y luego por todo el contorno coloque algunos de los pétalos hacia adentro.
Arriba de esto coloque el otro círculo con el derecho de la tela hacia adentro.
To start assembling the sunflower, place one of the circles and then all the way around place some of the petals facing inward.
On top of this place the other circle with the right side of the fabric facing in.

Fijé con unos alfileres.
Y empecé a pasar costura a mano. Vamos a ir colocando los pétalos de a poco mientras vamos pasando costura.
Cuando vayamos a terminar cosemos los pétalos solo por una parte del círculo para que nos quede una abertura.
I fixed with pins.
And we start sewing by hand. We are going to place the petals a little at a time while we are sewing.
When we are going to finish we sew the petals only on one side of the circle so that we have an opening.

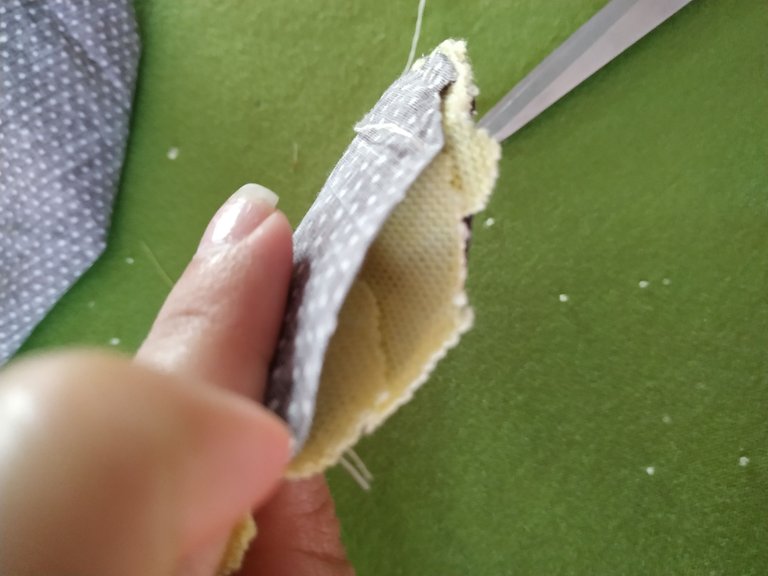
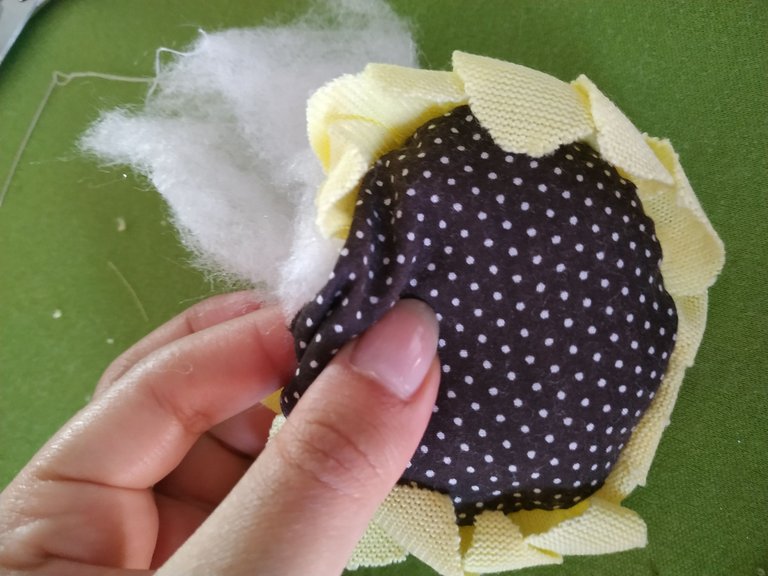
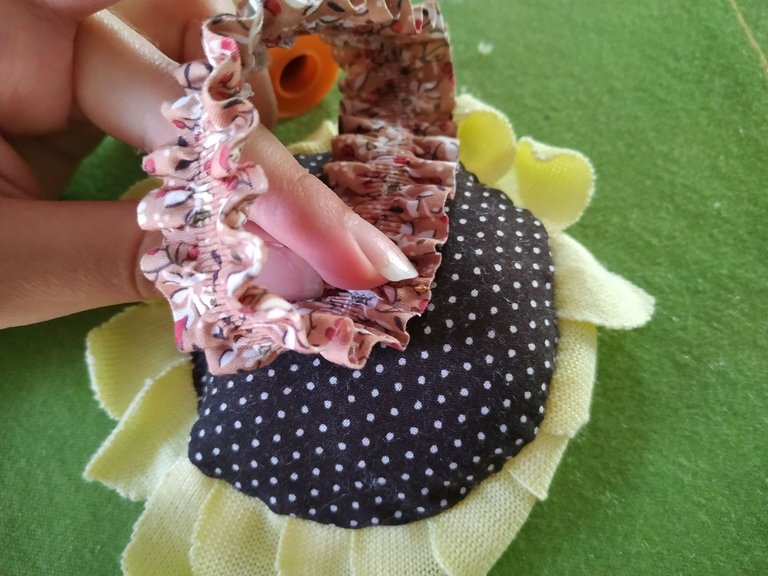
Le damos vuelta y empezamos a rellenar con la guata.
Luego terminamos de cerrar tratando que no se vea la costura.
We turn it over and start stuffing with the wadding.
Then we finish closing it, trying not to show the seam.
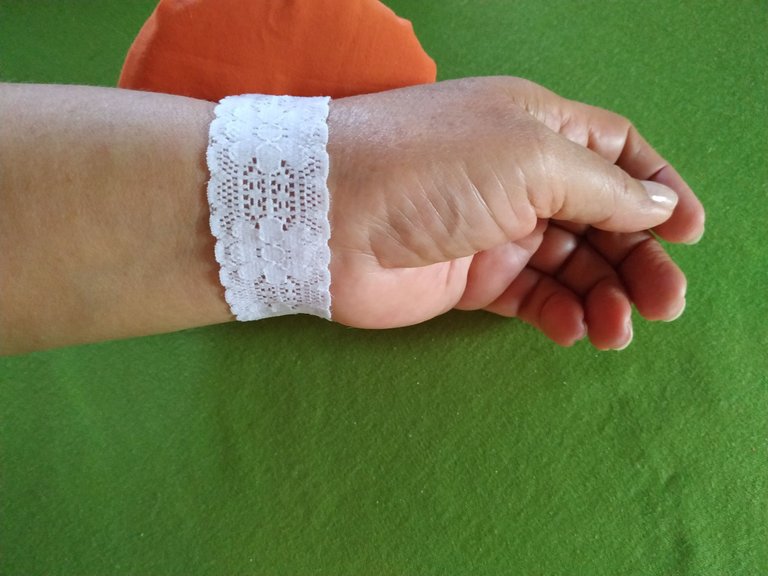
Tomamos el elástico a la medida de nuestra muñeca (15 a 20 cm) y la unimos para que nos quede un círculo.
Lo cosemos a la parte de abajo del girasol y así nos debe de quedar.
We take the elastic to the size of our wrist (15 to 20 cm) and we join it so that we have a circle.
We sew it to the bottom of the sunflower and it should look like this.
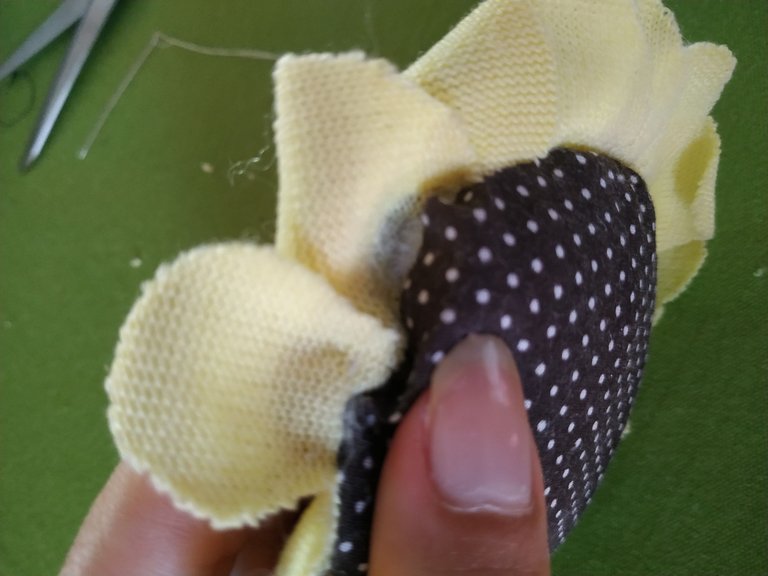
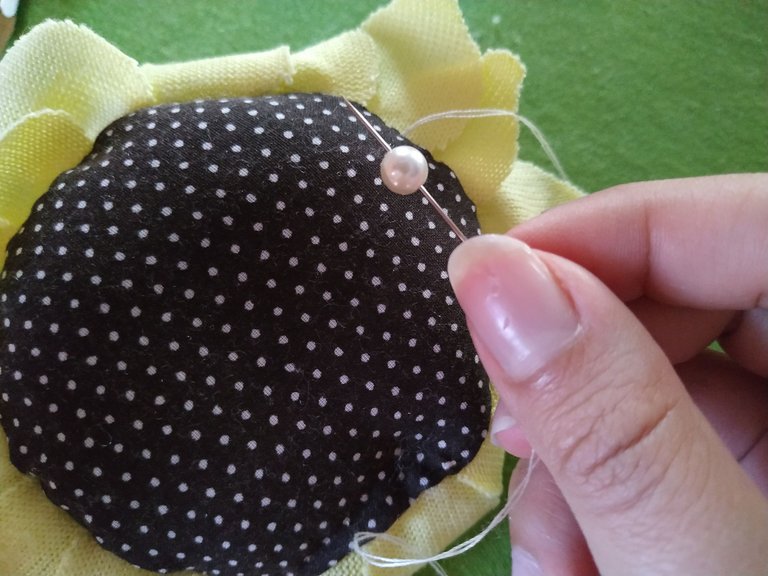
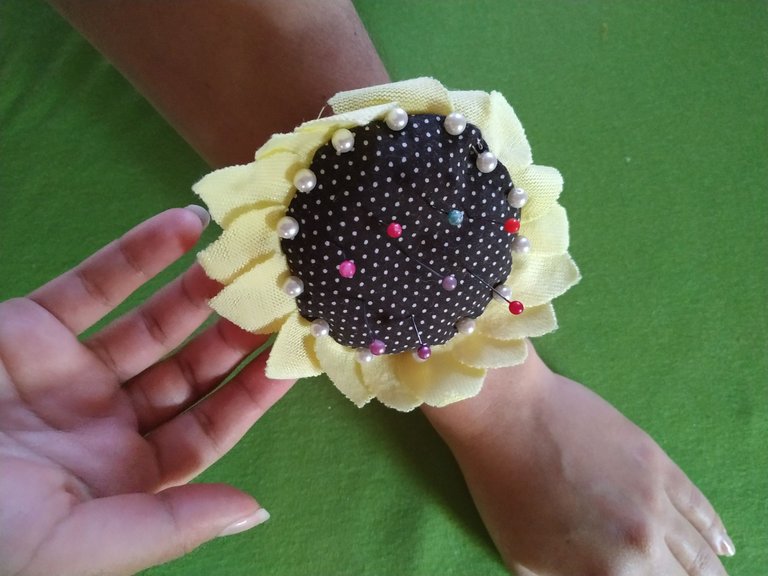
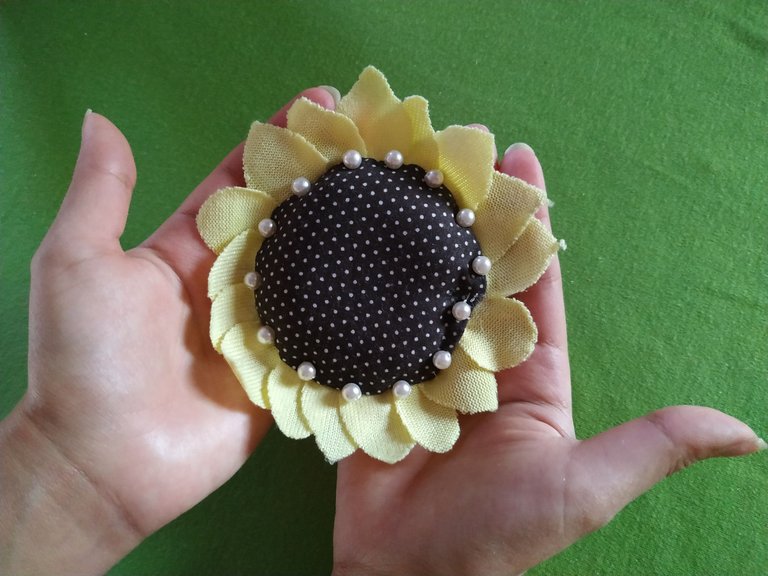
Cosemos unas perlas para que no quede tan simple.
Y así nos queda este lindo diseño.
We sew some pearls so that it is not so simple.
And that's how we get this nice design.
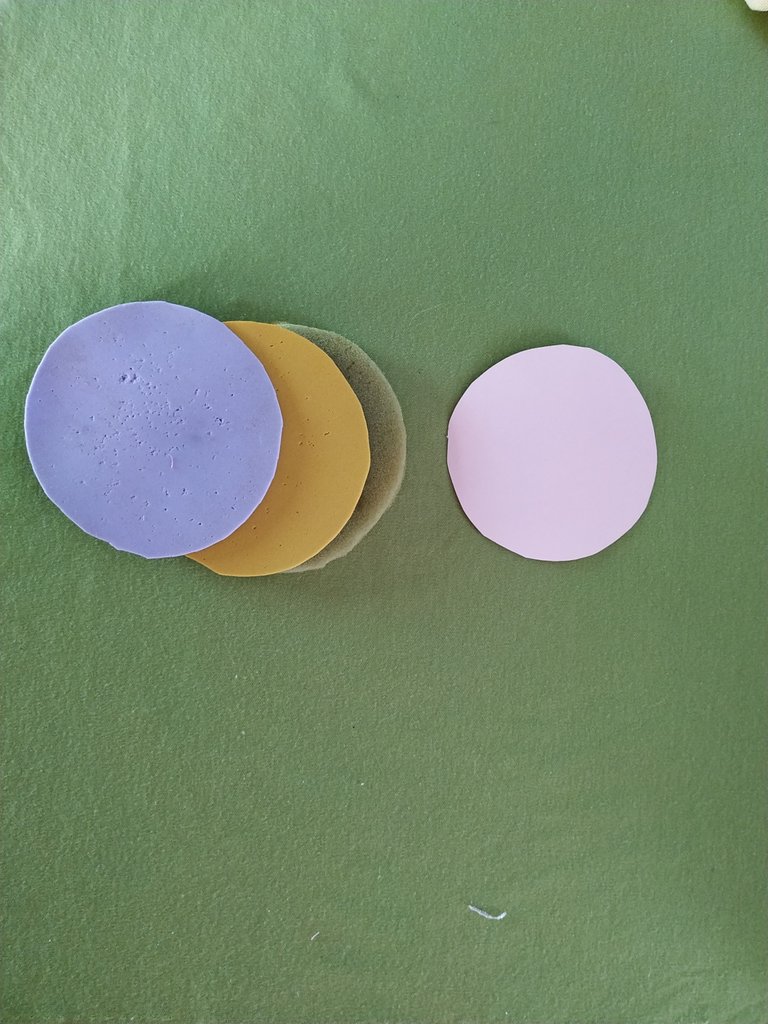
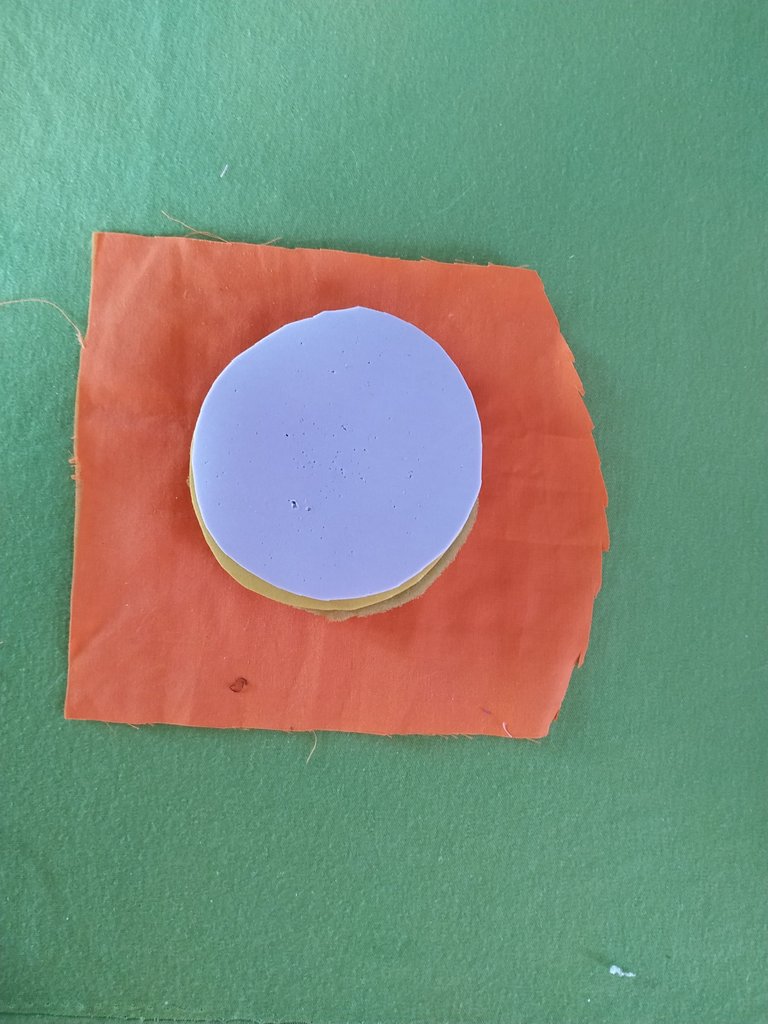
Para el siguiente diseño utilice telas de color naranja y estampada de flores. Comencé haciendo 3 círculos con ayuda del mismo molde circular, dos con foami y uno con goma espuma.
For the following design I used orange and flower patterned fabrics. I started by making 3 circles with the help of the same circular mold, two with foami and one with foam rubber.
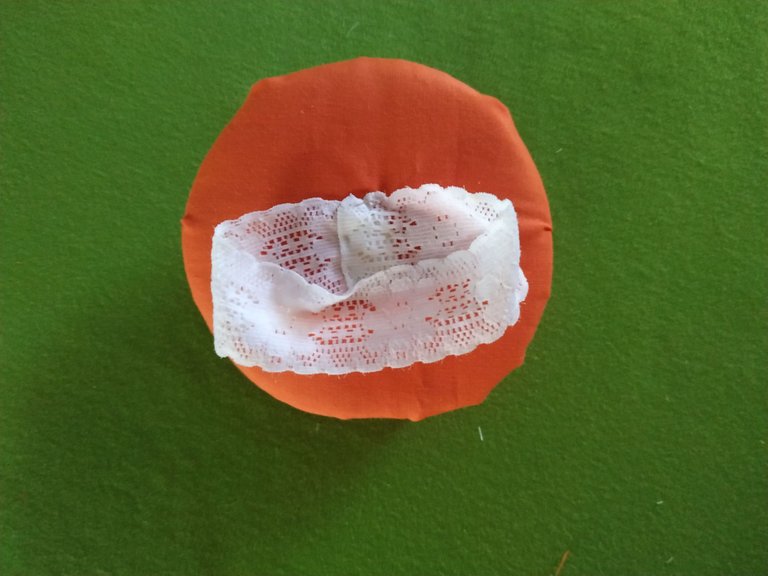
Luego recorte un cuadrado con la tela naranja que va a ser la base, coloque dentro los círculos y pase costura de esta manera.
Esto va a hacer que nos quede en forma de ondas y liso en la parte de abajo.
Then cut out a square with the orange fabric that will be the base, place the circles inside and sew in this way.
This will make a wave shape and smooth on the bottom.
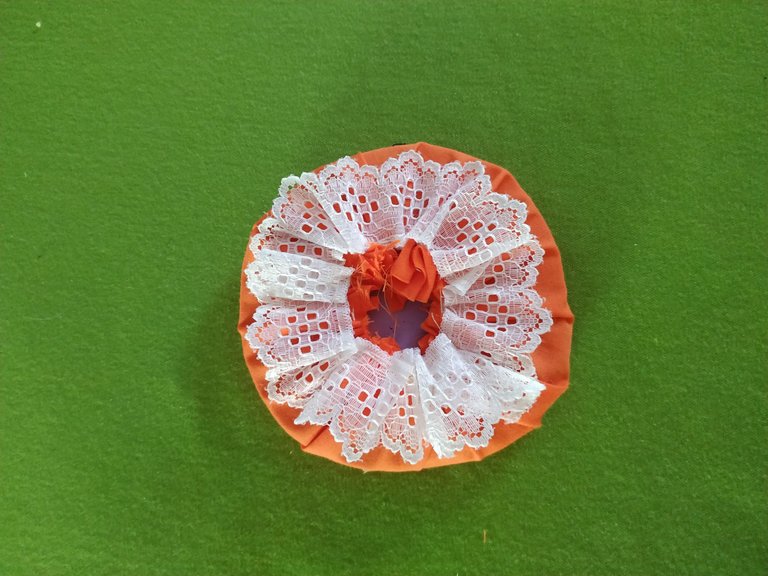
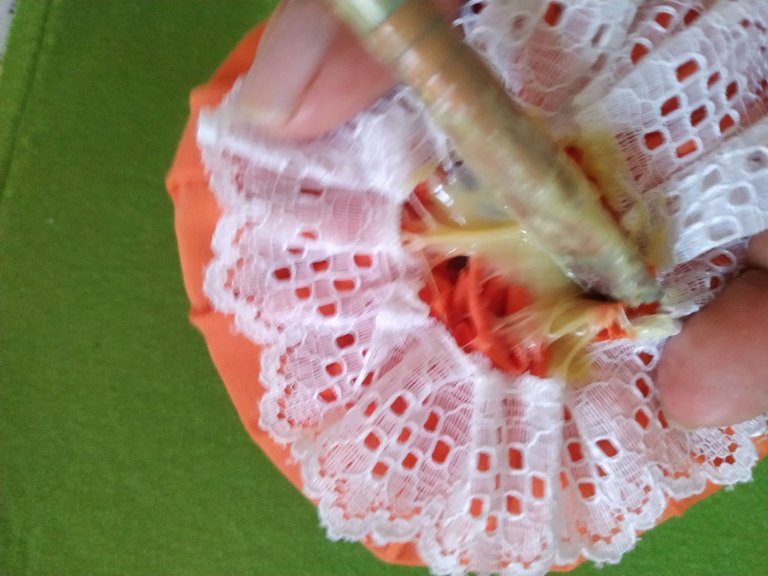
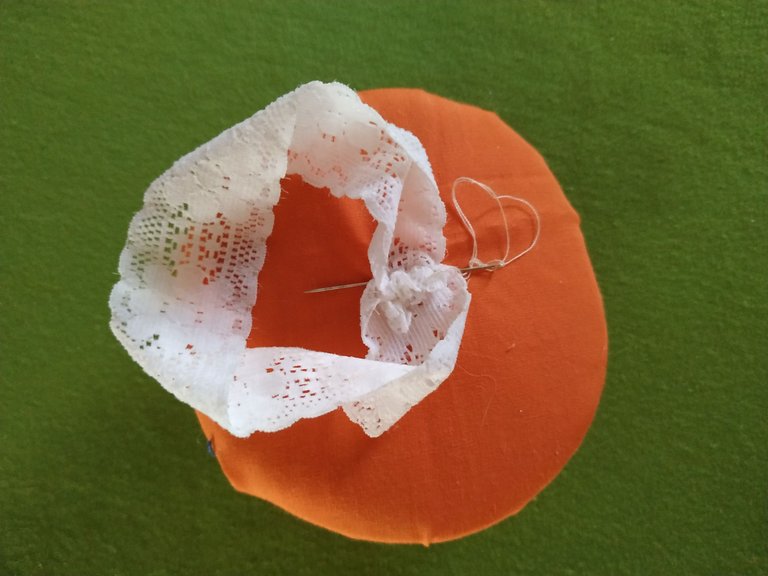
Arriba de ella cosemos en forma de ondas un encaje rígido.
On top of it we sew a rigid lace in the form of waves.
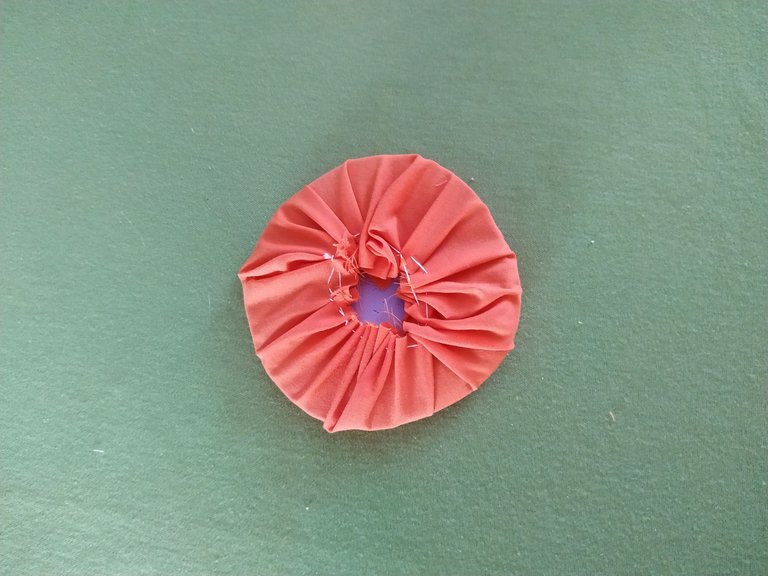
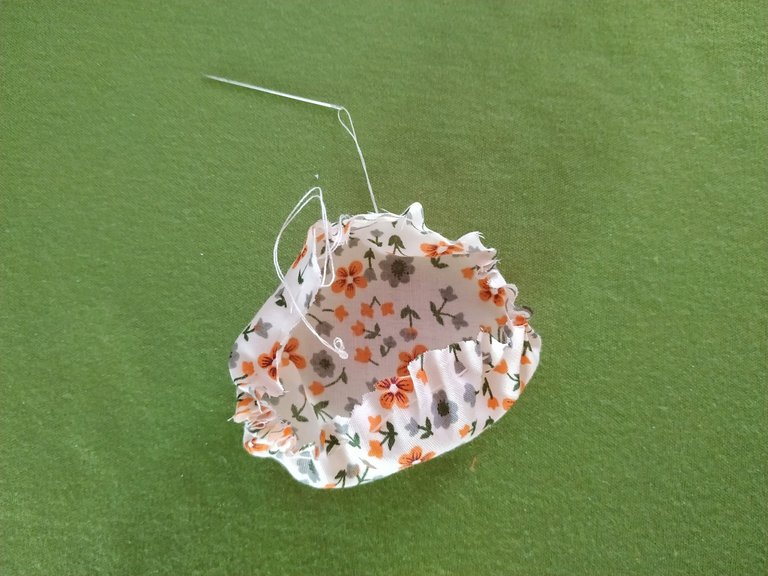
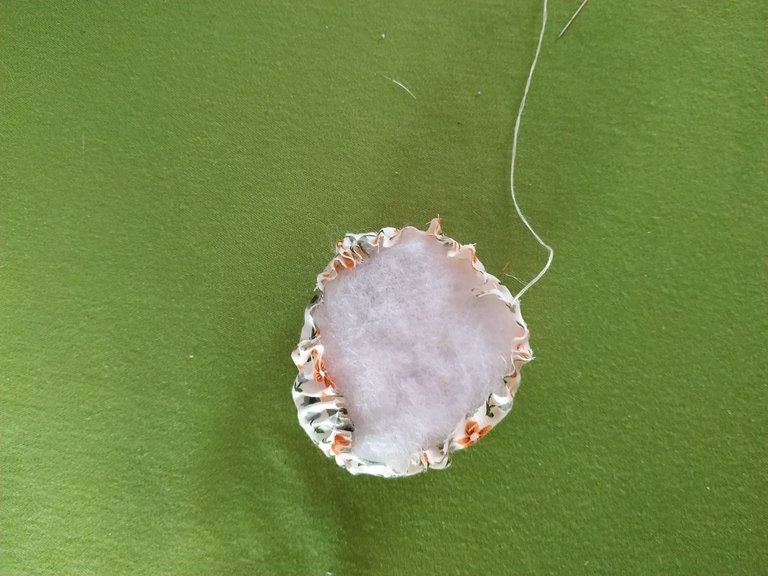
Luego tomamos la tela estampada y recortamos un círculo con el mismo molde.
Vamos a pasar una costura suelta por todo el contorno de esta manera y luego le colocamos el relleno antes de cerrar.
Then we take the printed fabric and cut out a circle with the same mold.
We are going to sew a loose seam all around the contour in this way and then we place the stuffing before closing.
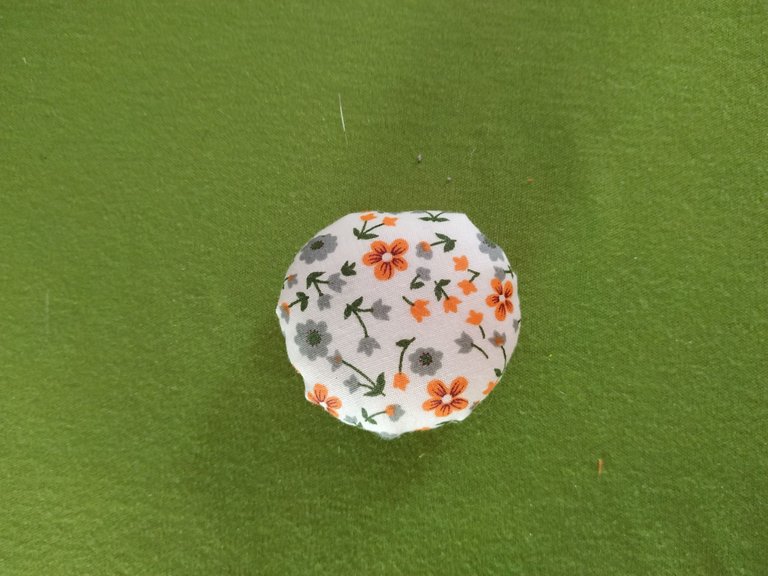
Halamos el hilo con ayuda de la aguja para que se cierre por completo, aseguramos la costura y así nos debe de quedar.
We pull the thread with the help of the needle so that it closes completely, we secure the seam and this is how it should be.
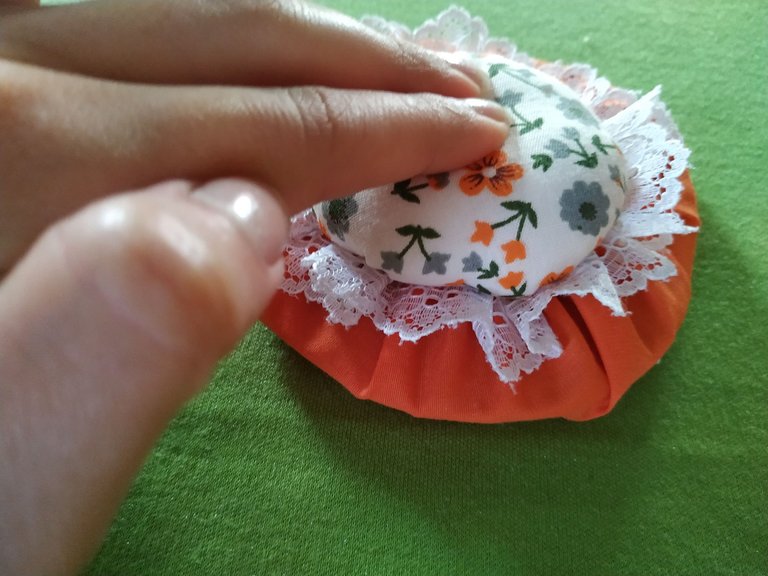
Luego vamos a colocar pegamento para tela en medio y colocamos la pelota que acabamos de hacer, presionamos por unos segundos y dejamos secar.
Then we are going to place fabric glue in the middle and place the ball we just made, press for a few seconds and let it dry.
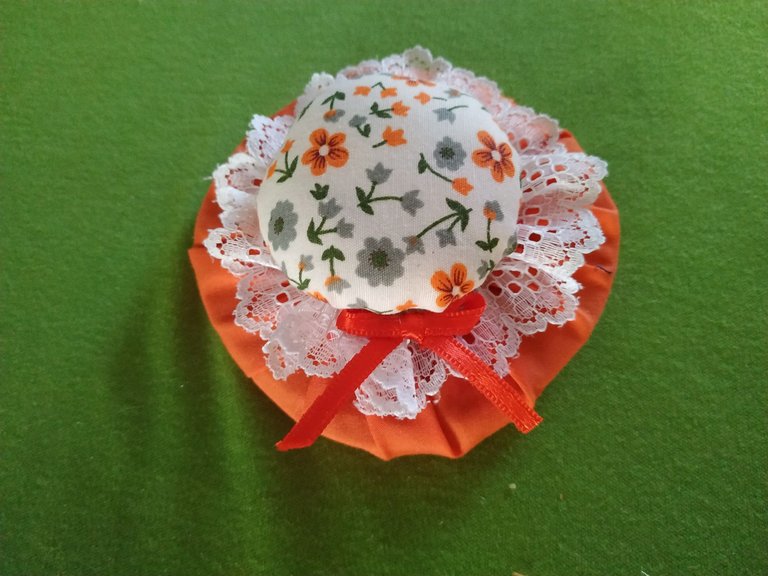
Le hacemos una decoración con un pequeño lazo y lo pegamos en la parte delantera.
We decorate it with a small bow and glue it on the front.
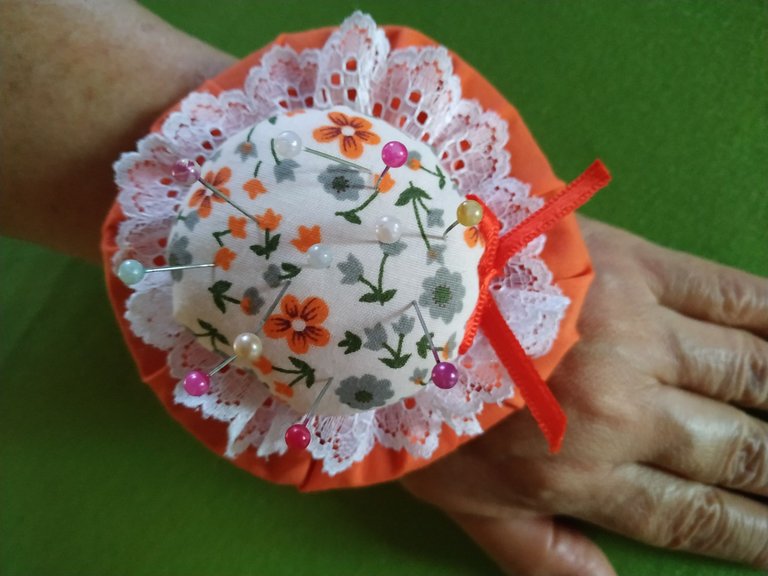
Le cosemos la parte de abajo de la misma manera que el primero.
We sew the bottom part in the same way as the first one.
Y tendremos listo este hermoso alfiletero.
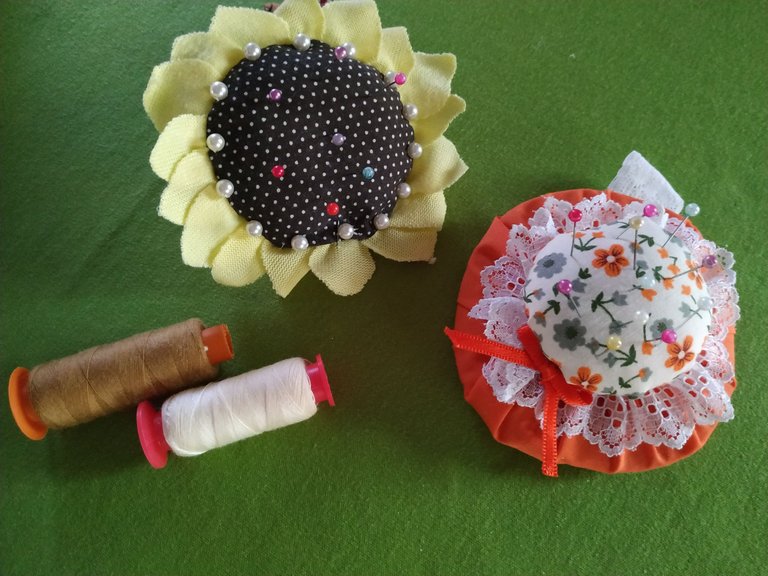
Aquí les dejo el resultado de estos lindos diseños.
And we will have ready this beautiful pincushion.
Here is the result of these beautiful designs.
Espero les haya gustado mi blog del día de hoy y les dejo estas ideas para que tomen de inspiración y elaboren el suyo como más les guste, y lo mejor que es no necesitamos casi materiales además utilizamos y damos uso a recortes de telas que tenemos guardados.
I hope you liked my blog today and I leave these ideas for you to take inspiration and make yours as you like, and the best thing is that we do not need almost materials also use and give use to fabric clippings that we have saved.
Editado en Canva || Edited in Canva
Fotos tomadas de mi teléfono Xiaomi Redmi Note 6 Pro || Photos taken from my Xiaomi Redmi Note 6 Pro phone.
Fuente del editor de imágenes || Image editor source
https://twitter.com/genicedelvalle1/status/1558251280891617285
The rewards earned on this comment will go directly to the people sharing the post on Twitter as long as they are registered with @poshtoken. Sign up at https://hiveposh.com.