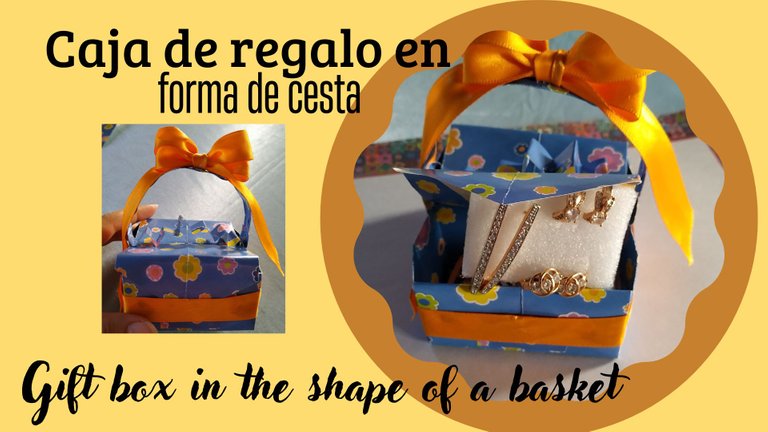
Caja de regalo en forma de cesta || Gift box in the shape of a basket
Hola a todos los amantes de las manualidades, feliz jueves.
Cuando queremos dar un obsequio a una persona que nos importa mucho siempre pensamos que le gustaría a él o ella, y el dar un regalo acompañado de algo que hicimos nosotros mismos demuestra lo mucho que nos interesa ya que estamos dando nuestro tiempo y dedicación para elaborarlo; Así que en esta ocasión les traigo el paso a paso de cómo elaborar una linda y pequeña caja de regalo con doble compartimiento, esta es una idea muy original para cuándo quieres regalar unos zarcillos, chocolates u obsequios que son pequeños.
Hello to all craft lovers, happy Thursday.
When we want to give a gift to a person we care a lot we always think that he or she would like it, and giving a gift accompanied by something we made ourselves shows how much we care because we are giving our time and dedication to make it; So this time I bring you the step by step of how to make a nice little gift box with double compartment, this is a very original idea for when you want to give some earrings, chocolates or gifts that are small.
Editado en Canva || Edited in canva

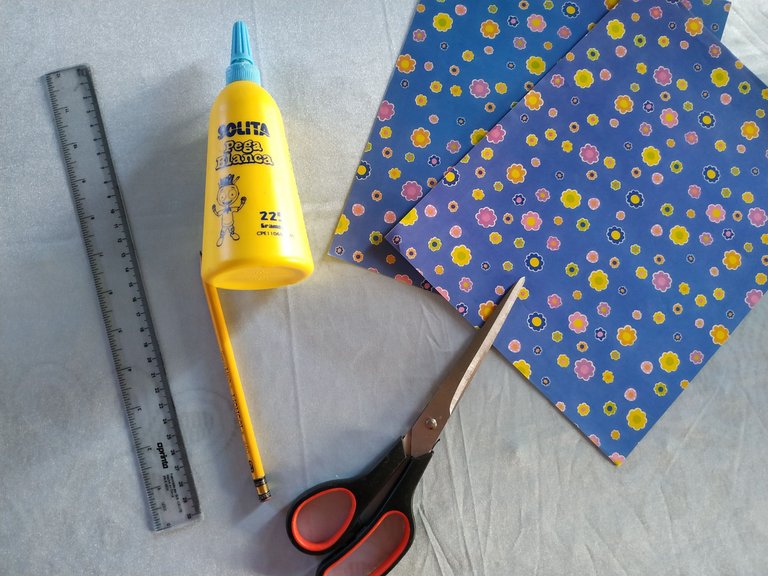
- hojas de colores o estampadas.
- Tijeras.
- Lápiz y regla.
- Pega blanca.
- Cinta.
- colored or printed sheets.
- Scissors.
- Pencil and ruler.
- White glue.
- Tape.

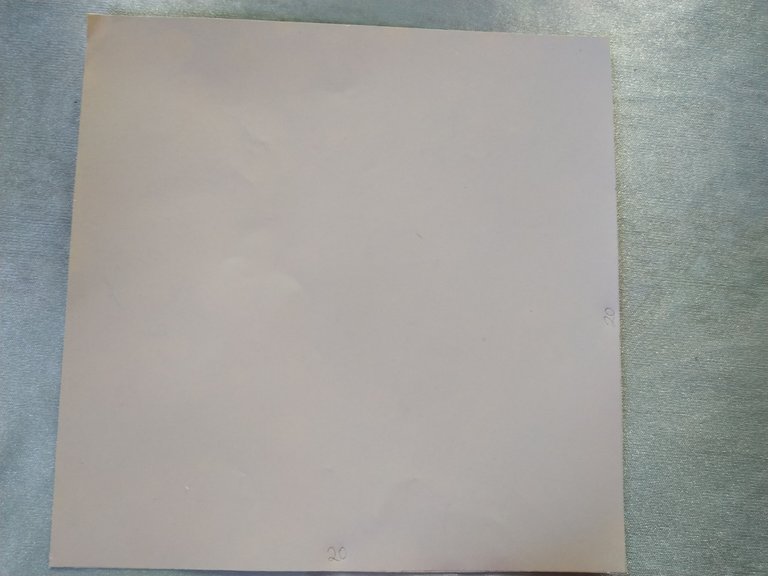
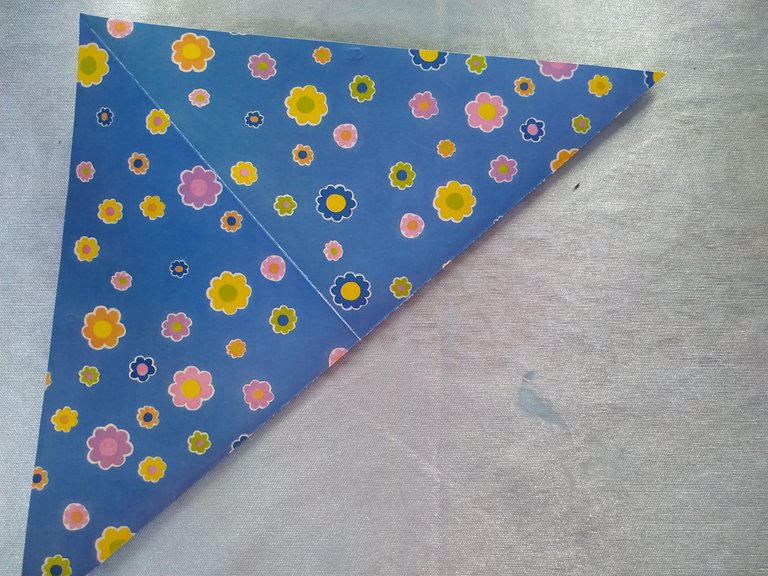
Cómo primer paso vamos a recortar en nuestra hoja un cuadrado de 20 x 20 centímetros.
As a first step we are going to cut out a 20 x 20 centimeter square on our sheet.
Seguidamente doblamos de la mitad hacia las esquinas.
Then fold from the middle to the corners.
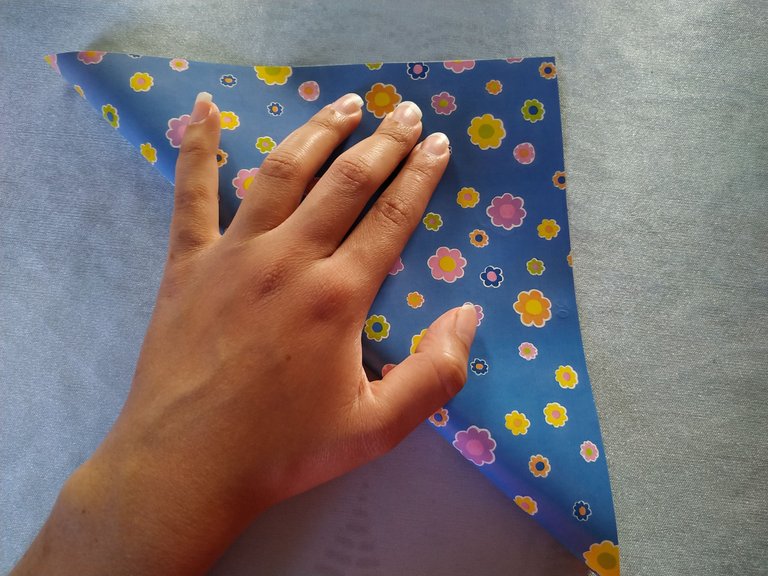
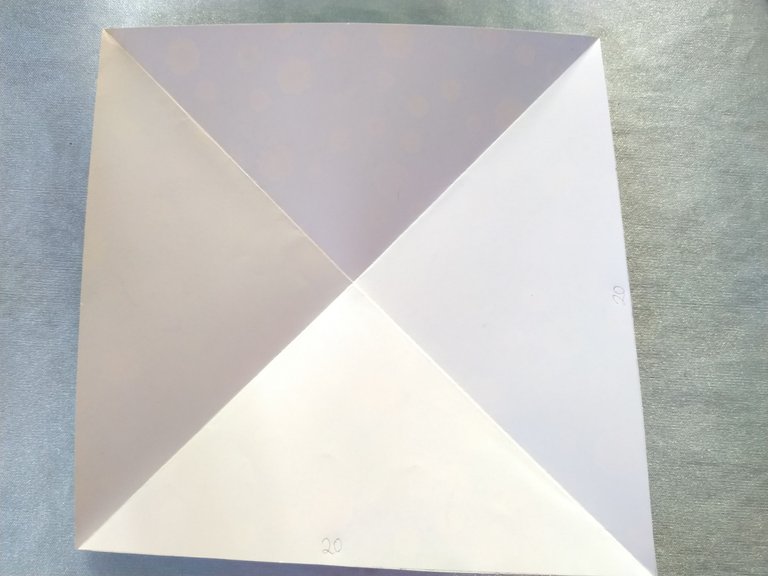
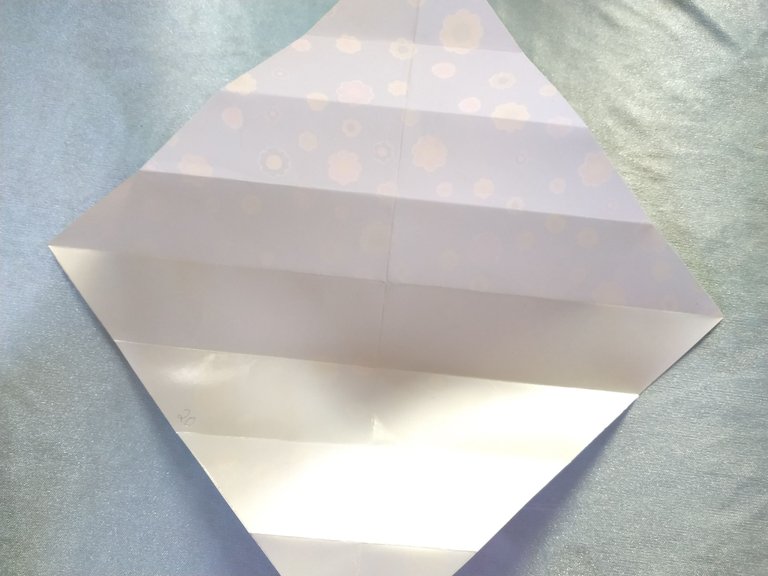
Abrimos de nuevo la hoja y nos debe de quedar una x.
We open the sheet again and we should be left with an x.
Doblamos una de las esquinas hacia adentro y luego doblamos de nuevo.
Fold one of the corners inward and then fold again.
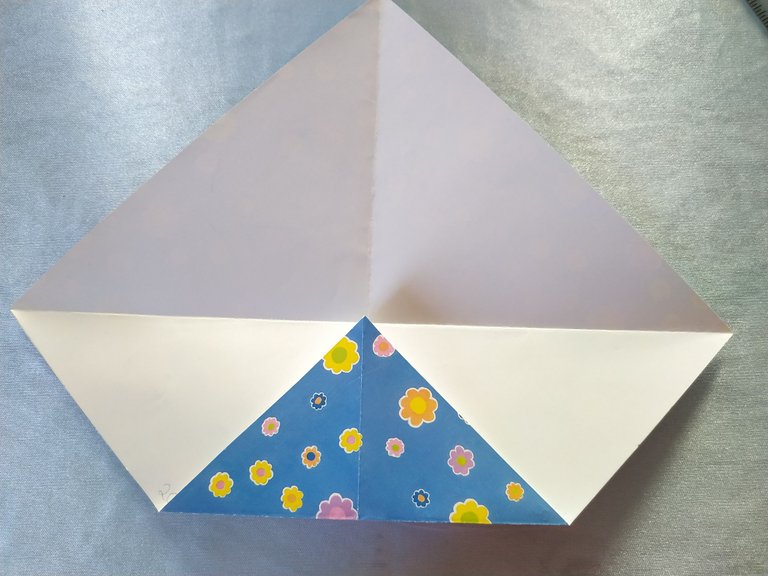
Repetimos con la otra esquina.
Repeat with the other corner.
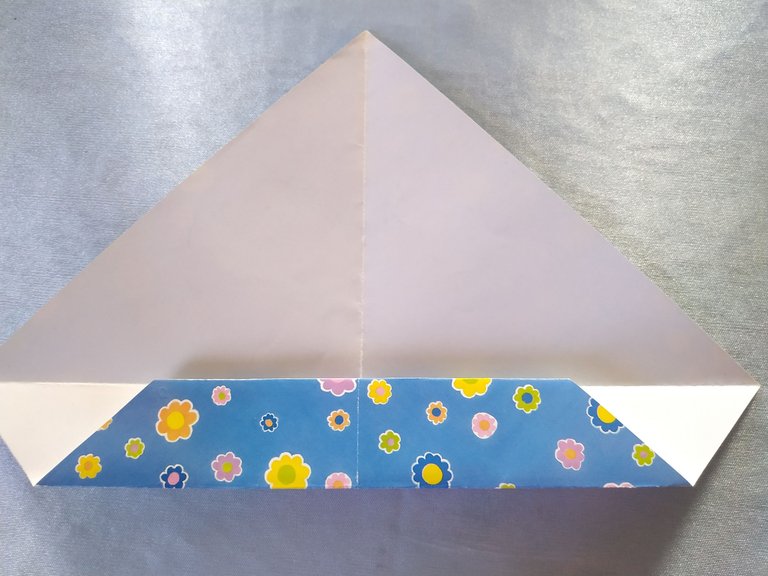
Volvemos a abrir la hoja y le damos un giro de 90 grados hacia la izquierda.
We open the sheet again and turn it 90 degrees to the left.

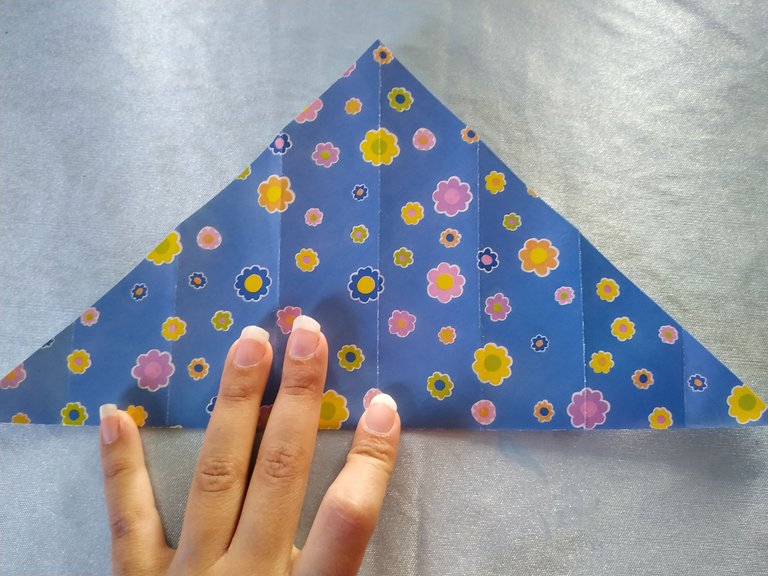
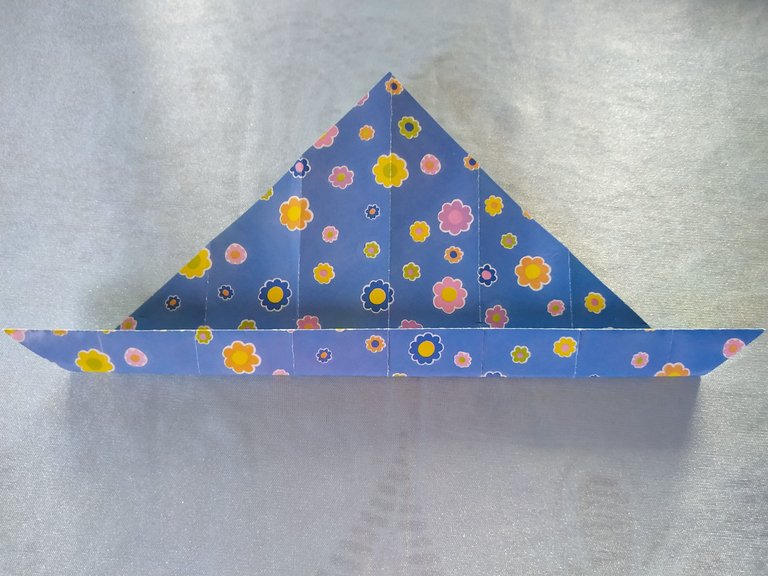
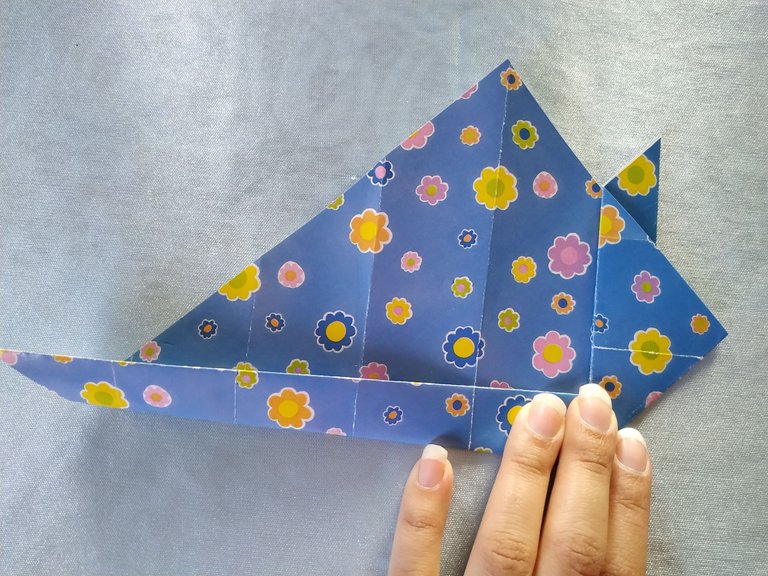
Ahora doblamos a la mitad y luego hacemos una solapa de unos dos centímetros para que nos quede en forma de sombrero.
Now we fold in half and then we make a flap of about two centimeters so that we have a hat shape.
Doblamos el lado izquierdo hacia adentro e igualmente el lado derecho.
Fold the left side inward and the right side inward.

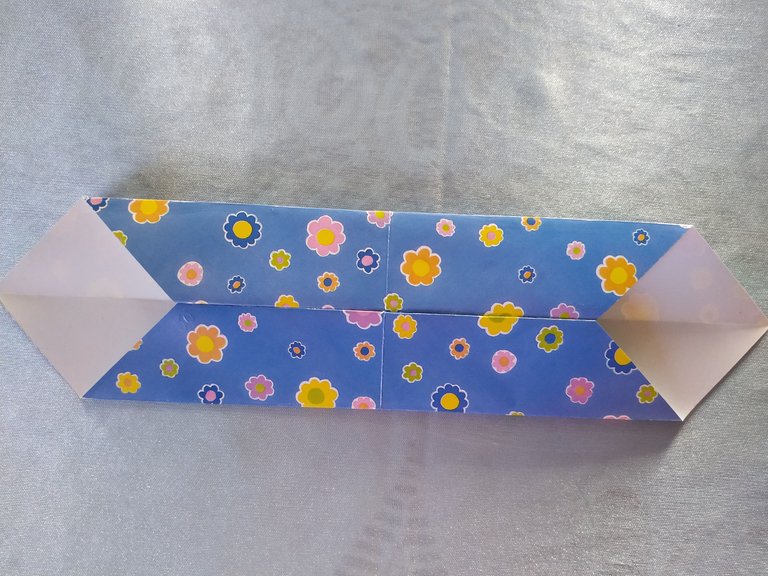
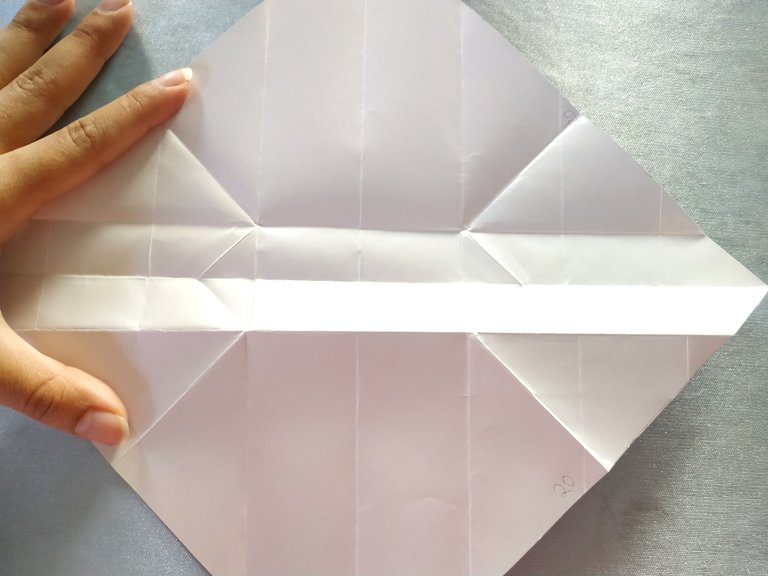
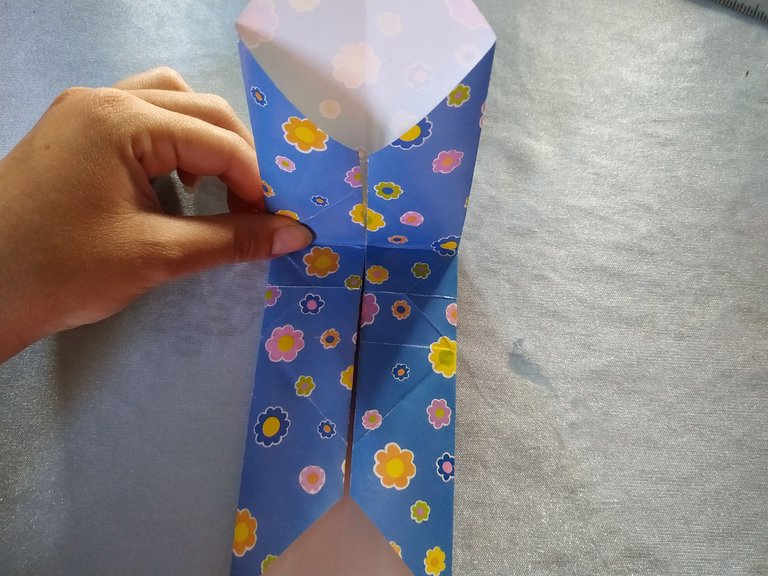
Abrimos de nuevo la hoja y doblamos el lado derecho dos veces hacia el centro y repetimos con el lado izquierdo.
We open the sheet again and fold the right side twice towards the center and repeat with the left side.
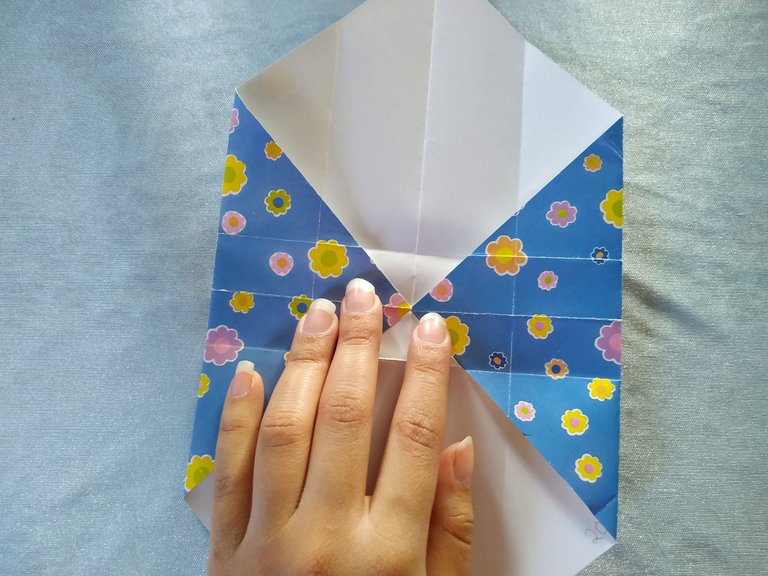
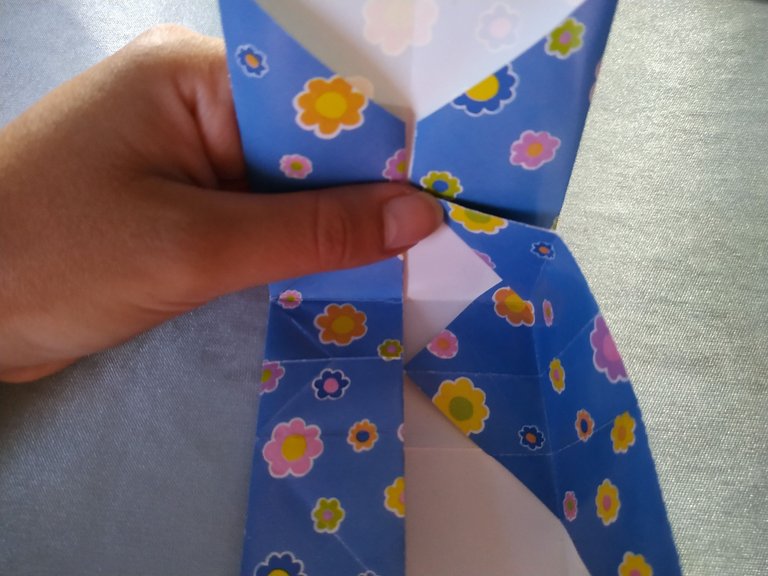
Doblamos la parte superior hasta nosotros.
We fold the upper part up to us.
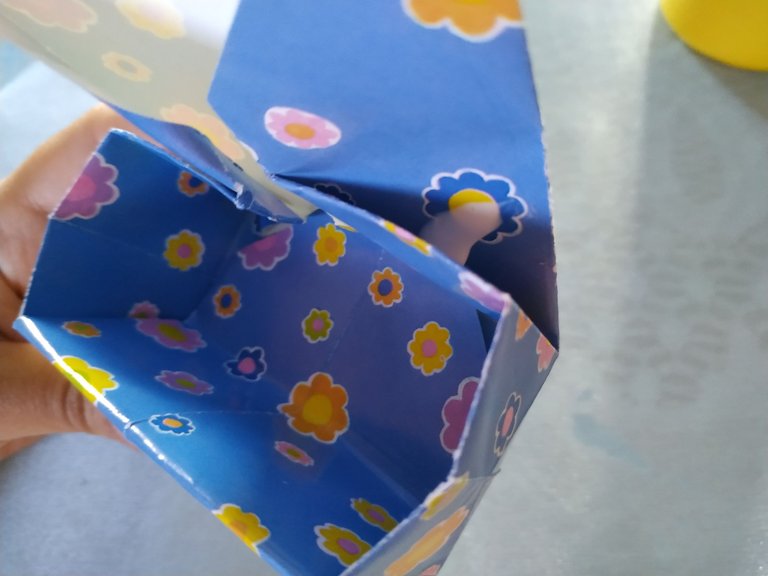
Luego abrimos las solapas de los lados para que se vaya formando la cajita.
Then open the flaps on the sides to form the box.
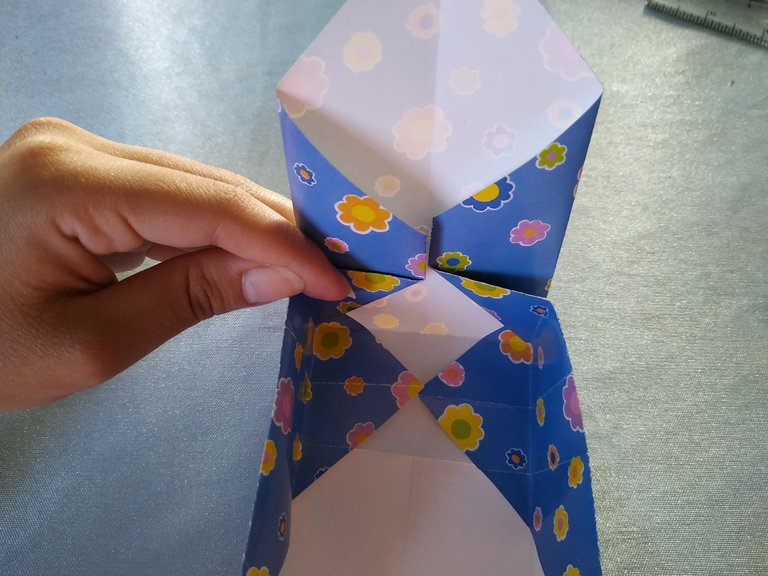
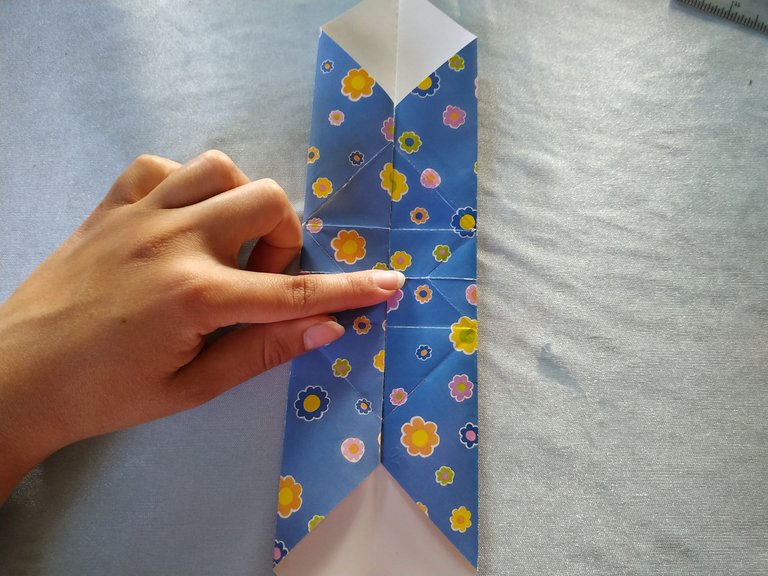
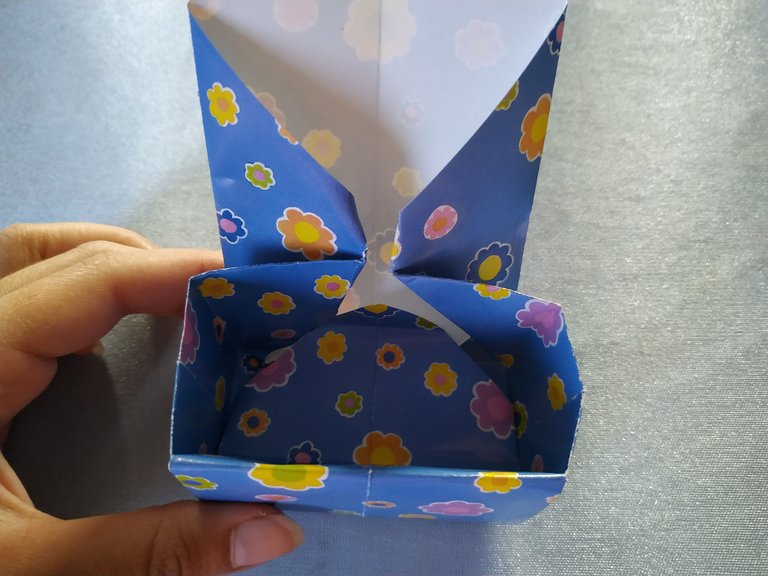
Doblamos hacia adentro la parte superior.
Fold the upper part inwards.
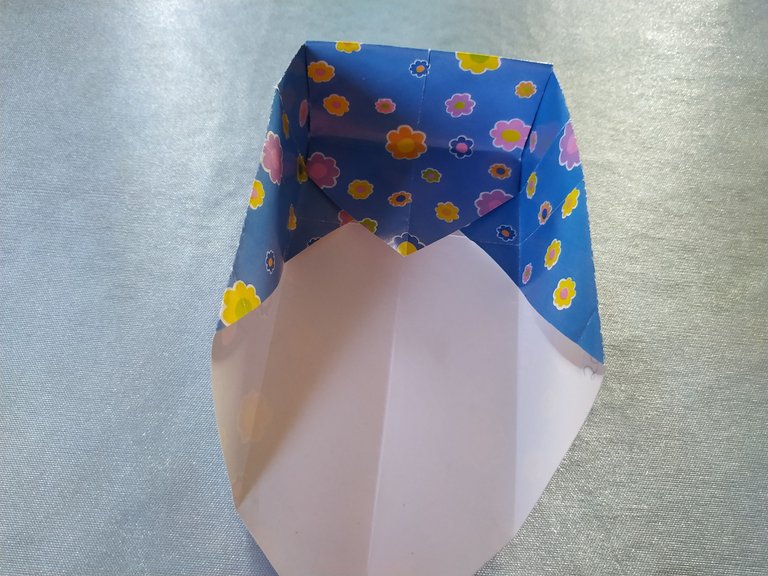
Ahora damos vuelta y comenzamos con el otro lado, repetimos el proceso anterior pero en vez de doblar hacia adentro vamos a dejar está solapa como la tapa.
Now turn over and start with the other side, repeat the previous process but instead of folding inwards we are going to leave this flap as the lid.
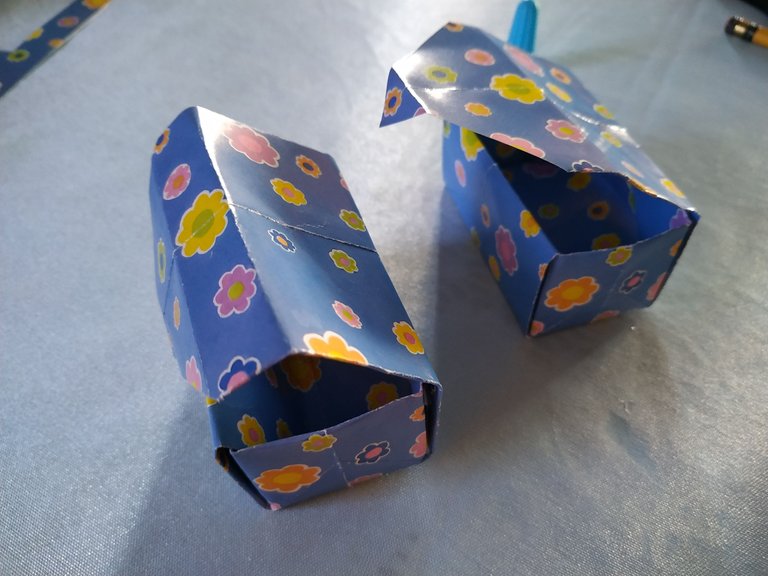
Agregamos la pega blanca en la unión y dejamos secar.
Vamos a necesitar dos cajas de estás así que vamos a repetir todo el proceso de nuevo.
Add the white glue to the joint and let it dry.
We will need two boxes of these so we will repeat the whole process again.
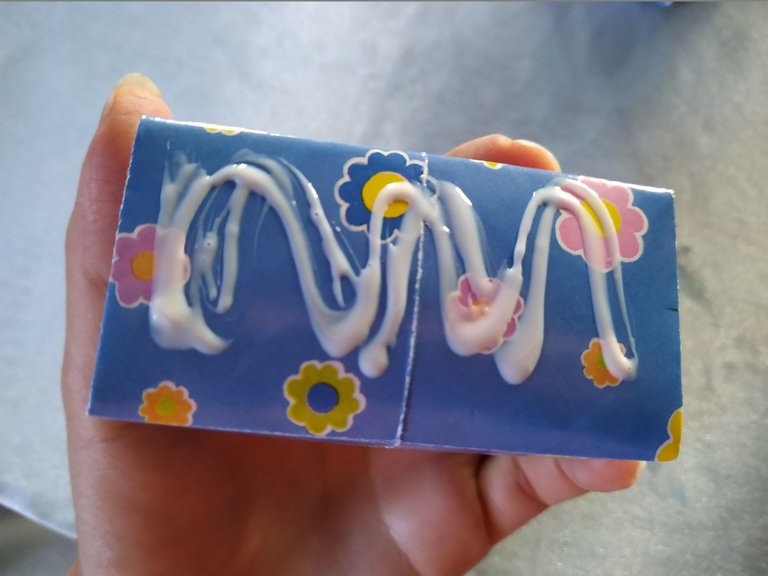
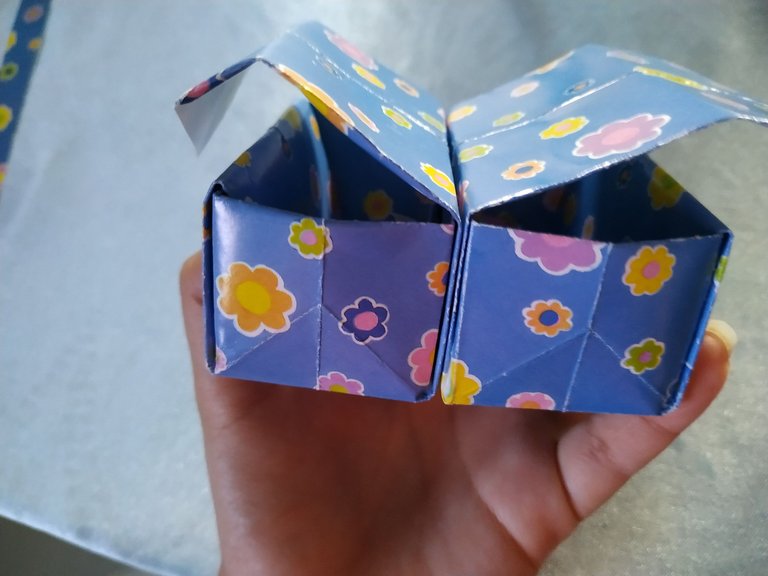
Aplicamos pega blanca en la parte trasera de una de las cajas y la unimos a la otra.
Sostenemos con unas pinzas hasta que se seque.
Apply white glue to the back of one of the boxes and attach it to the other.
Hold it with tweezers until it dries.
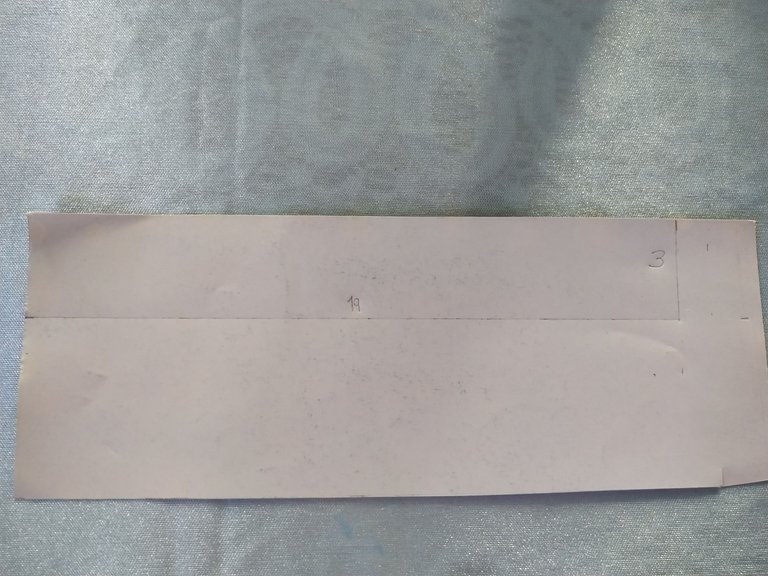
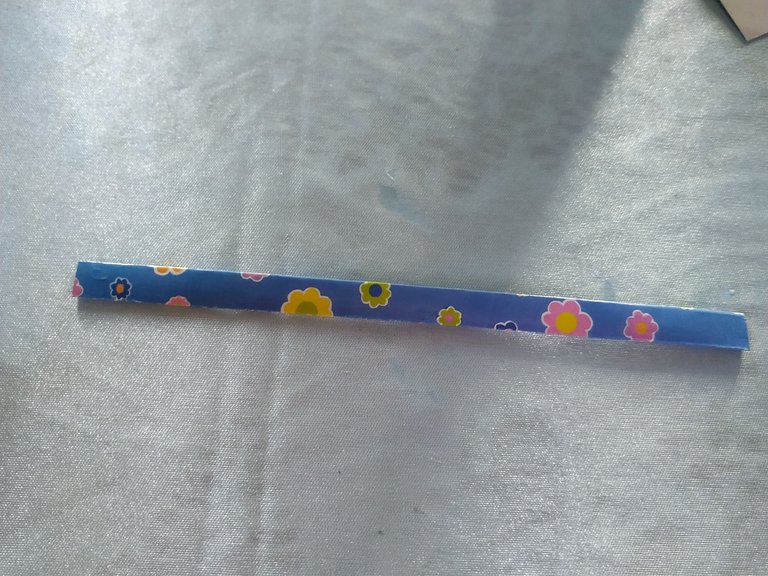
Luego hacemos el asa recortando un rectángulo de 19 por 3 centímetros y lo dividimos en tres partes.
Then we make the handle by cutting out a rectangle of 19 by 3 centimeters and divide it into three parts.
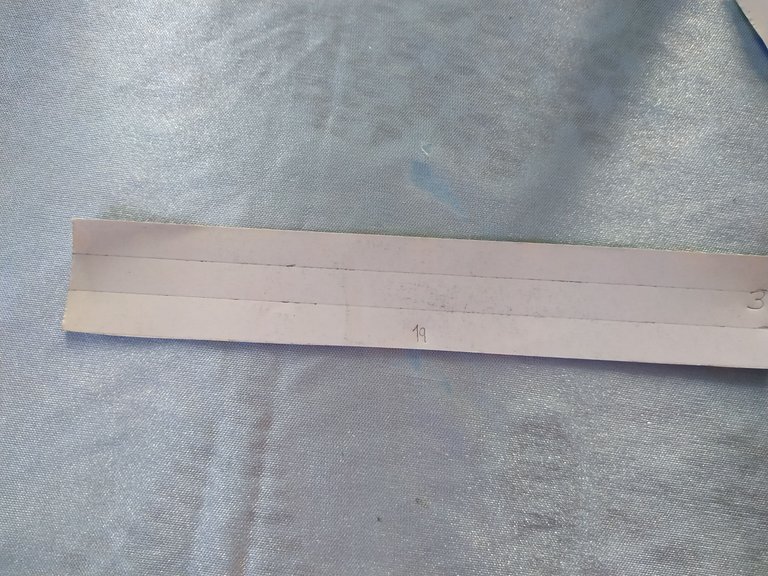
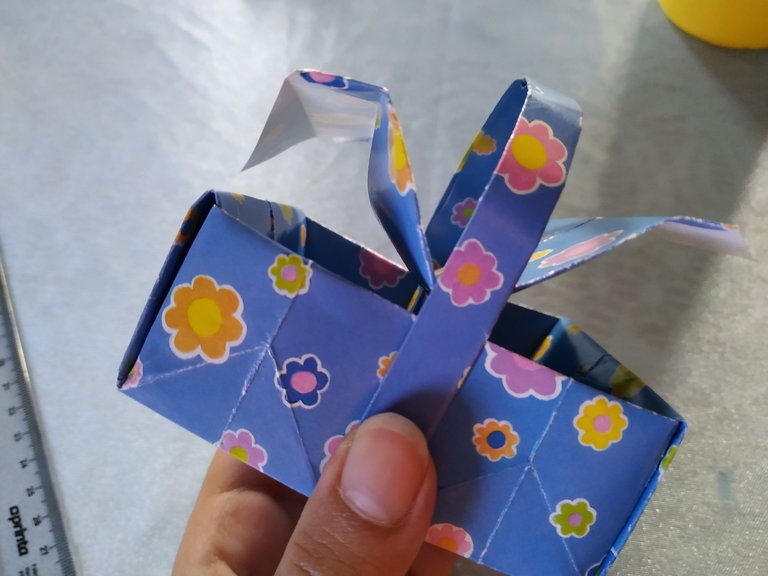
Lo doblamos y pegamos de esta manera.
We fold it and glue it in this way.
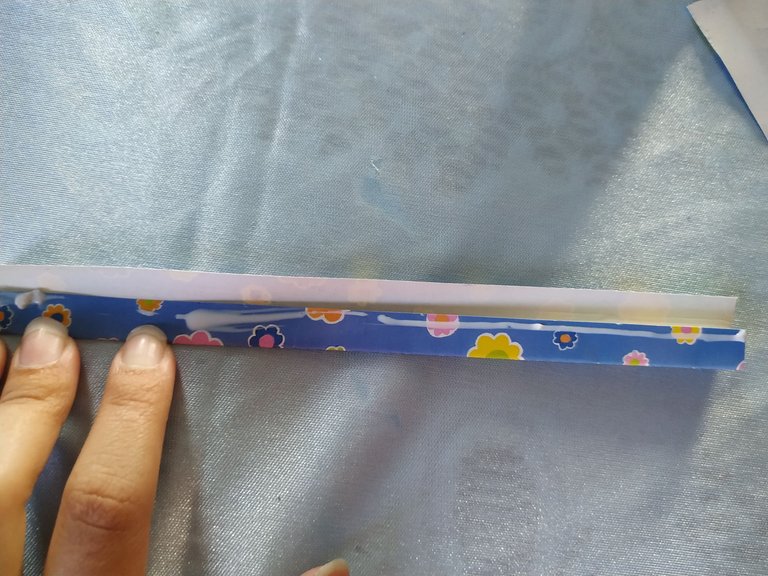
Unimos a los laterales de la cesta y dejamos secar.
Attach to the sides of the basket and let dry.
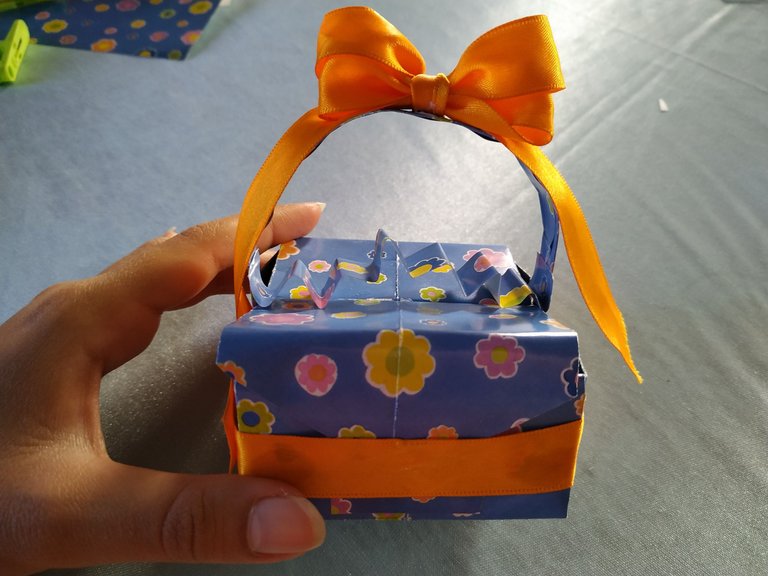
Colocamos una cinta alrededor de la cesta para decorar.
Place a ribbon around the basket for decoration.
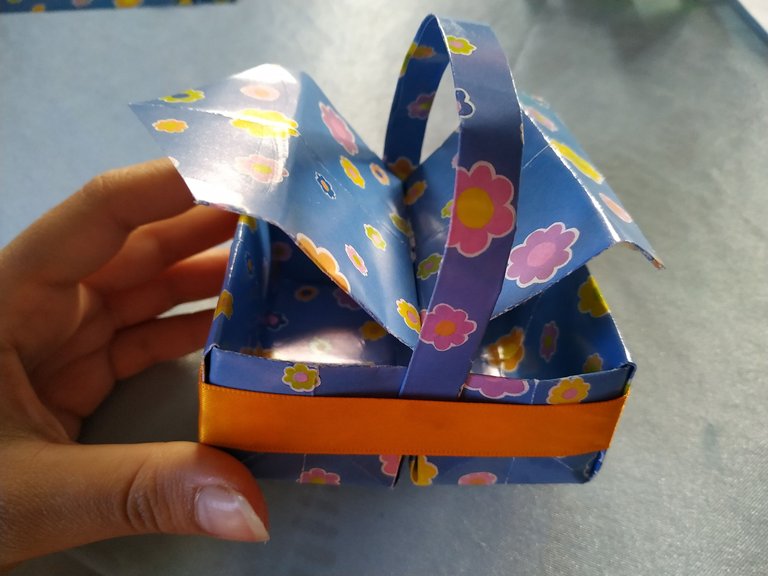
Y opcionalmente podemos hacer un lazo decorativo con cinta raso.
And optionally we can make a decorative bow with satin ribbon.

Conversor de vídeo || Video converter
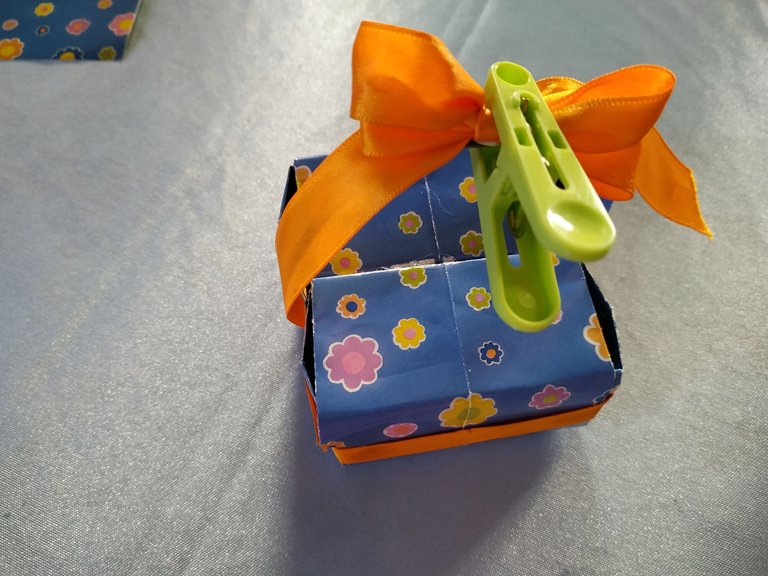
Agregamos algunos detalles más y con esto estará lista está bella cesta de regalo.
Add a few more details and you are ready with this beautiful gift basket.

Editado en Canva || Edited in canva
Fotos tomadas de mi teléfono Xiaomi Redmi Note 6 Pro || Photos taken from my Xiaomi Redmi Note 6 Pro phone.
Fuente del editor de imágenes || Image editor source
Conversor de vídeo || Video converter
https://twitter.com/Jenny_Zerpa/status/1570568227587256322
The rewards earned on this comment will go directly to the people sharing the post on Twitter as long as they are registered with @poshtoken. Sign up at https://hiveposh.com.
Está hermosa 😍😍😍 y muy bien explicado el tutorial. Gracias por compartirlo 🌺🌼
Congratulations @gabimramirez! You received a personal badge!
You can view your badges on your board and compare yourself to others in the Ranking
Check out the last post from @hivebuzz:
Support the HiveBuzz project. Vote for our proposal!
Que bonito
Muchas gracias ❤️