Cartera o bolso de mano || Handbag or clutch
Hola a todos, feliz martes y bienvenidos a mi blog. El día de hoy les traigo un proyecto que tarde varias horas para elaborarlo y la verdad no podría haberlo lograrlo sin mi mamá que es la que me ayuda y me guía en proyectos tan elaborados como este, es una muy buena maestra por sus años de experiencia en la costura.
Hello everyone, happy Tuesday and welcome to my blog. Today I bring you a project that took me several hours to make and the truth is that I could not have done it without my mom who is the one who helps me and guides me in projects as elaborate as this one, she is a very good teacher for her years of experience in sewing.
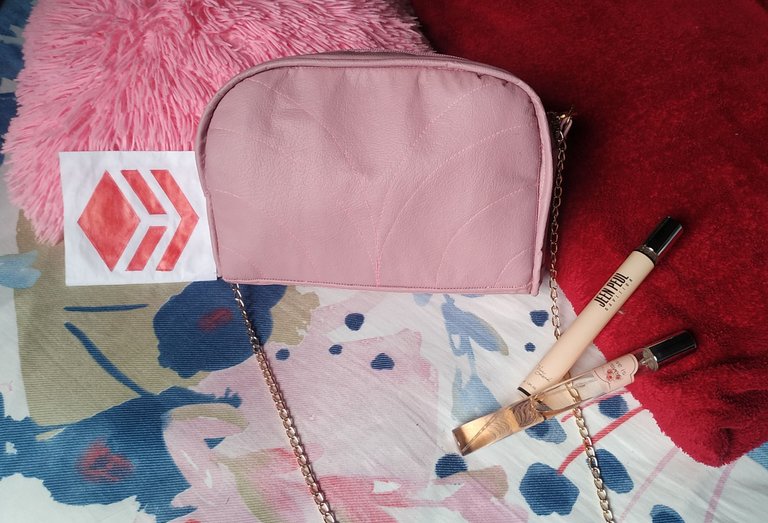
Realizamos este hermoso bolso o cartera de mano de color rosa viejo, amo este color ya que hace de este muy elegante y al mismo tiempo juvenil, lo elaboramos con tela sintética (la misma que utilizamos para elaborar la mochila), que es una tela especial para hacer bolso o tapicería y que no es tan gruesa lo cual la hace manejable en nuestra máquina de coser.
Ahora sí, comencemos.
We made this beautiful handbag or purse in old pink color, I love this color because it makes this very elegant and at the same time youthful, we made it with synthetic fabric (the same we used to make the backpack), which is a special fabric to make bag or upholstery and that is not so thick which makes it manageable in our sewing machine.
Now, let's get started.

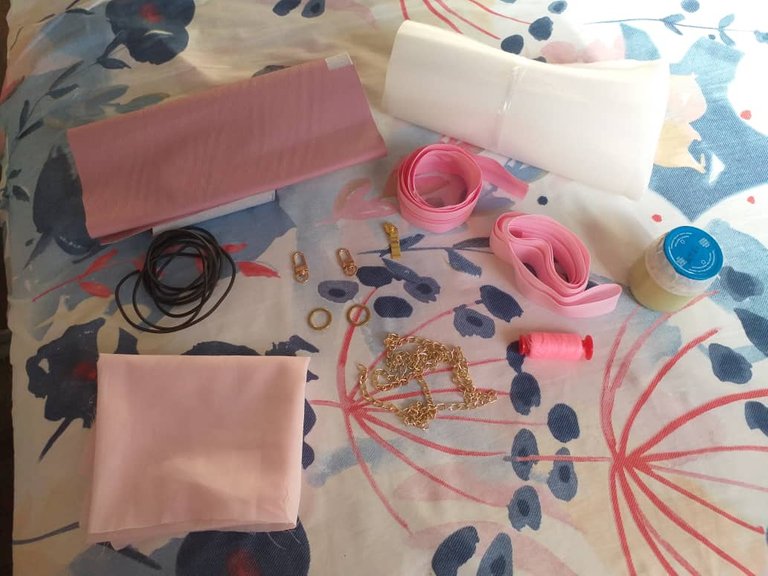
- Tela sintética.
- Tela rígida para forro.
- Cierre de 32 cm de largo.
- Sesgo rígido ancho.
- Foami o poli espuma.
- 2 argollas.
- 2 Mosquetones.
- 1 metro de cadena.
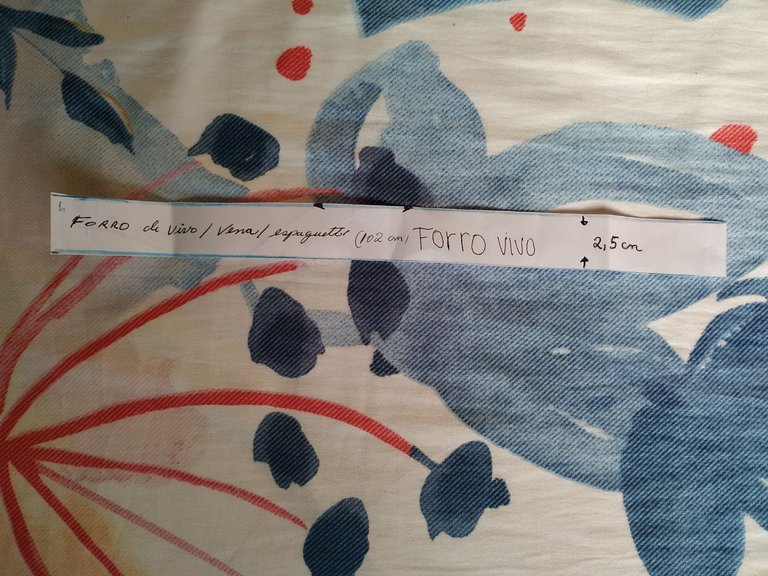
- Espagueti o vivo.
- Hilo grueso.
- Alfileres.
- Cinta métrica.
- Tijeras.
- Pega de doble contacto.
- Moldes o patrones.
- Synthetic fabric.
- Rigid fabric for lining.
- 32 cm long zipper.
- Wide rigid bias.
- Foami or poly foam.
- 2 rings.
- 2 carabiners.
- 1 meter of chain.
- Spaghetti or live.
- Thick thread.
- Pins.
- Measuring tape.
- Scissors.
- Double contact glue.
- Molds or patterns.

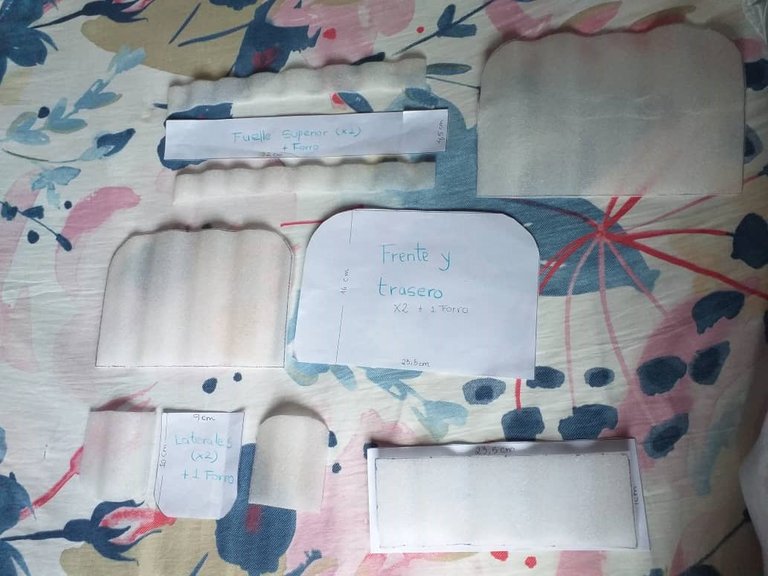
Moldes o patrones.
Molds or patterns.
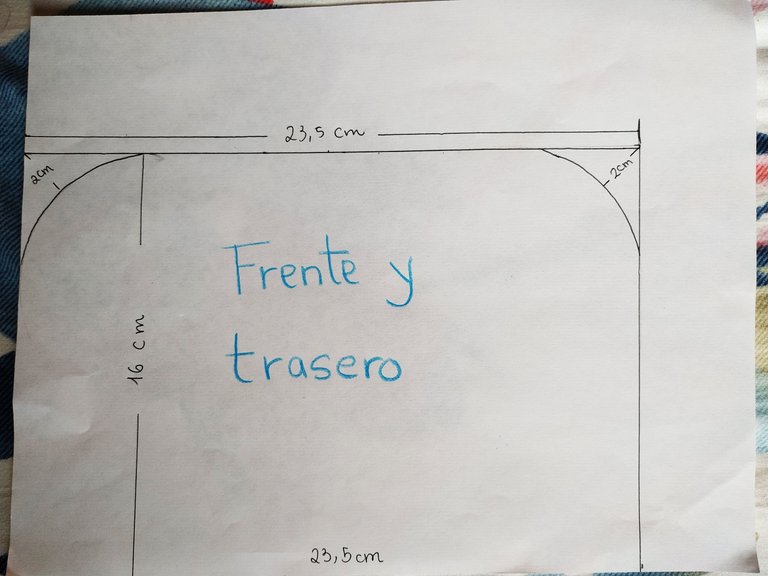
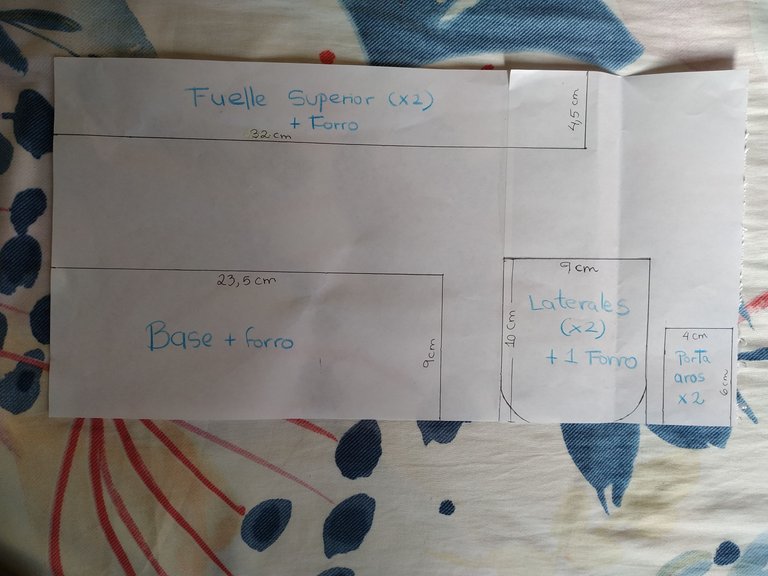
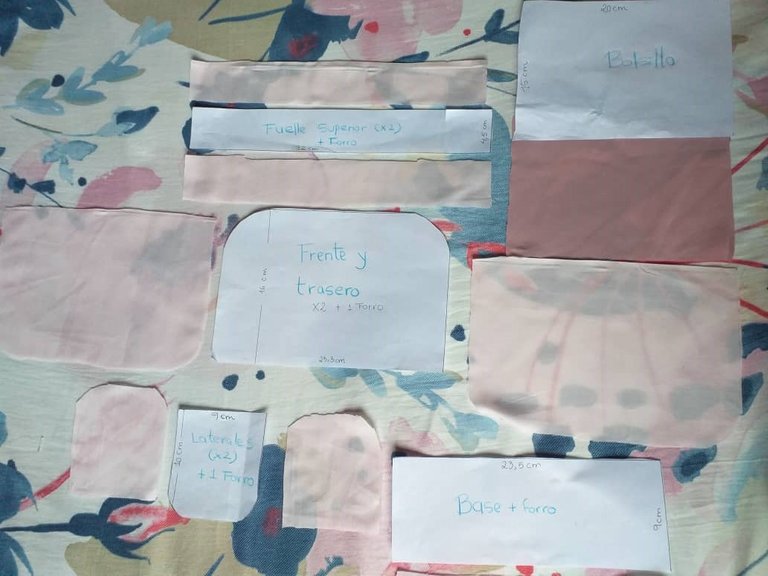
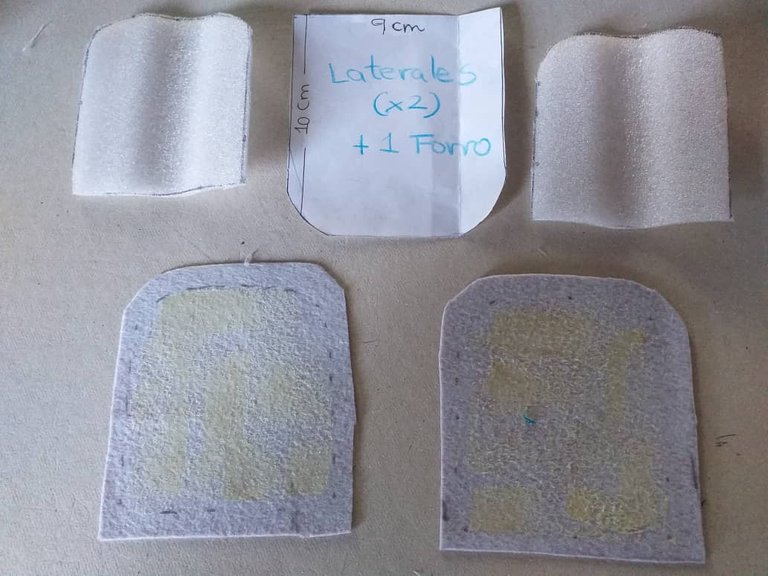
Como primer paso vamos a recortar todas las piezas en tela sintética y en forro guiándonos de cada molde.
As a first step we are going to cut out all the pieces in synthetic fabric and lining using each mold as a guide.
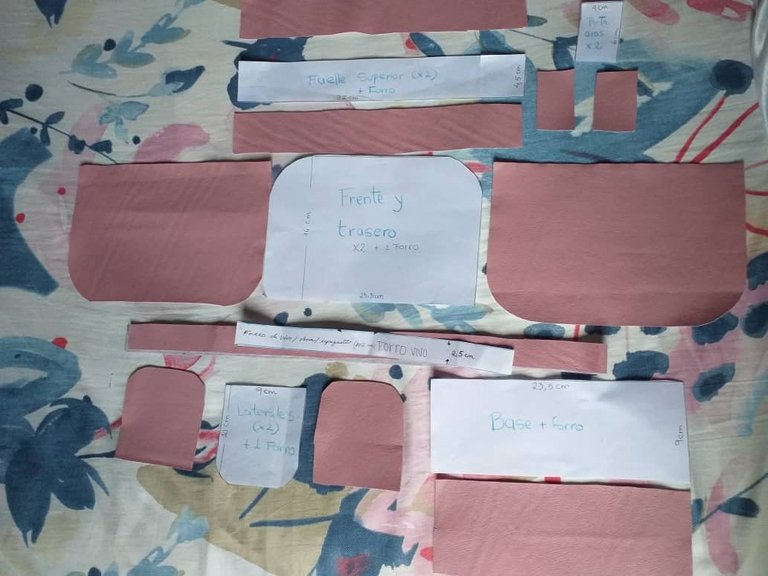
Adicional estás piezas en poliespuma las cuales vamos a cortar un centímetro más pequeñas que nuestro molde a excepción de la parte trasera del bolso.
In addition, we are going to cut these polyfoam pieces one centimeter smaller than our mold, except for the back of the bag.
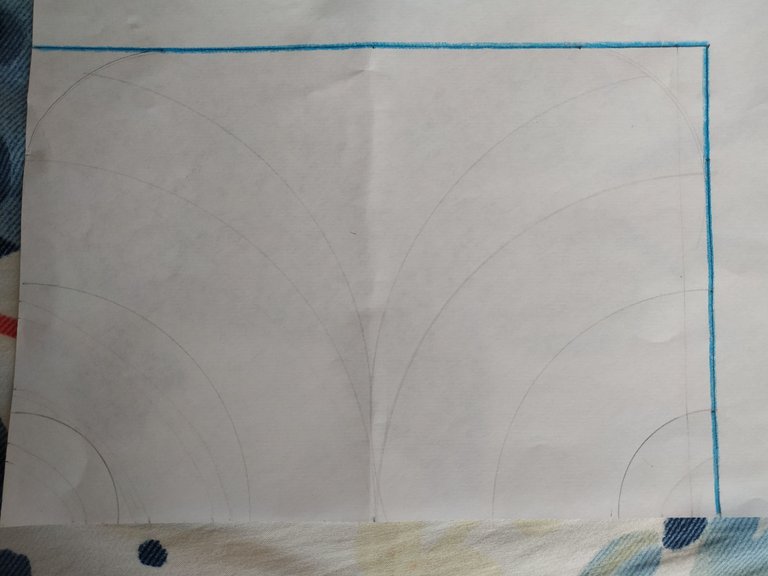
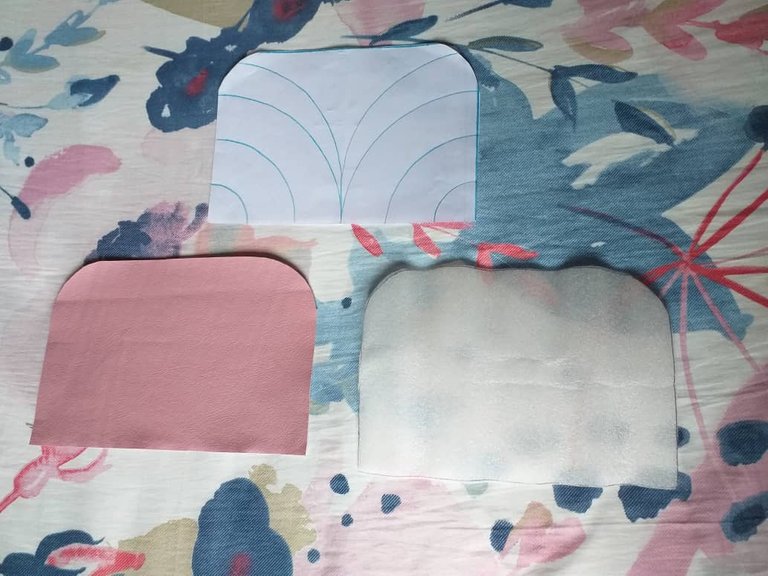
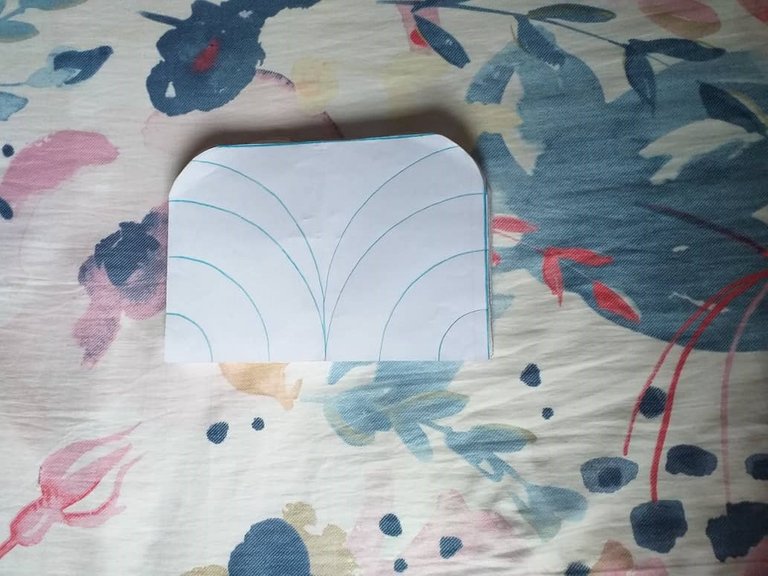
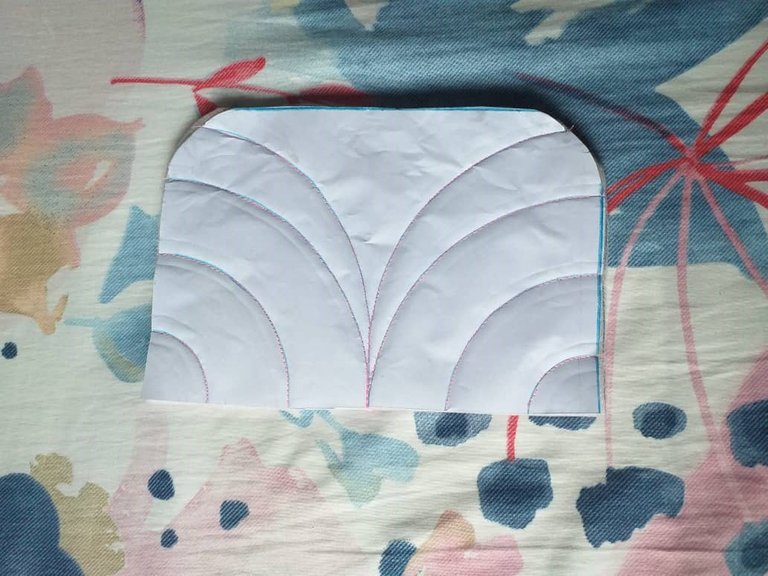
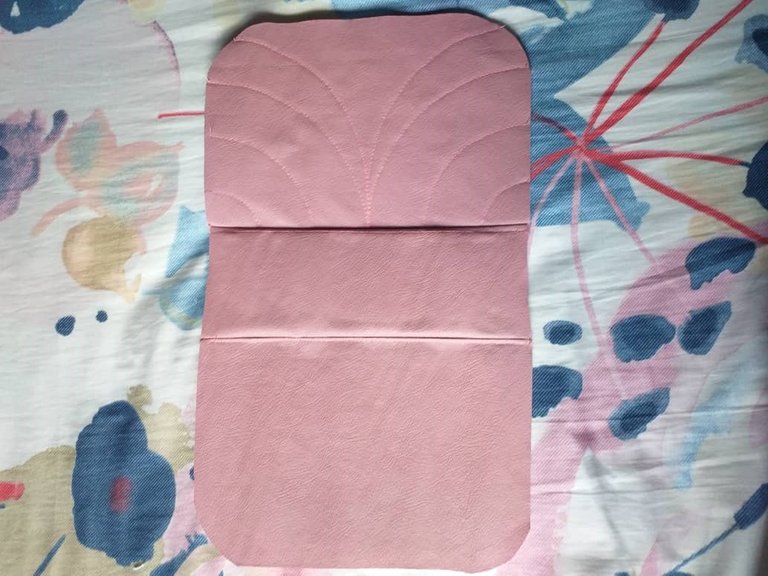
Tomamos estas tres piezas que son de la parte delantera del bolso, a la cual en una hoja le hice unas figuras. Sobreponemos en este orden las telas, en primer lugar la tela sintética, luego la poliespuma y por último la hoja.
We take these three pieces that are from the front of the bag, to which I made some figures on a sheet. We superimpose the fabrics in this order, first the synthetic fabric, then the polyfoam and finally the leaf.
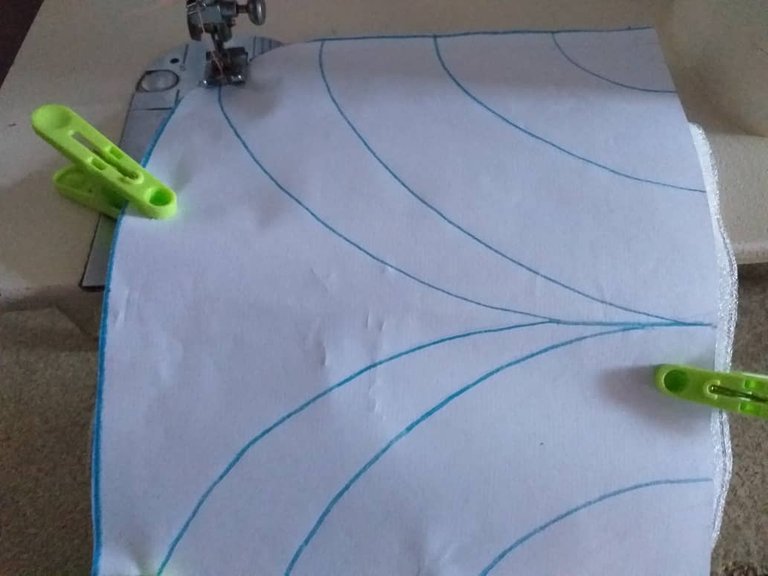
Llevamos a coser por toda la figura ayudándonos con unas pinzas para que no se muevan y al final nos van a quedar de esta manera.
We take to sew all over the figure helping us with tweezers so that they do not move and at the end we are going to be like this.
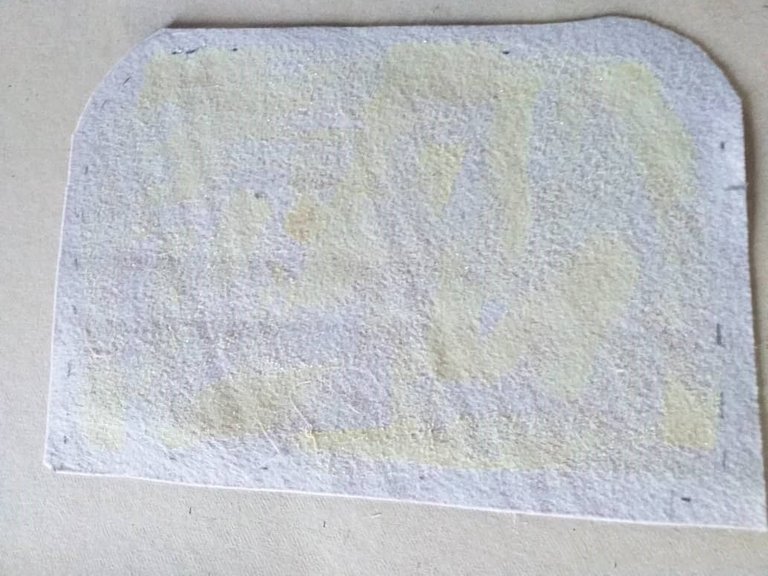
Vamos a pegar las piezas de tela sintética a la poliespuma con la pega liquida de doble contacto, esto hará que el bolso quede más estable.
We are going to glue the synthetic fabric pieces to the polyfoam with the double contact liquid glue, this will make the bag more stable.
Luego unimos la pieza delantera junto con la base (la tela sintética pegada junto a la poliespuma).
Then we join the front piece together with the base (the synthetic fabric glued together with the polyfoam).
Teniendo esto listo la unimos a la parte trasera del bolso.
Having this ready we attach it to the back of the bag.

Continuamos uniendo la parte del fuelle superior, la cual debemos tener estás piezas.
We continue joining the part of the upper bellows, which we must have these pieces.
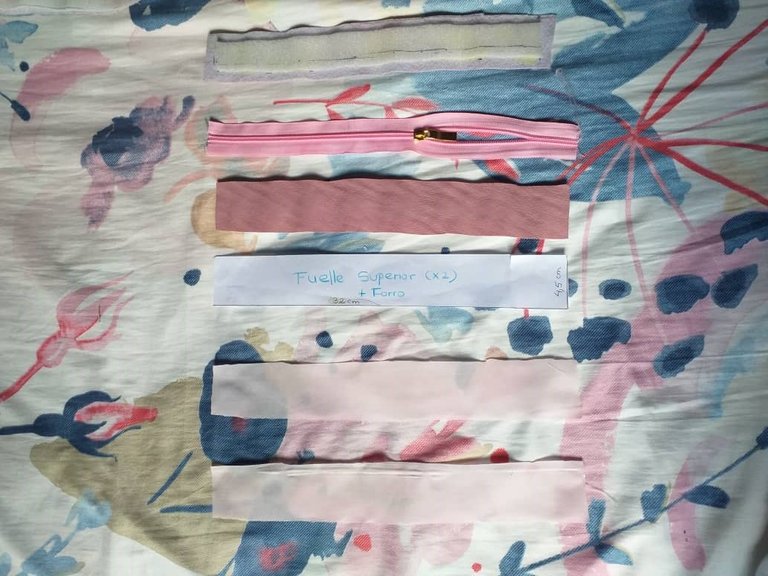
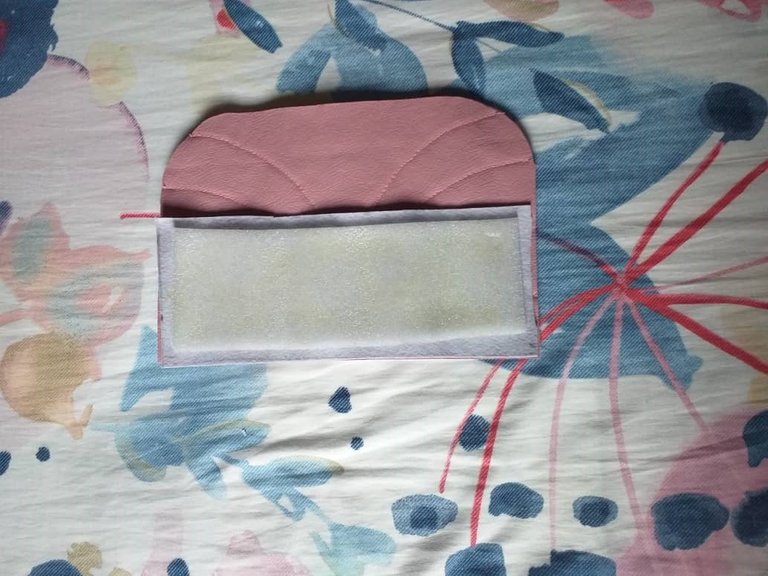
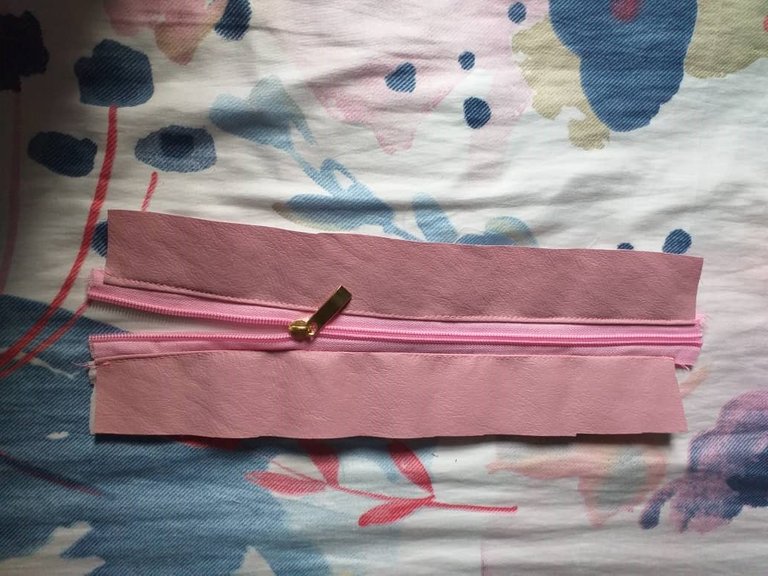
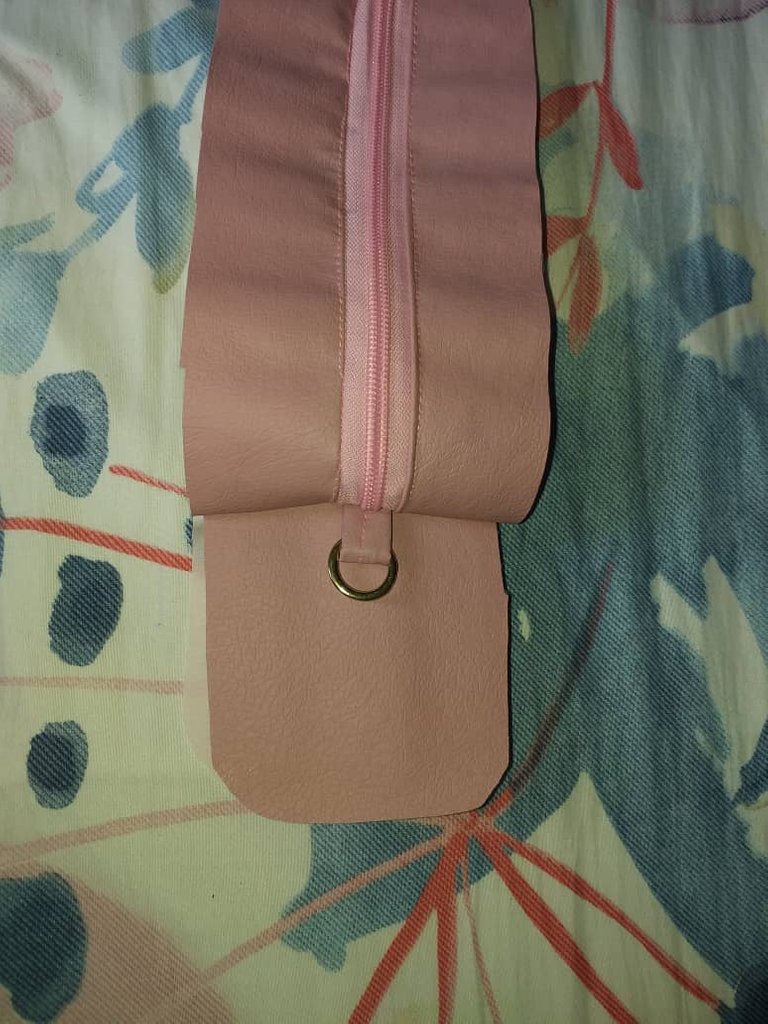
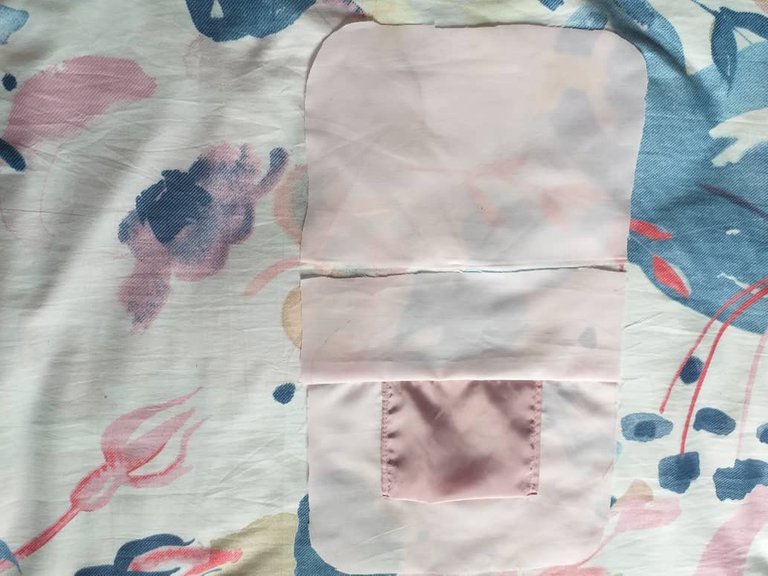
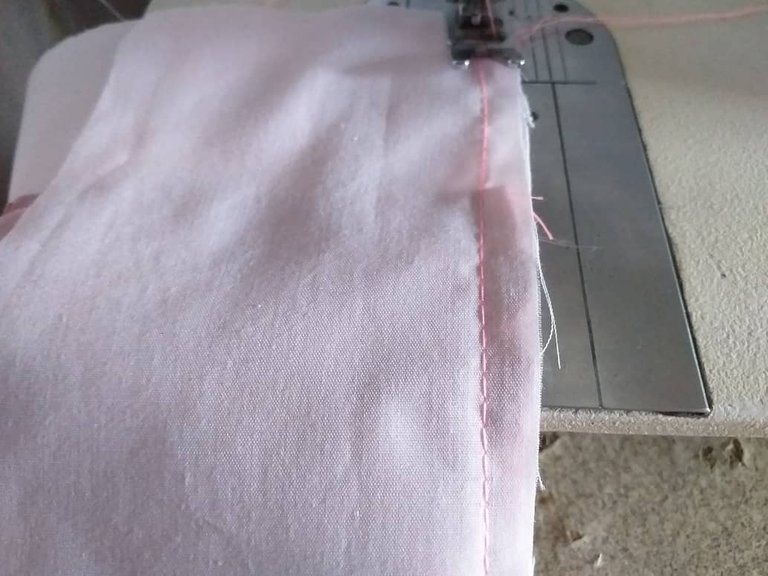
Tomamos la tela sintética por la parte del derecho y arriba de ella colocamos el cierre de manera que quede cara con cara, luego colocamos la tela de forro y pasamos costura en uno de sus lados.
We take the synthetic fabric on the right side and place the zipper on top of it so that it is face to face, then we place the lining fabric and sew the seam on one of its sides.

Cuando esté listo, hacemos lo mismo con el otro lado.
When ready, do the same with the other side.
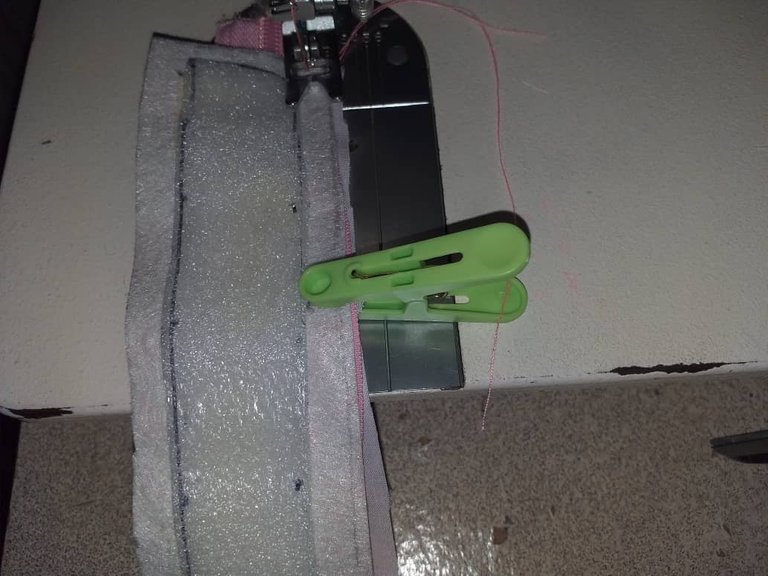
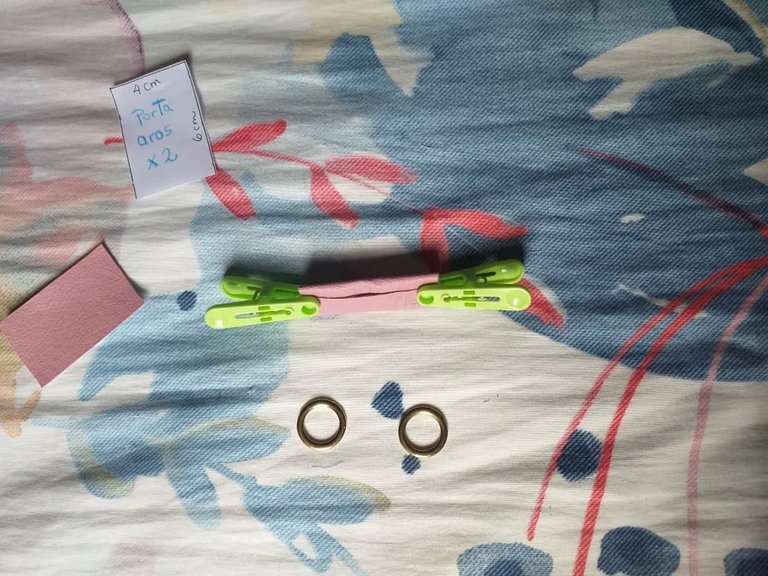
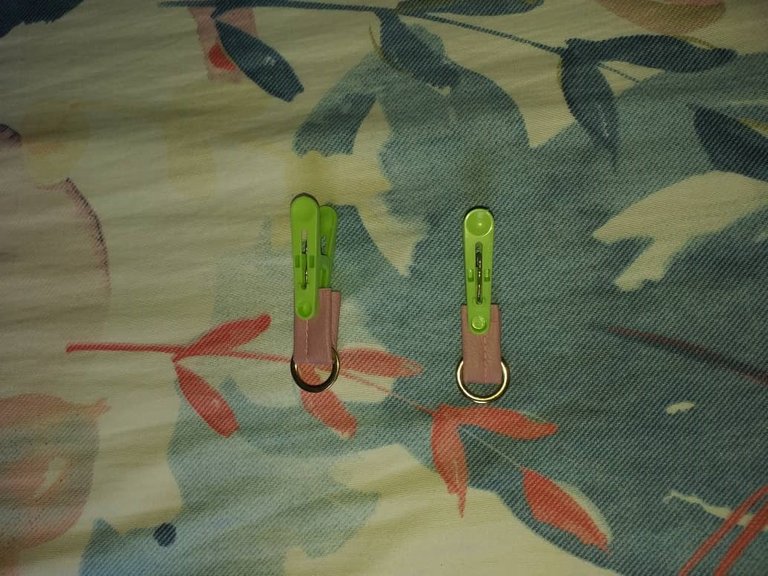
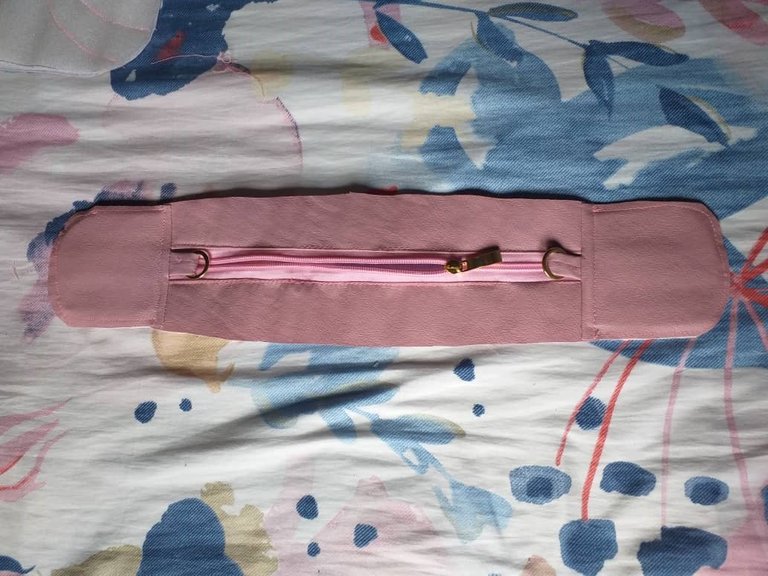
Vamos a coser el porta aros de esta manera.
We are going to sew the hoop holder in this way.
Luego lo unimos a la pieza anterior junto a uno de los laterales con su forro, cosemos y realizamos el mismo proceso con el otro lateral.
Then we join it to the previous piece next to one of the sides with its lining, sew and perform the same process with the other side.
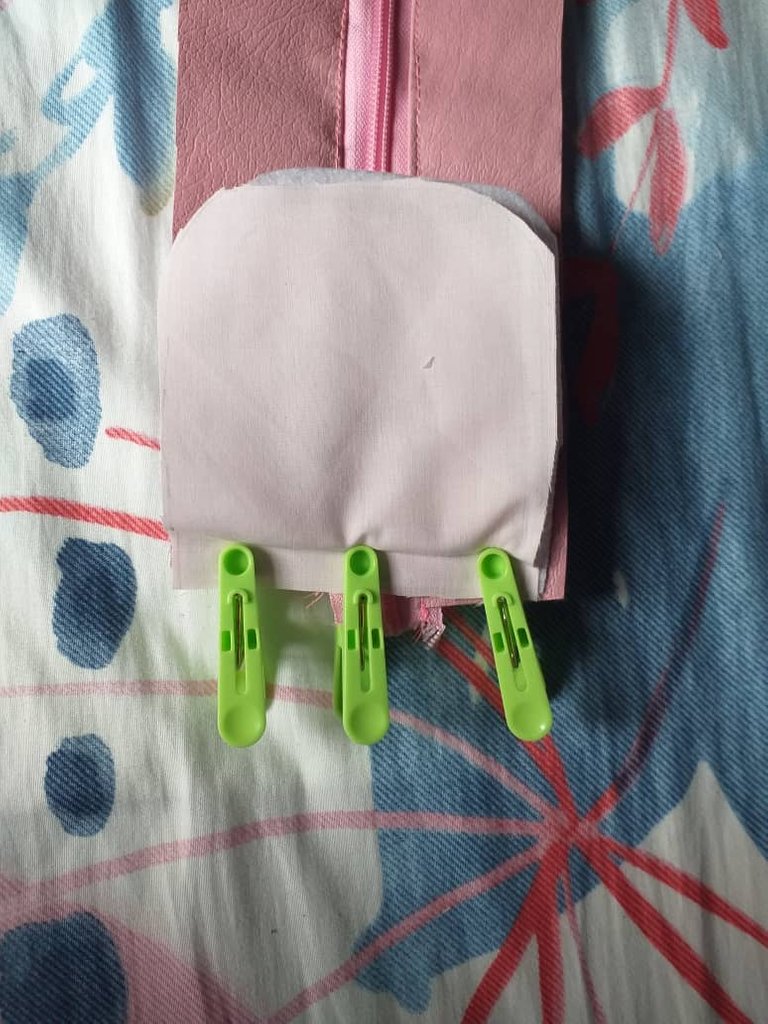
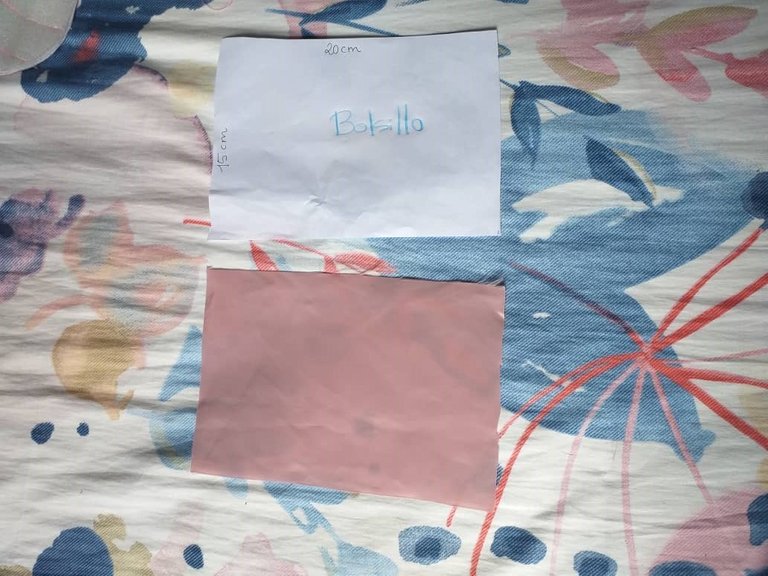
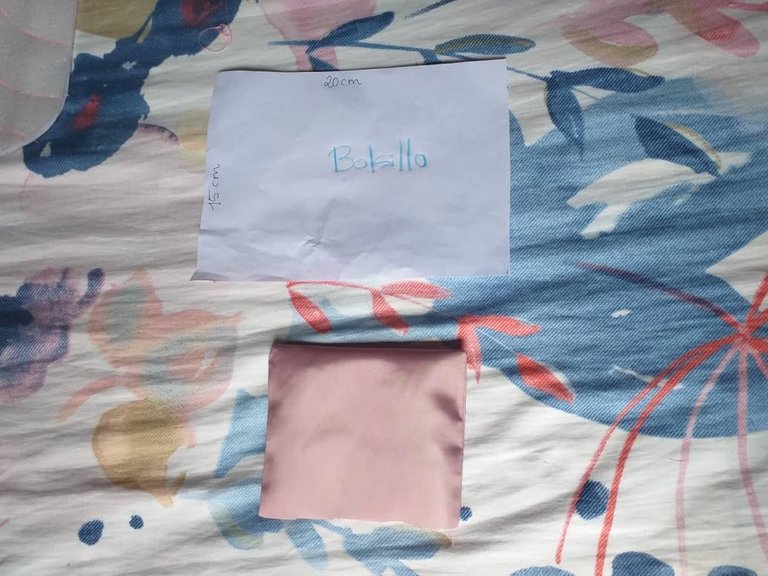
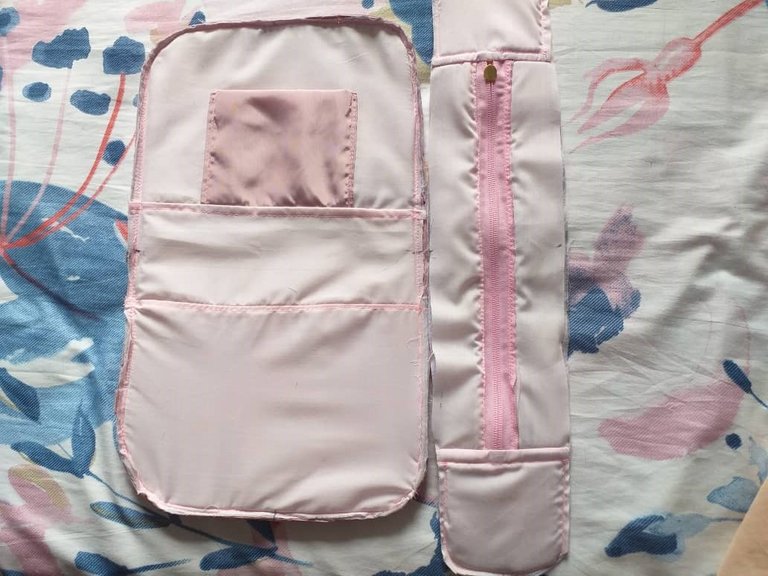
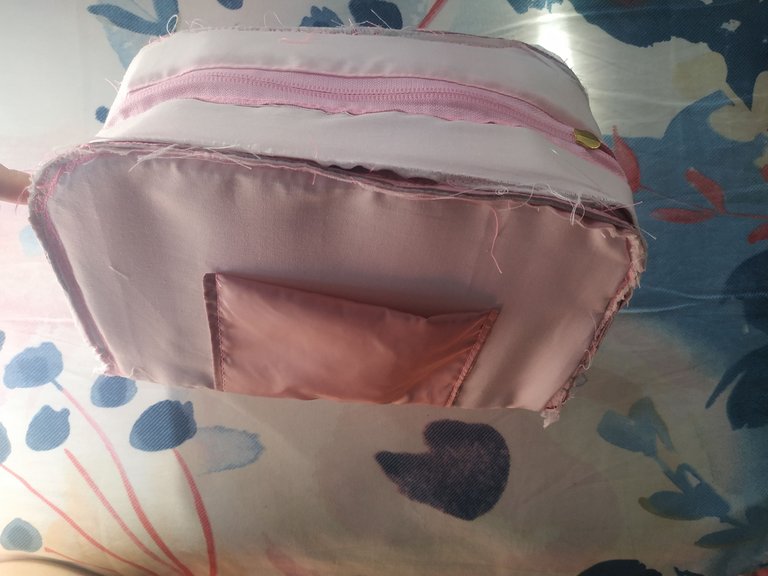
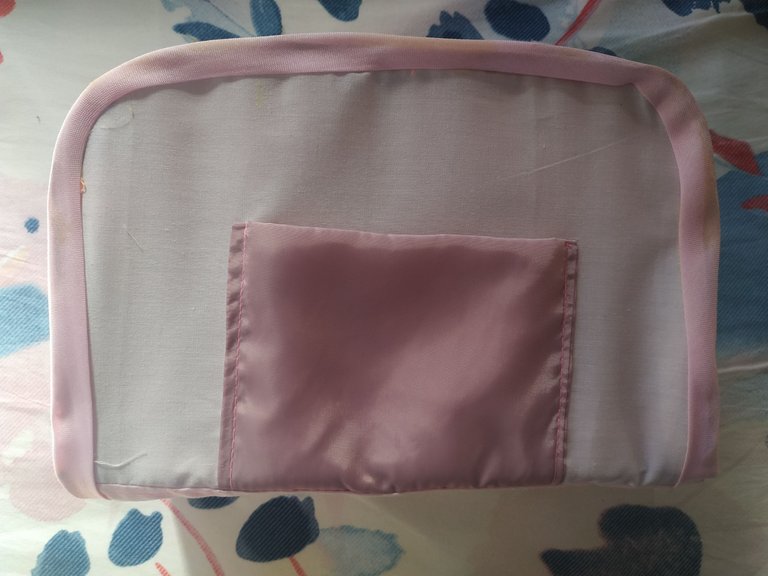
Ahora vamos a realizar el bolsillo interno, para ello utilizaremos tela de forro, procedemos a recortar un rectángulo de 15 x 20 cm. Este lo doblamos a la mitad y pasamos costura a los lados sin coser la parte superior.
Now we are going to make the inner pocket, for this we will use lining fabric, we proceed to cut a rectangle of 15 x 20 cm. Fold it in half and sew the sides without sewing the upper part.
Cuando esté listo lo vamos a unir a la parte trasera del forro.
When it is ready we will attach it to the back of the lining.

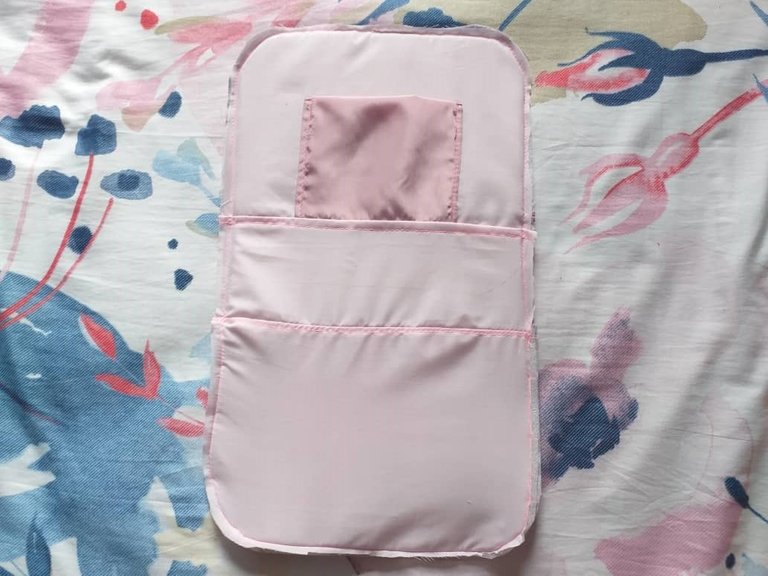
Teniendo esto listo procedemos a armar toda la parte interna del bolso así que unimos la pieza que acabamos de hacer a la base y luego a la parte delantera, similar a como lo hicimos con la tela sintética.
Having this ready we proceed to assemble the whole inner part of the bag so we join the piece we just made to the base and then to the front part, similar to how we did it with the synthetic fabric.
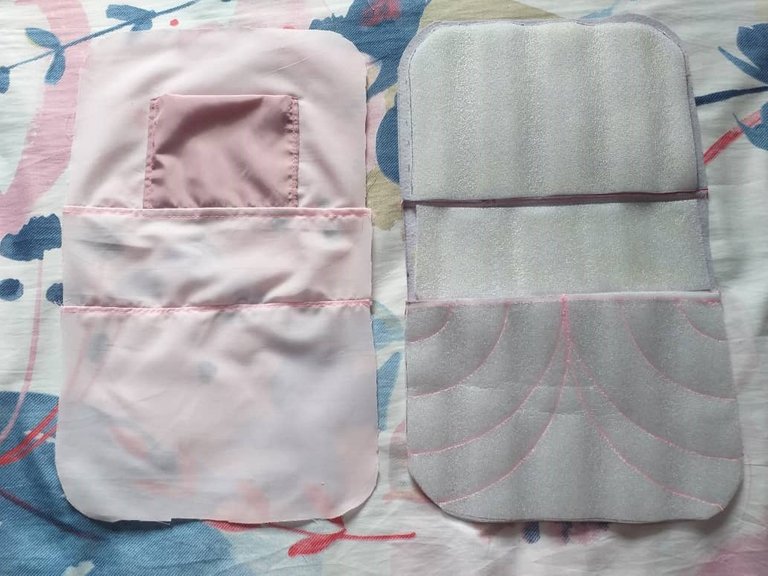
Nos deben de ir quedando dos piezas así. Vamos a sobreponer el forro en la otra pieza y cosemos por todo el contorno.
We should be left with two pieces like this. We are going to superimpose the lining on the other piece and sew all the way around.
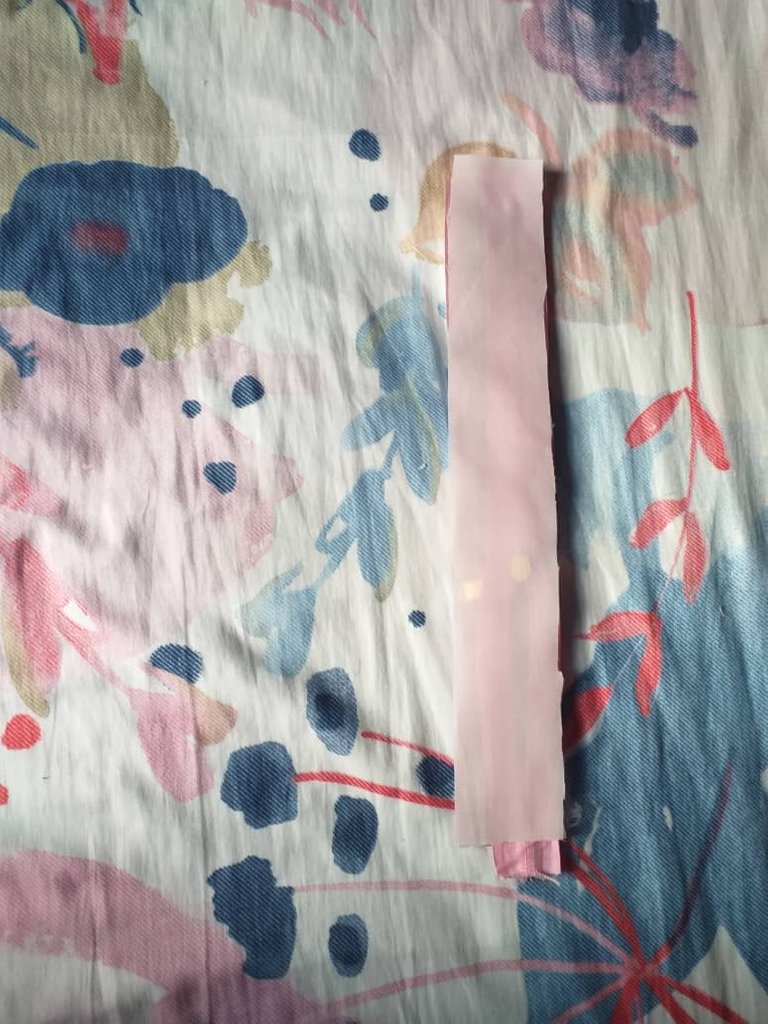
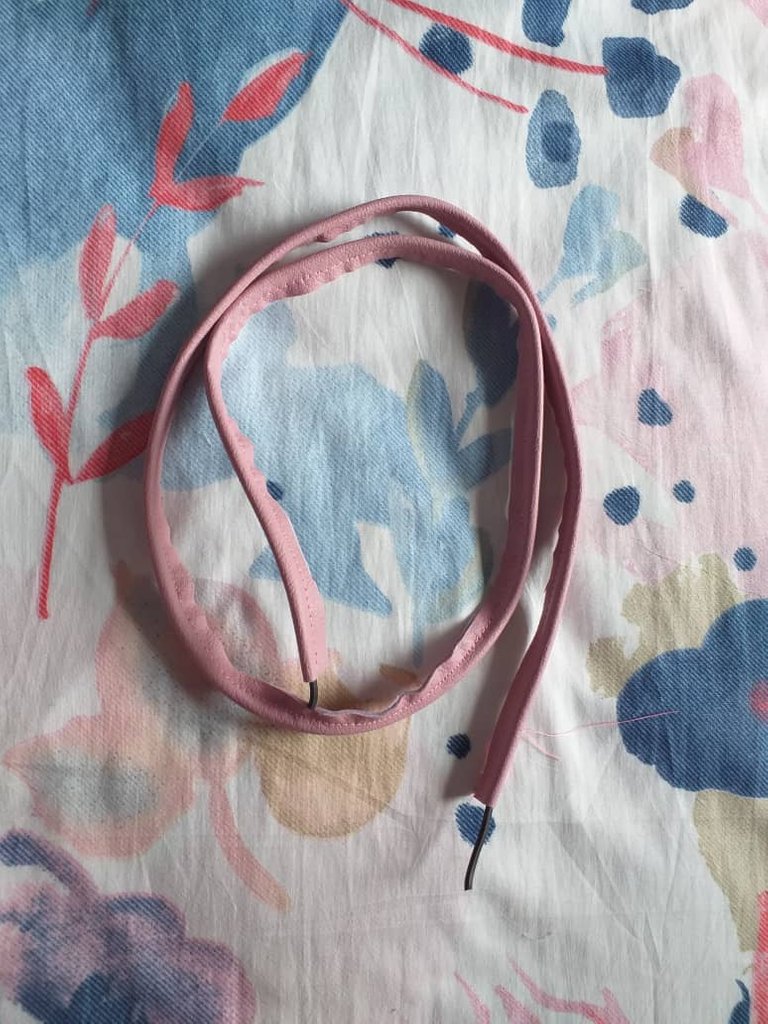
Ahora procedemos a realizar el vivo, uniendo una tira de tela sintética al cable (espagueti) para ello nos podemos ayudar con unas pinzas antes de pasar costura.
Now we proceed to make the live, joining a strip of synthetic fabric to the cable (spaghetti) for this we can help us with tweezers before sewing.
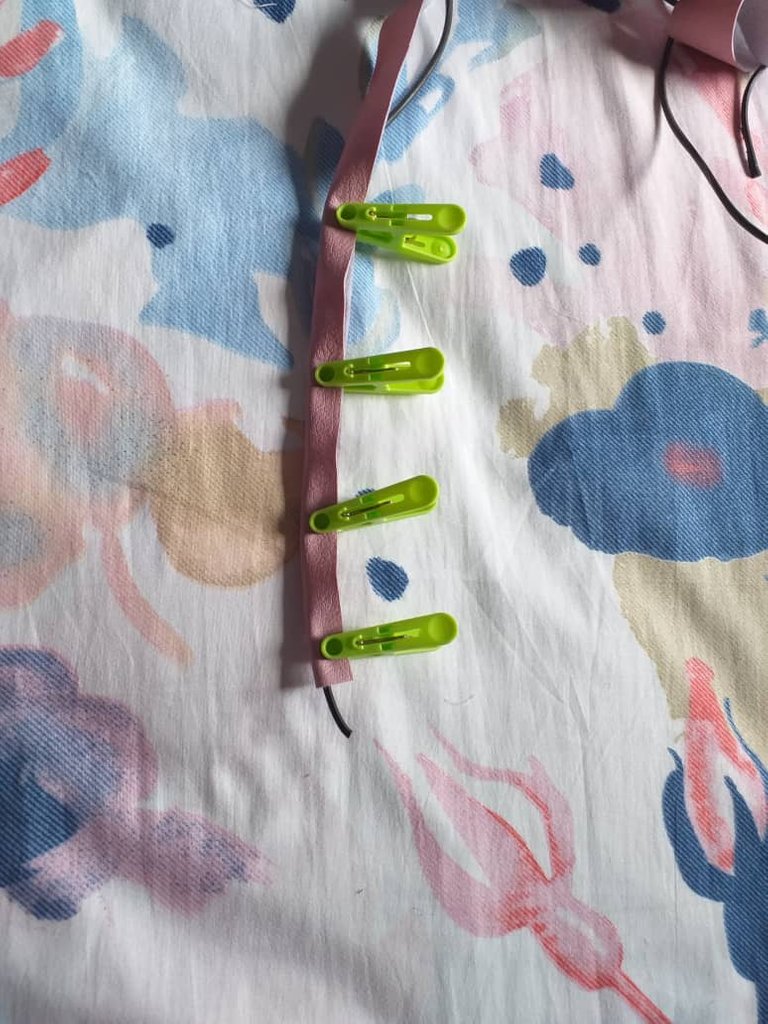
Este lo vamos a unir a todo el contorno de la pieza, para que tenga un acabado más profesional. empezaremos por la base.
This we are going to join it to all the contour of the piece, so that it has a more professional finish. we will start with the base.

A esta pieza le haremos una marca en el centro al igual que a la pieza del fuelle superior, para poder unir ambas piezas por el contorno y que quede bien centrada. Esto lo haremos por la parte interior, es decir por el forro de cada pieza.
We will make a mark in the center of this piece, as we did with the upper bellows piece, to be able to join both pieces along the contour and make sure it is well centered. We will do this on the inside, that is, on the lining of each piece.
Ahora con el sesgo rígido vamos a tapar todos los orillos del bolso por la parte interna, lo vamos a pegar con la pega doble contacto o si lo deseas se cose, pero es mucho más fácil pegarlo.
Now with the rigid bias binding we are going to cover all the edges of the bag on the inside, we are going to glue it with the double contact glue or if you wish we can sew it, but it is much easier to glue it.

Cuando esté listo le damos vuelta.
When it is ready we turn it over.
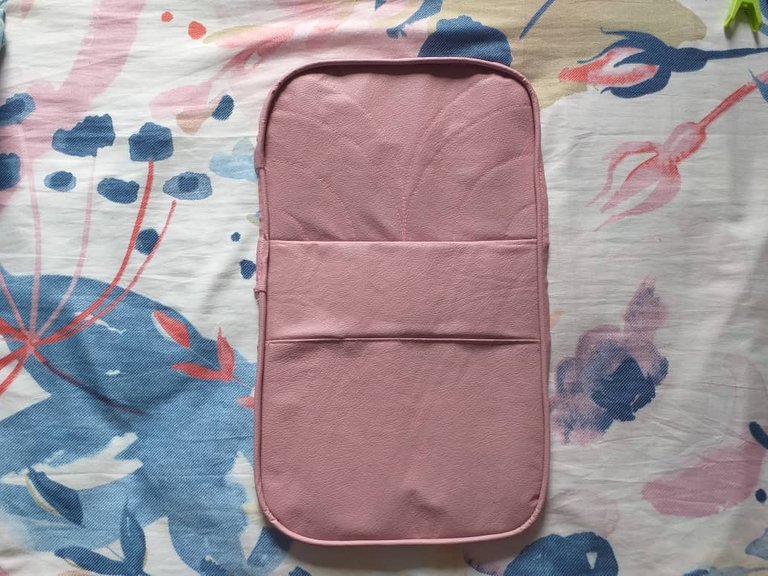
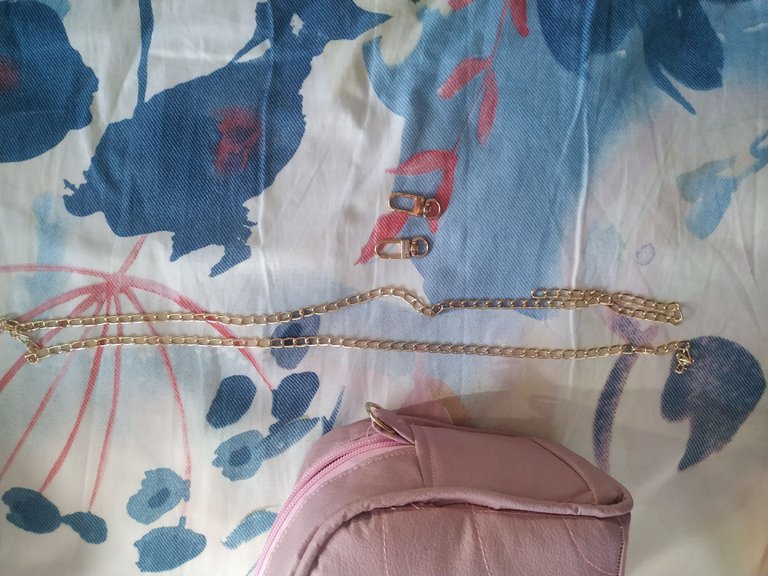
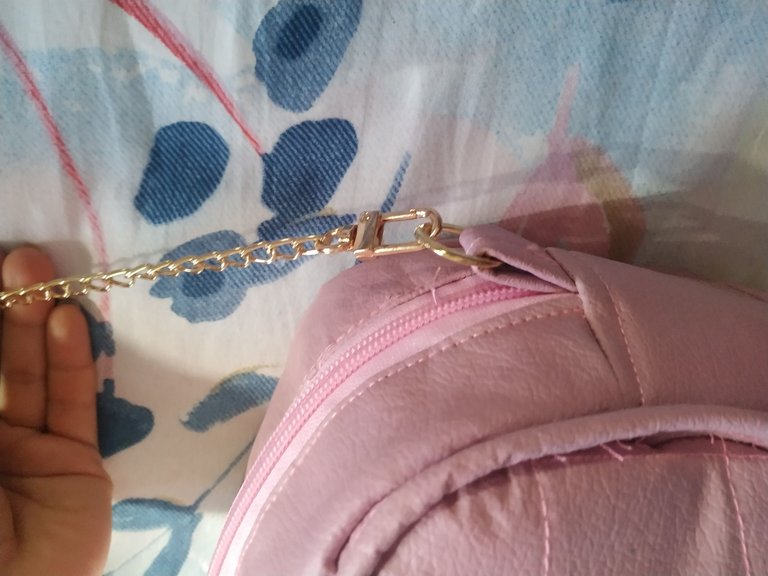
Por último vamos a unir la cadena a los Mosquetones y estos mismos a los aros del bolso.
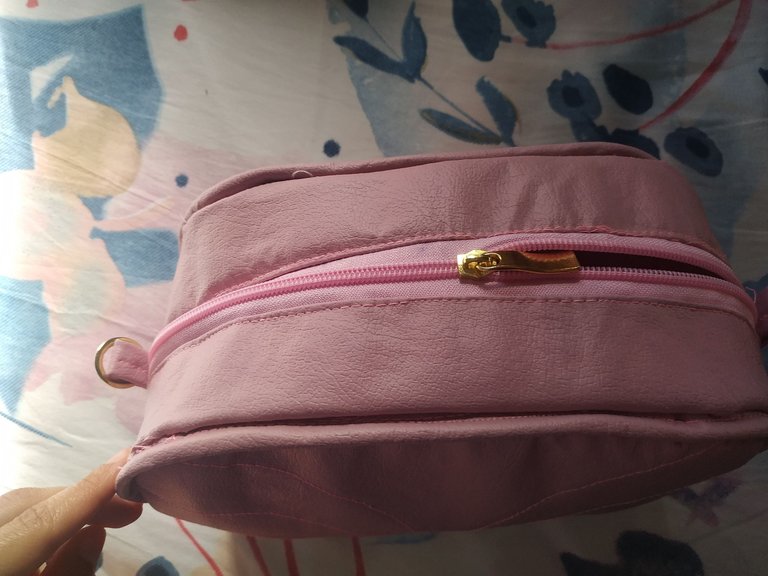
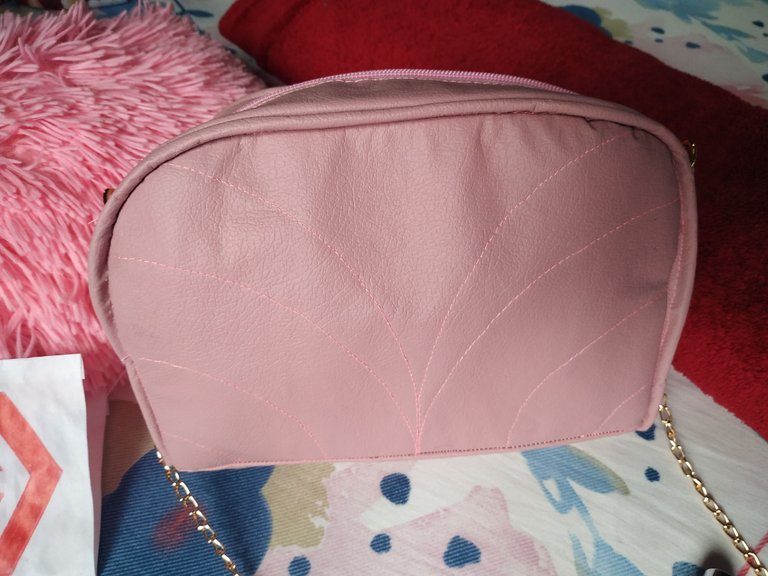
Y tendremos listo este bello bolso.
Finally we will attach the chain to the carabiners and the carabiners to the rings of the bag.
And we will have ready this beautiful bag.
La verdad fue un proyecto que requiere de tiempo, paciencia y mucho amor para elaborarlo, pero el resultado es increíble y vale totalmente la pena.
The truth was a project that requires time, patience and a lot of love to elaborate, but the result is incredible and totally worth it.

Muchas gracias por leer mi blog y llegar hasta aquí.
Thank you so much for reading my blog and making it this far.

Fotos tomadas de mi teléfono Xiaomi Redmi Note 6 Pro y mi teléfono Samsung J4 plus || Photos taken from my Xiaomi Redmi Note 6 Pro pone and my Samsung J4 plus phone.
Fuente del editor de imágenes || Image editor source
Do you know the legal name of @themarkymark ???? It is needed to contact his local police station. Any information to his whereabouts would be much appreciated.
https://twitter.com/Mavis166/status/1529260761289265152
The rewards earned on this comment will go directly to the people sharing the post on Twitter as long as they are registered with @poshtoken. Sign up at https://hiveposh.com.
Es un proyecto muy bonito, me agrada la manera en que explicas el paso a paso. Te felicito por el resultado final.
Saludos!
Hola muchas gracias.
Te quedó muy bonito
Gracias Pao.
😍😍😍😍
Lovely thanks for sharing @gabimramirez