Diadema entrelazada || Intertwined headband
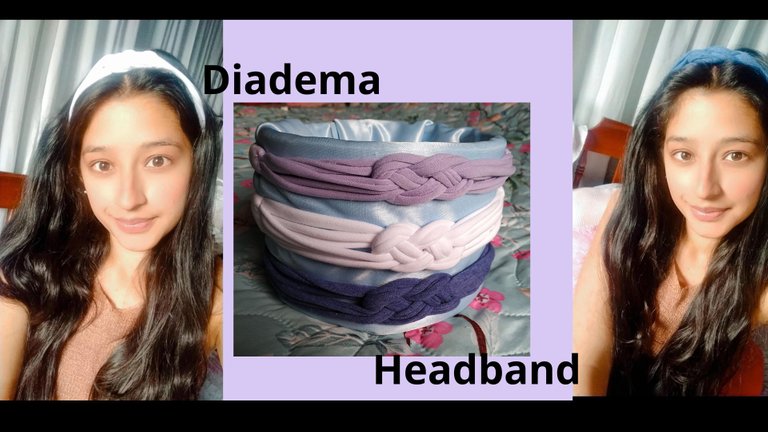
Editado en Canva || Edited in canva
Hola a todos queridos amigos de Hive, feliz lunes y feliz inicio de semana.
El día de hoy les comparto cómo elaborar una bonita y fácil diadema, para ello se necesita muy poquitos materiales y además toma muy poco tiempo hacerla.
Espero les guste este pequeño tutorial y puedan recrearlo en algún momento.
Hello dear friends of Hive, happy Monday and happy start of the week.
Today I share with you how to make a nice and easy headband, for this you need very few materials and it takes very little time to make it.
I hope you like this little tutorial and you can recreate it at some point.

- Tela de algodón elástica.
- Hilo y aguja.
- Cinta métrica.
- Tijera.
- Elastic cotton fabric.
- Thread and needle.
- Tape measure.
- Scissors.
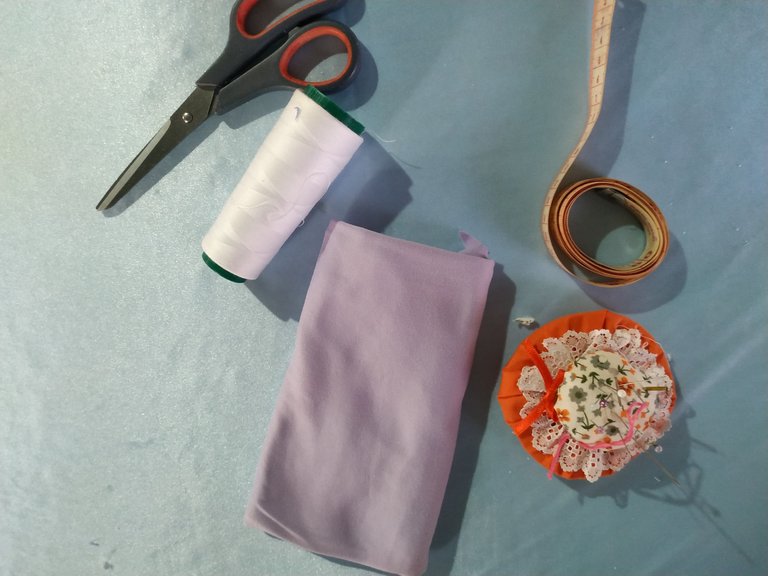

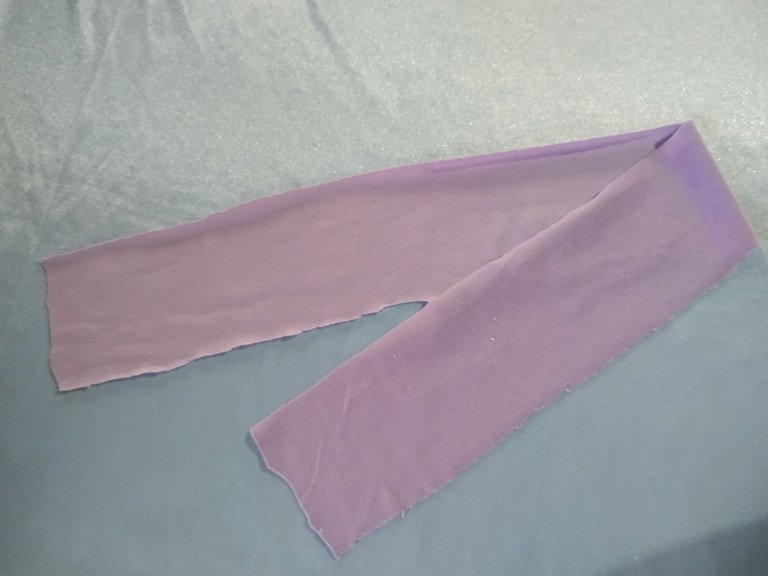
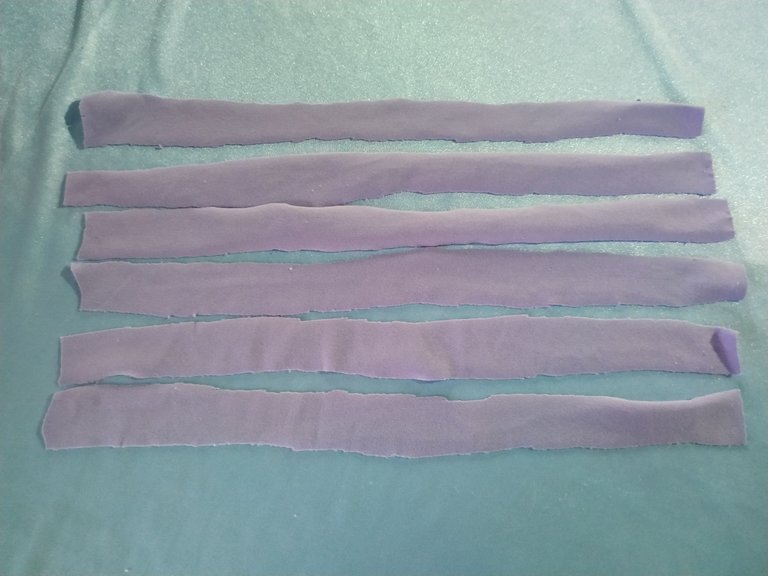
Cómo primer paso vamos a recortar un rectángulo de 7 cm de ancho por 45 cm de largo con la tela de algodón elástico.
Luego dividimos está pieza en 3 partes iguales de esta manera.
As a first step we are going to cut a rectangle of 7 cm wide by 45 cm long with the elastic cotton fabric.
Then we divide this piece in 3 equal parts in this way.
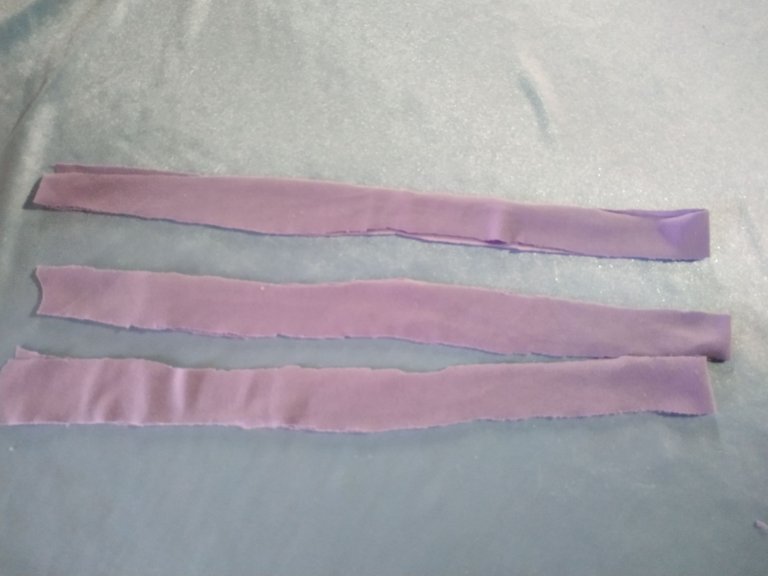
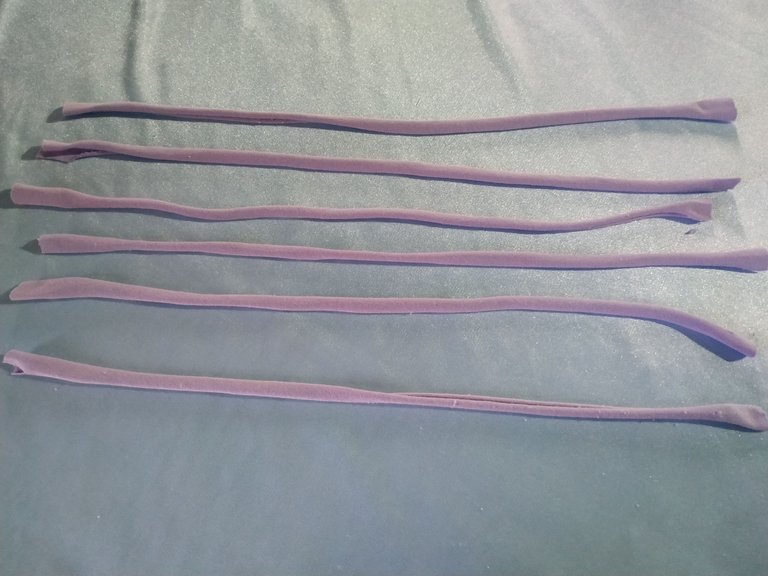
De allí sacaremos 6 tiras en total. Vamos a estirarlas para que tomen esta forma y luego las agrupamos en dos grupos de tres tiras cada uno.
From there we will get 6 strips in total. We are going to stretch them so that they take this shape and then we group them in two groups of three strips each.
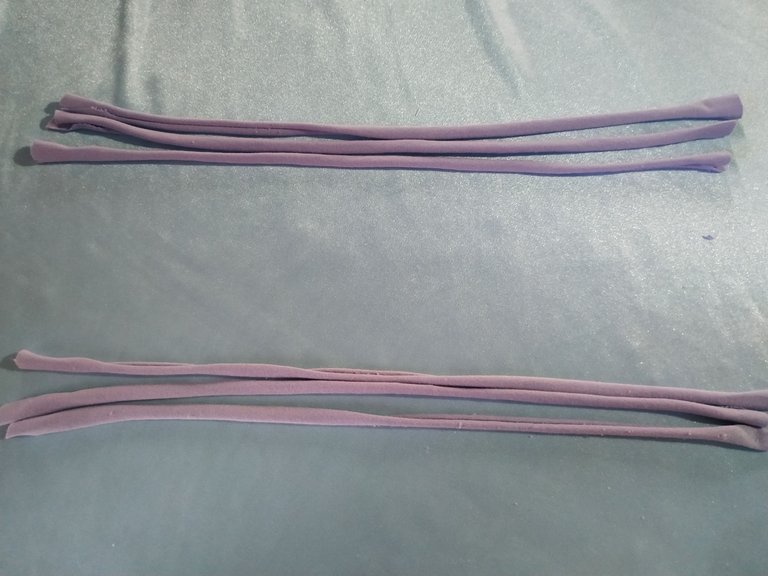
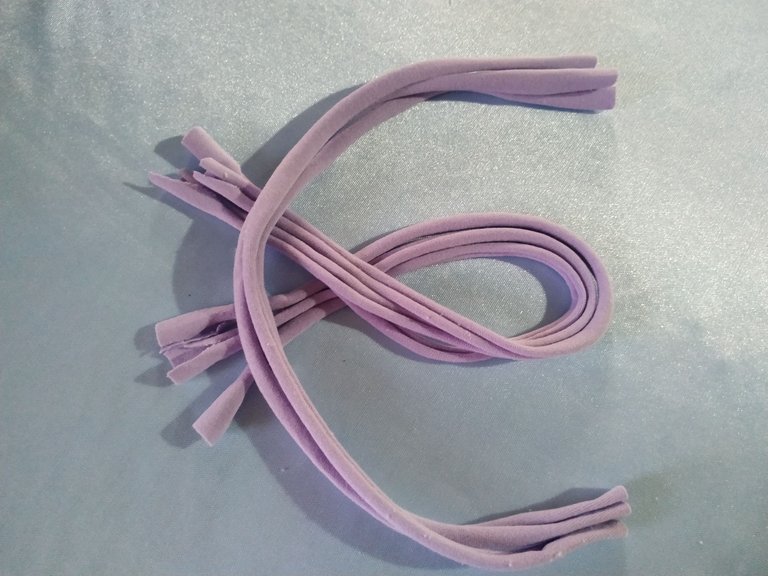
Vamos a tomar un grupo de las tiras y las vamos a colocar en esta forma, es como un lazo invertido o también tiene forma de la letra griega "Alfa o Alpha".
Sobre ella colocamos el otro grupo de tiras pero estás en forma de "C".
We are going to take one group of the strips and we are going to place them in this shape, it is like an inverted loop or it also has the shape of the Greek letter "Alpha or Alpha".
On top of it we place the other group of strips but you are in the shape of a "C".
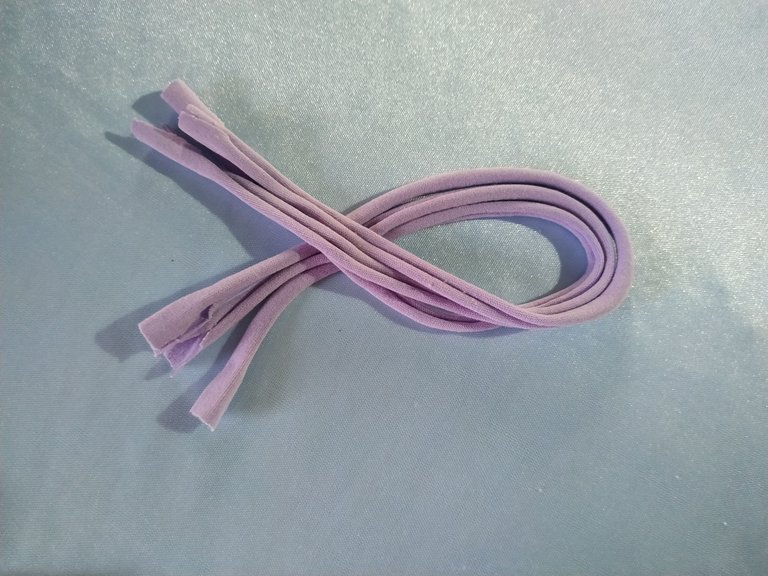
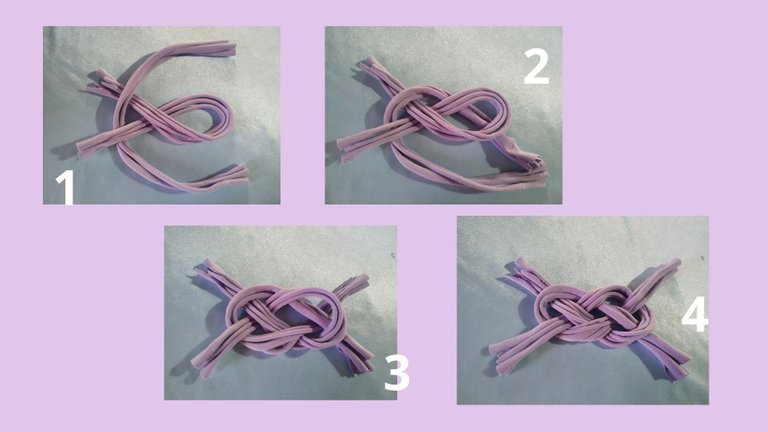
Vamos a comenzar pasando una de las tiras del lado izquierdo sobre la C. Y luego vamos a ir entrelazando con mucho cuidado como se indica en el grupo de fotos que les dejo a continuación.
We are going to start by passing one of the strips from the left side over the C. And then we are going to interlace it very carefully as shown in the group of photos below.
Editado en Canva || Edited in canva
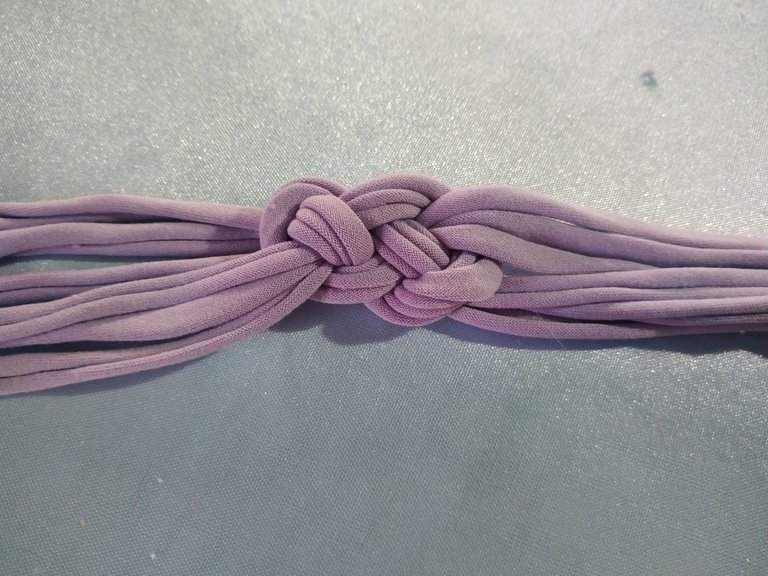
Al final nos debe de quedar así. Luego tomamos los extremos y los vamos a estirar hasta que estén bien unidas las tiras, las arreglamos donde veamos que sea necesario.
In the end, it should look like this. Then we take the ends and stretch them until the strips are well joined, we fix them where we see that it is necessary.
Ahora vamos a tomar otra tira de la misma tela y la vamos a unir a uno de los extremos de las tiras que hicimos de esta manera.
Now we are going to take another strip of the same fabric and attach it to one of the ends of the strips we made in this way.
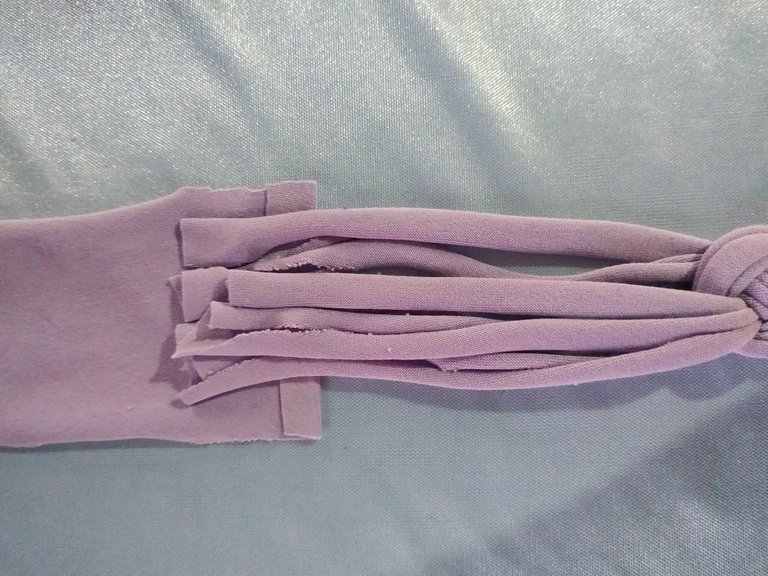
Vamos a ajustar con un alfiler para que quede bien, y repetimos en el otro extremo.
We are going to adjust with a pin so that it fits well, and repeat at the other end.
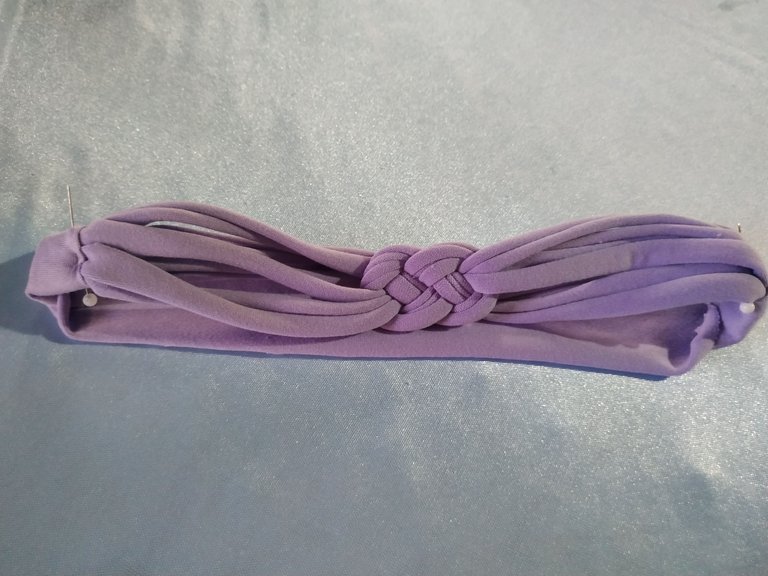
Luego de que tengamos esto listo, continuamos cosiendo, esto lo podemos hacer a mano o a máquina, de las dos maneras queda muy bien.
After we have this ready, we continue sewing, this can be done by hand or by machine, either way looks great.
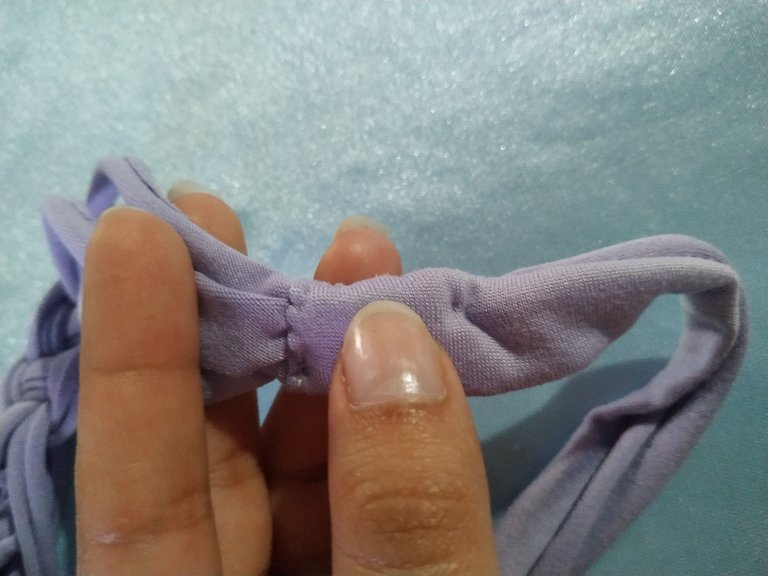
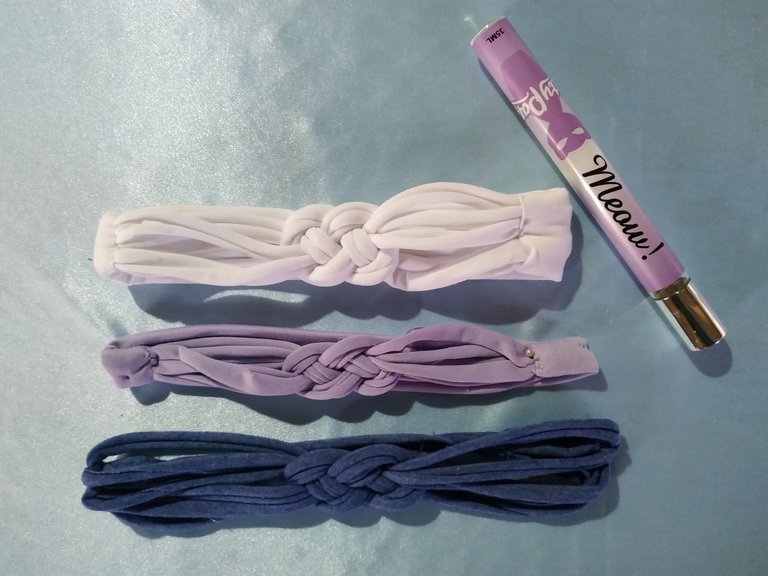
Ya con esto estará listo nuestra bella diadema o cintillo, una creación fácil que podemos hacer a partir de retazos de telas.
Espero que les haya gustado este bonito y fácil proyecto, que tengan una excelente semana.
With this, our beautiful headband will be ready, an easy creation that we can make from fabric scraps.
I hope you liked this nice and easy project, have a great week.

Editado en Canva || Edited in canva
Fotos tomadas de mi teléfono Xiaomi Redmi Note 6 Pro || Photos taken from my Xiaomi Redmi Note 6 Pro phone.
Fuente del editor de imágenes || Image and separator editor font
Thank you for sharing this post on HIVE!
Your content got selected by our fellow curator sharminmim & you just received a little thank you upvote from us for your great work! Your post will be featured in one of our recurring compilations which are aiming to offer you a stage to widen your audience within the DIY scene of Hive. Stay creative & HIVE ON!
Please vote for our hive witness <3
Bonito trabajo. El entrelazado que utilizaste esta muy bonito y se por experiencia que tiene su grado de dificultad. Te quedó muy bien hecho. Los tres colores están hermosos, pero mi favorito es el azul oscuro, esta fantástico.
Saludos.
Hola. Tienes razón, ya luego de practicar un rato el lazo es mucho mas sencillo hacerlo. Muchas gracias por tu comentario.
Están lindas estas diademas o bandanas como se les suele llamar en mi país, me gustan porque es un diseño sencillo y creo que se pueden elaborar con materiales de reciclaje.
Gracias por comaprtir, saludos!
Hoal Katty, si exacto, de hecho utilice retazos de telas de algodón que tenia guardadas. Saludos ❤️
Wow! This is so beautiful, no need to throw away scrap material, some can be useful to make this beautiful piece of headband, it's so looking nice on you.
Thanks for sharing with us detailed procedures to get this easily done, you've done a great job @gabimramirez
Thank you very much for your nice comment.
Greetings and have a nice day
Que bonito quedó y como dices es sencillo de elaborar. Gracias por compartir este tutorial 👍.
Te quedaron hermosas .
Me encantan los accesorios en tela para el cabello y esta diadema te ha quedado super linda. Gracias por compartir tu trabajo.
Están muy lindas las diademas y es una buena forma de aprovechar retazos de tela, te felicito. Saludos 🤗
Muchas gracias