I show you how to make a casual lady's blouse with simple steps || Te enseño a hacer una blusa de dama casual con sencillos pasos.
Feliz inicio de semana mis queridos Hivers ❤️
Las blusas casuales nunca pasan de moda, son súper cómodas y quedan para bien para asistir a muchos lugares y verte presentable.
Es por eso que quise elaborar una linda blusa casual con tela tipo rayón o seda y para ello utilicé el mismo molde de blusa con la que elaboré la pijama navideña de hace un par de semanas, este es un modelo sencillo de hacer y con esto pude ver qué puedo usar diferentes tipos de tela con este patrón y crear diferentes modelos con un buen resultado.
Happy start of the week my dear Hivers ❤️
Casual blouses never go out of style, they are super comfortable and look great to go to many places and look presentable.
That's why I wanted to make a nice casual blouse with rayon or silk fabric and for this I used the same blouse pattern with which I made the Christmas pajamas a couple of weeks ago, this is a simple model to make and with this I could see that I can use different types of fabric with this pattern and create different models with a good result.

Editado en Canva || Edited in canva

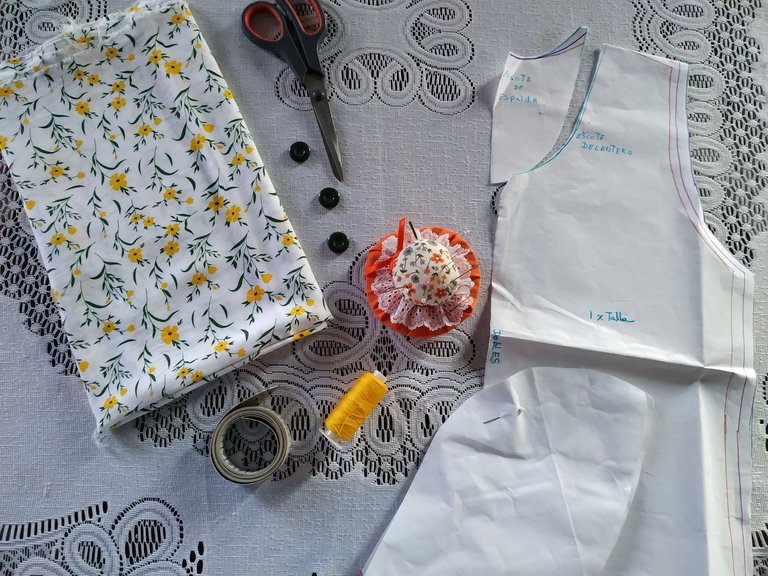
- Medio metro de tela tipo rayón.
- Alfileres.
- Cinta métrica.
- Hilo.
- Aguja.
- Tijeras.
- Molde.
- Half a meter of rayon fabric.
- Pins.
- Tape measure.
- Thread.
- Needle.
- Scissors.
- Mold.

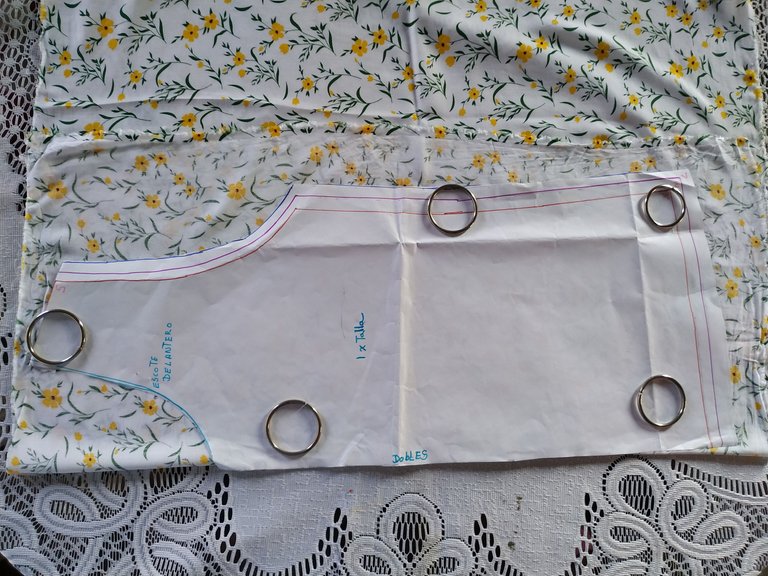
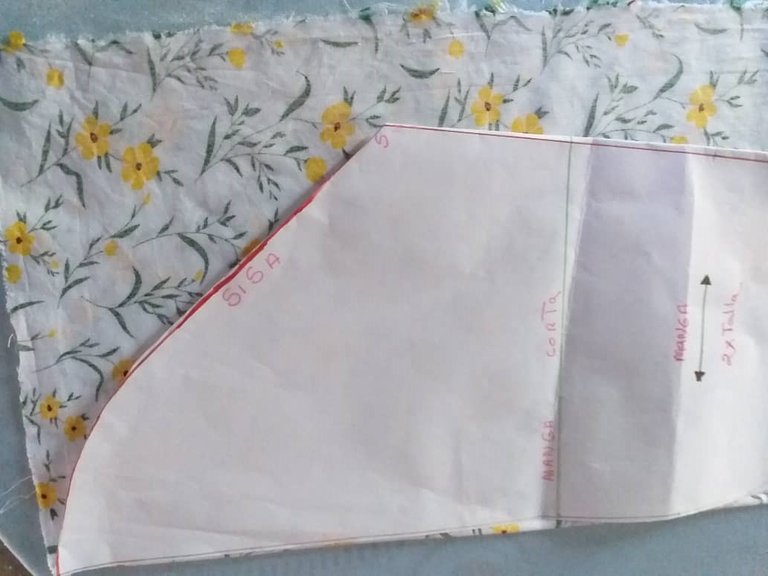
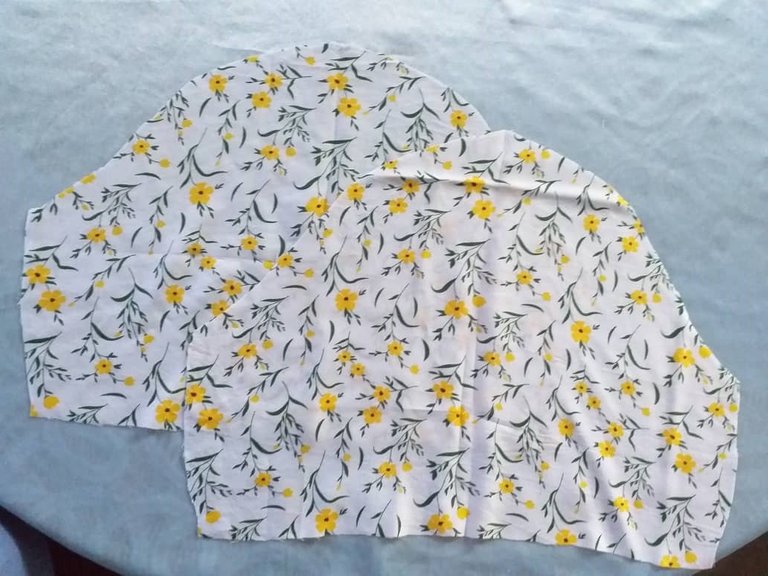
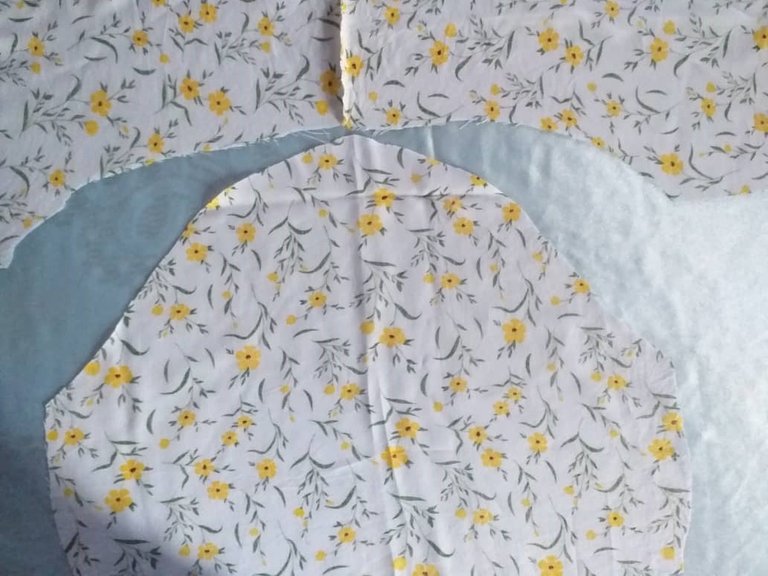
Cómo primer paso colocamos la tela sobre una superficie con un doblez y sobre ella colocamos el patrón, el cambio que hice en esta pieza a diferencia del pijama es que a esta le haré el cuello en V y no redondo.
Procedemos a hacer lo mismo con la parte trasera y las mangas.
As a first step we place the fabric on a surface with a fold and on it we place the pattern, the change I made in this piece unlike with the pajamas is that this one I will make the V-neck and not round.
We proceed to do the same with the back and sleeves.
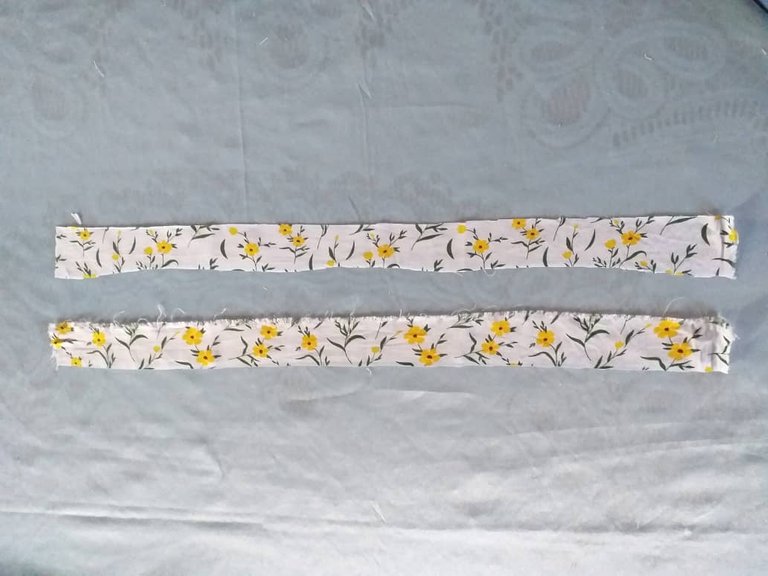
Debemos tener cuatro piezas, una delantera, una trasera y dos para las mangas. Adicional dejamos unas tiras de 3 cm de ancho para poder hacer el sesgo que llevara el cuello de la blusa.
We should have four pieces, one front, one back and two for the sleeves. In addition we leave some 3 cm wide strips to be able to make the bias that will carry the neck of the blouse.
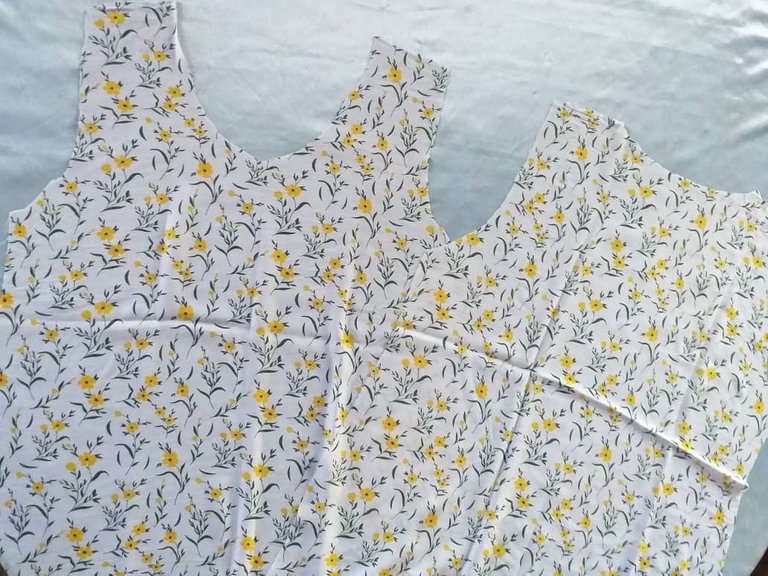
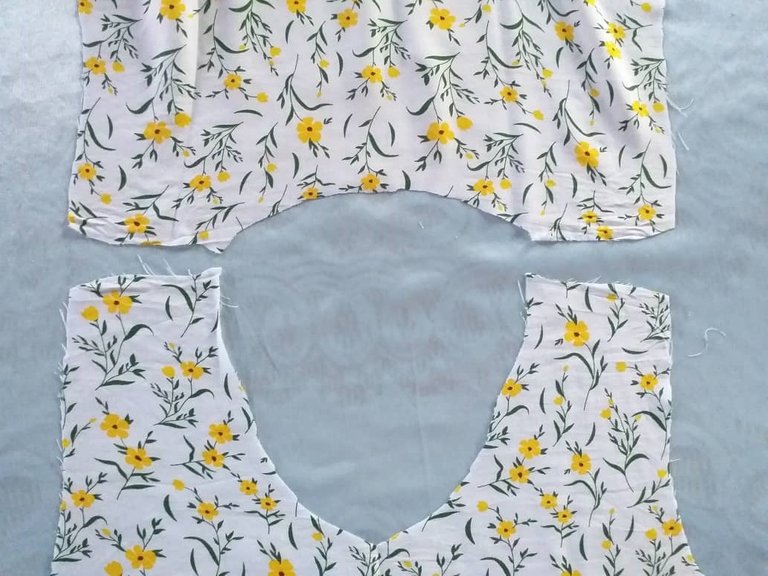
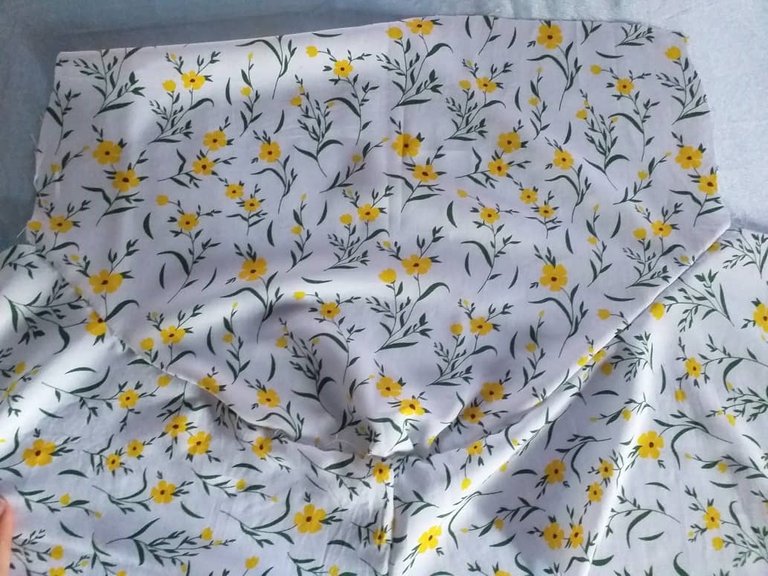
Unimos por la parte de los hombros la parte delantera y trasera. Así nos debe de quedar.
We join the front and back at the shoulders. This is how it should look.
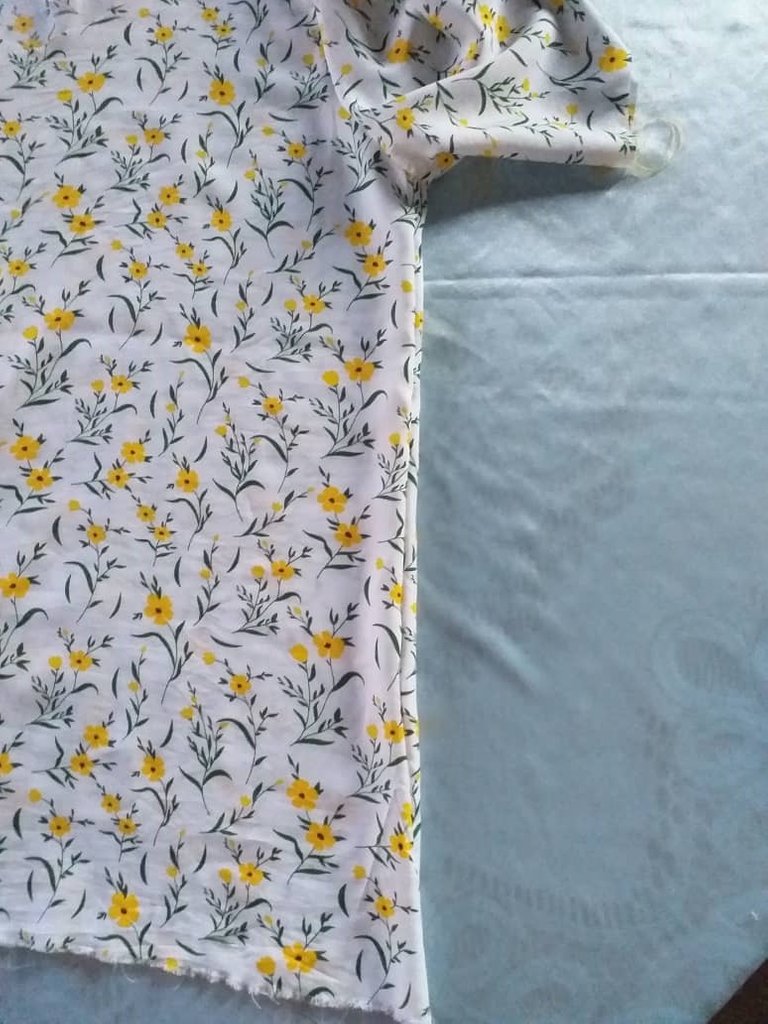
Luego colocamos por la parte del revés y unimos las mangas por la sisa.
Then we place it on the reverse side and join the sleeves.
Debemos hilvanar primero para que la manga quede bien cuadrada desde el centro.
Luego pasamos costura y así nos debe de quedar.
We must baste first so that the sleeve is well squared from the center.
Then we sew the seam and this is how it should look.

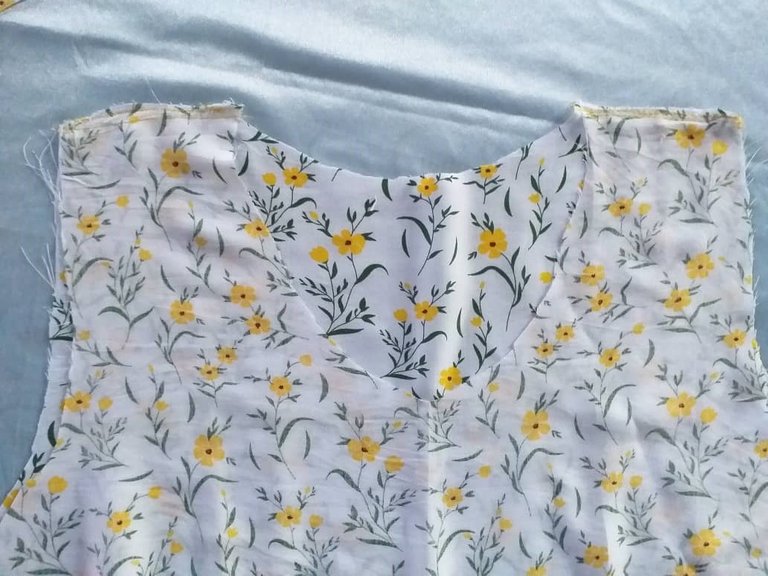
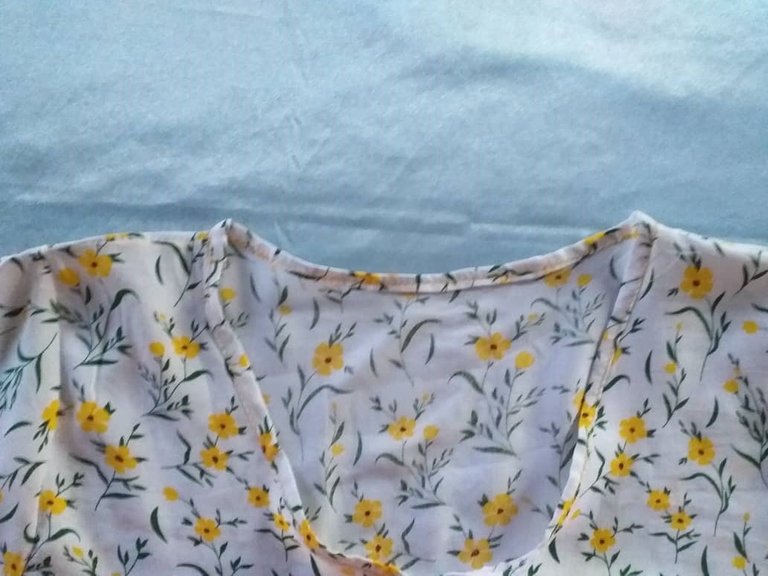
Seguidamente procedemos a colocar el sesgo en el cuello y a unir los laterales.
We then proceed to place the bias binding on the neck and join the sides.
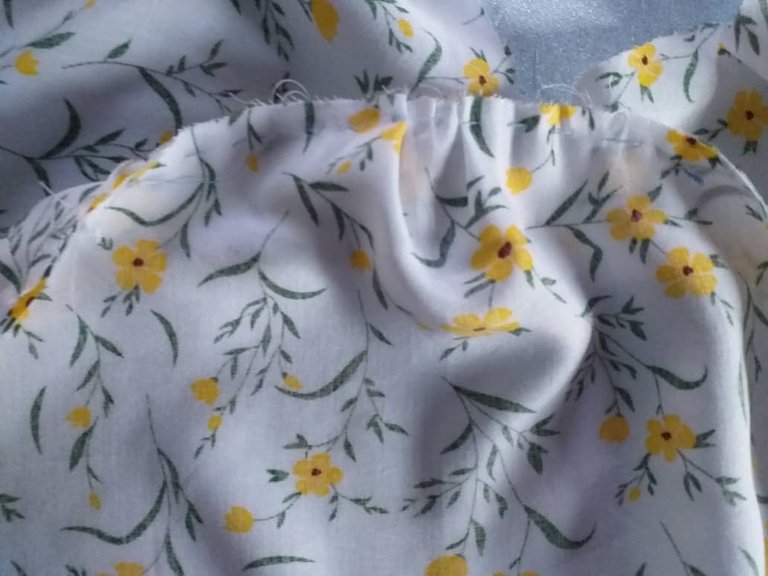
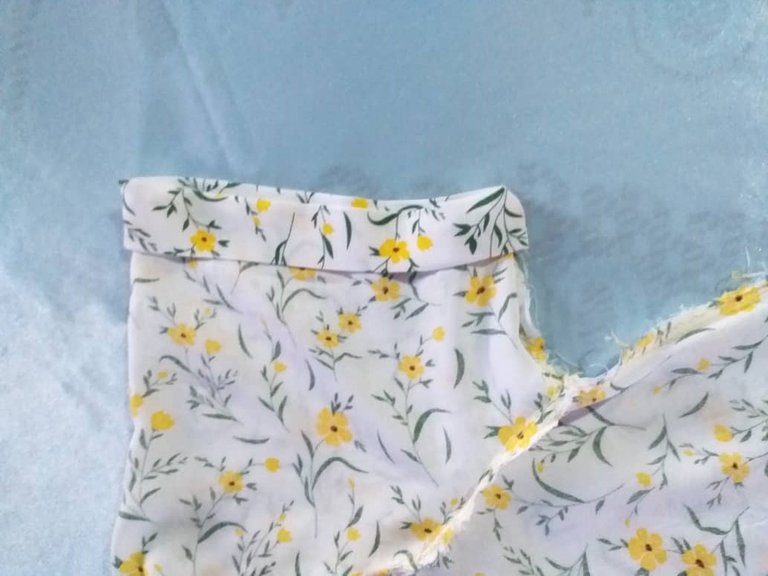
Continuamos con las mangas la cual se le hará una costura sencilla, doblamos dos veces la tela y pasamos costura. Igualmente con la parte inferior de la blusa.
We continue with the sleeves, which will be sewn with a simple seam, fold the fabric twice and sew the seam. The same with the bottom of the blouse.
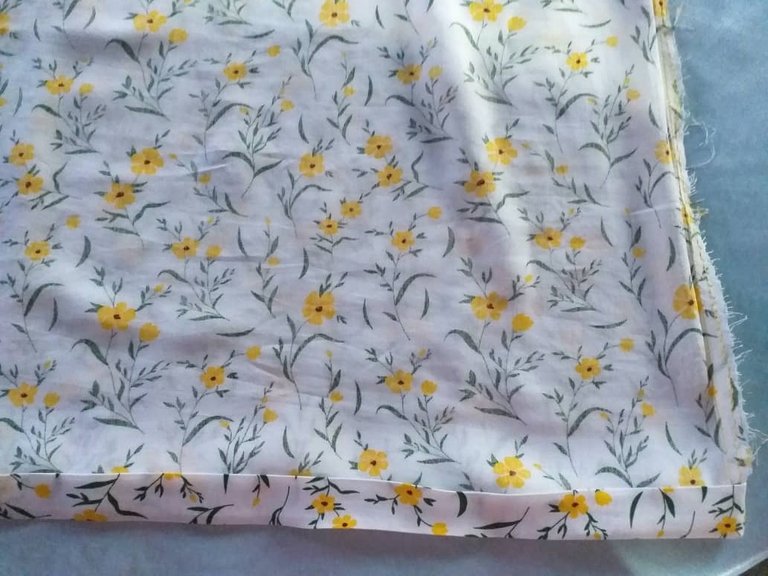
Planchamos muy bien y estará lista nuestra bella blusa.
We iron very well and our beautiful blouse is ready.
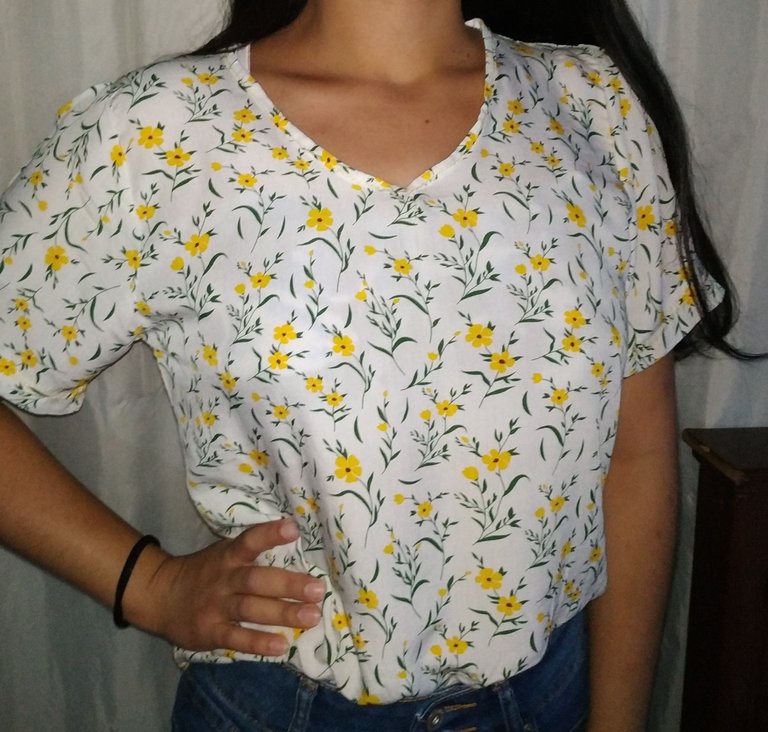
Yo la combine con unos jeans y queda muy bonita.
Espero les haya gustado mi blog del día de hoy. Nos vemos en una próxima oportunidad ☺️
I combined it with jeans and it looks very nice.
I hope you liked my blog today. See you next time ☺️


Editado en Canva || Edited in canva
Fotos tomadas de mi teléfono Xiaomi Redmi Note 6 Pro y mi teléfono Samsung J4 plus || Photos taken from my Xiaomi Redmi Note 6 Pro pone and my Samsung J4 plus phone.
Fuente del editor de imágenes || Image editor source
@gabimramirez esa tela estampada la hace ver muy bien y si sencillez, me anima a hacerme una , Saludos 🤗
Hola linda, espero te animes a elaborar una, la tela es super fresca y muy manejable para coser.
Saludos y gracias por tu comentario 😄
Me encantó!! Se ve súper cómoda y también la tela su diseño me fascina 😍 felicidades bella ✨
Muchas gracias linda, saludos.