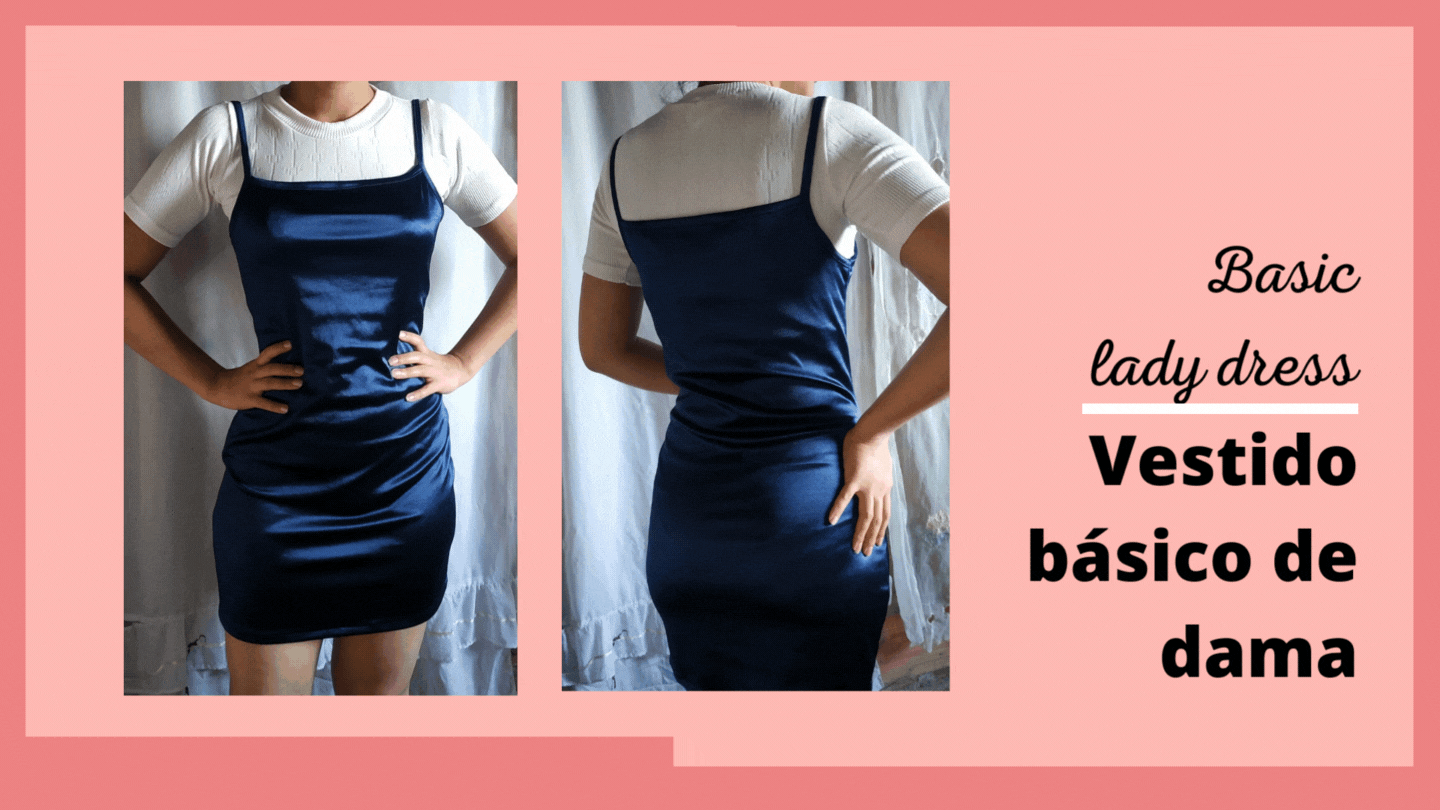
Vestido básico de dama || Basic lady dress
Hola a todos los integrantes de esta linda comunidad de #NeedleWorkMonday, espero esta sea una semana llena de bendiciones y cosas buenas.
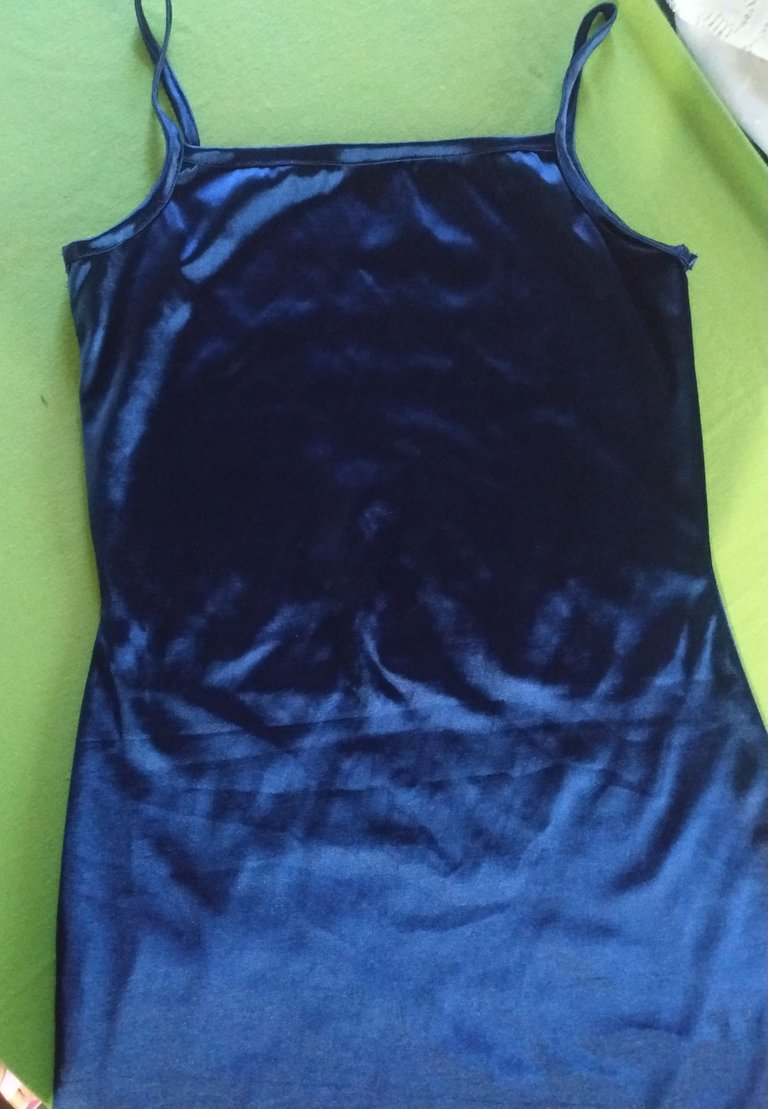
Para hoy les traigo el paso a paso de cómo elaborar un hermoso vestido clásico de color azul marino.
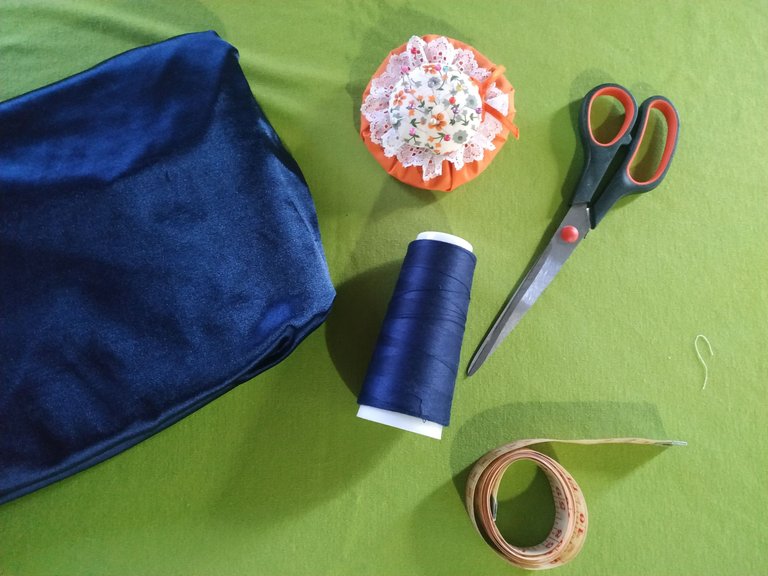
Es muy sencillo de hacer, lleva pocos materiales para elaborarlo y además no requieres de moldes o patrones para poder hacerlo.
Sin más, busquemos nuestras herramientas de costura y comencemos.
Hello to everyone in this lovely #NeedleWorkMonday community, I hope this is a week full of blessings and good things.
For today I bring you the step by step of how to make a beautiful classic navy blue dress.
It is very simple to make, you only need a few materials to make it and you don't need molds or patterns to make it.
Without further ado, let's get our sewing tools and get started.
Editado en Canva || Edited in canva

- Tela Charmeuse stretch.
- Hilo.
- Alfileres.
- Tijeras.
- Cinta métrica.
- Máquina de coser.
- Charmeuse stretch fabric.
- Thread.
- Pins.
- Scissors.
- Tape measure.
- Sewing machine.

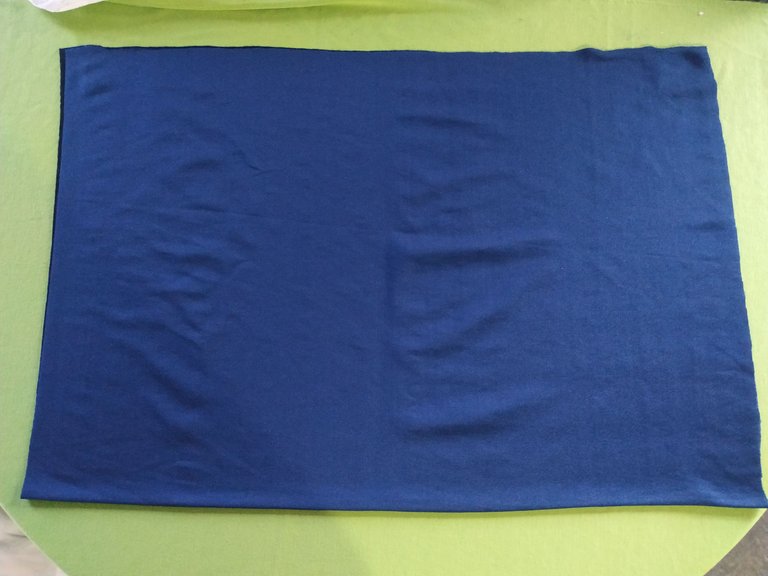
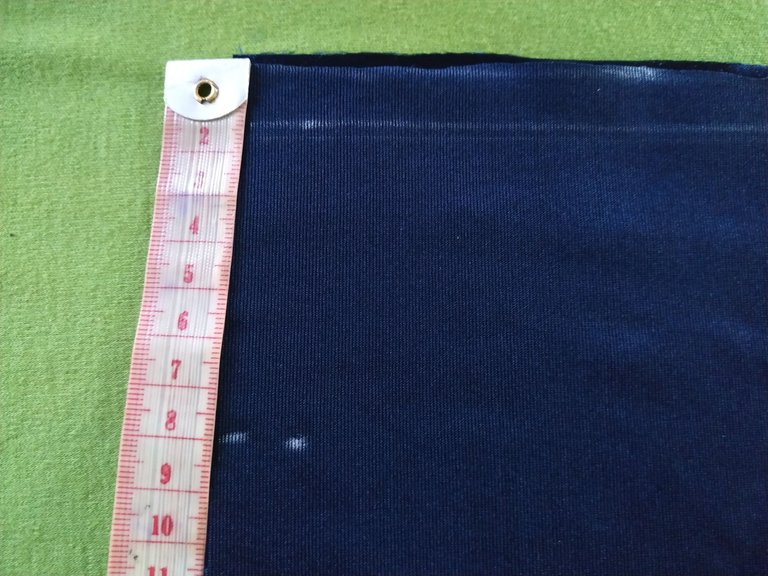
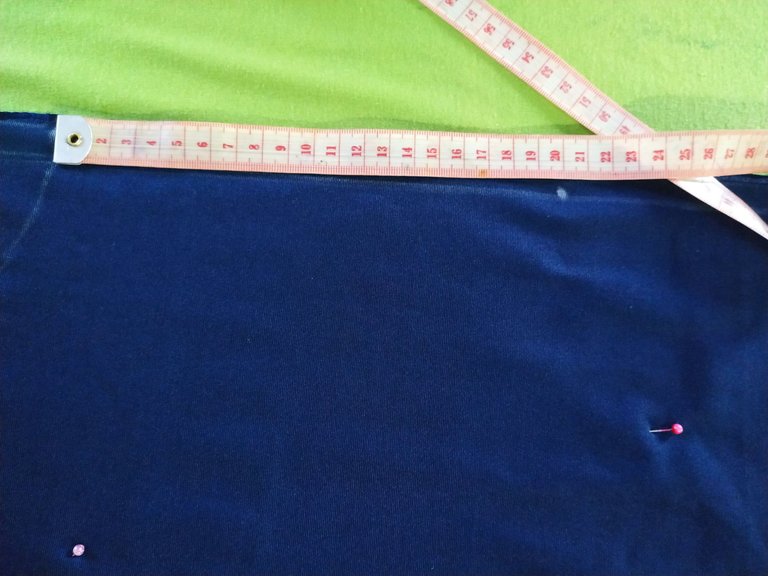
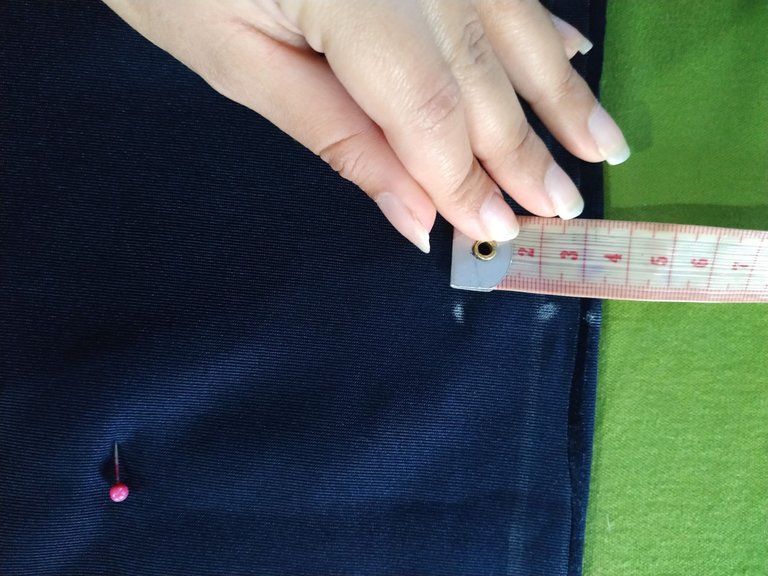
Para empezar a elaborar este vestido necesitamos dos medidas:
La primera medida será el largo del vestido, está será la medida vertical. En mi caso fueron 70 cm.
El ancho del vestido, está será la medida horizontal y será lo que mida el contorno de busto. En mi caso fue de 87 cm
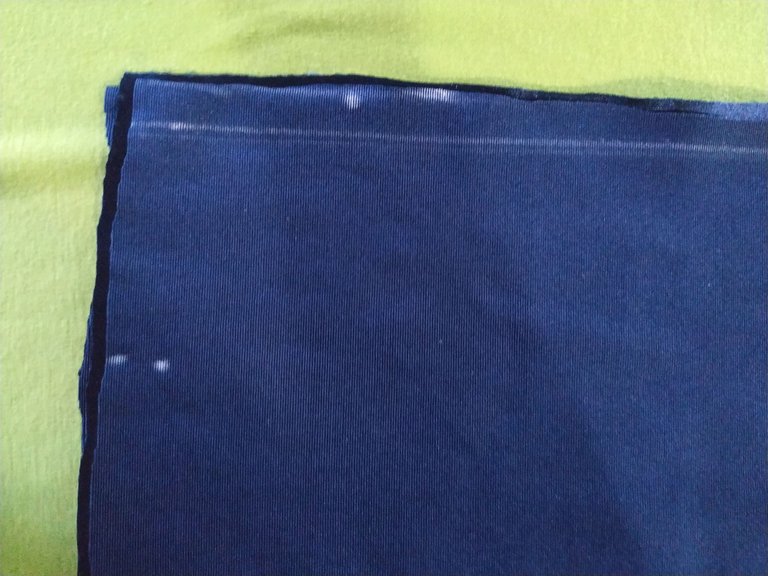
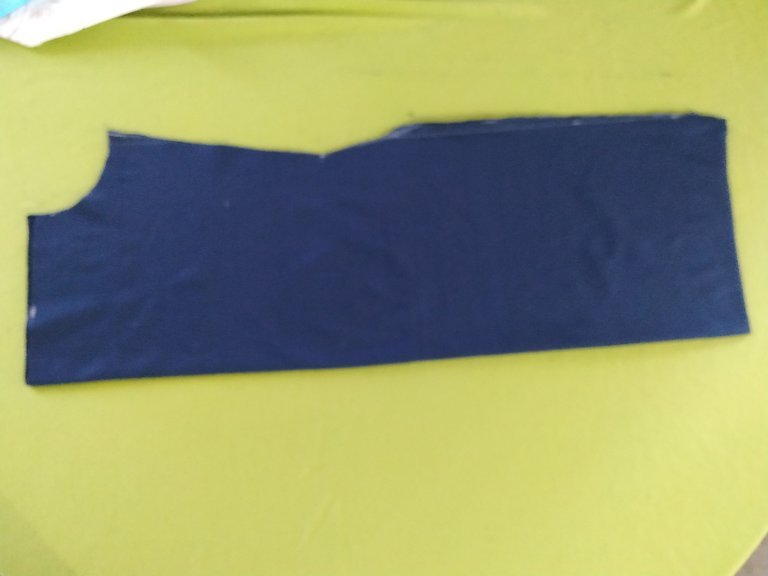
Vamos a recortar un rectángulo con estas medidas y lo doblamos a la mitad.
To start making this dress we need two measurements:
1: The first measurement will be the length of the dress, this will be the vertical measurement. In my case it was 70 cm.
2: The width of the dress, this will be the horizontal measurement and it will be the bust measurement. In my case it was 87 cm.
We will cut out a rectangle with these measurements and fold it in half.
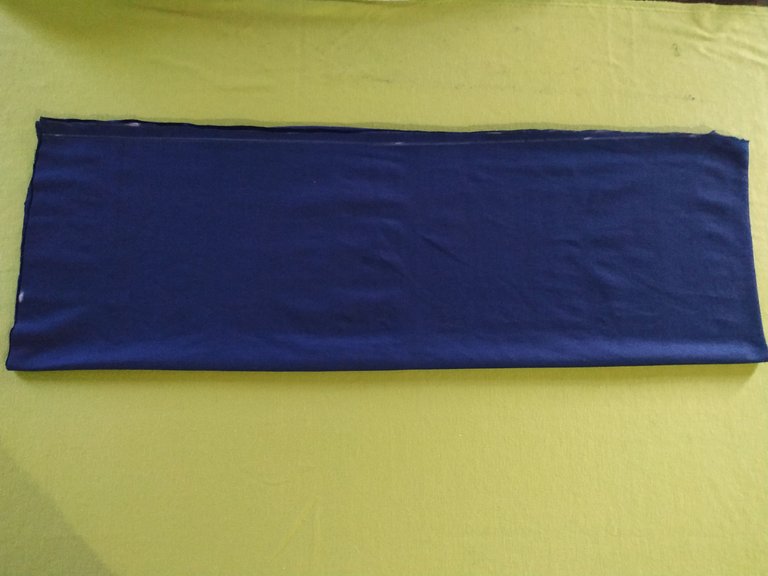
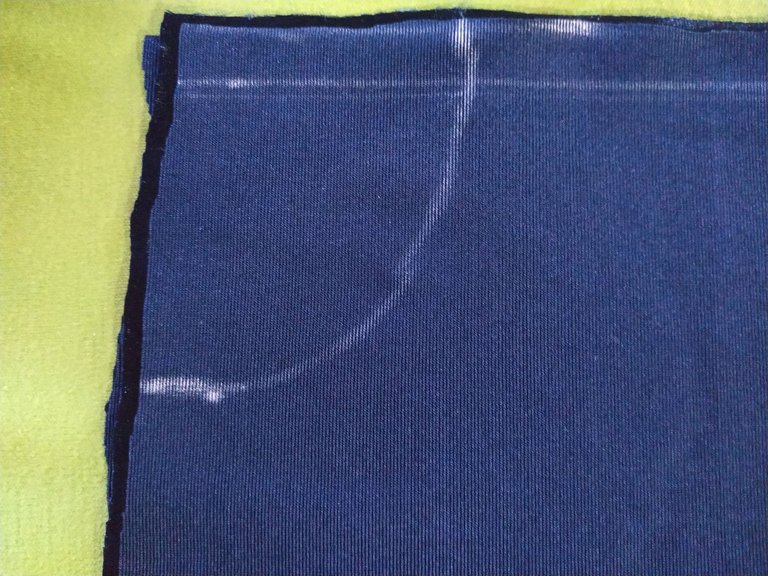
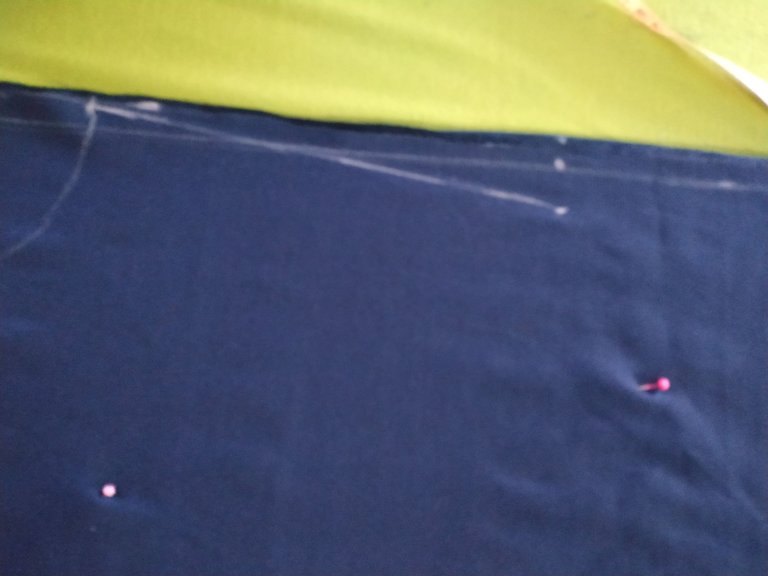
Luego lo volvemos a doblar a la mitad para empezar a hacer los trazos y recortes.
Then we fold it in half again to start making the strokes and cutouts.
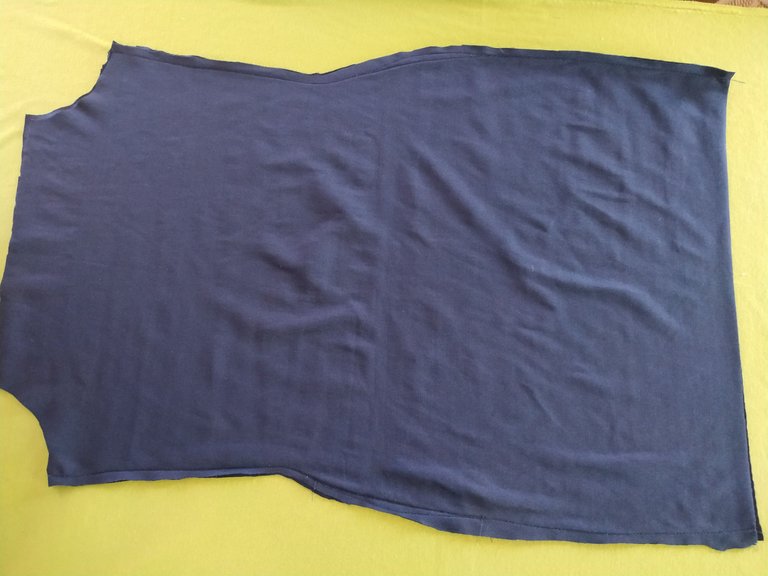
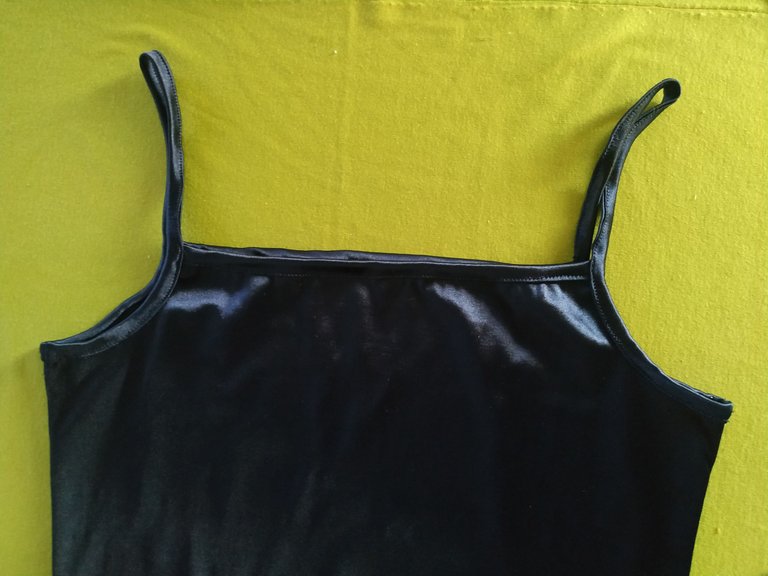
Para hacer la sisa de la blusa, comenzamos midiendo 8 cm a lo ancho y hacemos una marca.
Luego medimos 6 cm de la parte superior hacia la vertical y hacemos otra marca.
To make the armhole of the blouse, we start by measuring 8 cm in width and make a mark.
Then we measure 6 cm from the top to the vertical and make another mark.
Estás dos marcas que hicimos las unimos con una curva.
These two marks we made are joined with a curve.
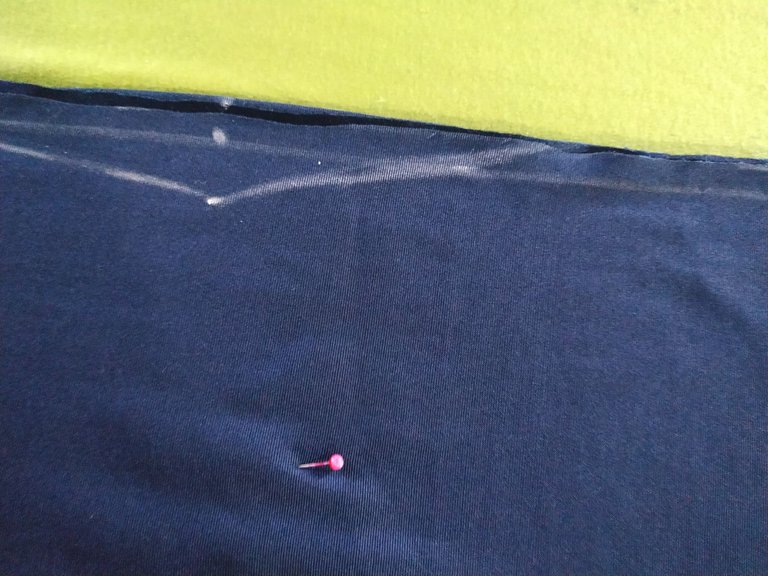
Ahora de la marca de 6 cm que hicimos vamos a medir 20 cm hacia abajo y medimos de allí hacia adentro 3 cm.
Now from the 6 cm mark we made we are going to measure 20 cm downwards and measure 3 cm inwards from there.
En este punto vamos a hacer una diagonal hacia arriba.
At this point we are going to make a diagonal upwards.
Luego desde este mismo punto hacemos una curva hacia abajo. (Esta será la cintura).
Then from this same point we make a downward curve (this will be the waist).
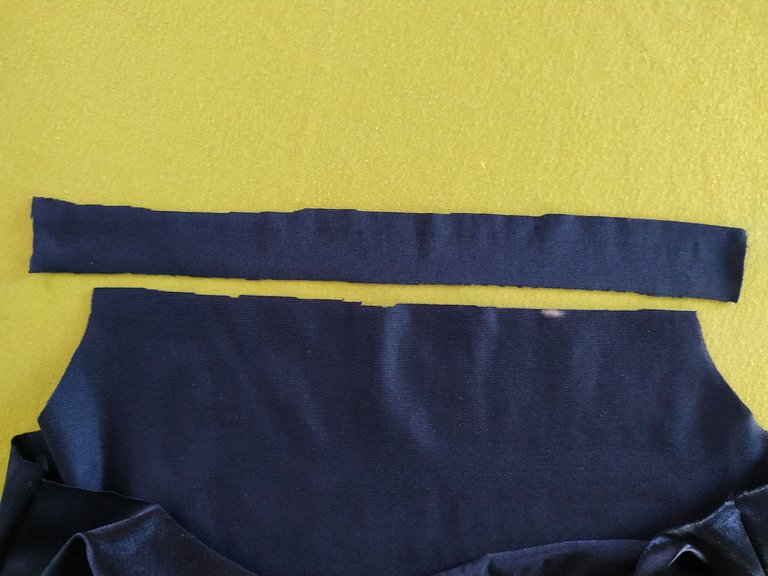
Cortamos por las líneas que hicimos y al abrir la tela nos quedarán dos piezas iguales.
We cut along the lines we made and when we open the fabric we will have two equal pieces.
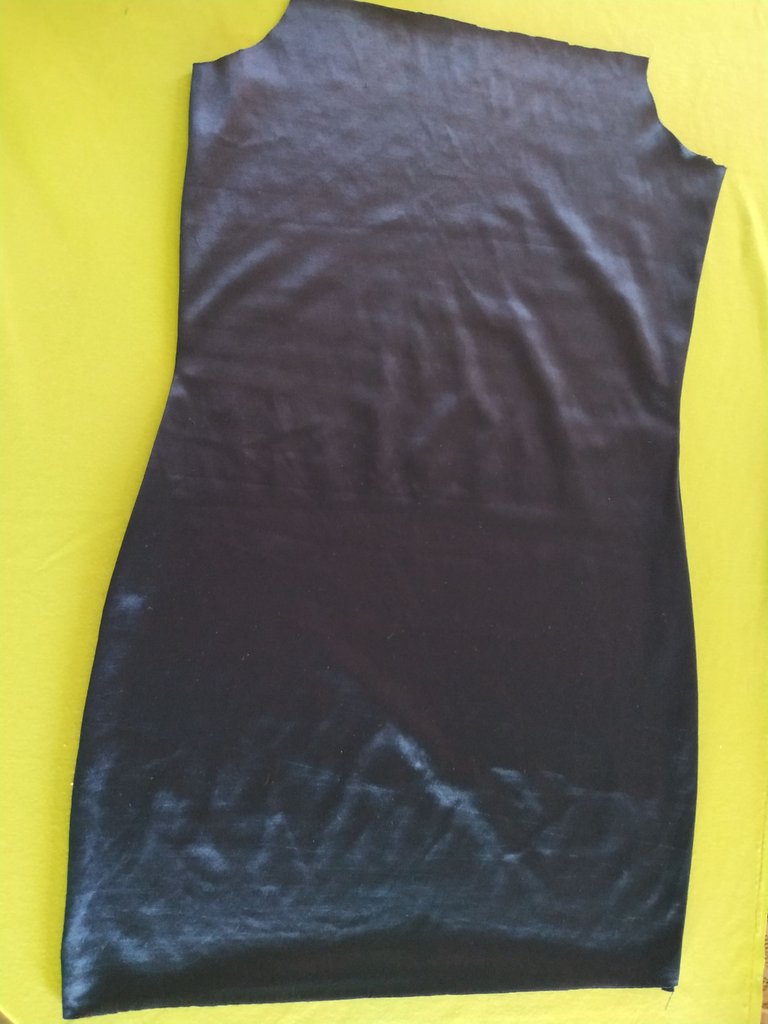
Procedemos a coser la pieza delantera y trasera por los costados con costura de zig zag o doble costura.
We proceed to sew the front and back pieces on the sides with zig zag or double stitching.
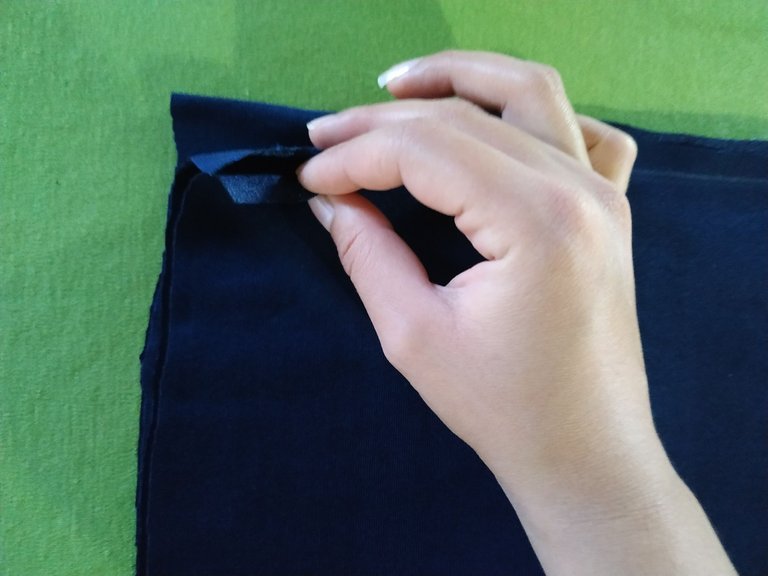
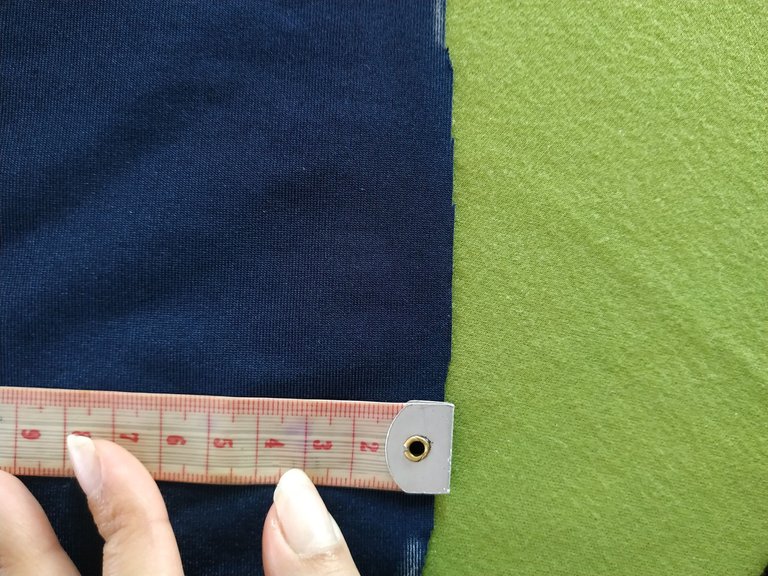
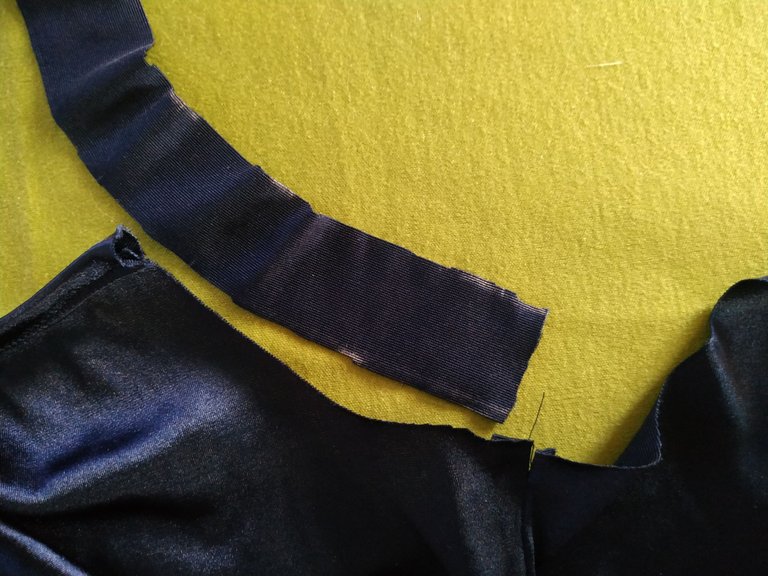
Ahora vamos a hacer el sesgo del vestido, así que vamos a cortar dos tiras de 3 cm de ancho.
Now we are going to make the bias of the dress, so we are going to cut two 3 cm wide strips.
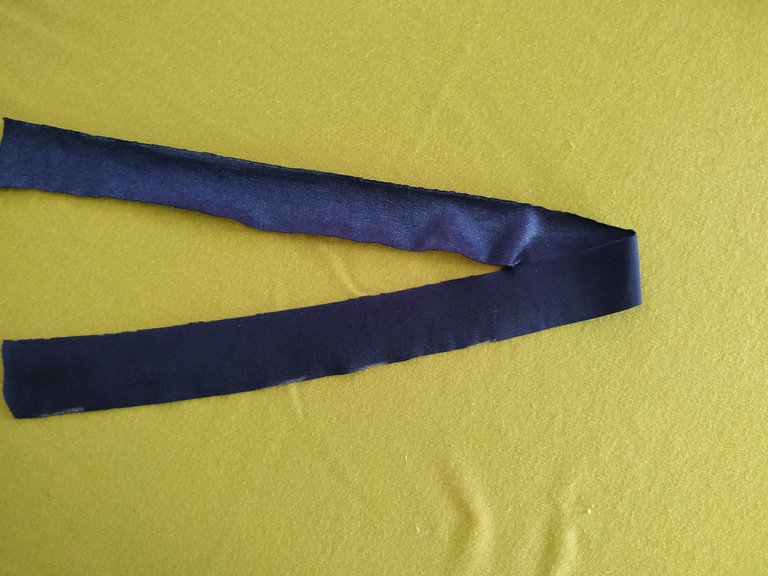
Las unimos en la parte delantera y trasera, haciendo un doblez y pasando costura.
We join them at the front and back, making a fold and stitching.
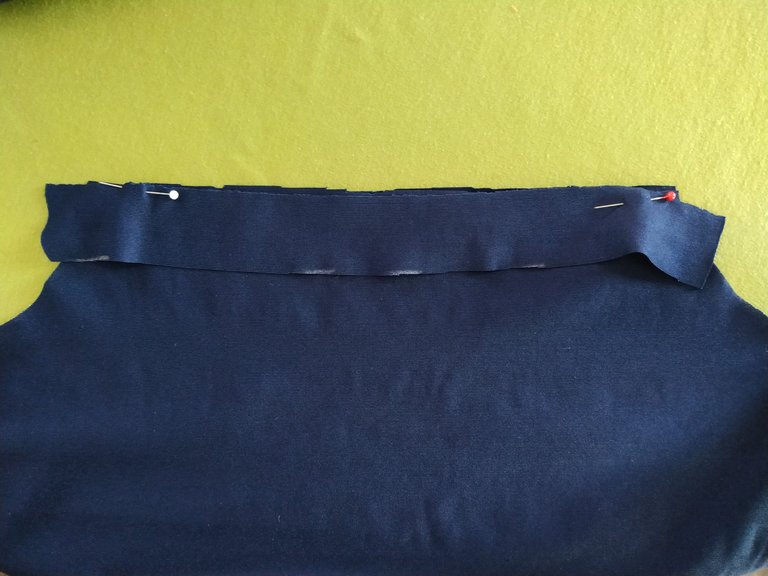
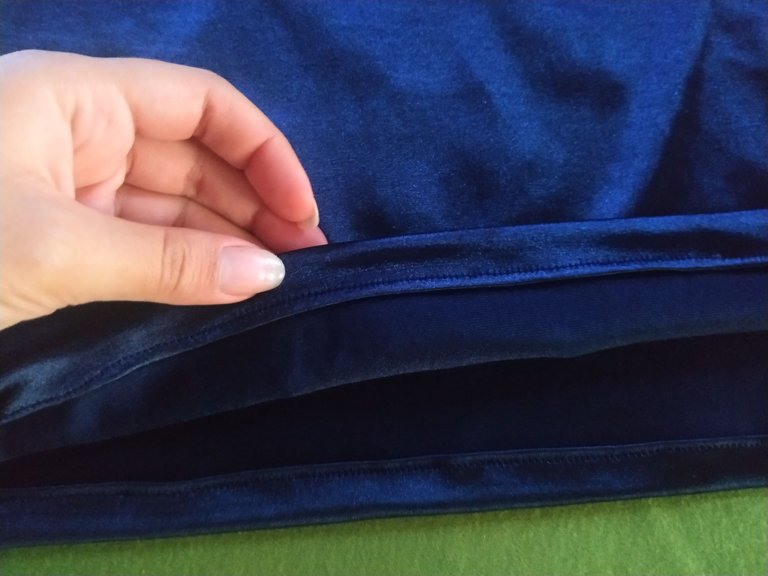
Luego hacemos lo mismo pero esta vez vamos a recortar dos tiras de 3 cm por 53 cm. Esto será para hacer la sisa.
Comenzamos desde el medio de la sisa y cosemos.
Then we do the same but this time we are going to cut two strips of 3 cm by 53 cm. This will be to make the armhole.
We start from the middle of the armhole and sew.
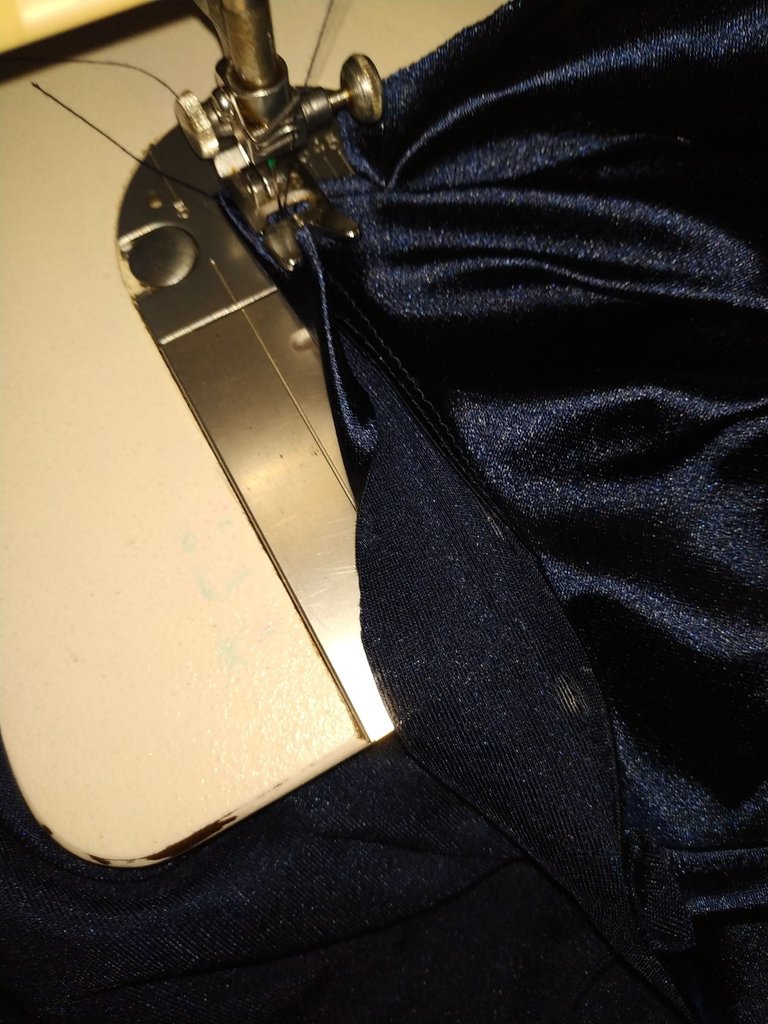
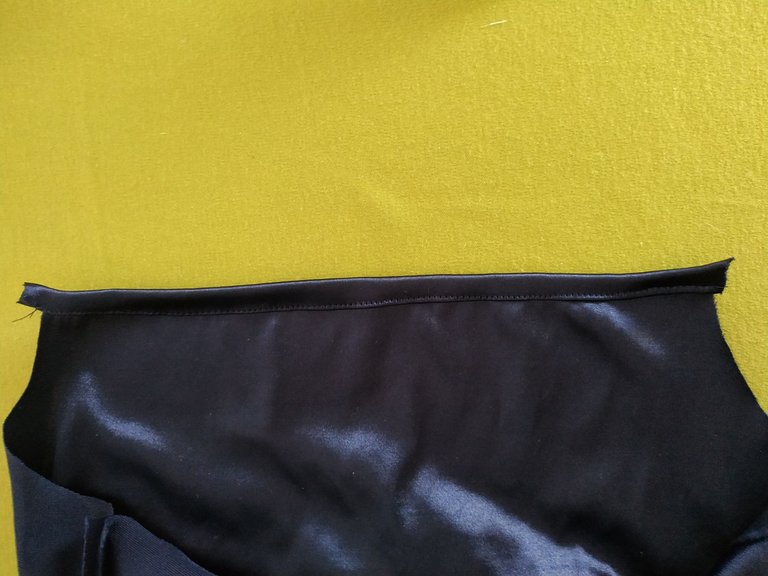
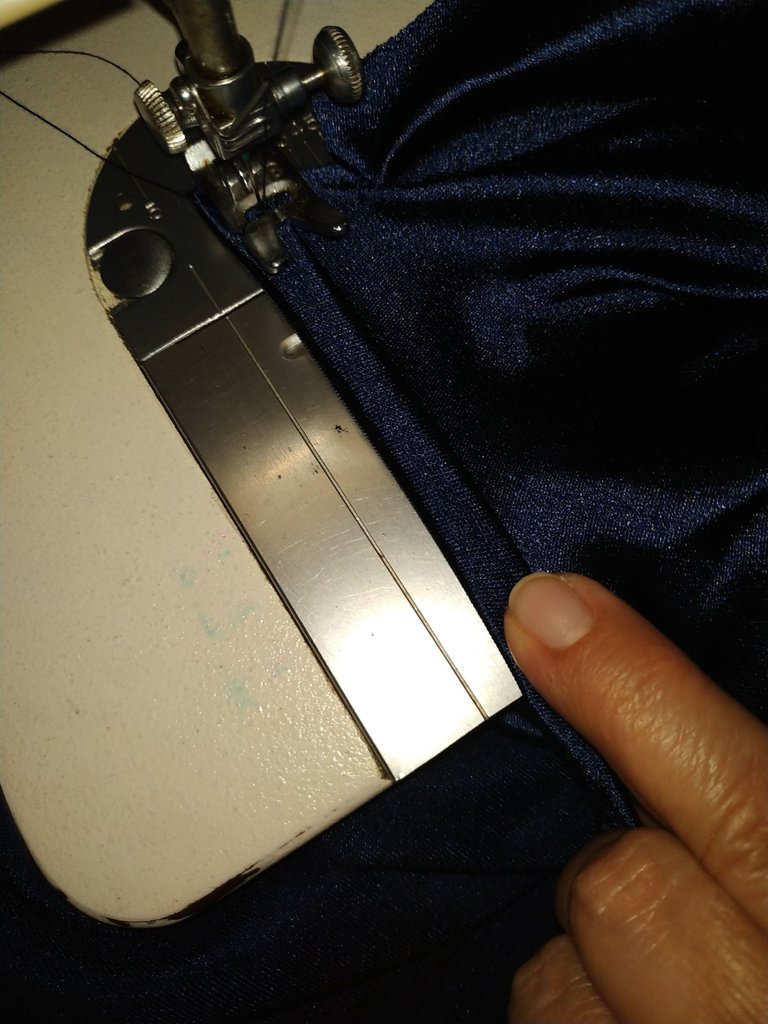
Luego seguimos haciendo el mismo doblez para continuar con la tira y terminamos en el otro lado de la sisa, lo hacemos de esta manera para que la tira del vestido se vea con un acabado muy bonito. Repetimos con el otro lado.
Then we continue making the same fold to continue with the strip and finish on the other side of the armhole, we do it this way so that the strip of the dress looks with a very nice finish. Repeat with the other side.

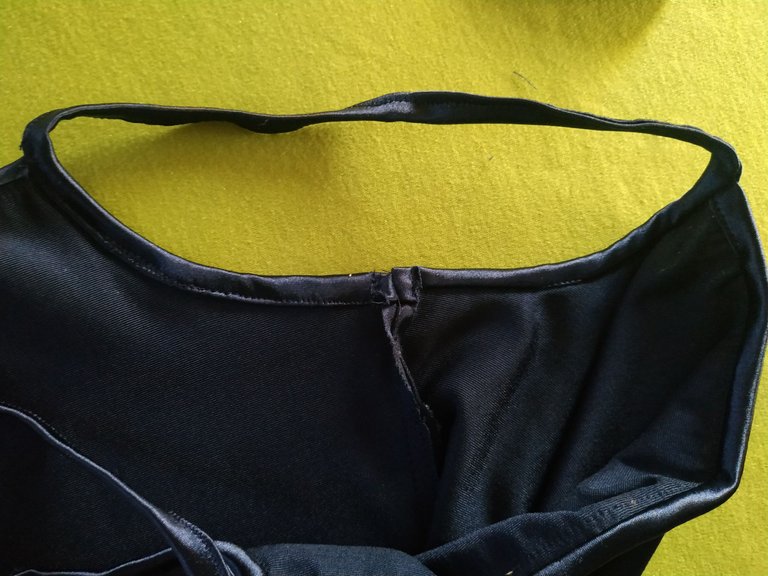
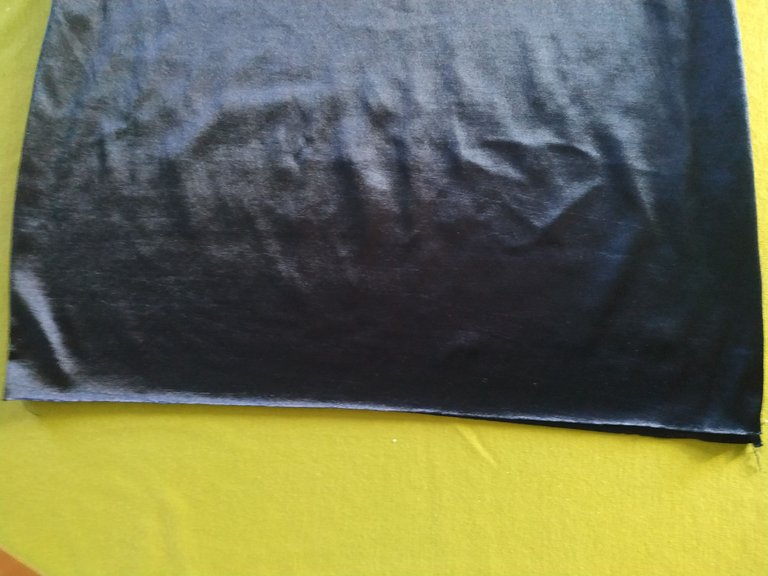
Por último le hacemos un dobladillo en la parte de abajo del vestido y estará listo.
Finally we hem the bottom of the dress and it is ready.
Podemos usar diferentes tipos de tela de algodón o elásticas para elaborar este lindo vestido, la tela que yo utilice fue Charmeuse stretch que es una tela de seda muy buena para trabajar en este tipo de proyectos.
We can use different types of cotton or stretch fabrics to make this cute dress, the fabric I used was Charmeuse stretch which is a very good silk fabric to work on this kind of projects.


Editado en Canva || Edited in canva
Fotos tomadas de mi teléfono Xiaomi Redmi Note 6 Pro || Photos taken from my Xiaomi Redmi Note 6 Pro phone.
Fuente del editor de imágenes || Image editor source
Un vestido muy en tendencia, de verdad me ha encantado ojala pudiera hacerlo ajajajja mis habilidades de costura aun no llegan allá, excelente post.
Jajaja si, quise hacerme este vestido porque esta muy en tendencia, también lo vi mucho con tela de cuadros y se ven muy bellos 😍 Muchas gracias.
https://twitter.com/Mavis166/status/1559327303469088768
The rewards earned on this comment will go directly to the people sharing the post on Twitter as long as they are registered with @poshtoken. Sign up at https://hiveposh.com.
Quo me encantó tu paso a paso y como lo explicas tan detalladamente tu vestido básico muy lindo 🌹
Gracias 😄
Me encantó tu explicación. Te queda genial, buena eleccion de color <3 Felicidades.
Muchas gracias. Saludos.
Amiga 🤗, Excelente paso a paso y el vestido en ese color se ve muy lindo , Saludos 😊
Muchas gracias que bueno que te gustó
De verdad que es un hermoso vestido amiga, me encanto el color y el tipo de tela que usaste por ser ligera, lo hace ser bastante cómodo. Felicidades 👏 😊
Muchas gracias
Hola Gabi :D La verdad me encanta este vestido, es cierto que está muy a la moda ahora. Te quedó muy lindo y prolijo, además esa tela es preciosa. Que bueno que pudiste coserla, mi máquina se retoba frente a esos tejidos jaja.
Te felicito. Saludos ❤️.
Hola Laura, para este tipo de tela utilizo aguja "punta de bola" o punta de roma en mi máquina de coser que es casera, son excelentes para estas telas licradas porque con cualquier otra me sucede lo mismo que a ti.
Muy hermoso este diseño y me encantó la tela que elegiste, también las costuras las hiciste re prolijas. Te felicito 😊
Wow the cloth brought out the beauty of the person
Muy hermoso trabajo, ademas que modelo es lindo. Gracias por compartir.
este vestido es muy atemporal, me encanta, el color es hermoso tambien