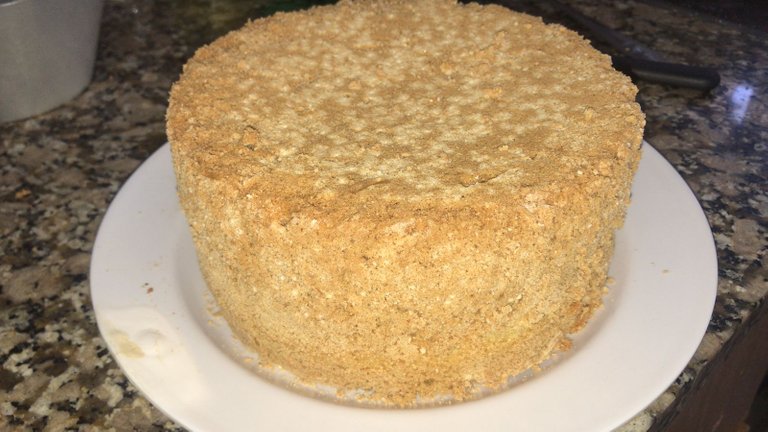
MARIA LUISA|| La reina de los cumpleaños de mi casa.

Feliz noche queridos Foodies de Hive. Tenía este material como un tesoro perdido en el mar desde hace un par de meses y justamente hoy pude rescatarlo de las aguas profundas de mi celular dañado. No se imaginan lo feliz que me hace poder compartir con ustedes esta receta, en principio porque para tomar las fotos que acá les traigo tuve que hacerla y tenía unos cuatro años sin preparar una María Luisa. Que, no es por nada, pero es la mejor de todas; dicho por catadores expertos del tradicional postre cumanés.
No puedo hablarles del origen del pastel como tal, por más que me encantaría, porque muy poco hay por ahí escrito. Sin embargo si he visto que en Venezuela no la conocen en todos lados, he coincidido en el gusto por este manjar de dioses con personas del oriente de mi país, entiéndase Anzoátegui, Nueva Esparta, Monagas, Bolívar y por supuesto Sucre; de hecho conocí a una señora hace poco (ya les hablare de ella en otra historia) que era de Monagas y vivió en mi pueblo, y con todo el gusto del mundo me dijo que en sus viajes por toda Venezuela nunca probó un postre tan divino como éste. Está demás decir que a partir de ese comentario se convirtió en una persona especial para mi jajaja, sobretodo porque su rubro principal era la panadería y la pastelería; así que mi querida Loraines sabía de lo que hablaba.
¡Vamos! quizá el valor sentimental que le doy a esta torta tiene mayor peso que su propio sabor para mi. Es que les cuento rapidito que es la torta favorita de mi casa. Mi abuela, que en paz descanse, era diabética así que los dulces dejaron de ser lo suyo antes incluso de que yo naciera. Sin embargo, la recuerdo llegar a mi salón de clases en cuarto, quinto y sexto grado con una María Luisa recién hecha por sus manos pecosas para que cantara cumpleaños con mis compañeros, también recuerdo a mi mamá hacerla en forma de brazo gitano, para las fiestas de navidad, o para cantarle cumple a mi abuela cada 29 de diciembre.
Cuando aprendí a hacerla le puse tanto amor, pero tanto, que definitivamente se convirtió en mi favorita y la de mis comensales una vez que me decidí a comercializarlas en Cumaná. Mi vecino y amigo de toda la vida siempre me la pedía, era la favorita de mi novio y la envidia de un par de suegras que luego tuve, porque mi Maria Luisa difícilmente competía con alguna otra. Nunca compramos una en casa, pero recuerdo que también había una pastelería en el centro que preparaban una que todos creían super divina, hasta que probaban la mía jajajajaja.
Y ahora me preguntarán, ¿cuál es el secreto? pues, definitivamente el amor. No hay de otra. Y para muestra de eso, aquí les traigo con todo y detalles, mi torta María Luisa.
INGREDIENTES:
Para el Biscocho:
4 huevos
1 taza de harina
1 taza de azúcar
Para el Dulce:
300 gr de ciruelas pasa deshuesadas
300 gr de azúcar
2 tazas de vino dulce (si no estás en Venezuela oporto, si estas allá, preferiblemente usa vino pasita)
Agua.
Para la Crema:
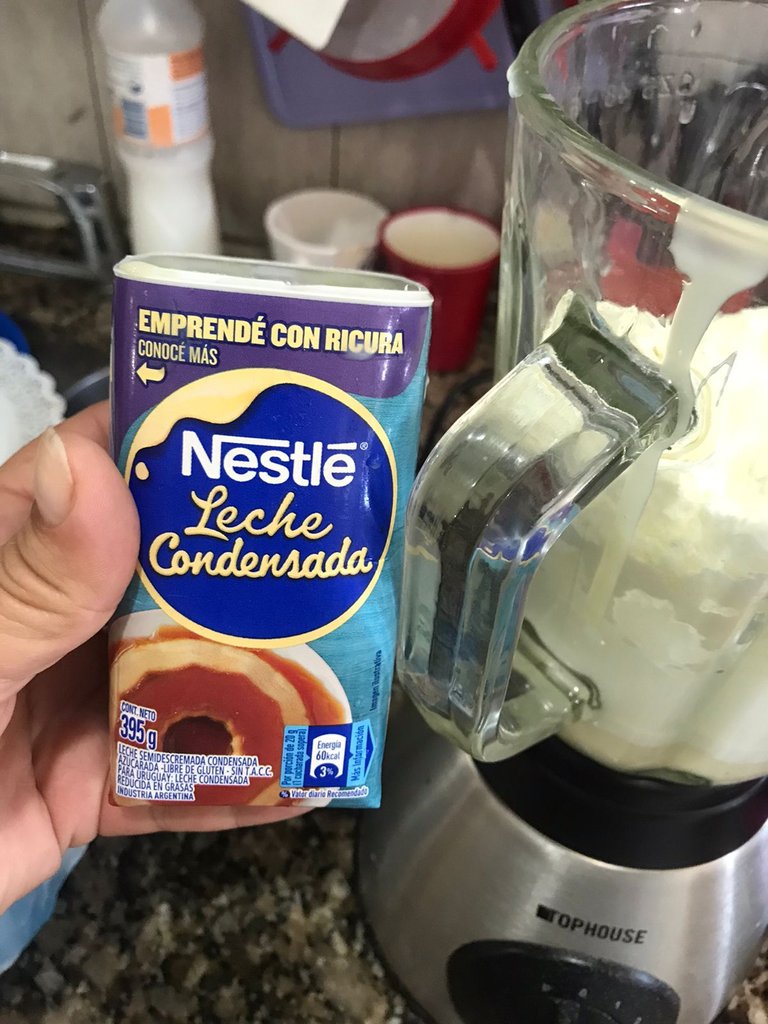
1 lata de Leche condensada
1 taza de leche completa
3 cucharadas de Maizina
3 yemas de huevo
vainilla
PREPARACIÓN:
Una vez que decidan iniciar a hacerla deben saber que tal vez les parecerá largo de hacer, pero cuando le encuentren el ritmo podrán hacerla rapidito. Esta cantidad de ingredientes es para una torta de en molde pequeño, de cuatro huevos. Esta que hice fue en una tortera de 15cms de diámetro. (Secreto N°1: Me gusta hacerla en un molde alto para luego picarla en tres y hasta cuatro capas).
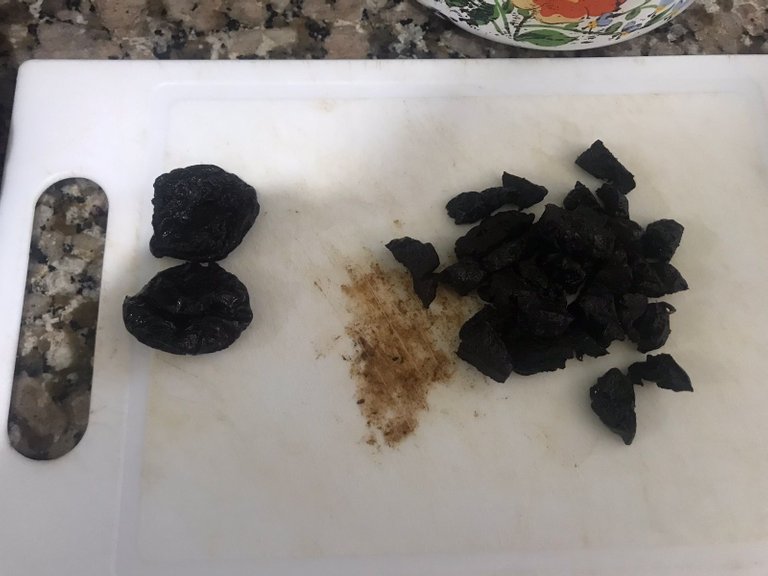
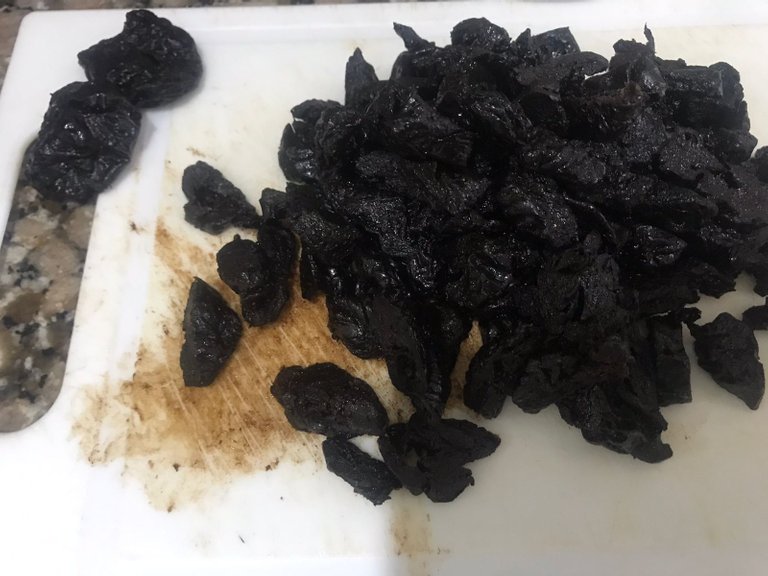
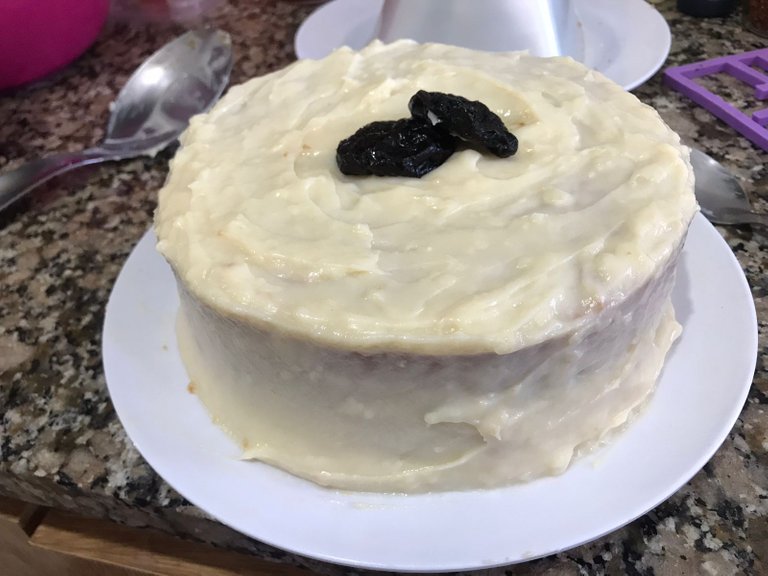
Lo primero es picar las ciruelas, no muy pequeño el corte, para que no se deshagan demasiado en la cocción. Siempre procuro reservar unas cuantas ciruelas enteras para decorar al final. Si es una torta pequeña, guardo dos o tres, si es una torta grande unas diez o doce para colocarlas en un circulo como una corona.
 |  |
|---|
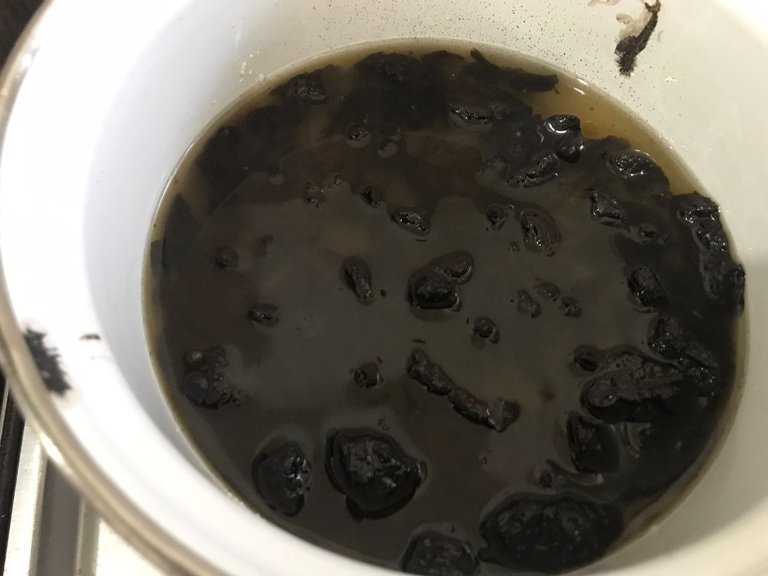
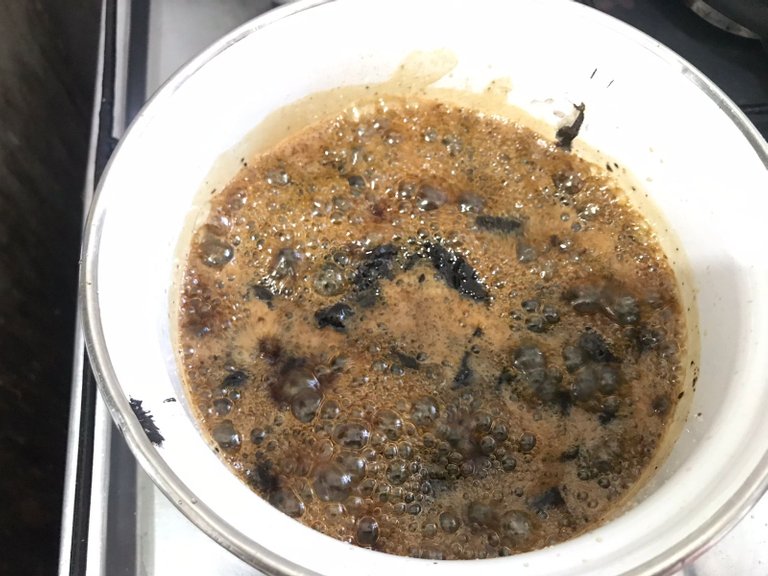
Se colocan las ciruelas picadas mezcladas con el azúcar en una olla, y agua que humedezca el azúcar. Mi mamá dice que es hasta que las cubra, pero yo no lo hago así, solo mojo el azúcar y pongo la mezcla a fuego de medio a bajo. No es buena idea olvidarse de esto mucho rato, sino más bien estar pendiente, e ir moviendo con una paleta de madera.
 |  |  |
|---|
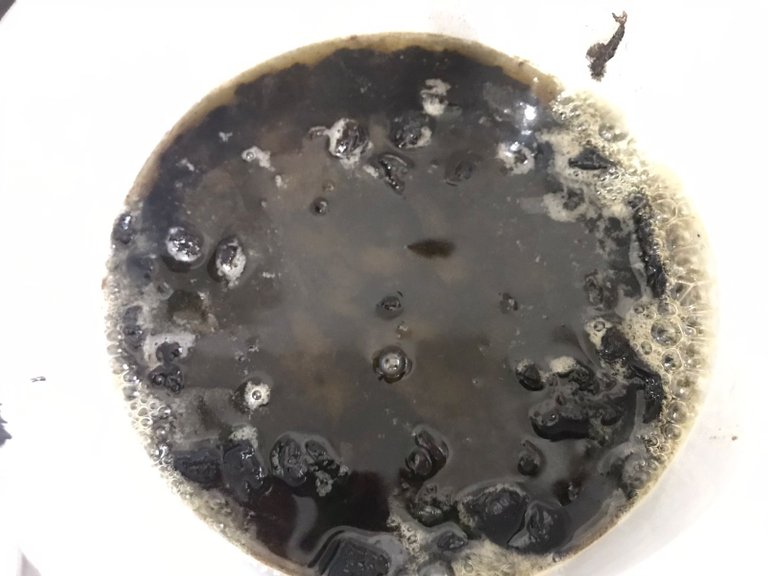
Se intuye que está listo cuando puedes separar el almíbar que se vea el fondo de la olla. Y está definitivamente listo cuando se alcanza el punto de hilo. Que se identifica cuando de la punta de un tenedor pende un delicado hilo después de que gotea el almíbar.
Una vez listo el "melao" se incorpora el vino como toque final. Yo tengo una regla en mi cocina, que aprendí de un cocinero que veía en la tele "si te gusta mucho, le pones mucho y si te gusta poco le pones poco". A mi me gusta el vino así que le coloco una buena cantidad. Muevo todo y lo reservo.

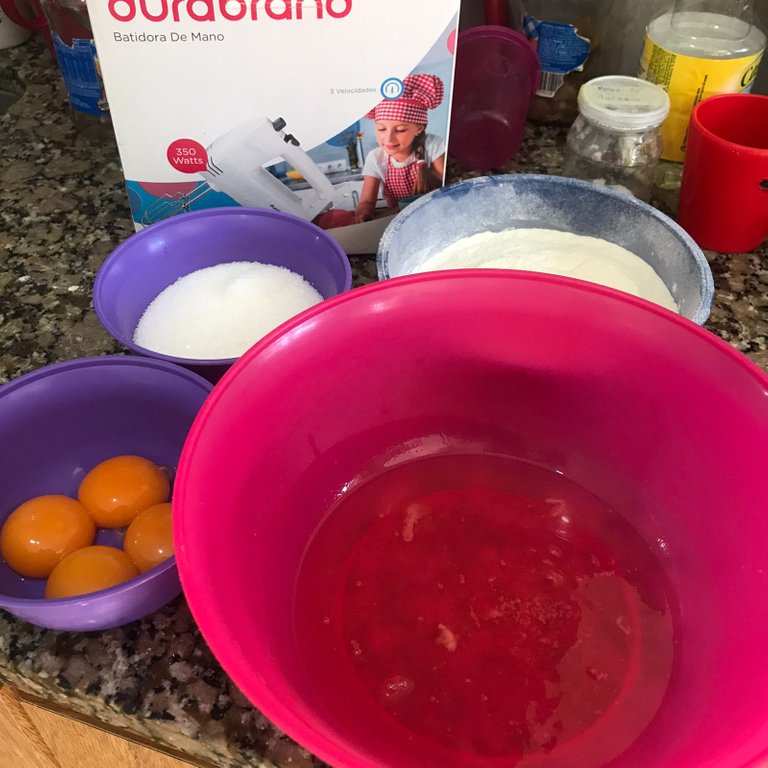
Listo el dulce de ciruelas, pasamos a batir el biscocho. Se separan las claras y yemas, se cierne la harina para que este super ligera, se pone a calentar el horno a nunca en la máxima temperatura y se procede de la siguiente manera:
 |  |  |
|---|
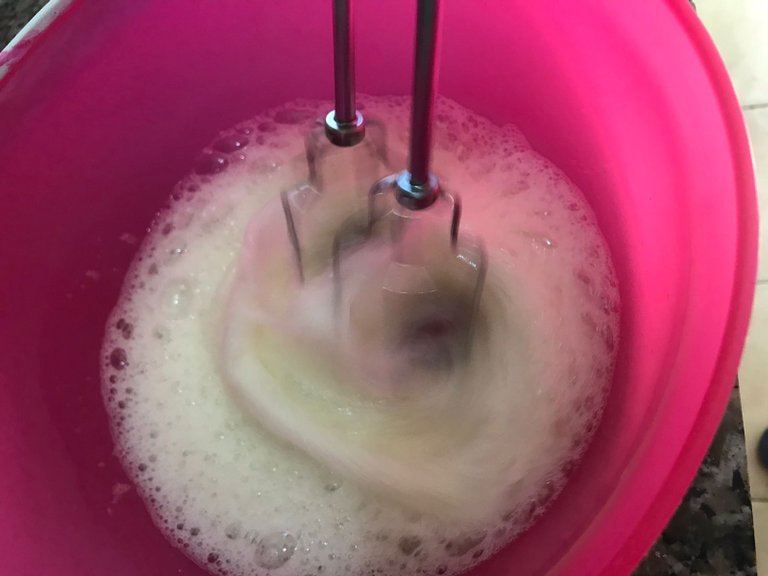
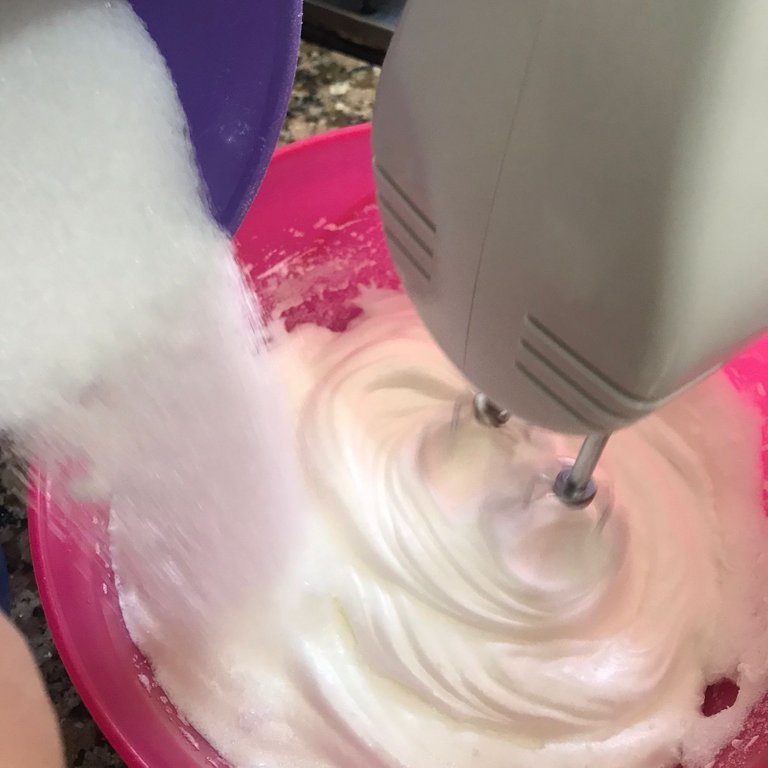
Batir las claras a punto de nieve e incorporar el azúcar poco a poco hasta disolverla toda. (Secreto N°2: Le pongo una pizca de sal al inicio de todo y aunque el azúcar que se mide equivale a una taza, en realidad le coloco menos de eso, casi un cuarto de taza menos).
 |  |  |
|---|
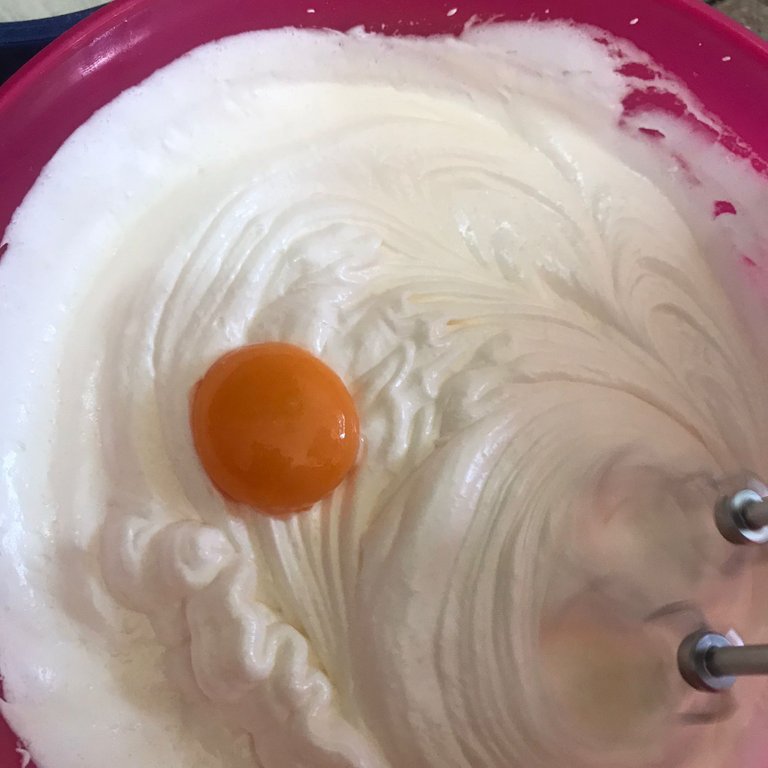
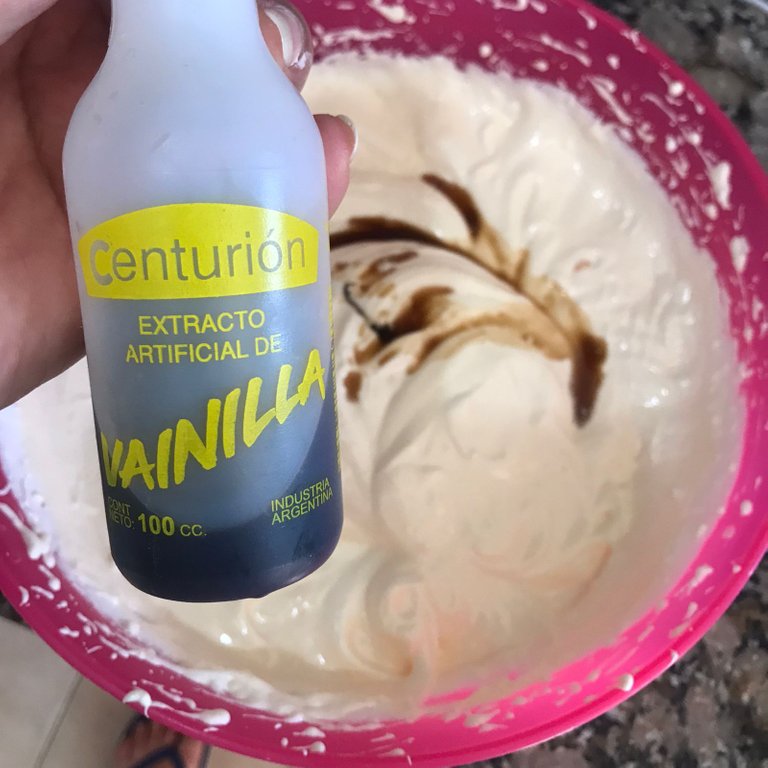
Se incorporan las yemas en la mezcla, rompiendo una por una para que se mezclen muy bien. También le pongo un poquito de vainilla para aromatizar, pero no demasiado, porque quizá resulte ser innecesario para el resultado.
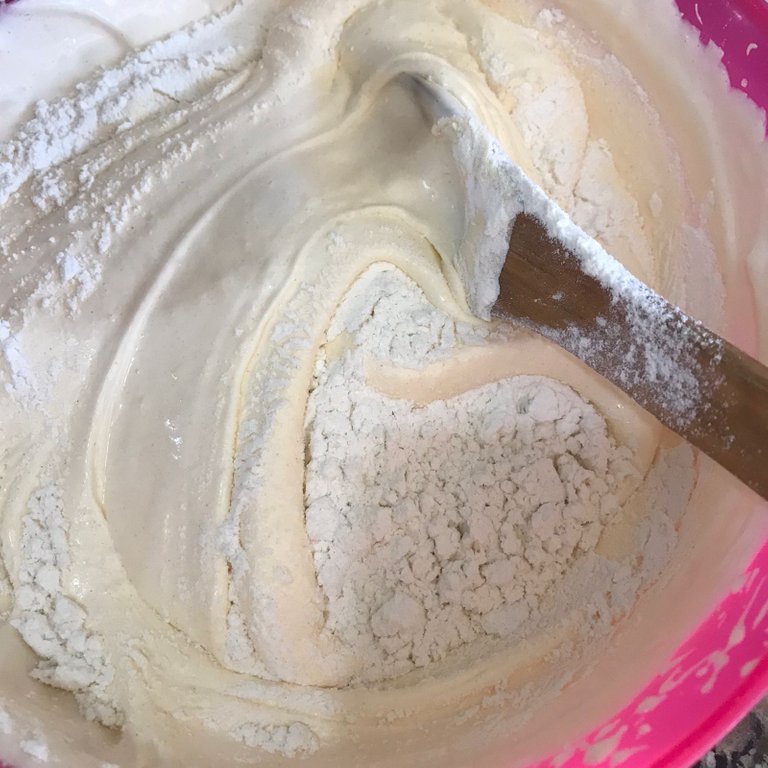
Una vez lista la mezcla, paso a unir la harina con todo lo preparado, de manera envolvente y con paleta de madera.
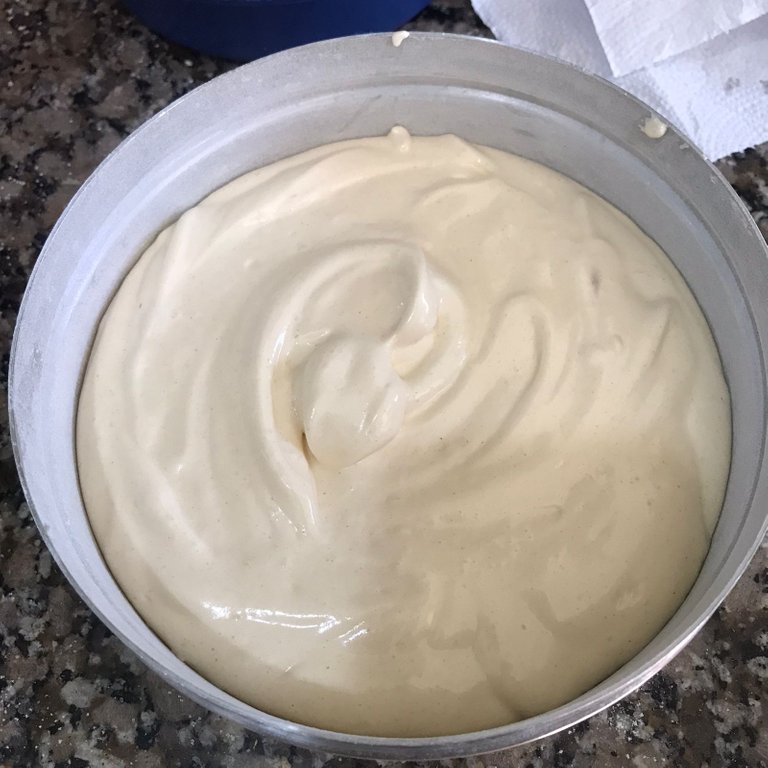
Enmantecar y enharinar el molde y verter la mezcla para llevar al horno.
El biscocho levanta y casi dobla su tamaño, usualmente se ve dorado por fuera pero estará listo cuando huela a torta (lógicamente jajaja) y cuando al introducir un cuchillo o un palillo de madera en el centro, salga limpio. Este me quedó rato jajajaja pero a pesar de que el aspecto era extraño, el resultado fue el esperado.
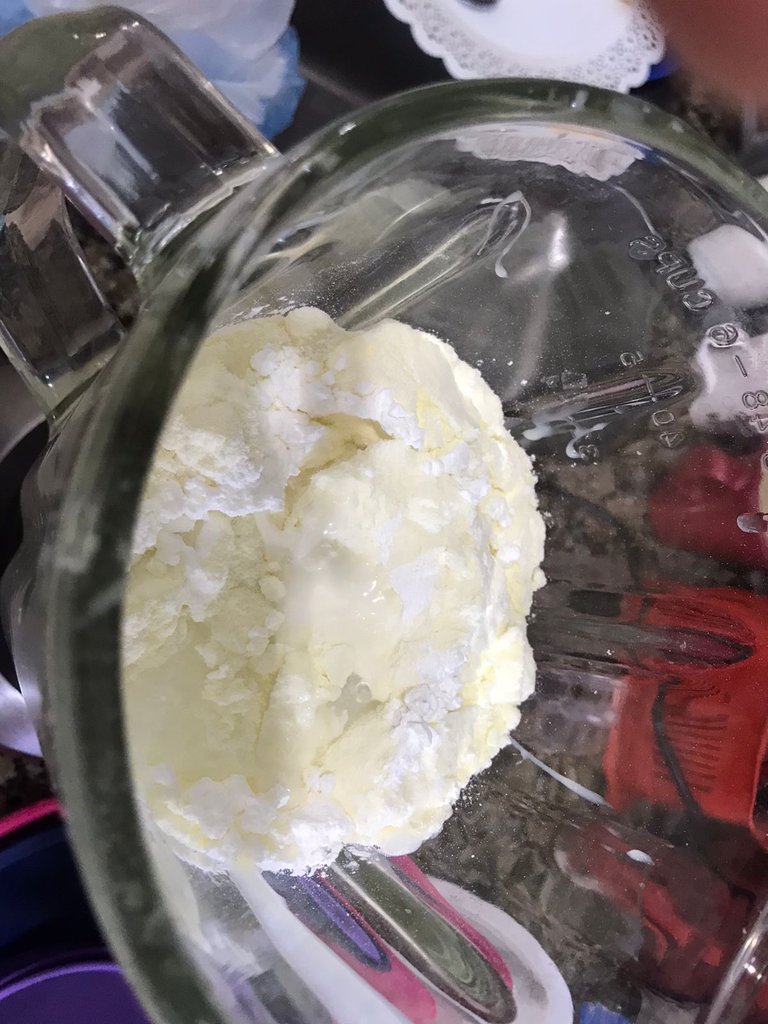
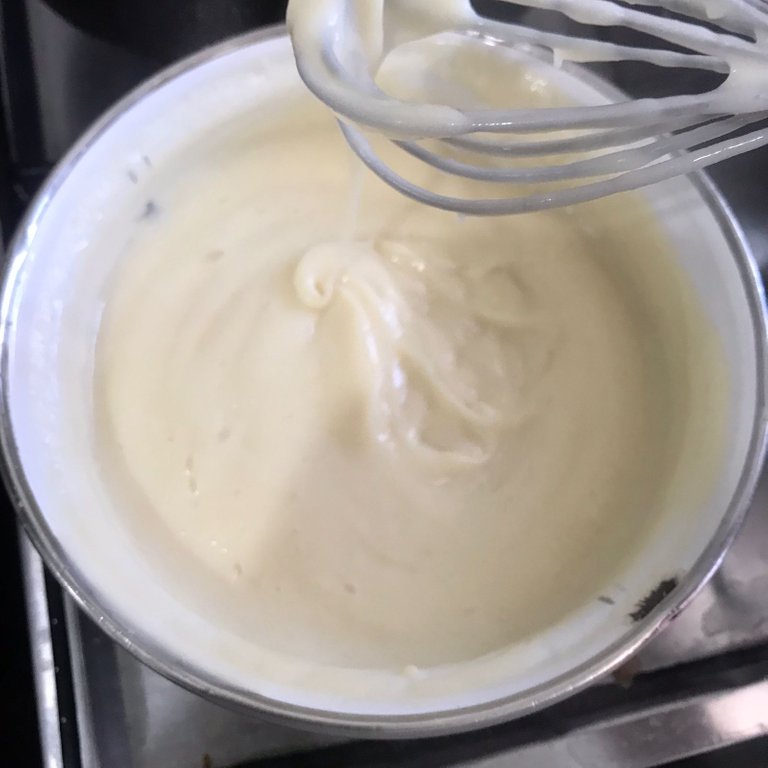
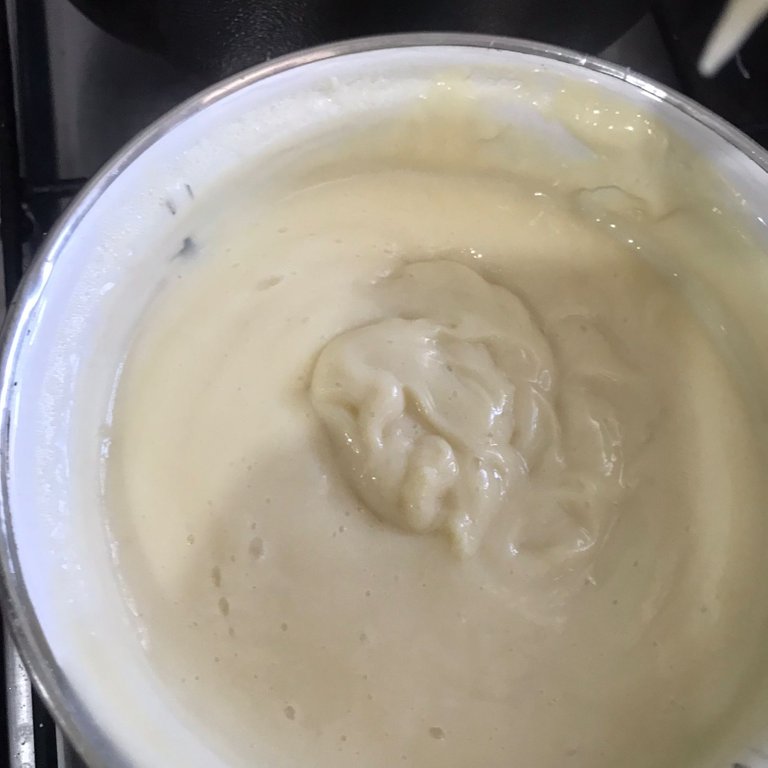
El horneado del biscocho, nos dará tiempo para hacer la crema pastelera y es muy fácil. Todos los ingredientes a la licuadora y luego al fuego, sin dejar de batir hasta que hierva. Cuando espesa, se apaga el fuego y se incorpora una cucharada de mantequilla sin dejar de mover.
 |  |  |
|---|
 |  |  |
|---|
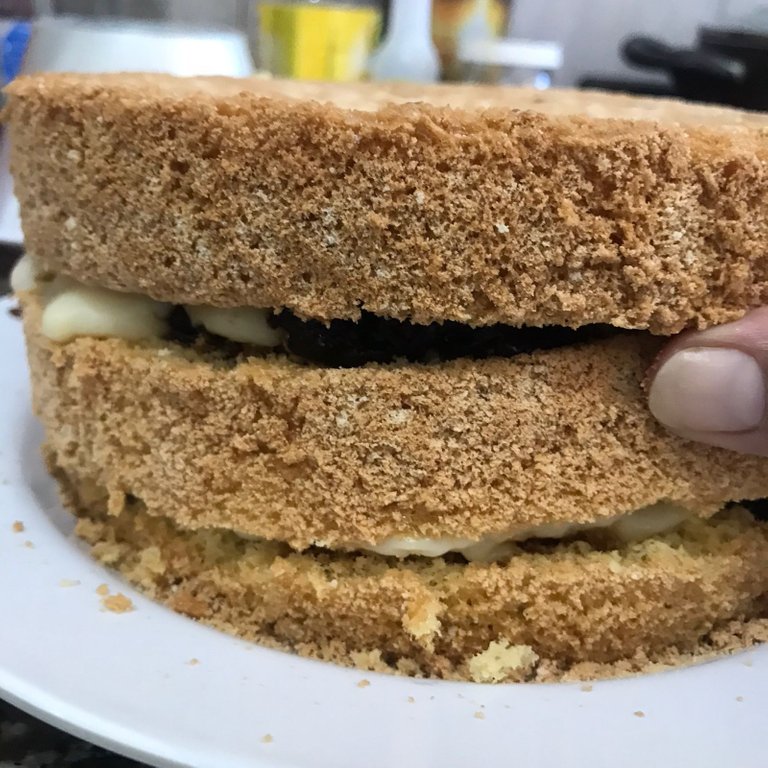
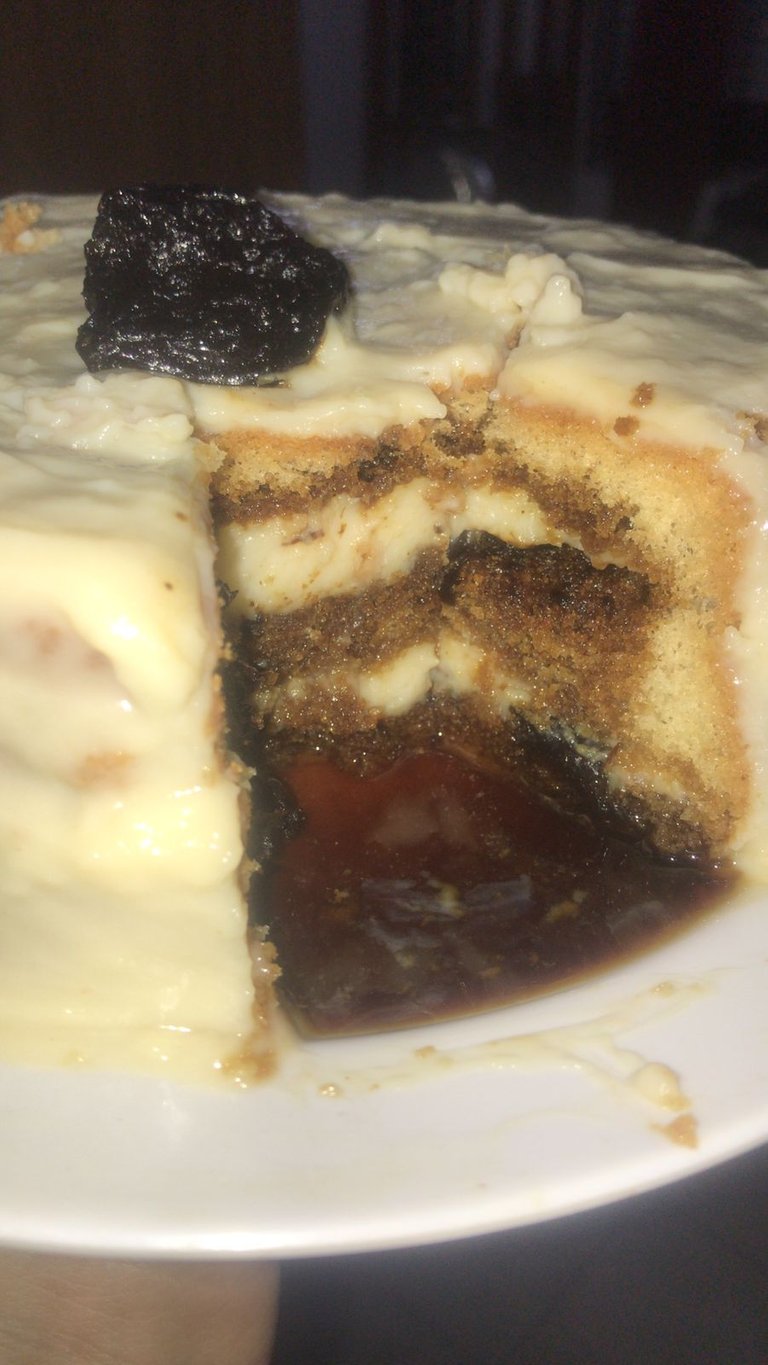
Al salir el biscocho del horno, se espera que se enfríe y se corta de forma transversal, en cuantas partes se prefiera. Yo esta vez lo hice en tres partes y esto me garantiza que el resultado final sea genial, porque todo el dulce estará bien distribuido y será una delicia.
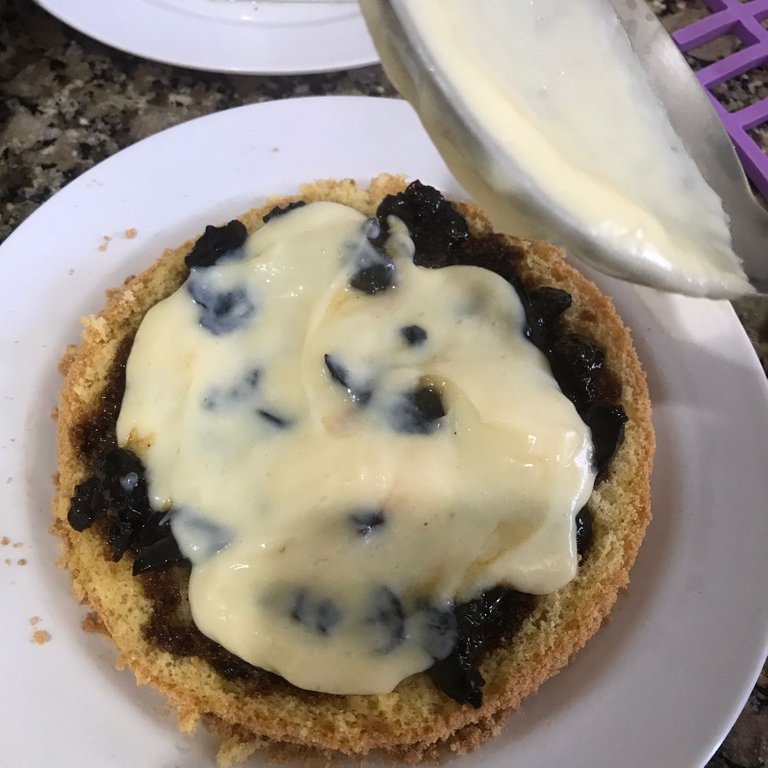
Una vez picada, procedemos a rellenar la torta en capas, biscocho, dulce, crema, biscocho, dulce, crema y así sucesivamente. (Secreto N°3: La última capa la mojo en el almíbar del dulce para que también este humedecida, por arriba y por debajo).
 |  |  |
|---|
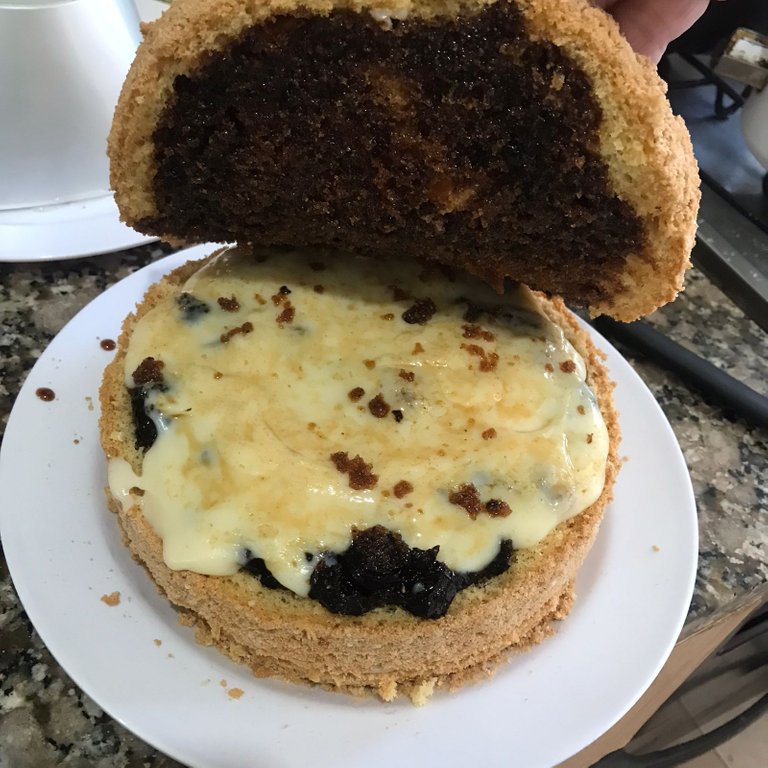
Luego se coloca la ultima capa de pastelera que cubra todo y con un miserable vamos dando forma para que quede compacta. Refrigeramos y ¡está lista!
Espero que la hagan, de verdad ansío ver sus publicaciones recreando este postre tan divino que para mi tiene tanto significado. Y me llena de tantos recuerdos y sentimientos.
Gracias por llegar hasta acá. Y leer esta receta que he preparado con tanto amor para ustedes.
Besos, Gaby.

Happy evening dear Hive Foodies. I had this material as a treasure lost at sea for a couple of months and just today I was able to rescue it from the deep waters of my damaged cell phone. You can't imagine how happy I am to be able to share this recipe with you, first of all because I had to make it to take the photos that I bring you here and I hadn't prepared a Maria Luisa for about four years. It is not for nothing, but it is the best of all, according to expert tasters of the traditional dessert from Cumana.
I can't tell you about the origin of the cake as such, as much as I would love to, because there is very little written about it. However, I have seen that in Venezuela it is not known everywhere, I have coincided in the taste for this delicacy of gods with people from the east of my country, meaning Anzoátegui, Nueva Esparta, Monagas, Bolívar and of course Sucre; in fact I met a lady recently (I will tell you about her in another story) who was from Monagas and lived in my town, and with all the pleasure in the world she told me that in her travels throughout Venezuela she never tasted a dessert as divine as this one. Needless to say that from that comment she became a special person for me hahaha, especially because her main line of business was bakery and pastry; so my dear Loraines knew what she was talking about.
Come on! maybe the sentimental value I give to this cake has more weight than its own flavor for me. I'll tell you quickly that it is the favorite cake in my house. My grandmother, may she rest in peace, was diabetic so sweets were no longer her thing even before I was born. However, I remember her coming to my classroom in fourth, fifth and sixth grade with a freshly made Maria Luisa by her freckled hands to sing birthdays with my classmates, I also remember my mom making it in the shape of a gypsy arm, for Christmas parties, or to sing birthday to my grandmother every December 29th.
When I learned to make it, I put so much love into it, but so much, that it definitely became my favorite and that of my diners once I decided to commercialize them in Cumaná. My neighbor and lifelong friend always asked for it, it was my boyfriend's favorite and the envy of a couple of mothers-in-law that I later had, because my Maria Luisa hardly competed with any other. We never bought one at home, but I remember that there was also a bakery downtown that prepared one that everyone thought was super divine, until they tried mine hahahahahaha.
And now you may ask me, what is the secret? Well, definitely love. There is no other way. And to prove it, here I bring you my Maria Luisa cake with all the details.
INGREDIENTS:
For the Cake:
4 eggs
4 eggs
1 cup flour
1 cup of sugar
For the Syrup:
300 gr of pitted prunes
300 gr of sugar
2 cups of sweet wine (if you are not in Venezuela oporto, if you are there, preferably use raisin wine)
Water.
For the Cream:
1 tin of condensed milk
1 cup full cream milk
3 tablespoons of cornstarch
3 egg yolks
vanilla
PREPARATION:
Once you decide to start making it, you should know that it may seem long to make, but once you get the rhythm you will be able to make it quickly. This amount of ingredients is for a cake in a small pan, with four eggs. This one I made in a 15 cm diameter cake pan (Secret N°1: I like to make it in a tall pan and then chop it in three or even four layers).
The first thing to do is to chop the plums, not too small, so that they don't fall apart too much during cooking. I always try to reserve a few whole plums to decorate at the end. If it is a small cake, I keep two or three, if it is a large cake I keep ten or twelve to place them in a circle as a crown.
| |
|---|
Put the chopped plums mixed with the sugar in a pot, and water to moisten the sugar. My mom says it is until it covers them, but I don't do it that way, I just wet the sugar and put the mixture on medium to low heat. It is not a good idea to forget about this for a long time, but rather to keep an eye on it, and keep stirring with a wooden paddle.
| | |
|---|
You can sense that it is ready when you can separate the syrup from the bottom of the pot. And it is definitely ready when you reach the point of thread. That is identified when a delicate thread hangs from the tip of a fork after the syrup drips.
Once the "melao" is ready, the wine is added as a final touch. I have a rule in my kitchen, which I learned from a cook I used to see on TV: "if you like it a lot, add a lot and if you like it a little, add a little". I like wine so I put a good amount. I move everything around and put it aside.
Once the plum jam is ready, we move on to beat the cake. Separate the egg whites and yolks, sift the flour so that it is super light, heat the oven to never at maximum temperature and proceed as follows:
| | |
|---|
Whip the egg whites until stiff and add the sugar little by little until it dissolves. (Secret N°2: I add a pinch of salt at the beginning of everything and although the measured sugar is equivalent to one cup, in reality I add less than that, almost a quarter of a cup less).
| | |
|---|
Incorporate the yolks into the mixture, breaking them one by one so that they mix very well. I also add a little vanilla for flavoring, but not too much, because it may turn out to be unnecessary for the result.
Once the mixture is ready, I mix the flour with everything prepared, in an enveloping way and with a wooden paddle.
Butter and flour the mold and pour the mixture to take it to the oven.
The cake rises and almost doubles in size, it usually looks golden brown on the outside but it will be ready when it smells like cake (logically hahaha) and when a knife or wooden toothpick inserted in the center comes out clean. This one took me a while hahaha but even though it looked strange, the result was as expected.
The baking of the cake will give us time to make the pastry cream and it is very easy. All the ingredients to the blender and then to the fire, without stopping beating until it boils. When it thickens, turn off the heat and add a tablespoon of butter while stirring.
| | |
|---|
| | |
|---|
When the cake comes out of the oven, wait for it to cool and cut it crosswise, in as many parts as you prefer. This time I did it in three parts and this guarantees me that the final result will be great, because all the sweet will be well distributed and it will be a delight.
Once chopped, proceed to fill the cake in layers, biscuit, sweet, cream, biscuit, sweet, cream and so on. (Secret N°3: I dip the last layer in the syrup of the sweet so that it is also moistened, above and below).
| | |
|---|
Then place the last layer of pastry that covers everything and with a miserable we give shape so that it is compact. Refrigerate and it's ready!
I hope you make it, I really look forward to seeing your posts recreating this divine dessert that has so much meaning for me. And fills me with so many memories and feelings.
Thank you for coming here. And for reading this recipe that I have prepared with so much love for you.
Kisses, Gaby.
Todas las fotos son de mi propiedad. Tomadas con mi Iphone7. Banner realizado en Canva.
Diablos, señorita. No se me vaya a rascar con semejante pastel.
Se ve muy rica.
Espero que haya quedado como se ve.
Amigaaaa quedo divino!! jajajajaja. Estaba loca por subir la vaina.
Me acordé de la torta Maria Luisa que hicimos para Luis Jesús, y digo hicimos porque me tocó cortar vainas para decorar, jajajaja. Extraño tus tortas