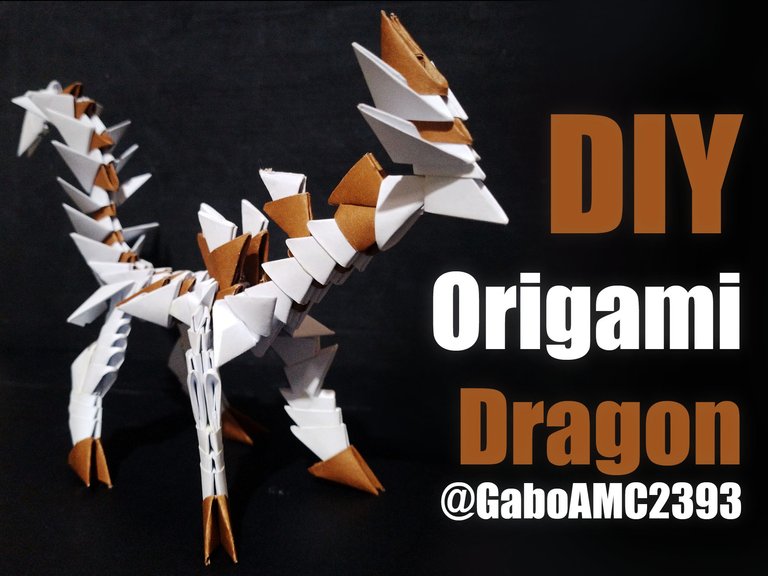
DIY 3D Origami Dragon [ENG/SPA]
Origami... It is an art that I have not practiced too much and I have done very little in life; however, I was doing some research on origami techniques and I found a very interesting one to make 3D origami with paper blocks.
I made a post recently explaining how to make the blocks for this origami technique. You can read it following this link:
https://peakd.com/hive-130560/@gaboamc2393/tutorial-origami-3d-engspa
Well, with the idea in mind, I started making the stack of blocks I would need to make what I envisioned for this month's origami contest, a dragon.
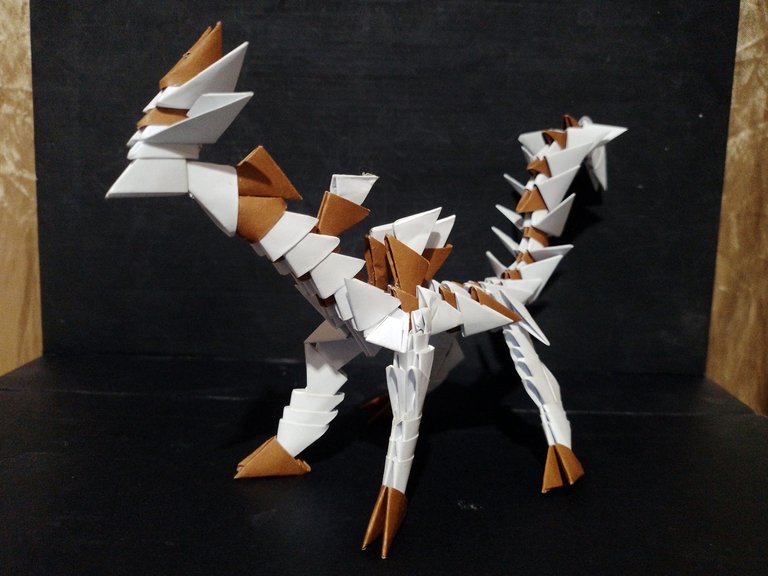
You see, during my journey in Hive I have made a Mechagodzilla, a King Ghidorah and other monsters, so I thought it was interesting to make this little origami dragon without wings, because otherwise it would be too big and the structure I don't know if it would support it, so I made a dragon without wings.
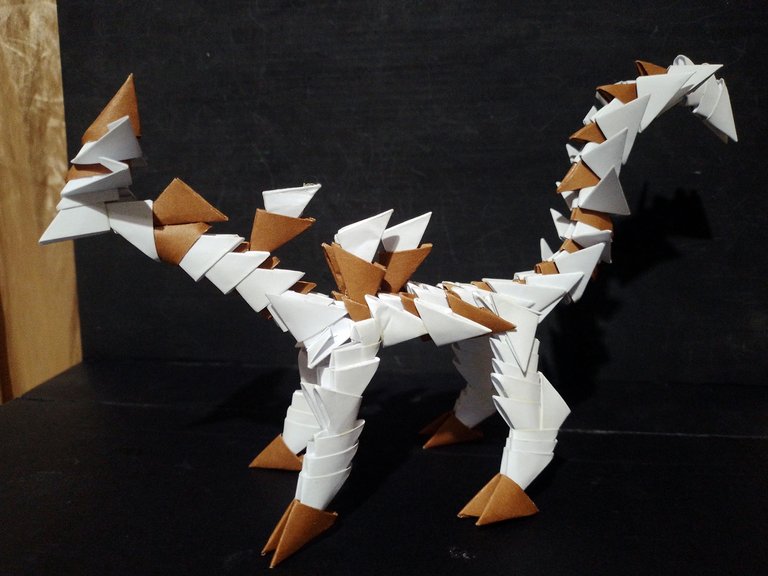
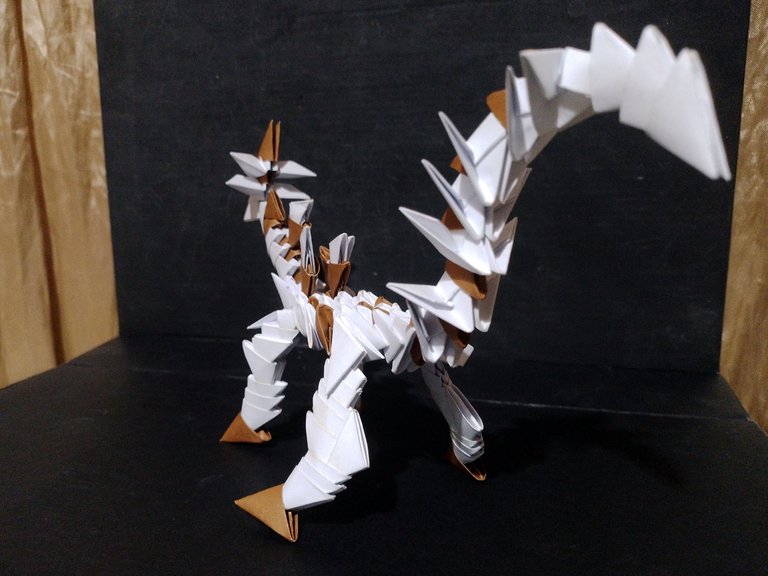
Below you can see a picture of the dragon I made.
Español
Origami… Es un arte que no he practicado demasiado y he hecho muy poco en la vida; sin embargo, estuve investigando un poco las técnicas que existen de origami y encontré una muy interesante para hacer origami en 3D con bloques de papel.
Hice una publicación hace poco explicando cómo se hacen los bloques para esta técnica de origami. Pueden leerla siguiendo este enlace:
https://peakd.com/hive-130560/@gaboamc2393/tutorial-origami-3d-engspa
Pues bien, con la idea en mente, comencé a hacer el montón de bloques que necesitaría para hacer lo que imaginé para el concurso de origami de este mes, un dragón.
Verán, durante mi trayecto en Hive he hecho un Mechagodzilla, un King Ghidorah y otros monstruos, así que me pareció interesante hacer este pequeño dragón de origami sin alas, porque sino quedaría demasiado grande y la estructura no sé si lo soportaría, así que hice un dragón sin alas.
A continuación pueden ver una fotografía del dragón que hice.
Step by step
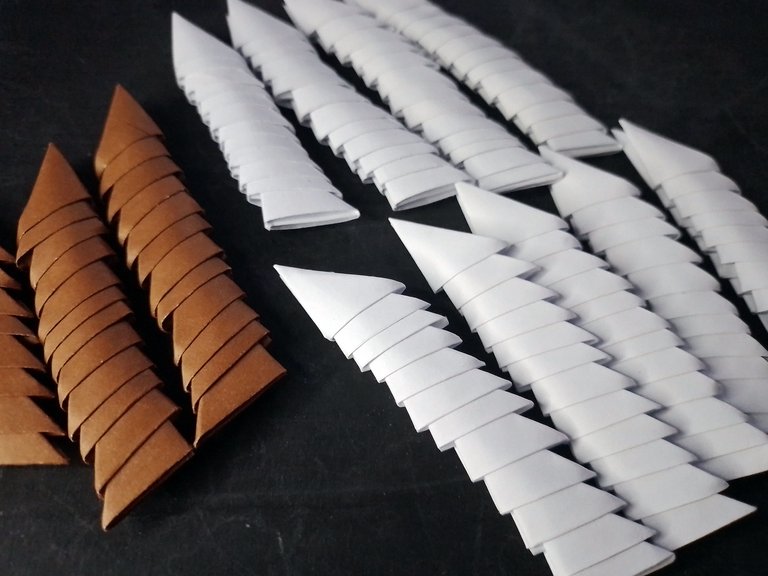
To show you how I made this dragon, join me in the step by step. The first thing I did was to make the origami blocks. As I said above, I already explained in another post how to make these origami blocks, you can read the post in the link I left.
Paso a paso
Para enseñarles cómo hice este dragón, acompáñenme en el paso a paso. Lo primero que hice fue hacer los bloques de origami. Como dije más arriba, ya expliqué en otra publicación cómo hacer estos bloques de origami, pueden leer el post en el enlace que dejé.
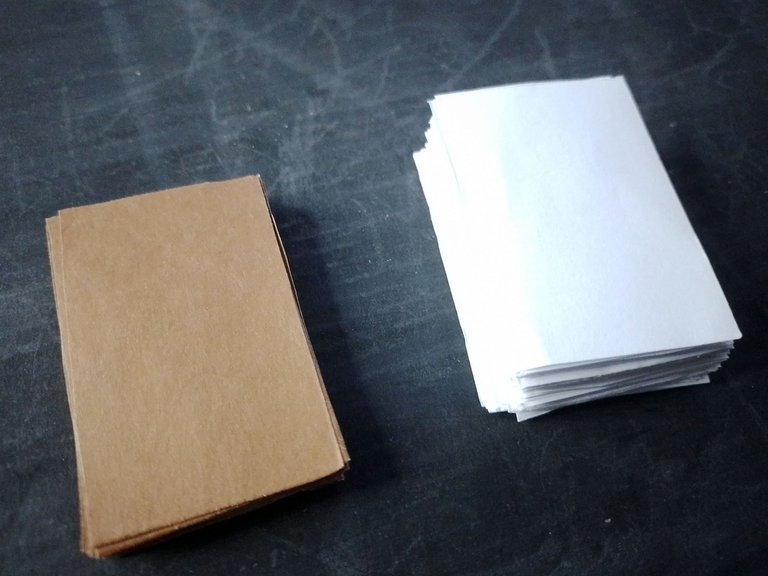
I don't know for sure how many I used, but at first I prepared 3 sheets of white paper and a brown sheet. For each sheet you get 32 blocks, so if there were 4 sheets, in total I started this project with 128 origami blocks, although I damaged some in the process and had a few left over, not many.
However, I had made a lot more before, for practice, so I had a few left over. Let's agree that I used about 150 or so.
A ciencia cierta no sé cuántos utilicé, pero en un comienzo preparé 3 hojas de papel blanco y una hoja de color marrón. Por cada hoja se obtienen 32 bloques, así que si fueron 4 hojas, en total comencé este proyecto con 128 bloques de origami, aunque dañé algunos en el proceso y sobraron unos cuantos, no muchos.
Sin embargo, había hecho mucho más antes, para practicar, así que tenía uno cuantos por allí. Convengamos que usé unos 150 aproximadamente.
 |  |
|---|
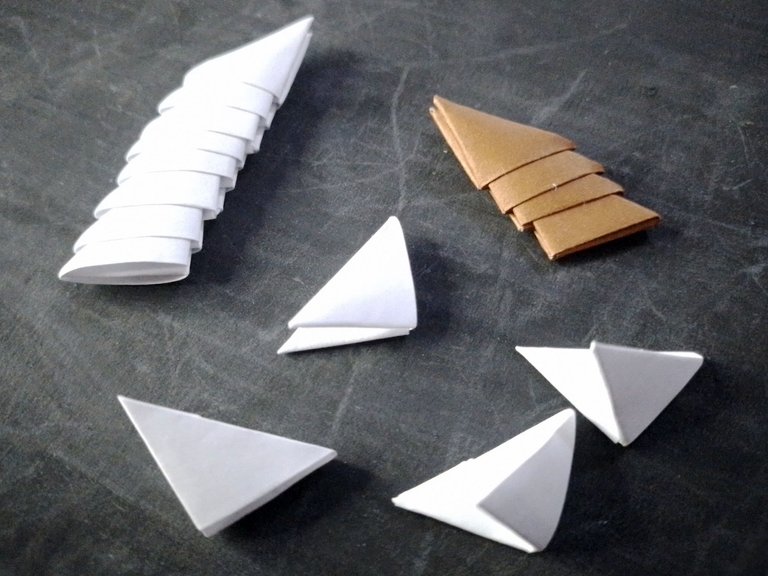
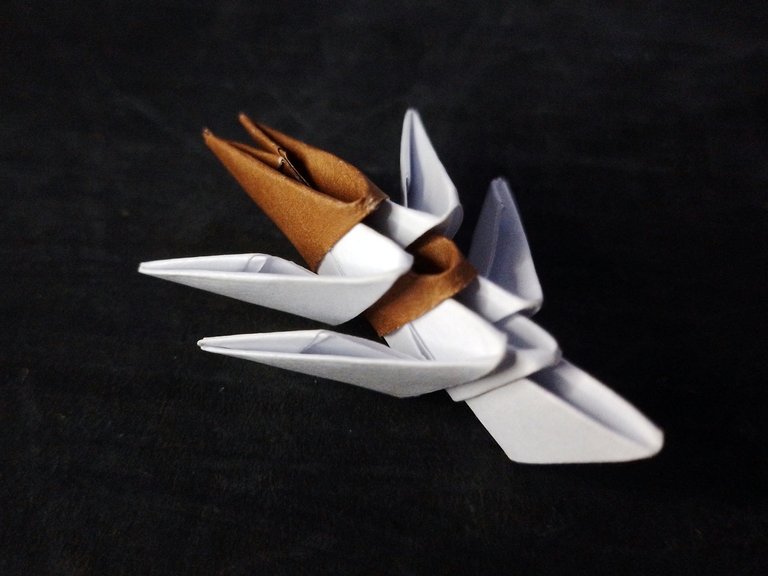
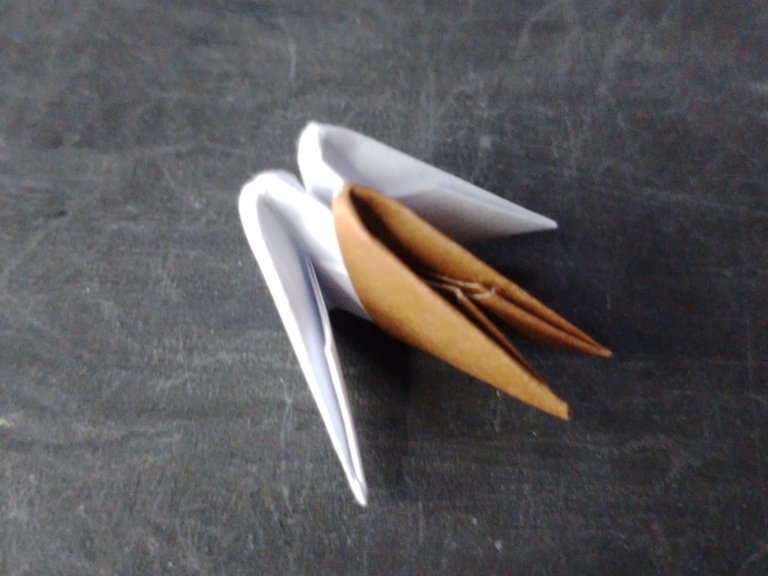
The first thing I started to make was the head, using one of the blocks as a base, then I placed another one on top of it and began to intersperse the colors, as you can see in the image below.
The idea was to create a head with a sort of crown with horns, something that characterizes dragons.
Lo primero que empecé a hacer fue la cabeza, usando uno de los bloques como base, luego coloqué otro más encima de este y comencé a intercalar los colores, tal como pueden ver en la imagen de abajo.
La idea era crear una cabeza con una suerte de corona con cuernos, algo que caracteriza a los dragones.
 |  |
|---|
To connect the dragon's head piece to the rest of the body, I connected a block to the bottom of the head so I could attach it to the rest of the body.
Para conectar la pieza de la cabeza del dragón con el resto del cuerpo, conecté un bloque con la parte baja de la cabeza, así podría unirla con el resto del cuerpo.

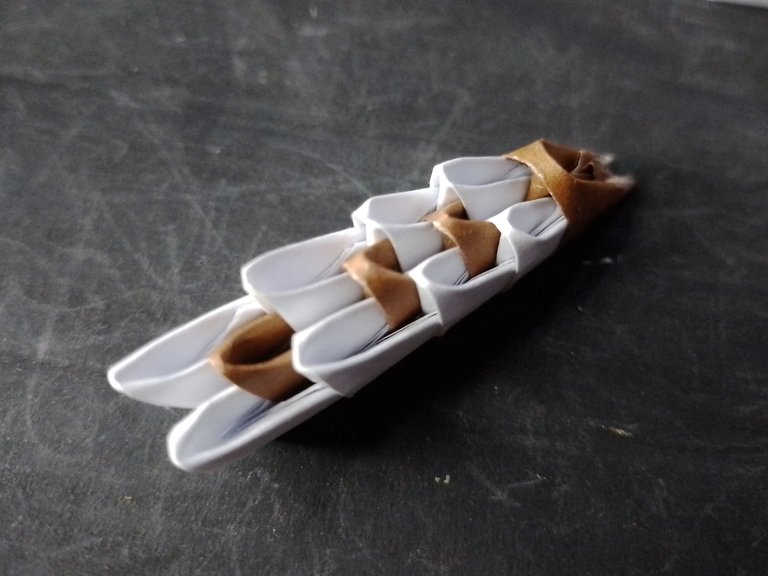
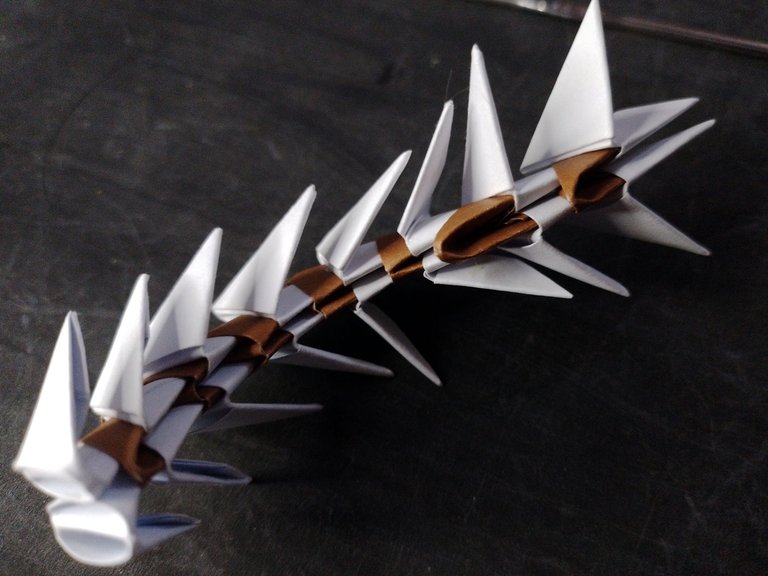
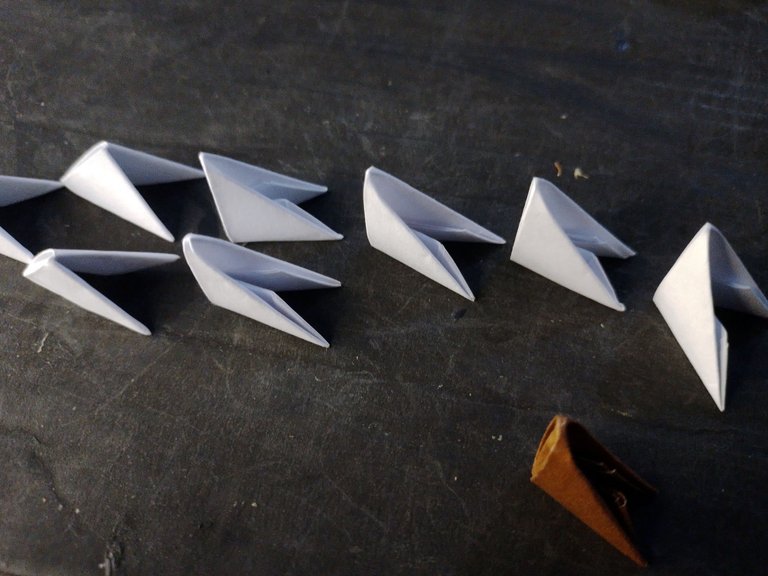
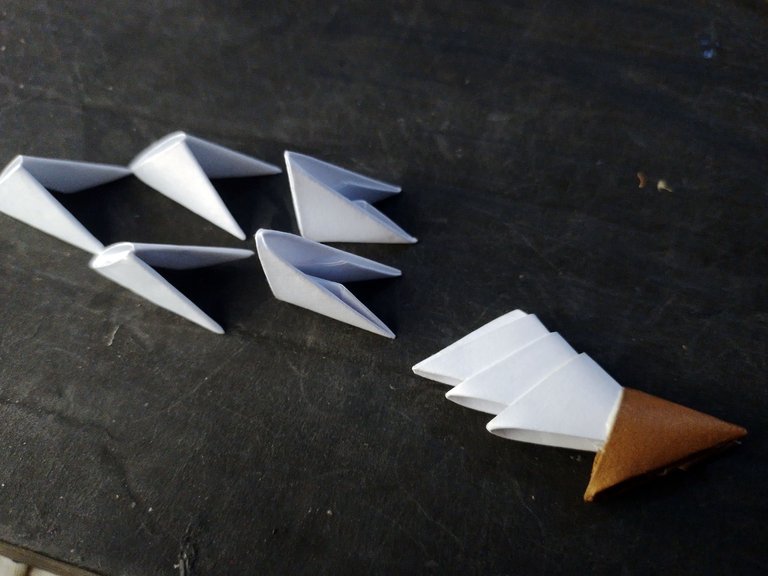
I made the body by intercalating two pieces of white blocks in a single piece of brown, creating a sort of vertebrae that I would repeat to make the length of the neck, as you can see in the photos below:
El cuerpo lo hice intercalando dos piezas de bloques blancos en una sola pieza de color marrón, creando una suerte de vertebras que repetiría para hacer el largo del cuello, tal como pueden ver en las fotos de abajo:
 |  |
|---|
I then connected this neck piece to the dragon's head.
Luego conecté esta pieza del cuello con la cabeza del dragón
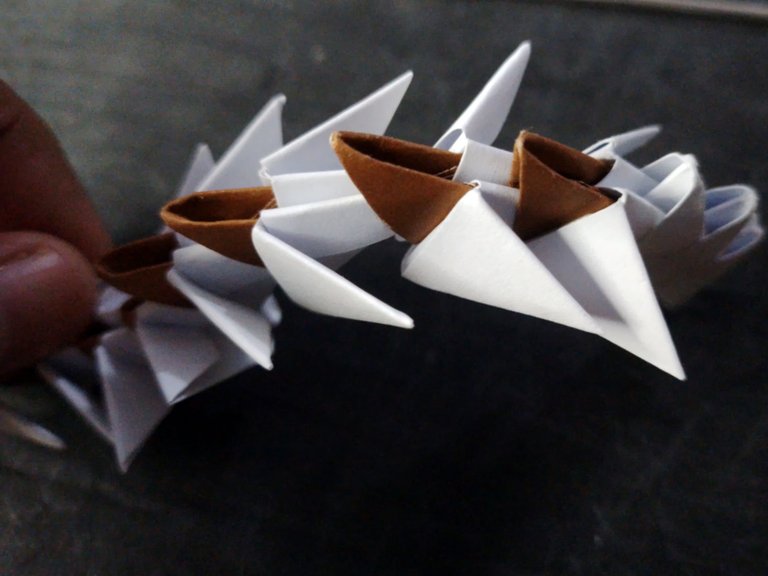
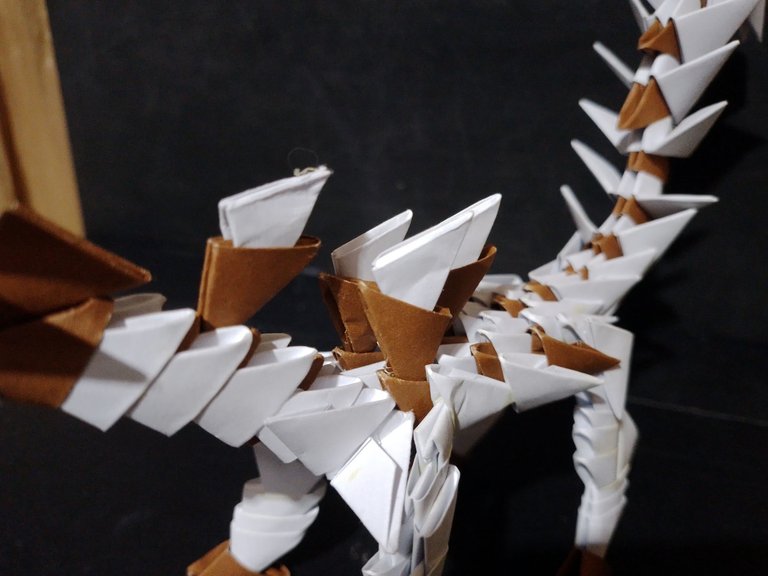
For the back I did something similar to the previous one, only that I connected more blocks in the surroundings to make a much wider piece than the neck, being wider in the center and thinner at the ends.
Para el lomo hice algo parecido que la anterior, solo que conecté más bloques en los alrededores para hacer una pieza mucho más ancha que el cuello, siendo más ancha en el centro y delgada en los extremos.
 |  |
|---|
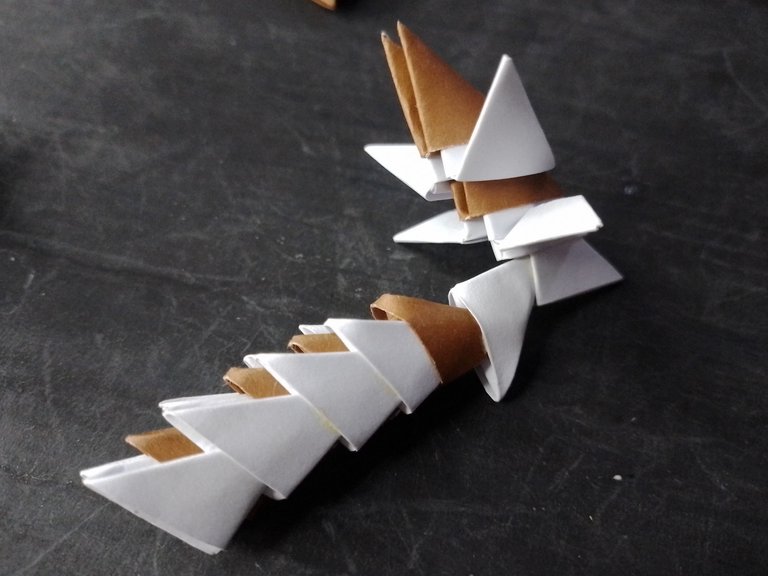
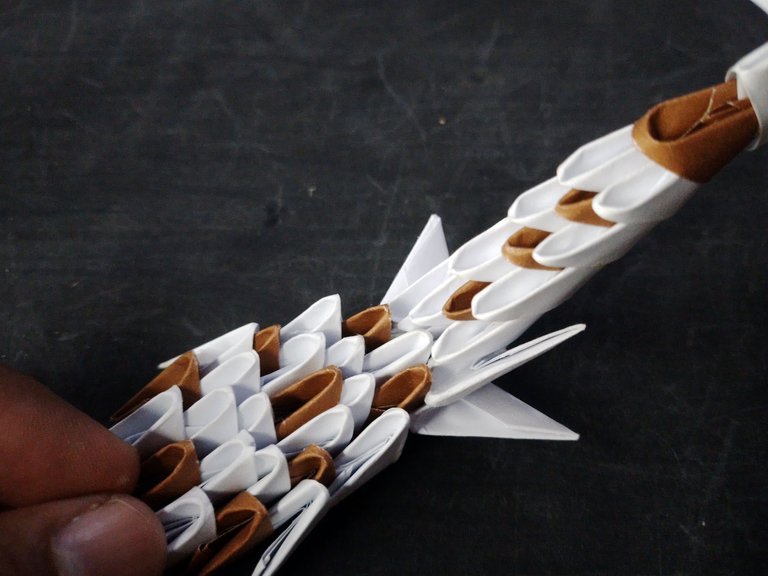
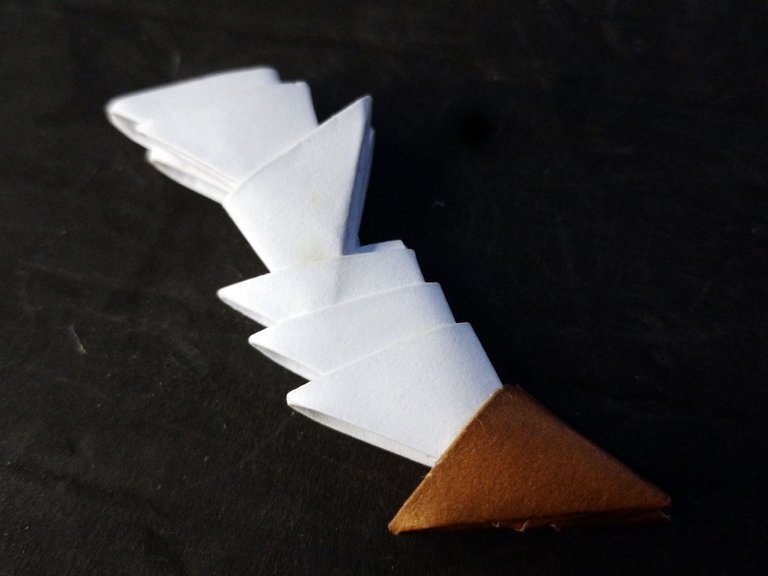
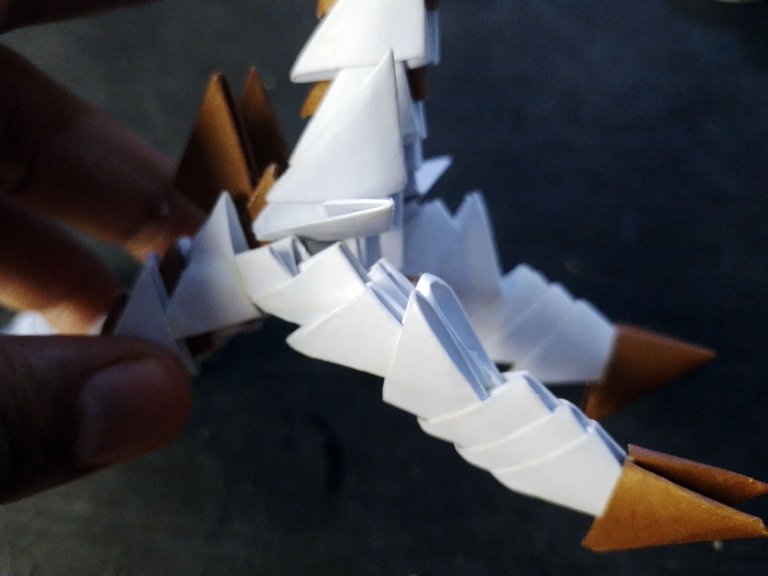
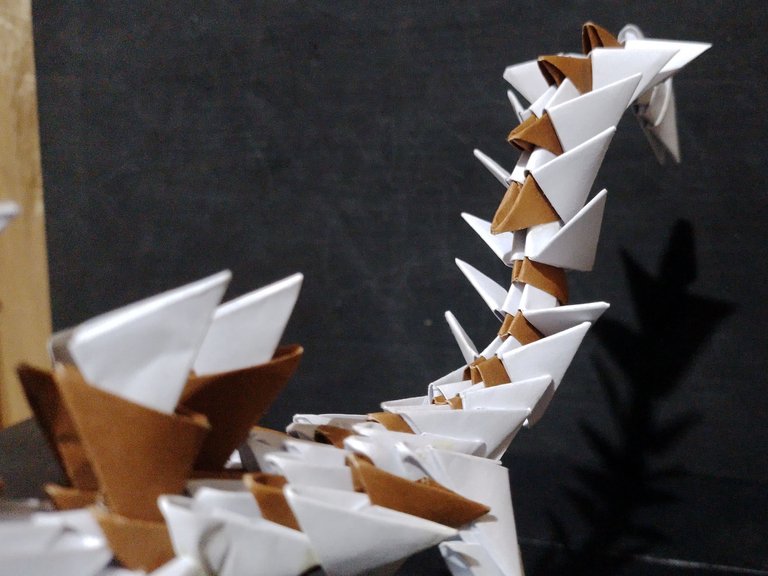
For the tail I did the same process as with the neck, only in this case I left one side of the block out of the upper blocks, to give the appearance of a spiked tail.
Para la cola hice el mismo proceso que con el cuello, solo que en este caso dejé fuera de los bloques superiores un lado del bloque, para que diera la apariencia de una cola con puas.
I made it quite long and upward, creating a sense of movement.
La hice bastante larga y hacia arriba, creando una sensación de movimiento.
At this point I had the main pieces ready, the neck, the back and the tail, all that was left was to join them together.
Ya en este punto tenía las piezas principales listas, el cuello, el lomo y la cola, solo faltaba unirlas.
 |  |
|---|
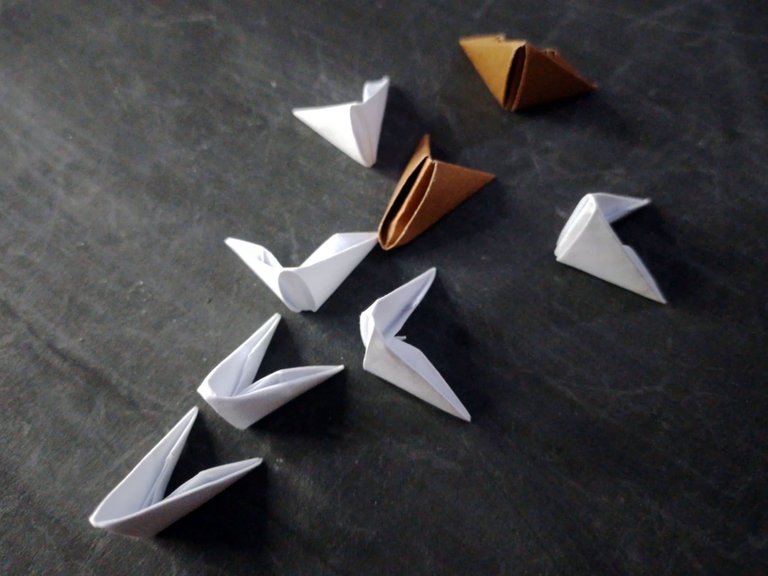
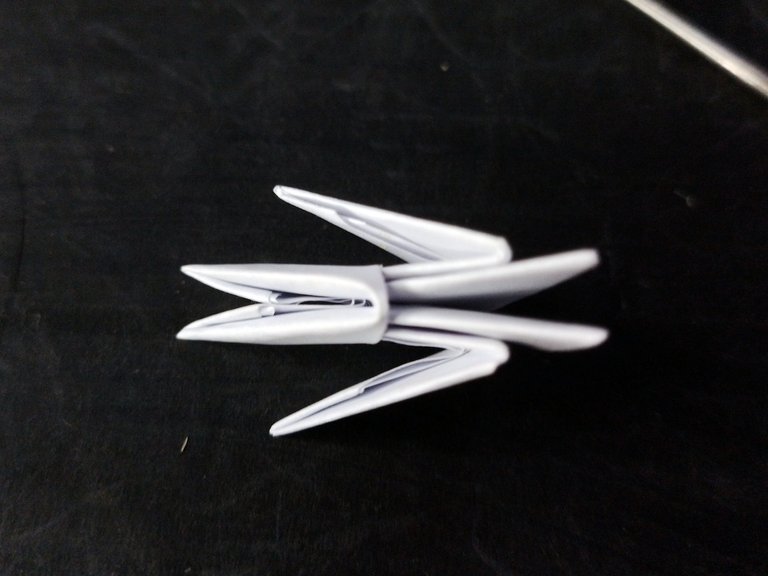
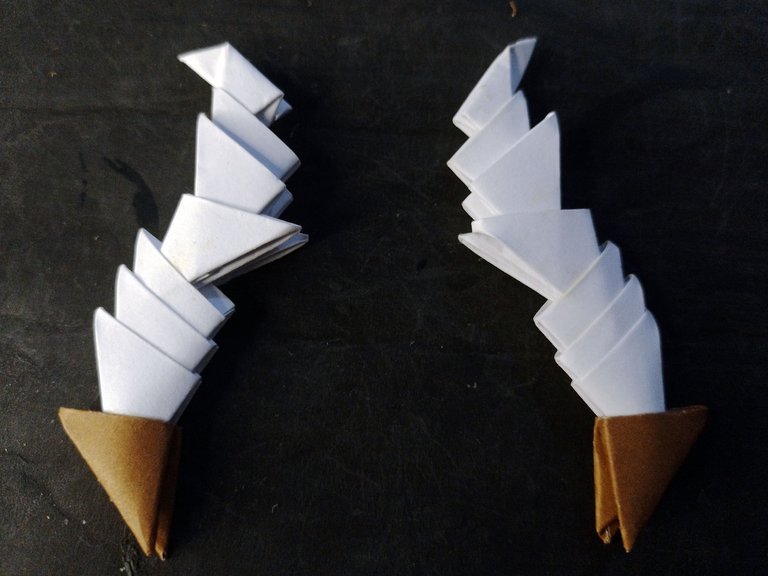
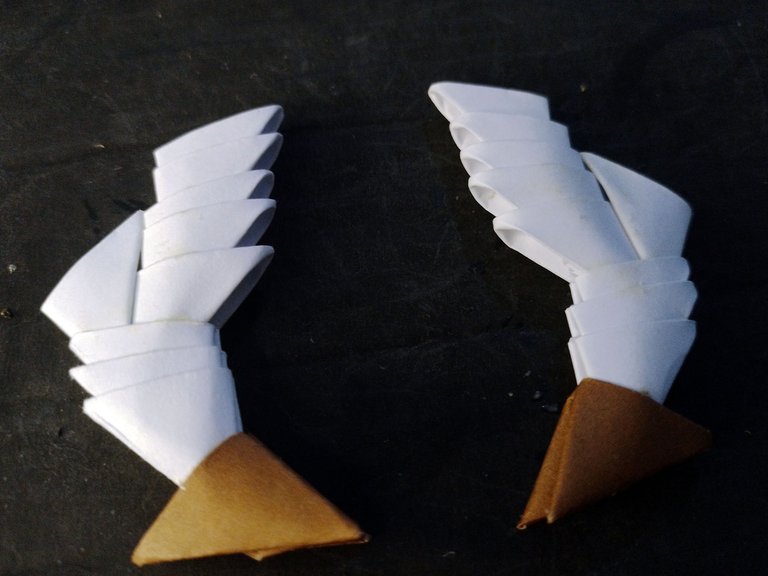
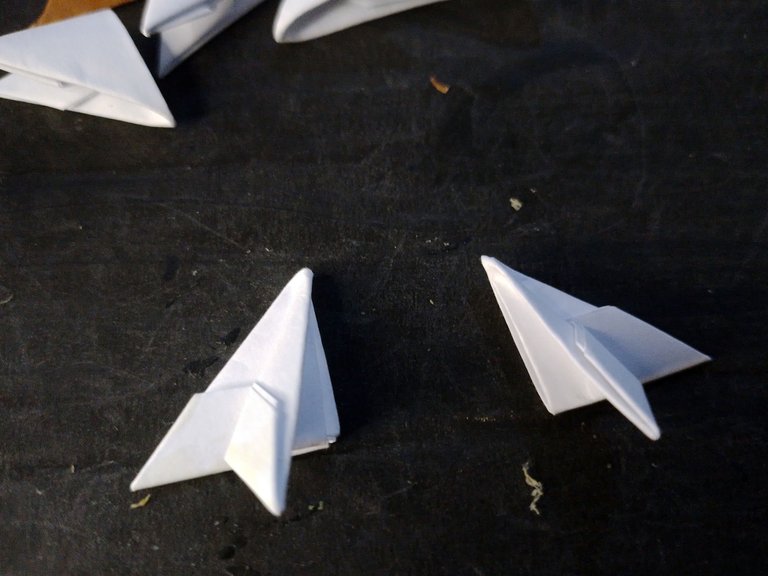
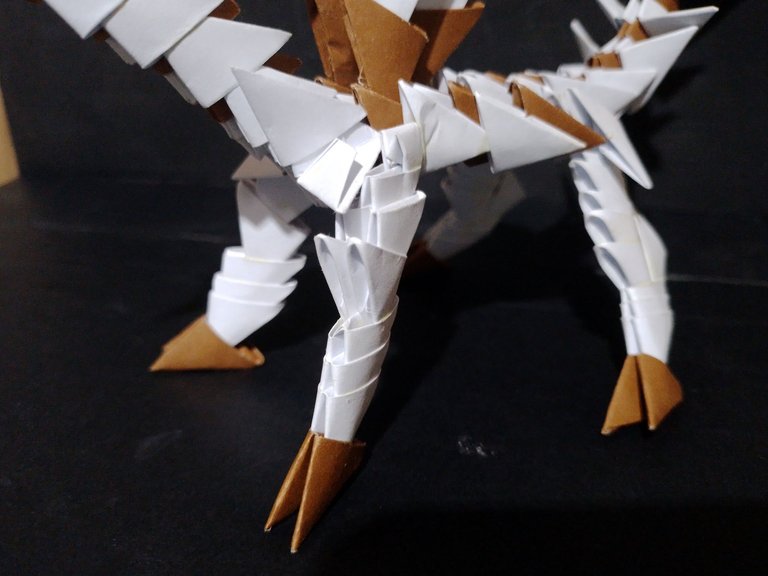
The legs were a little more complicated to make, but it was just a matter of knowing how to connect the pieces. Since a picture is worth a thousand words, below you can see a series of pictures of how I put these legs together, both front and rear.
Las piernas fueron un poco más complicadas de hacer, pero solo fue cuestión de saber cómo conectar las piezas. Como una imagen vale más que mil palabras, a continuación pueden ver una serie de fotografías de cómo armé estas piernas, tanto las traseras como delanteras.
 |  |
|---|
 |  |
|---|
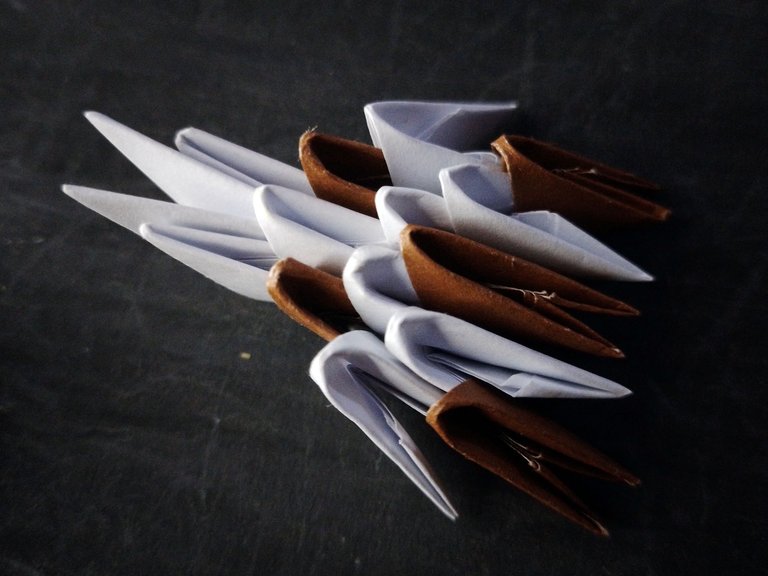
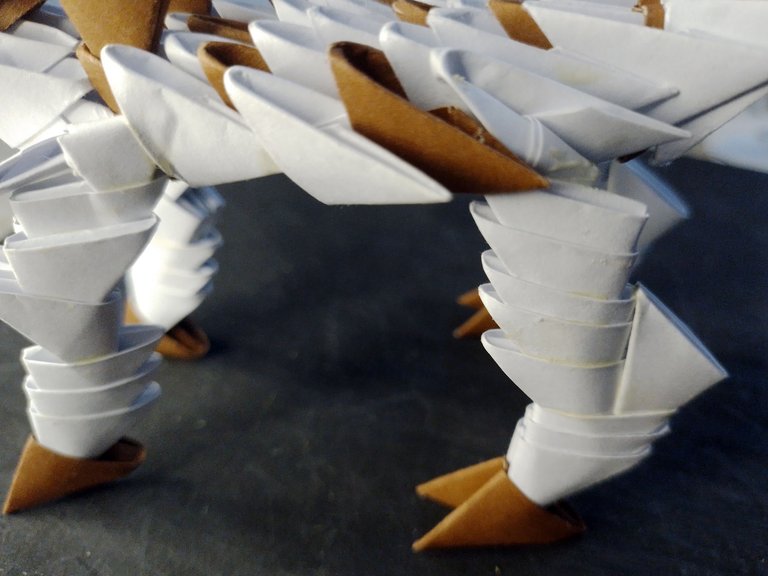
Below you can see the two pairs of legs, both front and rear.
A continuación pueden ver a los dos pares de piernas, tanto las delanteras como las traseras.
 |  |
|---|
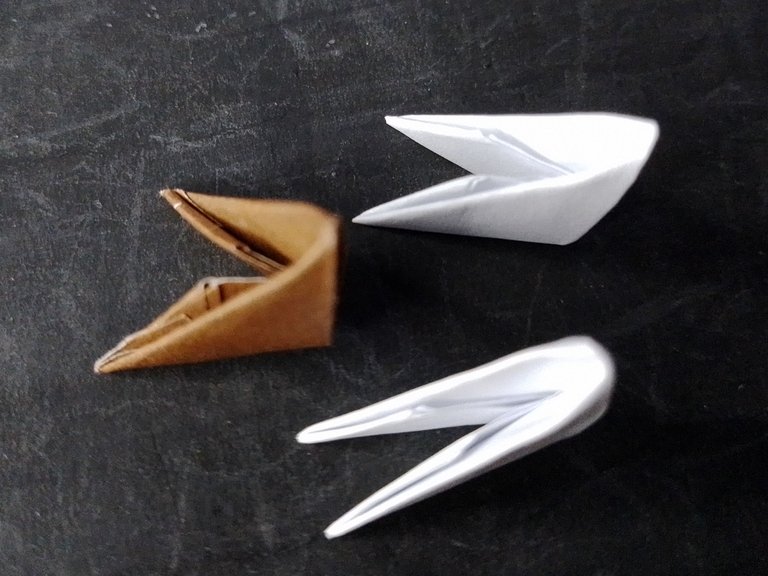
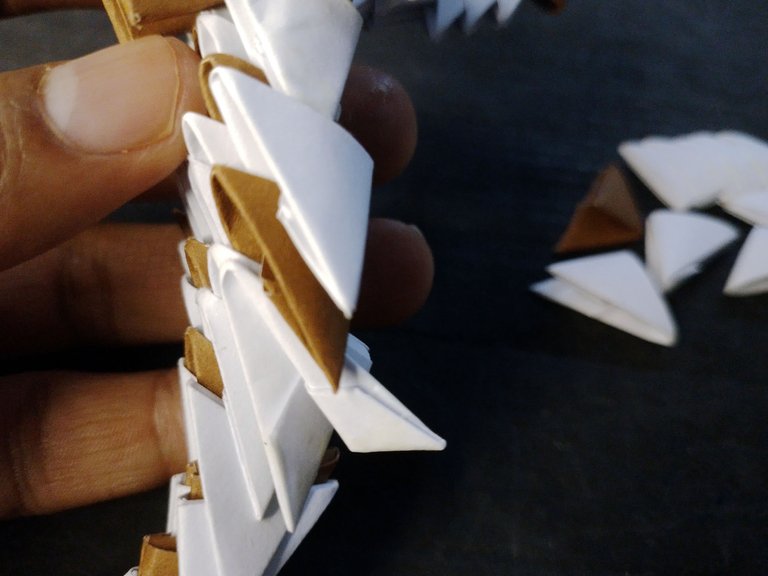
To join them I used the same blocks, only that I opened them in some parts to achieve the joints, as you can see in the pictures below.
Para unirlas usé los mismos bloques, solo que los abrí en algunas partes para lograr las uniones, tal como pueden ver en las fotos de abajo.
 |  |
|---|
 |  |
|---|
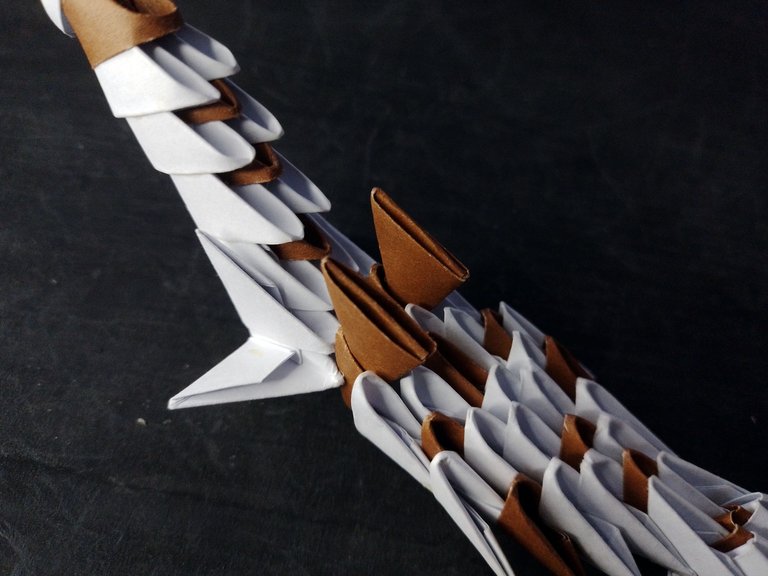
Finally I placed two more blocks to create some spikes on the dragon's back, the base being brown and the spikes white.
Finalmente coloqué dos bloques más, para crear unas púas en la espalda del dragón, siendo la base de color marrón y las púas de color blanco.
 |  |
|---|
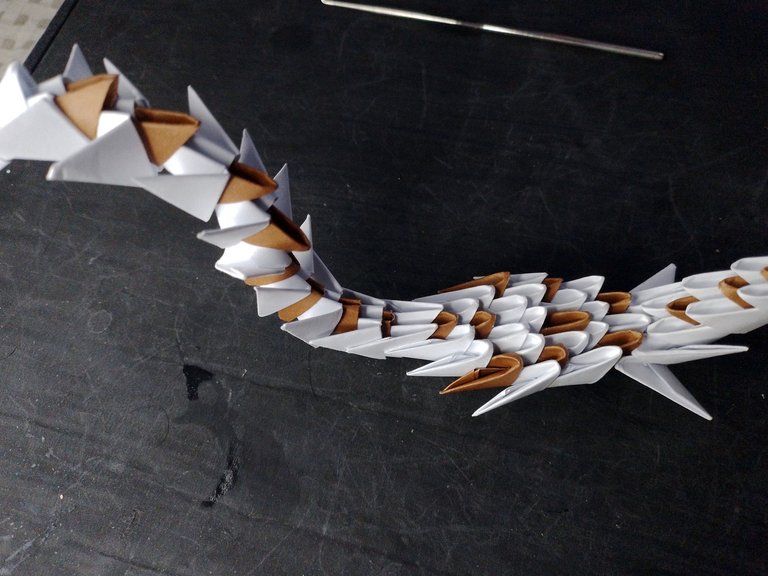
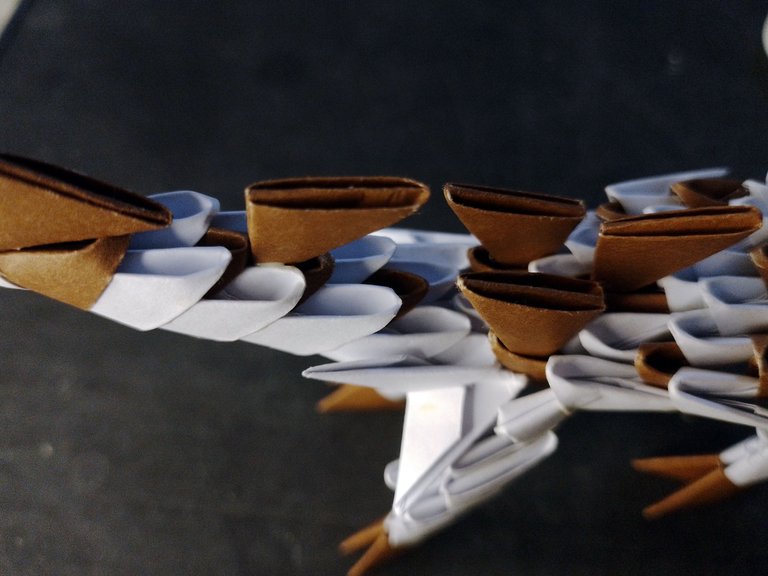
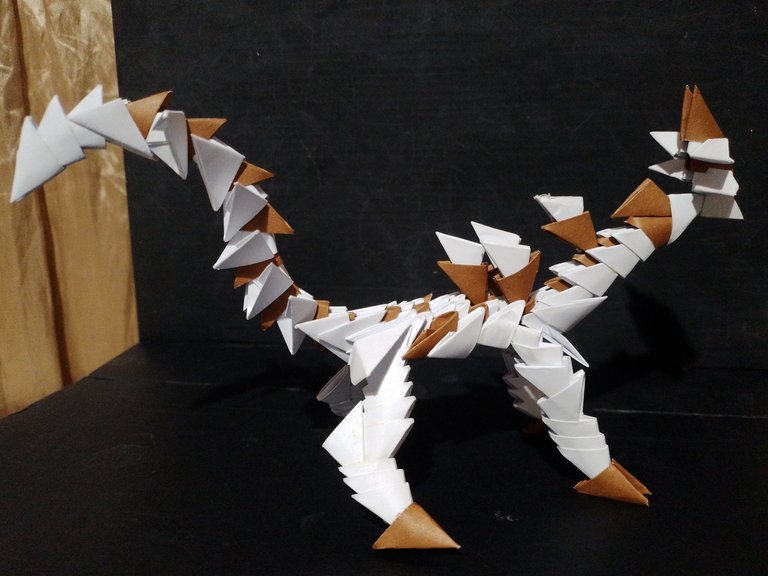
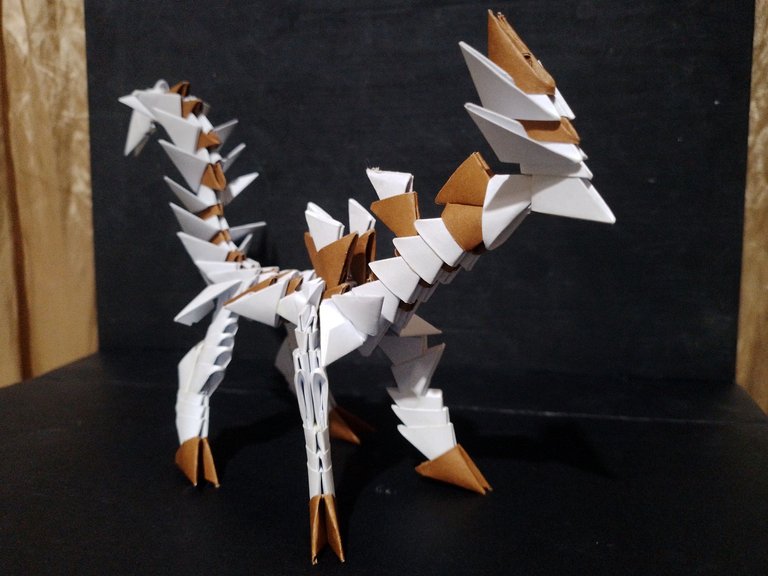
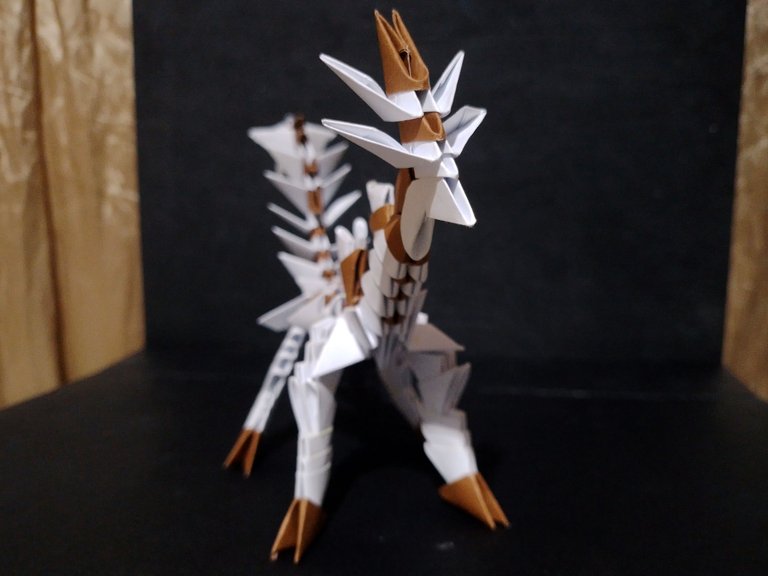
Well friends, this is how this huge Origami dragon was finished. Here is a series of pictures of the result:
Bien amigos, así quedó terminado este enorme dragón de Origami. A continuación una serie de fotografías del resultado:

Well friends, that's all for now. I hope you liked my Origami dragon. I invite you to leave your opinions below in the comments, as always I will be happy to read them.
With nothing more to add, I'll say goodbye then...
See you next time!
Bien amigos, esto ha sido todo por ahora. Espero que mi dragón de Origami les haya gustado. Los invito a dejar sus opiniones abajo en los comentarios, como siempre estaré encantado de leerlos.
Sin más que agregar, me despido entonces…
¡Hasta la próxima!


Magnifico trabajo con un gran nivel de complejidad, no podía esperar otra cosa de tu parte, cada bloque te quedo perfectamente prolijo, y las uniones perfectas.
Gracias por regalarnos un excelente trabajo.
Gracias por compartir en nuestra comunidad y sumarte al concurso. te deseo mucha suerte @gaboamc2393 💙
!DIY
Siempre dejas comentarios lindos y animadores en mis publicaciones. Agradezco que te tomes el tiempo de visitar mis post y leerme. Un abrazo y gracias de nuevo por todo el apoyo.
💙
You can query your personal balance by
!DIYSTATSGreat 3D origami work. Very complex and neat work. Thanks for joining the contest in our community. Good luck and lots of success...
Wao! Que impresionante Dragón. Me encanta ver todo el proceso creativo de tus obras, este fue un trabajo impecable. Eres un gran artista que realmente admito. Mis respetos y suerte el en concurso.
!DIY
!VSC
@chacald.dcymt has sent VSC to @gaboamc2393
This post was rewarded with 0.1 VSC to support your work.
Join our photography communityVisual Shots
Check here to view or trade VSC Tokens
Be part of our Curation Trail
@chacald.dcymt ha enviado VSC a @gaboamc2393
Éste post fue recompensado con 0.1 VSC para apoyar tu trabajo.
Únete a nuestra comunidad de fotografía Visual Shots
Consulte aquí para ver o intercambiar VSC Tokens
Se parte de nuestro Trail de Curación
Bueno que una persona con tanto talento como tu me diga todo esto es mas que un halago. De un artista a otra, me quito el sombrero.
You can query your personal balance by
!DIYSTATSEsto parece un dragón de verdad, y madre dragón de verdad. Esto es tan bueno y perfecto, me encanta tu creatividad.
Jajajaja me causó gracia el comentario, pero gracia en el buen sentido. Muchas gracias por tu valoración
De nada. Me alegro de haberte hecho reír.
Wow this such amazing and cute, you did an wonderful job.
Yeah...hahaha how cool, I'm glad you see it that way because it took me quite a while to do it. Cheers!
Amigo que impresionante tu trabajo realmente muy hermoso te feliciro
Thank you so much for all your support!
bello! un trabajo muy bueno!
beautiful! very nice work!
Gracias! Me alegra que te haya gustado
Hermoso dragón de origami!!!
Siii quedó muy lindo y amenazante jejeje
Quedo excelente, buen trabajo.
Gracias por pasar a comentar!
This is quite impressive and it turned out beautiful.👏🏽