DIY: Barnyard Door / DIY: Puerta de corral
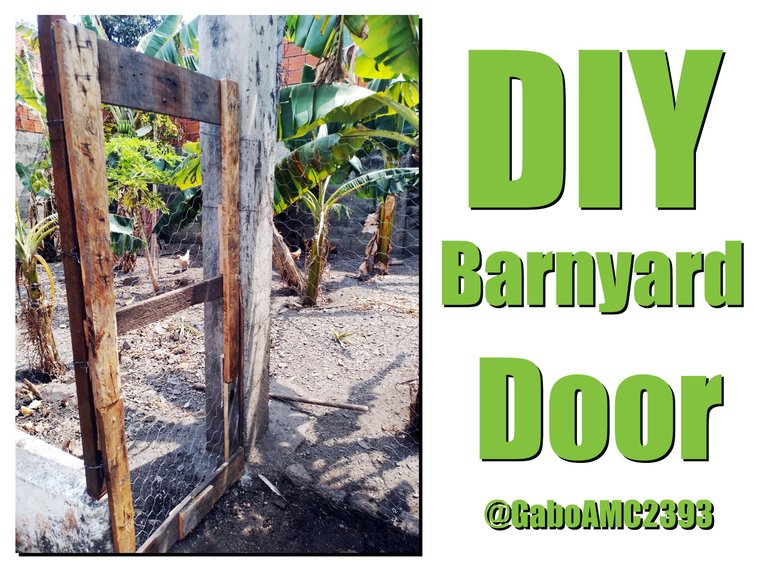
Greetings friends. As some of you know, I keep chickens at home. I recently got their coop finished and the only thing missing was the door. It was not easy to find enough wood to make this door and other things I want to do, but I got them and got to work.
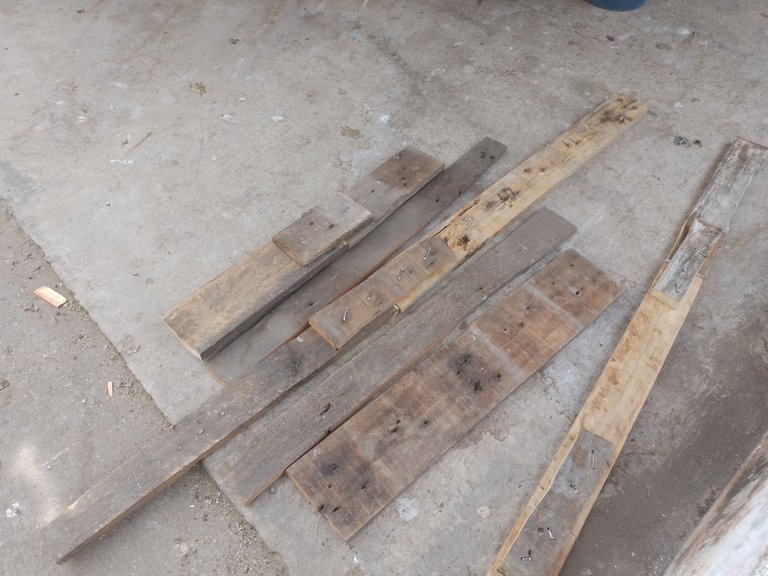
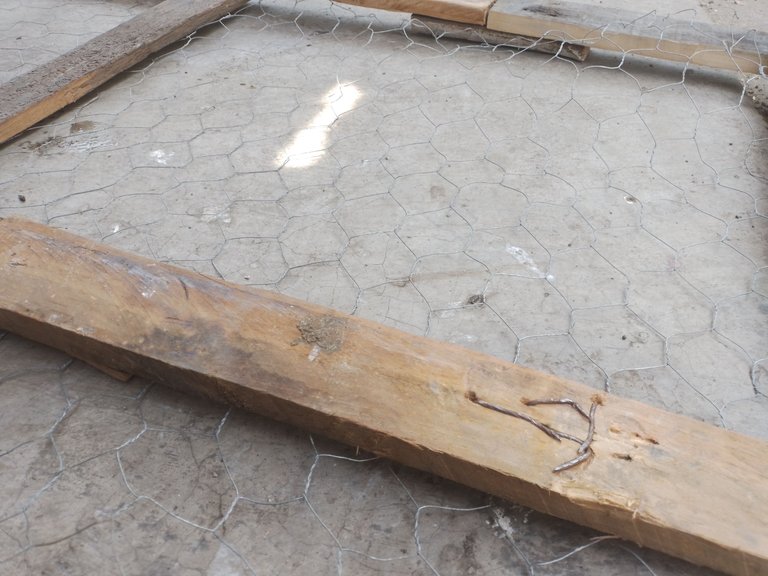
Some of them were old wood, but they were in good condition and served the purpose. They had many holes in them but no cracks, which was the important thing, that is, they would not split if nailed with other large nails.
I selected the ones that were in the best condition and the ones that appeared to be the strongest.
Español
Saludos amigos. Como saben algunos, crío gallinas en casa. Hace poco logré terminar su gallinero y lo único que les faltaba era la puerta. No me resultó fácil encontrar suficiente madera para hacer esta puerta y otras cosas que deseo hacer, pero las conseguí y puse manos a la obra.
Algunas eran maderas viejas, pero estaban en buenas condiciones y servían para este propósito. Tenían muchos agujeros pero no tenían grietas que era lo importante, es decir, no se iban a partir si se les clavaba con otros clavos grandes.
Seleccioné las que estaban en mejores condiciones y las que en apariencia eran las más resistentes.
Some of the timbers were very short, so I had to use smaller pieces to join them together, using nails and screws for the joints.
The largest timbers I had to join were the side timbers, the ones that are vertical. In the case of the horizontal timbers I had to join a couple of short timbers I had with some smaller ones, to achieve the length I needed.
Algunas maderas eran muy cortas, así que tuve que usar trozos más pequeños para unirlas, valiéndome de clavos y tornillos para las uniones.
Las maderas más grandes que tuve que unir fueron las maderas laterales, las que son verticales. En el caso de las maderas horizontales tuve que unir un par de maderas cortas que tenía con algunas mas pequeñas, para lograr el largo que necesitaba.

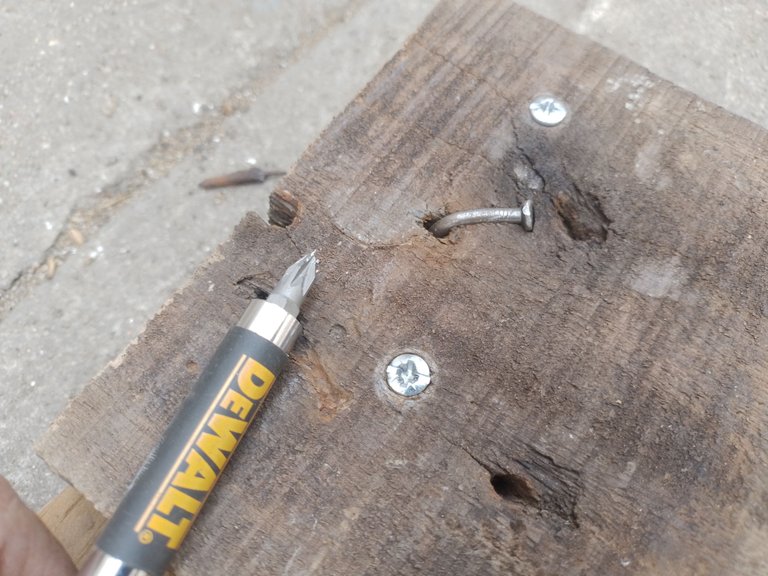
Once I had the door frame well structured, I used nails and screws to join the timbers at their corners. I used two nails or screws in each corner, to give more firmness. In some cases I used 3, due to fractures that were made in the wood because of the nails, since, as I said, the wood was not new.
Una vez que tuve el marco de la puerta bien estructurado, usé clavos y tornillos para unir las maderas en sus esquinas. Usé dos clavos o tornillos en cada esquina, para dar mayor firmeza. En algunos casos usé 3, debido a fracturas que se hacían en la madera a causa de los clavos, pues, como ya dije, la madera no era nueva.
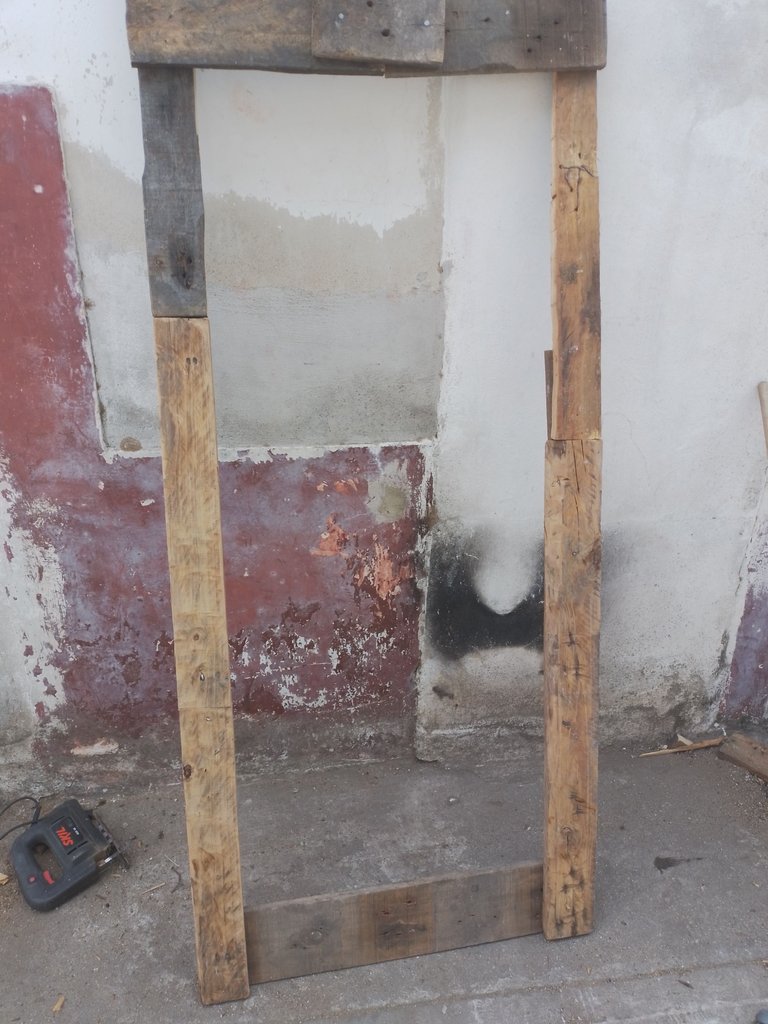
As you can see the door frame was completely ready after screwing and nailing the corners.
I should clarify that, although you can't see it in the photo, I later placed a horizontal support in the middle of the frame, to give more support. Remember that this is a door that will be in constant movement, so it is good to provide this extra support to the door.
Como pueden ver el marco de la puerta quedó completamente listo tras atornillas y clavar las esquinas.
Debo aclarar que, aunque no se ve en la foto, posteriormente coloqué un soporte horizontal en la mitad del marco, para dar mayor soporte. Hay que recordar que es una puerta que estará en constante movimiento, así que es bueno brindar este soporte extra a la puerta.
I bought an additional meter of wire mesh. This would be more than enough for this door, in fact there were a few inches left over.
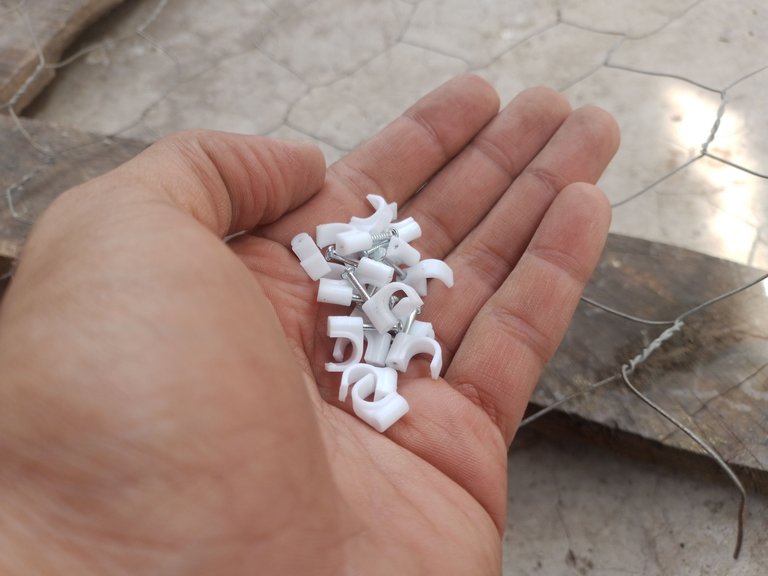
Although I had metal staples for the door, these were very thick and the thinner staples were nowhere to be found, luckily, I found some small wire tacks that would come in handy, so I started attaching the wire mesh to the wood using these small tacks.
Compré un metro adicional de tela metálica. Esto sería más que suficiente para esta puerta, de hecho sobraron algunos centímetros.
Aunque tenía grapas de metal para la puerta, estas eran muy gruesas y las grapas más delgadas no las encontré en ninguna parte, por suerte, encontré unas pequeñas tachuelas para cables que me servirían de mucho, así que comencé a fijar la tela metálica a la madera usando estas pequeñas tachuelas.
 |  |
|---|
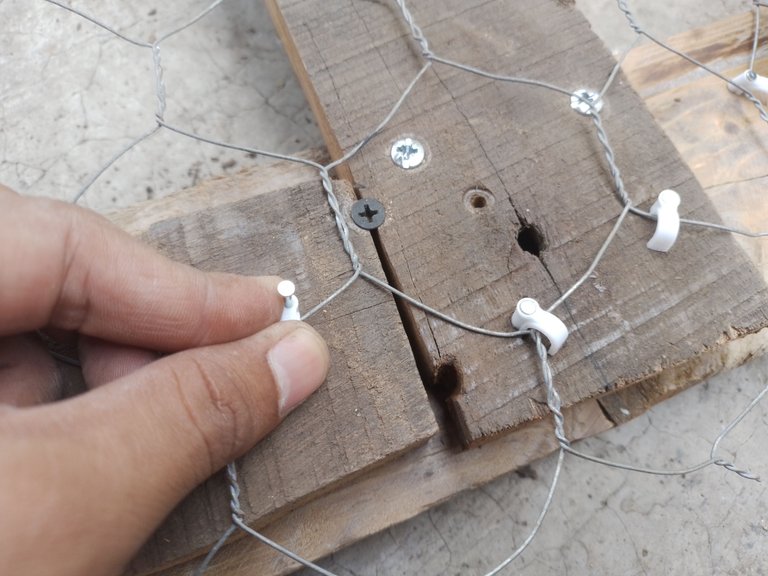
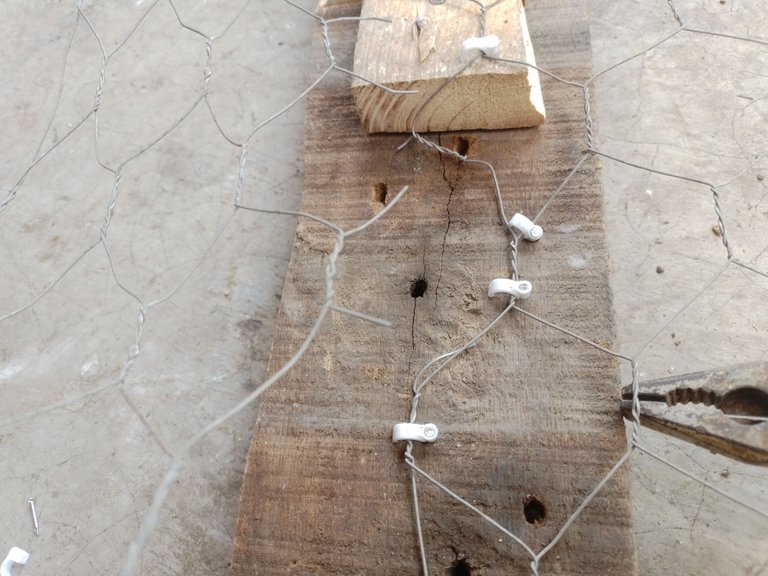
As you can see I placed many tacks in each hole of the wire mesh. They are plastic tacks so I had to place a lot of them to give a good support to the mesh, so that it is well fixed on the wood.
Como pueden ver colocaba muchas tachuelas en cada orificio de la tela metálica. Son tachuelas de plástico así que había que colocar muchas para dar un buen soporte a la malla, para que quede bien fija en la madera.
 |  |
|---|
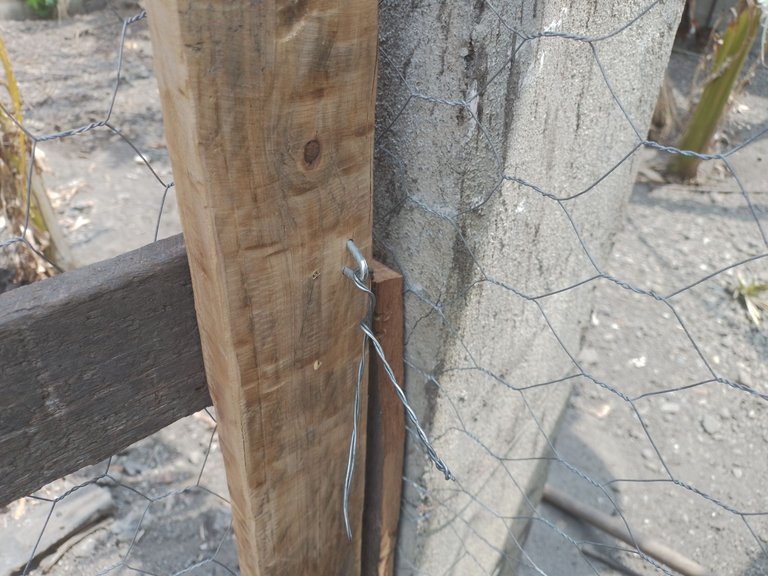
Finally it was time to attach it to the wall, the place where the door would be fixed. I didn't have a welder or steel nails to fix it to the concrete, so I used a thick wire to tie it to the iron beam and some wooden staples to attach the wire to the door frame, so I could open the door with complete peace of mind.
Finalmente llegó la hora de sujetarlo a la pared, el lugar donde quedaría fija la puerta. No tenía soldadora ni clavos de acero para fijarlo en el concreto, así que usé un alambre grueso para amarrarlo a la viga de hierro y unas grapas de madera para unir el alambre al marco de la puerta, de esta manera podría abrirla con total tranquilidad.
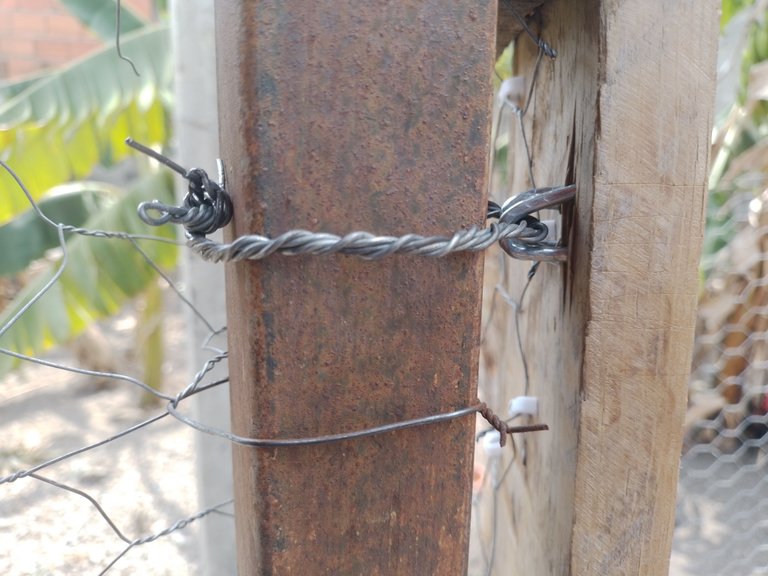
I also put an additional clamp on the front of the frame, at the eye, to hold a wire to keep the door closed. This would make it impossible for the door to open on its own or for the chickens to push it open to get out.
También coloqué una grapa adicional en en la parte frontal del marco, en la mirad, para sujetar un alambre y que la puerta se mantuviese cerrada. Con esto sería imposible que la puerta se abriese sola o que las gallinas la empujaran para salir.
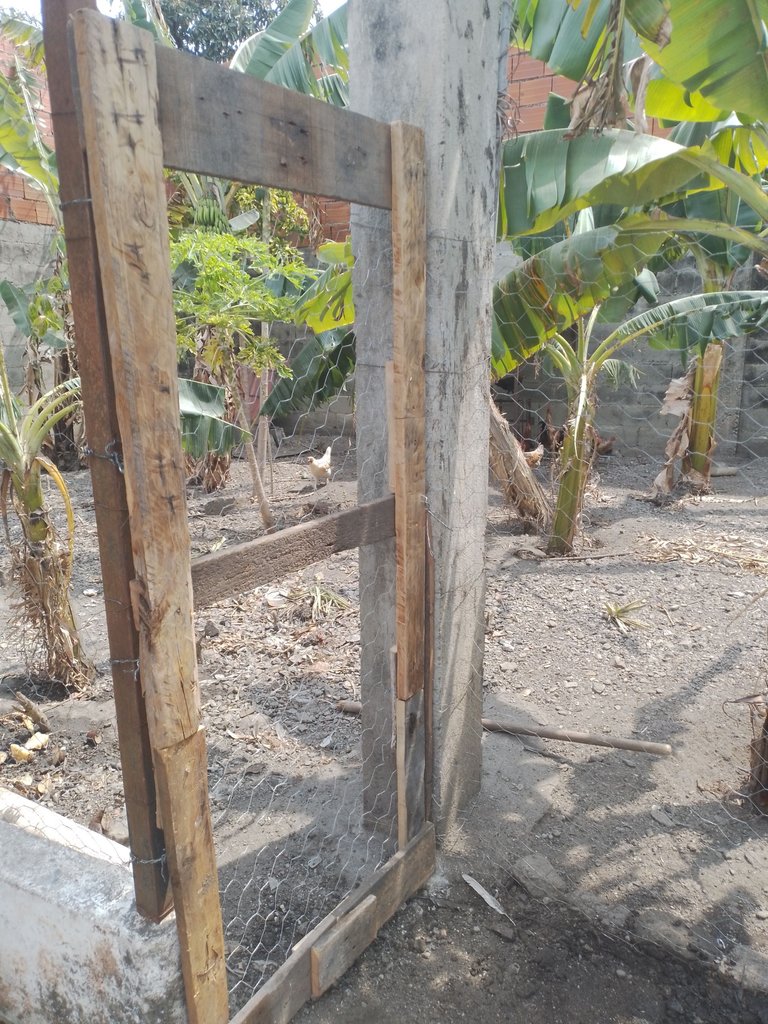
This is how the door was finished and fixed in place. Below is a picture of the final result:
Así quedó la puerta terminada y fija en su lugar. A continuación una fotografía del resultado final:
Well friends, that's all for now. I invite you to leave your opinions below in the comments, as always I will be happy to read them. With nothing more to add, I'll say goodbye then...
See you next time!
Bien amigos, esto ha sido todo por ahora. Los invito a dejar sus opiniones abajo en los comentarios, como siempre estaré encantado de leerlos. Sin más que agregar, me despido entonces...
¡Hasta la próxima!


https://twitter.com/hivediy47901/status/1773459930902585687
!HUESO
Click on this banner, to be directed to the Virtual World Discord and learn more about the curation project.
!PGM
BUY AND STAKE THE PGM TO SEND A LOT OF TOKENS!
The tokens that the command sends are: 0.1 PGM-0.1 LVL-0.1 THGAMING-0.05 DEC-15 SBT-1 STARBITS-[0.00000001 BTC (SWAP.BTC) only if you have 2500 PGM in stake or more ]
5000 PGM IN STAKE = 2x rewards!
Discord
Support the curation account @ pgm-curator with a delegation 10 HP - 50 HP - 100 HP - 500 HP - 1000 HP
Get potential votes from @ pgm-curator by paying in PGM, here is a guide
I'm a bot, if you want a hand ask @ zottone444
Gracias por el apoyo!
Denada
Nice job on improving your home's yard and more convenience for access and care of your pets. Thanks for sharing your step by step. Best wishes...
Thank you for your support!
Quedó buenísima esa puerta 😊
Sí, quedó muy bien.
Hola amigo , esa puerta quedó muy bien, lo bello es que le has dado un buen uso a esos retazos de madera, La puerta quedó muy bien y sobre todo cumpliendo su objetivo que es lo importante. Saludos
Sí, esos retazos ya estaban para leña, pero quedó muy bien y logré hacer algo útil con ellos.
quedó perfecta
No perfecta, pero sí funcional jejeje. Gracias por comentar.
¡¡¡Buen trabajo!!! Gracias por publicar tu excelente contenido en Hive Diy, a pesar de que tuviste pocos materiales para poder hacer la puerta para tus gallinas, te las ingeniaste con lo que encontraste para poderlas hacer, te quedo muy hermoso pese a la falta de madera, como siempre sorprendiéndonos con tan asombrosos trabajos.
Tu comunidad artesana ahora es testigo
