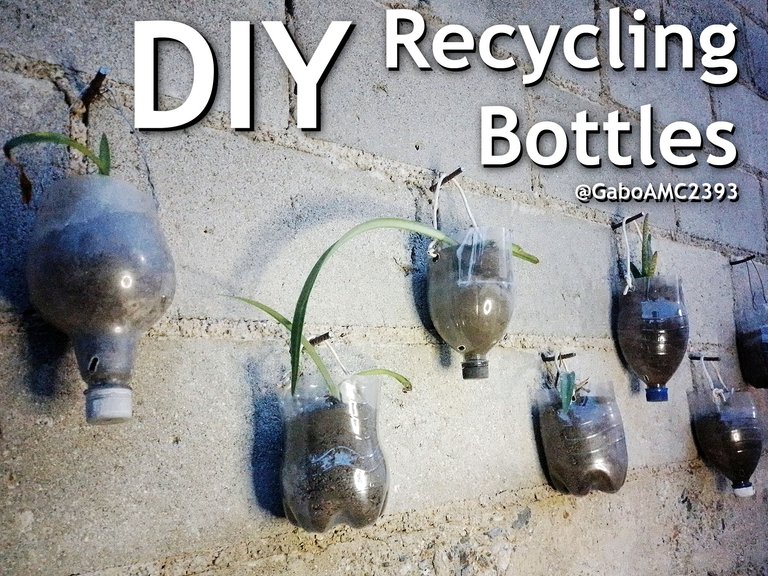
DIY: Recycling Bottles [ENG/SPA]

Since I have had chickens at home, it has been impossible for me to plant small plants, because every small plant that grows is a plant that they will seek out and destroy. So it is impossible to plant in the ground.
Thinking about this, it occurred to me to do something I saw recently, planting using plastic bottles. It is not my own idea, but I would like to show you how I did it, so that you can replicate the process if you wish.

Desde que tengo gallinas en casa me ha sido imposible sembrar plantas pequeñas, pues toda pequeña planta que crece, es una planta que ellas van a buscar y destrozarán. Así que es imposible sembrar en el terreno.
Pensando en esto, se me ocurrió hacer algo que vi recientemente, sembrar usando botellas de plástico. No es una idea propia, pero sí me gustaría enseñarles cómo lo hice yo, para que repliquen el proceso si así lo desean.
Step by step
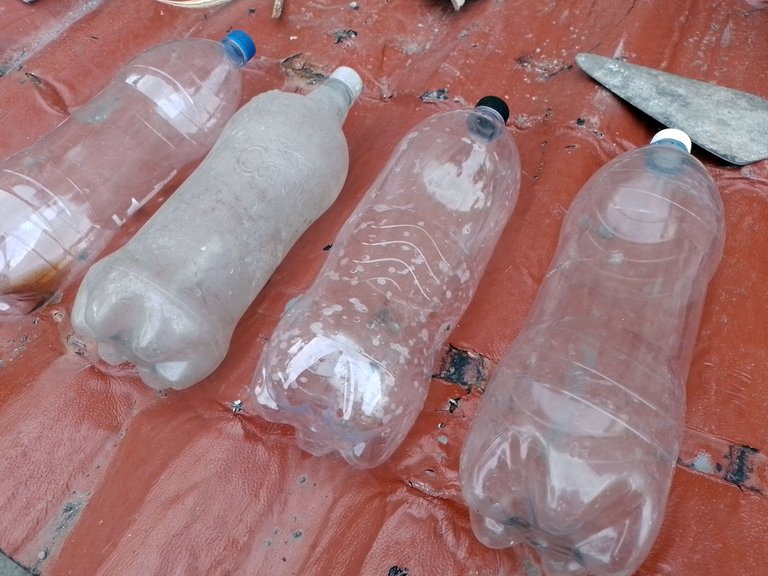
The materials and tools we need for this are as follows:
- Plastic bottles.
- Cable, wire or rope.
- Thick nails or pieces of sacking
- Knife and scissors
- Pliers
- Container or small shovel for the soil
Paso a paso
Los materiales y herramientas que necesitamos para esto son los siguientes:
- Botellas de plástico
- Cable, alambre o una cuerda.
- Clavos gruesos o trozos de cabilla
- Cuchillo y Tijera
- Alicate
- Envase o una pequeña pala para la tierra
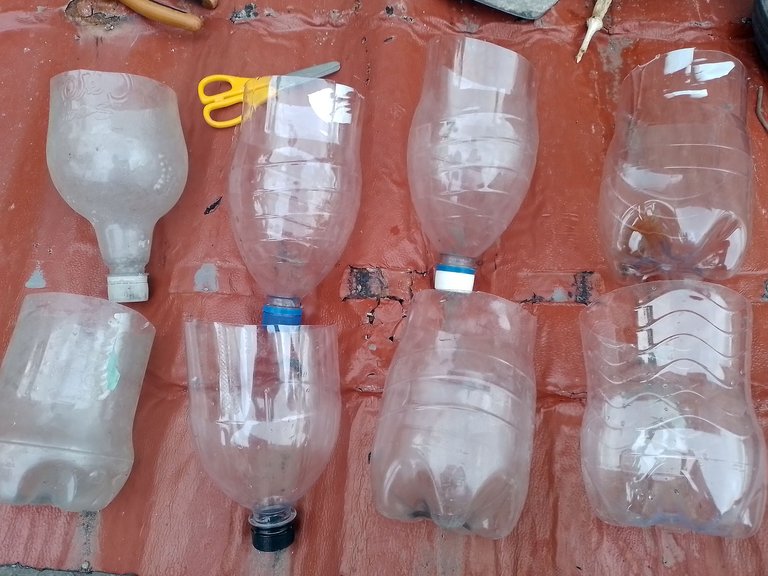
The first thing to do is to cut each bottle in half, for this we can use the scissors. However, to make the first cut we will use the knife, then we will follow this cut with the scissors, to make a clean and horizontal cut all over the bottle, until we separate the two parts.
Both the top and the bottom part will be used, as both serve as soil containers for our plants.
Lo primero que hay que hacer es cortar cada envase a la mitad, para ello podemos usar las tijeras. Sin embargo, para hacer el primer corte usaremos el cuchillo, luego seguiremos este corte con la tijera, para hacer un corte limpio y horizontal por toda la botella, hasta separar las dos partes.
Se usará tanto la parte de arriba como la parte de abajo, pues ambos sirven como recipientes de tierra para nuestras plantas.
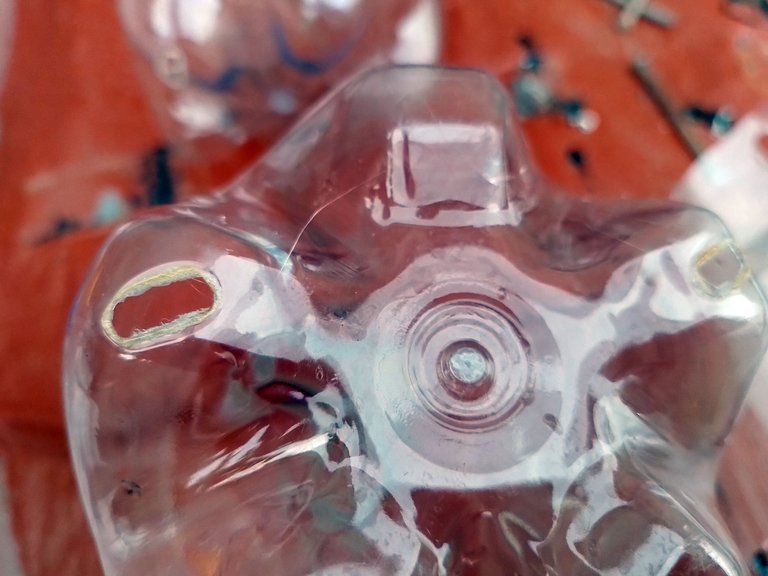
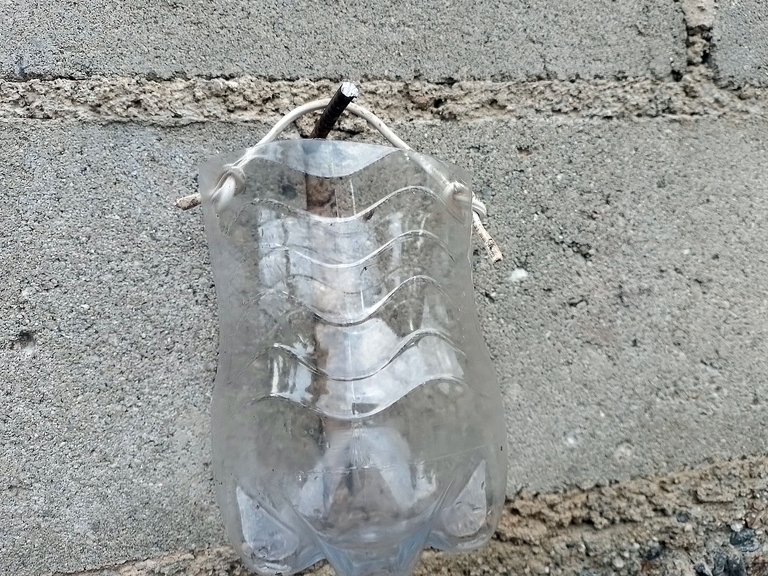
You see, these recycled plastic pots are going to hang, so you have to make some holes in the sides of the top rim.
For this you can heat a knife and make the two holes on each side, these should be thick enough to fit the rope, wire or cable that you are going to use to hold it.
Verán, estas macetas de plástico reciclado van a colgar, así que hay que hacerles unos agujeros en los laterales del borde superior.
Para esto pueden calentar un cuchillo y hacer los dos agujeros a cada lado, estos deben ser lo suficientemente gruesos para que quepa la cuerda, alambre o cable que van a usar para sujetarlo.
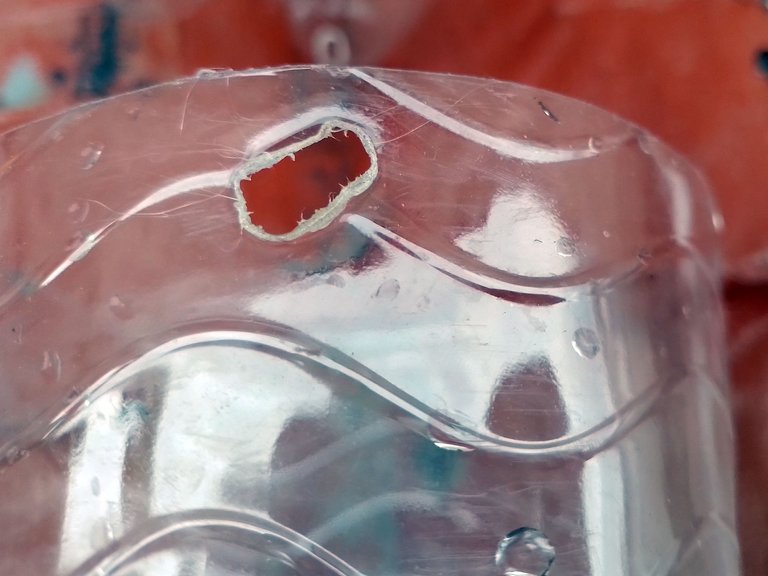
Something very important that you also have to make is a couple of holes in the bottom of the bottle. You see, although you will have soil that will absorb the water with which the plant is watered, it may rain and the plant may be overwatered.
To prevent the water from stagnating in the pot, at least two holes must be made, which will allow the water to flow. These holes can also be made with a hot knife.
Algo muy importante que también tienen que hacer es un par de agujeros en la parte inferior de la botella. Verán, aunque tendrán tierra que absorberá el agua con la que se riegue la planta, puede que llueva y esta se riegue más de la cuenta.
Para evitar que el agua se estanque en la maceta, se deben hacer al menos dos agujeros, los cuales permitirán que el agua fluya. Estos agujeros también se pueden hacer con un cuchillo caliente.
Well, after having made the corresponding holes in the recycled plastic pot, the pot is attached to hang it.
In this case I used a thick cable and wire, to support the weight of the pot with the soil and the plant itself. Below you can see how the first one I made with the wire turned out.
Bien, después de haber hecho los agujeros correspondientes en la maceta de plástico reciclada, se sujeta la maceta para colgarla.
En este caso yo usé un cable grueso y alambre, para que logren sostener el peso de la maceta con la tierra y la propia planta. A continuación pueden ver cómo quedó la primera que hice con el cable.
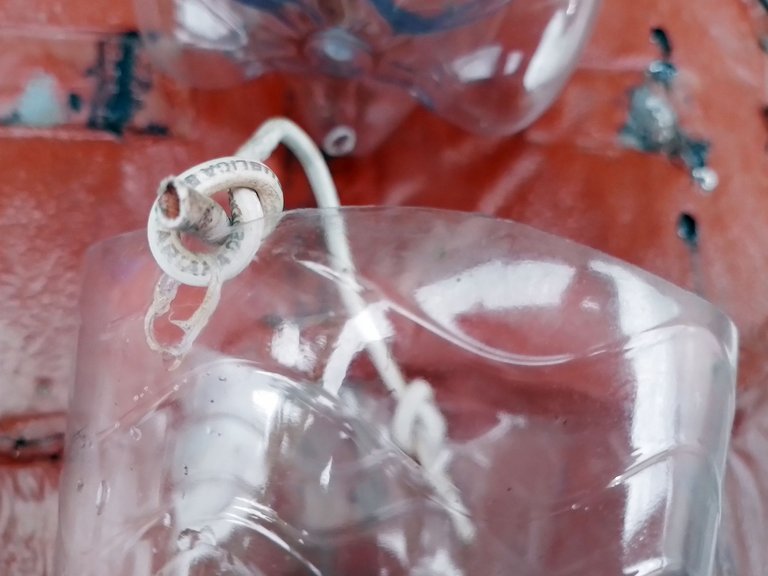
This wire is rigid, so it will keep the shape it has been given while holding the plant. It should be noted that it must be well fastened, as the weight of the soil itself can cause it to fall, especially when the soil is wet, as it will weigh more because of the water.
Este cable es rígido, así que mantendrá la forma que se le ha dado mientras sostiene la planta. Cabe destacar que hay que sujetarlo bien, pues por el propio peso de la tierra puede caerse, más cuando la tierra esté mojada, pues pesará más a causa del agua.
It is important not to fill it too much, but just enough for the plant. I recommend using black soil, with some nutrients such as ash or chicken manure, which will help the plant to grow despite having little soil.
Es importante no llenarla demasiado, sino lo justo y necesario para la planta. Yo recomiendo usar tierra negra, con algunos nutrientes como ceniza o gallinaza, que ayudarán a que la planta crezca a pesar de tener poca tierra.

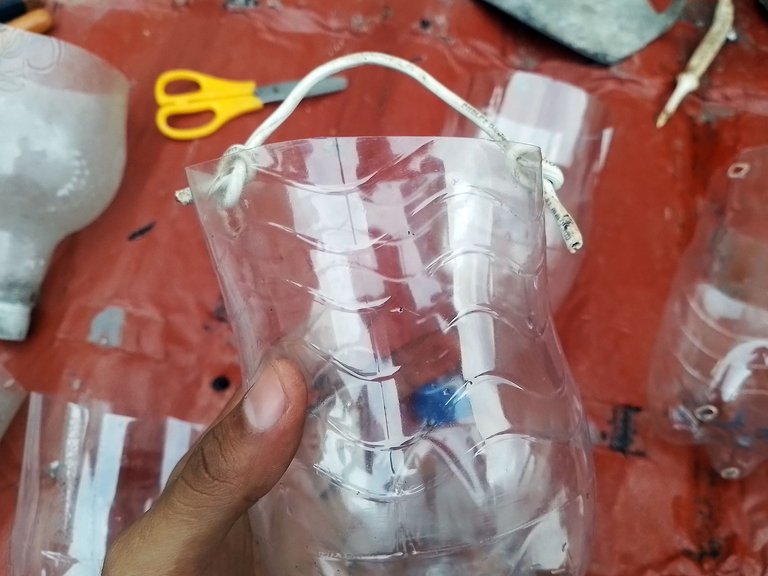
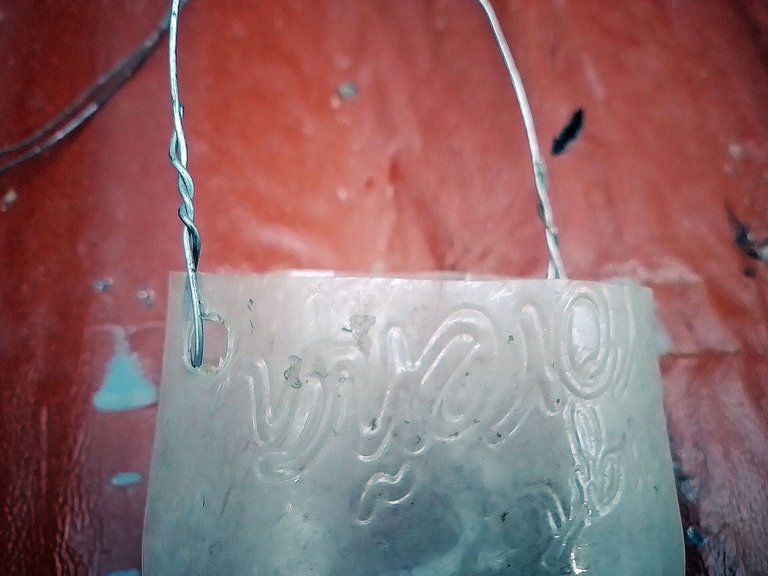
Below you will see the other container that I attached with a wire. Although this wire is thin, it is just as strong as the wire I used earlier, so you can use one or the other to hold each pot.
A continuación podrán ver el otro envase que sujeté con un alambre. Aunque es delgado este alambre, es igual de resistente que el cable que utilicé anteriormente, así que pueden usar uno o el otro para sujetar cada maceta.
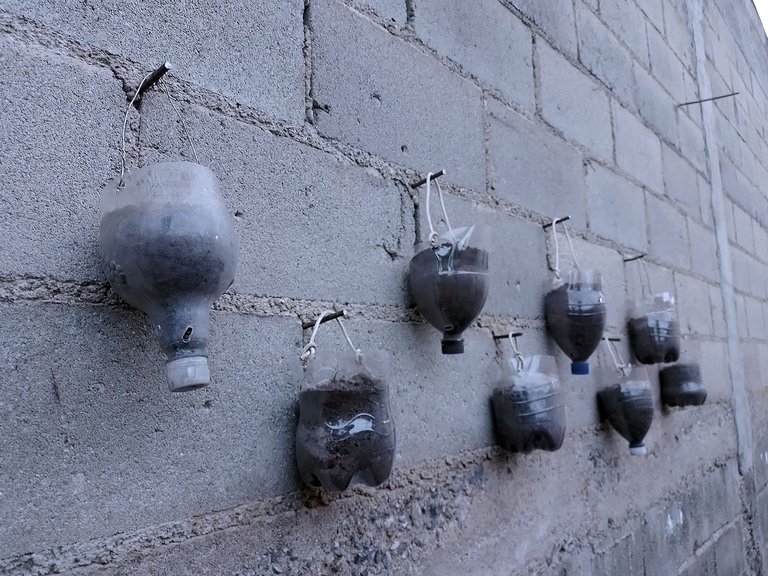
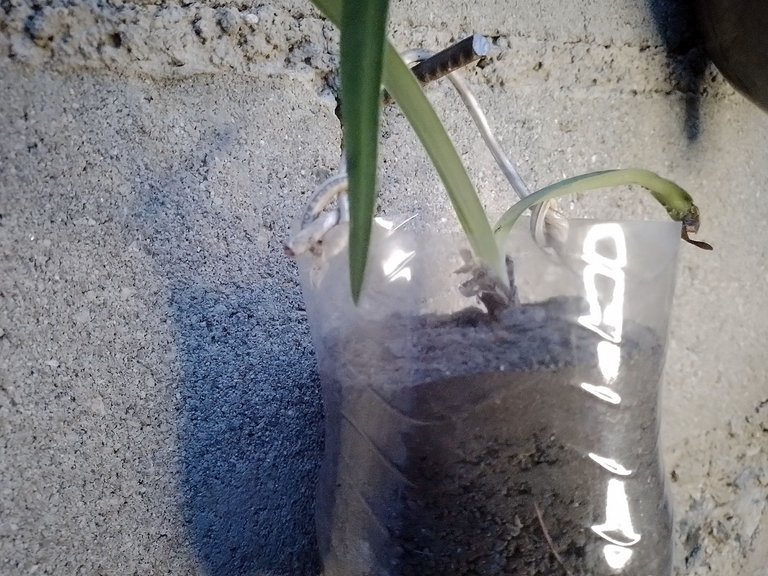
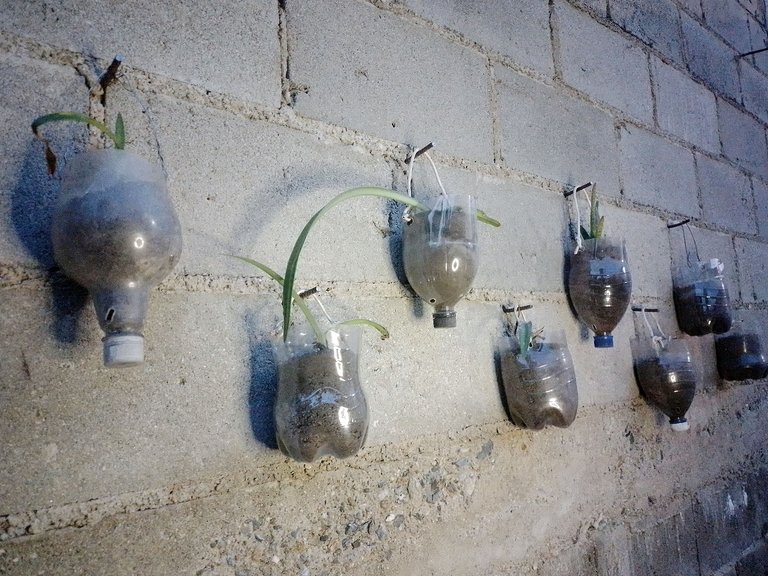
This way they were all finished, so I hung them up and added the black soil prepared with organic nutrients for the plants that I will plant there.
De esta manera todas quedaron terminaras, así que las colgué y le agregué la tierra negra preparada con nutrientes orgánicos para las plantas que allí sembraré.
The first plants I planted were a few lily sprouts, which grow very well in the sun and can develop even in spaces with little soil.
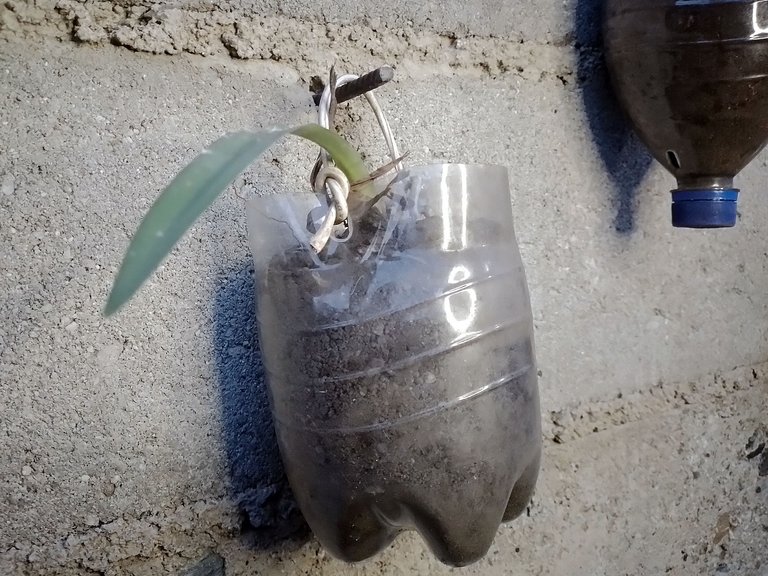
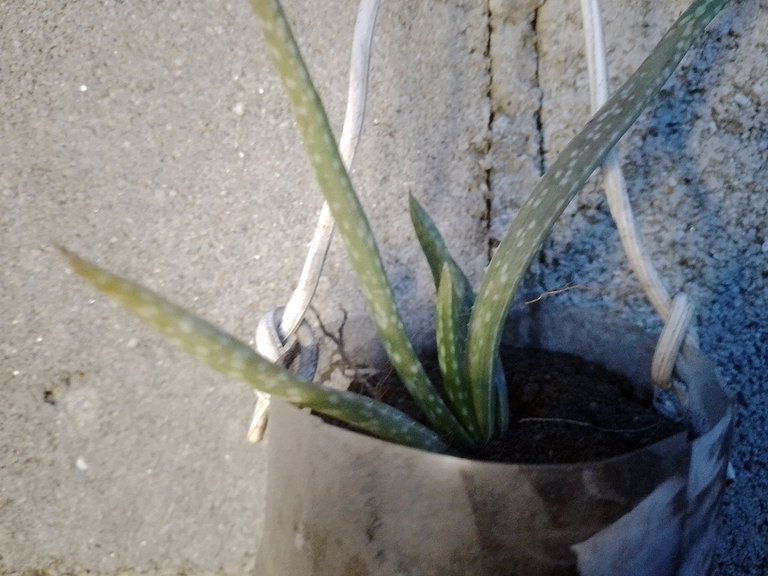
Another plant I also planted was a small shoot of aloe vera or aloe vera, as it is known in my country. These are the first of many that I plan to plant, as it is a practical way to continue having plants at home without the need to have them in the ground.
Las primeras plantas que sembré fueron unos cuántos retoños de lírios, que crecen muy bien con el sol y pueden desarrollarse incluso en espacios con poca tierra.
Otra planta que también sembré fue un pequeño retoño de aloe vera o sábila, como se le conoce en mi país. Estas son las primeras de muchas que planeo sembrar, pues es una manera práctica de continuar teniendo plantas en casa sin la necesidad de tenerlas en el terreno.
 |  |  |
|---|
Well friends, that's all for now. I hope you found my tutorial useful or interesting. I invite you to leave your opinions below in the comments, as always I will be happy to read them.
I appreciate you taking the time to read my tutorial. With nothing more to add, I'll say goodbye then...
See you next time!
Bien amigos, esto ha sido todo por ahora. Espero que mi tutorial les haya parecido útil o interesante. Los invito a dejar sus opiniones abajo en los comentarios, como siempre estaré encantado de leerlos.
Agradezco que se tomaran el tiempo de leer mi tutorial. Sin más que agregar, me despido entonces...
¡Hasta la próxima!

Has sido curado por @visualblock / You've been curated by @visualblock
Bienvenidas delegaciones / Delegations welcome
Trail de Curación / Curation Trail
Vota por nuestro Testigo aliado - @hispapro / Vote for our allied Witness - @hispapro
Más información sobre el testigo aquí / More information about the witness here
This is so far the best gardening idea in my sense. I can't remember how many times I thought of making my bottles working like this but I just get lazy when it comes to the point. Well done.
Me parece una genial idea dado que las gallinitas se están comiendo tus matitas, así das tiempo de que las plantas crezcan tengan mayor firmeza y puedas replantarlas en el patio. Buena opción. Saluditos @gaboamc2393 ✨
!DIY
Nooo esas plantas jamás podrán plantarse en el patio jajaja, las gallinas arrasan con todos créeme XD
You can query your personal balance by
!DIYSTATSYay! 🤗
Your content has been boosted with Ecency Points, by @gaboamc2393.
Use Ecency daily to boost your growth on platform!
Support Ecency
Vote for new Proposal
Delegate HP and earn more
https://leofinance.io/threads/cetb2008/re-leothreads-358tueiw3
The rewards earned on this comment will go directly to the people ( cetb2008 ) sharing the post on LeoThreads,LikeTu,dBuzz.
Hola amigo esto me recuerda las habilidades de mi mamá, ella también tiene gallinas y hace unas macetas de ese estilo y le resulta muy buena la idea, así las plantas podrán desarrollarse sin complicaciones, de toda esta idea podemos tener un hermoso jardín en la pared que ambienta todo el lugar, yo adoro este tipo de macetas en estos días estuve pensando hacer unas para colgarlas en la pared del patio y aunque no tengo gallinas, pero me gustaría tenerlas, me gusta la idea de colgar las plantas de ese modo.😃🤗
Si es muy práctico y como son transparentes uno puede ver si aún la tierra está húmeda o hay que agregar agua, ya sabe, para no regar las plantas demasiado.
Es otro de los aspectos interesantes, que importante estudiar bien todo el material de trabajo, eso se llama técnicas de un buen productor.👍
Que útil amigo, gracias por compartir este proceso❤️
Gracias a ti por pasarte a comentar mi publicación!
Congratulations @gaboamc2393! You have completed the following achievement on the Hive blockchain And have been rewarded with New badge(s)
Your next target is to reach 6000 comments.
You can view your badges on your board and compare yourself to others in the Ranking
If you no longer want to receive notifications, reply to this comment with the word
STOPTo support your work, I also upvoted your post!
Check out our last posts: