DIY: Wooden Shelves [ENG/SPA]
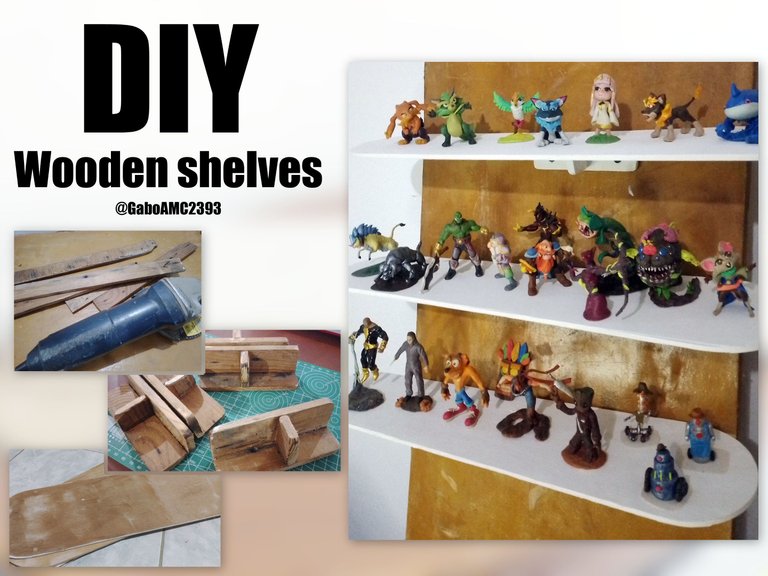
It is always great to make things for the home, this time it is not something for me, but another order that I will certainly use later, some wooden shelves to fix them on the wall.
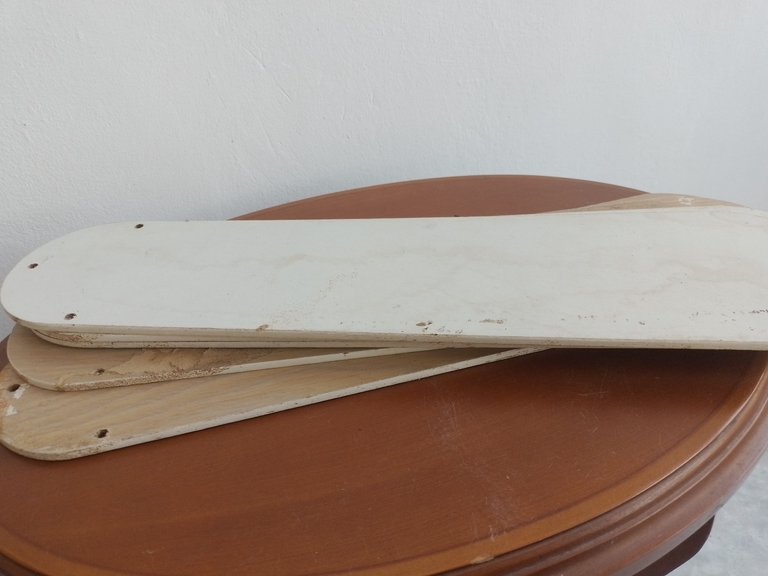
There are times when you have things that you have no use for, this is my case, because I had these small pieces of wood lying around, practically discarded. They were very old and not in the best conditions, but considering how expensive wood is, it was obvious that I had to restore them to find a good use for them.
Español
Siempre es genial hacer cosas para el hogar, en este ocasión no es algo para mi, sino otro encargo que ciertamente usaré más adelante, unas repisas de madera para fijarlas en la pared.
Hay ocasiones en las que uno tiene cosas a las que no les da uso, este es mi caso, pues tenía estas pequeñas maderas por ahí, prácticamente desechadas. Eran muy viejas y no estaban en las mejores condiciones, pero considerando lo costosa que es la madera, era evidente que debía restaurarlas para encontrarles un buen uso.
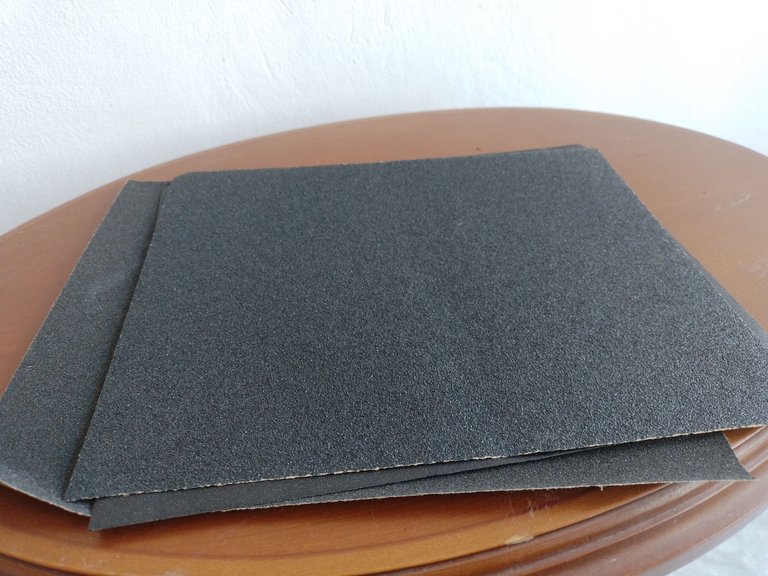
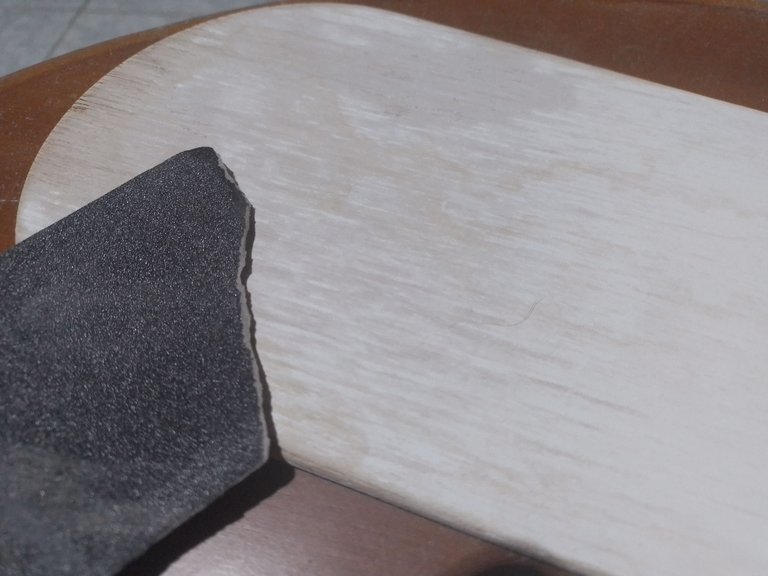
At first I had no idea what to use these woods for but I still wanted to start with the restoration process, so I started using sandpaper to remove the old paint and remove all the imperfections of the wood.
I should clarify that I first used a strong sandpaper and then a much finer sandpaper.
En un comienzo no tenía ni idea de en qué usar estas maderas pero igual quería comenzar con el proceso de restauración, así que empecé usando papel de lija para quitarle la pintura vieja y retirar todas las imperfecciones de la madera.
Debo aclarar que primeramente usé una lija fuerte y luego una lija mucho más fina.
 |  |
|---|
The wooden plates had some holes drilled in them, so I had to find a way to seal them so they wouldn't look ugly. The idea was to have them completely sealed and ready for any use I could think of.
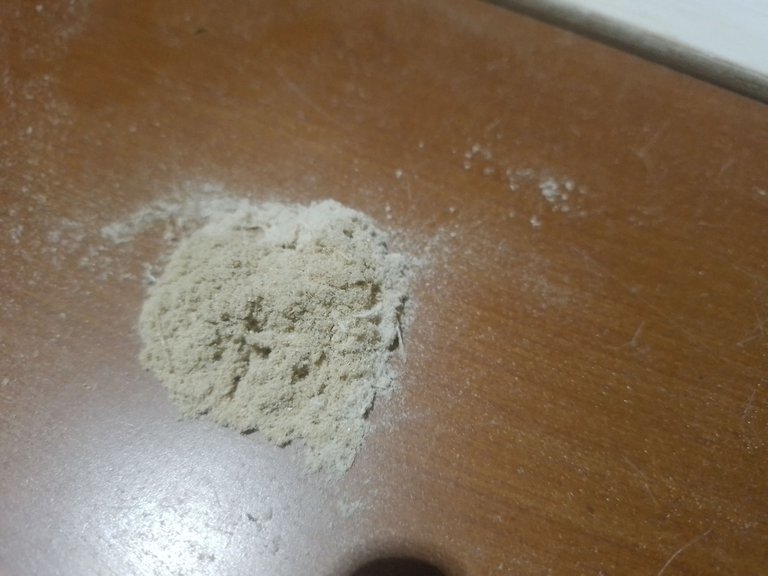
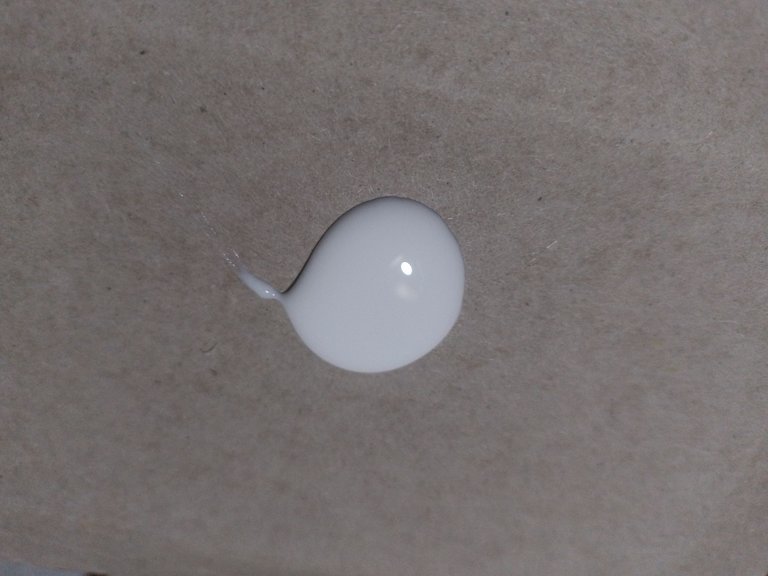
To solve this I followed the advice of a friend and mixed some sawdust with glue to make a paste that would serve to seal these holes.
Las placas de madera tenían algunos agujeros hecho por taladro, así que debía buscar la manera de sellarlos para que no se vieran feas. La idea era tenerlas completamente selladas y listas para darles cualquier uso que se me ocurriese.
Para resolver esto seguí el consejo de un amigo y mezclé un poco de aserrín con pegamento para hacer una pasta que me serviría para sellar estos agujeros.
 |  |
|---|
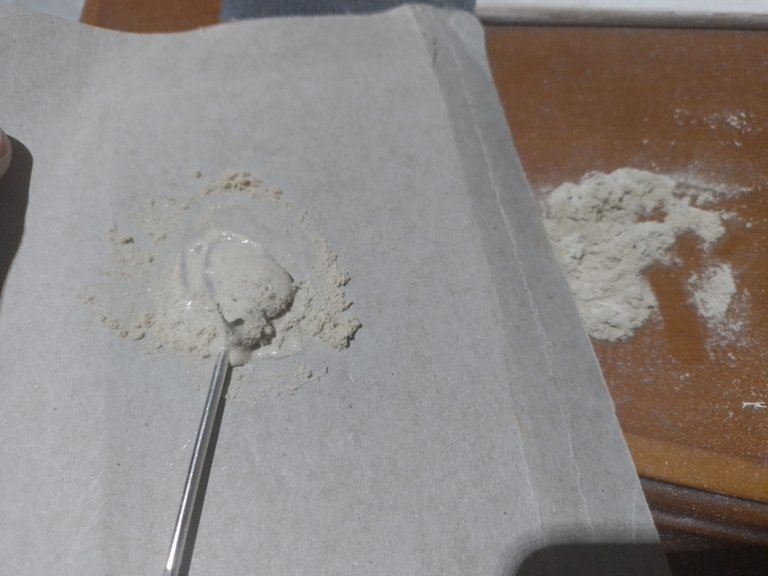
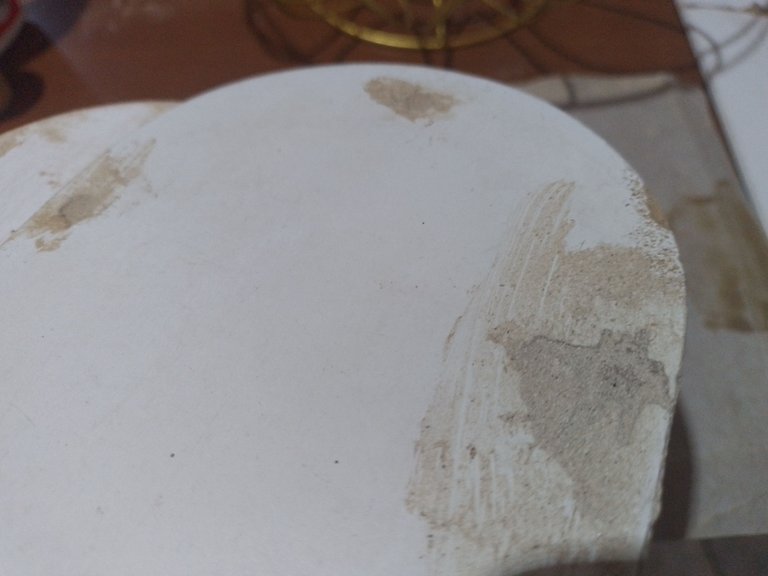
I applied the paste without too much care on the edges, so that it would cover well the holes and all the imperfections that were in these areas of the wood plates, which had many obvious flaws that I wanted to fix.
La pasta la apliqué sin demasiado cuidado en los bordes, para que cubriera bien los agujeros y todas las imperfecciones que había en estas áreas de las placas de madera, la cual tenía muchas fallas evidentes que quería arreglar.
 |  |
|---|
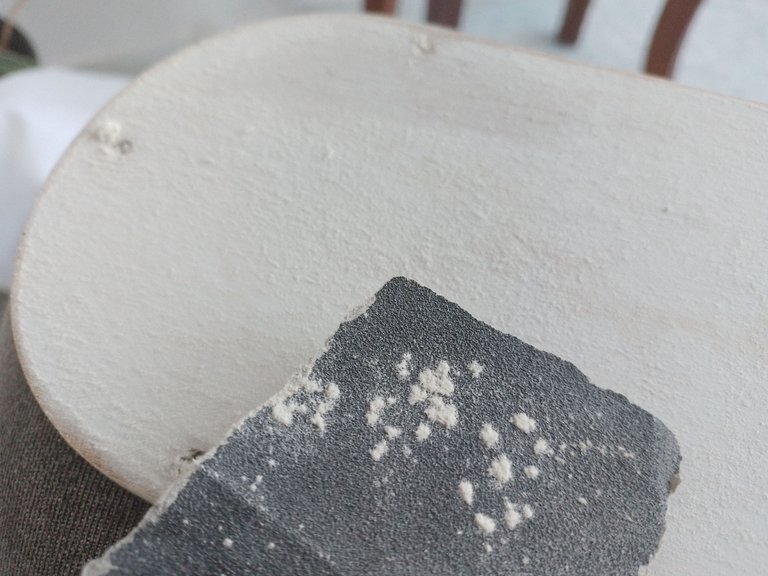
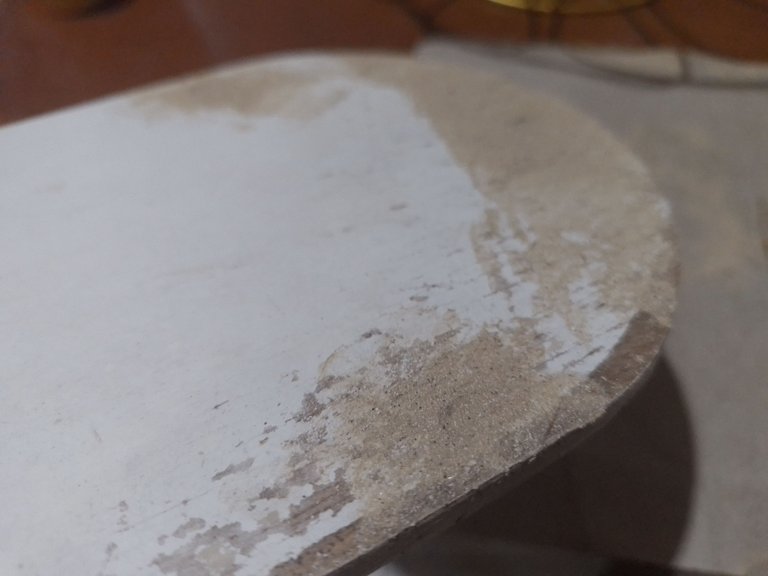
I let all the sawdust paste with glue dry overnight and the next day I finished sanding the wood until all the paint was removed and the wood was exposed.
The paint was very worn, in fact, when you ran your hand over the wood you would get a white powder on your hand.
Dejé que toda la pasta de aserrín con pegamento que secara durante la noche y al día siguiente terminé de lijar la madera hasta que le quité toda la pintura, quedó la madera al descubierto.
La pintura estaba muy gastada, de hecho, cuando pasabas la mano por la madera te quedaba un polvo blanco en la mano.
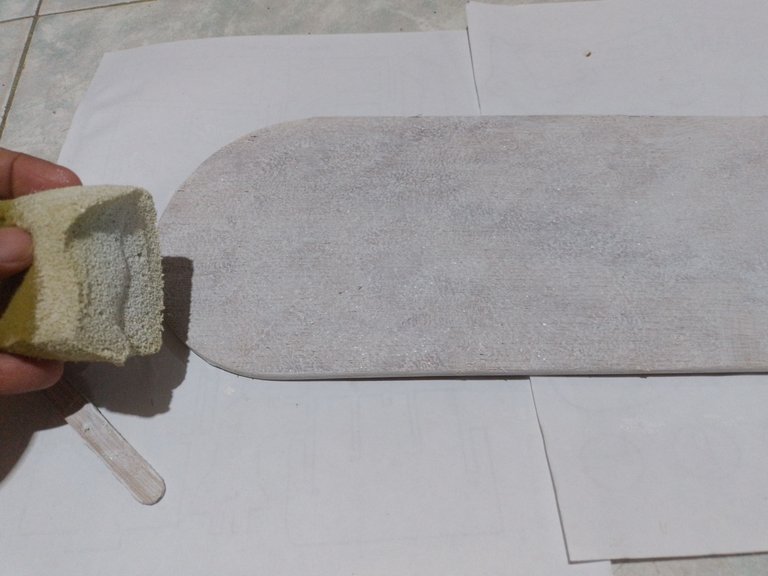
So I got ready to paint it. I didn't want to paint it with a brush, as these tend to leave lines in the wood, so I took my sponge and with this I began to paint to leave a smooth layer of paint along the surface of the wood.
Por eso me preparé para pintarla. No quería pintarla con una brocha, pues estas suelen dejar líneas en la madera, así que tomé mi esponja y con esta comencé a pintar para dejar una capa de pintura suave a lo largo de la superficie de la madera.
 |  |
|---|
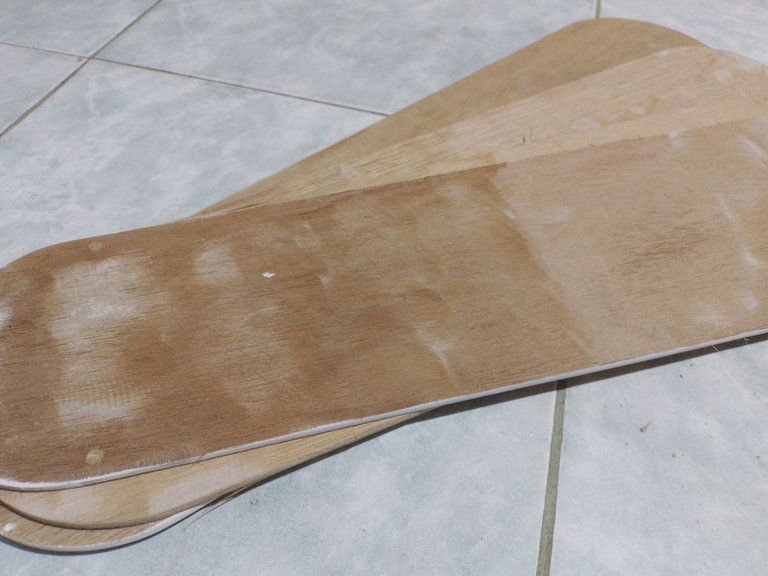
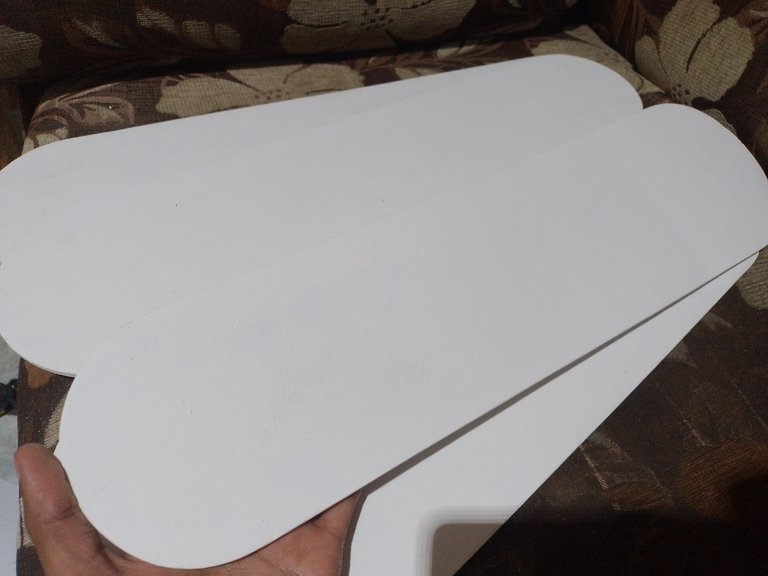
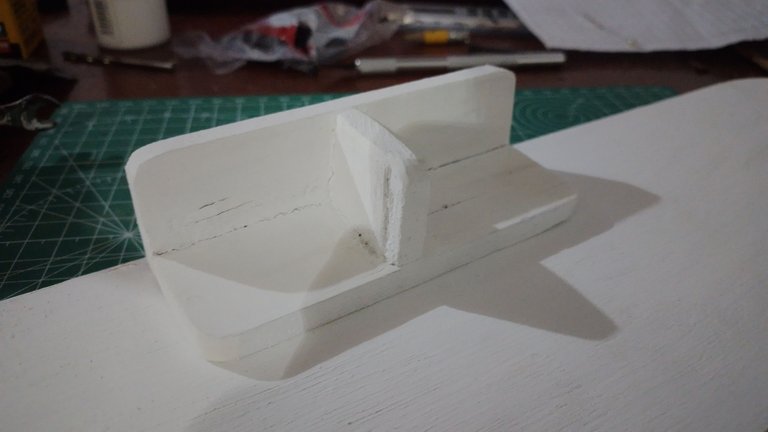
This is what the wood looked like after the 2 coats of paint I applied had dried.
Así quedó la madera después de que secaron las 2 capas de pintura que le apliqué.
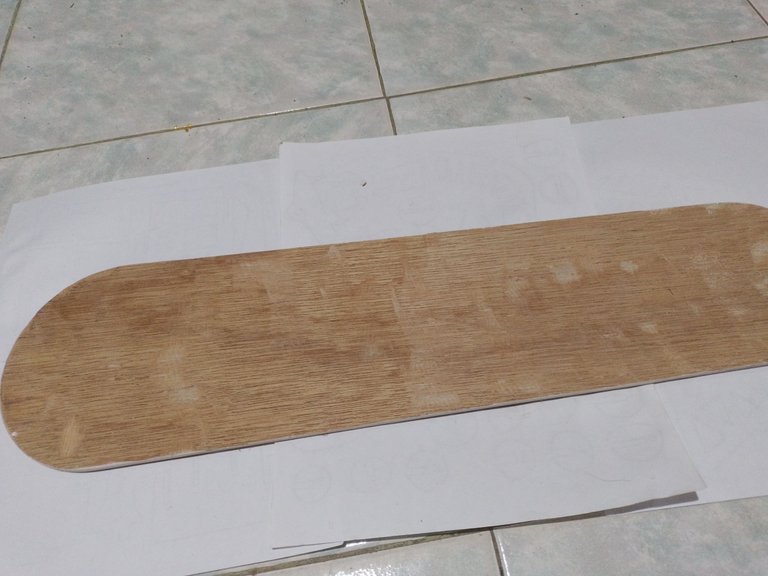
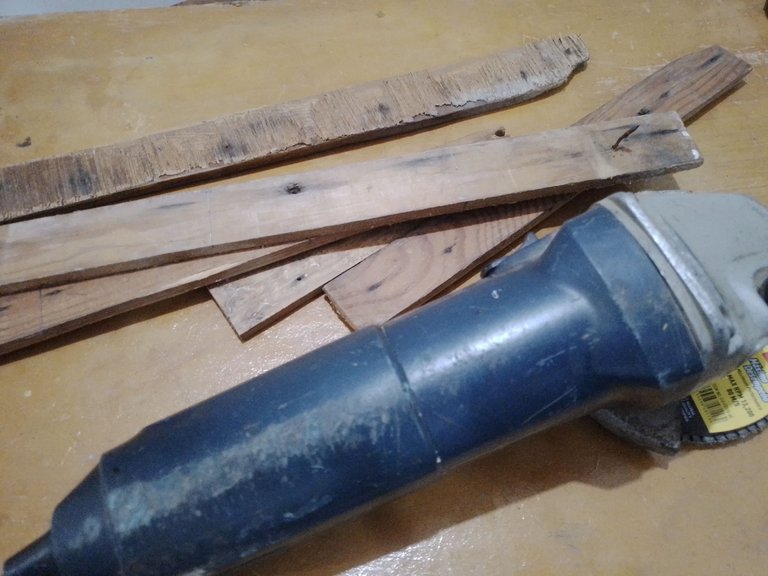
While I was restoring the wood I had the idea that these would look good as shelves. But I didn't want to use iron brackets, I wanted to use more wooden brackets but not so big, so I looked for other wood I had around and started cutting and sanding them to make the brackets.
Mientras restauraba las maderas me surgió la idea de que estas quedarían bien como unas repisas. Pero no quería usar soportes de hierro, sino usar más soportes de madera pero no tan grandes, así que busqué otras maderas que tenía por allí y comencé a cortarlas y lijarlas para fabricar los soportes.
 |  |
|---|
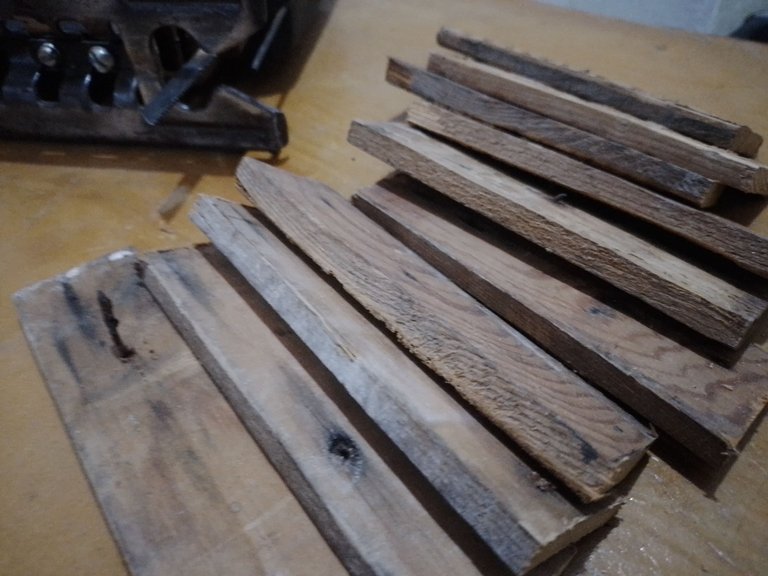
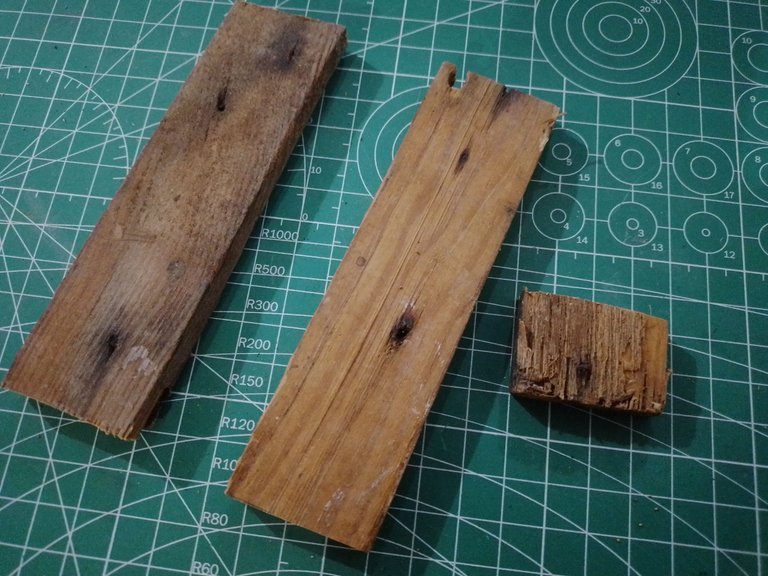
For each support I would use these three pieces of wood. Basically it would be an L-shaped support, a sheet to hold the shelf and another sheet to fix it to the wall, with a small piece of wood to place in the middle, to give more strength to the union of these two sheets.
Para cada soporte usaría estos tres trozos de madera. Básicamente sería un soporte en L, una lámina para sostener la repisa y otra lámina para fijarla en la pared, con un pequeño trozo de madera para colocarlo en el medio, para que diera más fuerza la unión de estas dos láminas.
 |  |
|---|
All these joints were fixed with special wood screws. Once each piece was fixed, I used an emery board to file the square edges, leaving a rounded edge to each sheet, to make them visually prettier.
Todas estas uniones las fijé con tornillos especiales para madera, una vez fija cada pieza usé un esmeril para limar los bordes cuadrados, hasta dejarles un borde redondeado a cada lámina, para que fuesen más lindos visualmente.

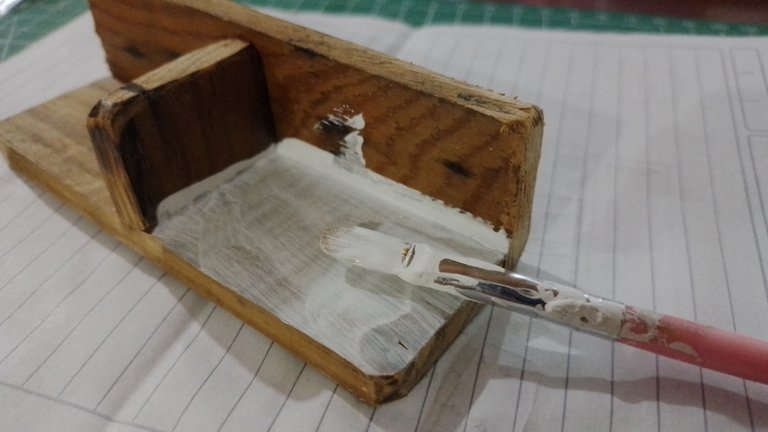
The last thing with these pieces was the paint. I used the same paint for the large wood sheets, white. For these I did use a brush because they were pieces with a more rustic and porous wood, so there was no problem.
Lo último con estas piezas fue la pintura. Usé la misma pintura para las láminas de madera grandes, color blanco. Para estas sí usé un pincel porque eran piezas con una madera más rústica y porosa, así que no había ningún problema.
 |  |
|---|
The last thing was to make the holes in the shelves to fix the brackets on them. I also drilled the holes in the bottom of the bracket, which would be used to attach them to the wall.
Lo último fue hacer los agujeros en las repisas para fijar los soportes sobre las mismas. También hice los agujeros en la parte inferior del soporte, los cuales servirían para fijarlos en la pared.
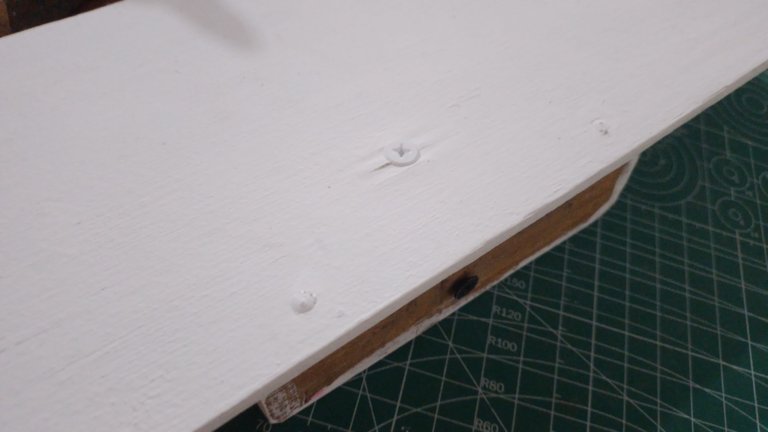
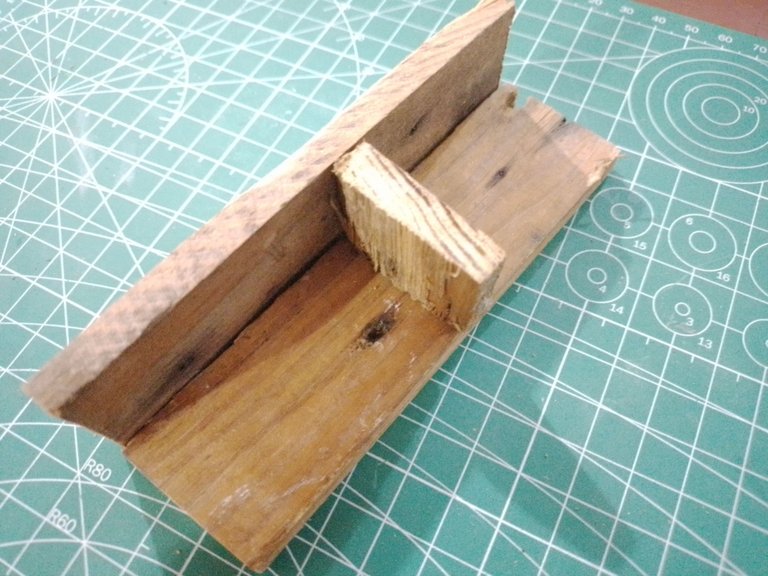
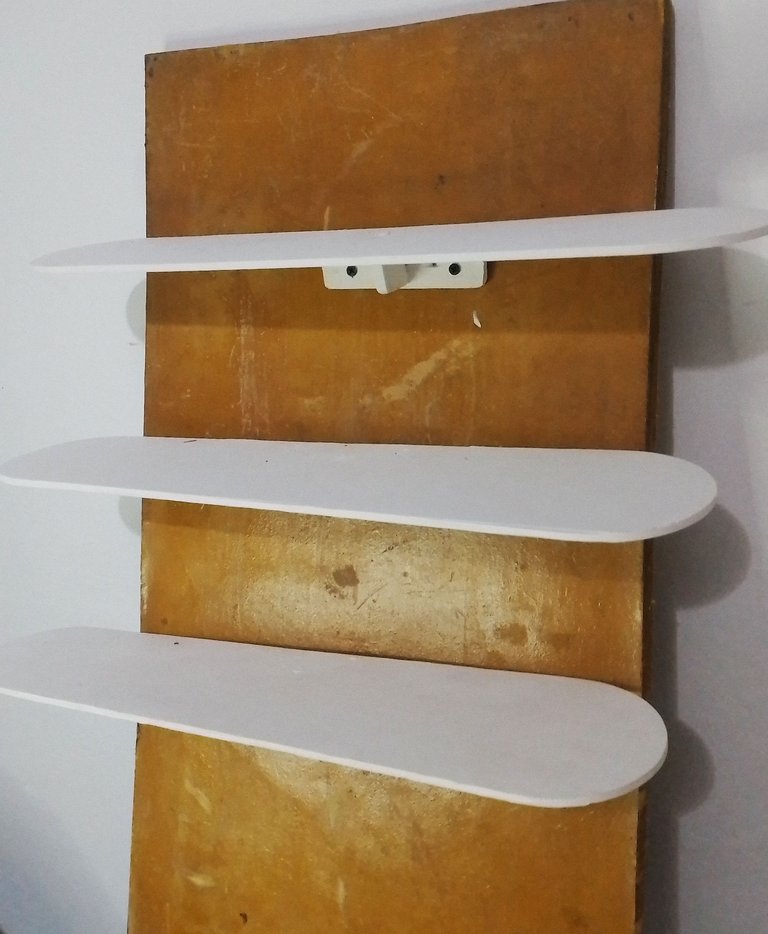
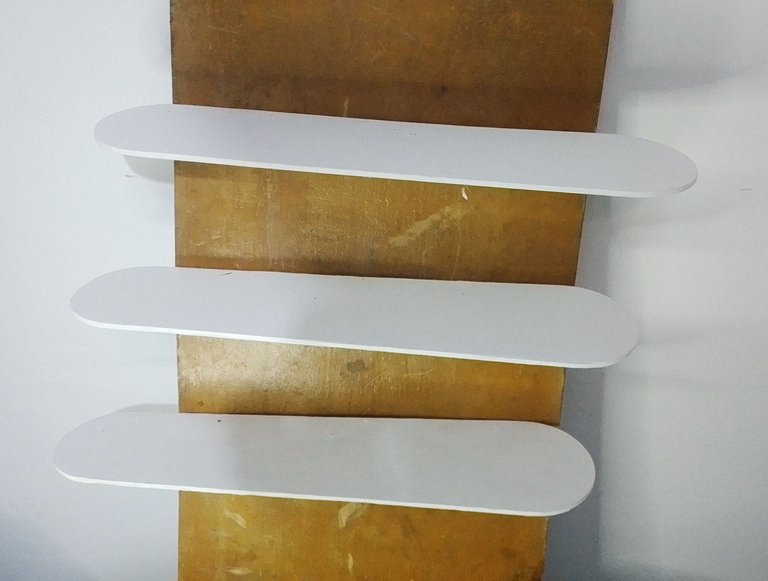
Although I don't plan to place them immediately, I did want to do a test to see how they looked, so I fixed them on this wood. Below you can see how well the three plates are fixed to the wood, a little bit out of place but it doesn't matter because it was just a test.
As you can see, I placed two screws in the support part, because if you place only one the wood will turn, but with two screws it will stay fixed in place.
Aunque no planeo colocarlos inmediatamente, sí quise hacer una prueba para ver cómo quedaban, así que los fijé en esta madera. A continuación pueden ver cómo se queda bien fijas las tres placas en la madera, un poco descuadradas pero no importa porque era solo una prueba.
Como pueden ver, coloqué dos tornillos en la parte del soporte, pues si se coloca uno solo la madera va a girarse, en cambio con dos tornillos se mantendrá fija en su lugar.
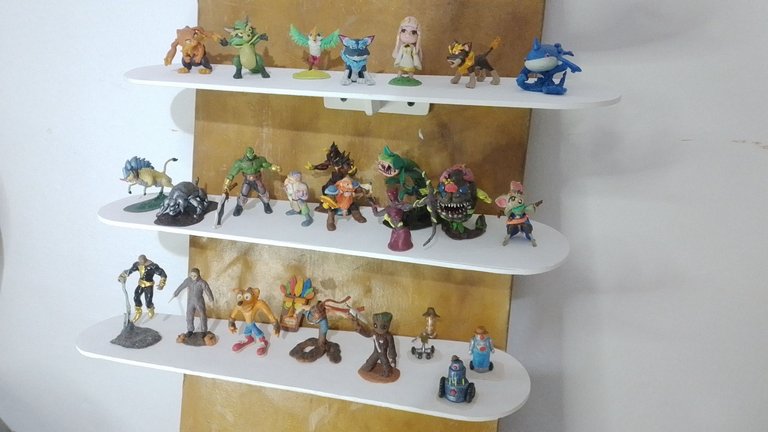
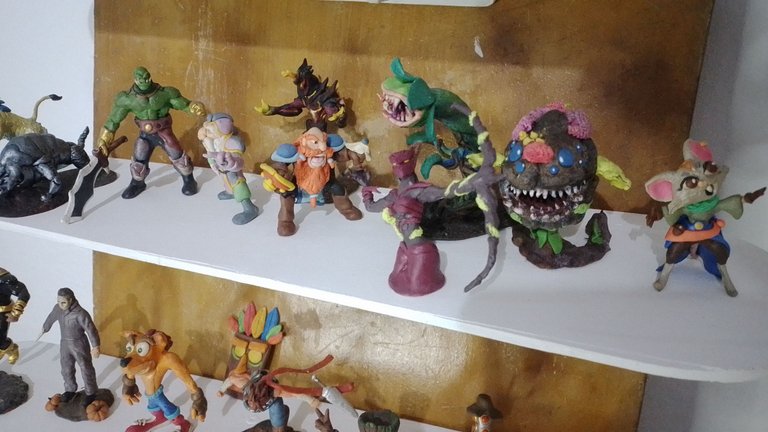
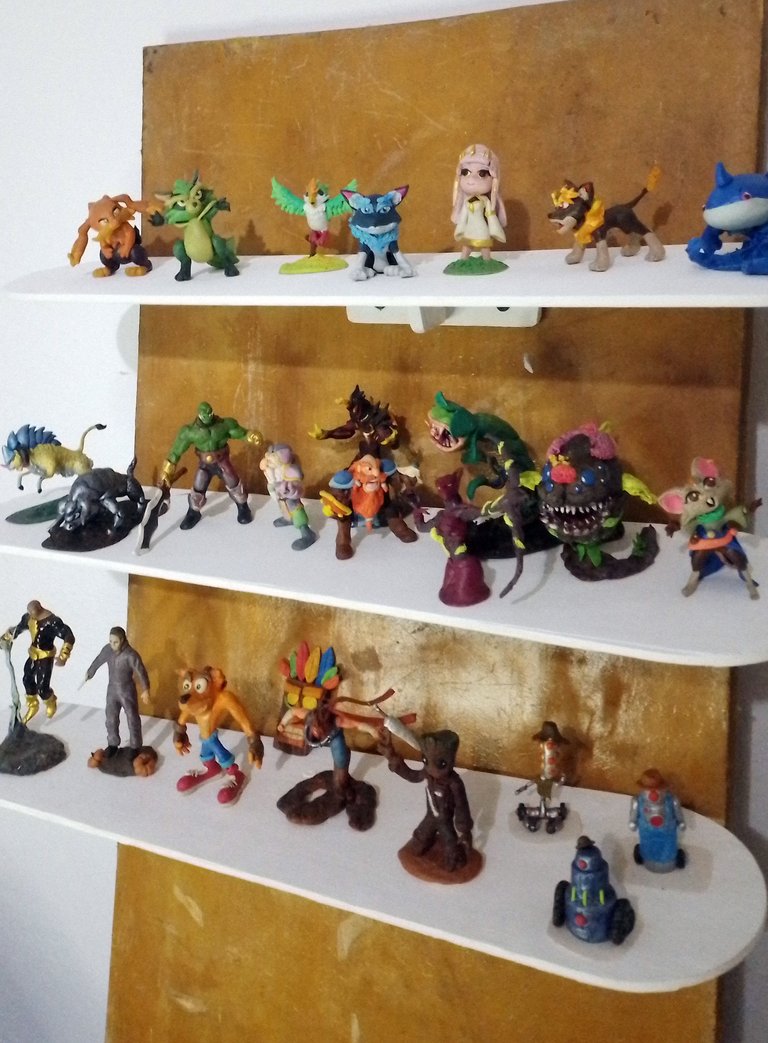
Below are photos of the final result, with some figurines placed on top of the shelves.
A continuación fotos del resultado final, con algunas figuritas puestas encima de las repisas.
 |  |
|---|
Well friends this has been all for now. I hope you liked this restoration. I invite you to leave your opinions below in the comments, as always I will be happy to read them.
I appreciate you taking the time to read me, as always I will be happy to read them. With nothing more to add, I'll say goodbye then...
See you next time!
Bien amigos esto ha sido todo por ahora. Espero que esta restauración les haya gustado. Los invito a dejar sus opiniones abajo en los comentarios, como siempre estaré encantado de leerlos.
Agradezco que se tomaran el tiempo de leerme, como siempre estaré encantado de leerlos. Sin más que agregar, me despido entonces...
¡Hasta la próxima!


https://reddit.com/r/crafting/comments/1b5ih6v/restoration_of_wooden_shelves/
The rewards earned on this comment will go directly to the people( @gaboamc2393 ) sharing the post on Reddit as long as they are registered with @poshtoken. Sign up at https://hiveposh.com.
guao! amé la repisa, quiero una, la necesito y se ve fuerte, de pronto vi las maderitas como si fueran aspas de ventilador de techo. <3
Te felicito por tu magnífica idea de recuperar la madera y demás está decir que usarlas para hacer repisas para ordenar, es simplemente genial.
Muchas gracias por compartir tu trabajo.
Saludos
https://twitter.com/hivediy47901/status/1764834598087745622
¡¡¡Buen trabajo!!! Gracias por publicar tu excelente contenido en Hive Diy, asombroso trabajo querido gabo, qué genial es ver todas tus obras en un solo lugar.
Tu comunidad artesana ahora es testigo
