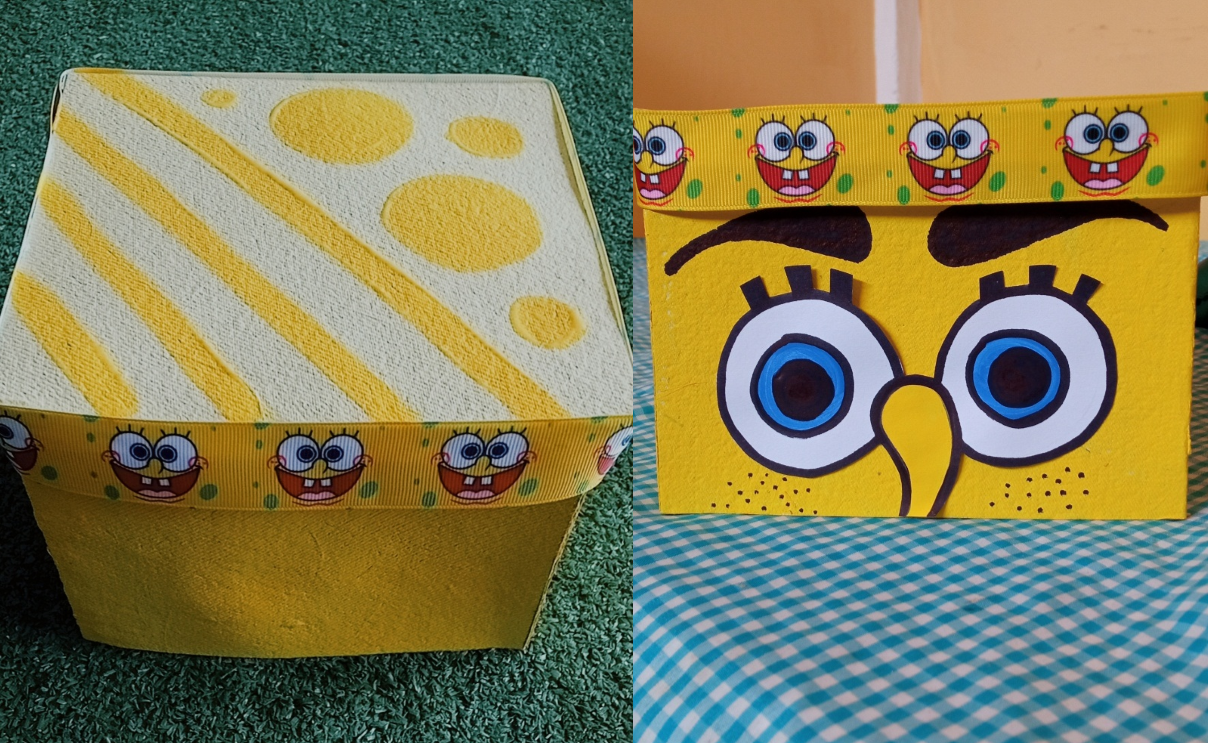
Elaborando: Caja de regalo de Bob Esponja | spongebob gift box
| Hola a todos en #hivediy , en este tutorial aprenderemos de manera facil y sencilla a elaborar una caja de regalo. | Hello everyone in #hivediy, in this tutorial we will learn in an easy and simple way to make a gift box. |
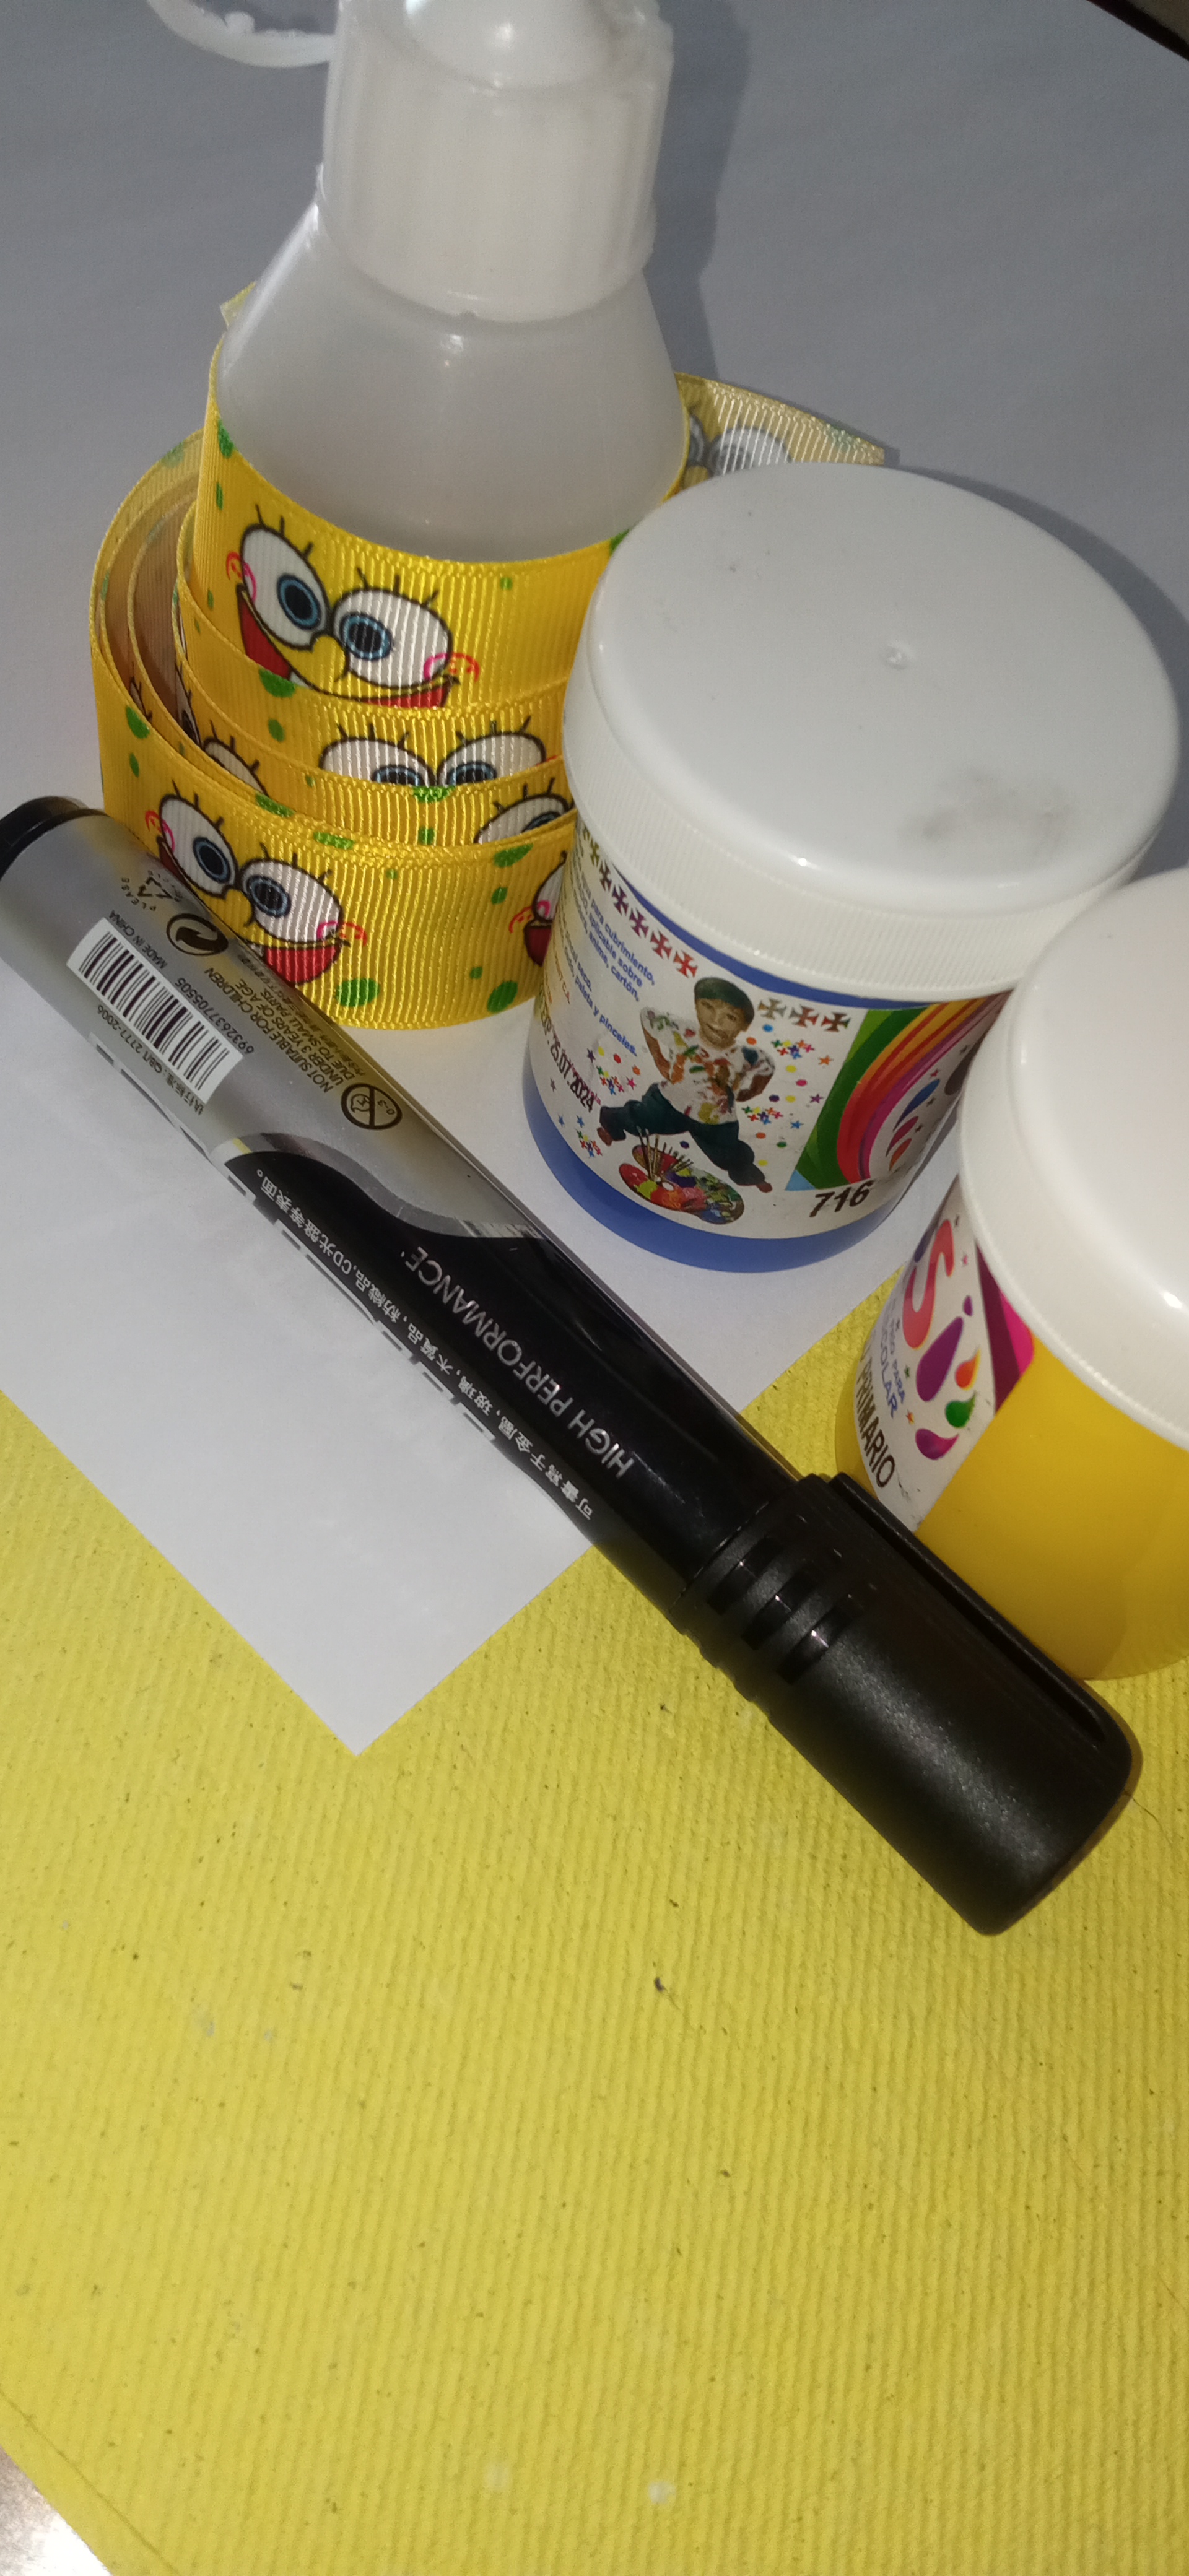
| Materiales | Materials |
| - Cartulina de papel Reciclado | - Recycled paper cardboard |
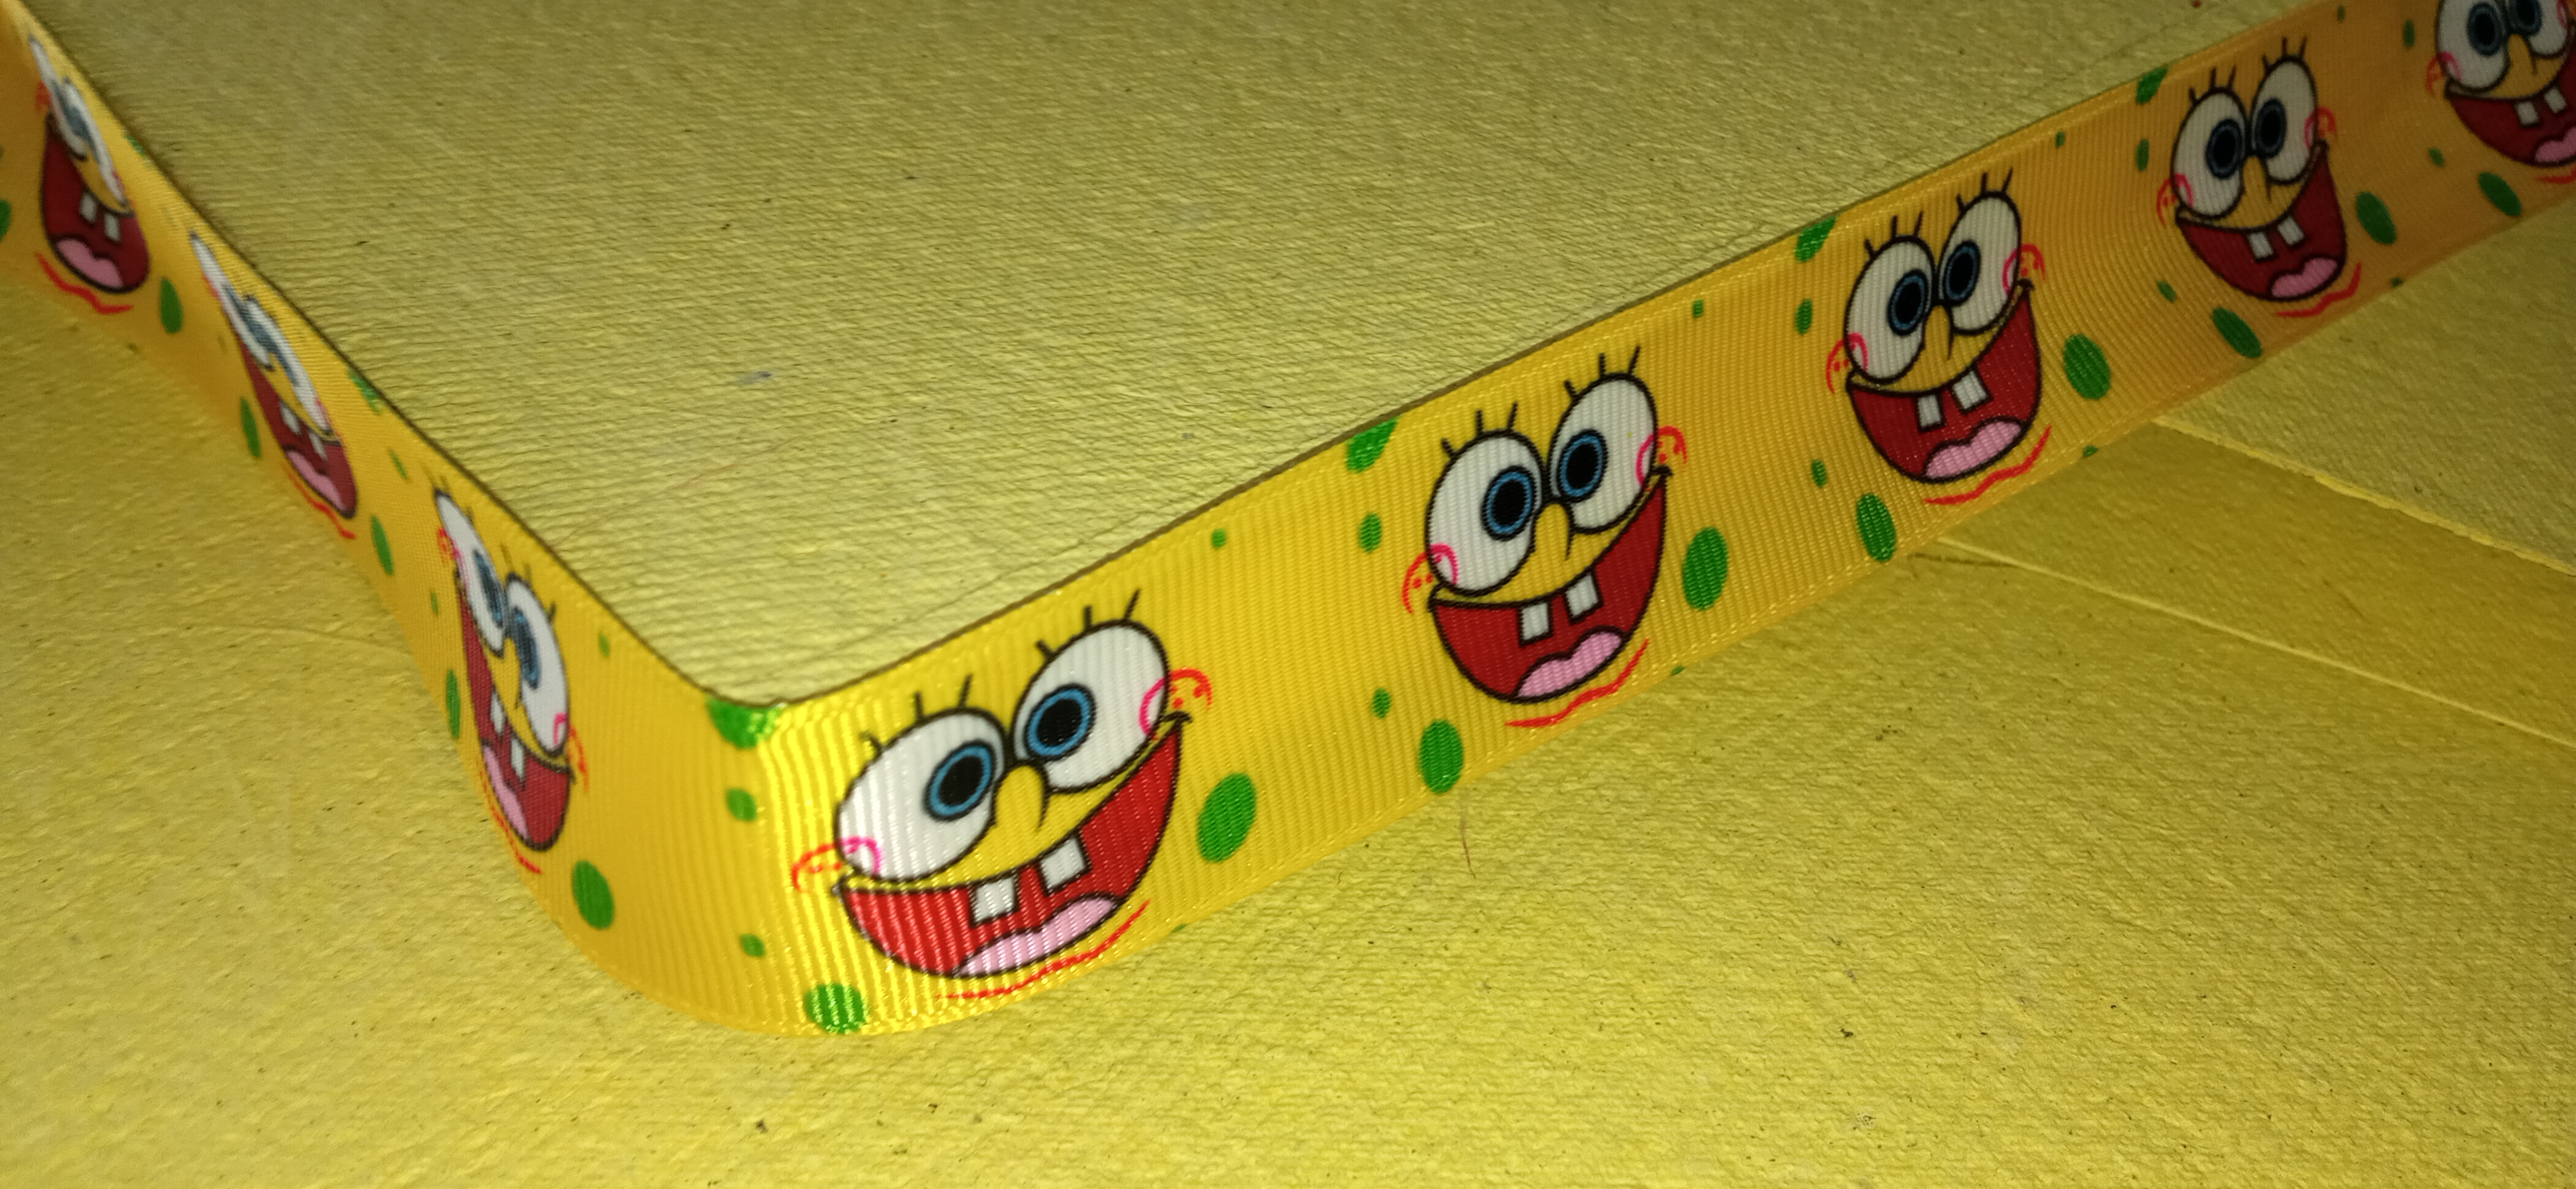
| - Cinta decorativa de Bob Esponja | - Spongebob decorative tape |
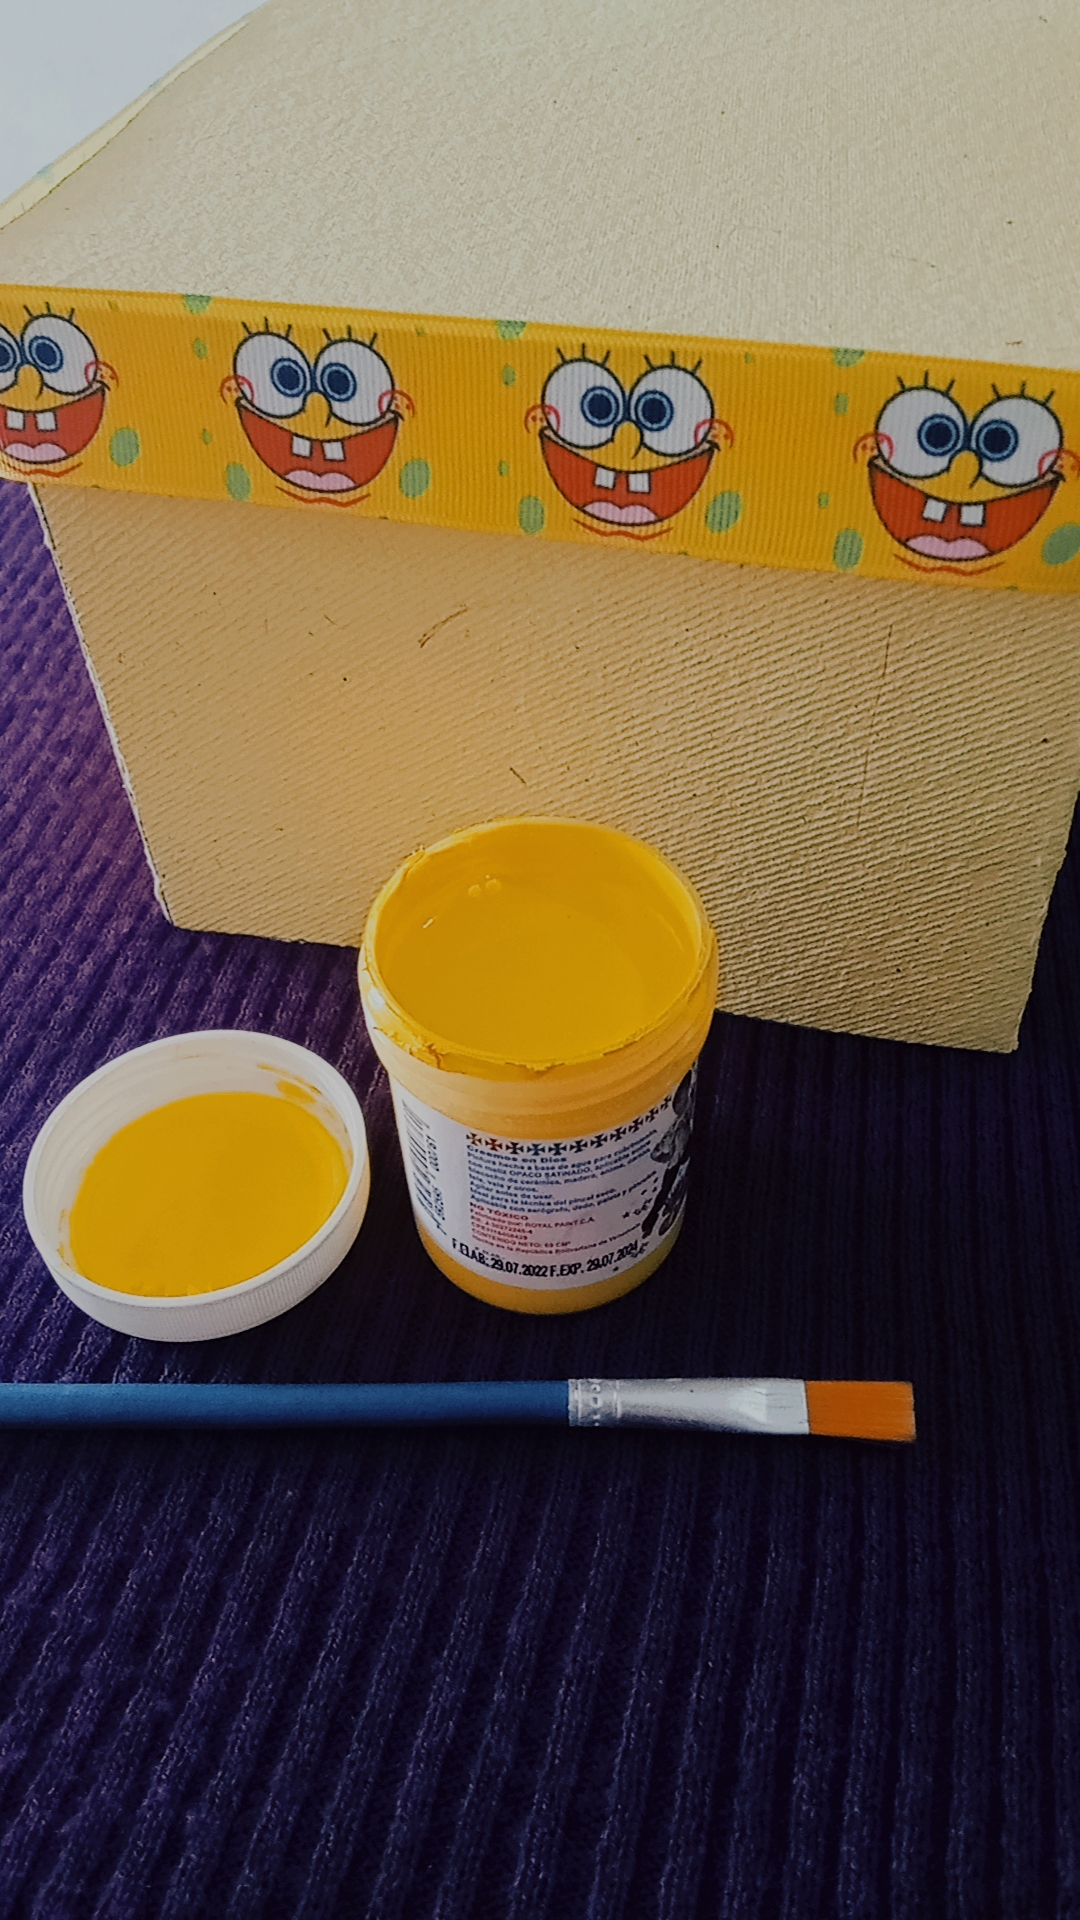
| - Pintura Amarilla | - Yellow paint |
| - Pincel | - Brush |
| - Silicon Liquido | - Liquid silicone |
| - Tijera | - Scissors |
PASO 01
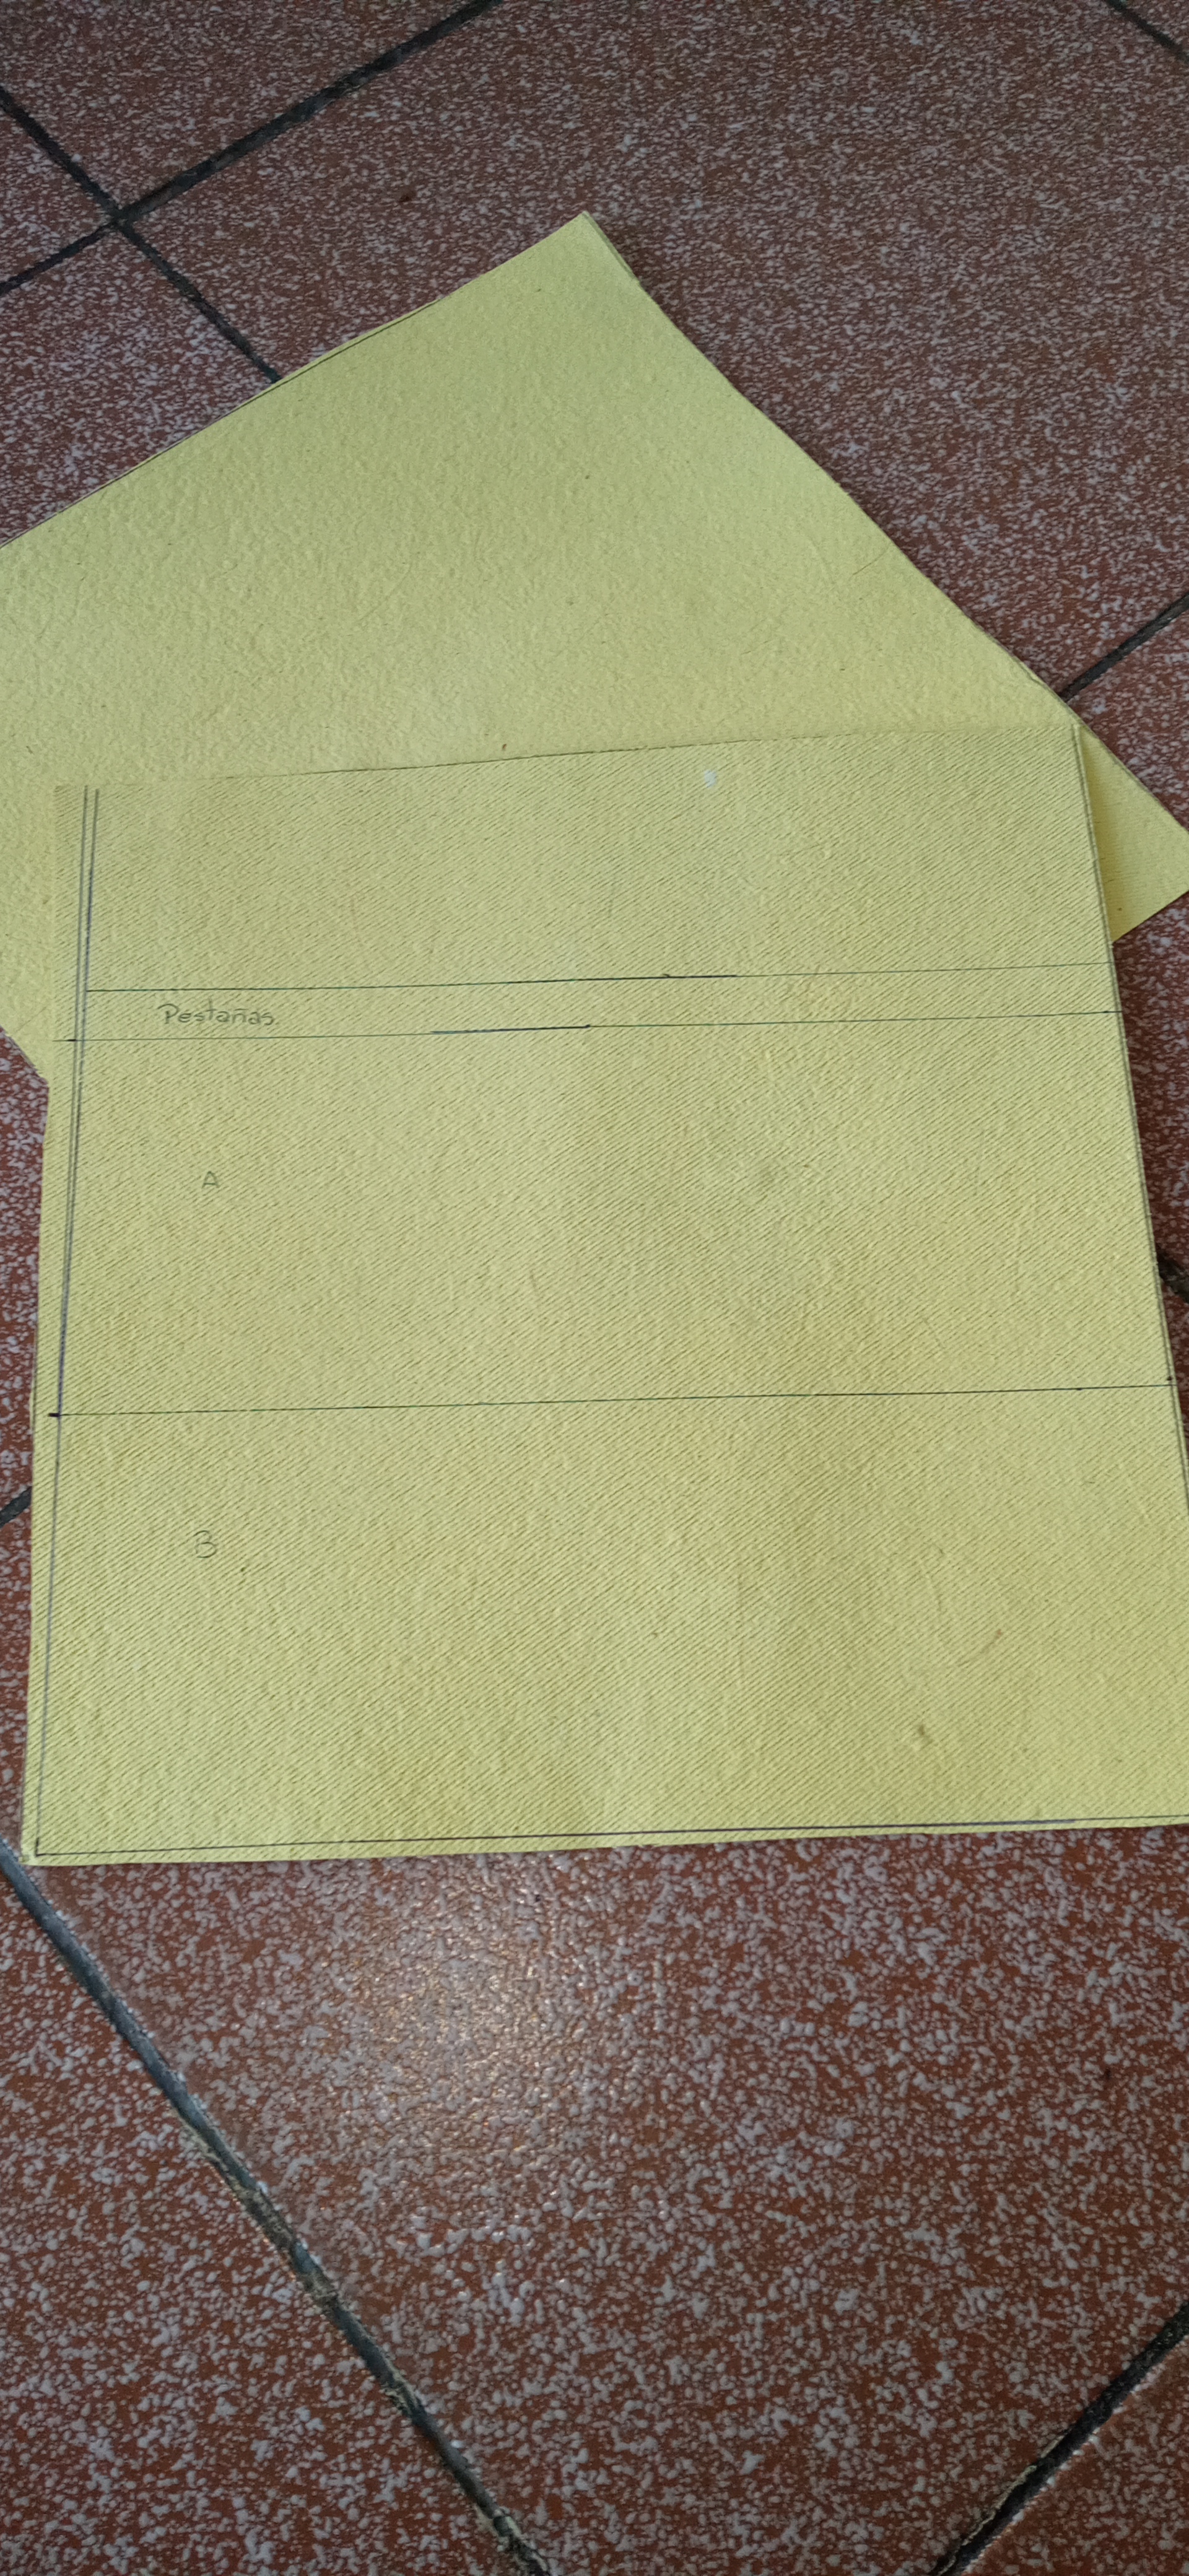
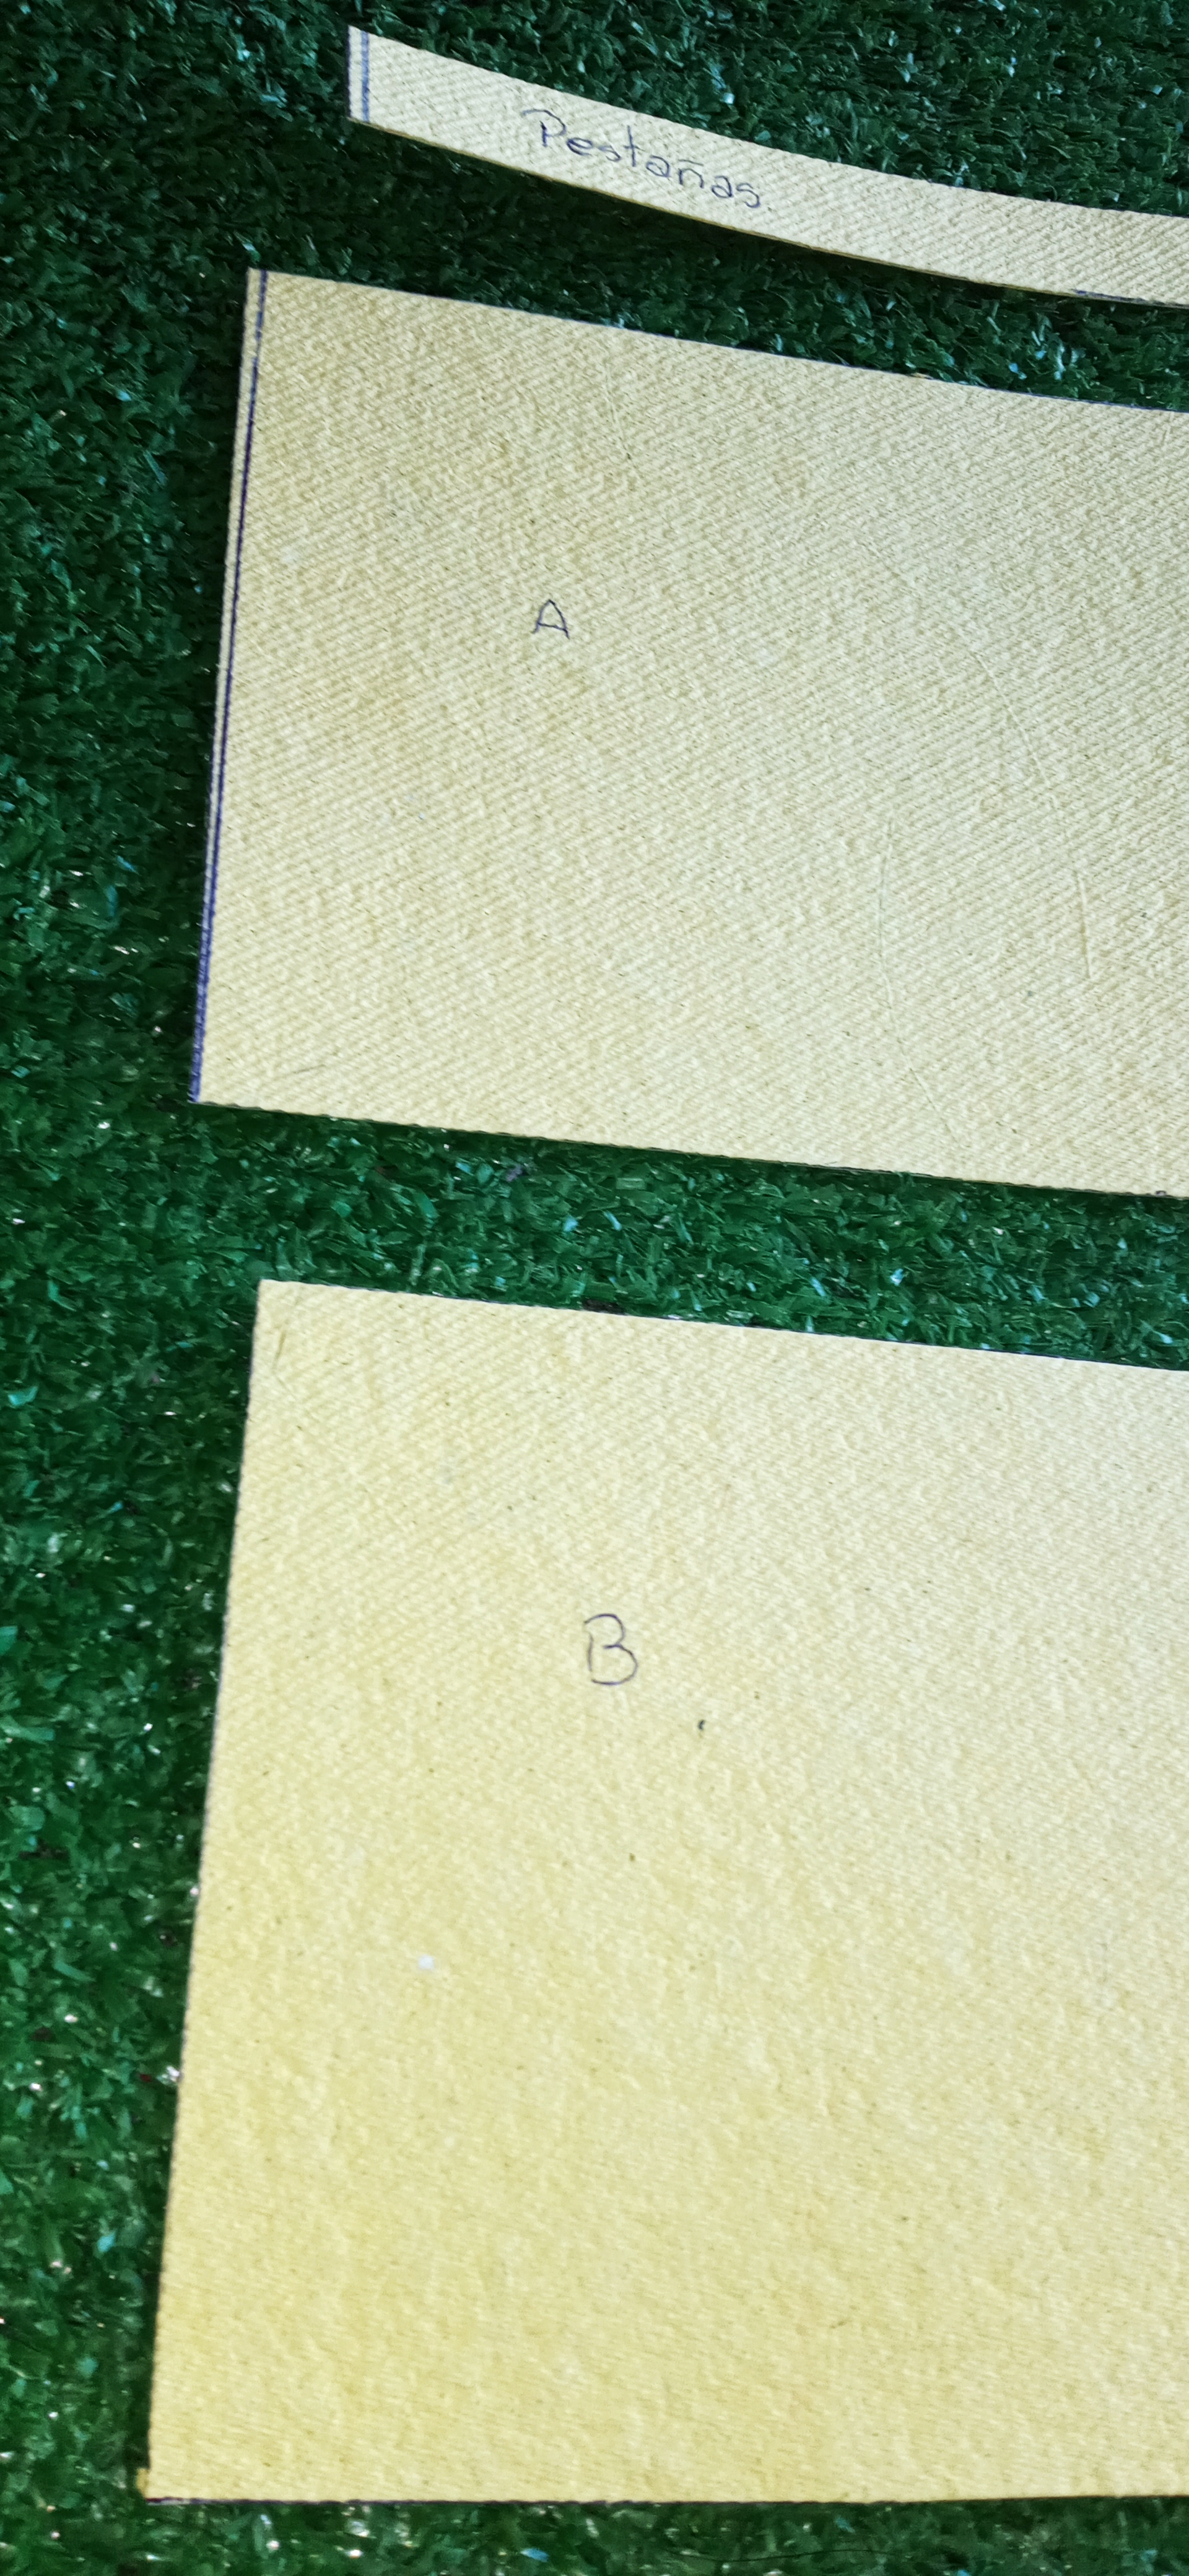
Para que la caja me quedara precisa y bien elaborada tuve que medir sus 4 lados teniendo 10 cm de largo por 10 de alto.
 |  |
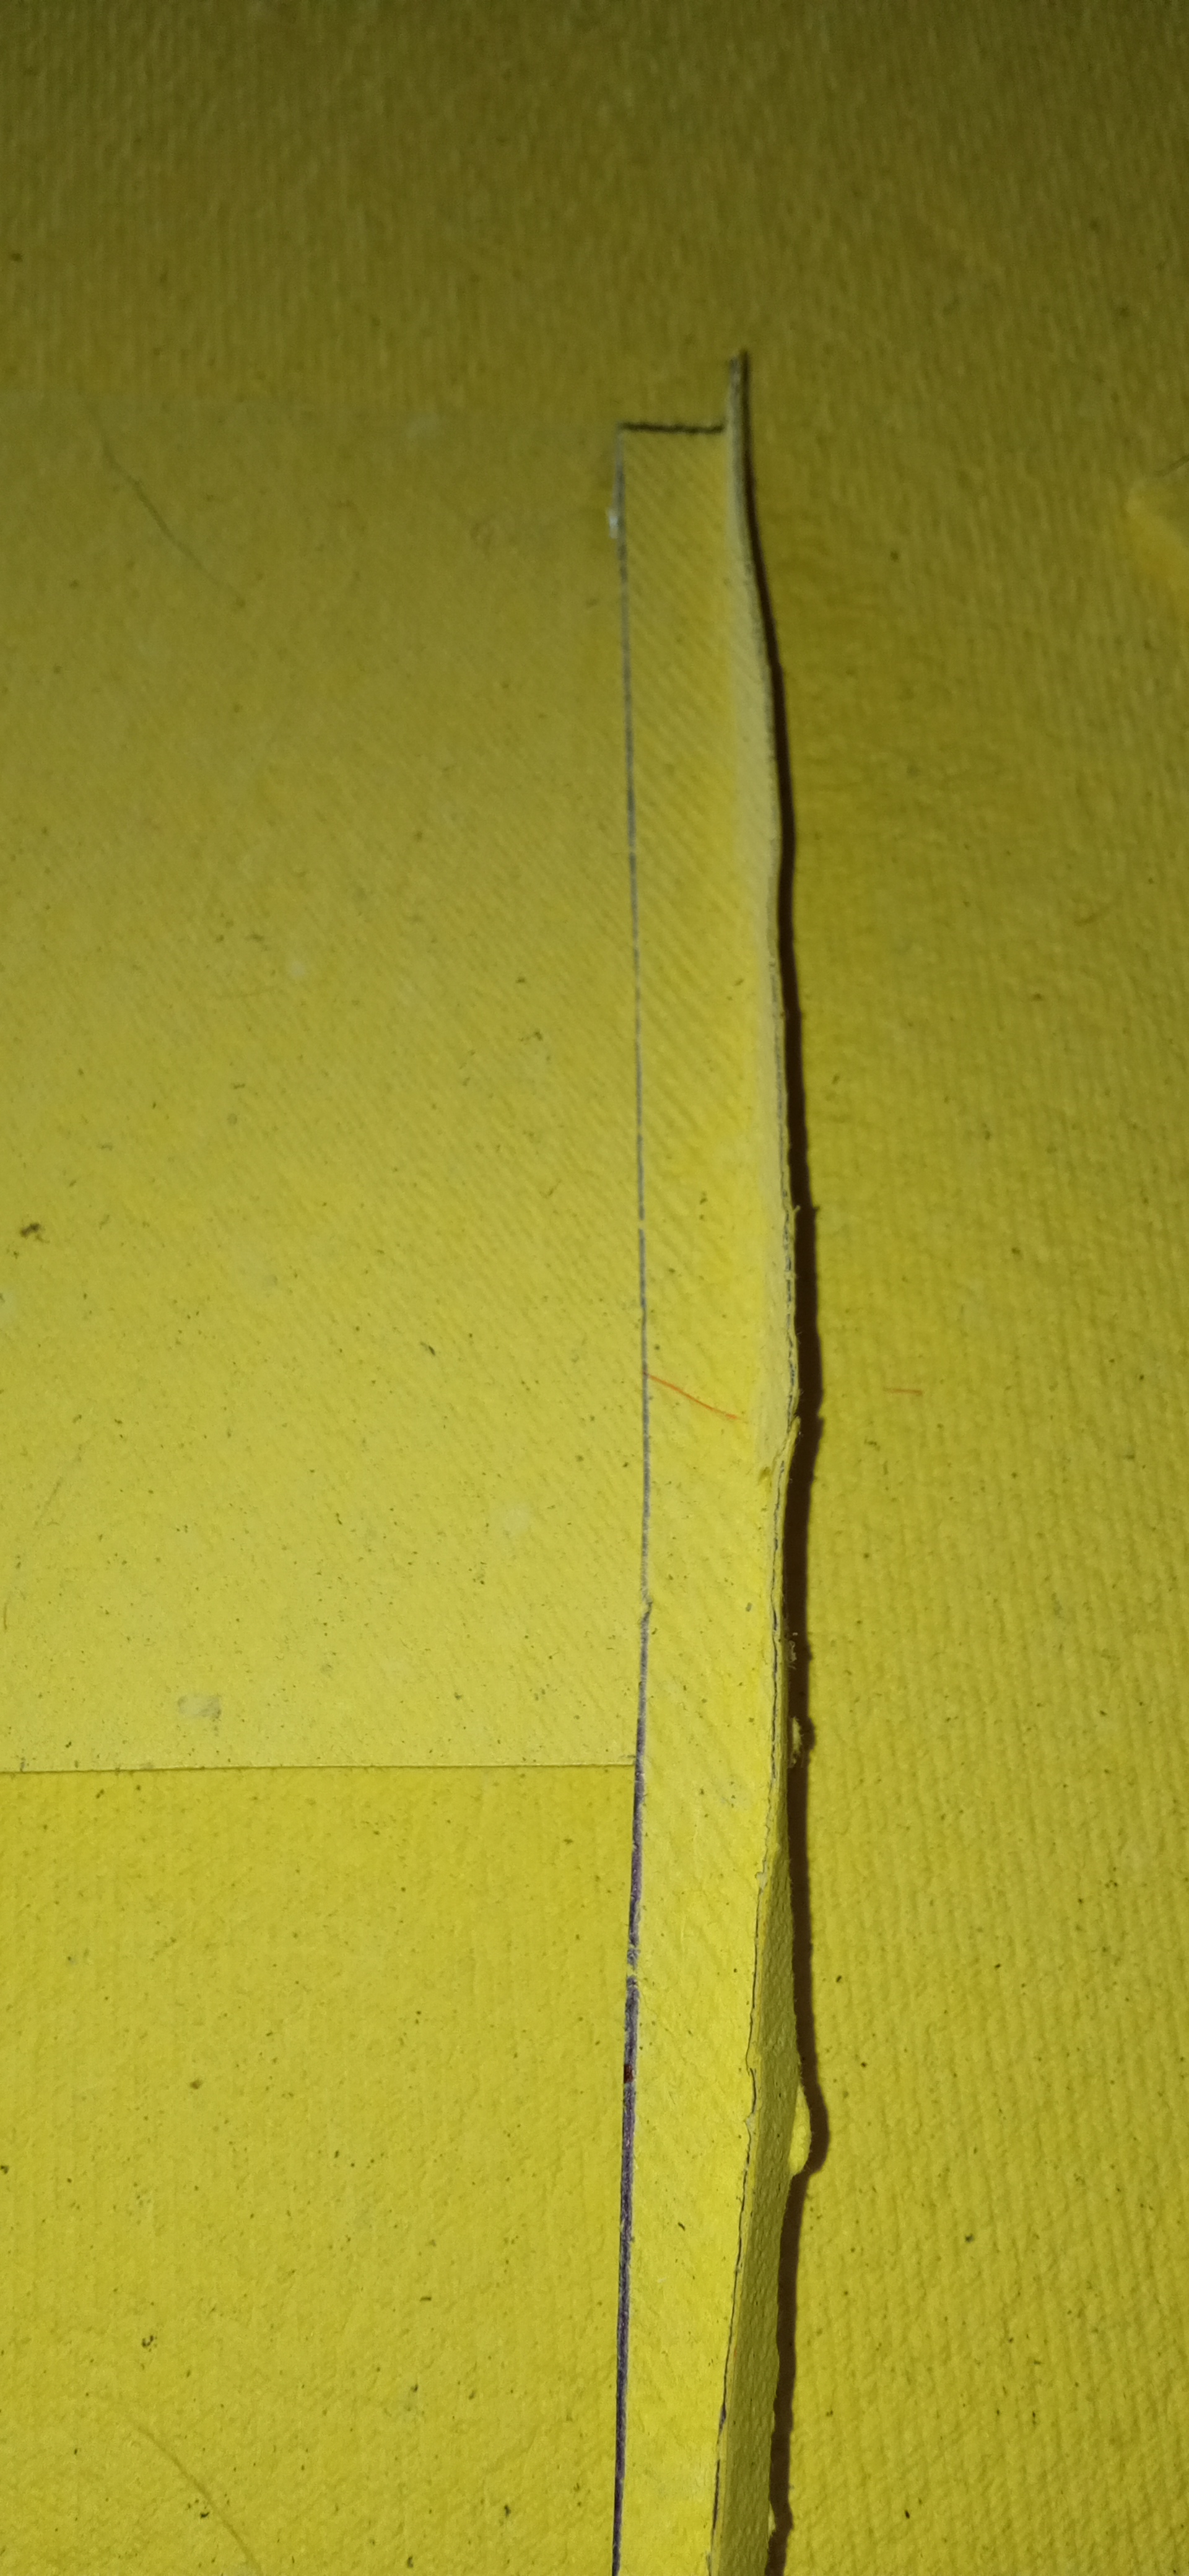
PASO 02
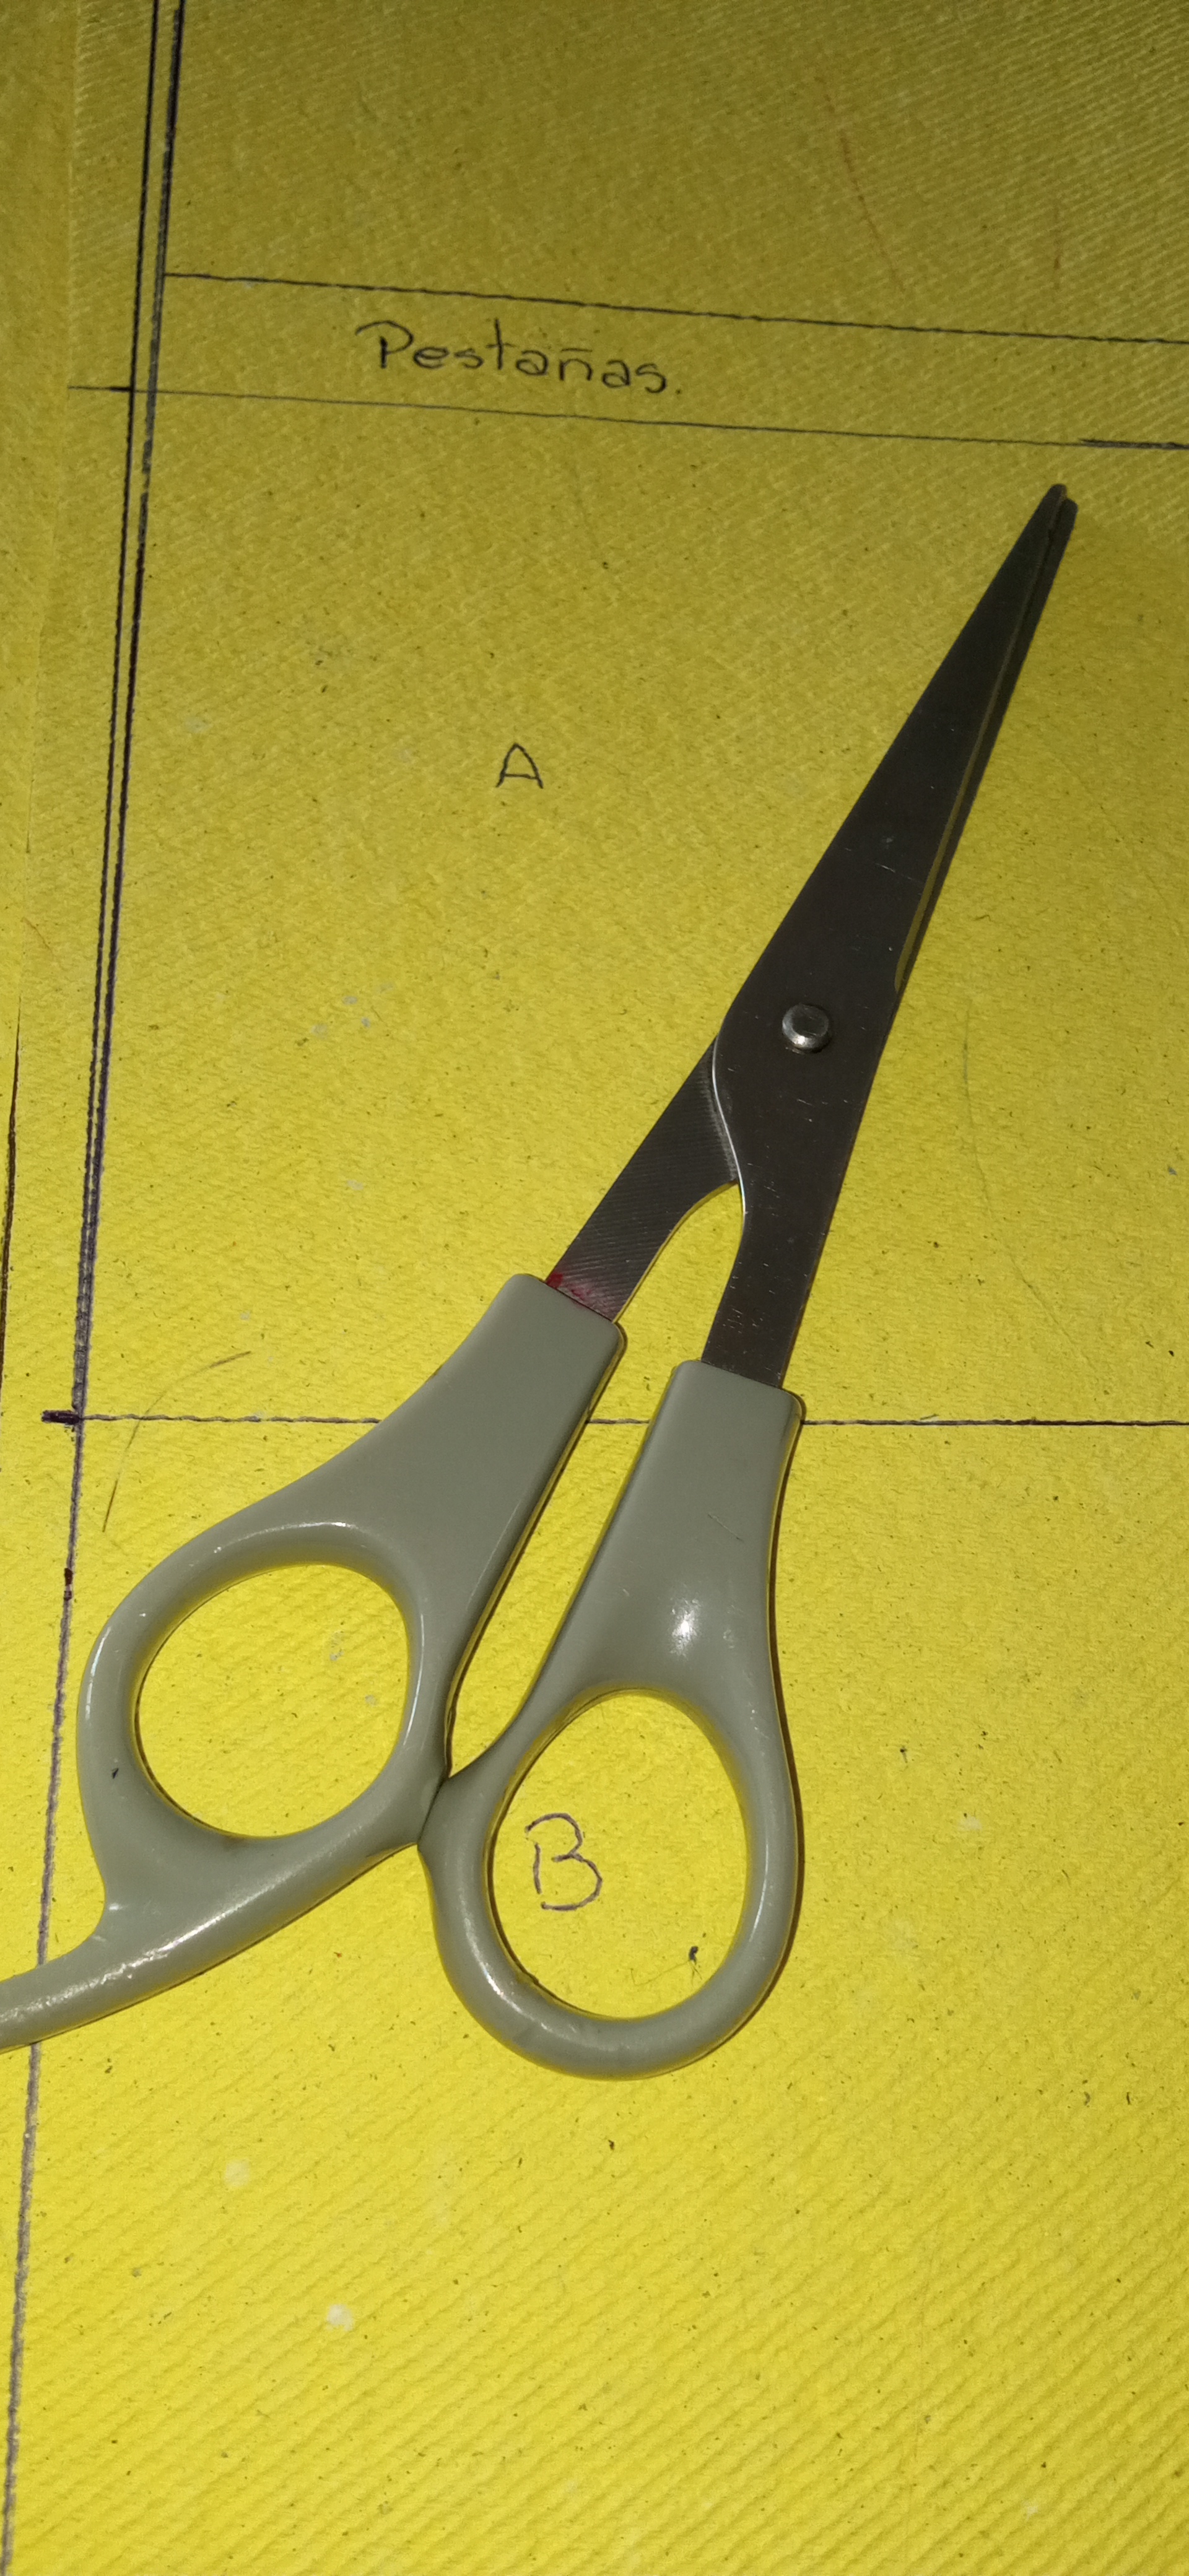
| Luego de medir recorte las piezas, debido a que las cartulinas recicladas las elabore yo misma no tenian gran tamaño, asi que tube que utilizar dos cartulinas y unis sus caras con unas pestalas de 3cm de ancho por 10 de largo. | After measuring, I cut out the pieces, because the recycled cardboard I made myself was not large, so I had to use two cardboard and join their faces with 3cm wide by 10cm long tabs. |
 |  |
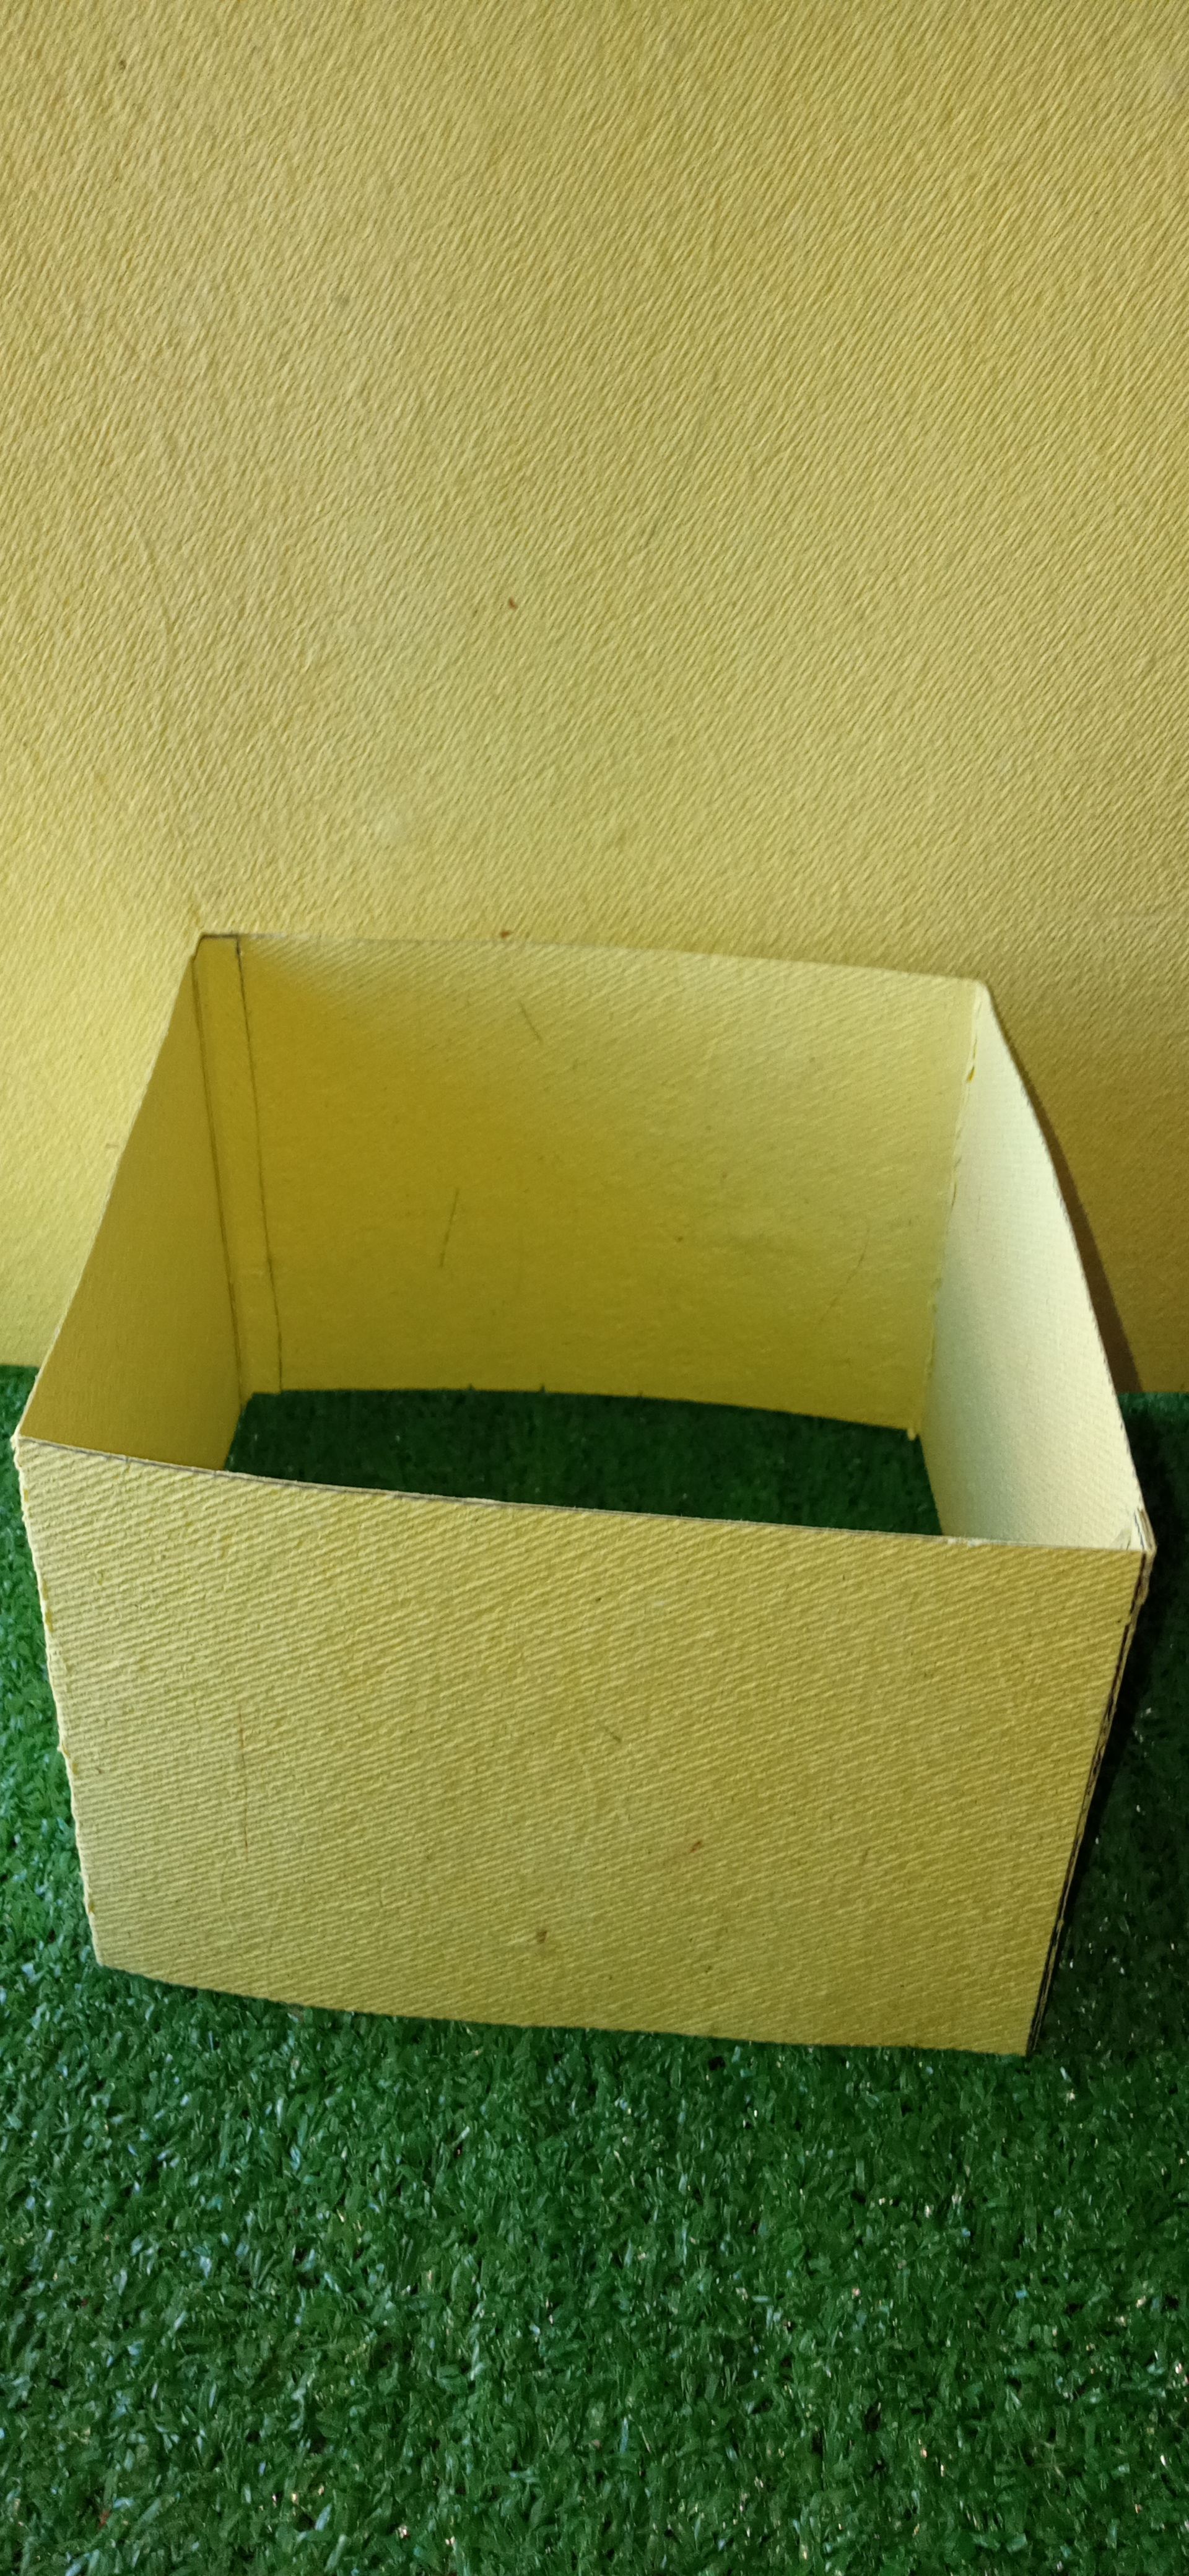
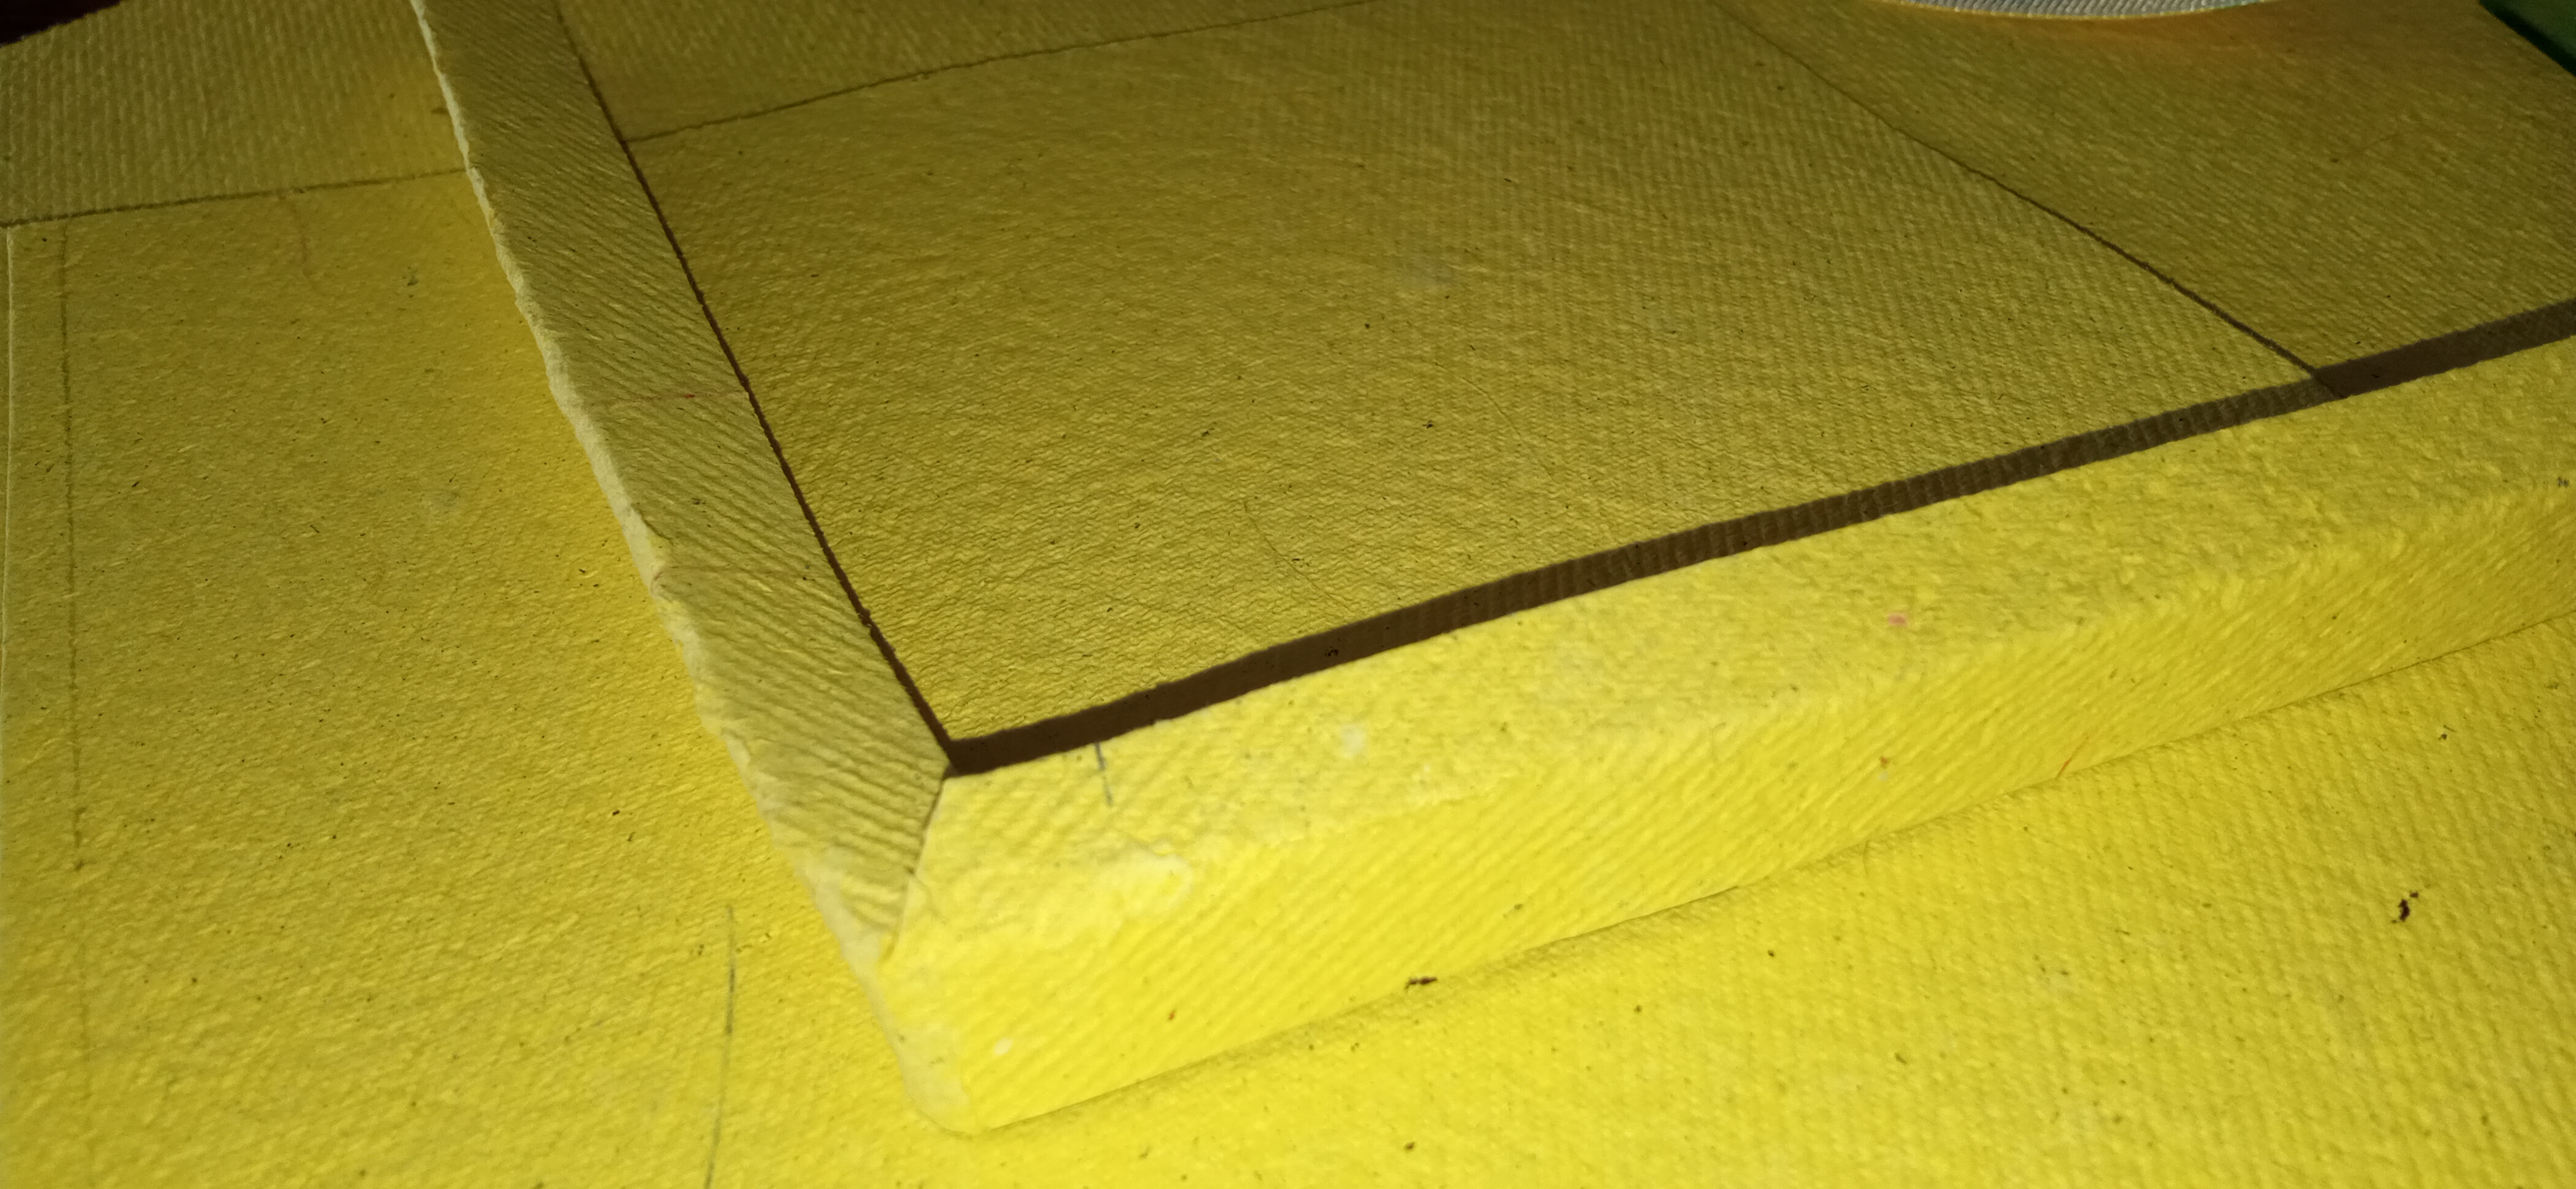
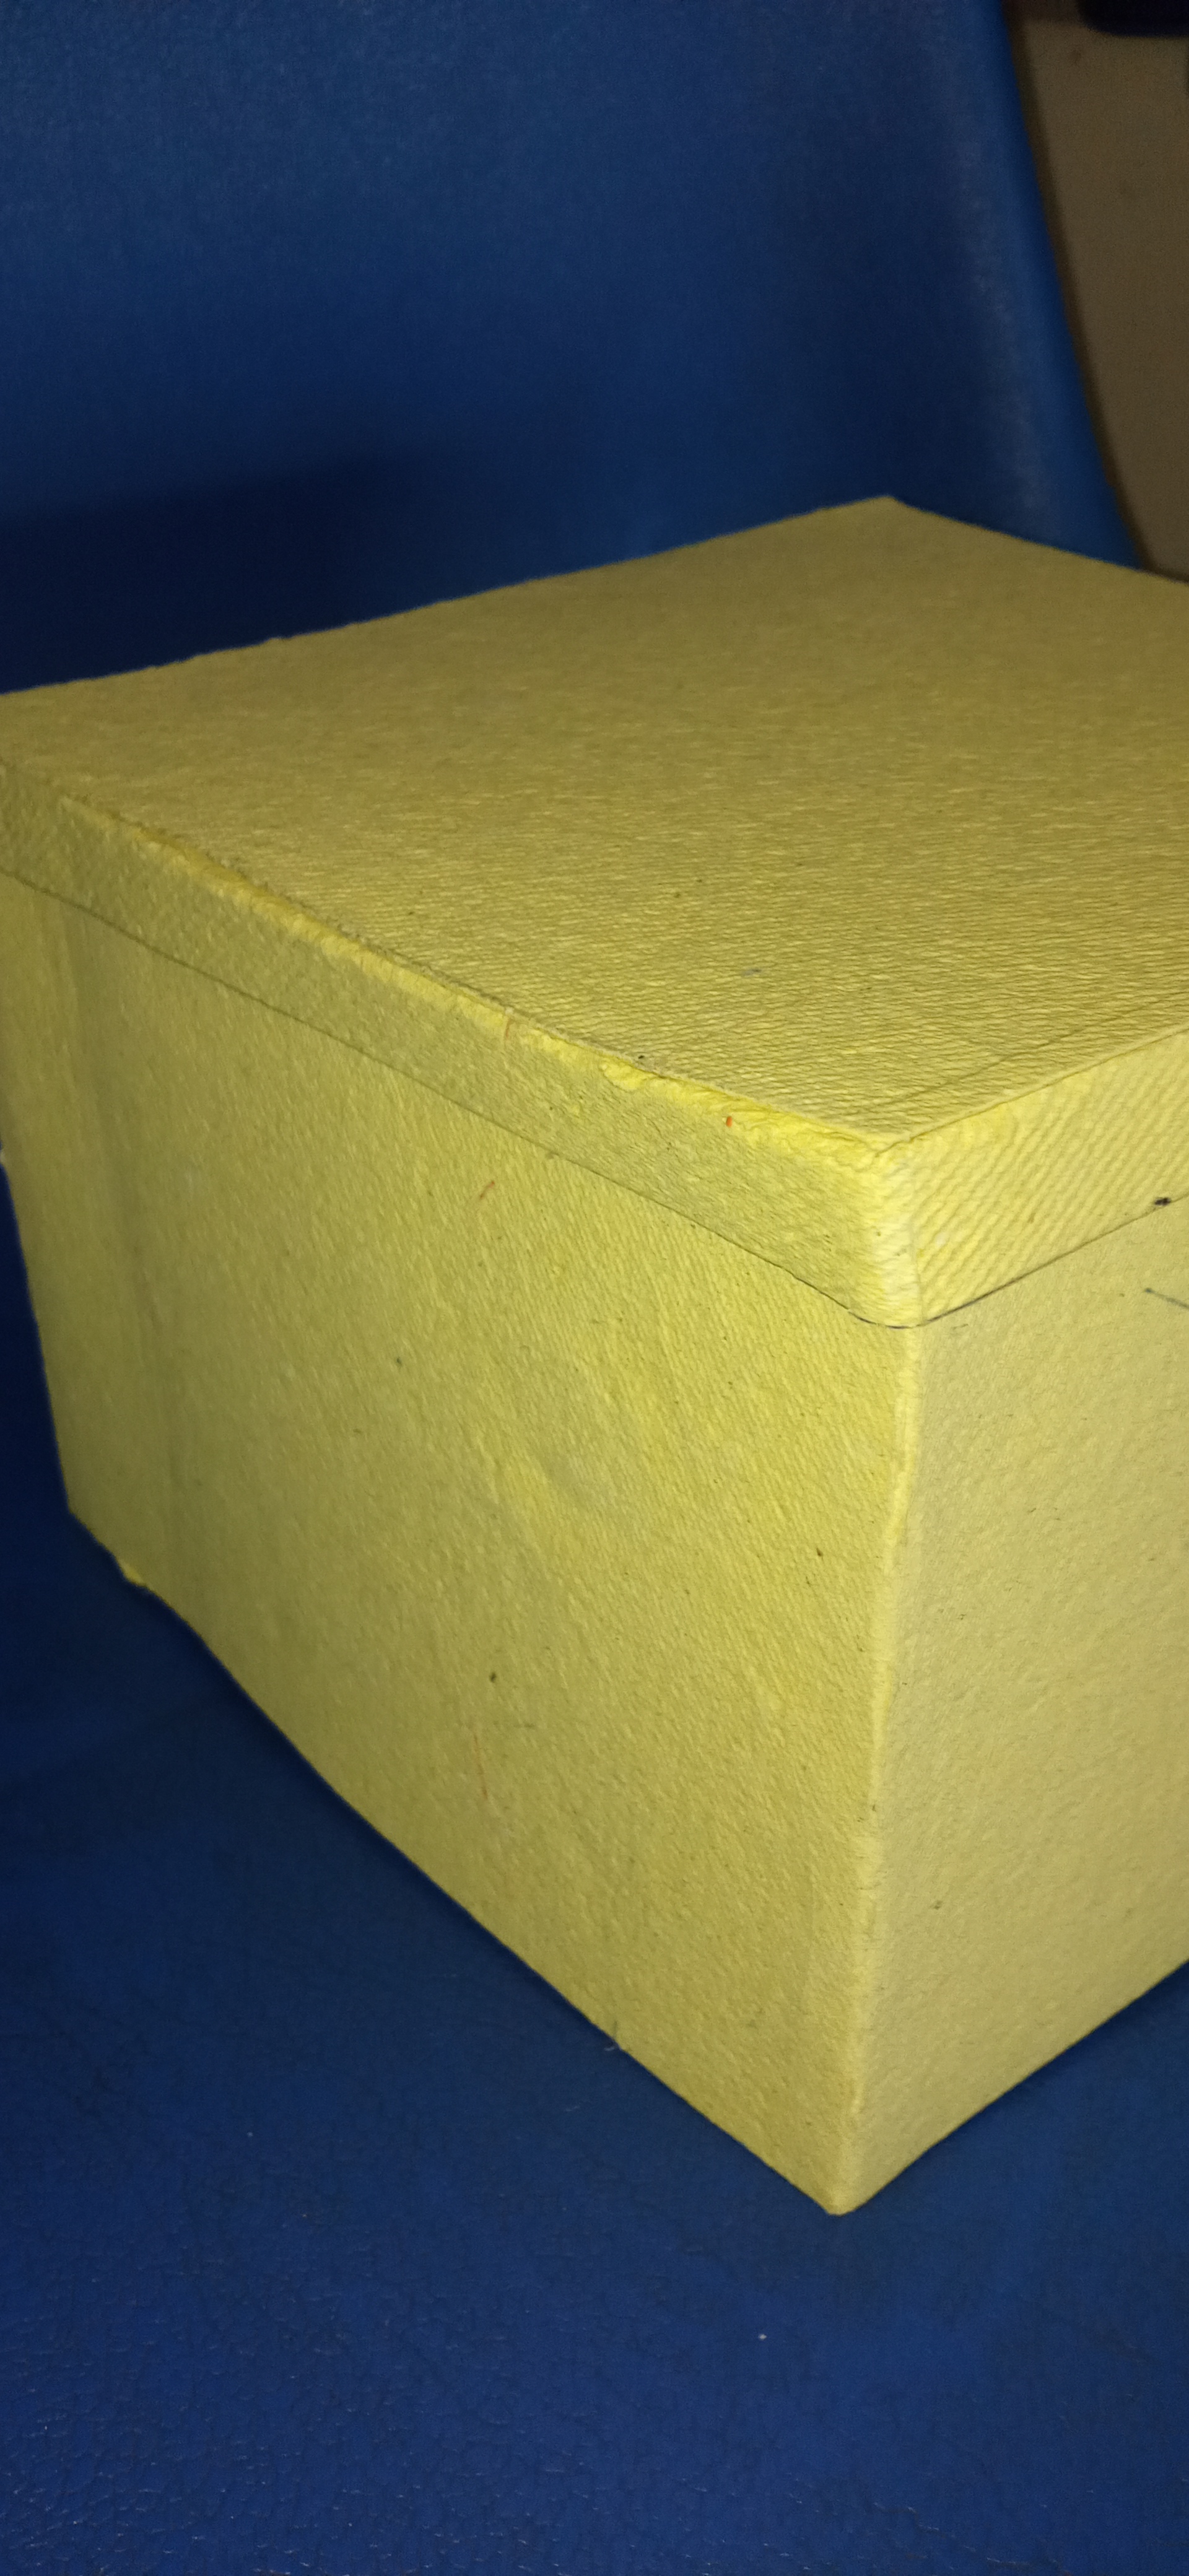
PASO 03
| Una vez recortadas las pegué con silicon liquido y estaria lista la caja, la cartulina es de amarillo palido porque en el siguiente paso tendria que pintarla. | Once cut I glued them with liquid silicone and the box would be ready, the cardboard is pale yellow because in the next step I would have to paint it. |
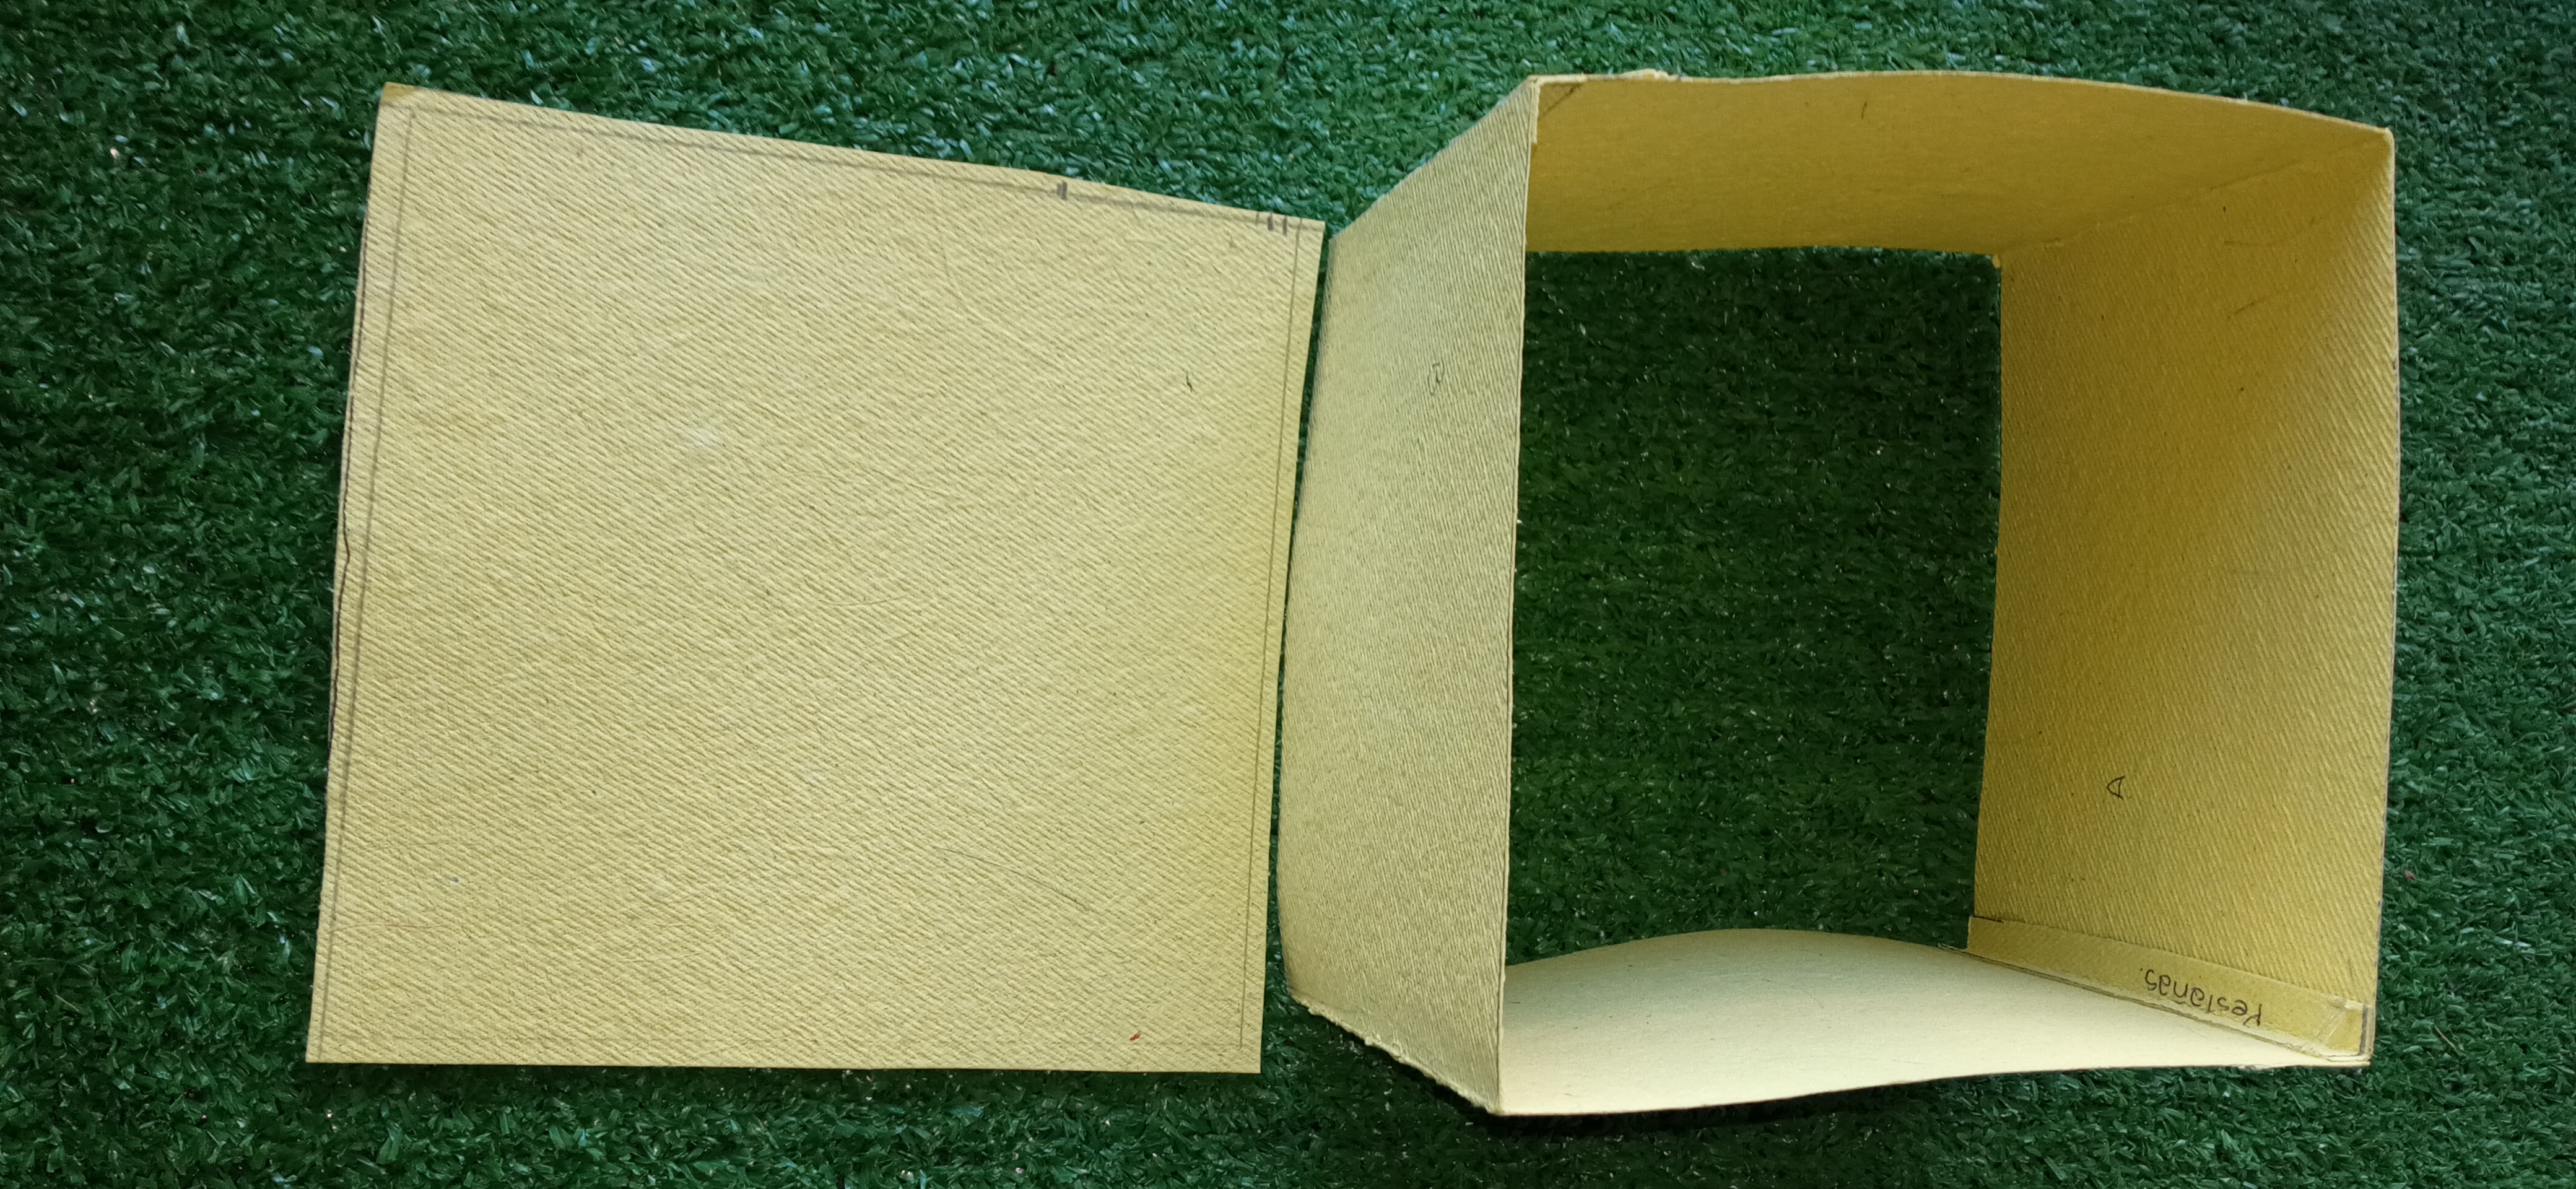
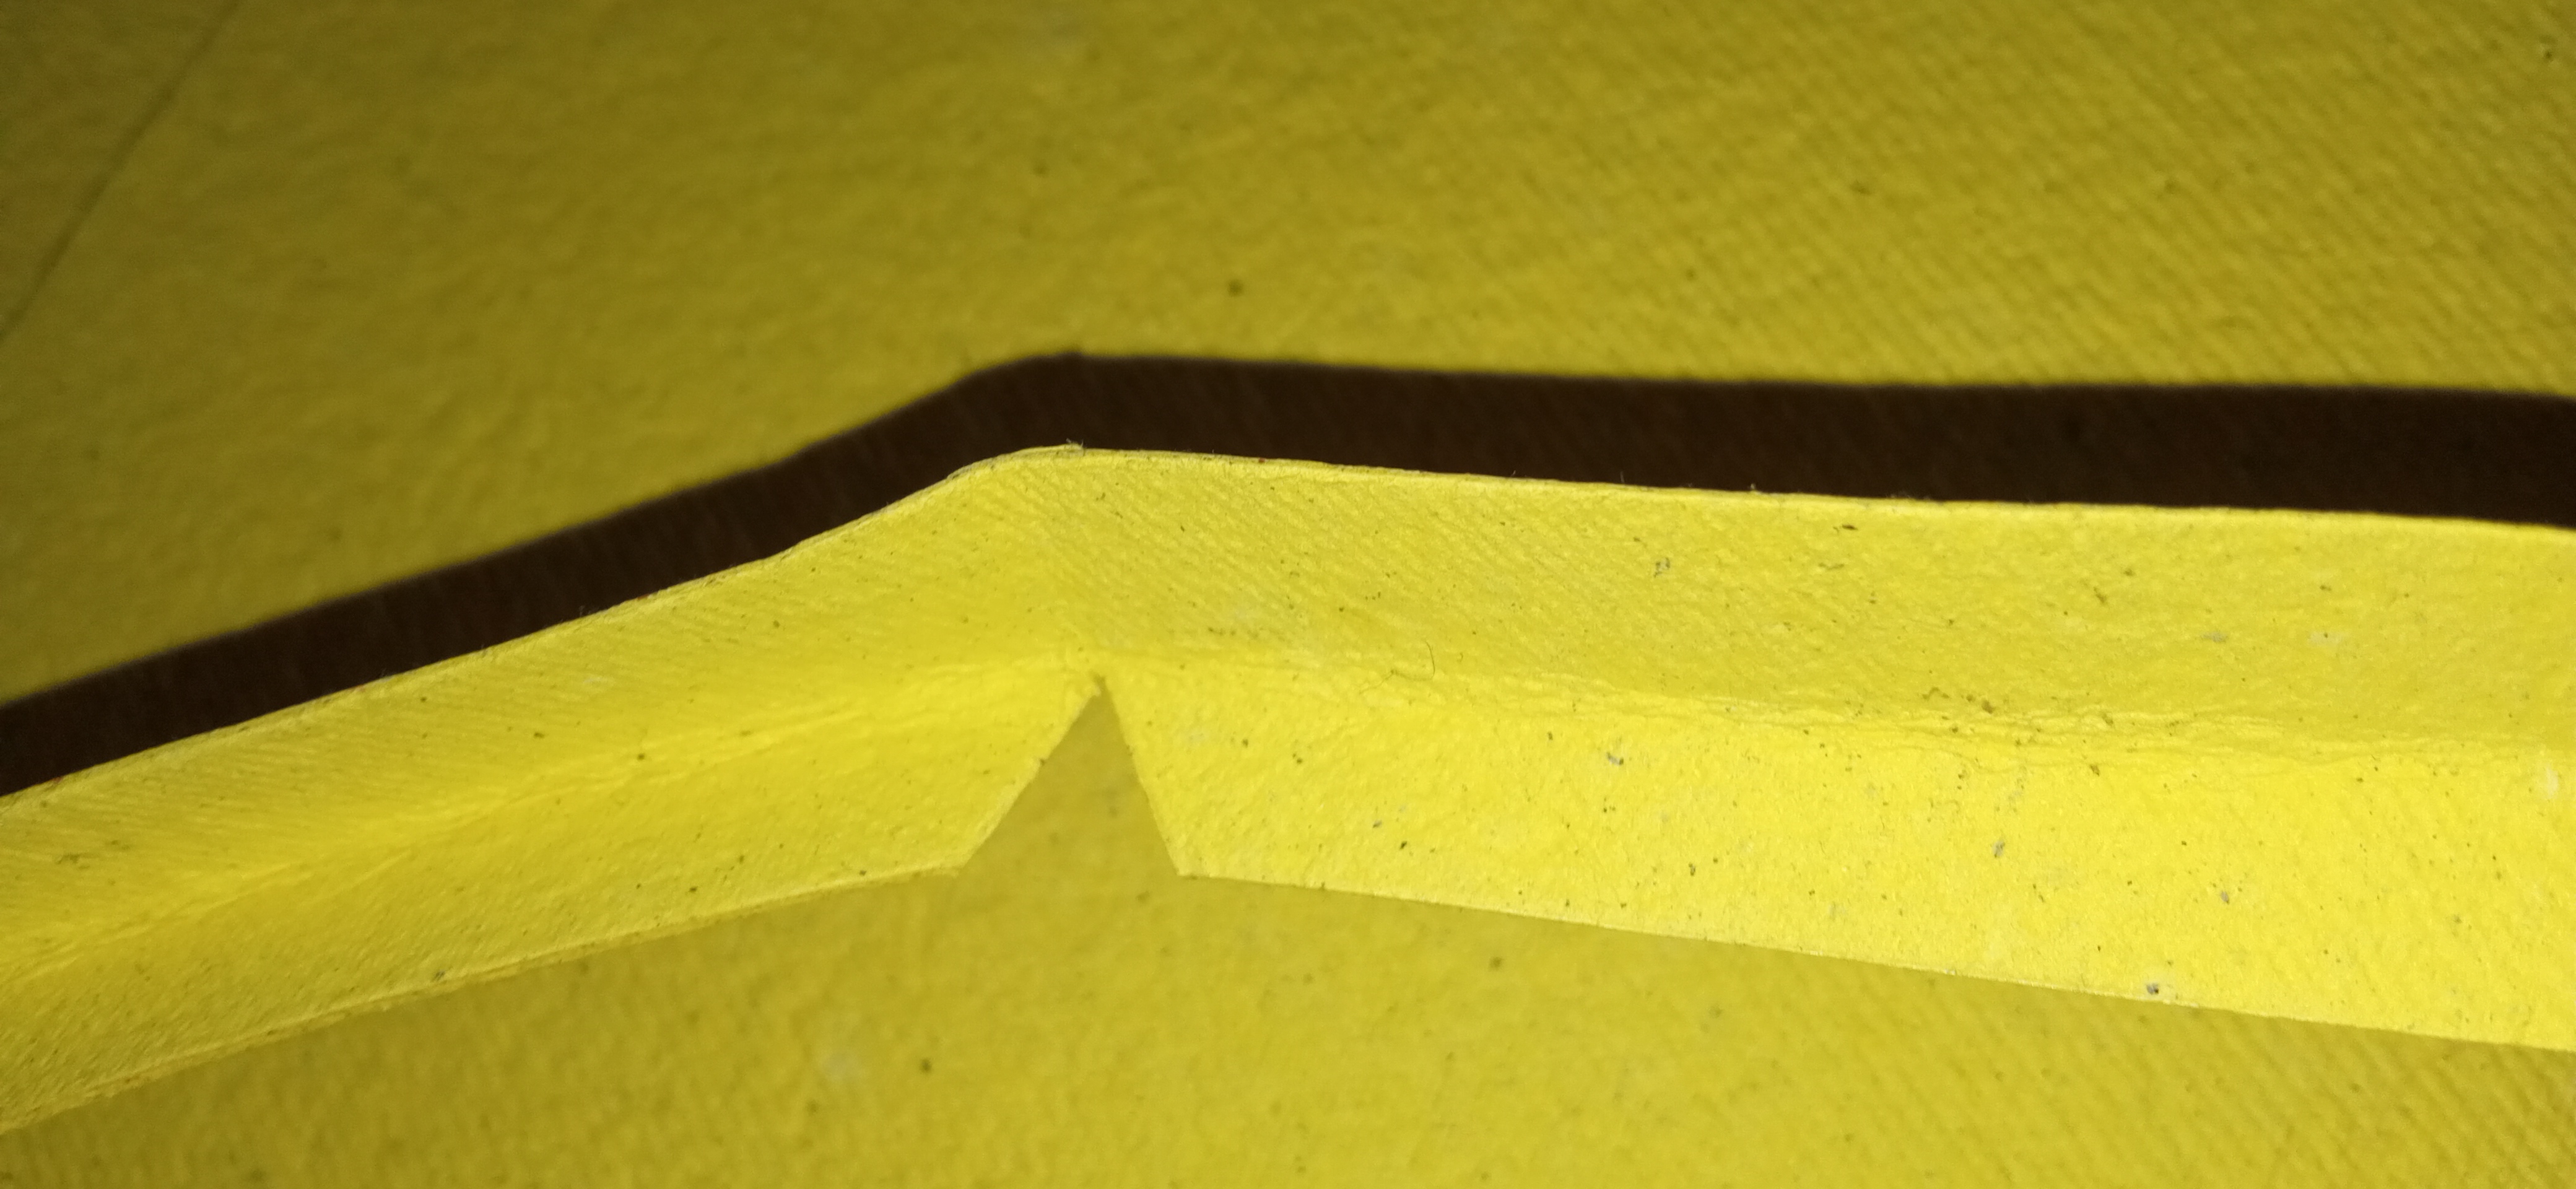
PASO 04
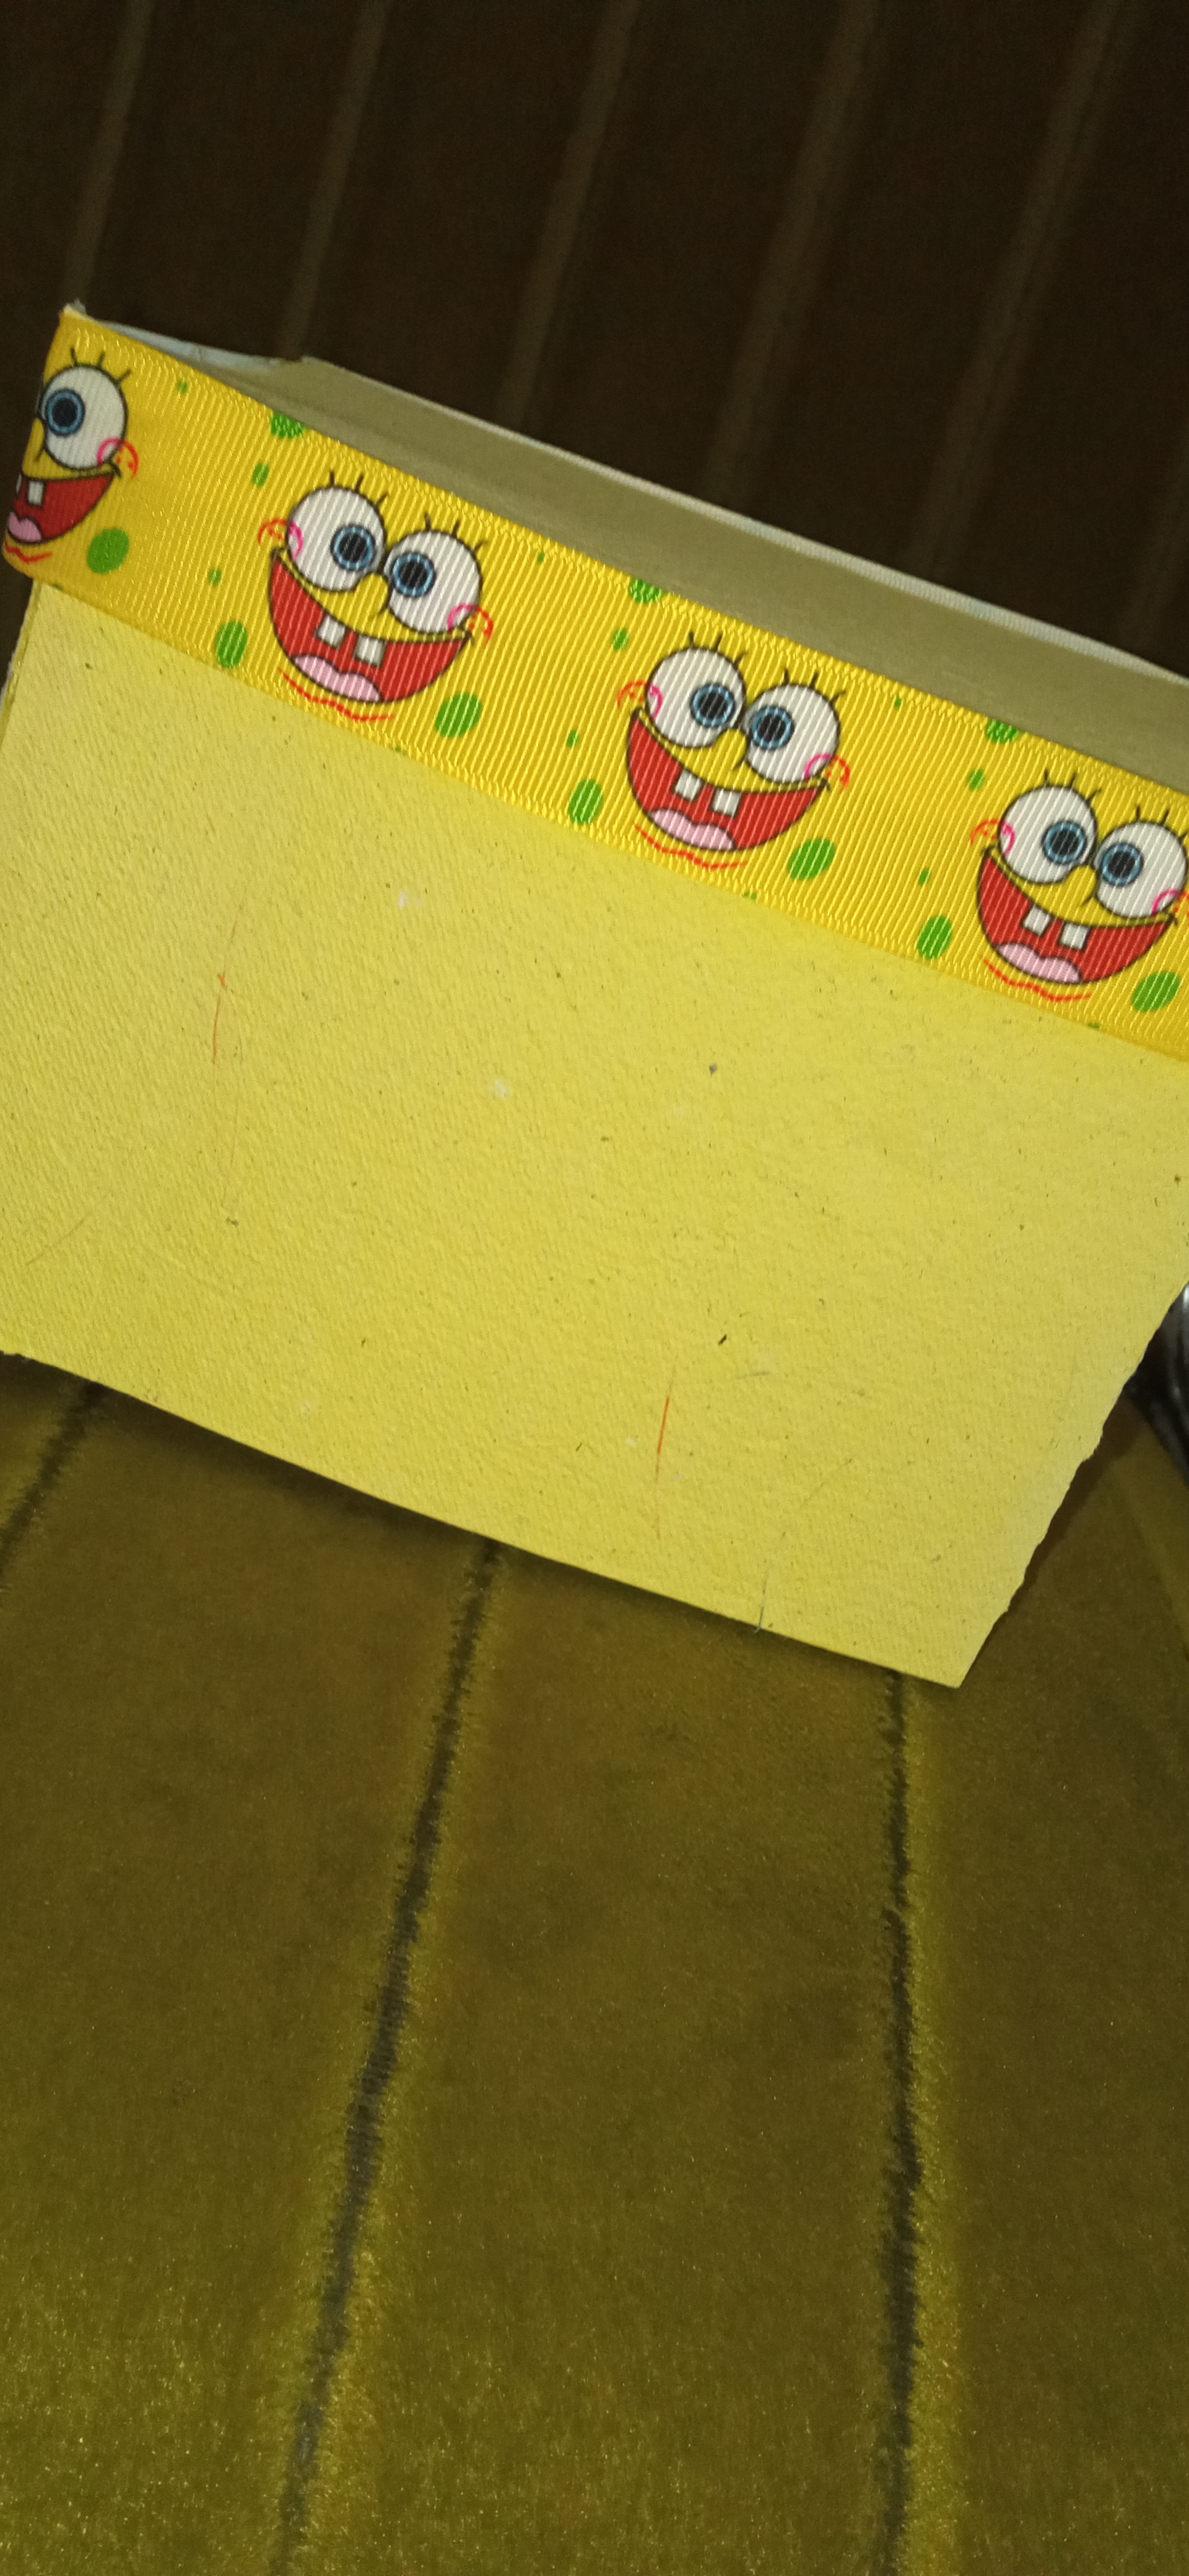
| Recorte la pieza de 10cm x 10 cm para comenzar a elaborar la tapa y utilice las mismas medidas de las pestañas anteriores para pegarlas en las orillas y en los dobles recorte en forma de "v" para facilitar el dobles. | Cut out the 10cm x 10cm piece to start making the lid and use the same measurements as the previous tabs to stick them on the edges and on the folds, cut in a "v" shape to make folding easier. |
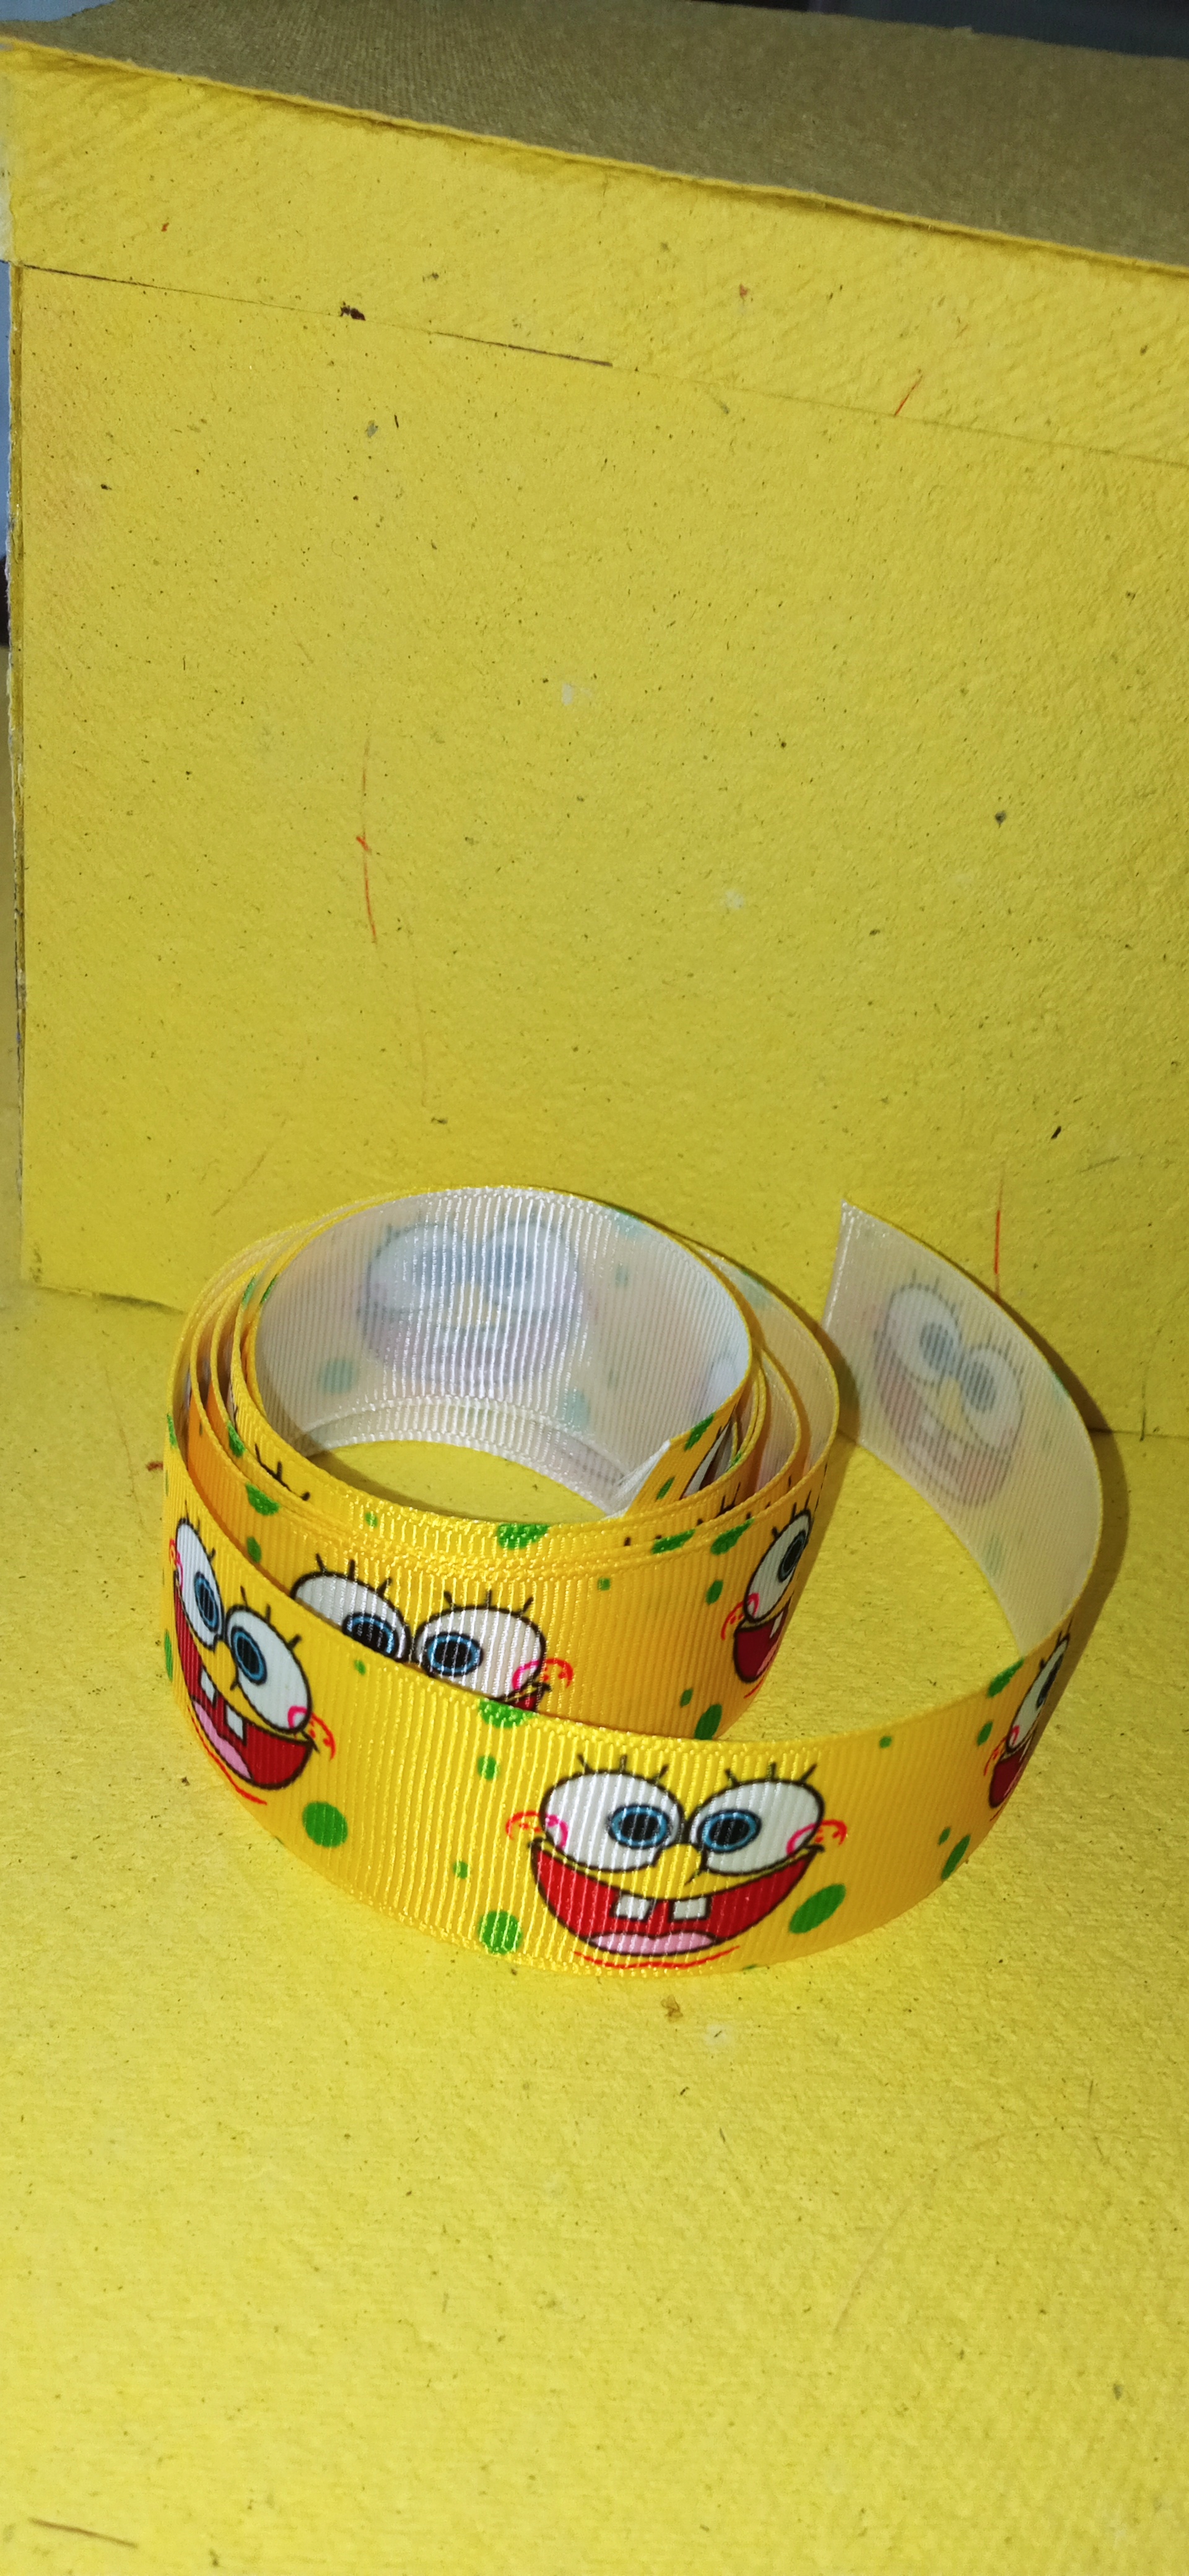
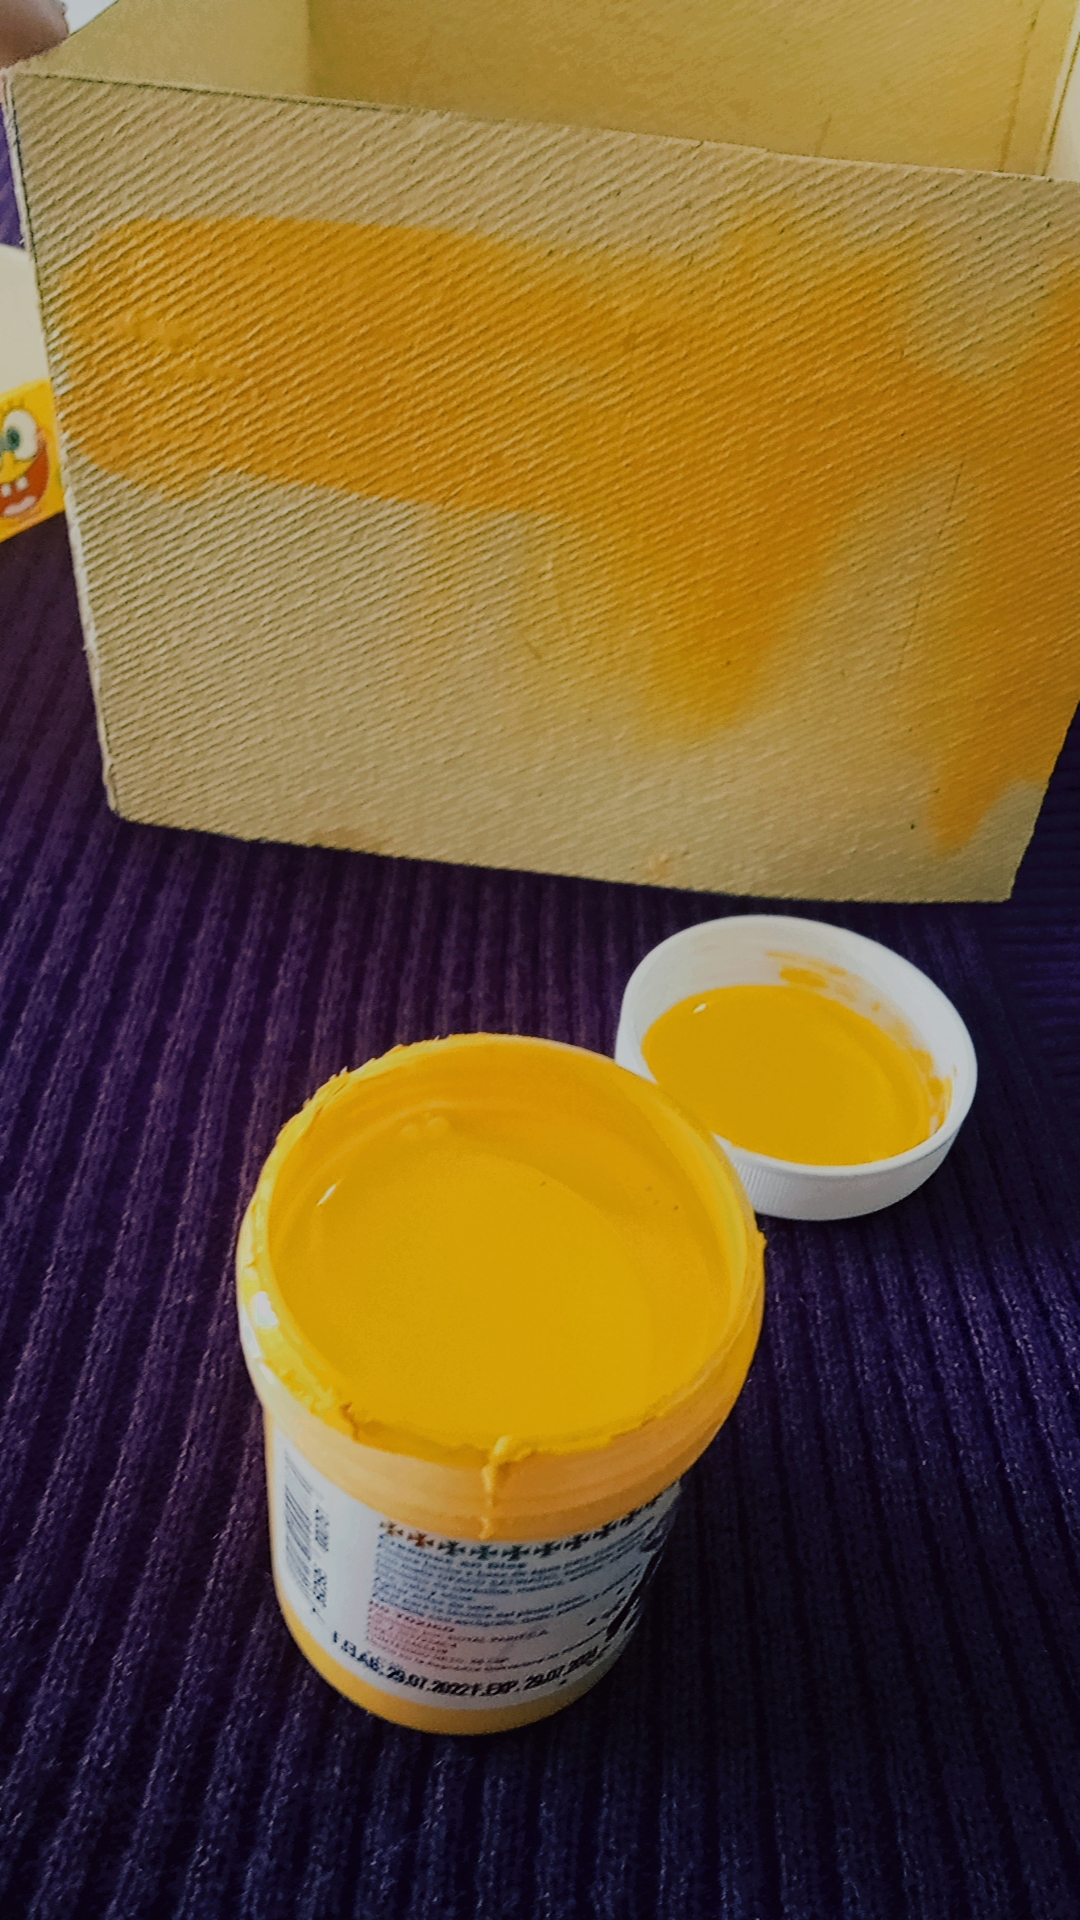
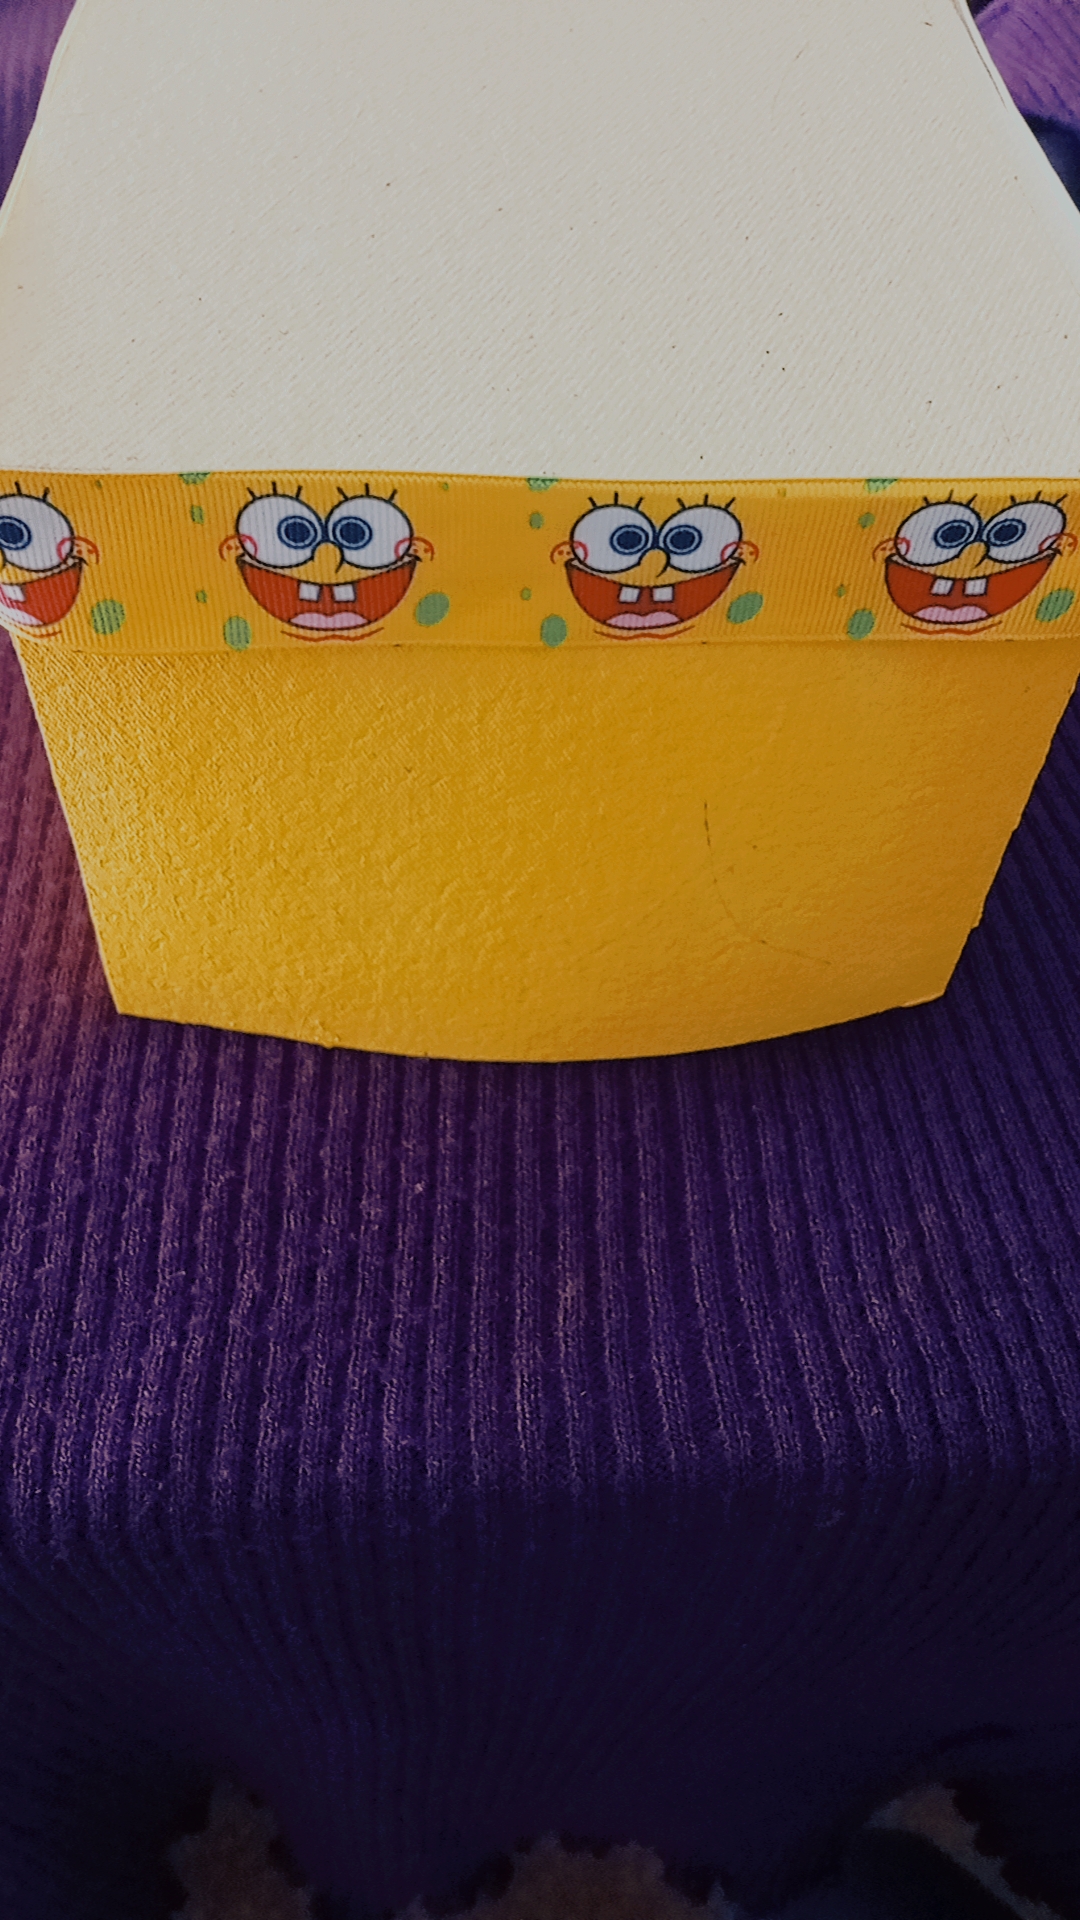
PASO 05
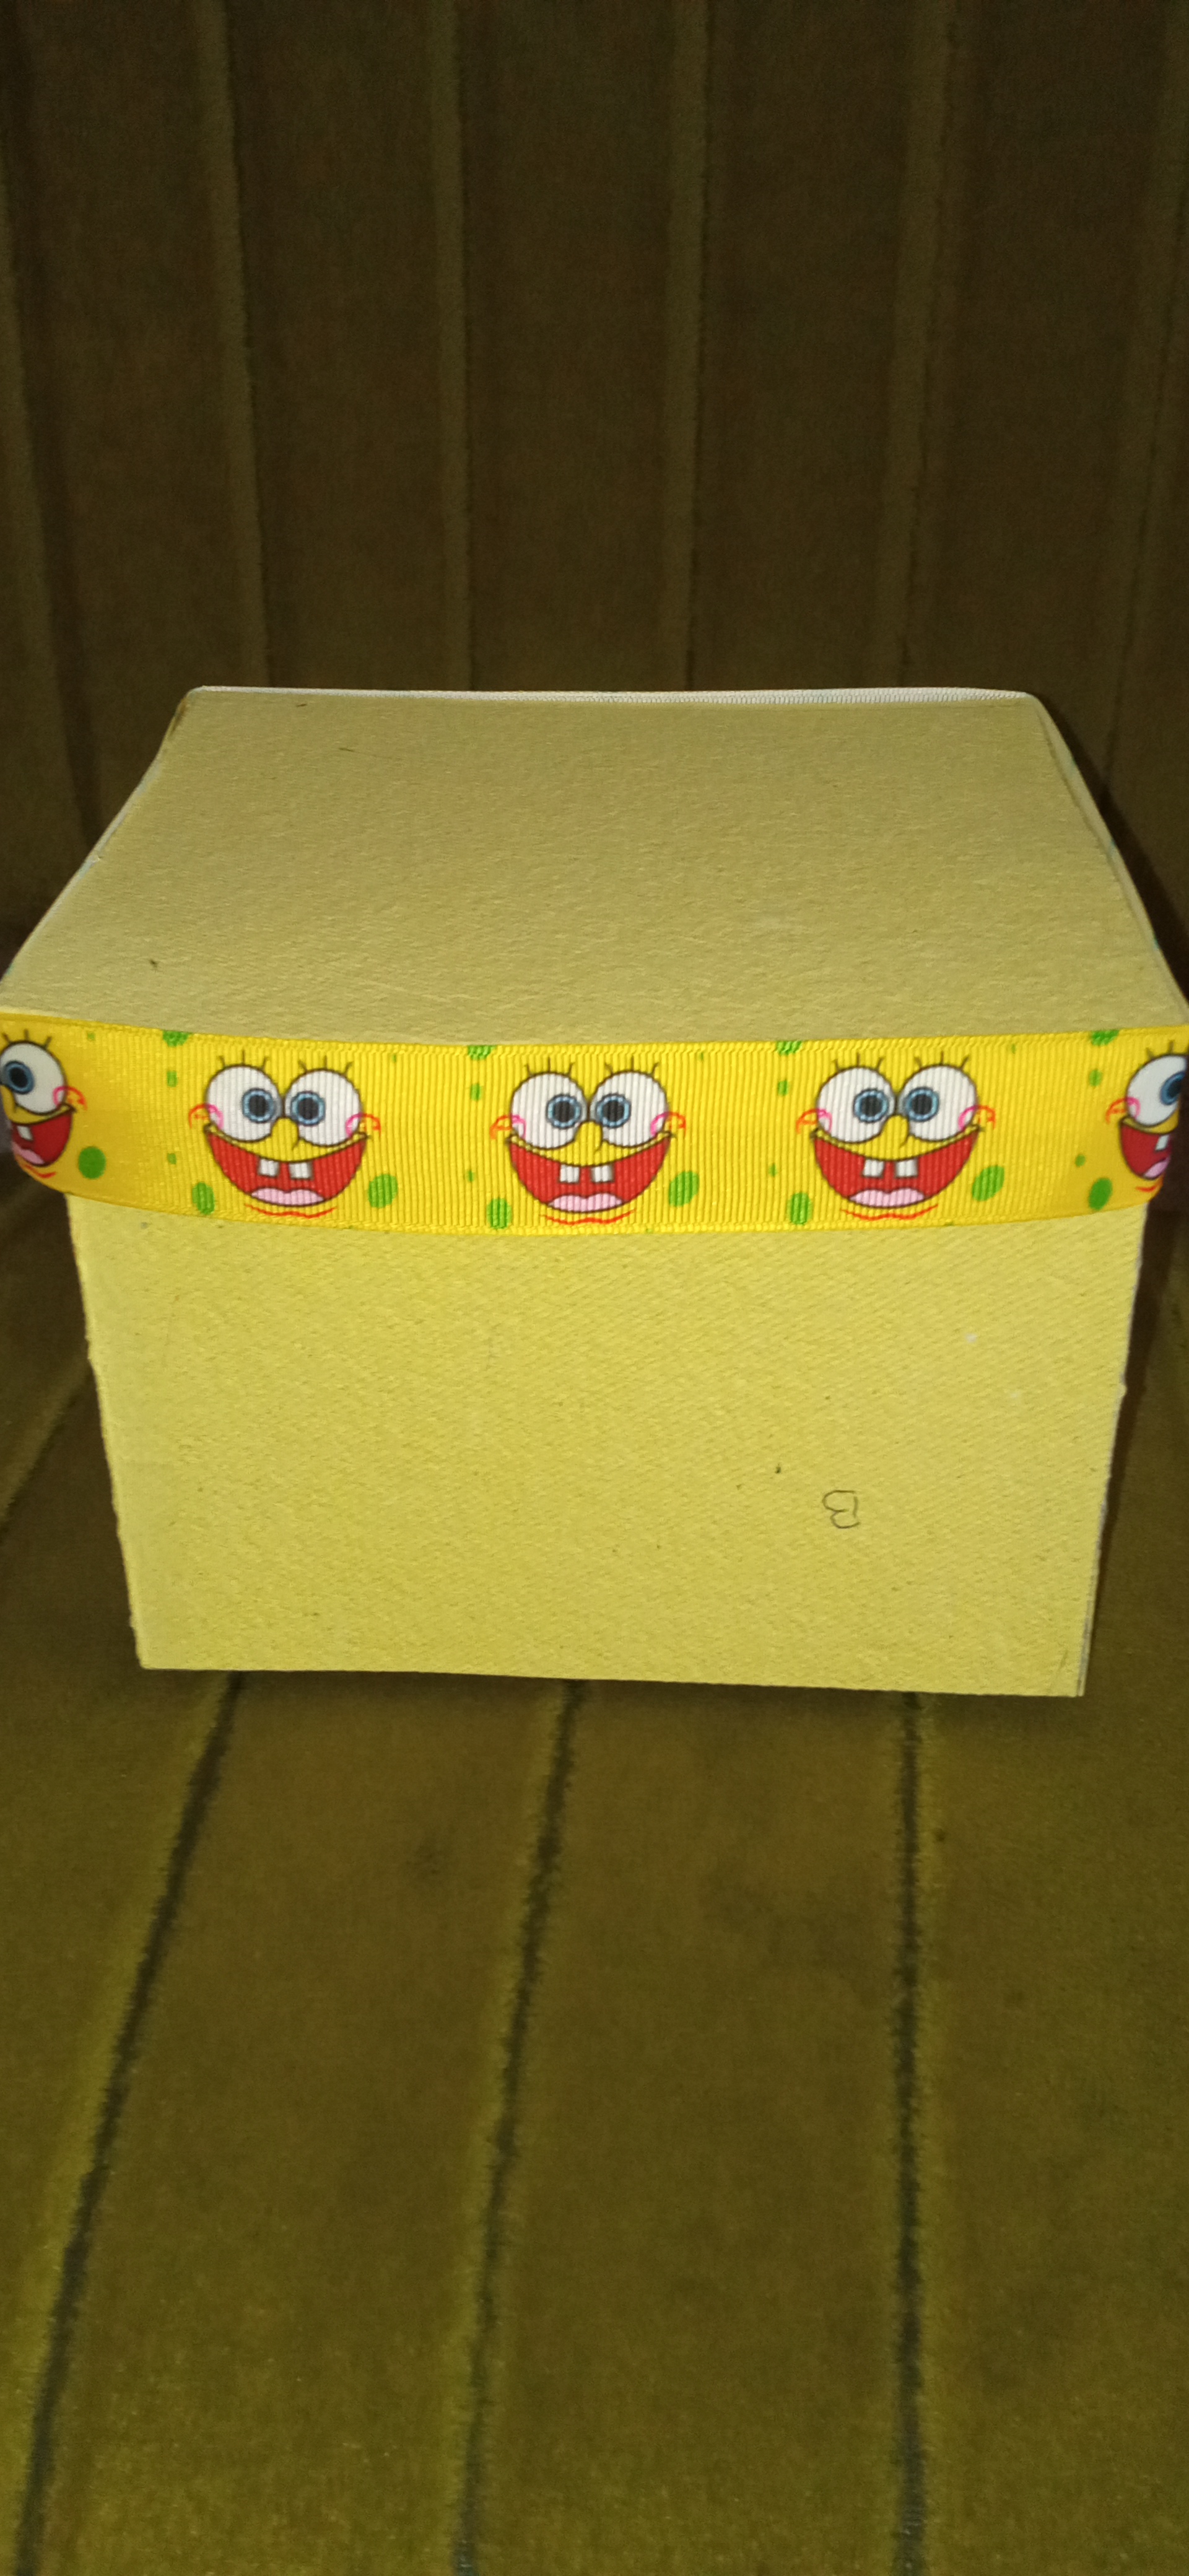
| Una vez armada la tapa pegue con silicon la cinta decorativa Bob Esponja y procedi aplicar pintura al frio amarilla para sacarle mas color a la caja | Once the lid is assembled, glue the SpongeBob decorative tape with silicone and proceed to apply yellow cold paint to get more color out of the box. |
 |  |
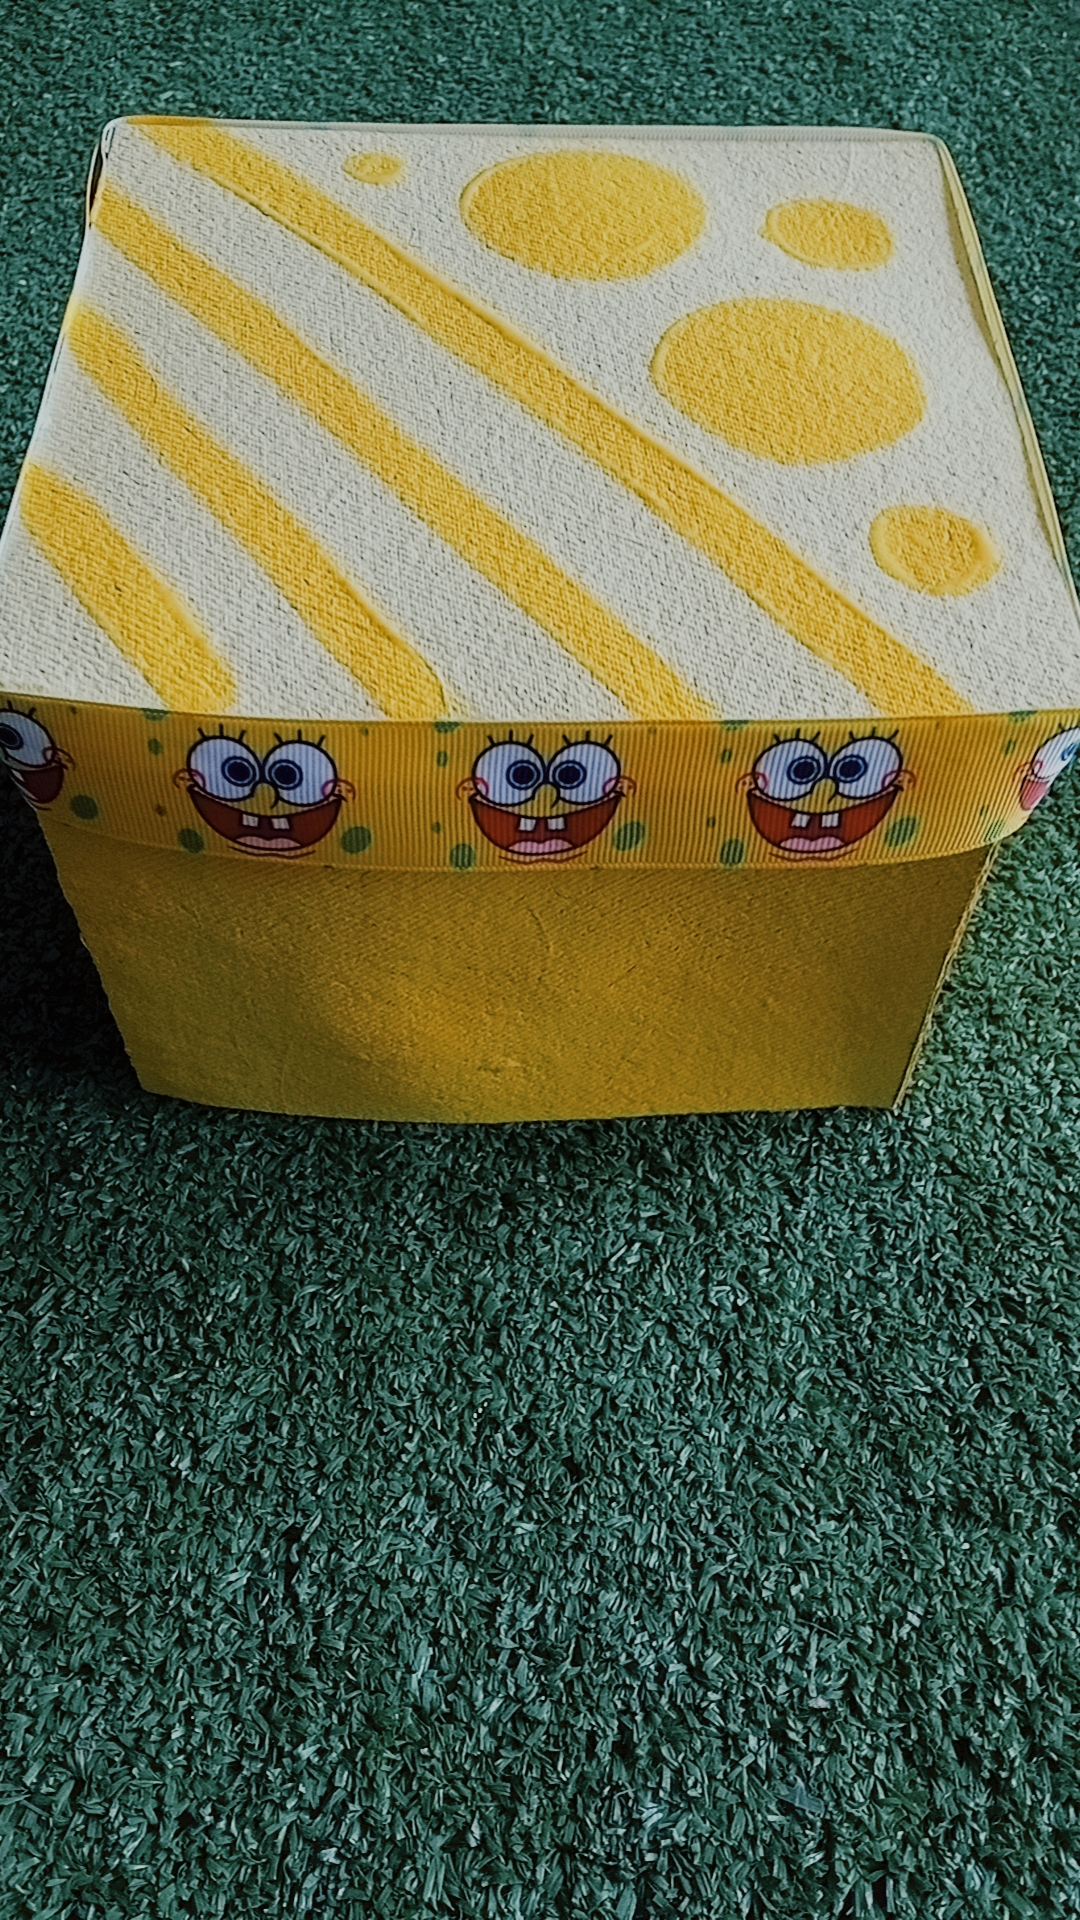
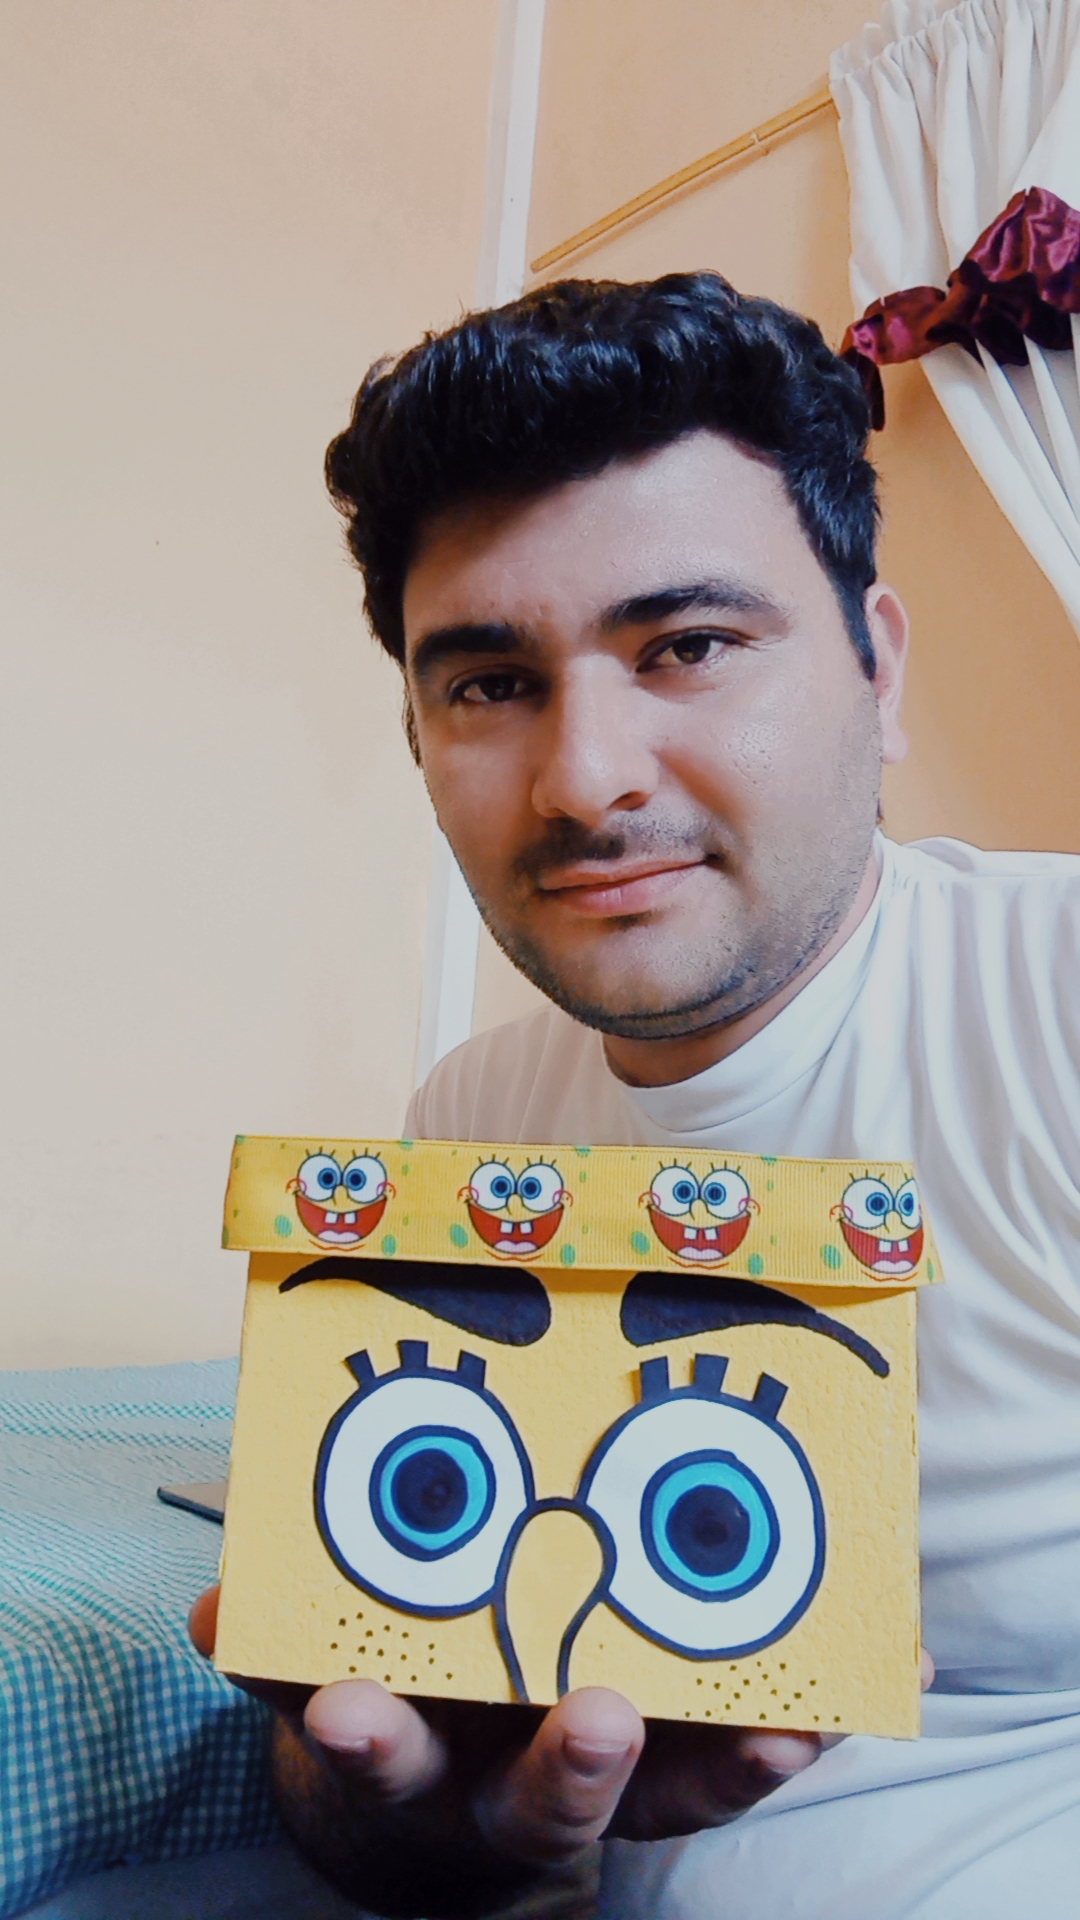
PASO 06
Comenzamos aplicar pintura amarilla para resaltar el color y en una hoja aparte dibujo y pintye los ojos de Bob Esponja para luego recortar y pegar con silicon; las cejas las dibuje directamente sobre la caja y estaria terminada.
 |  |
 | .jpg) |
 |  |
0
0
0.000
Te quedó bonita
gracias amiga..
Thank you for sharing this amazing post on HIVE!
Your content got selected by our fellow curator @rezoanulvibes & you just received a little thank you via an upvote from our non-profit curation initiative!
You will be featured in one of our recurring curation compilations and on our pinterest boards! Both are aiming to offer you a stage to widen your audience within and outside of the DIY scene of hive.
Join the official DIYHub community on HIVE and show us more of your amazing work and feel free to connect with us and other DIYers via our discord server: https://discord.gg/mY5uCfQ !
If you want to support our goal to motivate other DIY/art/music/homesteading/... creators just delegate to us and earn 100% of your curation rewards!
Stay creative & hive on!
Me encanta, basta con una sola mirada para saber que es Bob esponja, lograste el color y la forma de todas las figuras. Tiene muchos detalles, hermoso