Mini árbol de navidad-Amigurumi/Mini Christmas tree-Amigurumi [Esp/Eng]

Saludos mis amores, luego de un tiempo alejada de la comunidad regreso para aperturar la navidad en mi blog, si la navidad; la época mas hermosa del año y por eso retomé mis labores de tejido para crear hermosas piezas con la técnica del amigurumi y lo `romero que se vino a la mente fue realizar un mini árbol navideño, el cual elaboré en un día y al que le podemos dar diferentes usos como por ejemplo regalar para llavero, colgante para el auto o como adorno para la oficina o simplemente complemento para la decoración en el hogar.
Greetings my loves, after some time away from the community I return to open Christmas on my blog, yes Christmas; the most beautiful time of the year and so I resumed my knitting to create beautiful pieces with the amigurumi technique and the first thing that came to mind was to make a mini Christmas tree, which I made in one day and that we can give different uses such as a keychain gift, car pendant or as an ornament for the office or simply complement for home decoration.
Materiales
Aguja de crochet
Aguja de coser
Hilo de crochet en colores marrón, blanco, rojo y amarillo
Hilo de coser en color negro
Relleno
Tijera
Materials
Crochet needle
Sewing needle
Crochet thread in brown, white, red and yellow colors
Sewing thread in black
Stuffing
Scissors
Paso a Paso/Step by Step
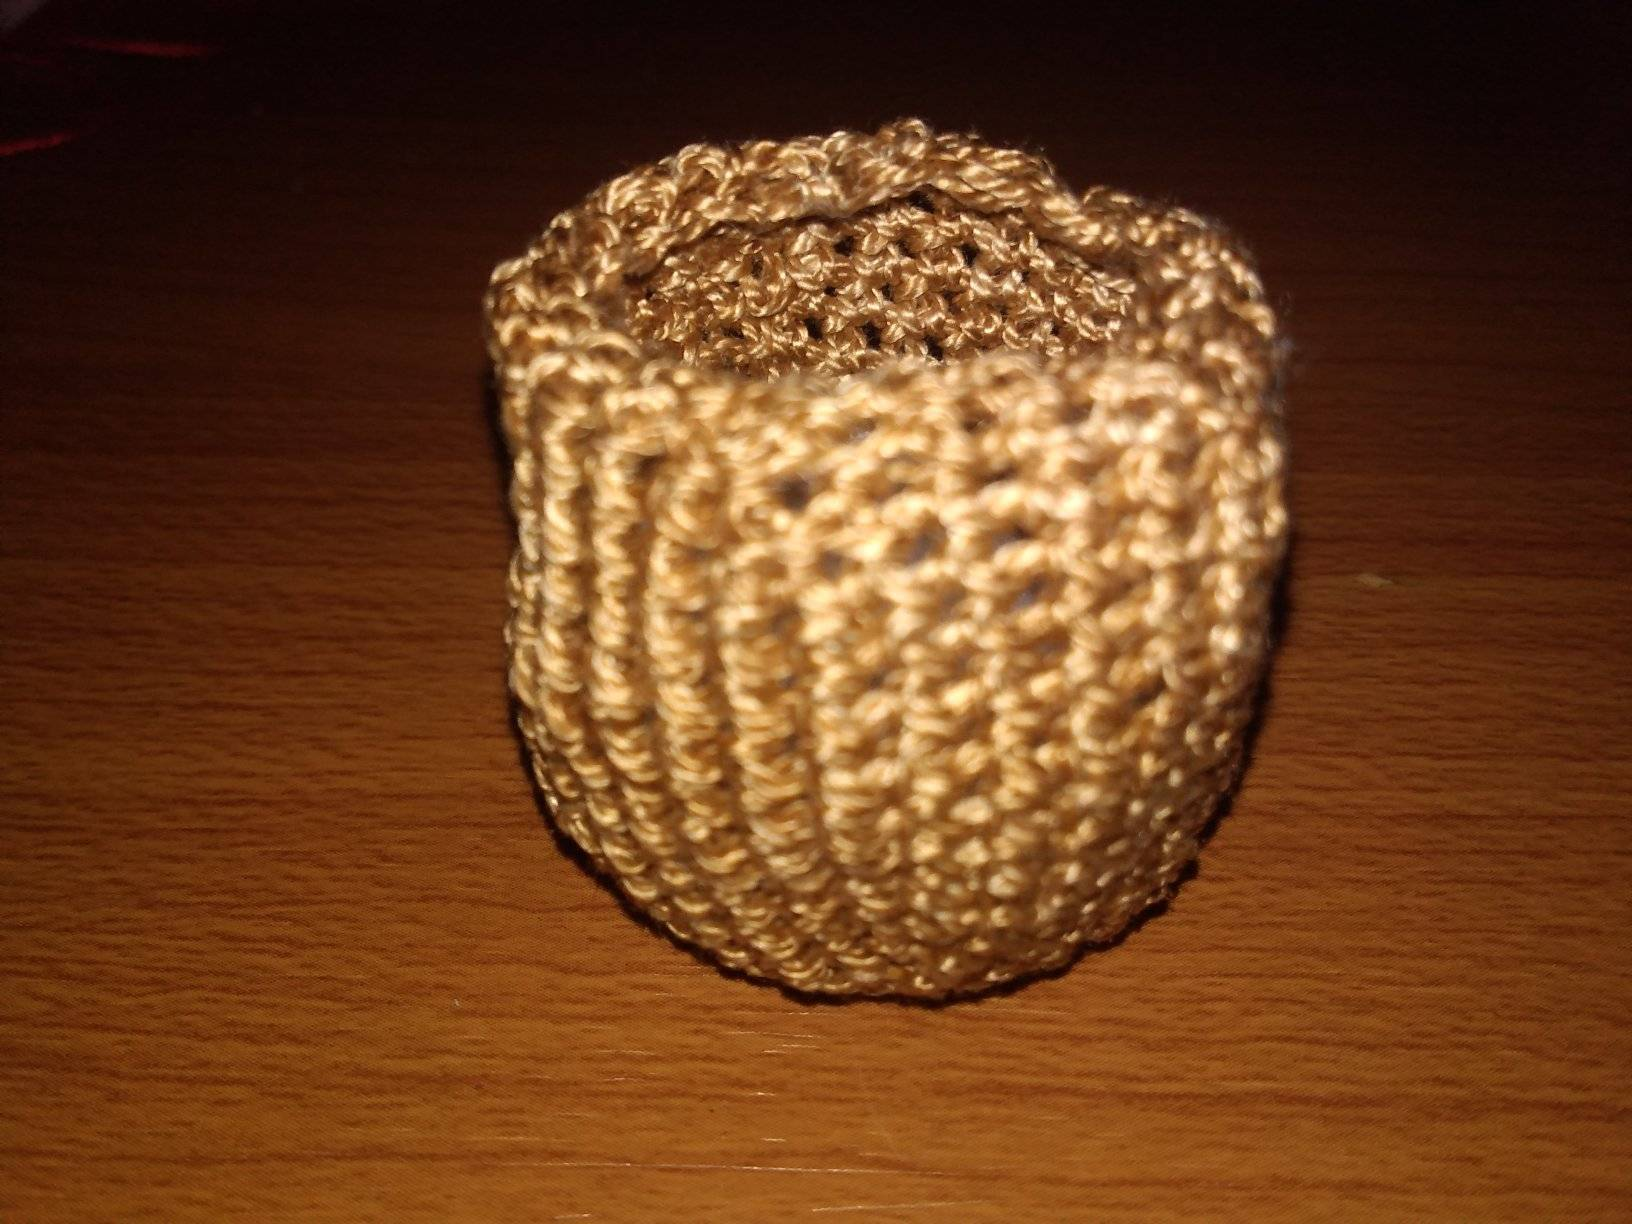
Lo primero que trabajé fue el tronco que obviamente es de color marrón por lo que inicie con un anillo mágico de seis puntos bajos, con la primera vuelta comencé los aumentos dos puntos bajos por espacio logrando doce puntos; a partir de la vuelta dos hasta la seis hacemos un aumento un punto bajo, un aumento dos puntos bajos y así hasta completar un aumento con cinco puntos bajos, respectivamente; continuamos con ocho vueltas de puntos bajos en cada espacio, en la próxima vuelta, que sera la 16 es una disminución, un punto bajo y la ultima vuelta es de puntos bajos en cada espacio, rematamos y cortamos el hilo para culminar con el relleno.
The first thing I worked was the trunk which is obviously brown so I started with a magic ring of six single crochet stitches, with the first round I started the increases two single crochets per space achieving twelve stitches; from round two to six we make an increase one single crochet, an increase two single crochets and so on until completing an increase with five single crochets, respectively; We continue with eight rows of single crochet in each space, in the next row, which will be the 16th, is a decrease, a single crochet and the last row is of single crochet in each space, we finish off and cut the yarn to finish with the filling.
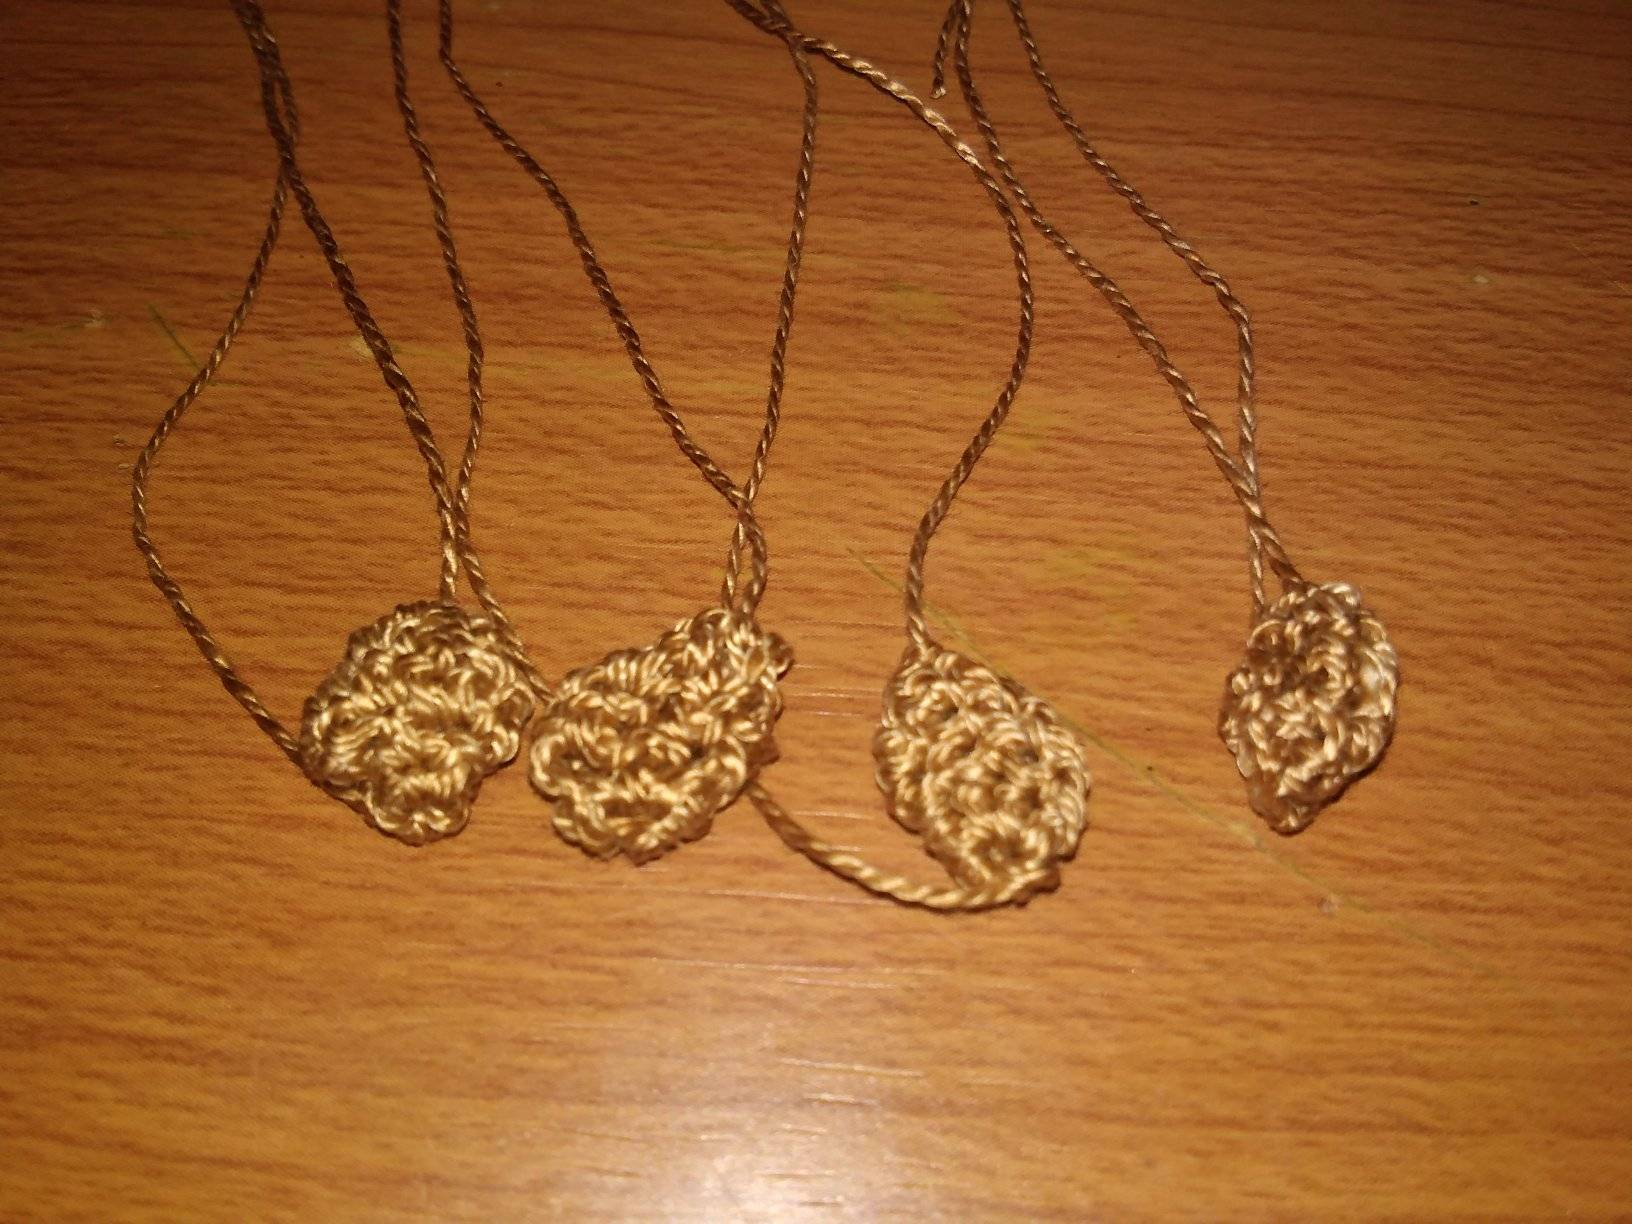
Continuando con el hilo de color marrón, hacemos lo que serán brazos y piernas del árbol, logrando hacer cuatro piezas; así que comenzamos con un anillo mágico de seis puntos bajos, luego trabajamos dos vueltas de puntos bajos en cada espacio, rematamos y dejamos hilo excedente para unir.
Continuing with the brown yarn, we make what will be the arms and legs of the tree, making four pieces; so we start with a magic ring of six single crochet stitches, then we work two rows of single crochet stitches in each space, we finish off and leave excess yarn to join.
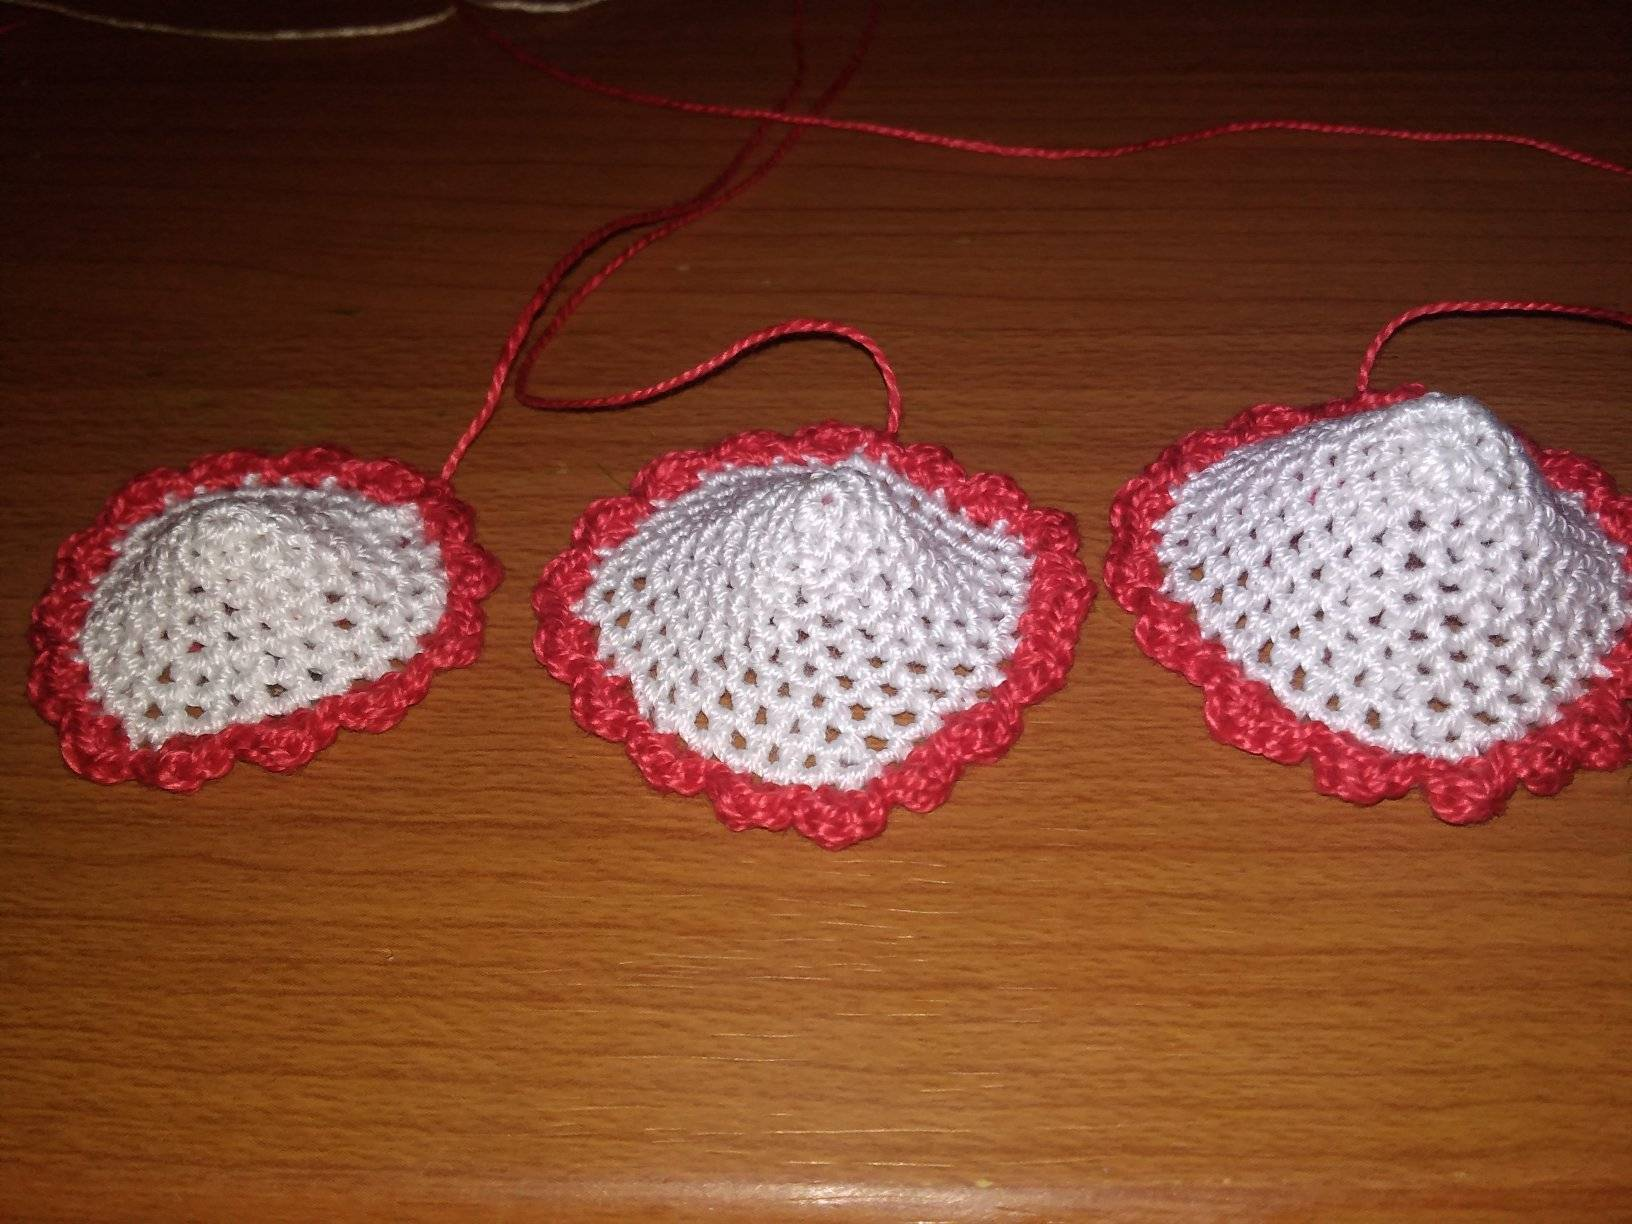
Vamos con lo que es el cuerpo del árbol y para ello elegí el color blanco con el que realice tres piezas; la primera, que es la mas grande la comencé con anillo mágico de seis puntos y en las siguientes nueve vueltas trabaje con un aumento un punto bajo, un aumento dos puntos bajos y así hasta llegar a la ultima vuelta con un aumento con ocho puntos bajos logrando 36 puntos, en la siguiente y ultima vuelta introducimos el hilo de color rojo para trabajar un punto bajo, una media vareta y un punto bajo; todos en un mismo espacio, pasamos al siguiente espacio haciendo un punto raso; repetir el proceso anterior 18 veces logrando 72 puntos. Para la segunda y tercera pieza realizamos el mismo proceso que hicimos con la primera con la diferencia que la segunda pieza lleva ocho vueltas con aumentos, en la parte de color rojo terminamos con 60 puntos y la tercera pieza seis vueltas con aumento, termonando la parte de color rojo con 48 puntos; para obtener piezas de diferentes tamaños; lo que sigue es colocar un poquito de relleno para darle mejor forma, esto sun olvidar que al momento de rematar se debe dejar hilo de mas para unir las piezas.
Let's go with what is the body of the tree and for this I chose the white color with which I made three pieces; the first one, which is the largest, I started with a magic ring of six stitches and in the following nine rounds I worked with an increase of one single crochet, an increase of two single crochets and so on until the last round with an increase of eight single crochets achieving 36 stitches, in the next and last round we introduce the red thread to work a single crochet, a half purl and a single crochet; all in the same space, we pass to the next space making a single crochet; repeat the previous process 18 times achieving 72 stitches. For the second and third pieces we make the same process that we did with the first one with the difference that the second piece has eight rows with increases, in the red part we finish with 60 stitches and the third piece six rows with increases, finishing the red part with 48 stitches; to obtain pieces of different sizes; what follows is to place a little bit of stuffing to give it a better shape, this without forgetting that at the moment of finishing you must use extra yarn to join the pieces.

Ahora vamos con la estrella que es color amarillo, comenzando con un anillo magico el cual no vamos a unir los extremos y lo que vamos hacer es levantar una cadeneta, un punto bajo, dos cadenetas, un punto bajo, una cadeneta y un punto raso; todos en un mismo punto; hasta lograr las seis puntas y entonces si unimos los extremos; rematamos y dejamos hilo excedente.
Now we go with the yellow star, starting with a magic ring which we are not going to join the ends and what we are going to do is to raise a chain, a single crochet, two chains, a single crochet, a chain and a single crochet; all in the same stitch; until we reach the six points and then we join the ends; we finish off and leave the excess yarn.
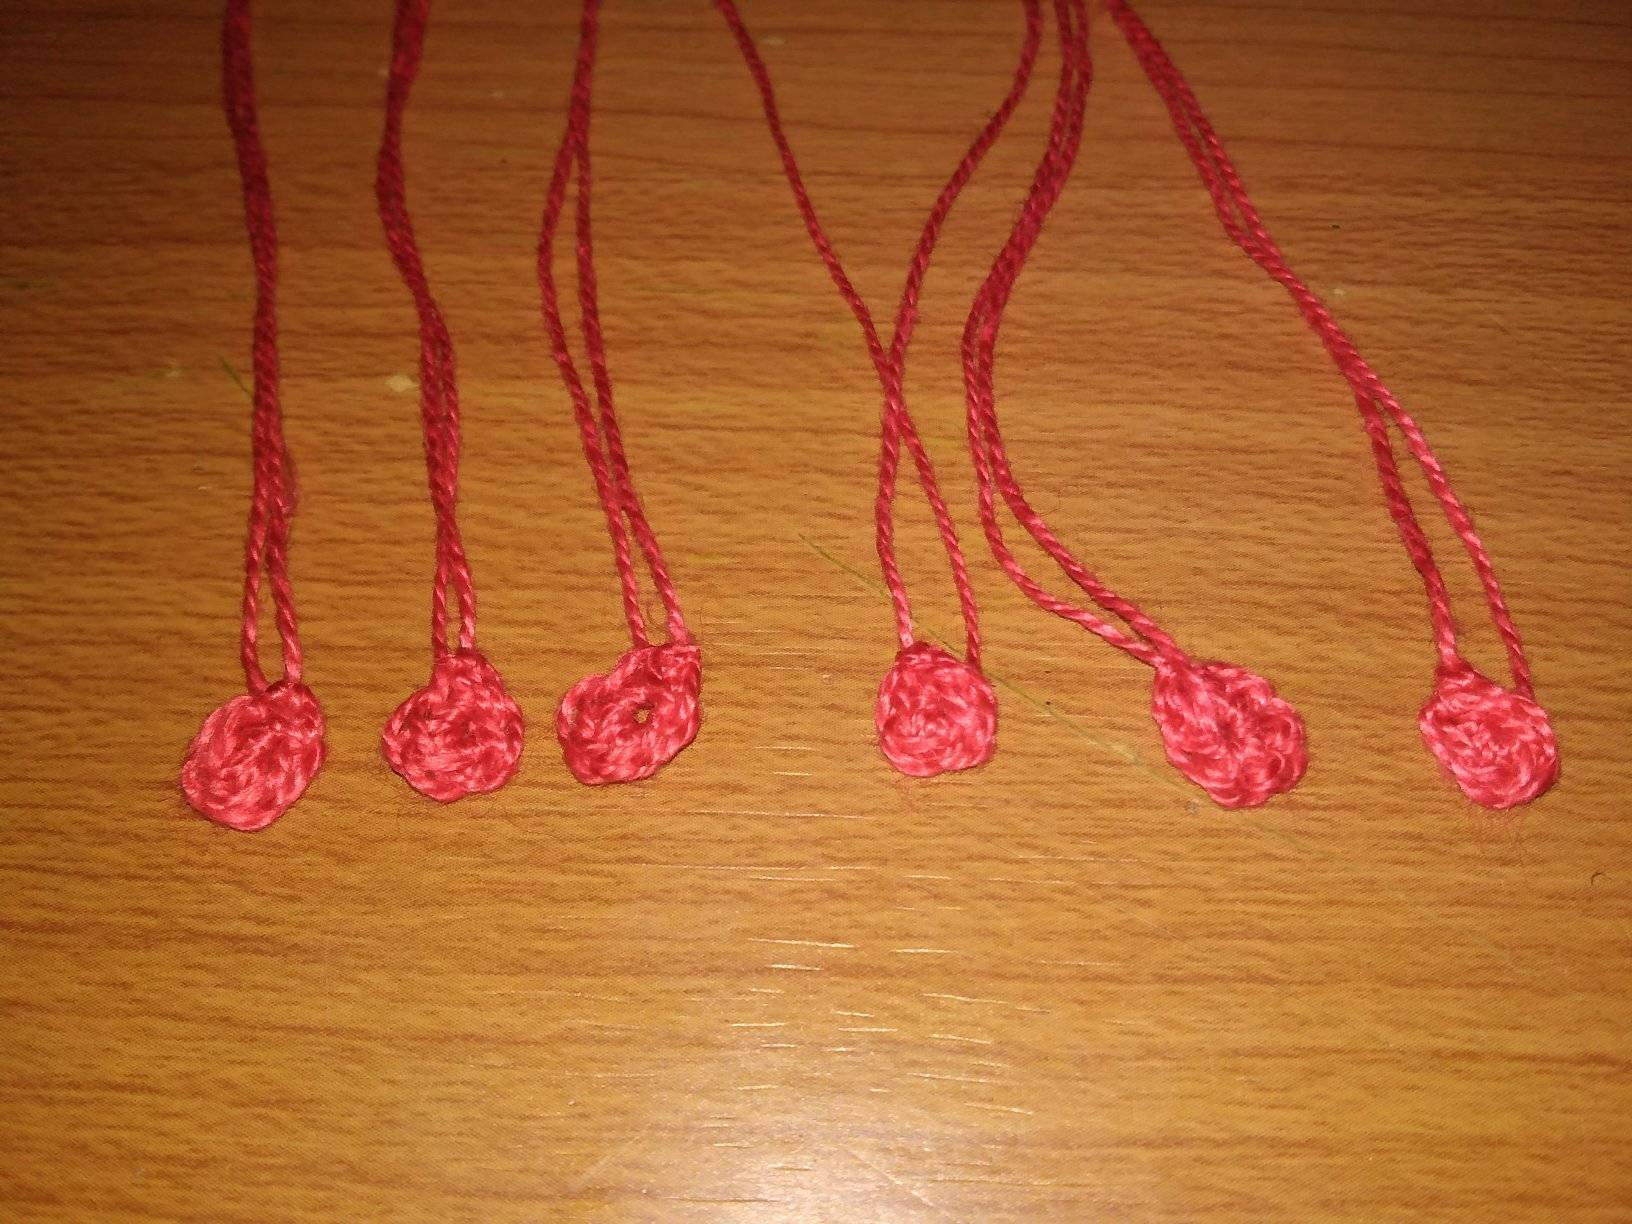
Lo ultimo será realizar lo que serán las bolas del árbol, asi que realizamos un anillo mágico de seis puntos, rematamos y dejamos hilo excedente; repetir el proceso seis veces mas.
The last step will be to make what will be the balls of the tree, so we make a magic ring of six stitches, finish it off and leave the excess yarn; repeat the process six more times.
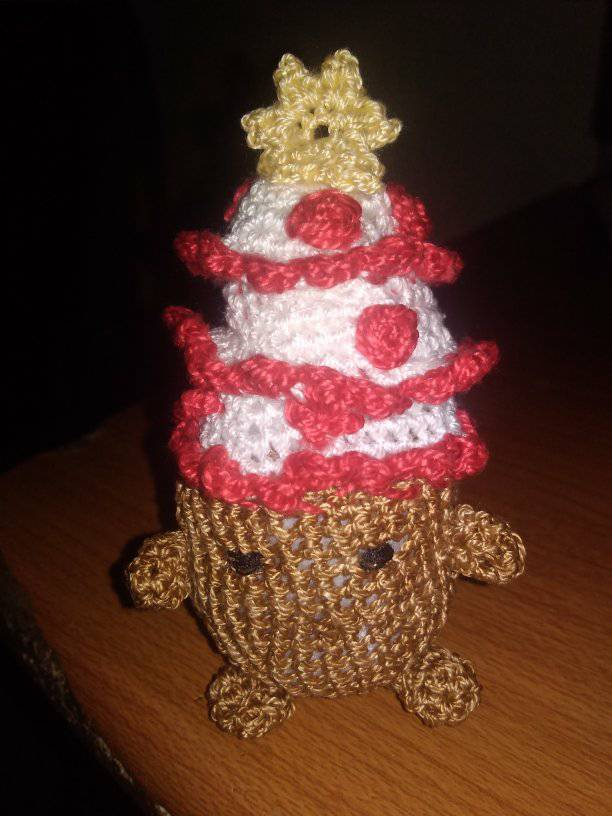
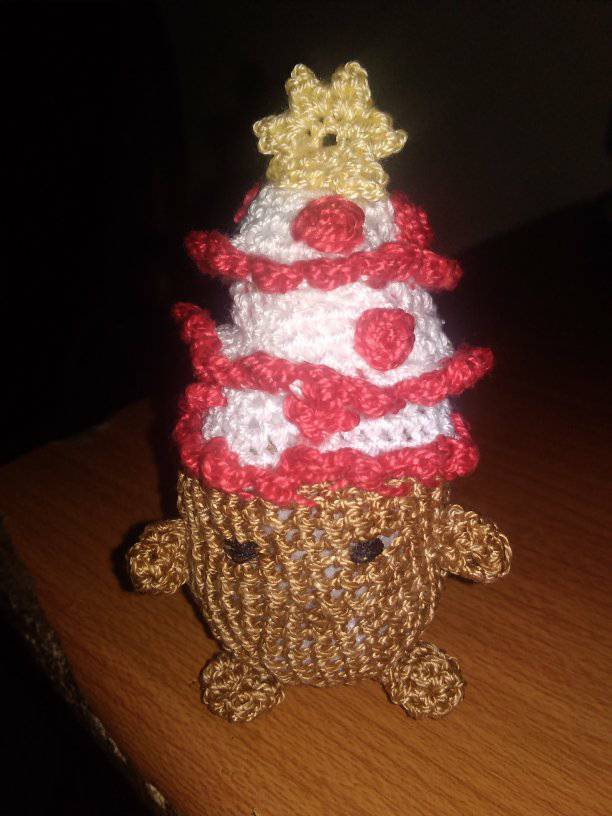
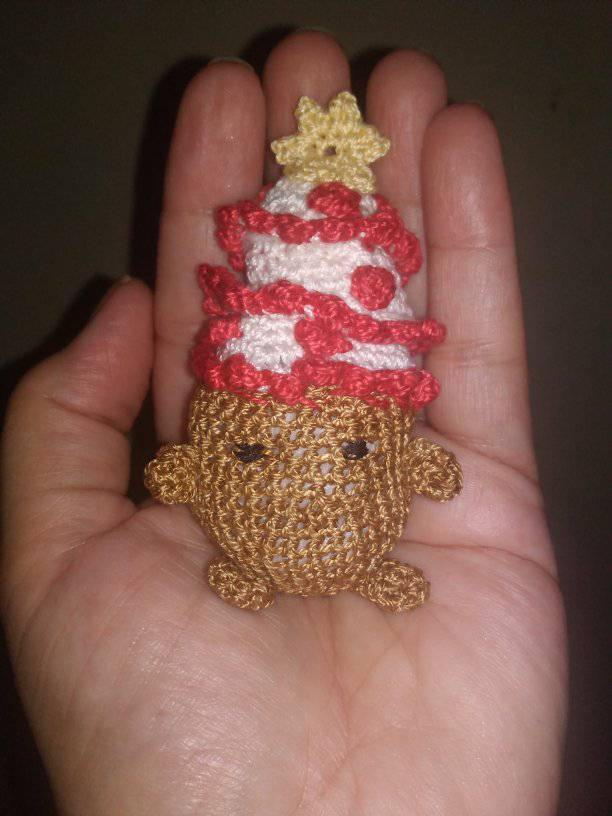
Procedemos a unir las piezas, luego con el hilo negro y aguja de coser realizamos los ojos y aqui el árbol terminado.
We proceed to join the pieces, then with the black thread and sewing needle we make the eyes and here is the finished tree.

Que hermoso trabajo @giocondina 🥰
Gracias querida @irenenavarroart me alegra que sea de tu agrado.
Thank you for sharing this post on HIVE!
Your content got selected by our fellow curator rezoanulvibes & you just received a little thank you upvote from us for your great work! Your post will be featured in one of our recurring compilations which are aiming to offer you a stage to widen your audience within the DIY scene of Hive. Next time make sure to post / cross-post your creation within the DIYHub community on HIVE and you will receive a higher upvote ;) Stay creative & HIVE ON!
Please vote for our hive witness <3
Agradecida por el apoyo a mi trabajo.
Beautiful Christmas tree
Thank you, thank you, thank you!
Hermoso trabajo!! Definitivamente la Navidad es la mejor época del año!! 🎄🎄 muchas gracias por compartir este bonito patrón❤
Que bueno que te gustó, gracias por comentar.