MAKING A NEW CLASSY SATCHEL BAG.

Hello everyone,
A beautiful morning to you all. I'm so happy to make this post this morning and this is because of the outcome of the bag I was able to complete yesterday which I'm posting about now.
The pandemic had pushed my bag business backwards and this is due to the fact that money is scare as a result of the lockdown. People aren't fully paid and those that are paid are giving half salary. This has affected the demand for bags indirectly.
Fortunately, for the past few weeks, I've been getting demands for my bag so yesterday I decided to make a new design. I worked all day throughout yesterday to get it done and eventually I was able to finish the bag.
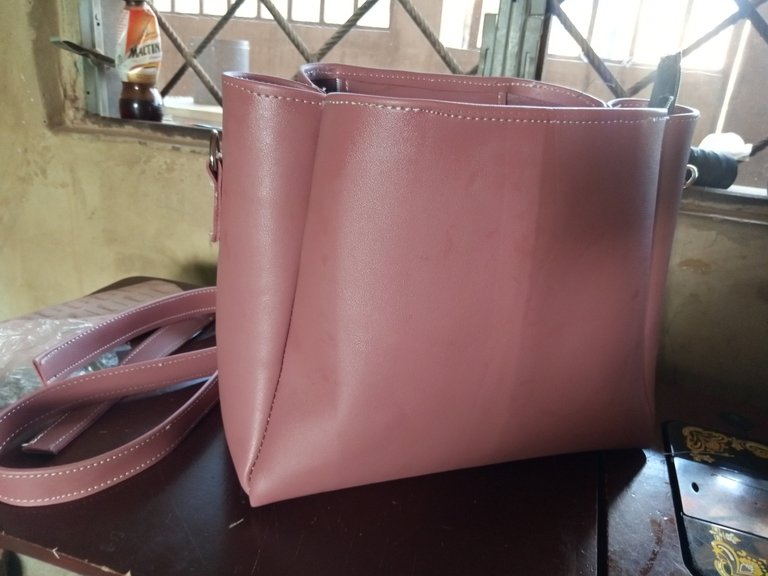
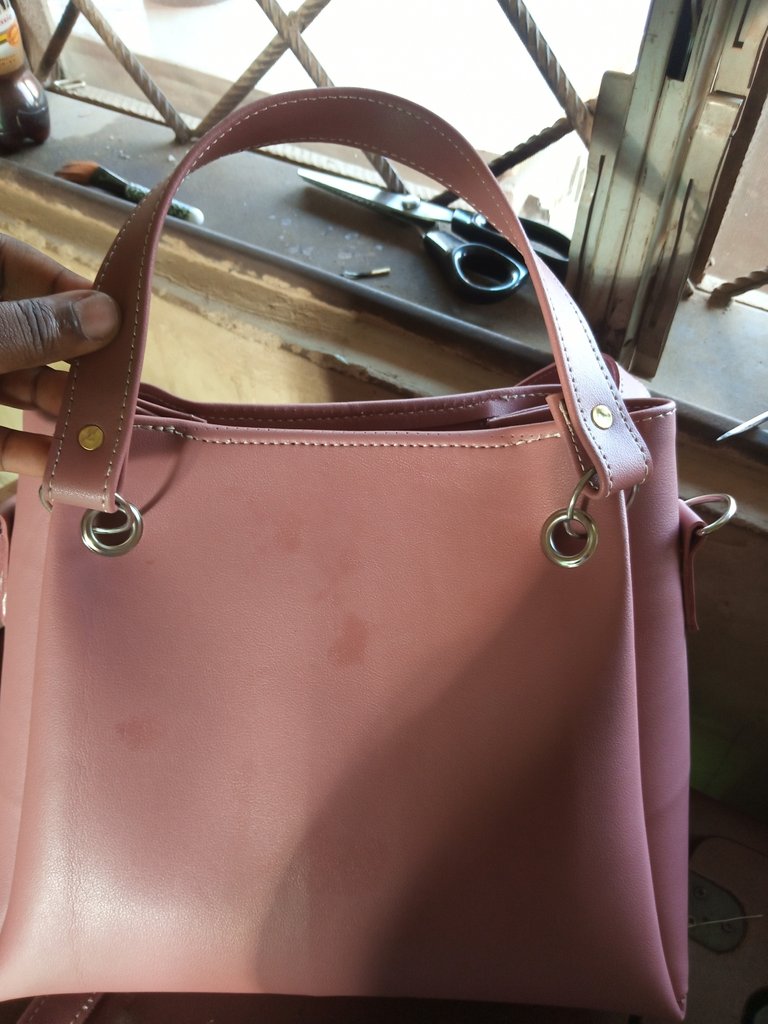
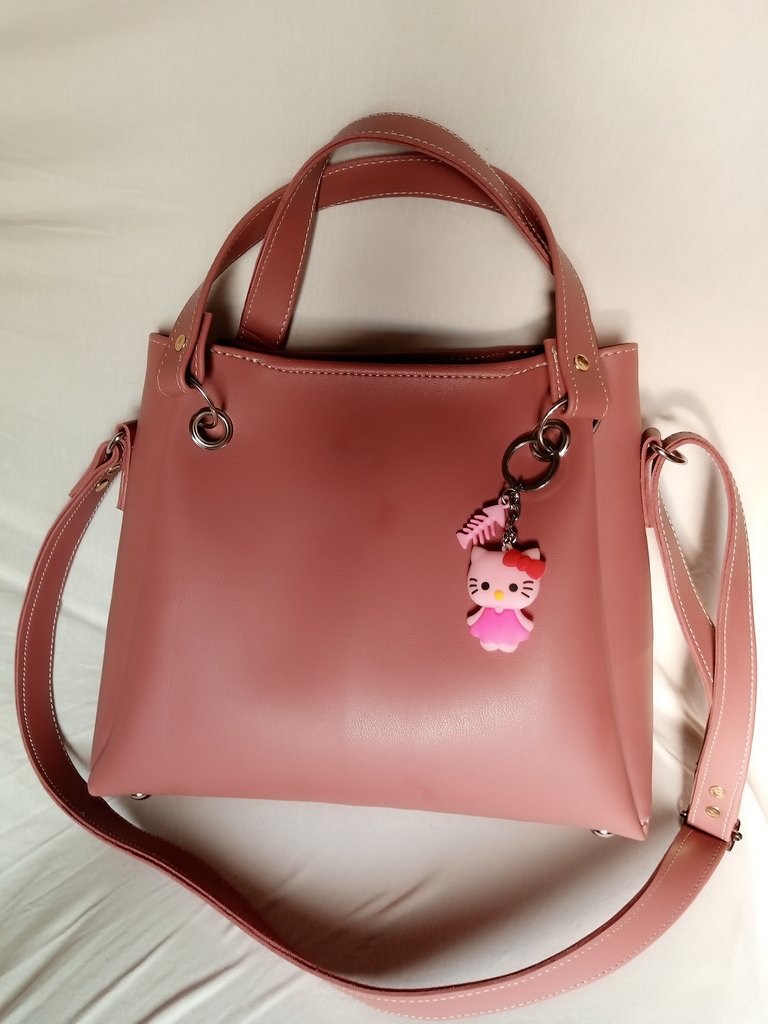
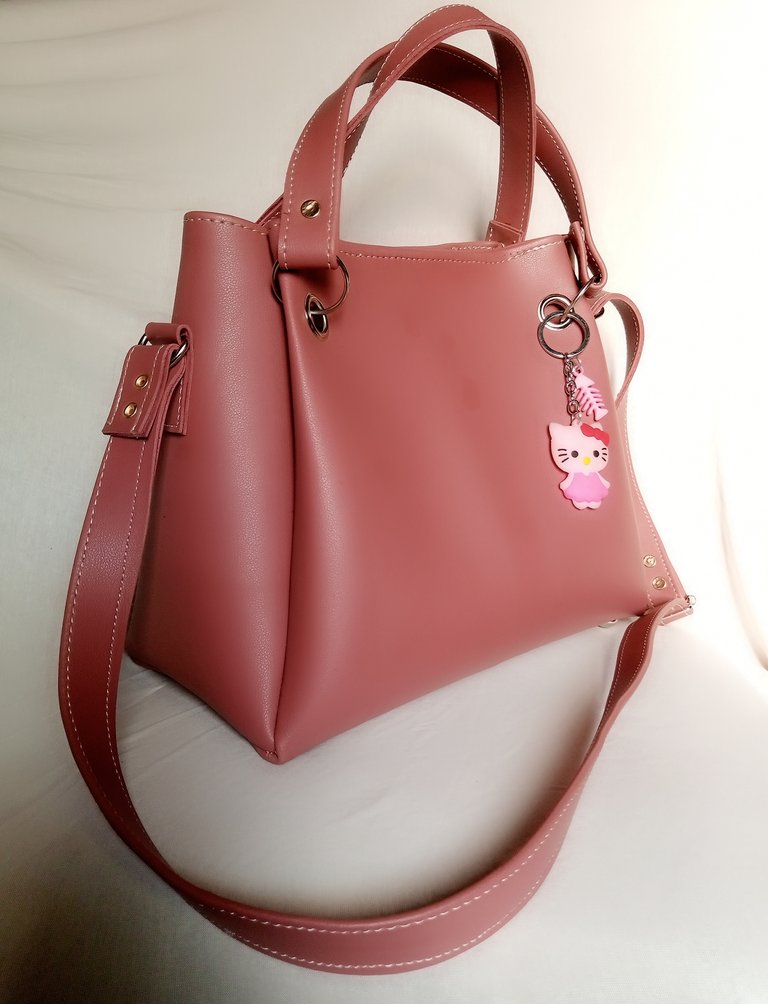
The bag is a satchel bag, made with a deep nude colored leather and its classy and very portable to carry.
MATERIALS USED
- Leather of choice.
- Zip and Zip heads
- Adjuster
- Bag rings
- Eyelet
- Bottom pins
- Small tagging pins.
PROCESS
- The first thing I did was to calculate the measurements until I arrived at these.
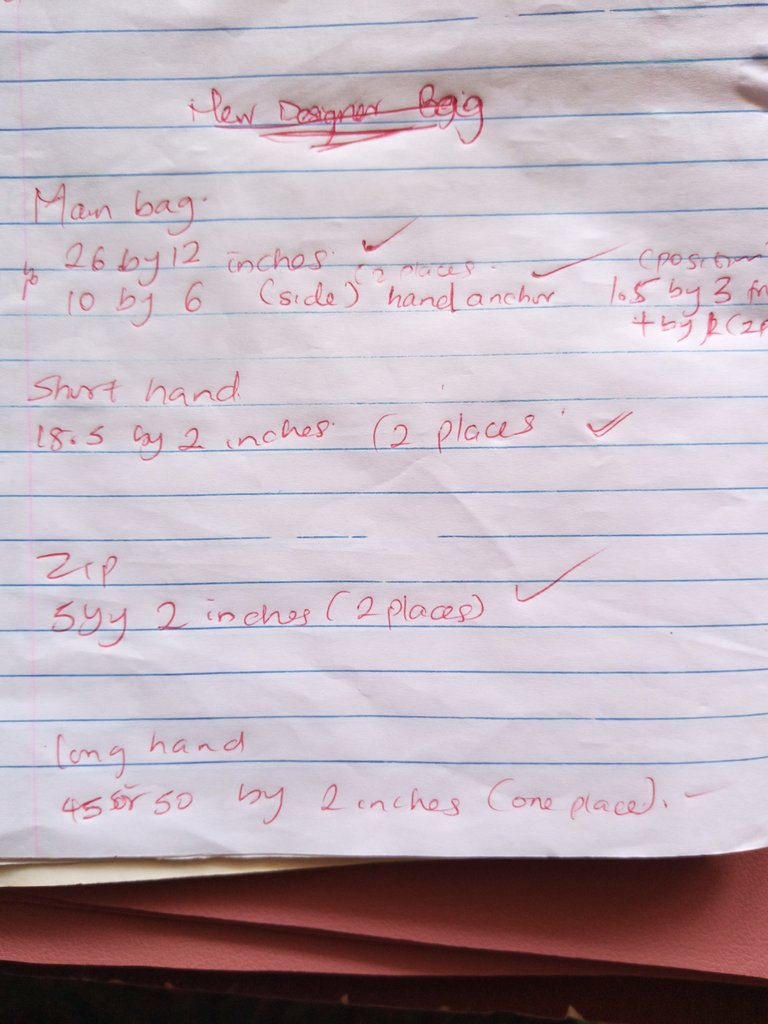
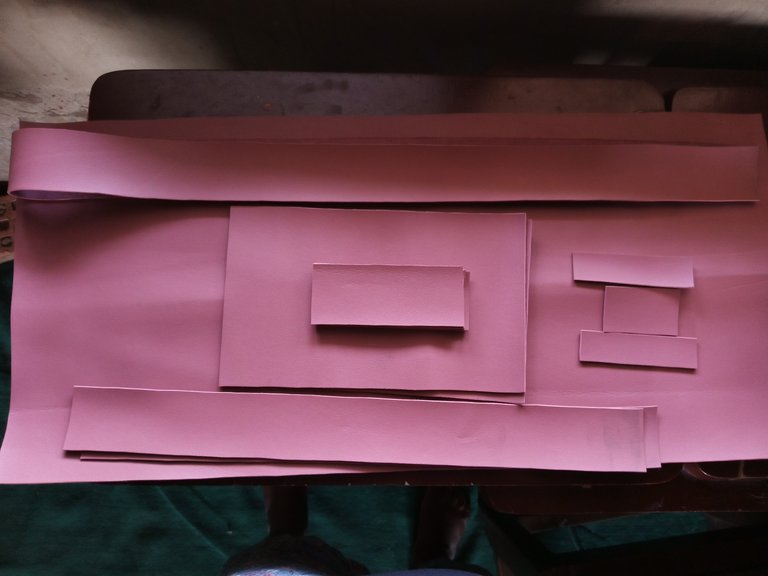
- I marked the measurements on the leather of choice and I cut it out neatly.
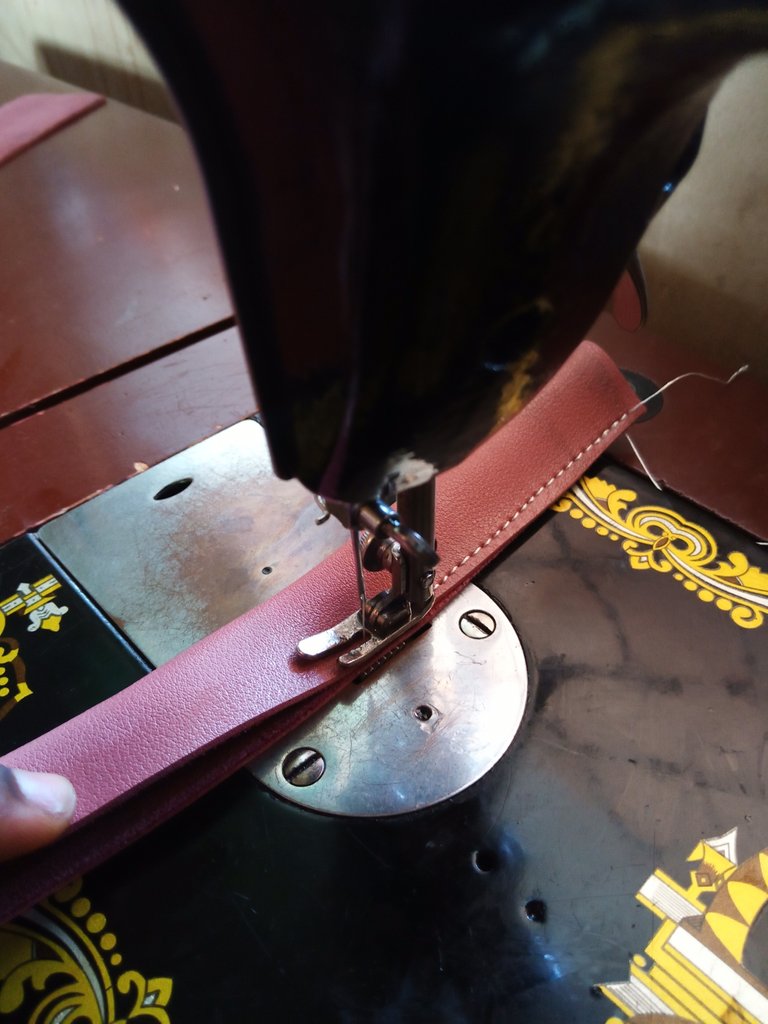
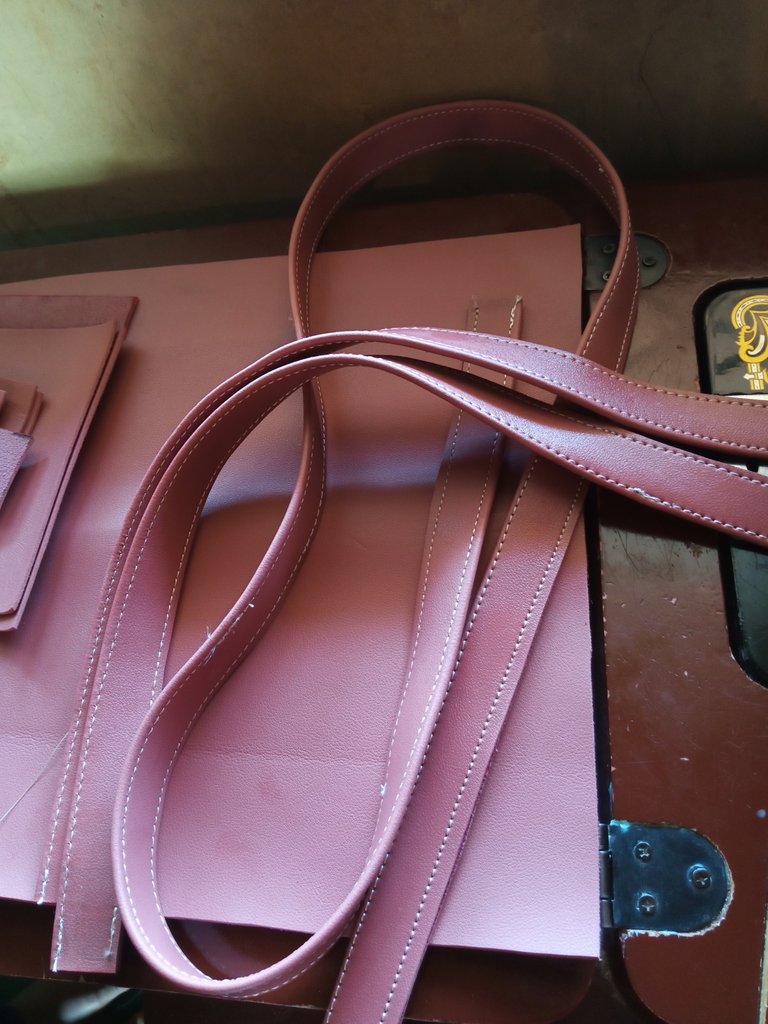
- I stitched the two short hand and the long hand of the bag as seen below.

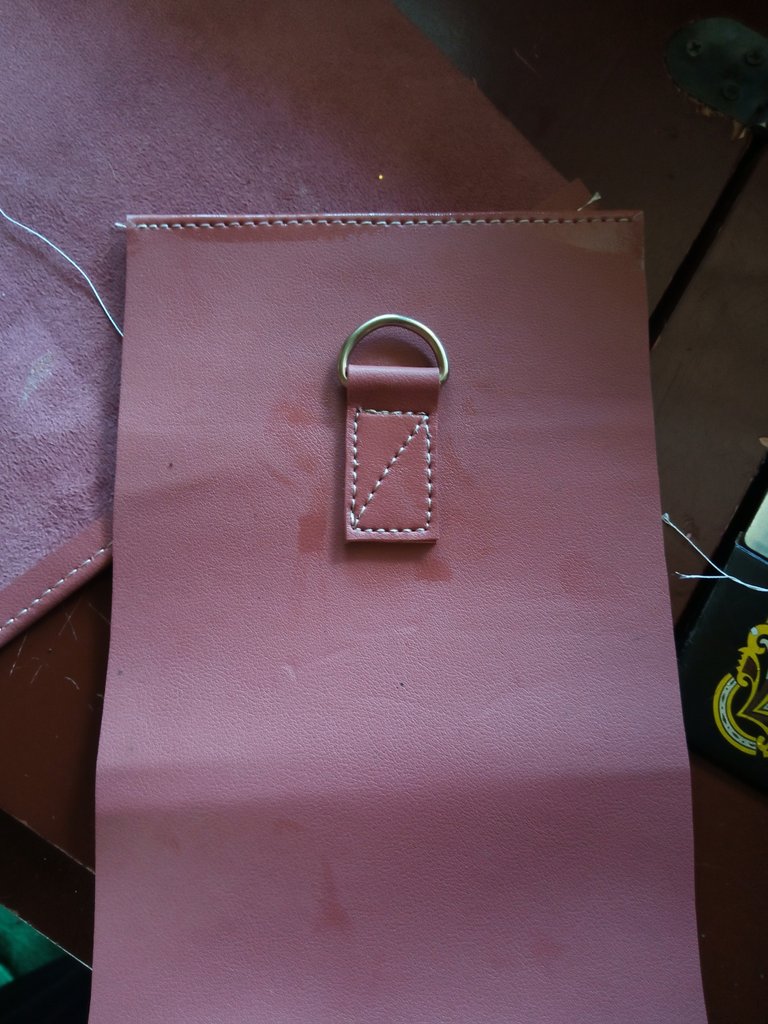
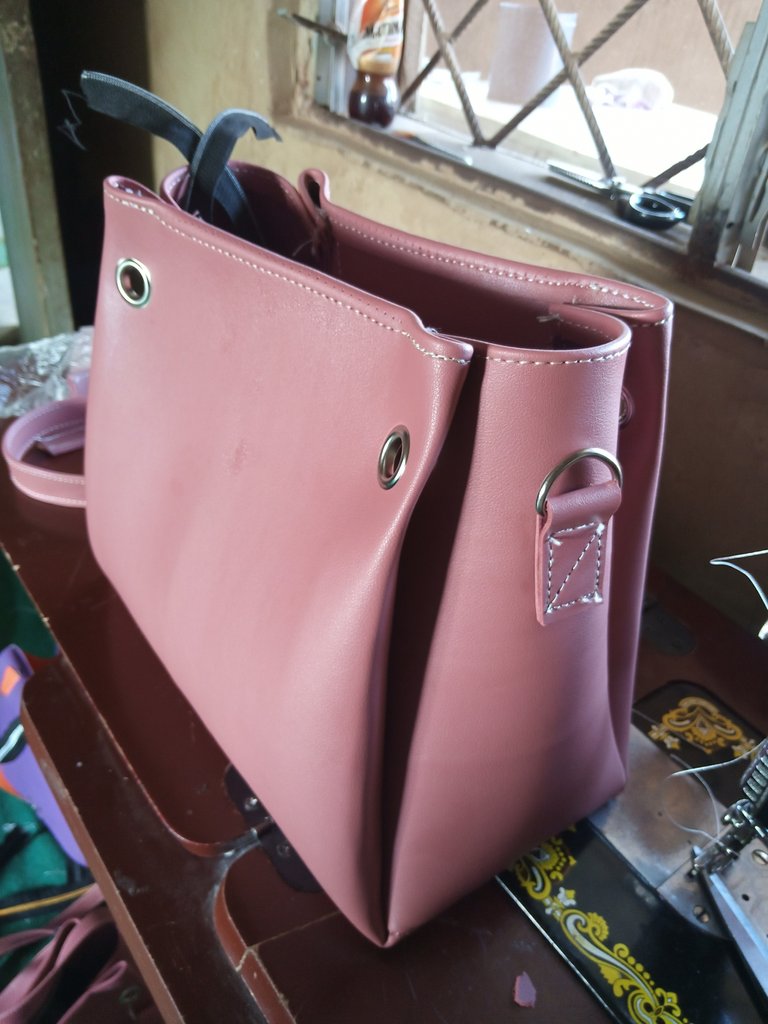
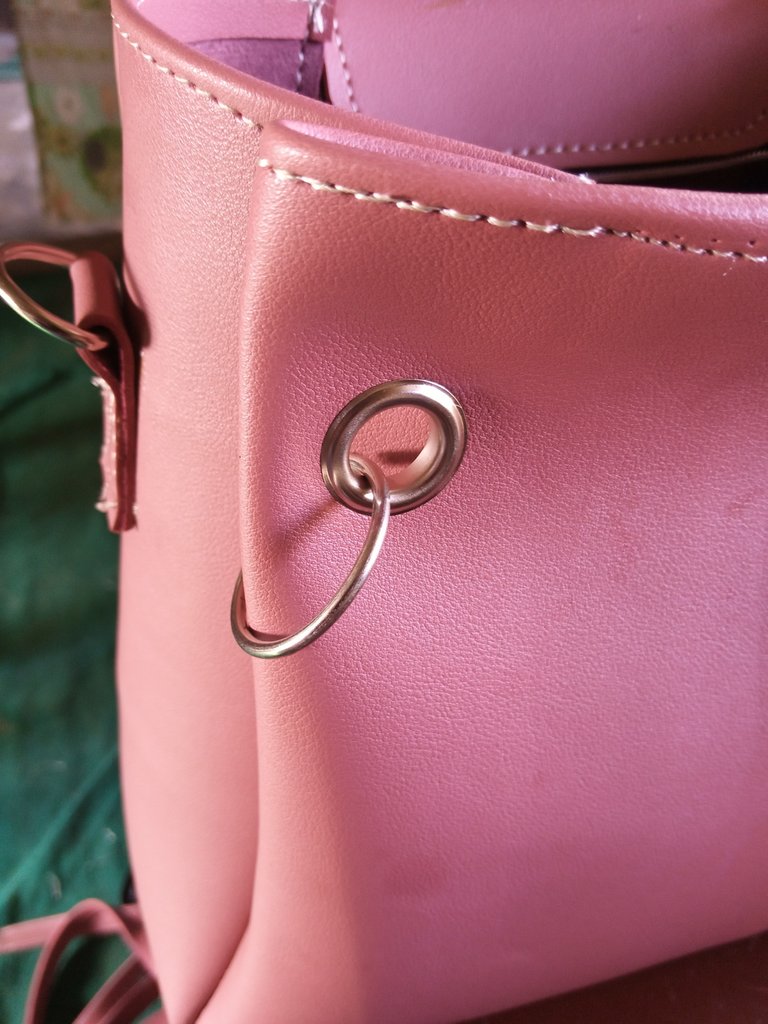
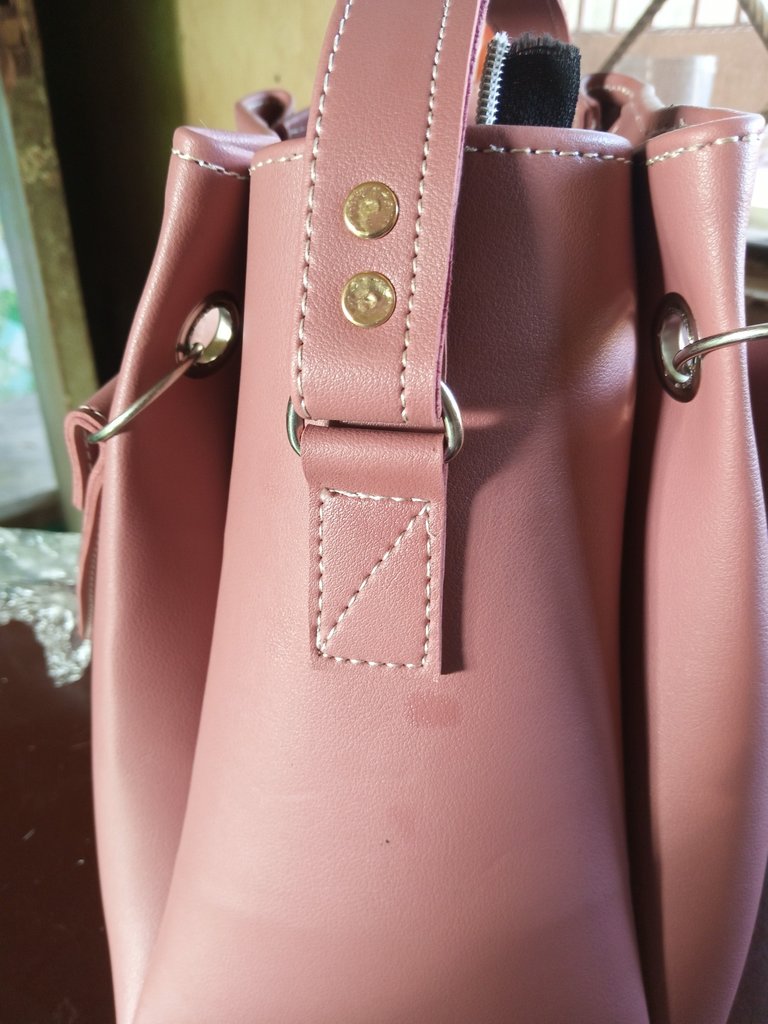
- Then I attached the ring that will hold the long hand of the bag to the side of the bag as seen below.
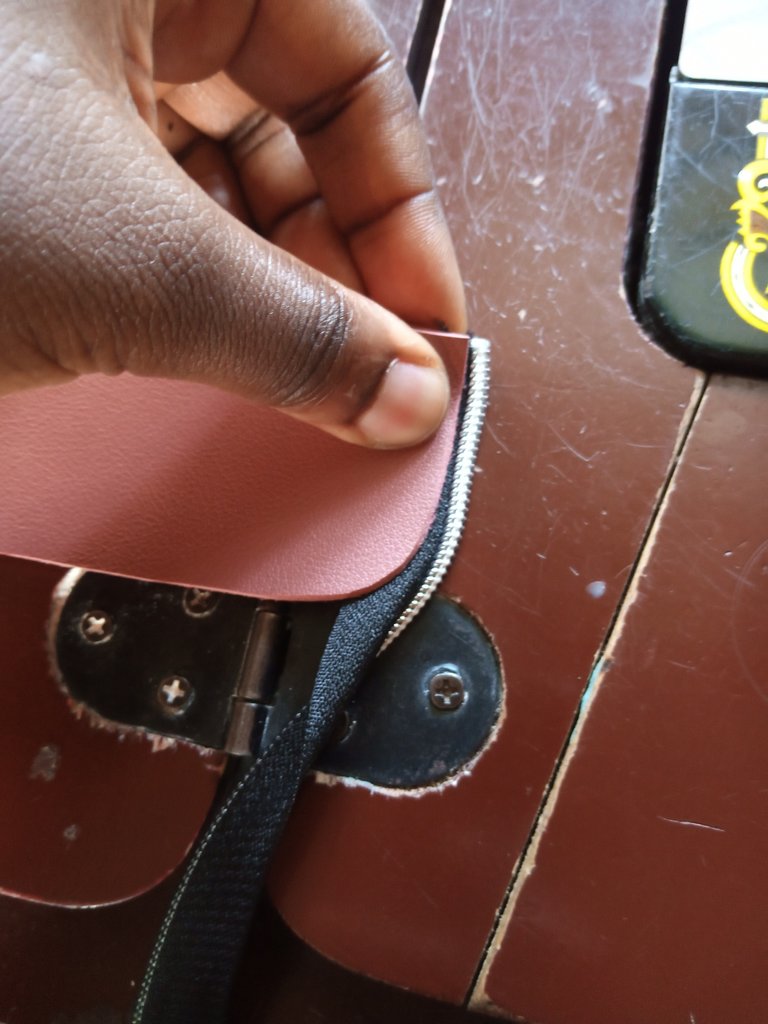
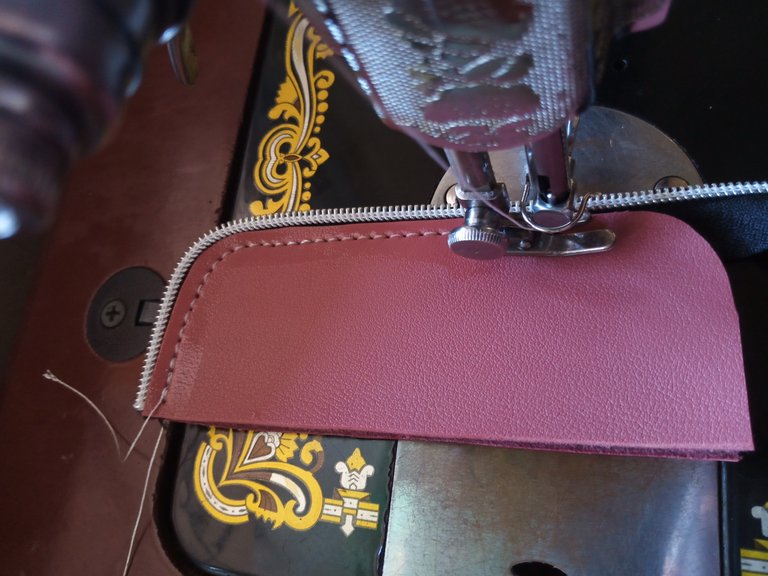
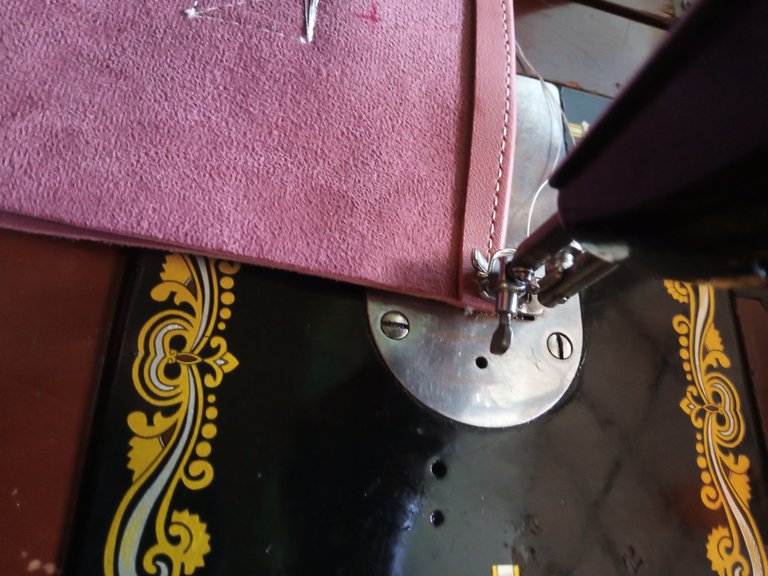
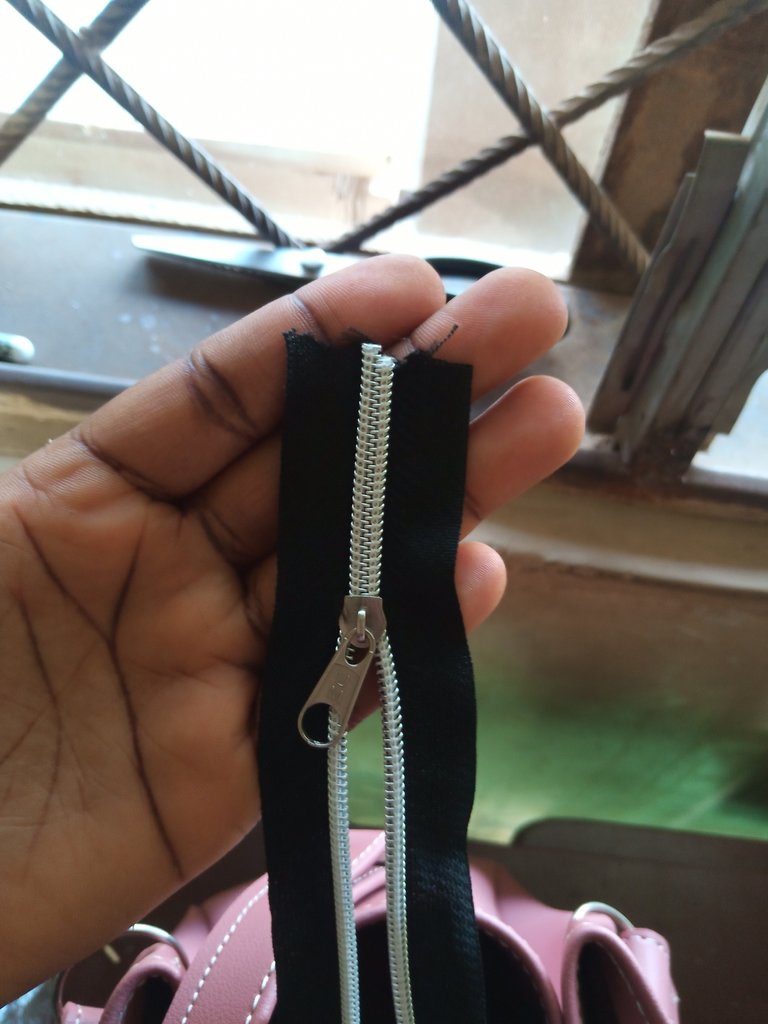
- I stitched the zip to the leather that will hold it as seen in this step.
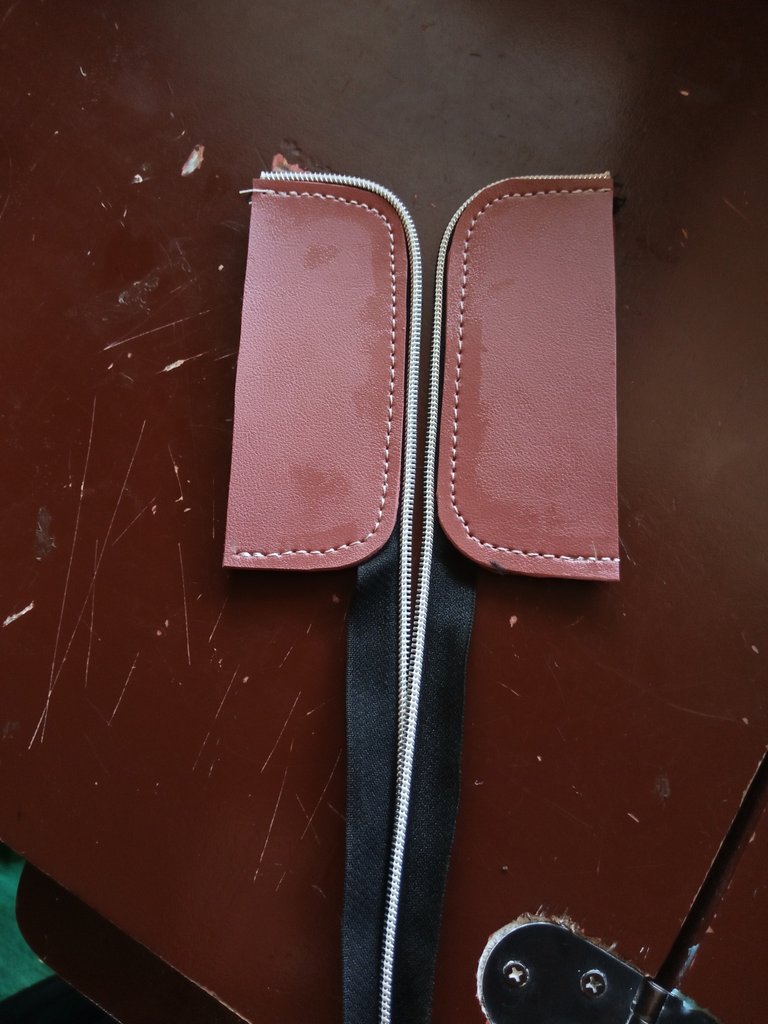
- I stitched the top side of the main bag to give it a neat look. Unfortunately I forgot I was suppose to attach the zip leather to it here. After fixing the first side of the bag then I remembered. I had to now loose the stitch, put in the zip leather and stitch back.
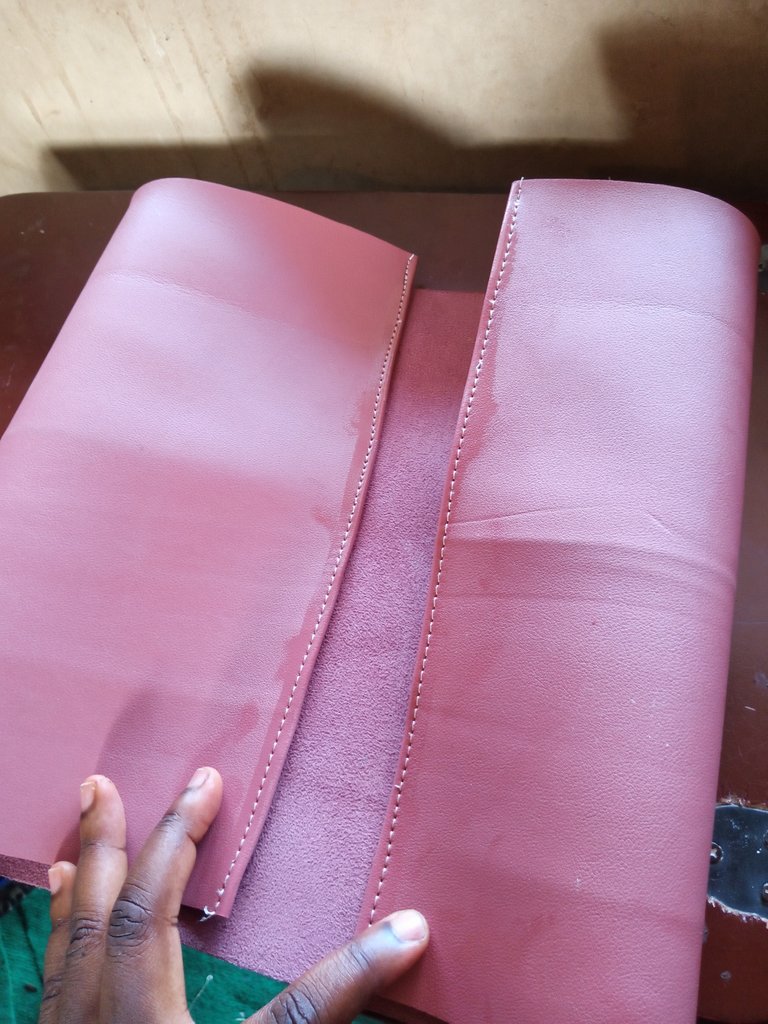
- I stitched the top part of the two sides of the bag too.
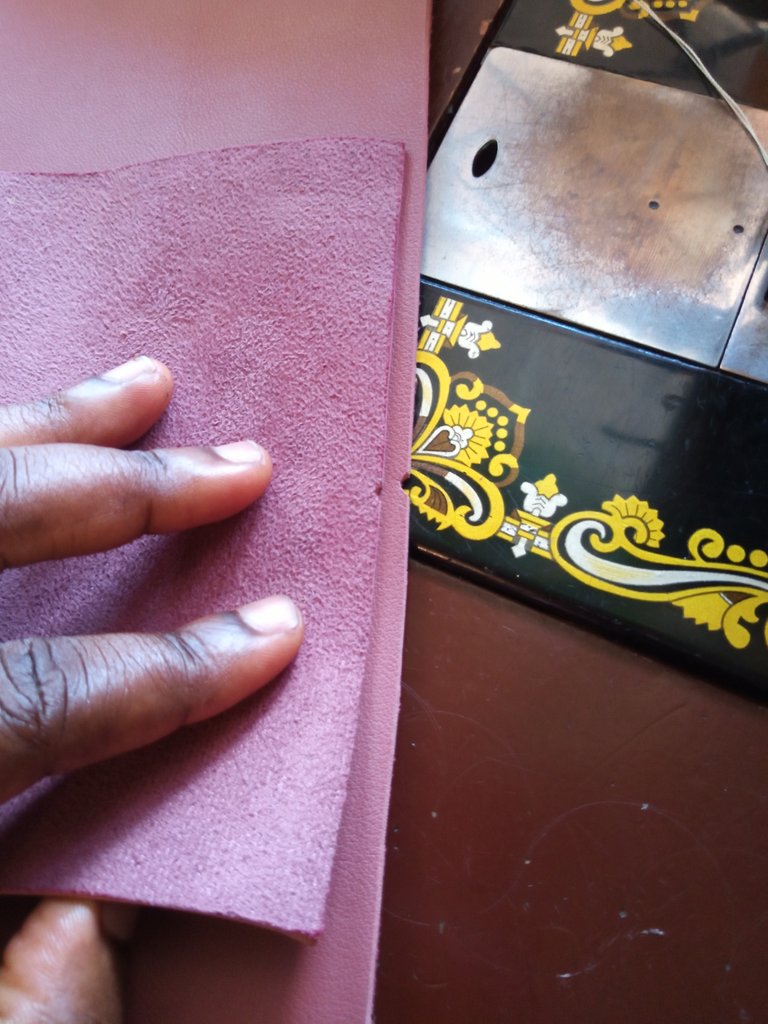
- Here I stitched the side to the main bag then I made a small cutting at the middle side of the main bag and at the bottom part of the side of the bag for accuracy in stitching.
- This was the point I remembered the zip leather and I attached it.
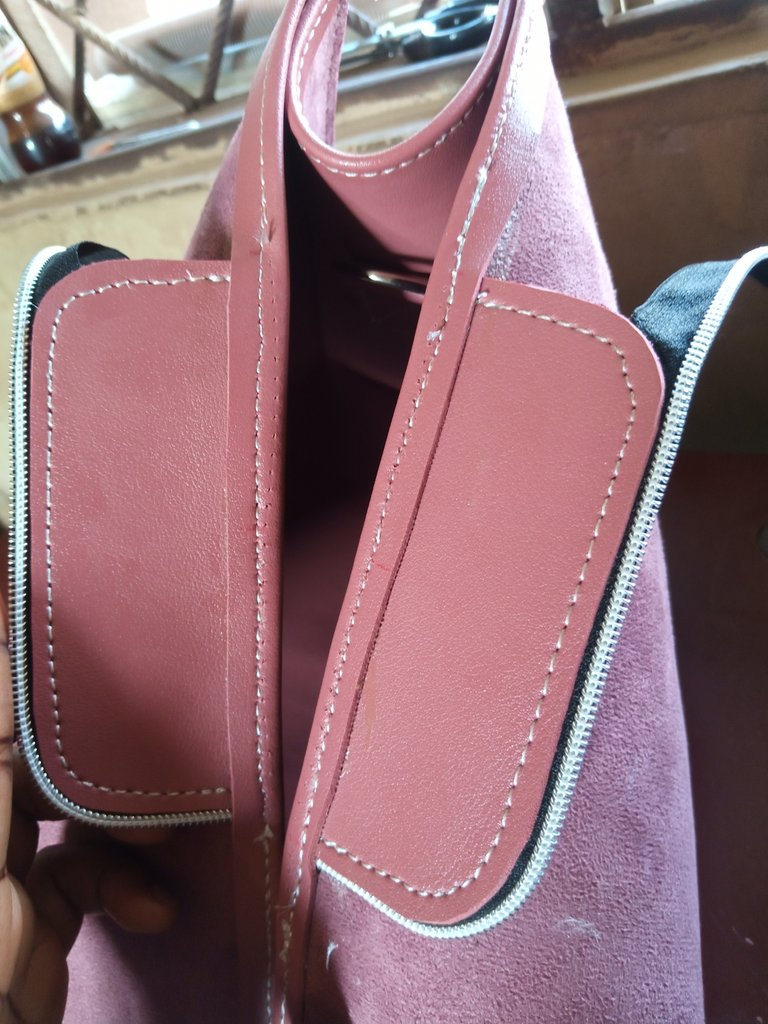
- I stitched the second side of the bag to the main bag and I turn the whole bag outside.
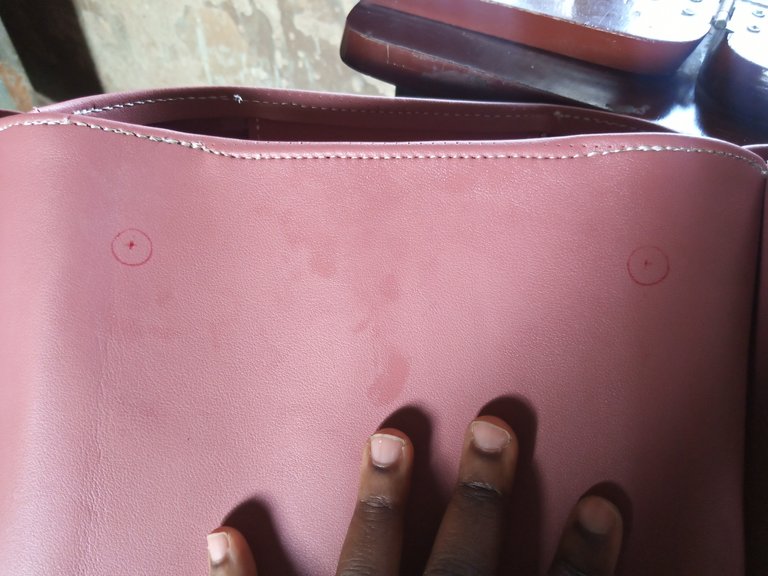
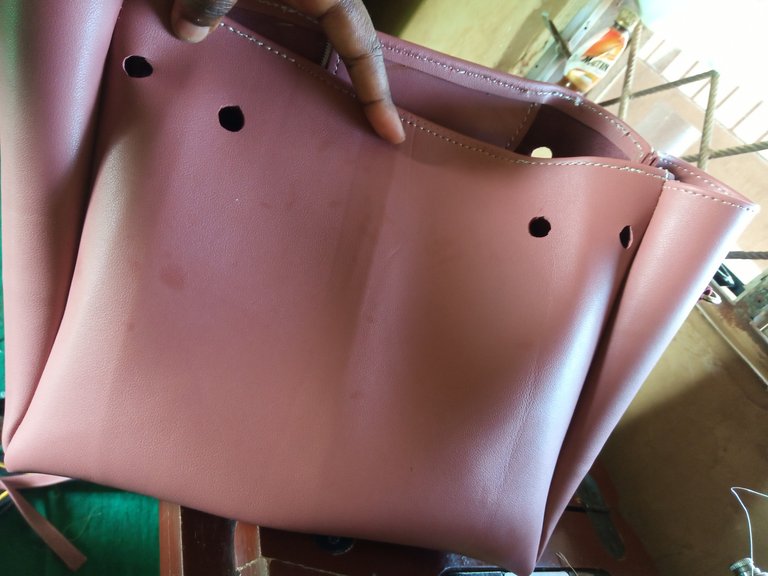
- Next thing I did was to make markings of the hole I will put eyelets in for the small two hands. After making the marking, I cut it out as seen below.
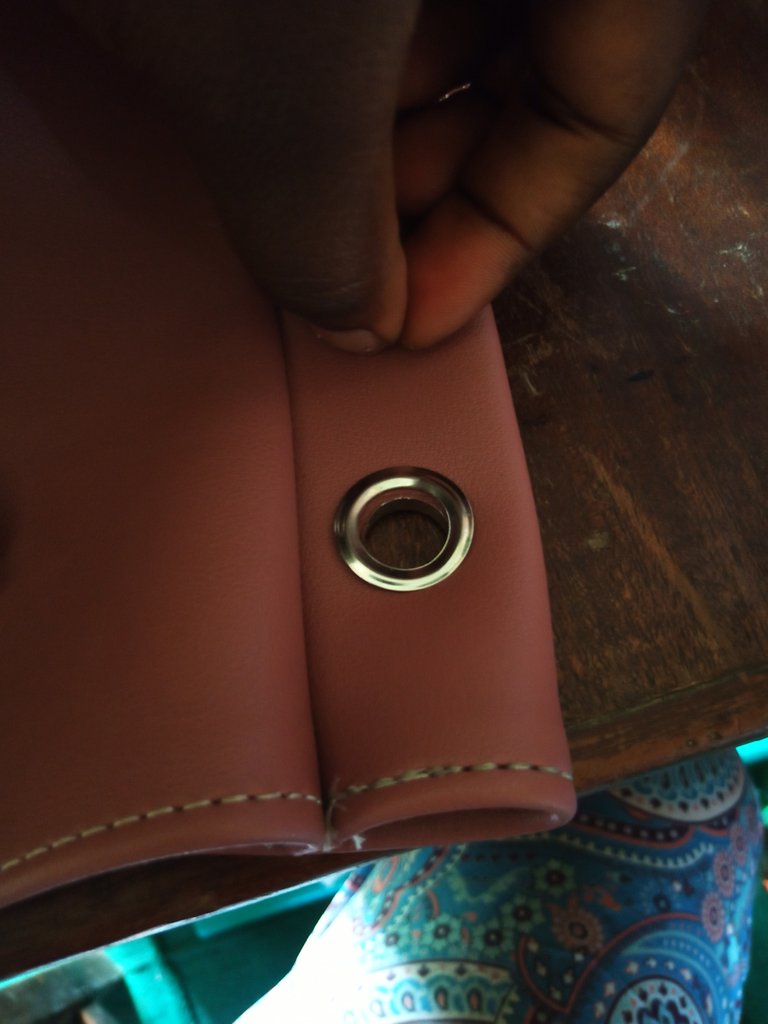
- I fixed the eyelet with the help of a hammer.
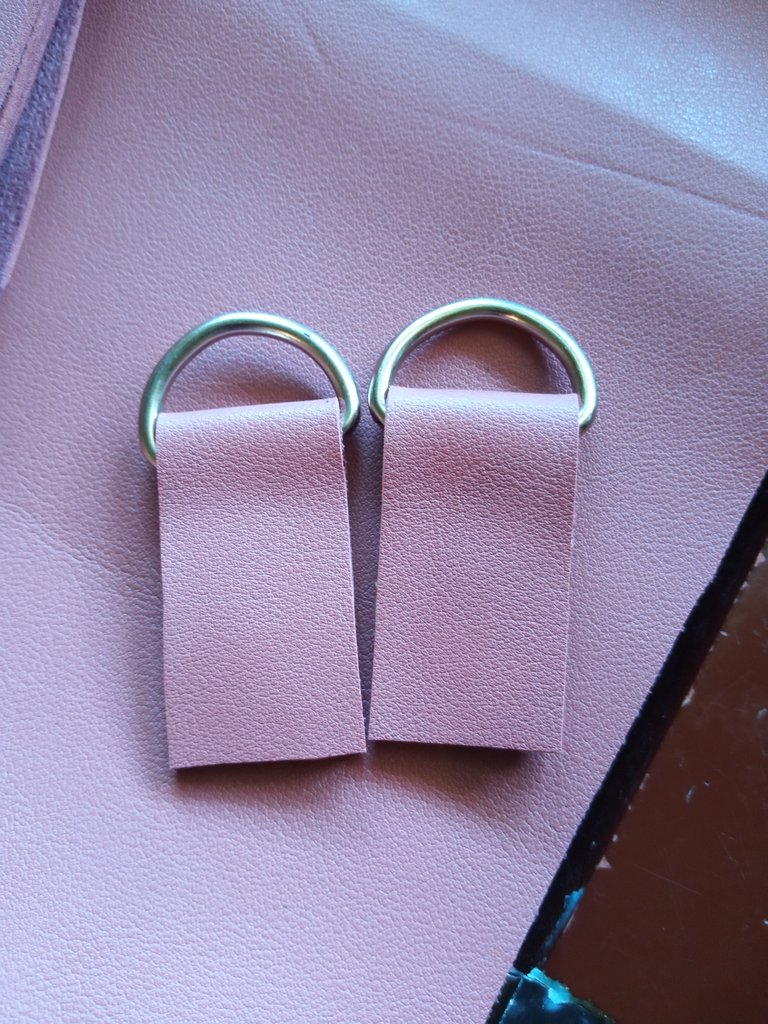
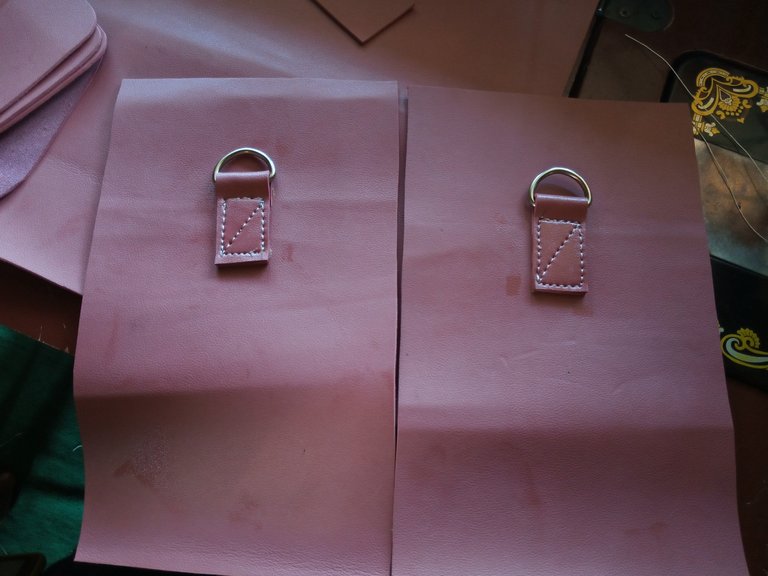
- Here I fixed the two short hands of the bag to the bag as seen below using a tagging pin and a round ring.
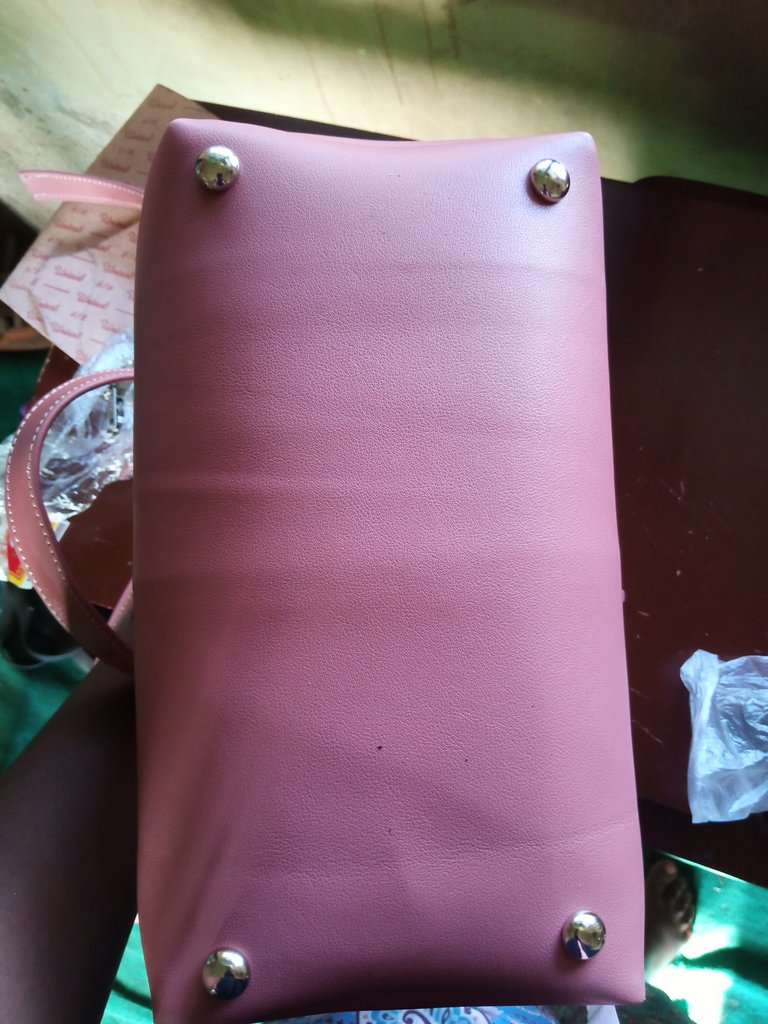
- I made for points at the bottom of the bag and I fixed the bottom pins inside.
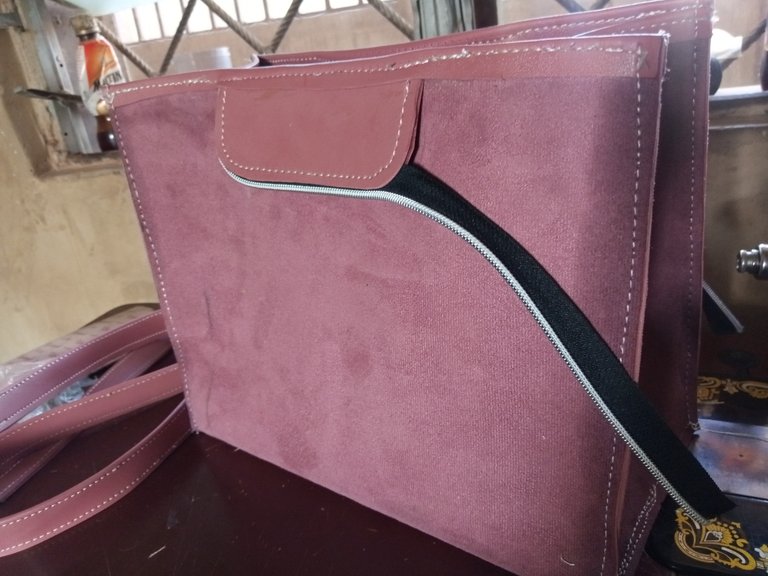
- The second to the last step was I fixed the long hand of the bag using a tagging pin.
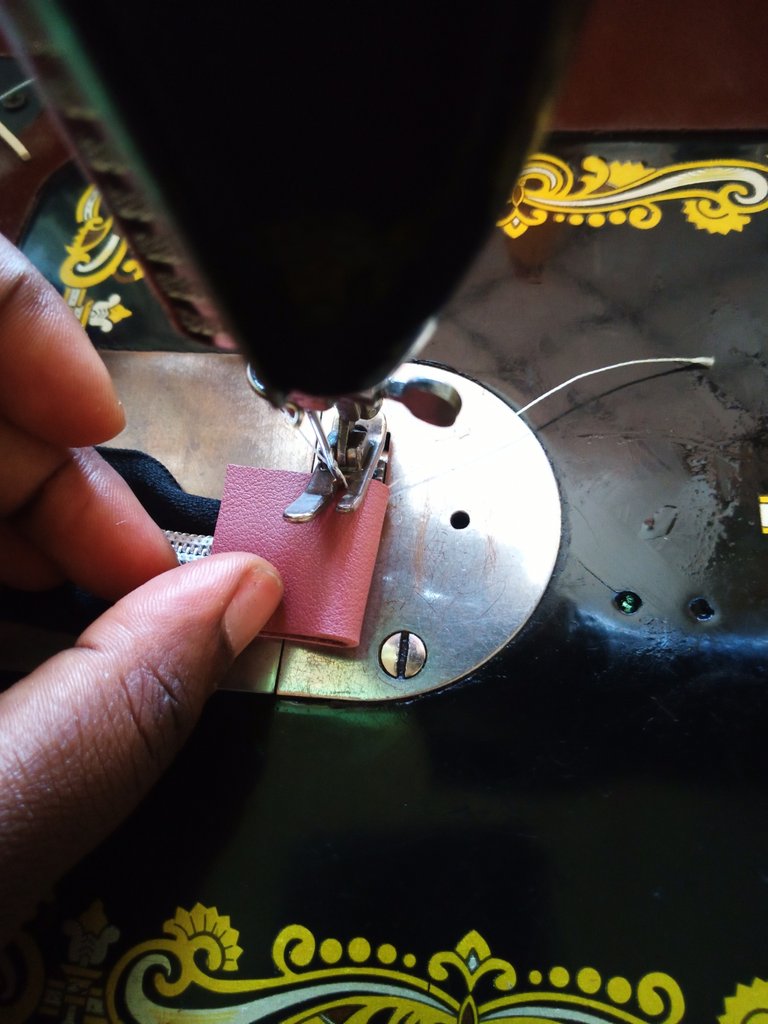
- The final step was fixing the sip head and stitching a leather to the edge of the zip. After this, the bag was ready. I then use a lighter to burn the excess threads on the bag then I attached an accessory to the bag.
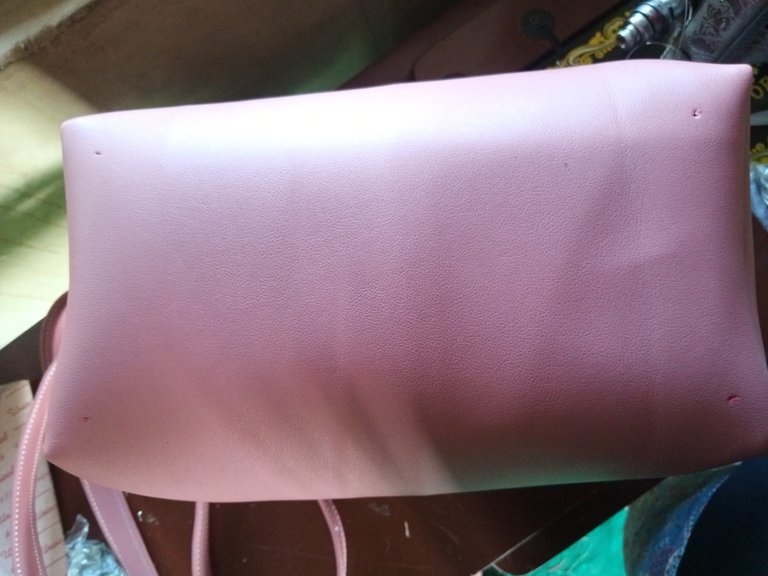
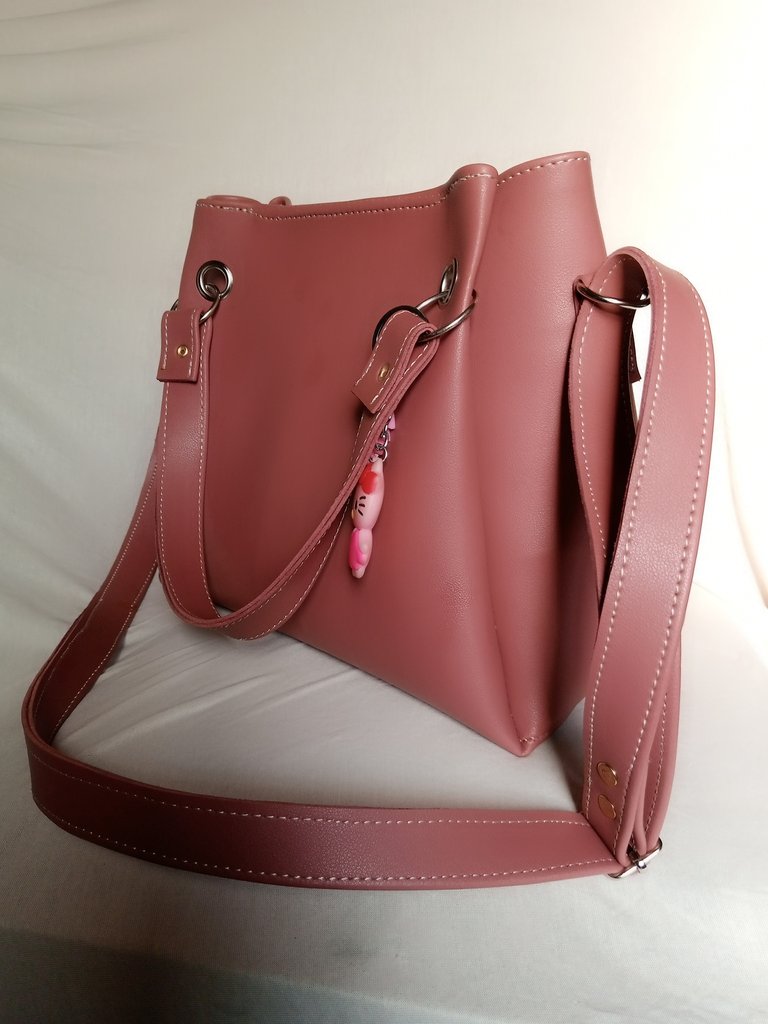
FINAL LOOKS OF THE BAG.
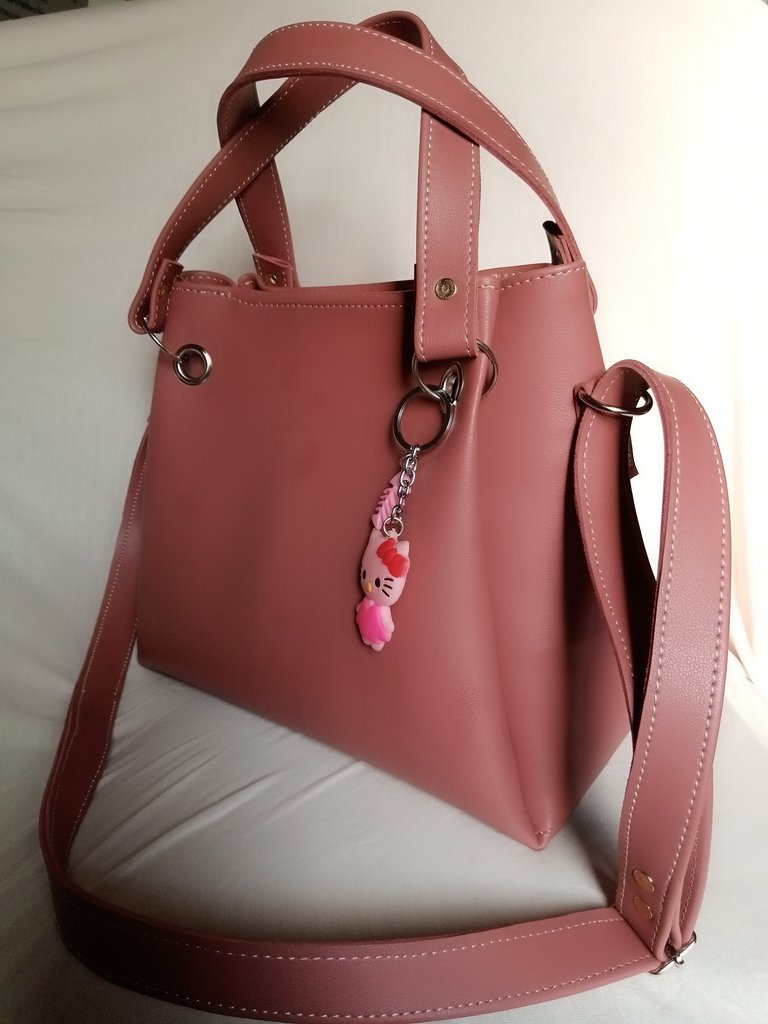
Very detailed steps 👍🏼 it came out really nice too
Thank you so much.