How i made this beautiful front flounce dress

stay tuned, i hope you all follow and enjoy the process with me.
The materials used are as follow;
- Ankara fabric (4 yards)
- Lining fabric (2yards)
- Zipper
- Net(1yard)
- Soft stay
- Medium weight warden(for padding the breast)
- single button
- Half pack of crinoline
- Fancy trimmings.
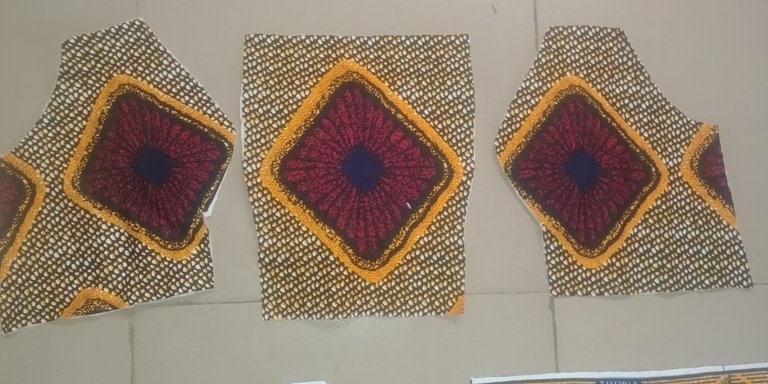
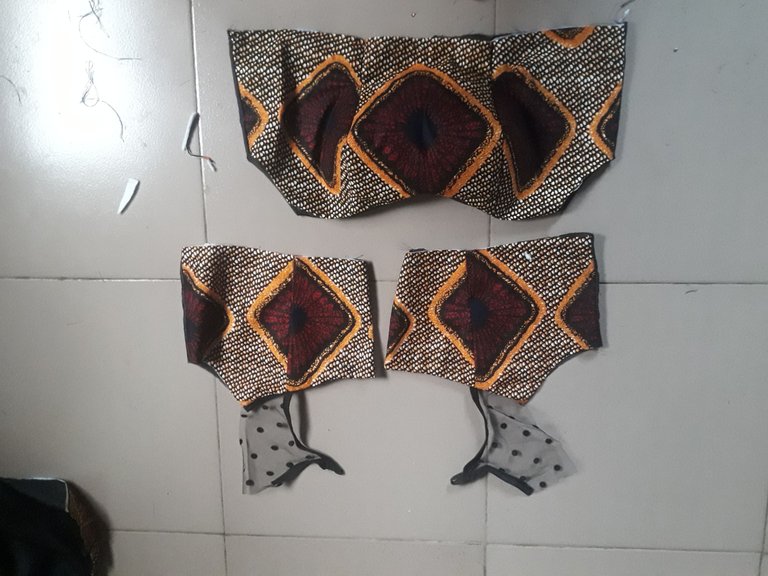
Starting, i cut out out my pattern, first, the upper bodice pattern was cut as an off shoulder bustier, for the front
and basic offshoulder for the back, then, i would use the net fabric as yoke,
also for both front and back, the front was cut as a normal bodice and stops at the underbust.
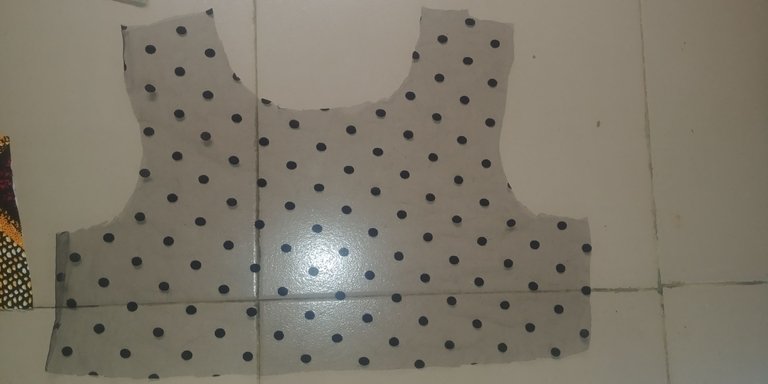
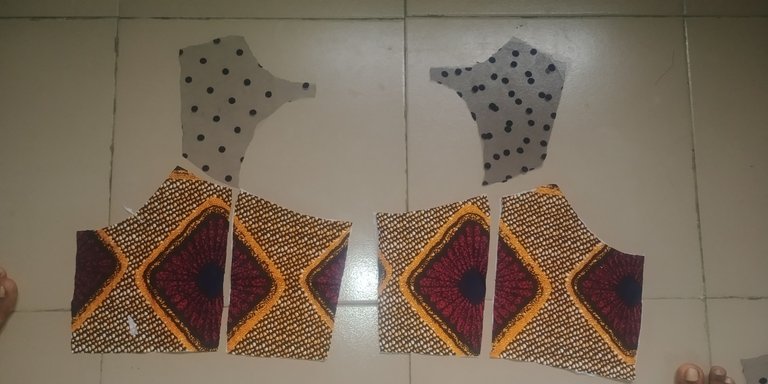
Also I cut the lining fabric as the same pattern with the ankara. Then I ironed the soft stay on both the ankara and lining, and padded the bust area of the ankara (sorry i forgot to take pictures at this point as it was an urgent work, i had less than 24 hours) after padding, i joined all three pieces together, also did same for the lining and then turned the ankara around the edges, the padding gives the bust a firm structure .
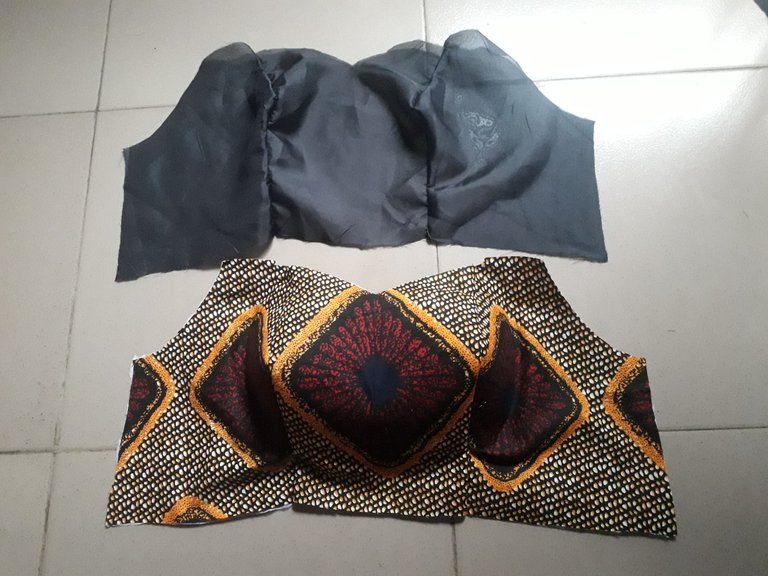
Next, i placed the cut out yoke above the bustier, then turned it from the middle of the underbust to above the left side of the bust area to give it a slight S shape, that's where I would be placing the flounce.
I joined the back pattern at the dart area then joined the back yoke above it, I also joined the lining piece and used it to turn the main fabric.
The down part of the gown was cut as a basic straight skirt pattern,`
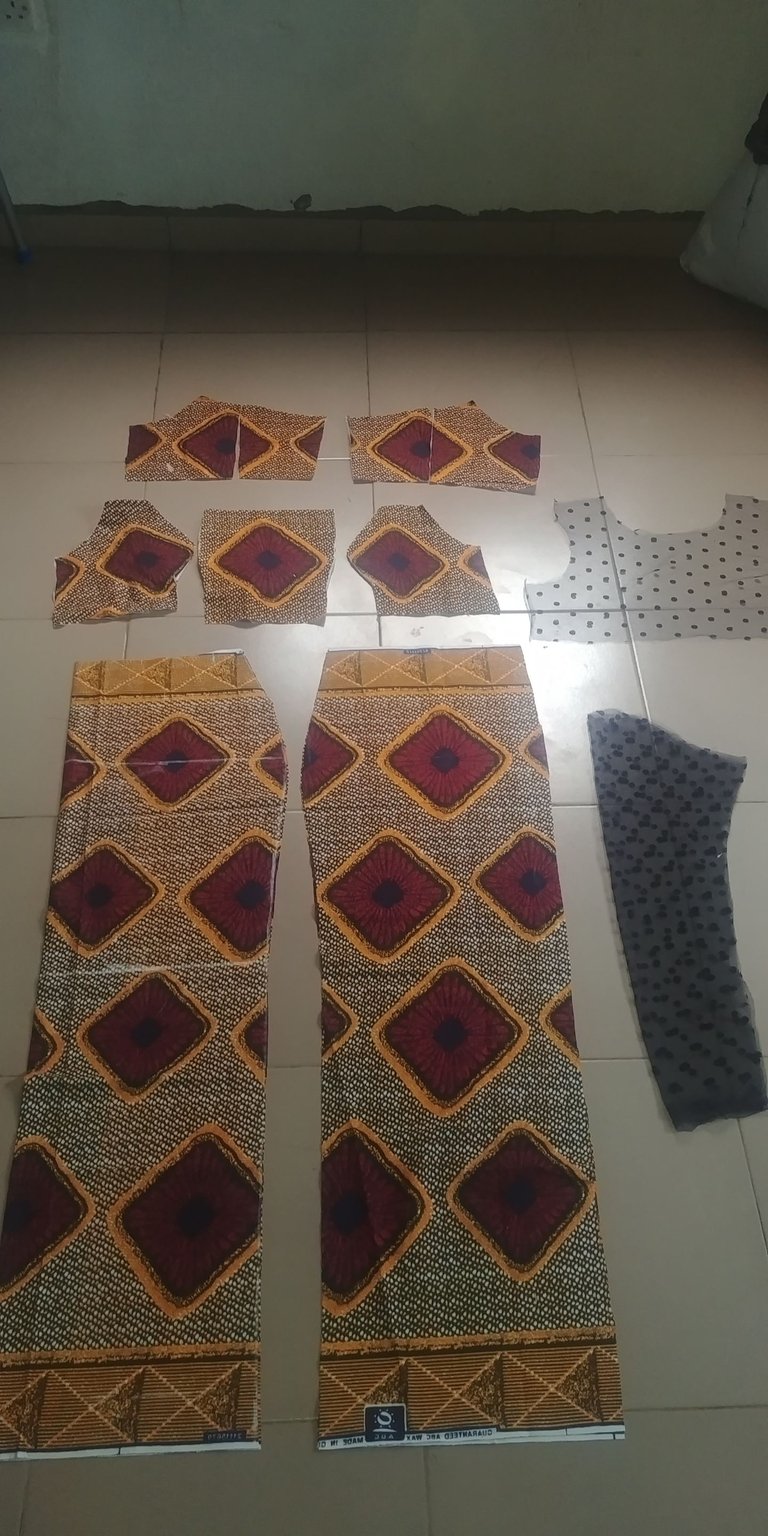
All my pattern together with the sleeve pattern
i also cut lining as same, then turned the front and back with the lining.
After turning all with lining, i joined the upper bodice to the down skirt together for both front and back, then I attached a zipper at the back, next, i joined the sides of the front and back together according to the clients measurements,
then I attached the sleeve at both armhole, one long sleeve, while the side the flounce would follow a short sleeve.
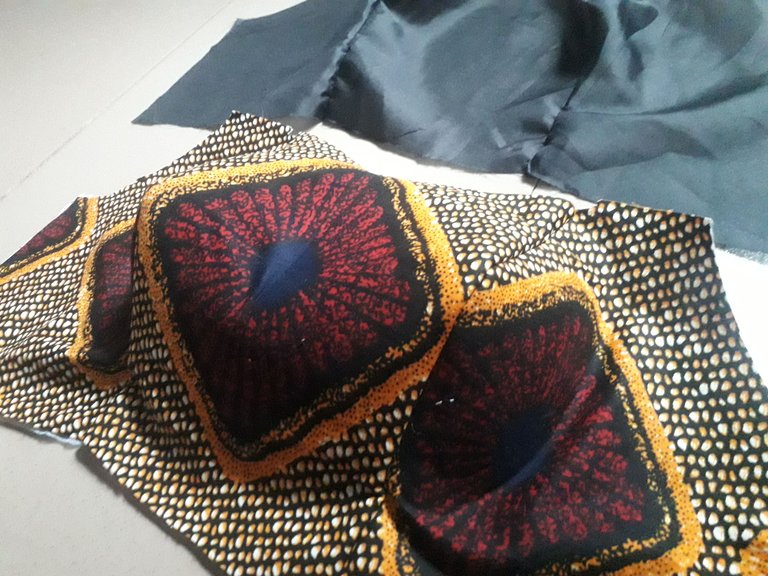
To cut the flounce, i cut it as flare,

i.e, i measured the length of the place i would be attaching the flounce, for me, it's 26" then i doubled my measurements that makes it 52",as I would add pleats to it, then I would trim the edges of the flare to give it a curve. then I divided 52/6.28=8.2 which is the radius of a circle, the length of my flare is 6inche,i folded my fabric into 4 to cut a full circle, with the length of 8.2+6inches+1 inch seam allowance =15.2 in total. I cut out four pieces of the flare, two as main fabric, although I used the same main fabric as lining, then sewed the both together, then turn with the crinoline.
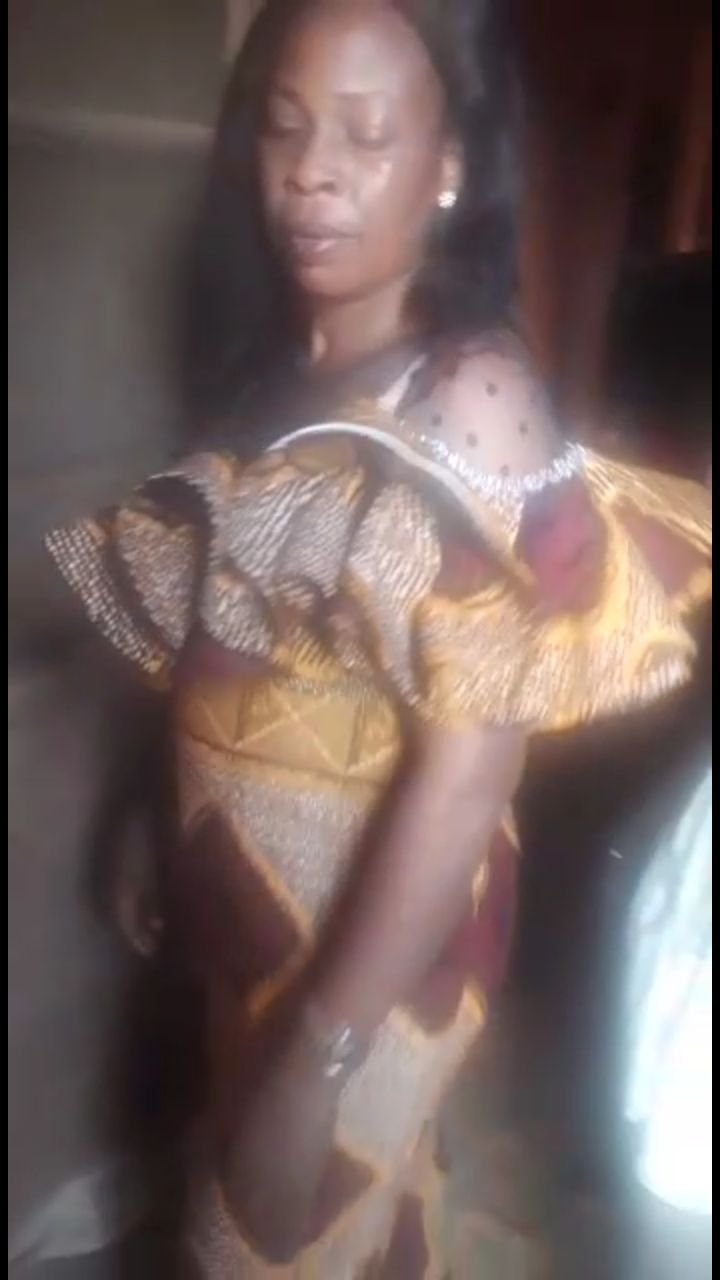
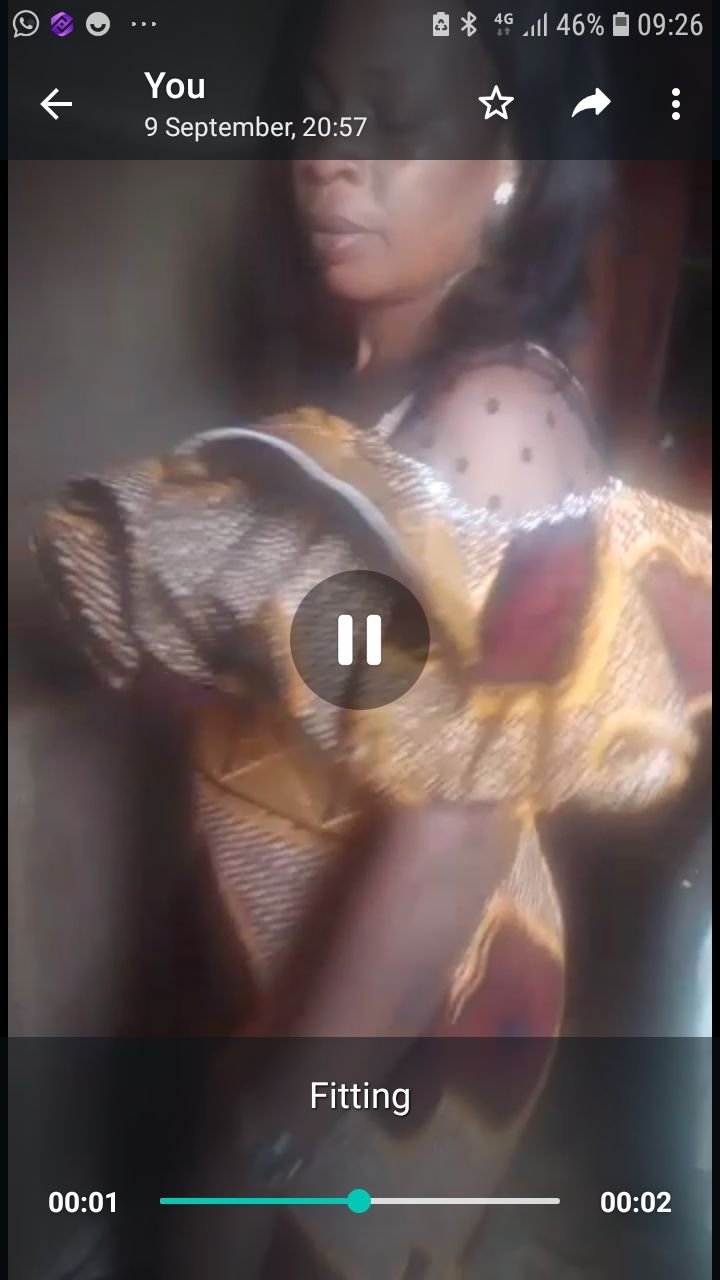
After turning, i pleat the flare to my desired length, then hand tacked it to the bodice, then this is the final outcome when she fitted the dress at her home.
Thanks for reading, i will try to have enough pictures of the processes next time, i hope you all followed through, my first submission on the #needleworkmonday.

Hello Glory! Welcome to the Needle Work Monday community. Thank you for sharing your project with us, this dress looks beautiful, with the perfect measurements to be worn elegantly ❣️.
Every week needleworkers from around the globe get together to share our work, patterns, tips, ideas and shortcuts as we support one another. Our goal is to inspire the Hive blockchain to give crafting a try.
On Monday’s we use the #needleworkmonday tag and on all other days we use the #needlework tag without the word Monday attached. We share and post our work directly from the Community page.
We encourage our members to share about their needlework life with us. We love hearing stories and what types of things inspired your projects. We challenge you to put some feeling and emotion into your publications and help us get to know the needler behind the fabric.
Feel free to share photos of your work but it’s optional if you choose to share the steps with us (we do require you share the step process in at least one of your posts for validation purposes). If you just want to needle and share about that time we’d love to hear about it. 😊
For more information about what we do and for our posting guidelines please visit our FAQs.
Thank you ~
Alright, thanks, will do so
Wow this look amazing. keep it up thanks for sharing
thanks for stopping here
Your mum is so beautiful with the dress you made for her and I love your finishing
thanks for your nice comment, but she isn't my mum, just a client of mine
That is a beautiful dress! Fabulous job on the design and needlework! 😊