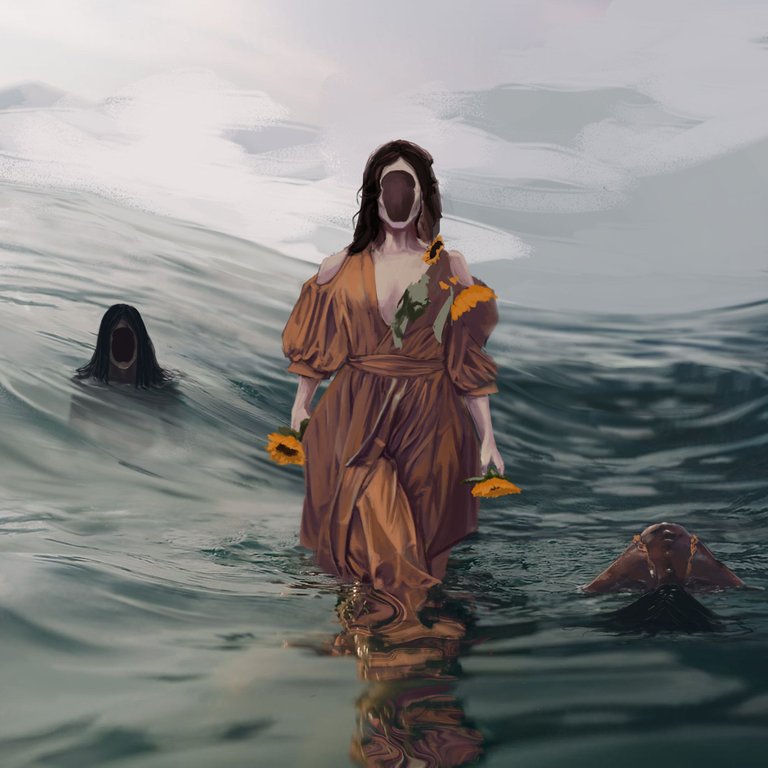
Faceless Mission | The Faceless Wave (3/3)
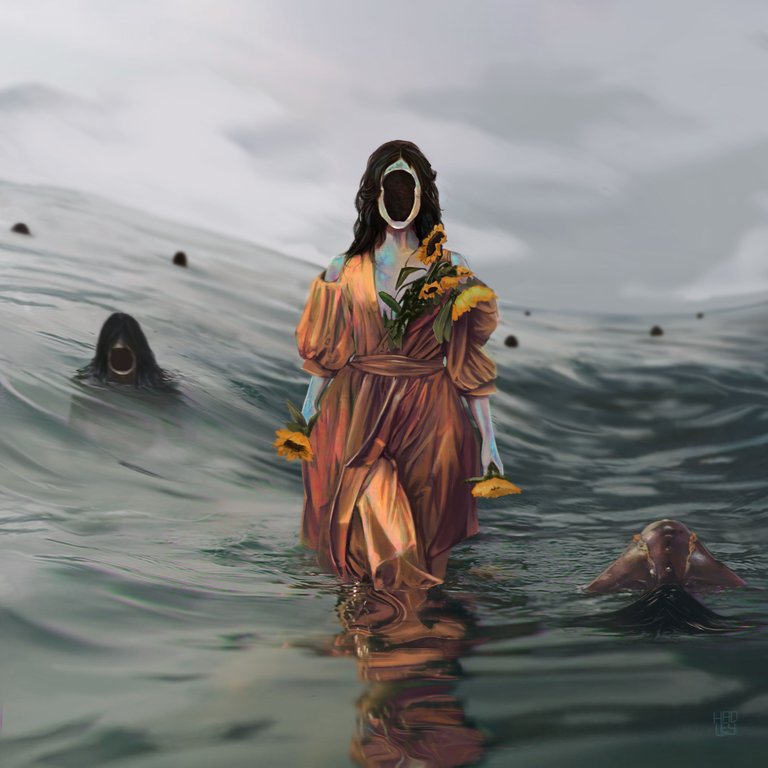
My mentality is new now, I am no one, nameless, faceless. I see myself reflected in the blue of the sea, in every precious sunflower seed, every fragile life; I am the wide expanse of the sky and the universe, a universe where I was born again.
Now I finally understand the true mission of "The Others", which now also belongs to me; humanity must be eliminated and this species, my species will live.
This I am, nature, sea, sky, space. I am the earth.
Details
| Name : | Faceless Mission |
|---|---|
| Marketplace: | Terra Virtua |
| Pieces : | 3/3 |
| Direct Link : | https://terravirtua.io/item/HADART6100001 |

Tools:
- Gaomon S620
- Photoshop
- Brushes courtesy of Imad Awan: Download here
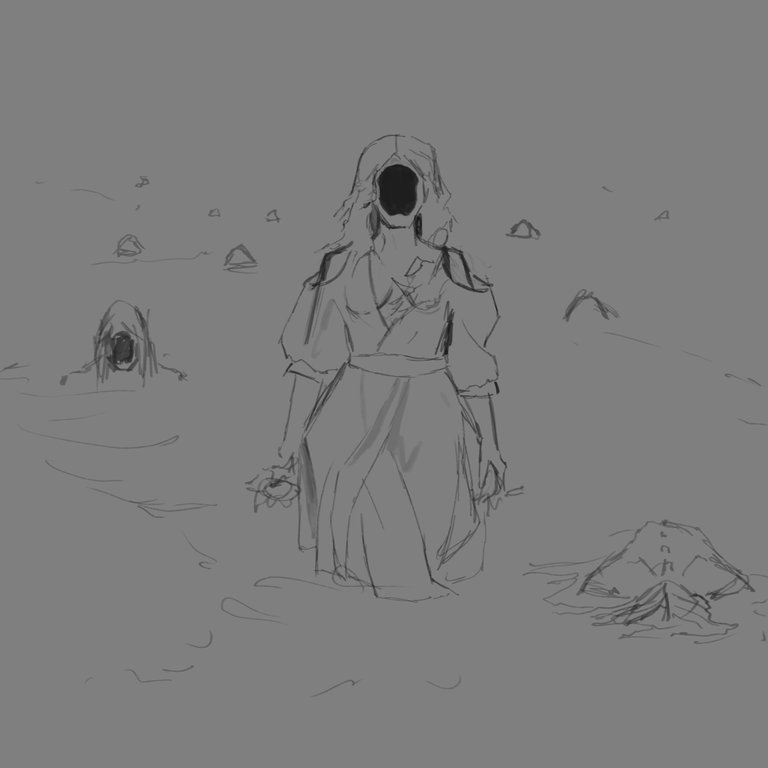
-Step 1:
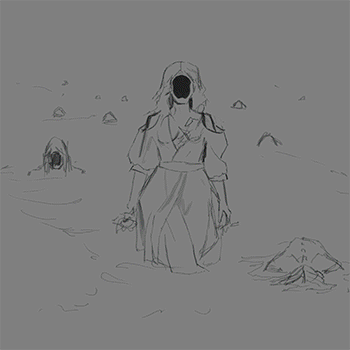
It was time to finish the collection, so I wanted to make a scene of triumph and imminent invasion, something that clearly says "we are coming for you and you don't stand a chance against us".
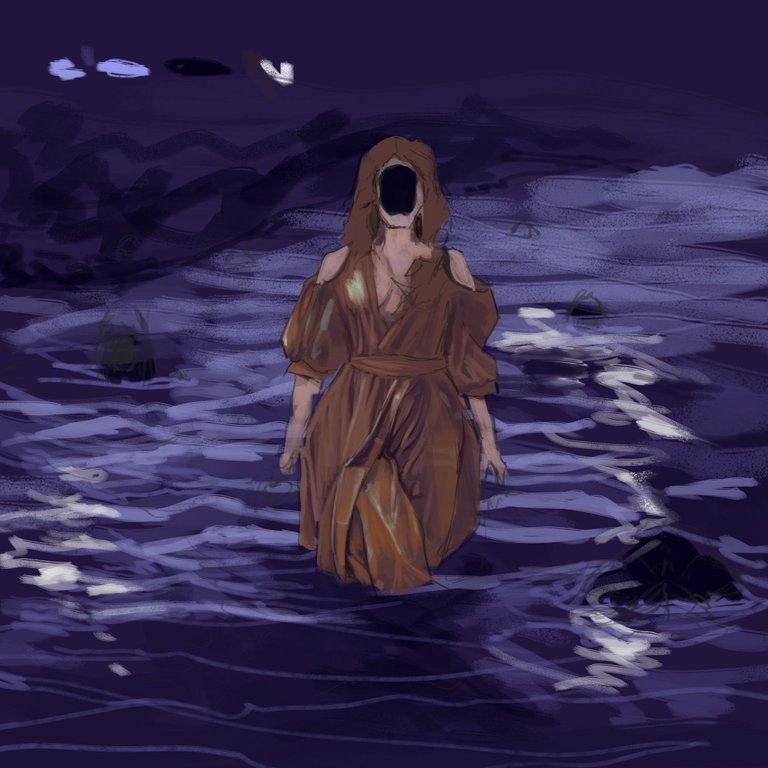
-Step 2:
At first I wanted the water to be a purple color, but it did not fit in the color composition, so I left it aside and focused on the lady's dress giving the first brush strokes to define the folds of the fabric of the dress.
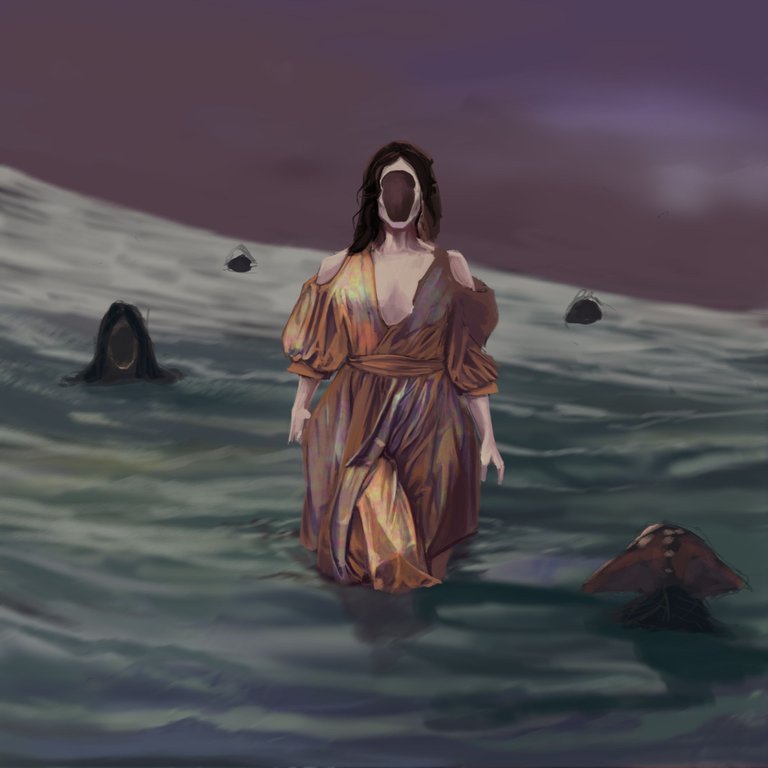
-Step 3:
To find a better color palette for the water, I resorted to the first artwork in this collection, but changed the blend mode to "hue" to capture new shades of color.
Then, in a new layer, I proceeded to colorize based on these colors, all this under the dress layer, so I didn't have to worry about ruining it, I just focused on finding the right color palette to fit the color of the dress since I loved it.
 |  |
|---|
-Step 4:
The atmosphere felt very apocalyptic, but I didn't want to fall into it, so I went for even lighter tones, which would enhance the dress and the ladies coming out of the water.
As for the water, I didn't want to take weeks drawing it, so this time I did use some textures that would help me to lighten the work, playing with the swell. I also duplicated the dress layer, inverted it to make the reflection in the water, but with the "liquify" tool I distorted the reflection to create something cooler.
 | 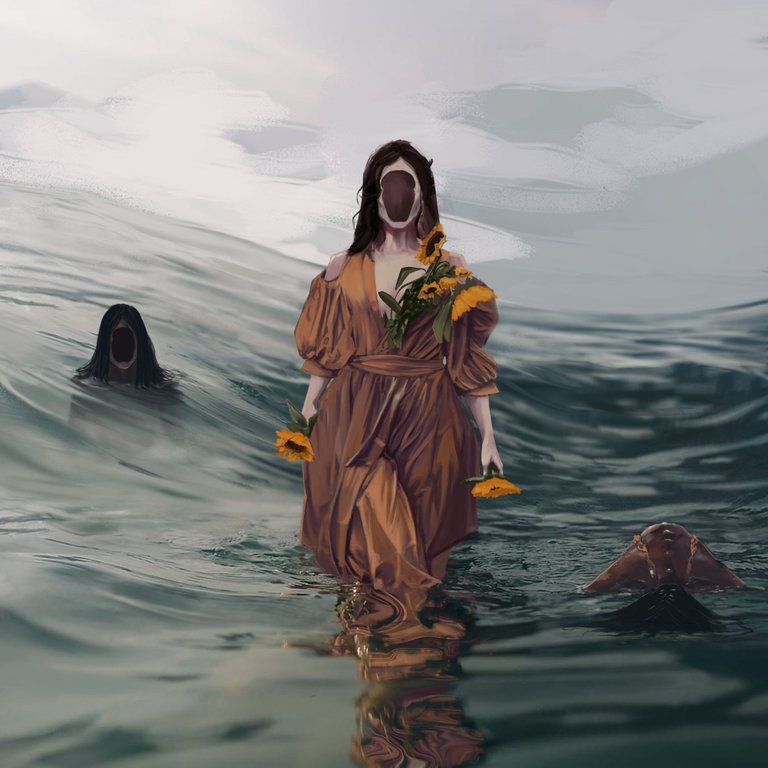 |
|---|
-Step 5:
The shimmers on the skin and the dress are created using curve modification, inverting the colors and then painting them back smoothly with a layer mask.
With Ctrl+Mayus+Alt+E I blended the whole illustration in a new layer, then with the "liquify" tool I corrected some proportions that I didn't like how they looked, the most evident is the head of the lady that comes out of the water from the left. Of course I could not miss the gaussian blur and the glitch effect to make this artwork the last of this collection that I loved and I enjoyed a lot to do it, I am very satisfied with it.
I will leave you a GIF with the whole process on it, so you can better appreciate the illustration process.
Tell me in the comments that you imagine when you see this illustration.

See you in a future post!
Thank You for Supporting My Artwork
▶️  |
| |
| |
| |
| |
| |
| |
| ◀️
◀️
TWITTER | RARIBLE | GHOSTMARKET | FOUNDATION |TERRA VIRTUA |NFT SHOWROOM | INSTAGRAM | FACEBOOK
⬆️ Follow ⬆️
Bravo this. Is an amazing piece the colours standout...❤️❤️❤️💯💯💯👏👏👏
Thank you so much😁
@hadley4! The Hive.Pizza team manually curated this post.
PIZZA Holders sent $PIZZA tips in this post's comments:
Learn more at https://hive.pizza.
Finally, I found some great artists who can inspire me😍
That's an honor, thank you for enjoying my art 😄
I like it, the creepy vibes and the colors go very well together
Thank you!
Eerie and haunting
👽👽👽
Truly amazing 😍
Thank you!!
Felicitaciones! Trabajo muy creativo e inquietante.
Oh muchas gracias por apreciar mi arte 😄