Back To Basics - Ranged is King

Back to Basics is always an interesting ruleset but when you combine it with Little League and Equalizer, the selection of cards can really begin to test the depth of a deck.
But before we begin, what is the ruleset of todays battle and how do the different rules complicate things a bit further?
Typically the order of the rulesets is important to note. But in this case, as each of these rulesets are independent of one another it can actually make it a bit harder to work around.
Back To Basics:

"Back row monsters are safe from enemy's Sneak, Snipe and Opportunity attacks. The ruleset places importance on Magic and Ranged attacks as melee attacks loose their ability to hit outside of the first position. Select monsters with high speed and choose a summoner that increases damage or defense against Magic or Ranged attacks. Lining up monsters in ascending order of their health is the way to go." - Splintercards
Little League:

"Monsters and summoners of 4 Mana or less will be the only ones available in this ruleset. Try increasing your defense by using summoners that give +1 armor or +1 health. Use monsters with at least 2 magic damage and 2 ranged damage. Using Mylor as summoner in this ruleset helps a lot." - Splintercards
Equalizer:

"Don't use high HP monsters and focus on high damage. Try to use a lot of monsters as well. Having a Tank Heal, Thorns, Triage for defense helps a lot." - Splintercards
Alongside a pool of 29 mana, there are plenty of options to combine if you have them available to your deck especially considering all elements are allowed with only water being excluded in this battle.


Lineups:
Thaddius Brood

My thought process here is that magic is very likely to be the damage of choice for my opponent. So I'd like to reduce their magical damage as best possible. The lack of Void and all abilities in general mean a faster team lineup with plenty of ranged attack will help ensure that my damage is consistent in each round.
Xenith Monk

For the low mana cost this is a pretty decent Tank. Whilst Xenith Monk won't have the self heal ability in this battle due to the ruleset, 6 health and 3 speed is still good for a 4 mana tank. I am not expecting this card to last too long.
Riftwing

Similarly to the Xenith Monk, I am trying to put as many hit points between my damage dealers and the opponent. With 4 speed and 6 health, the Riftwing is evasive and healthy so should last a round... at least I hope so.
Death Elemental

Low in health and 3 speed overall make this magic dealer a decent choice for 3 mana. My aim is to take advantage of the potency of magic damage provided by the Back to Basics ruleset. Whilst I will be mixing the damage type up a little, it is important that I have monsters capable of taking down opponents with armour as efficiently as possible. The Death Elemental is part of that plan.
Life Sapper

The Life Sapper is an excellent 3 mana card much like the Death Elemental, the only difference is actually the ability but in today's battle the ability is not of importance. Once again, alongside the Death Elemental, I am hoping the Life Sapper will be able to snipe the opponent down one through any armour they may have.
Soul Strangler

One of my more recent levelled cards, the Soul Strangler is a very cheap 2 damage ranged attacker. This card is of the same speed as my magical contingent above so my hope is that good damage comes at the opponent reducing their armour in the first instance and then blasting away at their health thereafter.
Dark Astronomer

This is a healthier version of the Soul Stranger but comes at the loss of speed. Overall, 2 damage at range is pretty decent in a Back To Basics ruleset as the melee monsters can only be involved if they are in the first position.

Opposing Lineup
Obsidian

Seeing my opponent's choice of Obsidian, my decision to play Thaddius Brood was immediately vindicated.
Xenith Monk

As already discussed this is an excellent choice to play in the match up and ruleset we have. The opponent has the edge here as their Xenith Monk is levelled up higher than mine and so has a speed advantage. This won't have a major impact in the overall ending as they are the first of many cards to fall.
Hill Giant

My opponent has thrown down the highest health card of all. It was not until after my selection that I realised there was an Equalizer ruleset in play so this would work to my advantage a little bit.
Biceratops

I am confused regarding this selection. My opponent has more or less made some good solid selections thus far and it is this card that strikes me as odd in the position, damage type and level compared to the rest. I feel that this card has tipped the battle into my favour as it will not be supporting the damage output of my opponent's lineup until it takes a turn in the front position.
Elven Mystic

This is another good selection for the opponent and once again on the slower side of things meaning my lineup will all get a turn (except one card) prior to this one. Could that be important?
Venari Spellsmith

This is a good choice of card as it continues the magic theme for the opponent. At 2 speed it is on the slower side and compared to my own lineup this card will not attack early in the round which is a bonus for me.
Djinn Biljka

I think the selection and position of Djinn Biljka is perfect. Rear position with all the hitpoints in front of it, it can continue doing damage until it gets to the final rounds. Right now, I am glad Thaddius Brood is being used as my summoner as this card would have wreaked havoc on my line up if left alone.

The Battle:

Round 1

Round 2
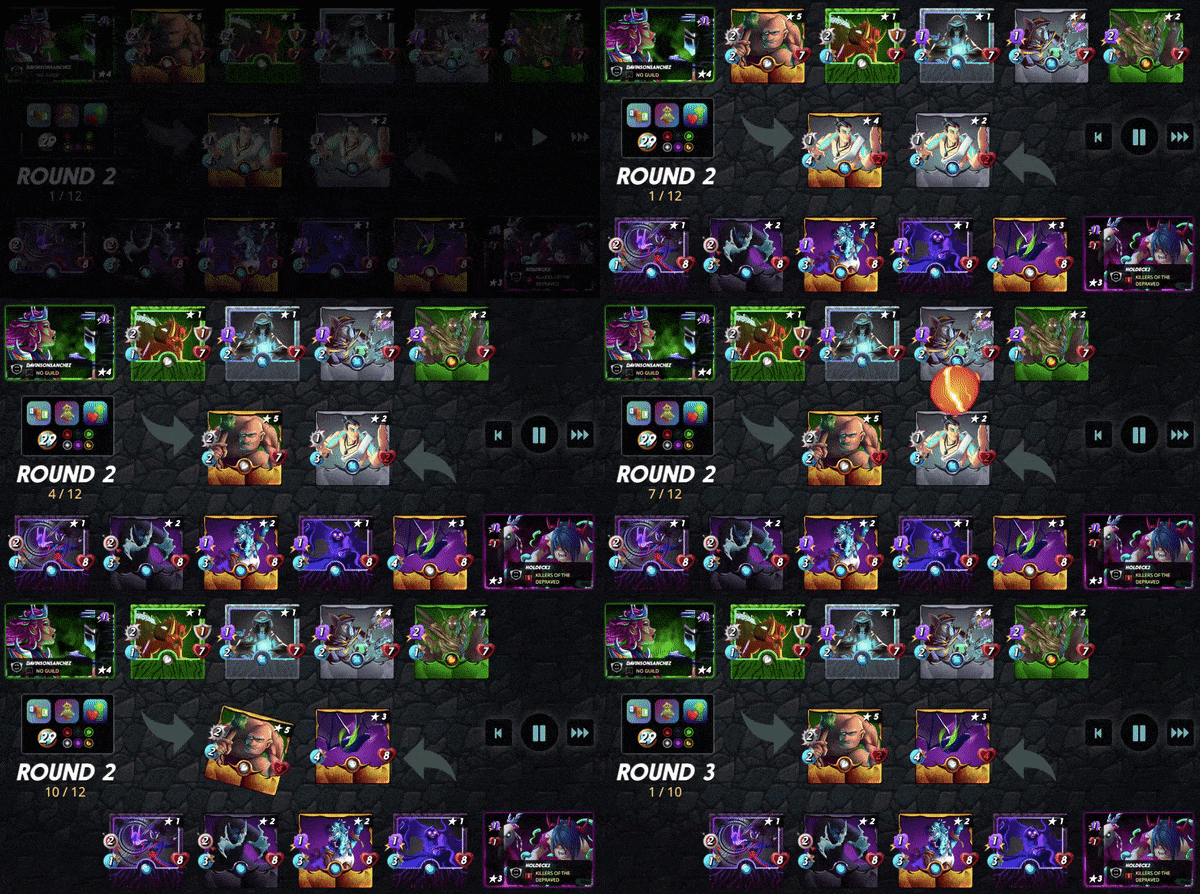
Round 3
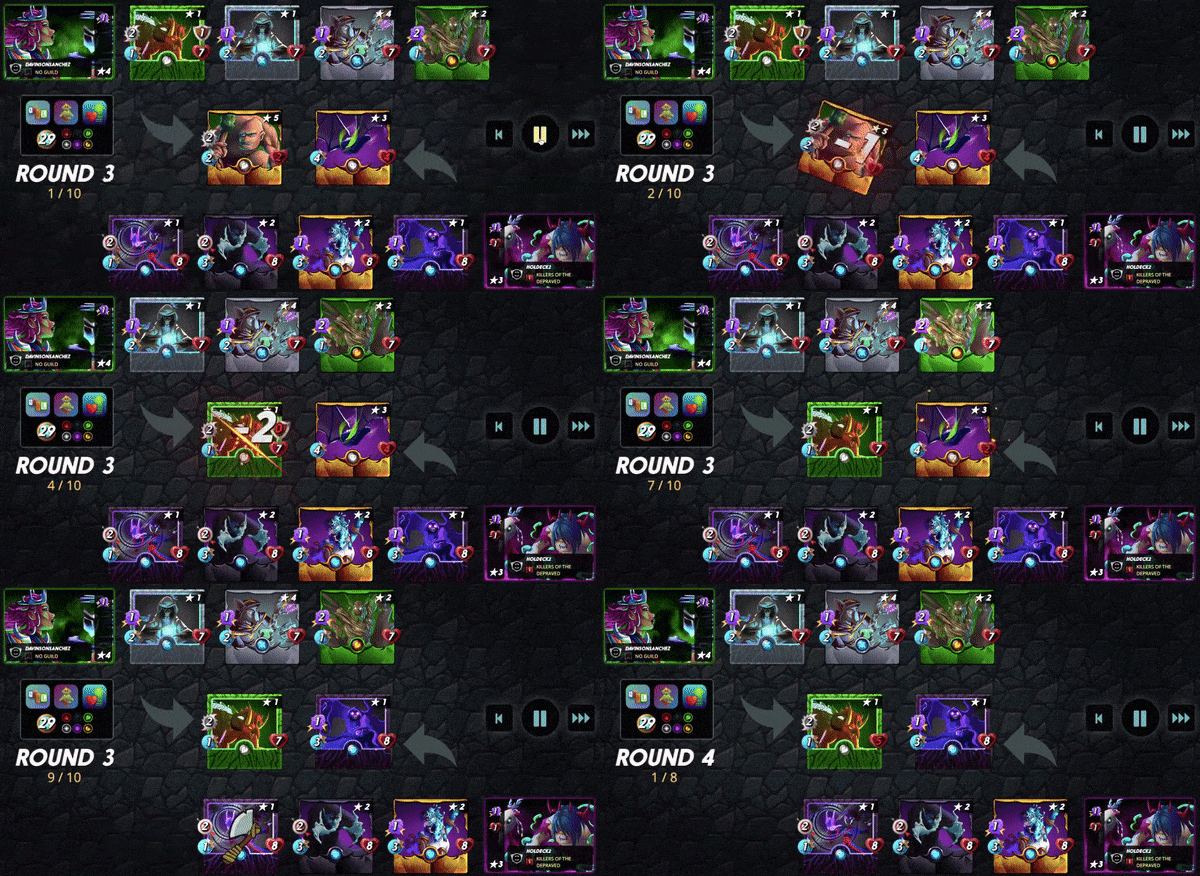
Round 4
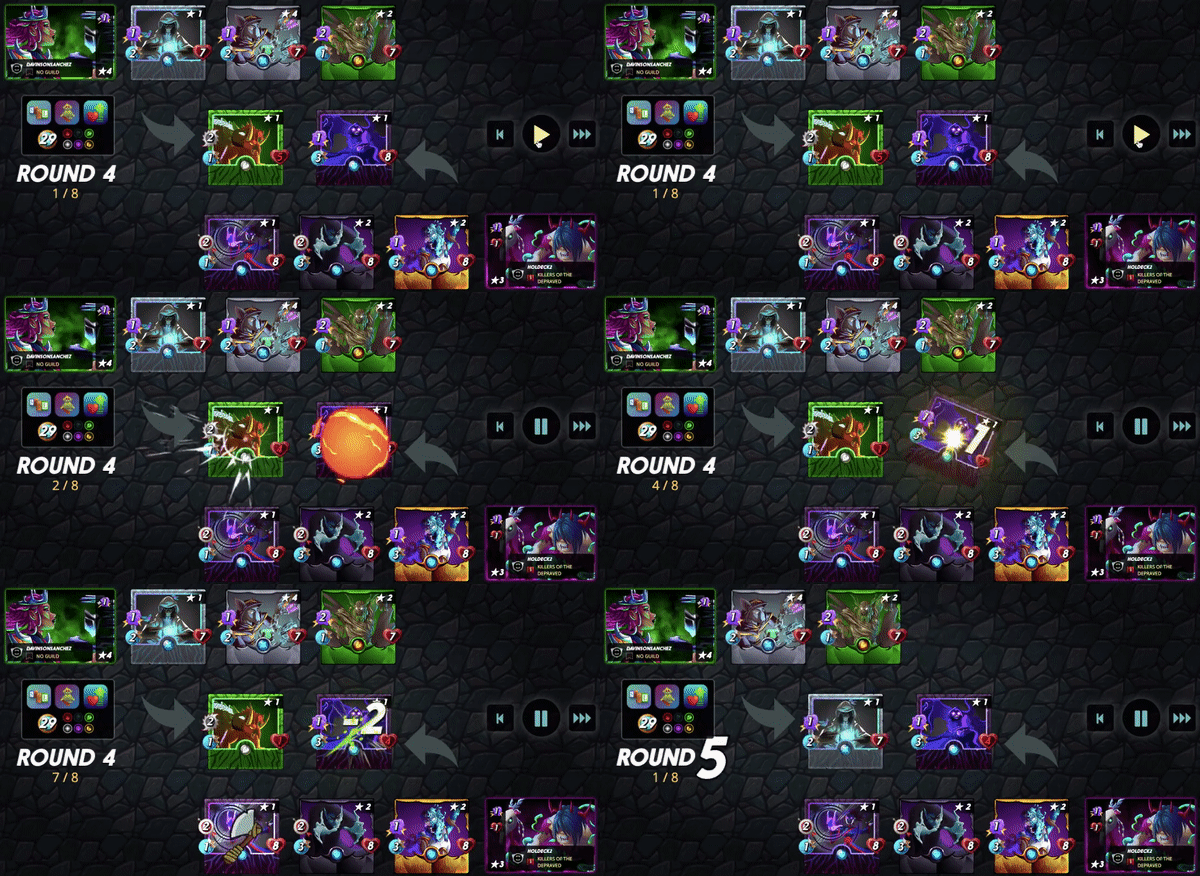
Round 5

Round 6
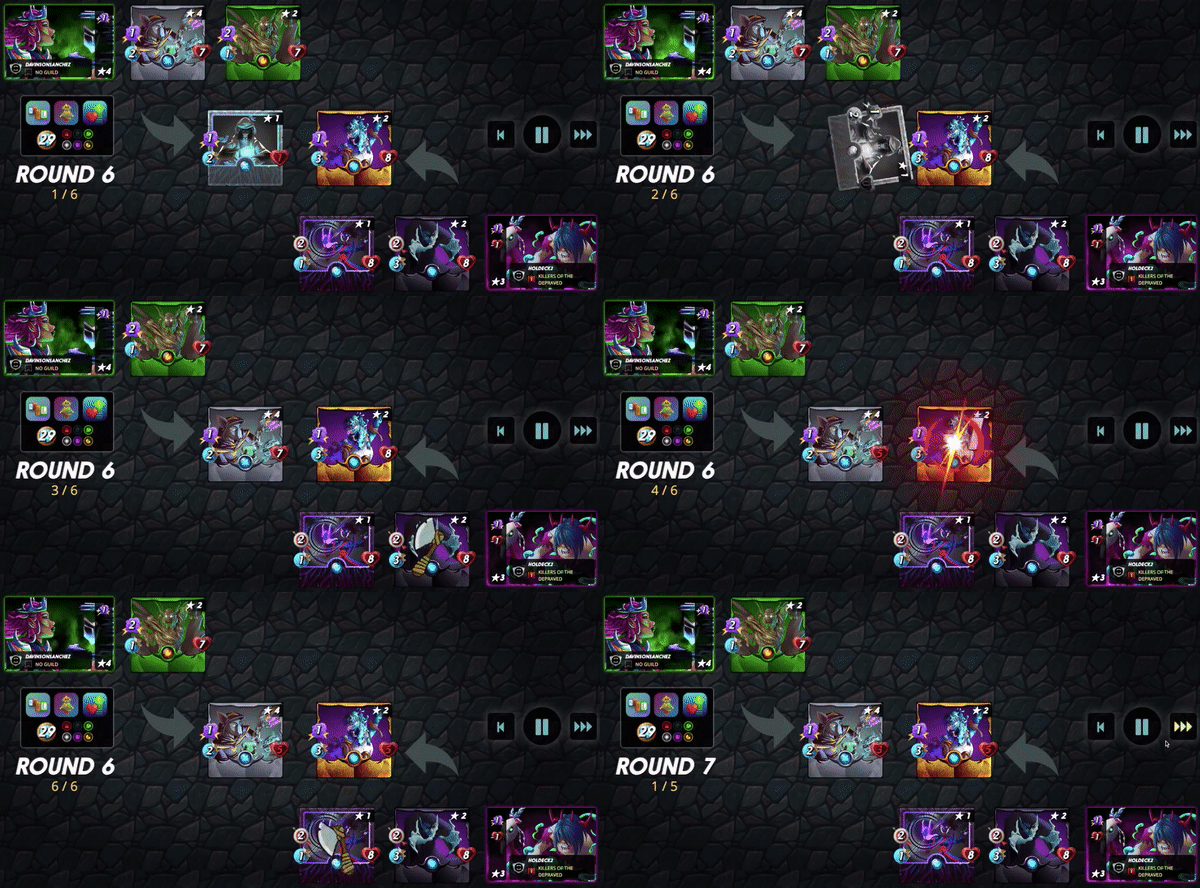
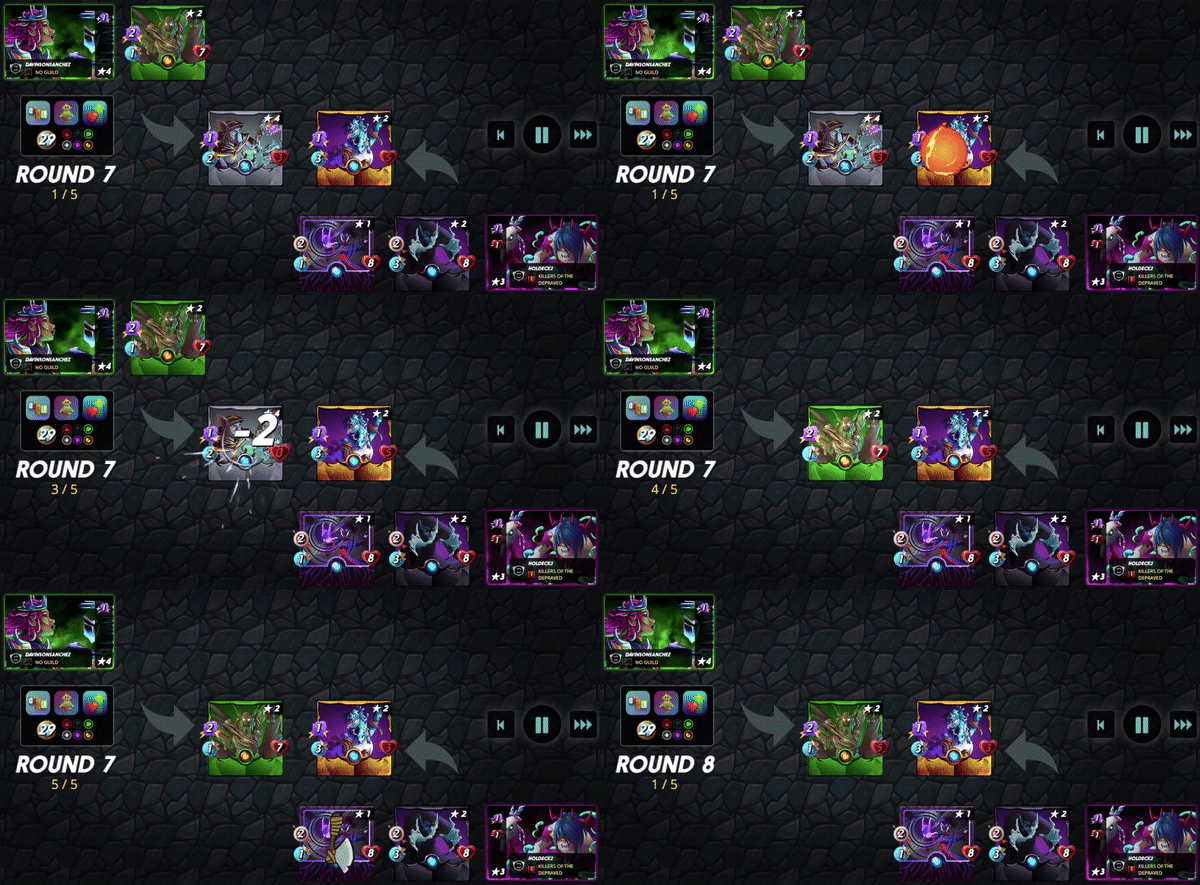
Round 7
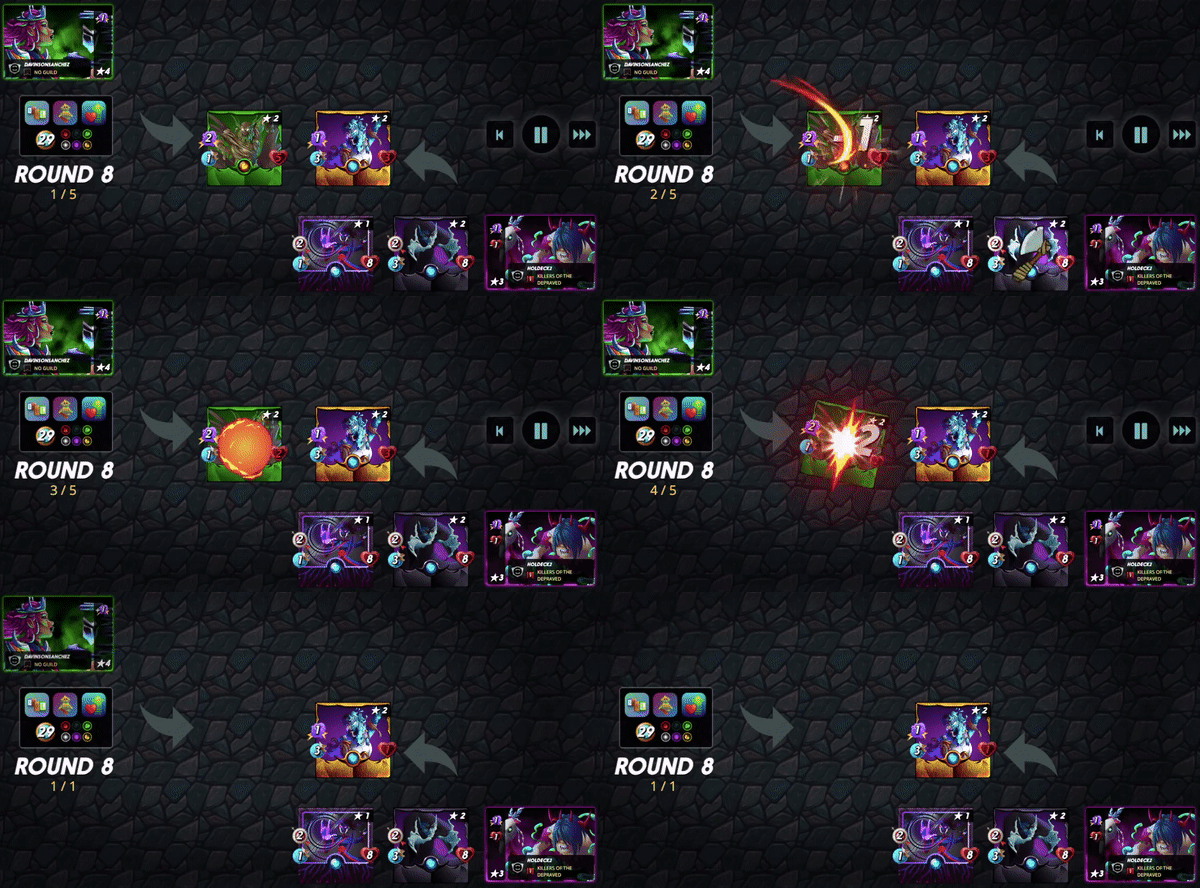
Final Round

Post Battle thoughts:
I think what really mattered in this battle was the strategy for the Back to Basics. Using high health tanks is a great strategy but continuous damage is of the utmost importance to ensure victory. Placing your highest ranged damage in the rear position is essential to the highest damage per round. Generally speaking as well, the faster a monster is the more chance you have of reducing the opponent's damage for that round as well.
In this battle, the critical selection choice of the Biceratops was for me the tipping point. Had my opponent selected a Acid Shooter, Goblin Dartling or Xenith Archer then I think they would have increased damage in the first few rounds for certain.
Lastly, in this battle, Thaddius Brood immediately countered Obsidian which really dented the opponent's main damage plan. While the other rulesets in this battle did have an impact I think that had the opponent made a different choice in the Biceratops position I honestly think there could have been a different outcome here.

Join Splinterlands:
https://splinterlands.com?ref=holdeck
Join Splex
...and rent out your cards for some juicy DEC rental fees. Save yourself the hassle of listing and relisting and let the Rental Golem take over for you:
https://splex.gg/?ref=3s5haoqkjteadpf8
How to invest without FIAT in a bear market? : https://peakd.com/hive-167922/@holdeck/how-i-am-investing-for-after-the-bear-market
Setting and redefining goals in a bear market: https://peakd.com/hive-13323/@holdeck/setting-and-redefining-goals-in-a-bear-market

Splinterlands Fire divider by freeztag
All card, icons, Splinter images and stats courtesy of Splinterlands
Ability and Ruleset blurbs taken from Splintercards
Splinter Element Icons taken from Splinterlands
I have reformatted them into PNG files which you are welcome to use here
https://twitter.com/1495481755817676801/status/1642801919788740610
The rewards earned on this comment will go directly to the people( @holdeck ) sharing the post on Twitter as long as they are registered with @poshtoken. Sign up at https://hiveposh.com.
I like to usw magic at this ruleset. Range is a nice Option too 😁👍
Yeah I think both can work well for the ruleset for sure.
You really played well. Voted on behalf of the Neoxian city paper.
Posted using Neoxian City
Thank you very much!
Congratulations @holdeck2! You have completed the following achievement on the Hive blockchain And have been rewarded with New badge(s)
Your next target is to reach 600 upvotes.
You can view your badges on your board and compare yourself to others in the Ranking
If you no longer want to receive notifications, reply to this comment with the word
STOPCheck out our last posts:
Support the HiveBuzz project. Vote for our proposal!
Please set a profile picture on your hive profile.---
Do you know you can win a Chaos Legion pack and many other things just by following some simple steps ?? Check out our Latest Daily Showcase and Participate our latest Giveaway. Thanks
Thanks for sharing! - @yonilkar
