POP IT adorno para lápiz. || POP IT pencil ornament.


Tener un pop it a la mano cuando estemos realizando un escrito puede ser beneficioso, si son como yo que me frustro cuando mis ideas no fluyen, este pequeño objeto les ayudará a liberar un poco del estrés que sientan, sin mencionar que embellece el lápiz; a los niños seguro les encantará tener un diseño colorido en sus manos, sin más que agregar demos inicio al tutorial.
Having a pop it handy when we are writing can be beneficial, if you are like me that I get frustrated when my ideas don't flow, this little object will help you release some of the stress you feel, not to mention that it embellishes the pencil; kids will surely love to have a colorful design in their hands, without further ado let's start the tutorial.
Primer paso: || First step:
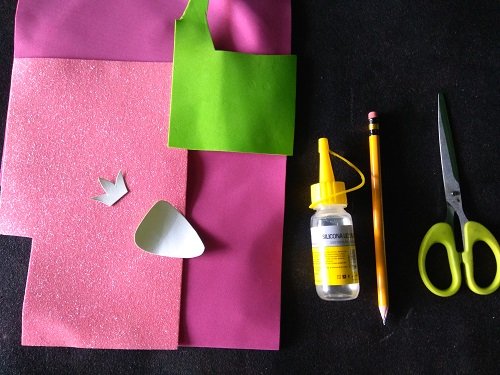
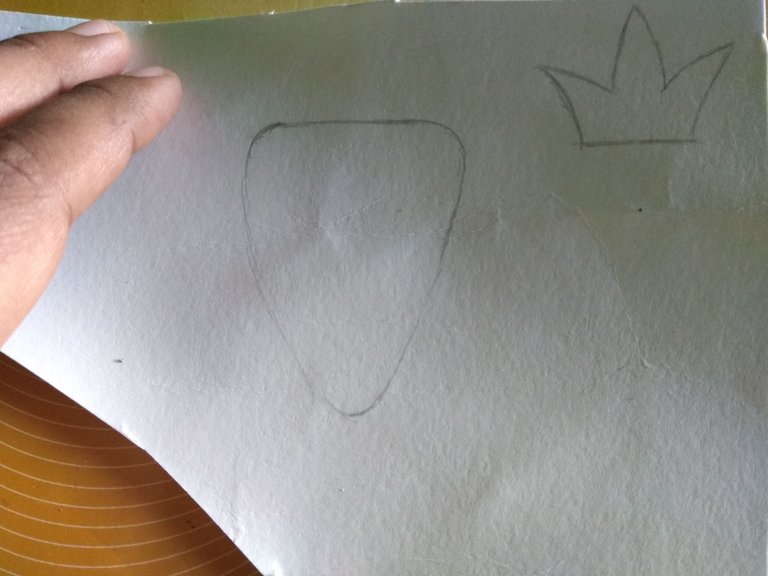
▪️ Inicialmente se deben crear los patrones, la fruta elegida es una fresa, aunque pueden escoger uvas, piñas lo que deseen, hice un pequeño diseño en la cartulina con la forma de la fresa y las hojas, luego los recorté.
Initially you must create the patterns, the chosen fruit is a strawberry, although you can choose grapes, pineapples whatever you want, I made a small design on the cardboard with the shape of the strawberry and the leaves, then I cut them out.
Segundo paso: || Second step:
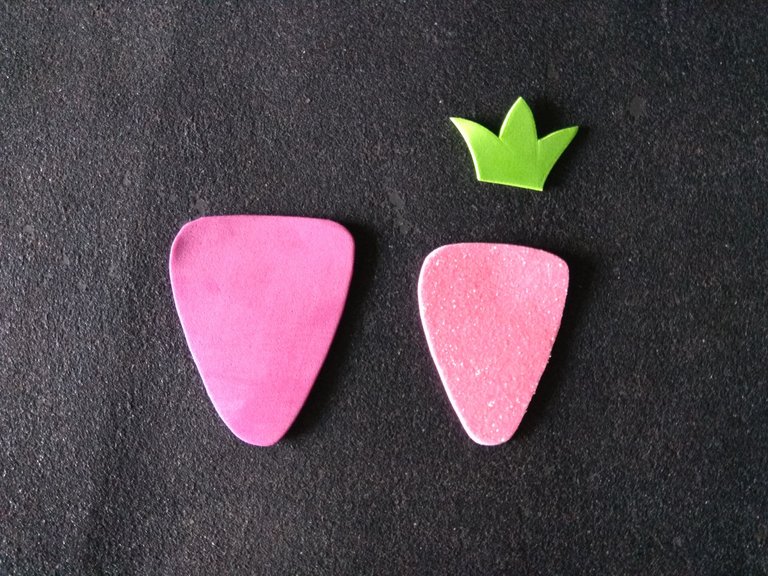
▪️ Coloqué el patrón sobre el foami rosado y tracé la forma, hice una segunda forma tomando como referencia el patrón de fresa pero esta vez las medidas serán mayores (solo un poco), además tracé el patrón de hojas y recorté todas las piezas.
I placed the pattern on the pink foami and traced the shape, I made a second shape taking the strawberry pattern as a reference but this time the measurements will be bigger (just a little bit), I also traced the leaf pattern and cut out all the pieces.
Tercer paso: || Third step:
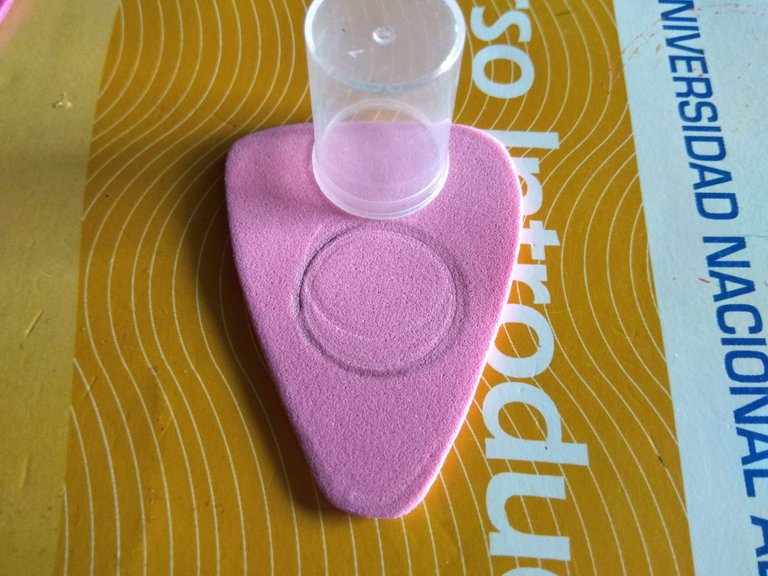
▪️ Tomé la tapa y la coloqué sobre las fresas, tracé las medidas y luego recorté, recuerden que los agujeros deben encajar.
I took the cover and placed it on the cutters, traced the measurements and then cut out, remember that the holes must fit.
Cuarto paso: || Fourth step:
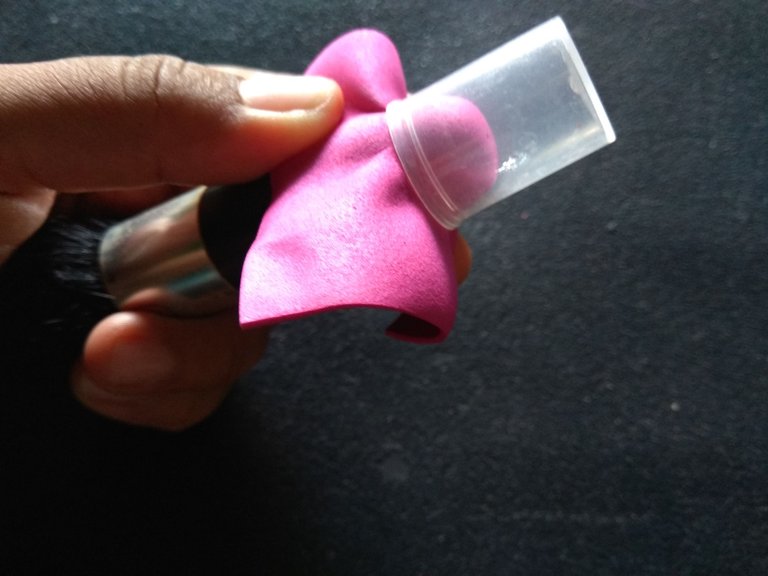
▪️ Calenté un trozo de foami y luego lo coloqué sobre el objeto redondo que en mi caso fue una brocha, encima coloqué la tapa y espere a enfriar, seguidamente se debe recortar el botón pop it formado.
I heated a piece of foami and then placed it on the round object, which in my case was a paintbrush, on top of it I placed the lid and waited for it to cool, then I had to cut out the pop it button.
Quinto paso: || Fifth step:
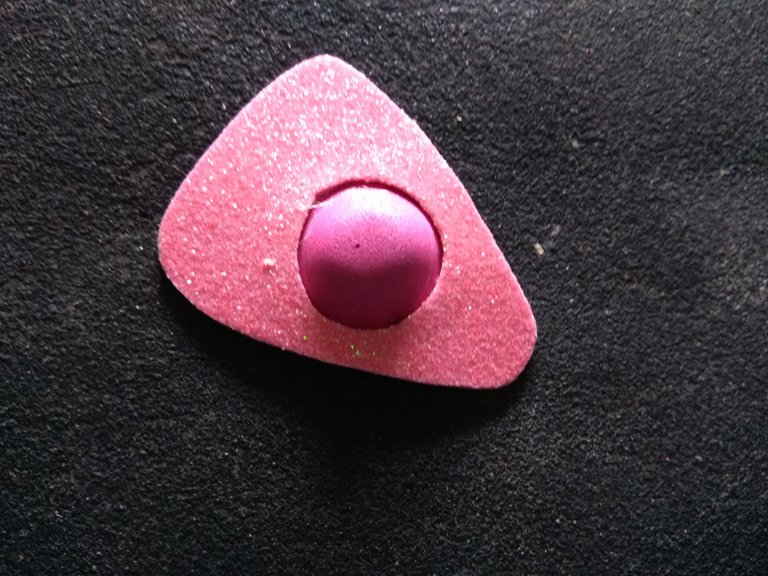
▪️ Pegué a la fresa de foami pequeña el botón pop it, es por ello que se debe dejar un excedente de foami en el botón a la hora de recortar.
I glued the pop it button to the small foami cutter, which is why you should leave some excess foami on the button when cutting it out.
Sexto paso: || Sixth step:
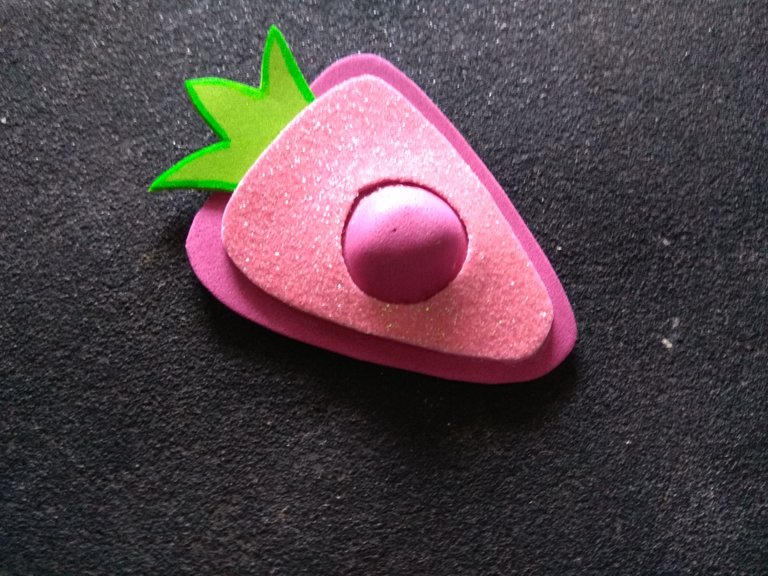
▪️ Agregué a las piezas restantes, primero pegué las hojas previamente delineadas (opcional) y luego pegué las otra forma de fresa.
I added to the remaining pieces, first glued the previously outlined leaves (optional) and then glued the other strawberry shapes.
Séptimo paso: || Seventh step:
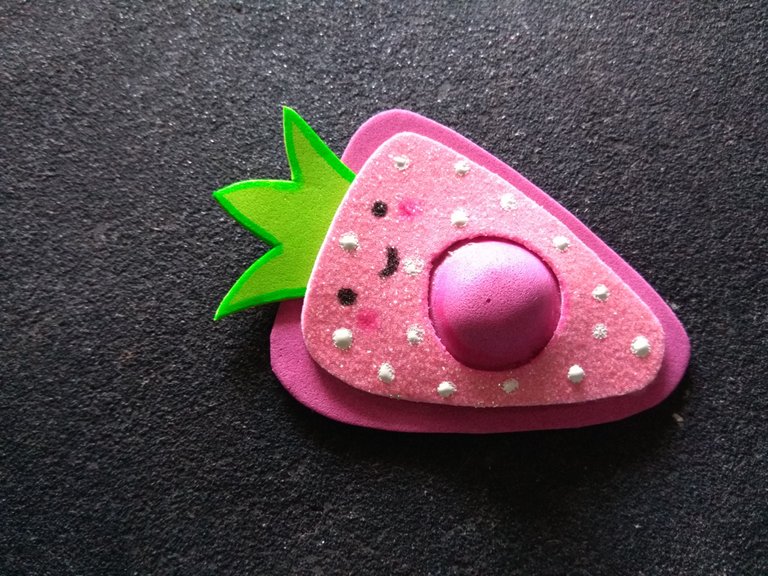
▪️ Para la decoración hice una carita usando marcador negro y pinté mejillas con el marcador fucsia, después pinté por toda la estructura puntos blancos.
For the decoration I made a little face using black marker and painted cheeks with the fuchsia marker, then painted white dots all over the structure.
Octavo paso: || Eighth step:
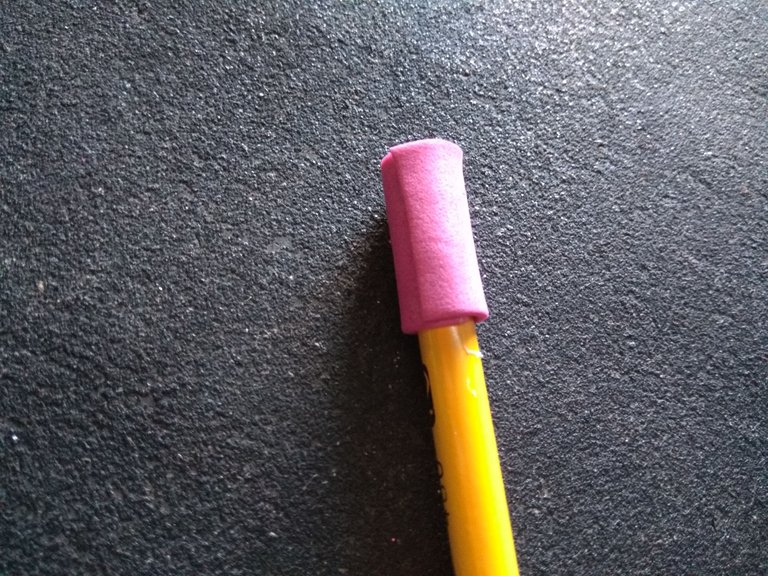
▪️ Deben cubrir con una tira la parte de la goma de su lápiz, en esta tira se colocará nuestro pop it.
You must cover with a strip the eraser part of your pencil, on this strip will be placed our pop it.
Noveno paso: || Ninth step:
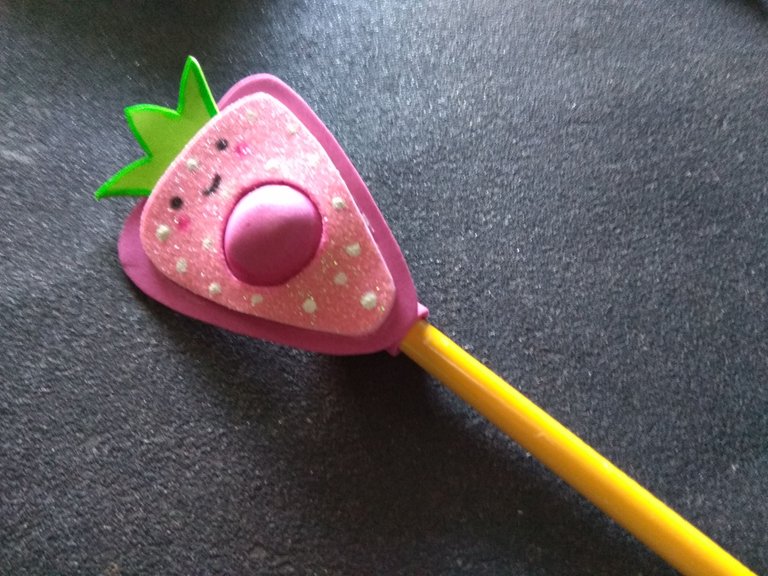
▪️ Por supuesto el último paso es pegar el pop it sobre la tira de foami, deben dejar el lado del botón descubierto en la parte trasera para que el pop it funcione.
Of course the last step is to glue the pop it onto the foami strip, you must leave the button side uncovered on the back for the pop it to work.
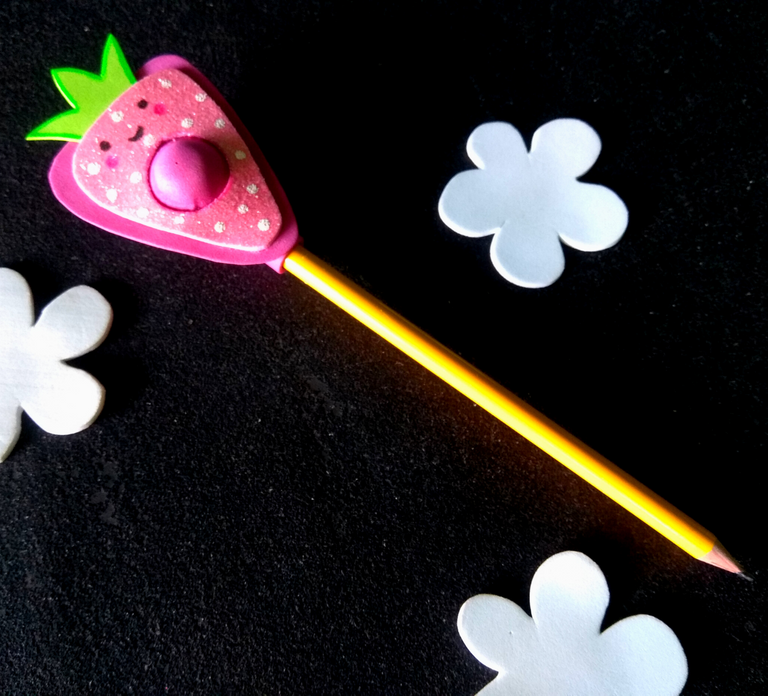
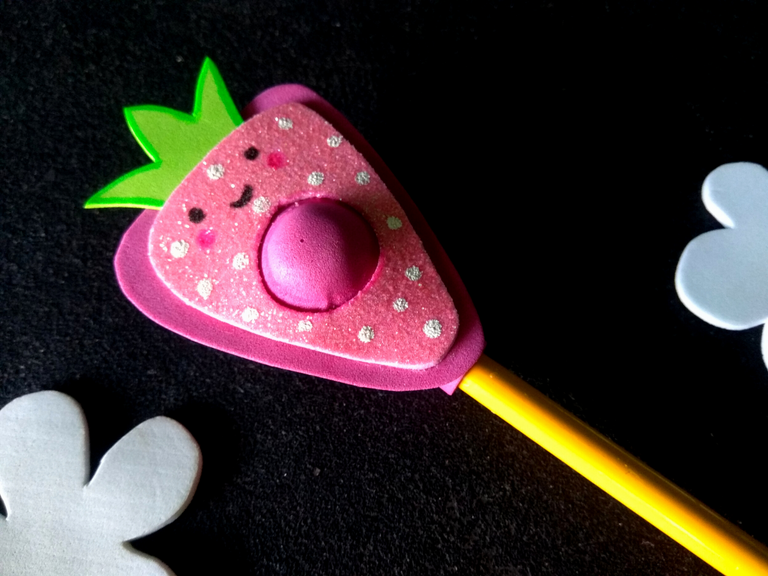
Una forma creativa de calmar el estrés, quiero saber que les ha parecido este adorno para lápiz tan útil, gracias por llegar hasta aquí.
A creative way to relieve stress, I want to know what you thought of this very useful pencil ornament, thanks for making it this far.
Imágenes tomadas desde mi Xiaomi Redmi Note 4. || Images taken from my Xiaomi Redmi Note 4.
Separadores hechos en Canva. || Dividers made in Canva.
Ediciones hechas en Canva. || Editions made in Canva.
Vídeos convertidos en gif || Videos converted to gif IMG2GO
Translator Deepl.
https://twitter.com/gabimramirez25/status/1541584099168735232
The rewards earned on this comment will go directly to the people sharing the post on Twitter as long as they are registered with @poshtoken. Sign up at https://hiveposh.com.
Algo así me habría sido de gran utilidad el día de ayer. Es genial poder encontrar cosillas así aqui, es mas, seguro intentaré hacerlo jajaja ciertamente con muy desestresantes esas cosillas, mas para colocarla en un lapiz... imaginate lo útil que sería para un alumno en pleno examen... jeje
Un excelente post, muy bonita la estructura que le diste. Gracias por compartir esta manualidad con nosotros.
Jajajajja oye para un excelente esto sería genial no lo había pensado, gracias por tu comentario.
Me encanta, quedó hermoso y súper práctico al poder colocarlo en un lápiz. La forma en que presentas el paso a paso es impecable. Felicitaciones, gracias por compartir tus ideas.
Una forma linda de liberarnos del estrés ajajaj, gracias por tu comentario.
Thank you for sharing this amazing post on HIVE!
Your content got selected by our fellow curator @rezoanulvibes & you just received a little thank you via an upvote from our non-profit curation initiative!
You will be featured in one of our recurring curation compilations and on our pinterest boards! Both are aiming to offer you a stage to widen your audience within and outside of the DIY scene of hive.
Join the official DIYHub community on HIVE and show us more of your amazing work and feel free to connect with us and other DIYers via our discord server: https://discord.gg/mY5uCfQ !
If you want to support our goal to motivate other DIY/art/music/homesteading/... creators just delegate to us and earn 100% of your curation rewards!
Stay creative & hive on!
Thank you for your support.
Hola amiga @jennyzer. Me gusto mucho, bastante ingenioso, y creativo. Creo que a muchos nos haría falta algo como eso, la mejor manera de trabajar, y a la vez relajarte liberando stress jajajaja.
Muchas gracias por compartir.
Saluditos...
Yo tengo de todos los colores ya ajajjaja gracias por tu comentario.
quiero uno para mi, me ha encantado. no solo por lo que sirve sino por la forma y la combinación de colores. bello.