How to Make Chicken Thigh Donuts
Yooo yooo hello my fellow hivers and all hive communities from all over the world wherever you are. Back again with me Jodi Pamungkas and Ema on the food and snack recipe blog that you can make yourself at home without requiring a lot of money and time. Happy Thursday to all of you who are at home or on vacation with your family, I hope you are all fine without any problems. Thank you to all the community who have supported my previous post about me buying a mixer to make it easier to make cakes. I'm really very satisfied with the mixer and worth it. Well, so today I will share a snack recipe that is quite simple and doesn't take much time. Chicken thigh donuts are quite popular in Indonesia and usually these chicken thigh donuts are often sold to children. Why are these donuts called chicken thigh donuts? Because the donut is in the form of a chicken thigh with an ice cream stick underneath. Without lingering, just read the recipe below until it's finished and I hope you like this recipe.
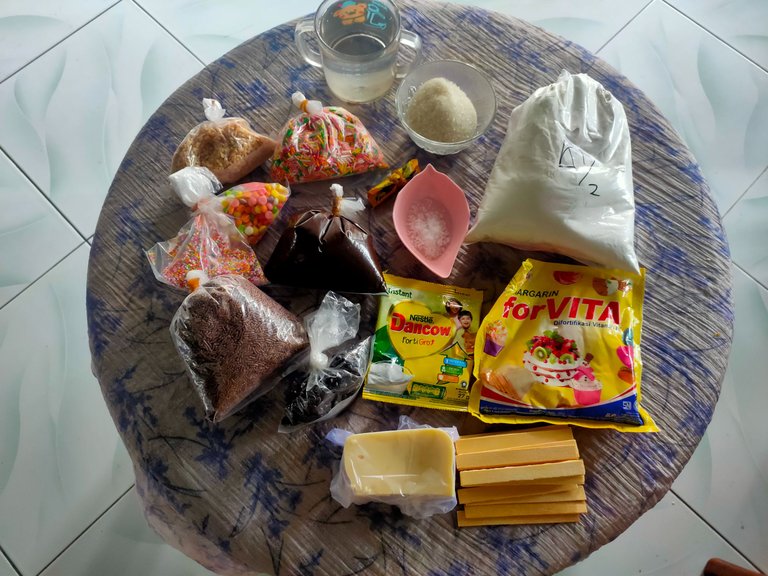
So, to make these chicken thigh donuts, what should we prepare? The first thing you have to prepare is wheat flour with medium protein, then sugar, mineral water, ice cream sticks, salt, powdered milk, yeast and toppings for chicken thigh donuts such as cheese, chocolate chips, nuts and other toppings according to your wishes. After you have everything ready, now let's start the first step of making donut dough.
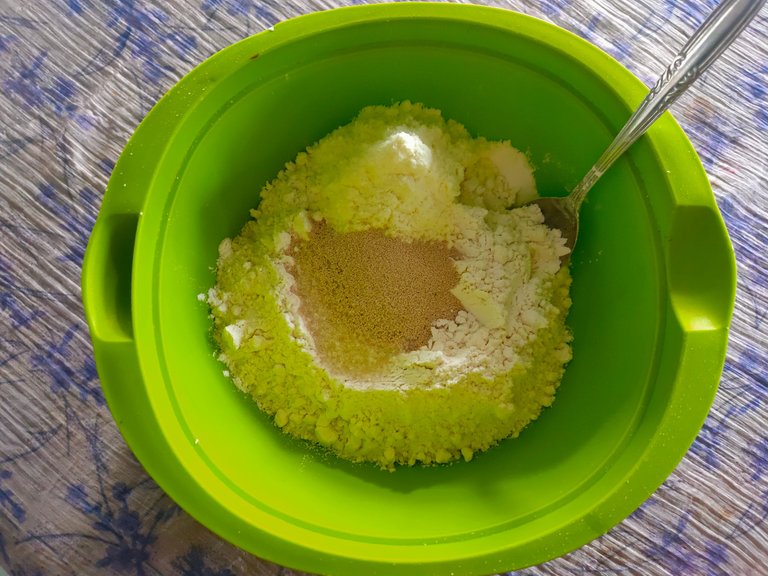
The first step, what you have to do first is prepare 1 medium place, then put 250 grams of medium protein flour, 1 sachet of powdered milk, 3 tablespoons of granulated sugar and 1 teaspoon of yeast. Then, stir in the dry mixture until everything is evenly mixed.
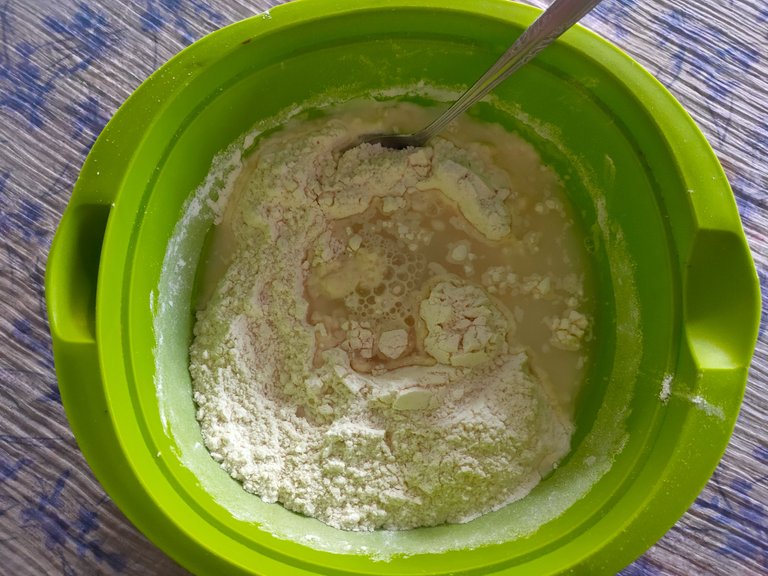
The second step, after the dry mixture has been stirred until well blended, now add enough water slowly while stirring continuously until the dough is half khallis.
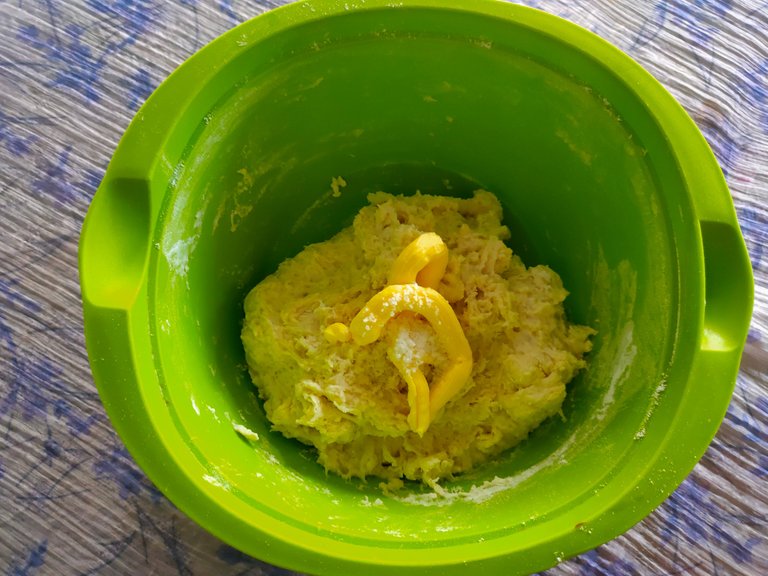
The third step, after the dough is half khalis, now add half a teaspoon of salt and 2 tablespoons of margarine. Then knead the dough until the dough is really soft and khalis. In this blog I have not used a mixer and the mixer is still on the way to my house.
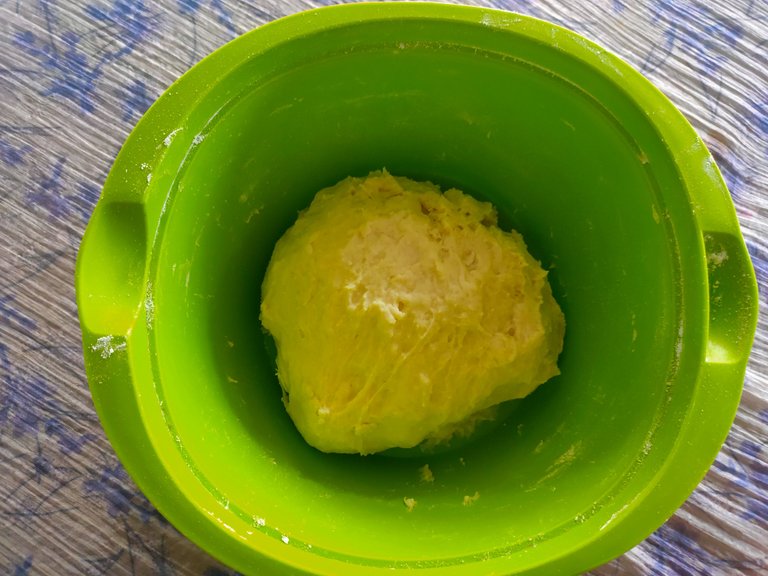
The fourth step, after the dough has been kneaded by hand until it is soft and khalis, now cover the dough using a clean cloth and leave it for about half an hour until the dough has doubled in size than before.
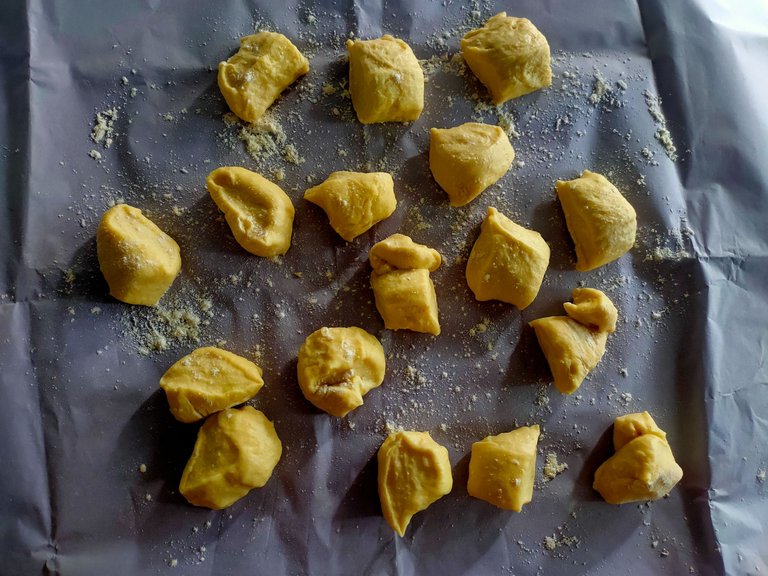
The fifth step, after the dough has doubled in size from before, now prepare parchment paper and sprinkle with flour so that the dough does not stick. Then, cut the dough into 17 pieces like the photo above. If you have a scale, you can weigh evenly first.
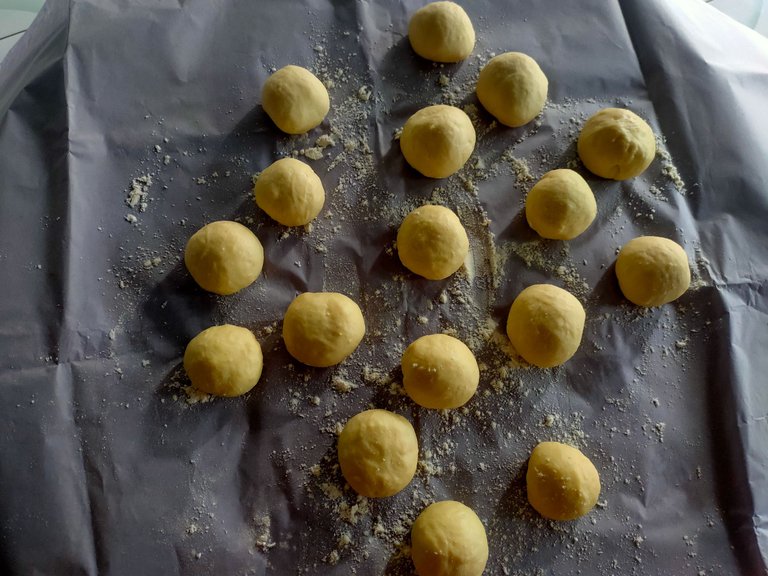
The sixth step, after you have cut the dough, now what you have to do is, shape all the dough into a round like the photo above by using your hands. Make sure you wash your hands first.
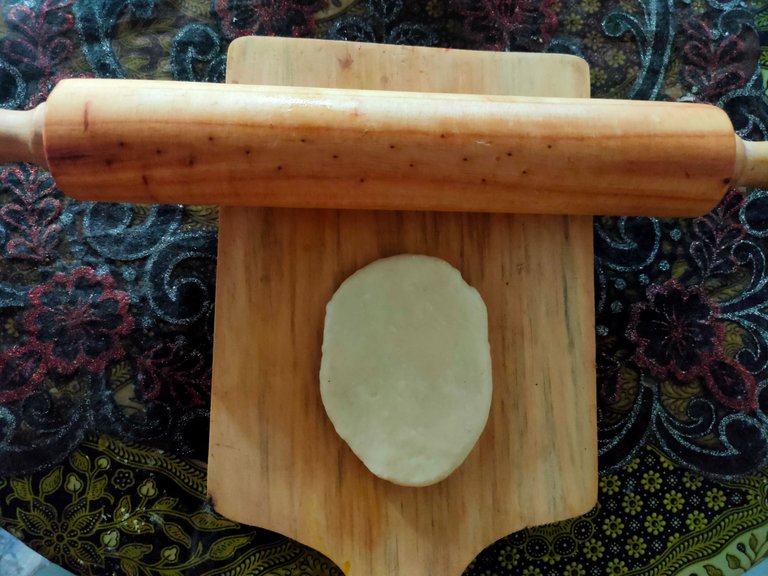
The seventh step, after you have formed all the dough into a round, now prepare the cutting board and also the rolling pin, then apply cooking oil on the cutting board so that the dough does not stick, then flatten the dough using a rolling pin like the photo above.
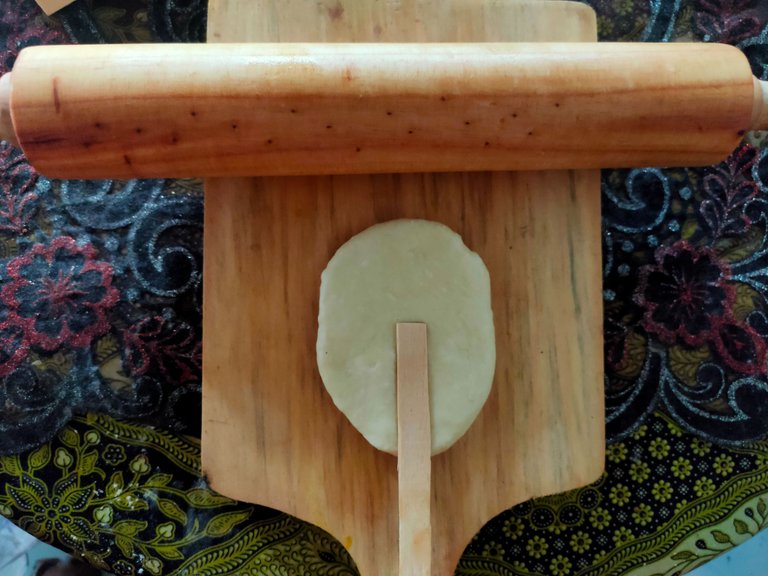
The eighth step, after you have flattened the dough like the previous photo, now place the ice cream stick under the dough that you have flattened like the photo above.
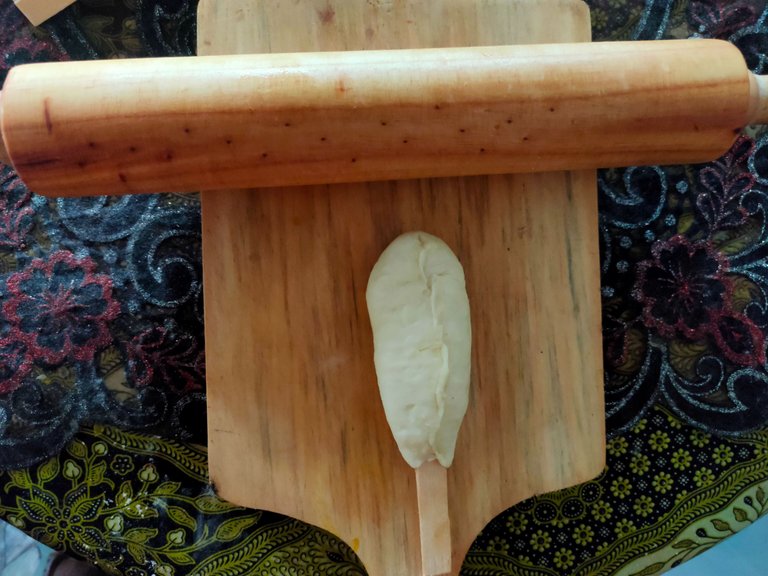
The ninth step, after you have placed the ice cream sticks, now fold the dough on the left and right to the middle and pinch the middle of the dough until it is tight so that when fried the dough doesn't come off easily. Do this step until all the dough is done.
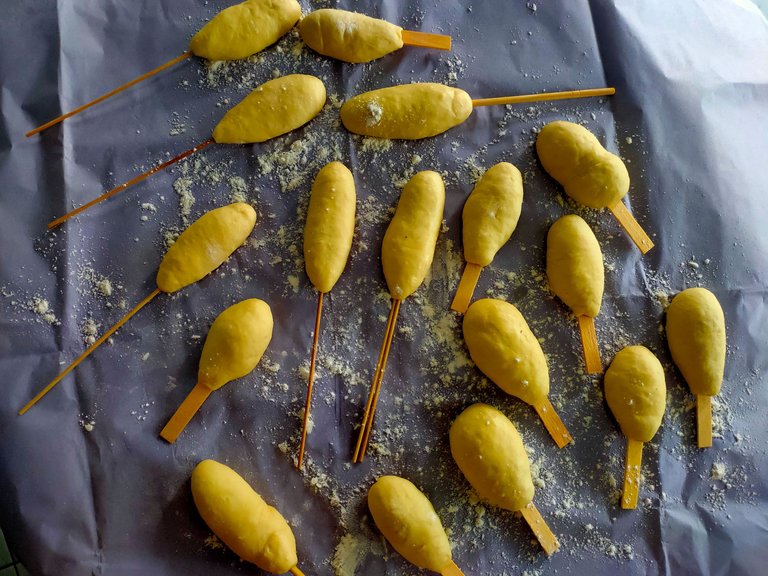
The tenth step, after you have finished all the dough, now transfer all the dough onto parchment paper, cover it with a clean cloth and let the dough rise slightly for about 20 minutes.
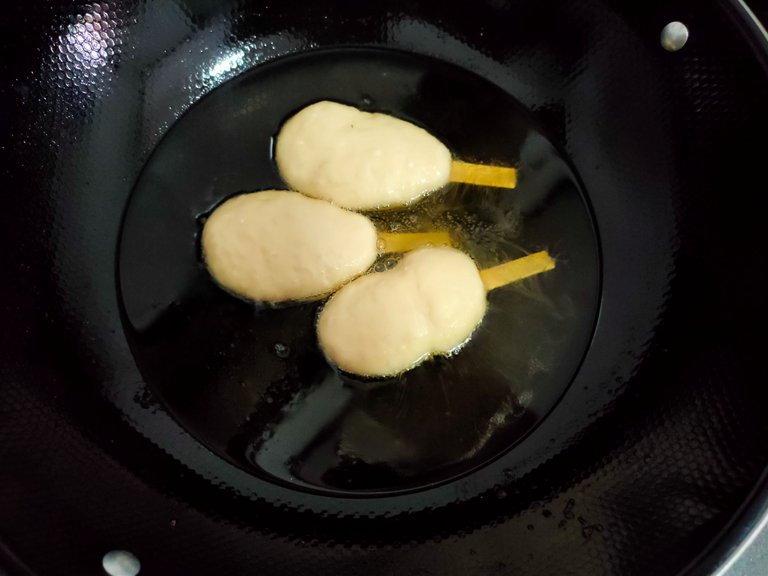
The eleventh step, after the dough has been allowed to rise slightly for 20 minutes, now prepare a frying pan and pour enough cooking oil into the pan. Then, put the dough one by one into the pan and fry on low heat until the donuts turn brown.
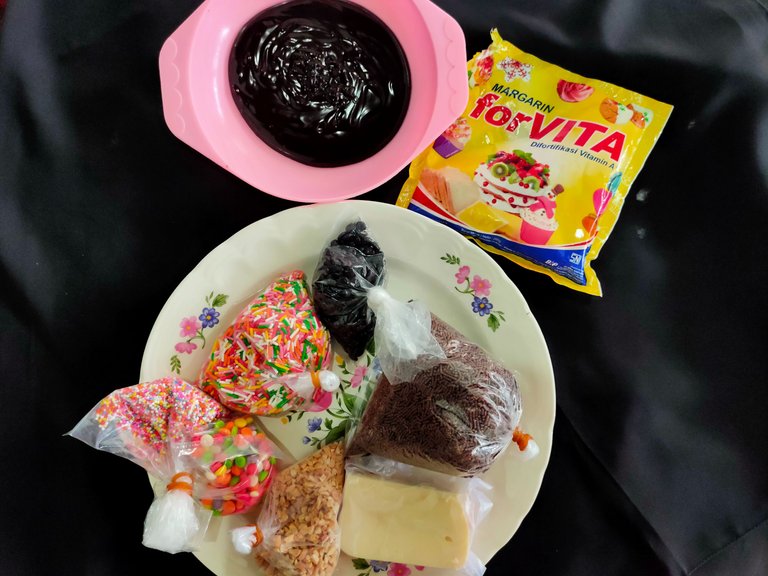
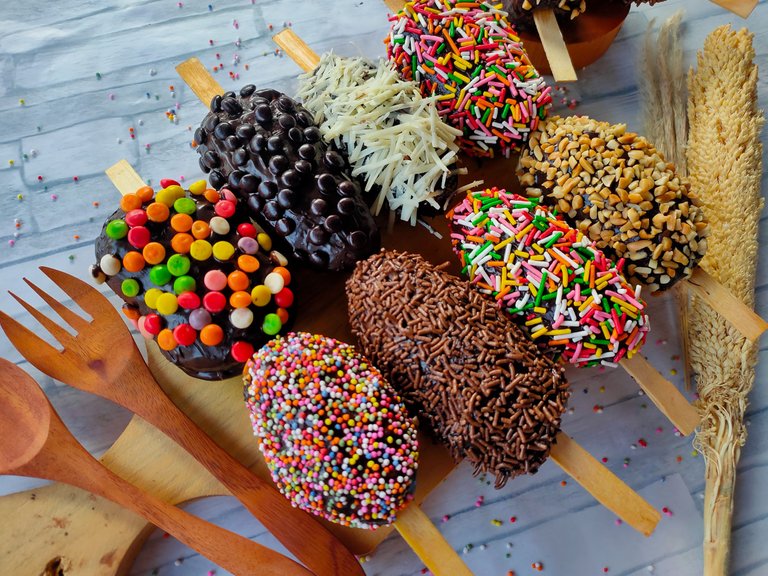
the last step, after you have fried all the donuts, now prepare some toppings such as liquid chocolate, margarine and various other types of toppings. All you have to do is dip the donuts one by one into the melted chocolate, then coat them with the topping you want.
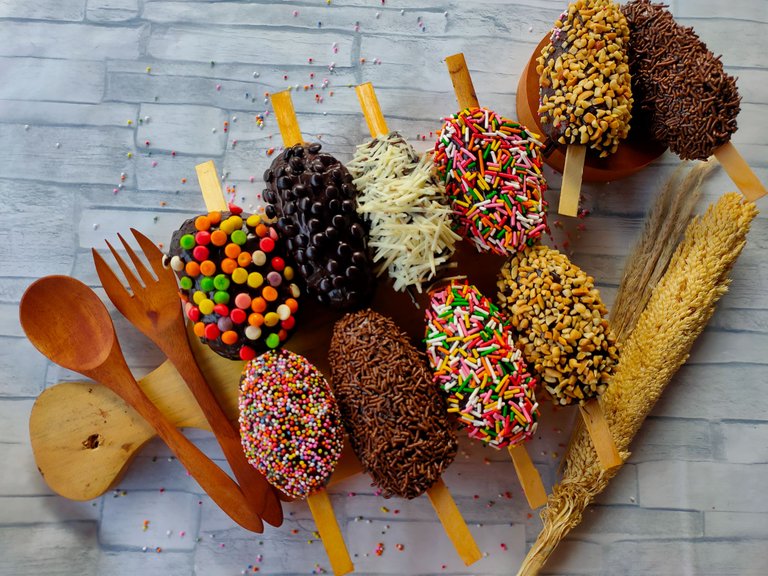
And finally, after you have given all the donuts, the chicken thigh donuts can be served to your friends or family. The taste does not disappoint and the texture of the chicken thigh donut is very soft. So far, Ema and I have never failed to make donuts and on average our friends give a very good appreciation. What do you think ? This snack can also be your selling idea, all you have to do is enter the chicken thigh donuts into attractive packaging for sale. Thank you for those of you who have read and stopped by my post today regarding the recipe for how to make chicken thigh donuts. Don't forget to give your suggestions and appreciation for me so that I will be more enthusiastic about sharing other recipes for you. See you in the next recipe with me, Jodi Pamungkas and Ema. Good luck Hivers!
0
0
0.000
https://twitter.com/Jodi_PM/status/1468999359584870401
The rewards earned on this comment will go directly to the person sharing the post on Twitter as long as they are registered with @poshtoken. Sign up at https://hiveposh.com.
Muy original tu receta me encanta. Felicidades por tu post. Que tengas un feliz y bendecido día
Very nicee
I have followed the steps, substituting a few ingredients with brands available, and I am there! Count me addicted!