Digital Pinhole Camera Experiment #2
After @bambuka presented us with such great results with his experiments: Stenop, pinhole, loch-camera, camera obscura und Photo designer for myself, my motivation has now awakened somewhat, so that I made a second attempt with a digital pinhole camera. |
Nachdem @bambuka uns so großartige Ergebnisse mit seinen Experimenten präsentiert hat (Stenop, pinhole, loch-camera, camera obscura und Photo designer for myself), ist nun meine Motivation etwas geweckt geworden, so dass ich einen zweiten Versuch mit einer digitalen Lochkamera gemacht habe. |
Digital Pinhole Camera
Camera Obscura Digital

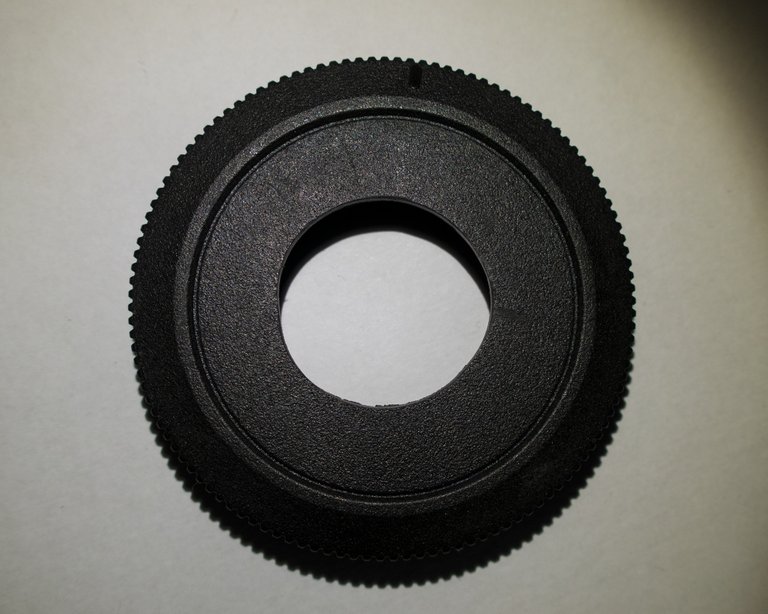
First I used a Dremel to widen the little hole in the lid of Experiment 1 a little bit and to make it a perfect round hole 😉 I will probably never be able to use that thing as a cover again, but I certainly woke the last sleeping neighbors with the noise from the Dremel. |
Zuerst habe ich mit einem Dremel das kleine Loch im Gehäusedeckel von Experiment 1 etwas erweitert und zu einem perfekten 😉 Loch geformt. Als Gehäusedeckel werde ich das Teil wahrscheinlich nie wieder verwenden können, aber dafür habe ich mit dem Lärm vom Dremel sicherlich die letzten noch schlafenden Nachbarn geweckt. |
 |
I made the hole so big that I could then insert a thinner plate with a smaller hole, which would then perhaps produce sharper images. So much for my theory, but practice would show whether the whole hole thing works. Now I had to first find suitable material for the hole insert ... and also a model for testing, because unfortunately I am not as skilled as @bambuka that I could carve my own photo models. |
Das Loch habe ich deshalb so groß gemacht, damit ich dann ein dünneres Plättchen mit kleinerem Loch in den Deckel einsetzen konnte, welches dann vielleicht schärfere Bilder erzeugen würde. Soweit meine Theorie, aber ob das Ganze funktioniert, würde die Praxis zeigen. Nun musste ich zuerst einmal geeignetes Material für den Locheinsatz suchen ... und auch ein Modell zum Testen, denn ich bin handwerklich leider nicht so versiert wie @bambuka, dass ich mir meine eigenen Fotomodelle schnitzen könnte. |
 |  |
Attempt #1 / Versuch #1
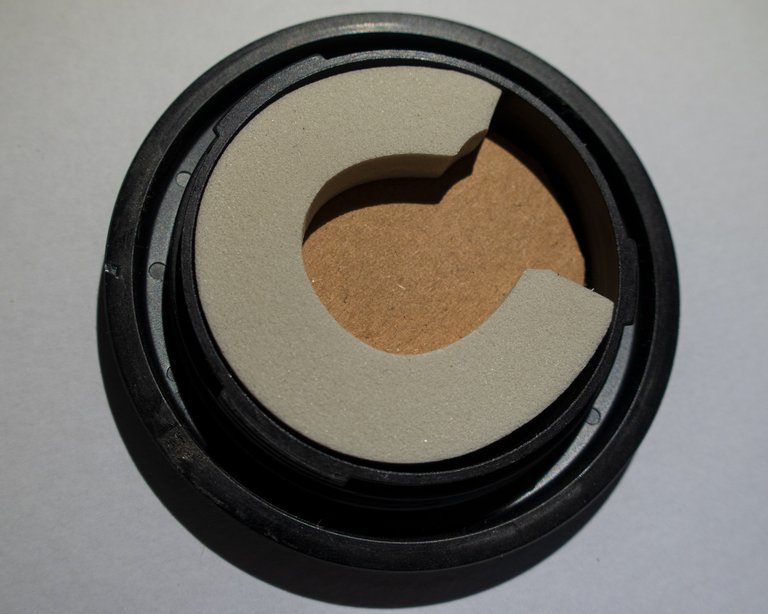
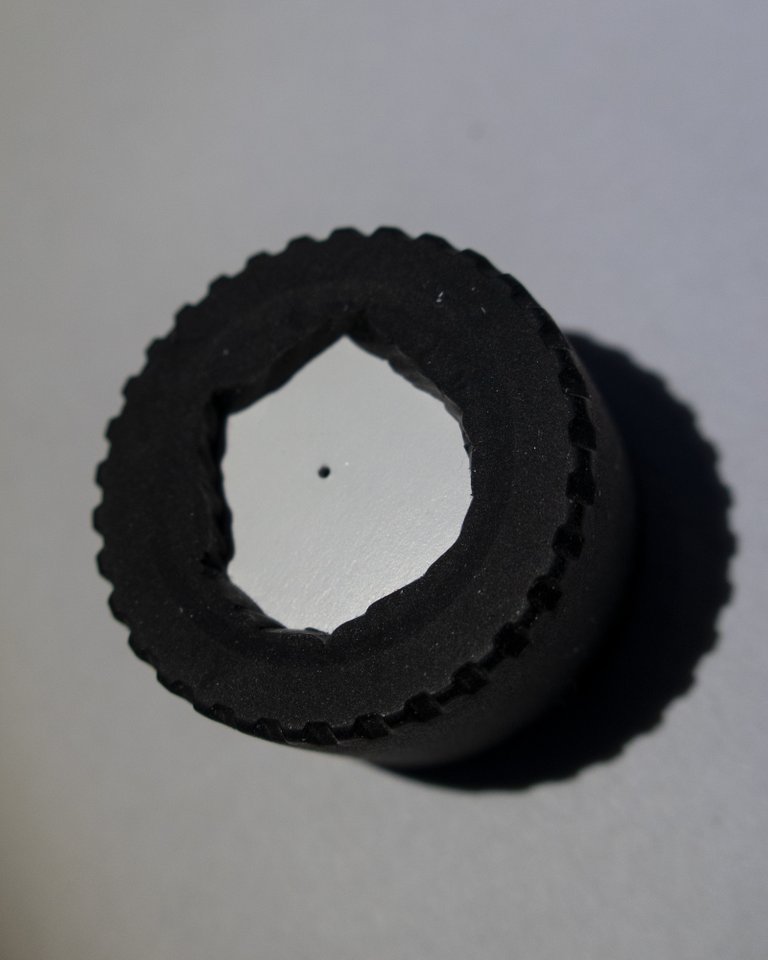
I quickly found a piece of cardboard that I could cut to size and use as an insert. The piece of foam rubber would be useful to keep the cardboard from falling out. Then I had to sting a pin-sized hole in the cardboard and paint everything inside black ... done. |
Ein Stück Pappe hatte ich schnell gefunden, das ich zuschneiden und als Einsatz verwenden konnte. Das Stück Schaumgummi ware nützlich, damit die Pappe nicht herausfallen konnte. Dann musste ich noch ein stecknadelgroßes Loch in die Pappe stechen und innen alles noch schwarz bemalen ... fertig. |
 |
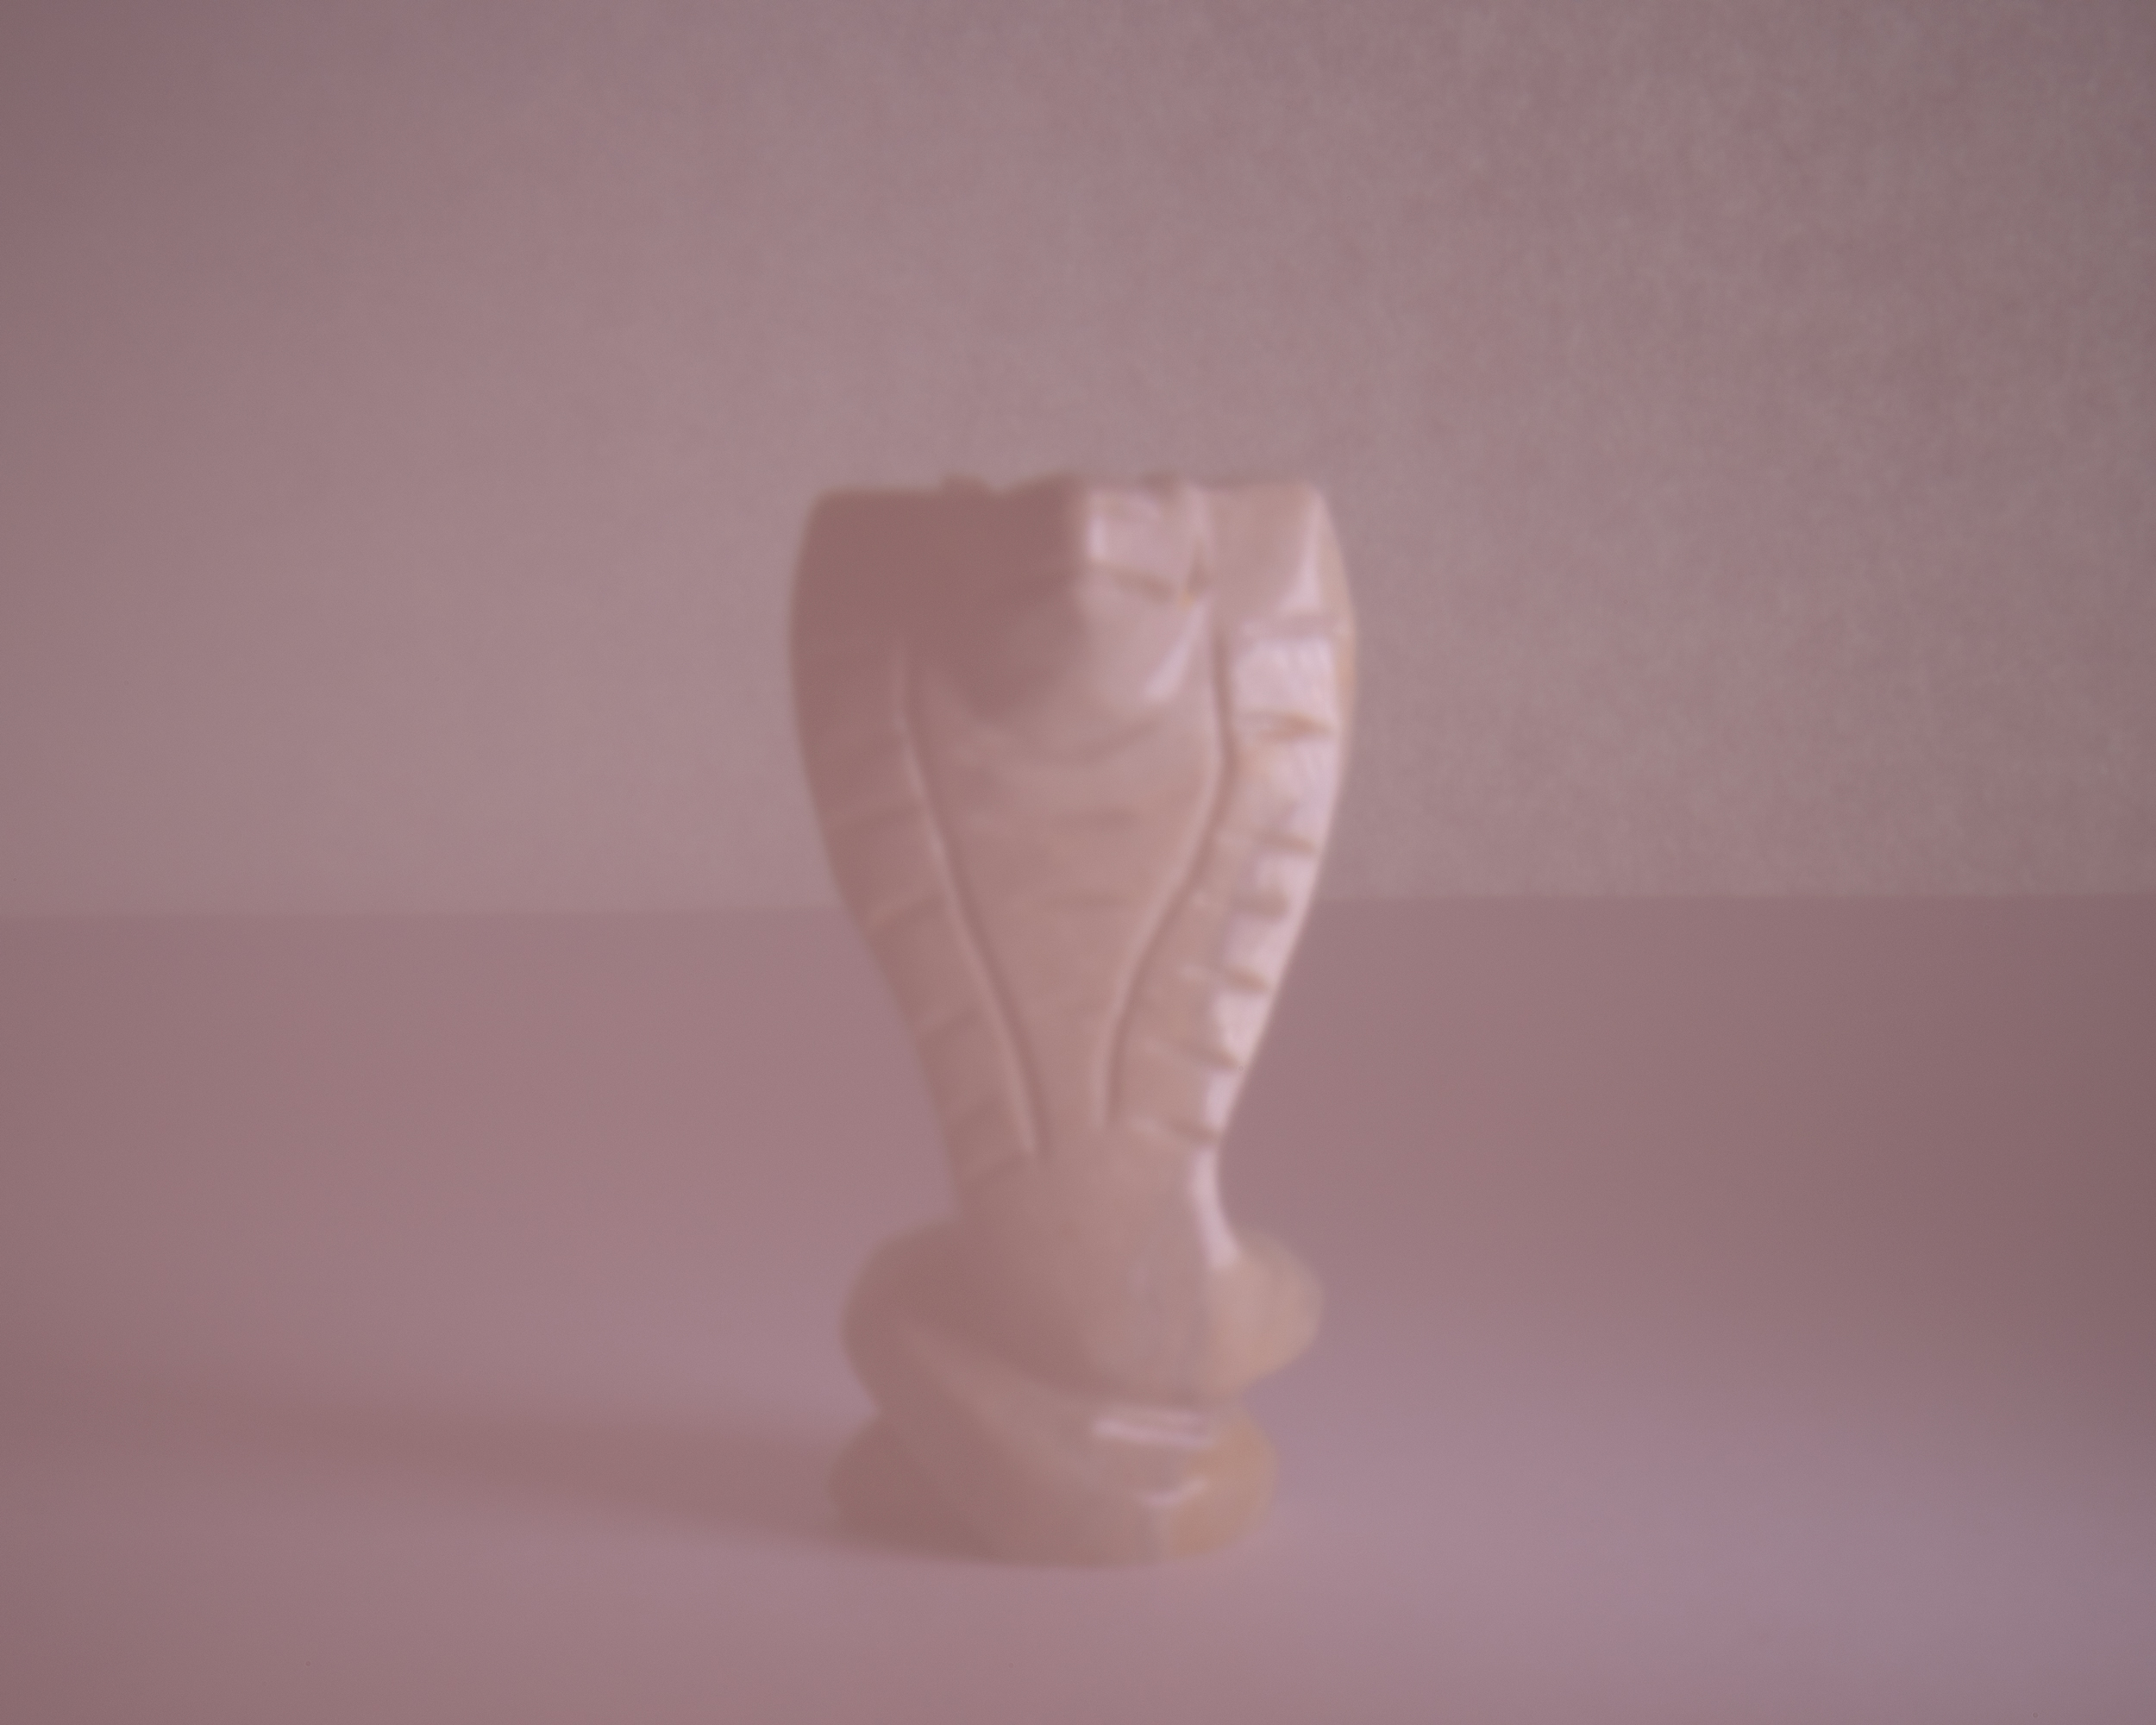
Of course it didn't work as planned and so my first attempt was rewarded with total blurring again, and the photo didn't really get any better with the glass lens from the first experiment either. |
Natürlich funktionierte es nicht wie geplant und so wurde mein erster Versuch wieder mit vollkommener Unschärfe belohnt - auch mit der Glaslinse vom ersten Experiment ist das Foto nicht wirklich besser geworden. |
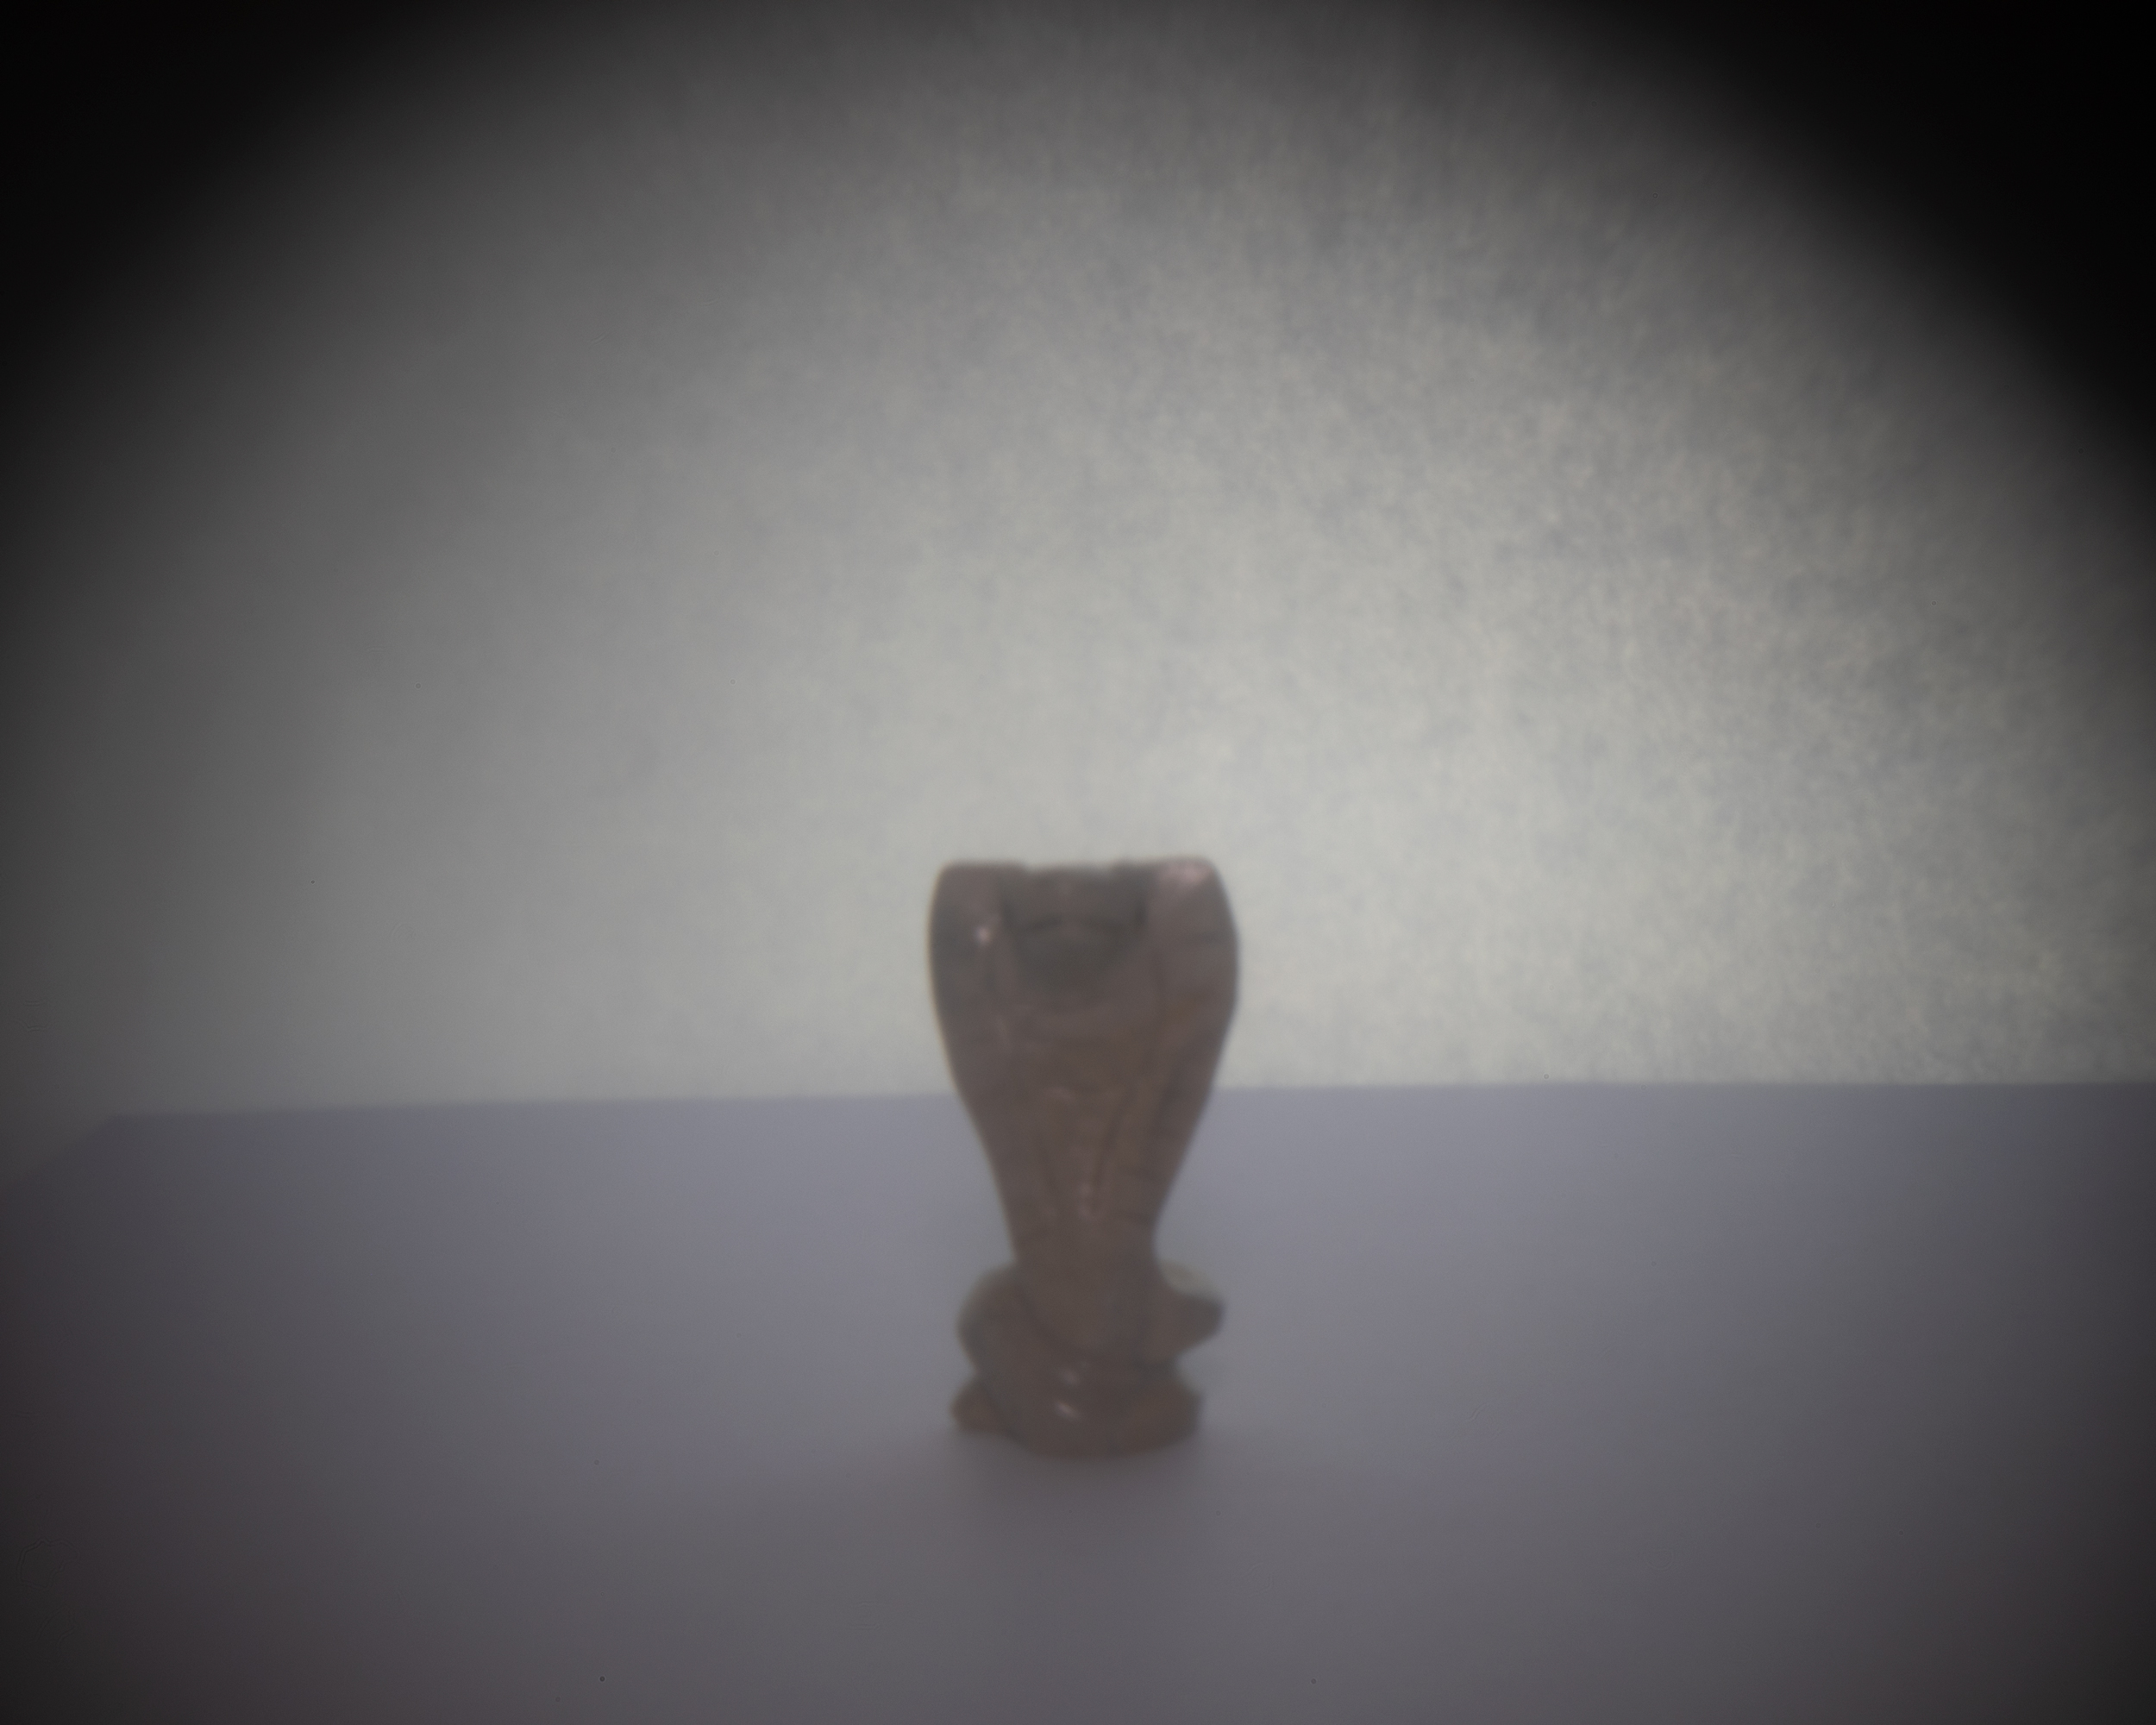 ❖ please click the image for fullsize view ❖ Canon EOS R | Digital Pinhole Camera | 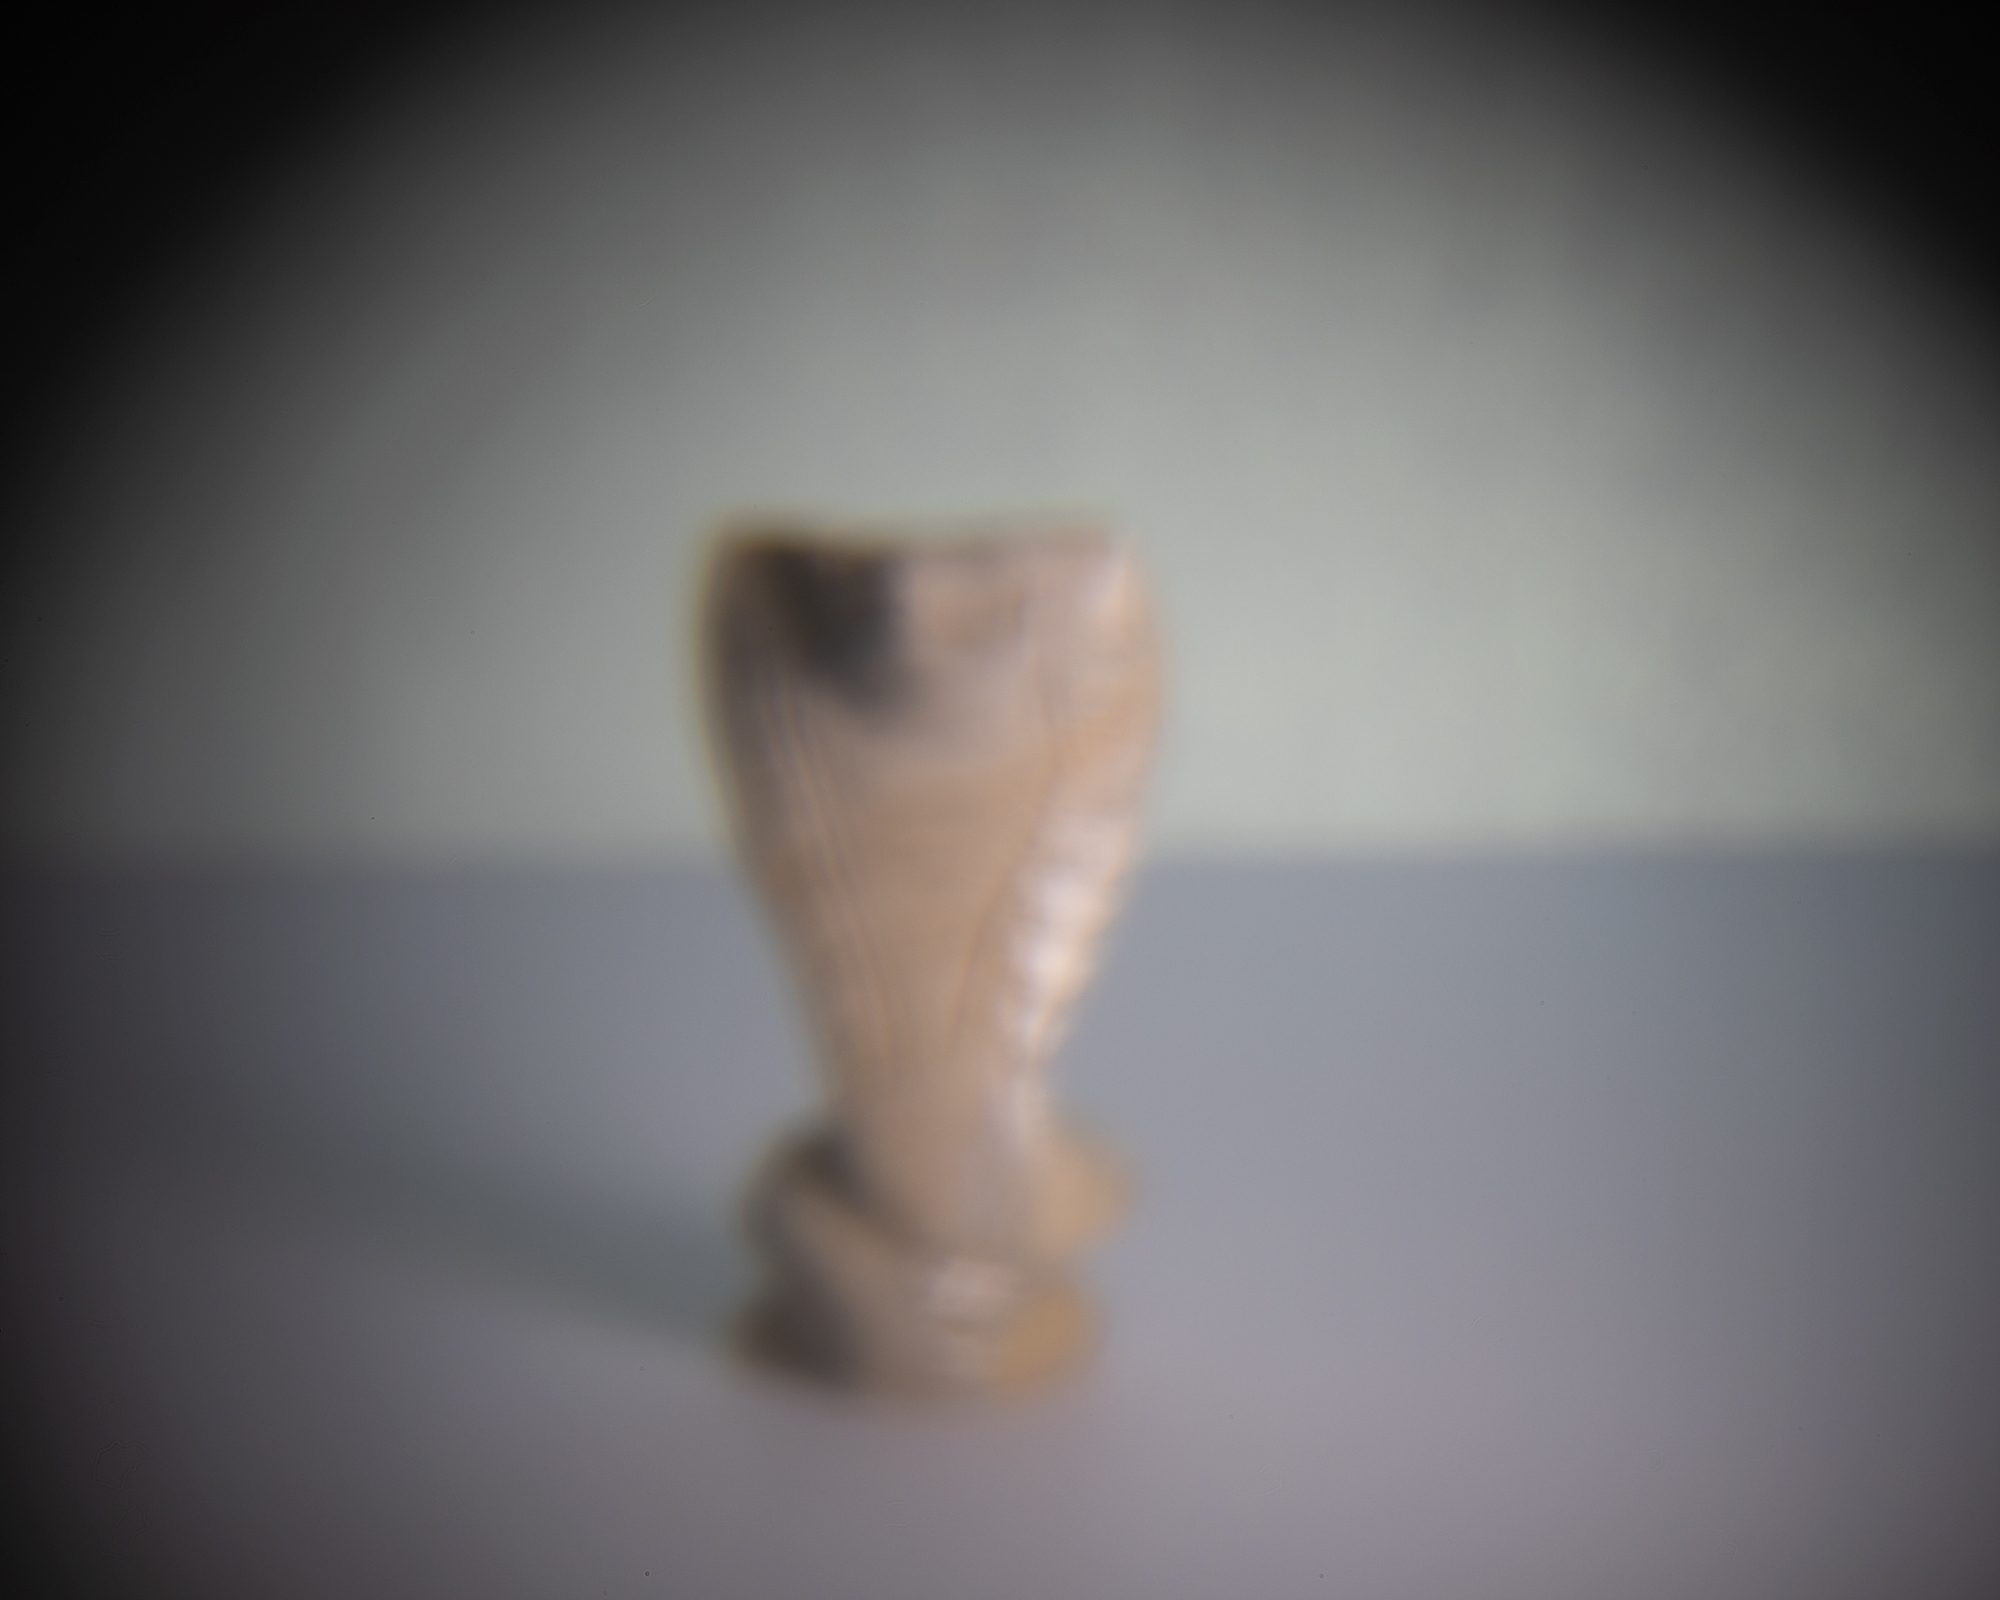 ❖ please click the image for fullsize view ❖ Canon EOS R | Digital Pinhole Camera |
❖ please click the image for fullsize view ❖
Canon EOS R | Digital Pinhole Camera
Before I proceeded to attempt #2, I made a second hole in the cardboard because I wanted to look at this double image effect. Looks interesting - the bottom two photos were taken using the glass lens in front of the pinhole. |
Bevor ich zu Versuch #2 übergegangen bin, habe ich ein zweites Loch in die Pappe gestochen, weil ich mir diesen Doppelbildeffekt ansehen wollte. Sieht interessant aus - die unteren beiden Fotos sind unter Verwendung der Glaslinse aufgenommen worden. |
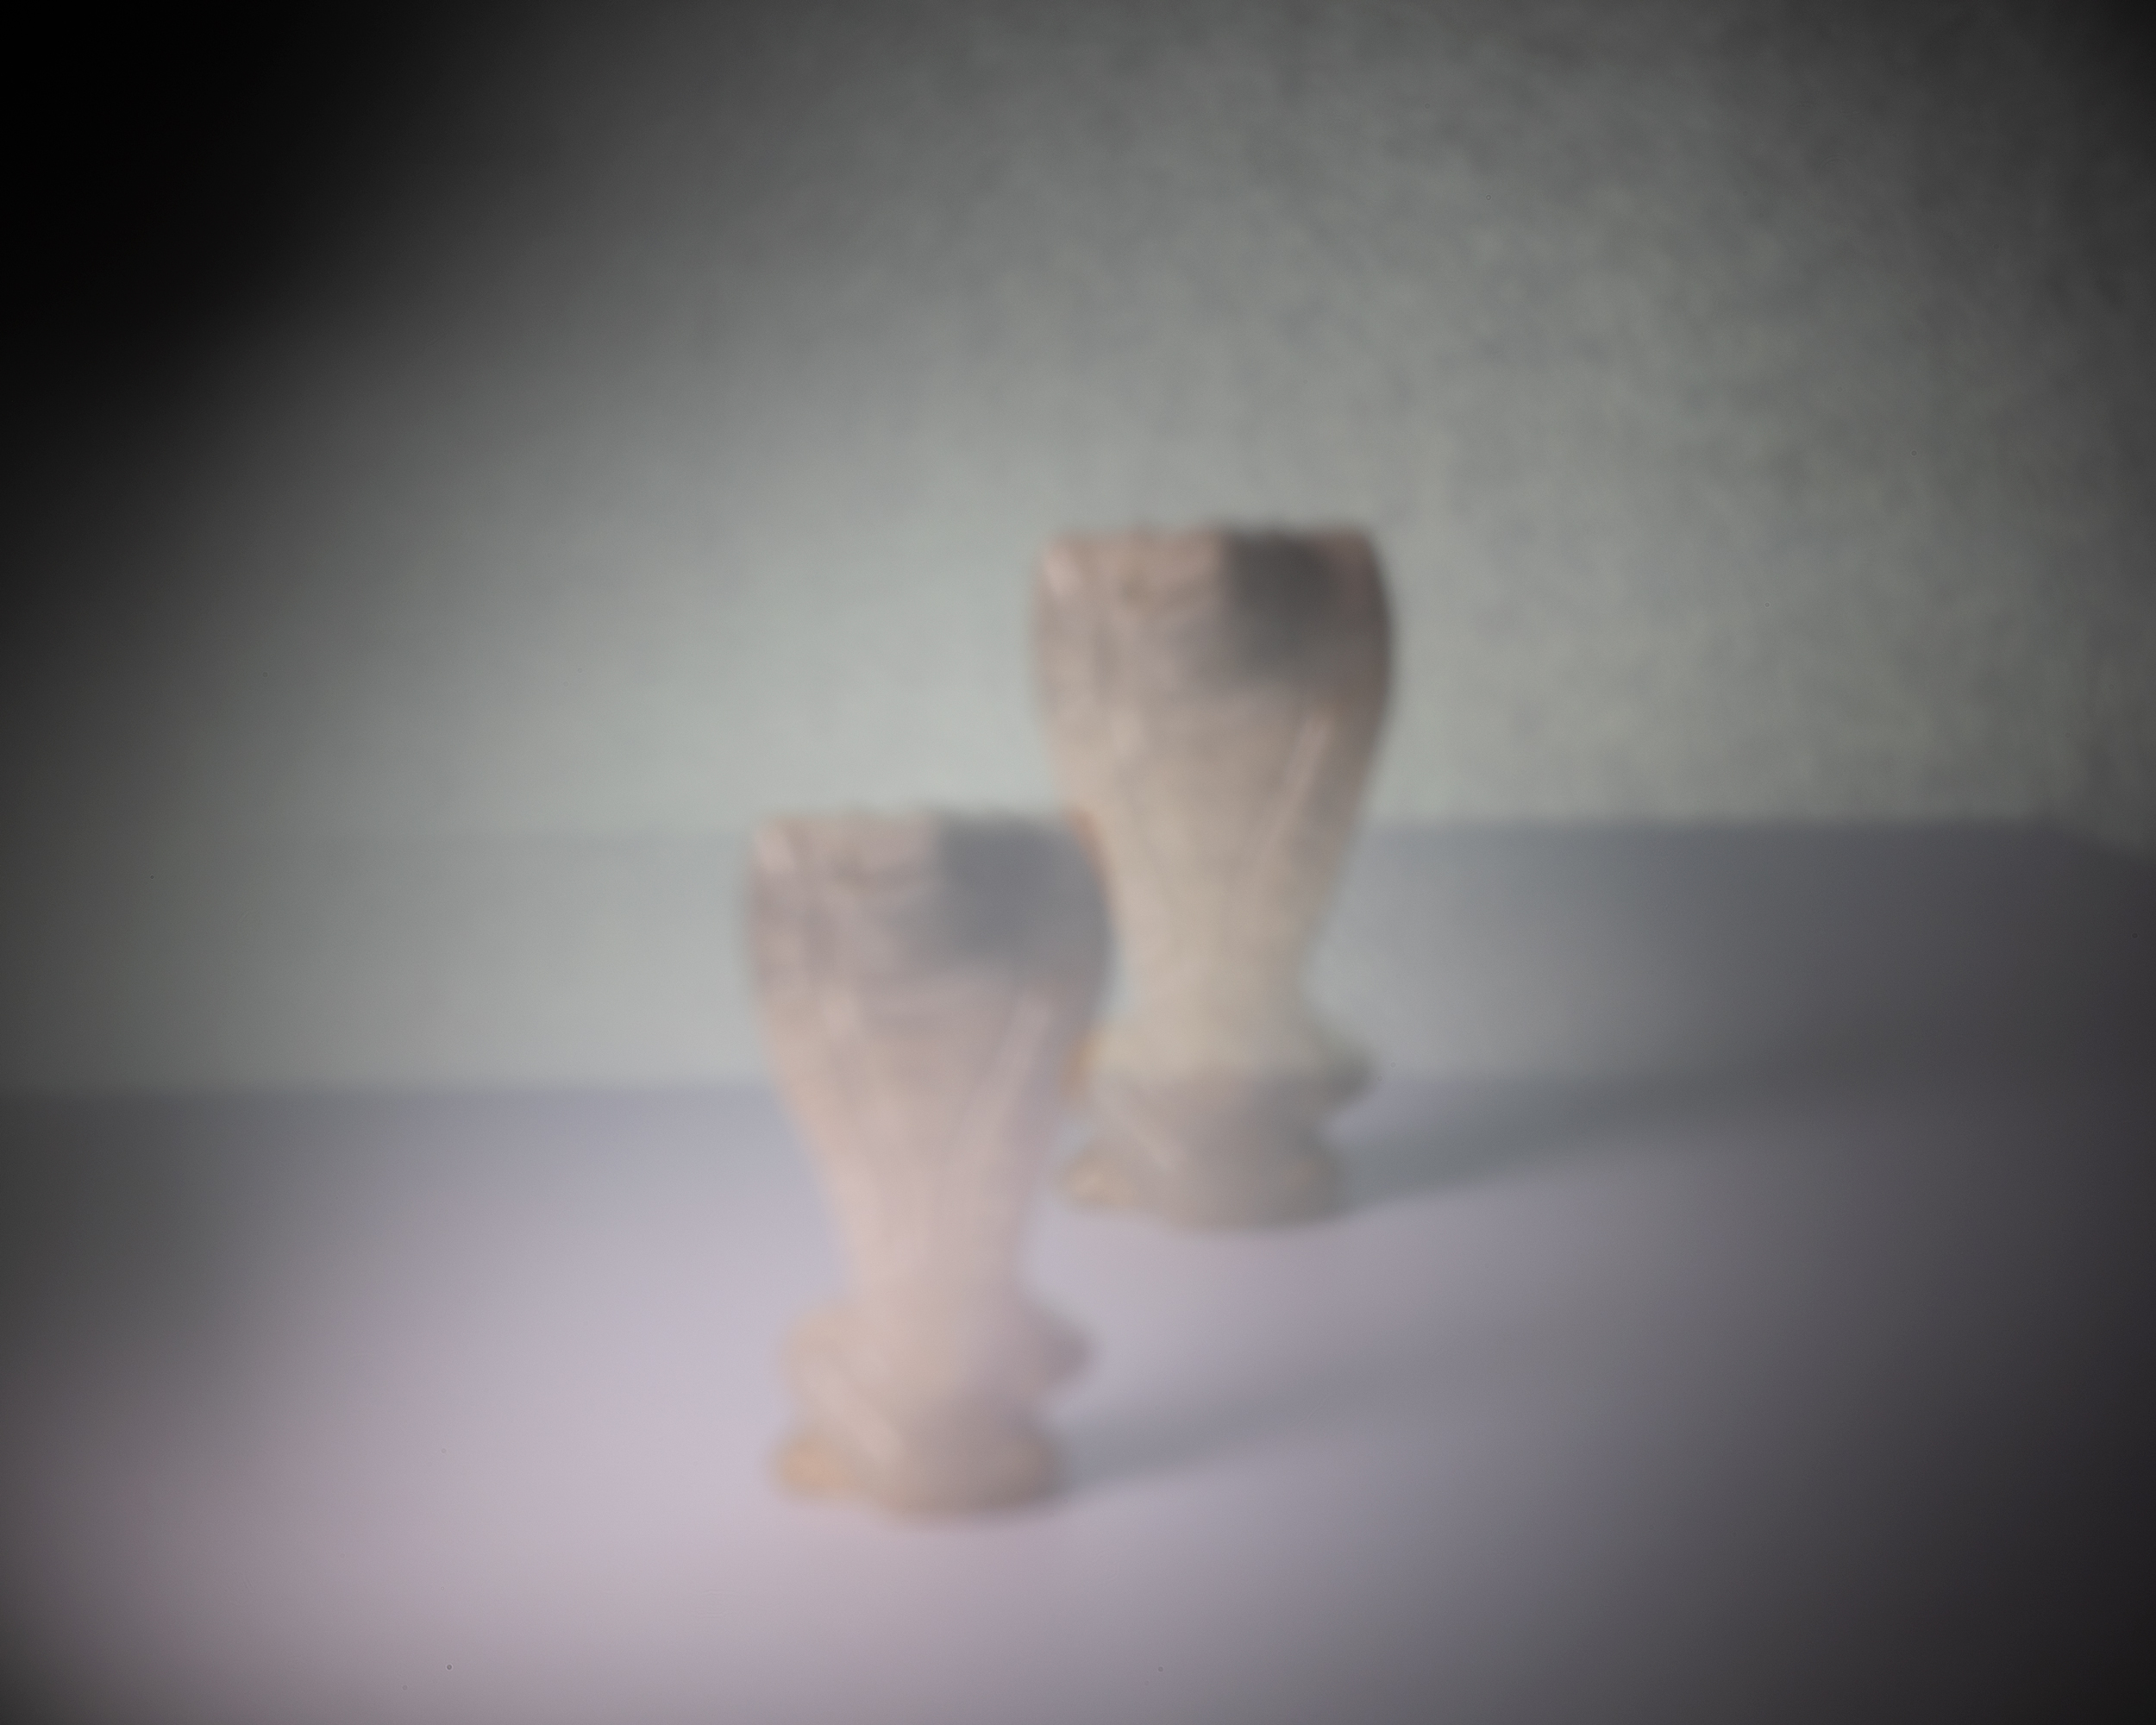 ❖ please click the image for fullsize view ❖ Canon EOS R | Digital Pinhole Camera | 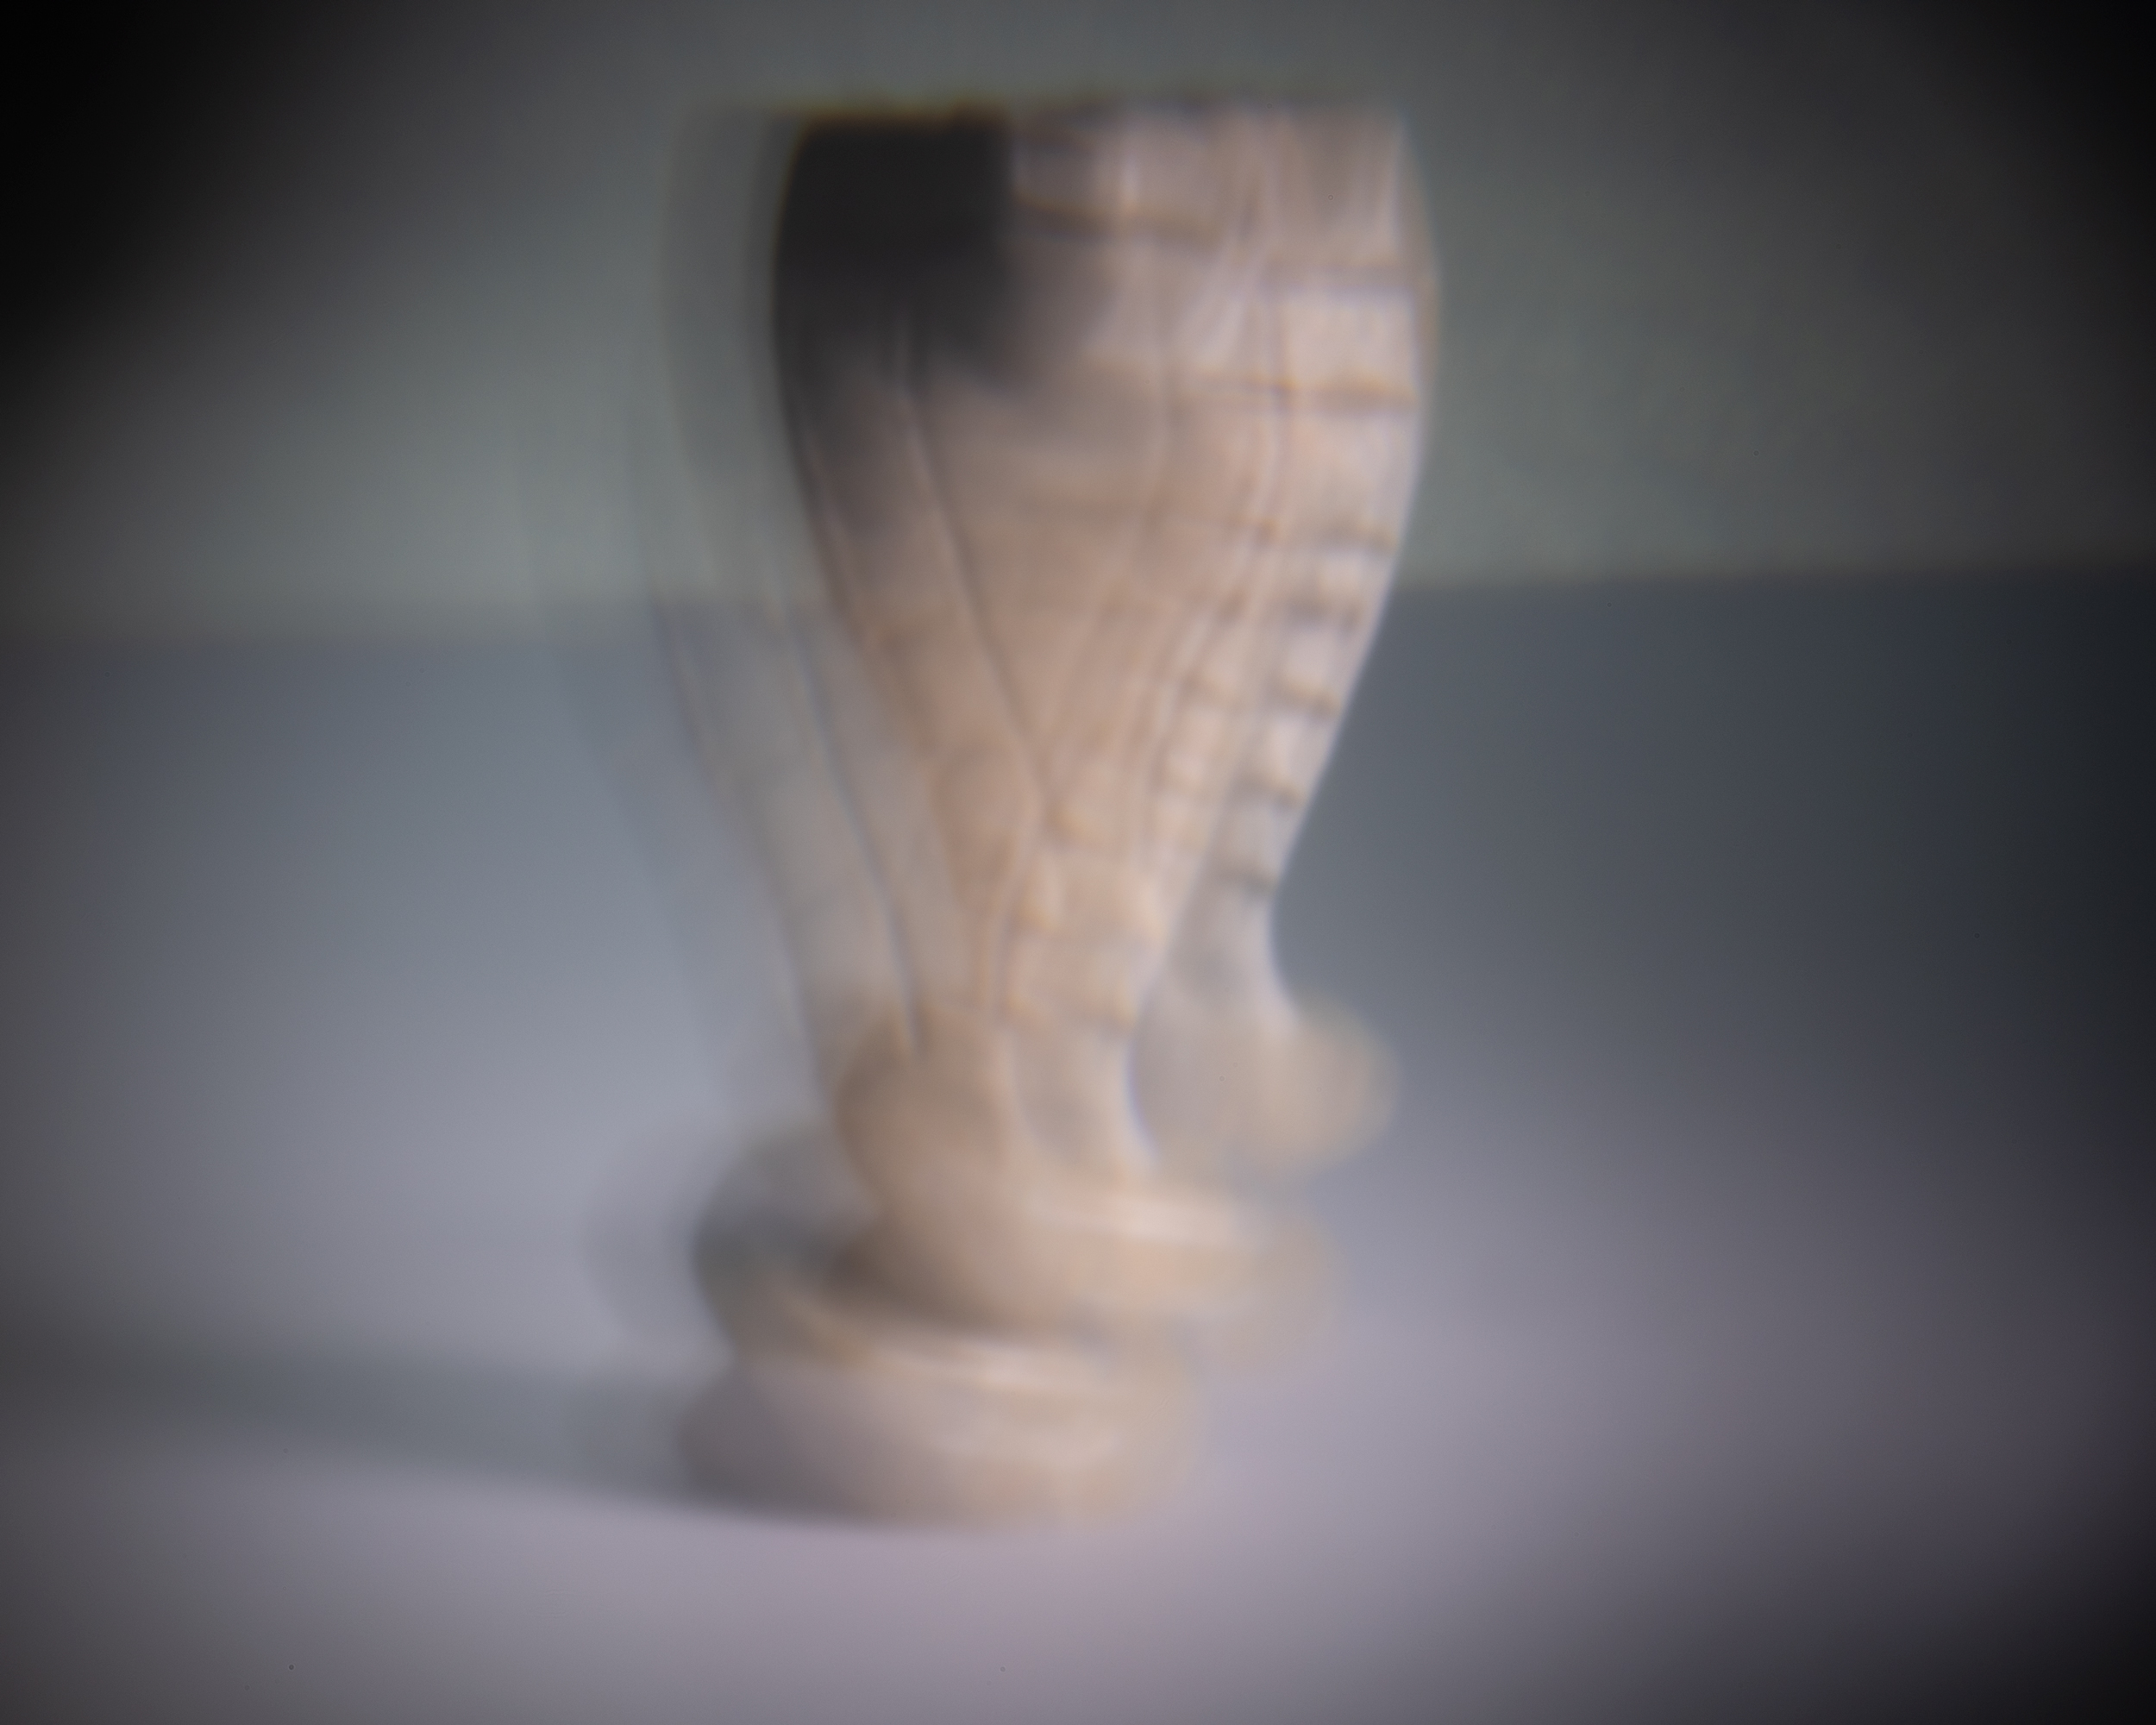 ❖ please click the image for fullsize view ❖ Canon EOS R | Digital Pinhole Camera |
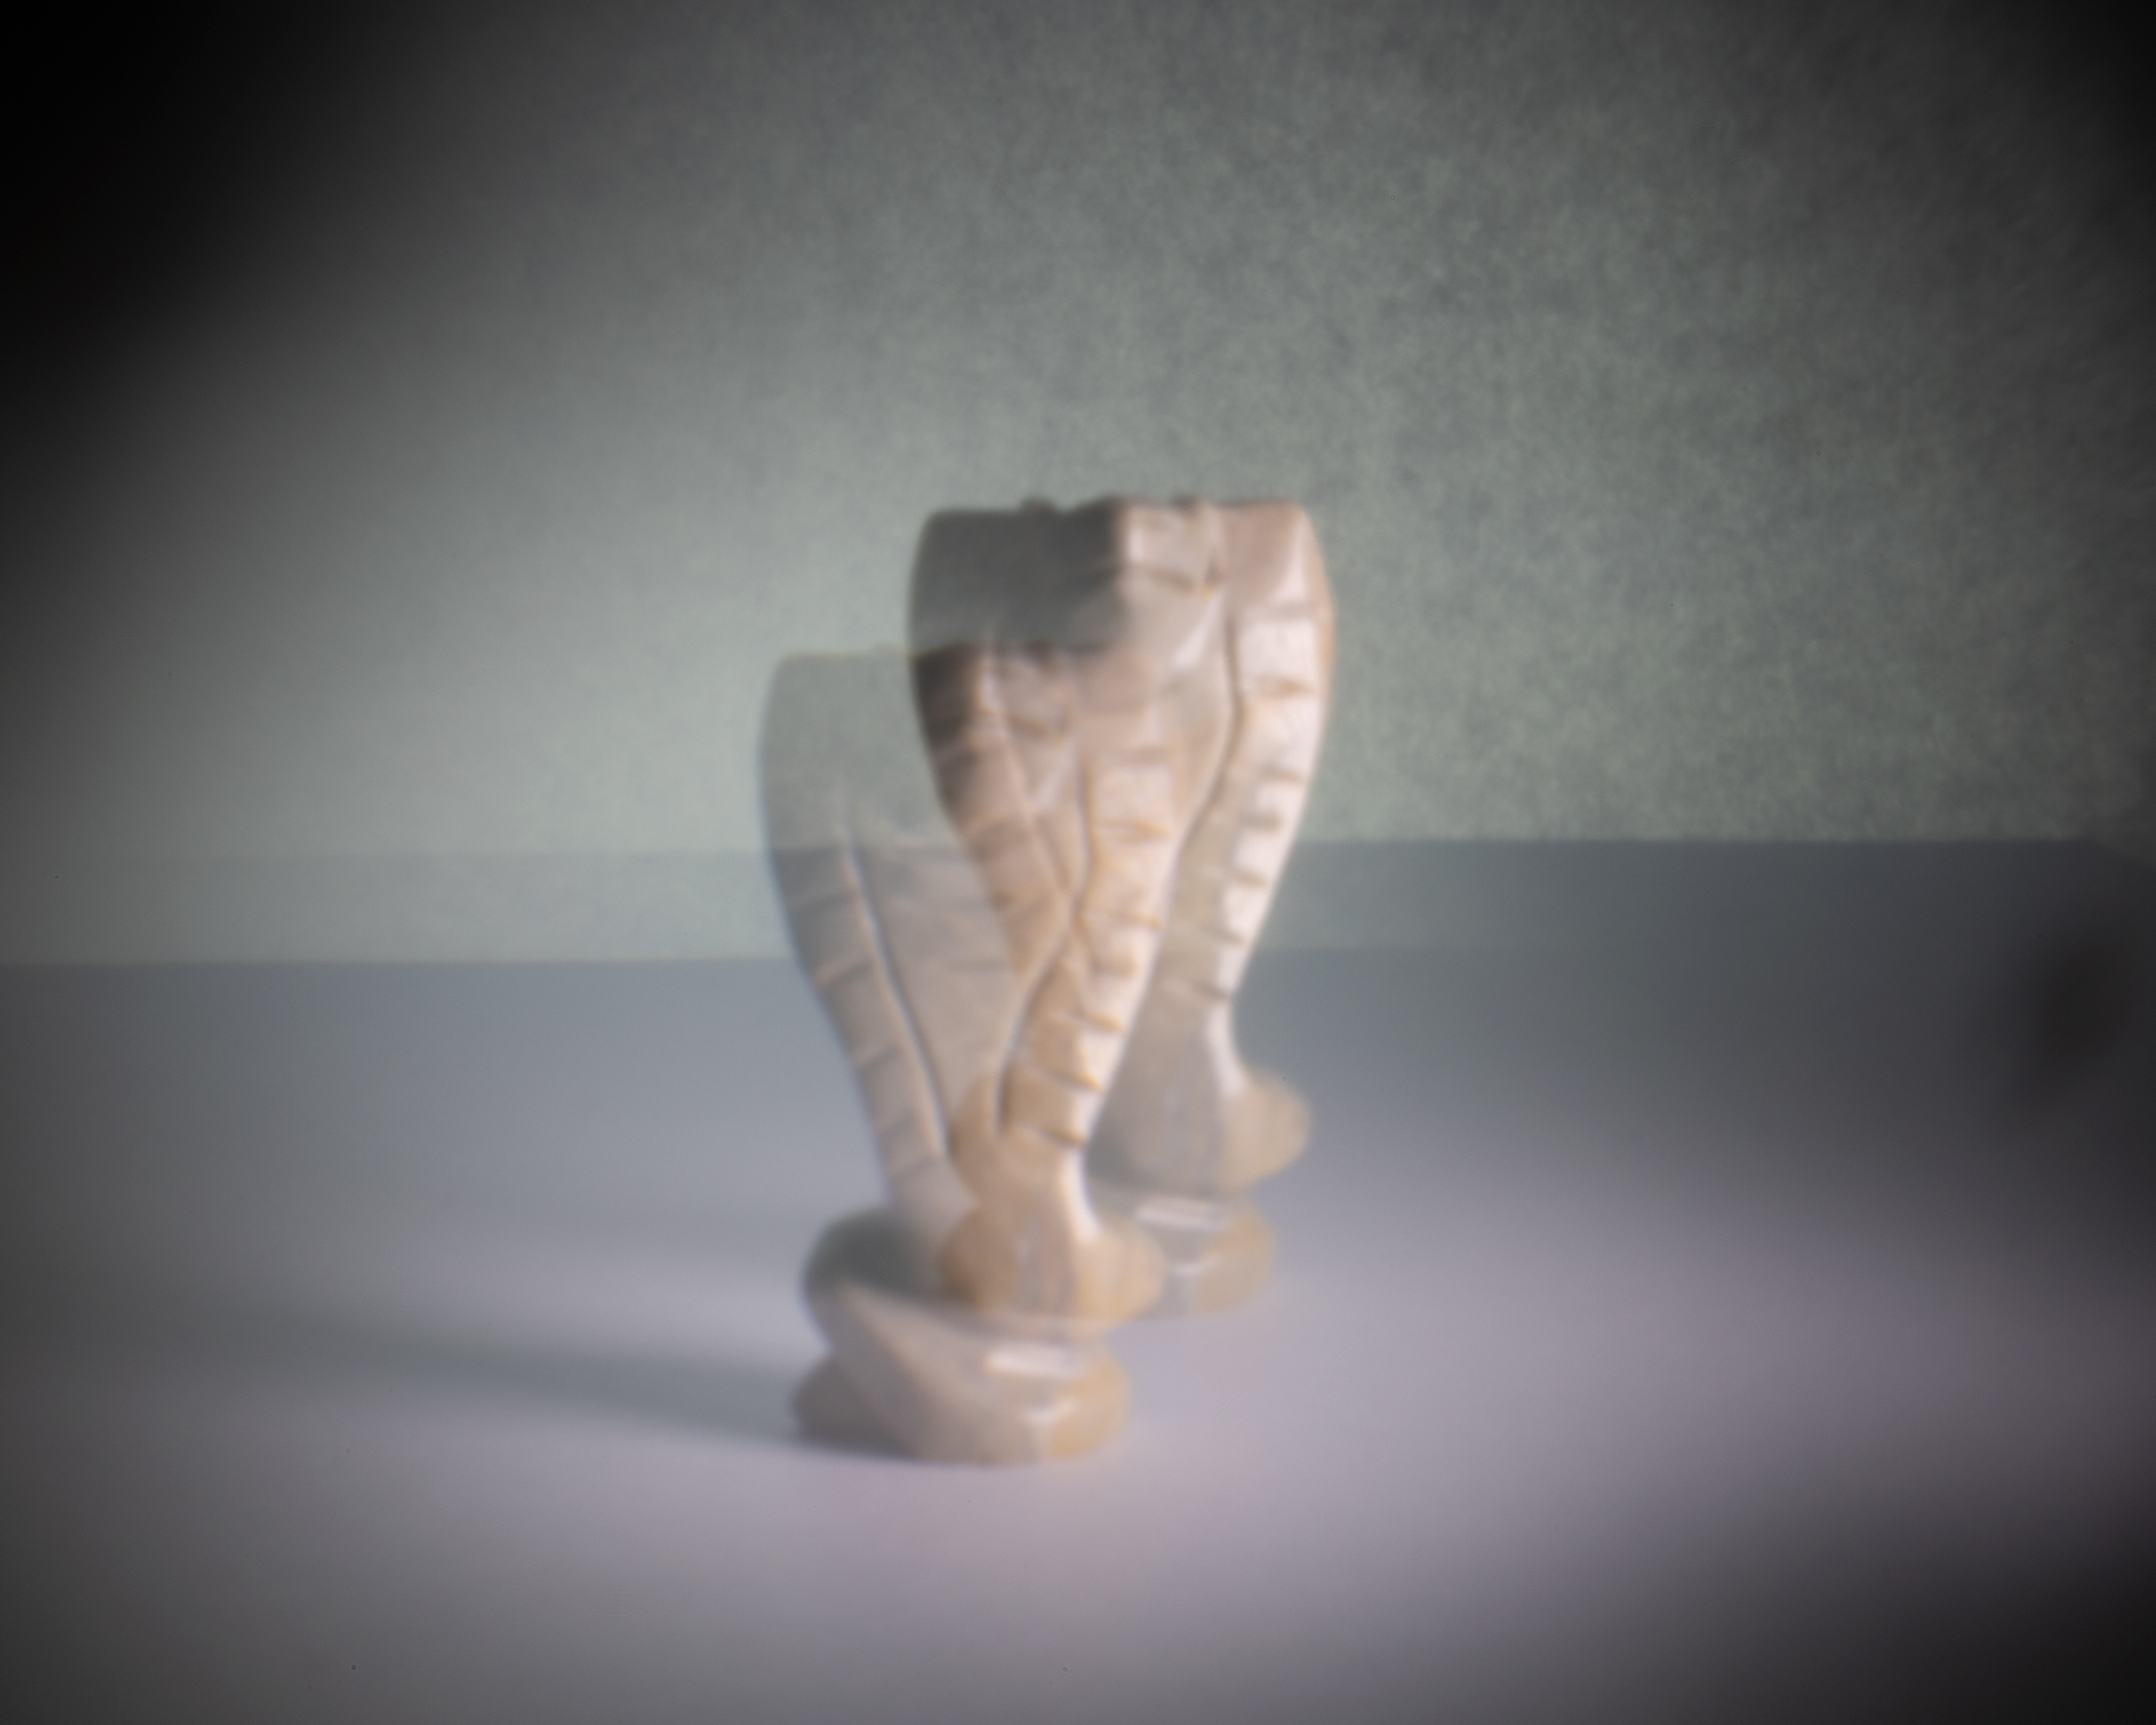 ❖ please click the image for fullsize view ❖ Canon EOS R | Digital Pinhole Camera | 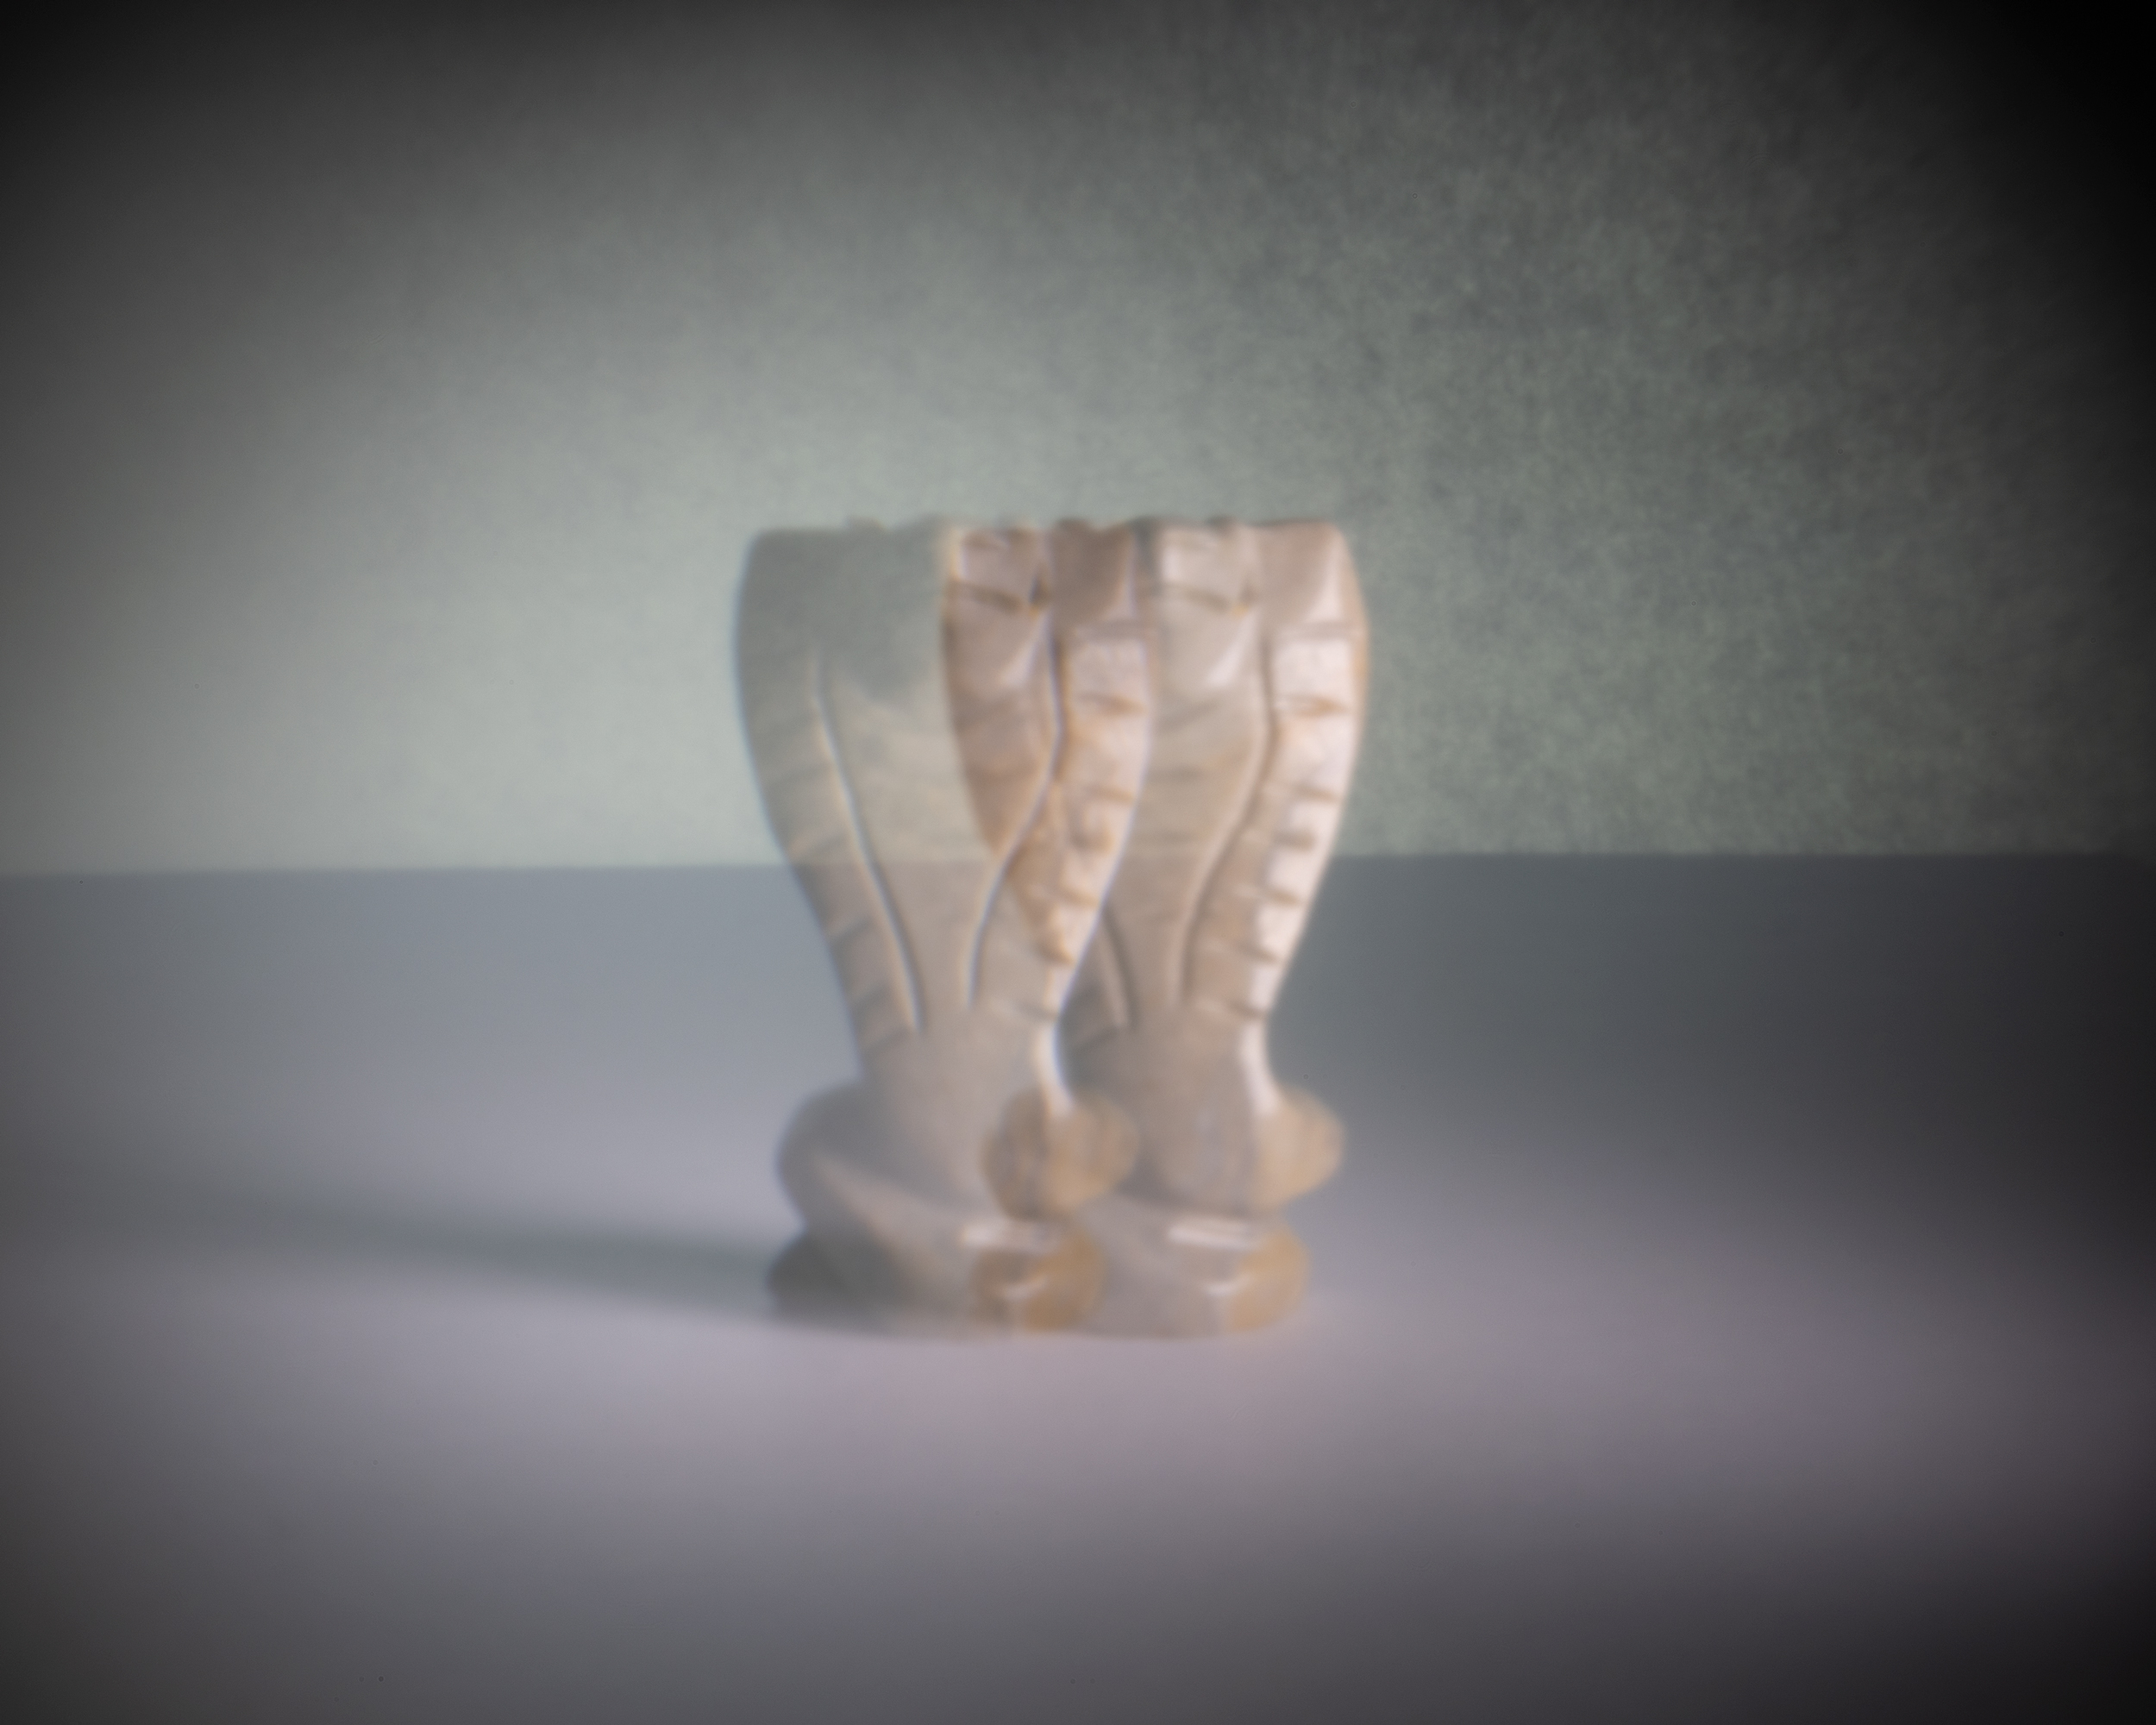 ❖ please click the image for fullsize view ❖ Canon EOS R | Digital Pinhole Camera |
Attempt #2 / Versuch #2
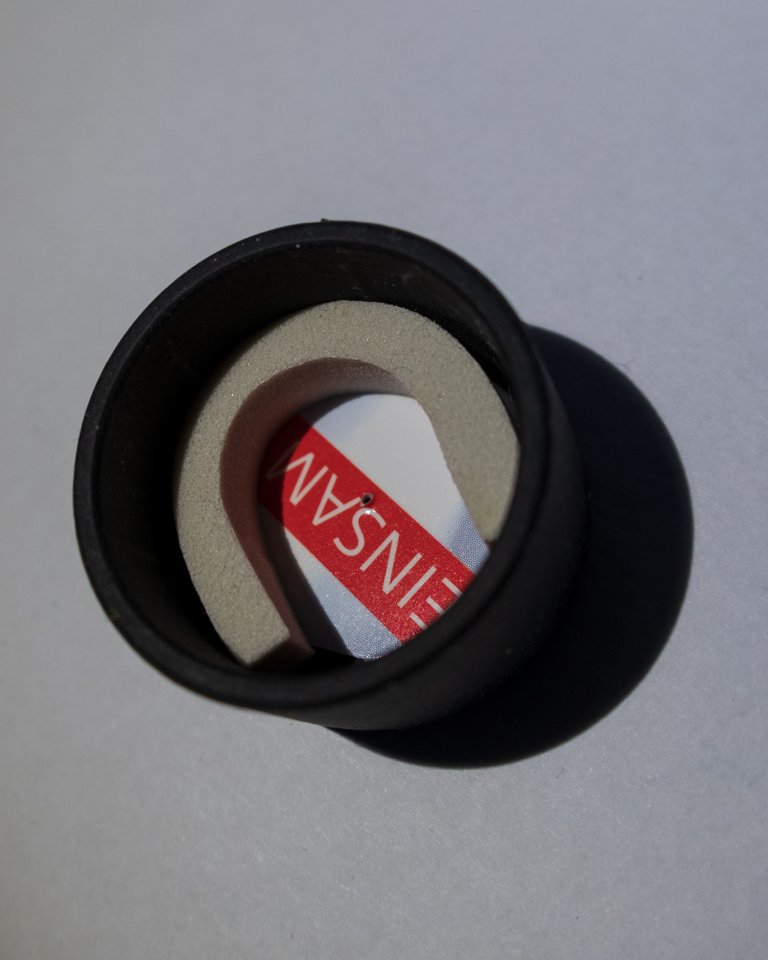
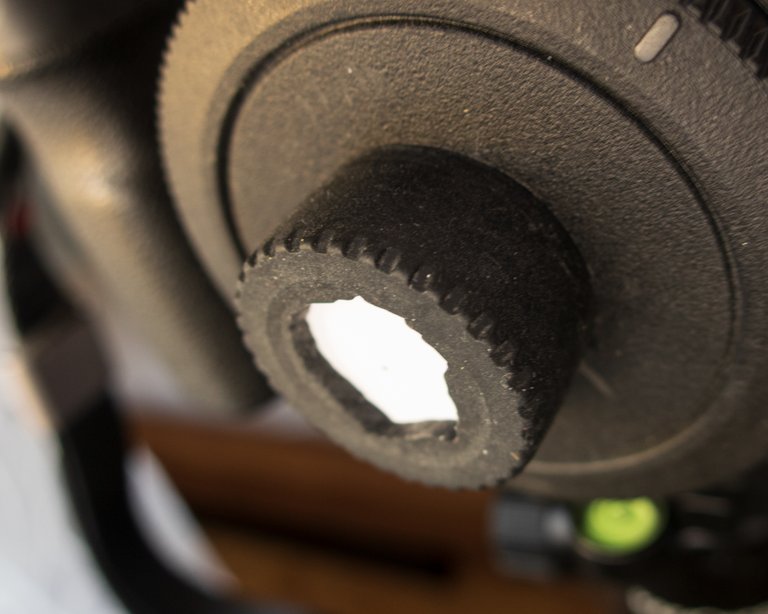
Now the rubber cover of my helmet camera had to help me out. I cut a hole in it and used a thinner piece of cardboard this time. The tubular rubber fit perfectly into the hole in the case cover and my idea was that maybe I could focus by moving this tube back and forth. After the first photo had a color cast, I also blackened the inside here. |
Nun musste der Gummideckel meiner Helmkamera aushelfen. Auch in diese habe ich ein kreisrundes Loch geschnitten und diesmal ein dünneres Stück Pappe verwendet. Der röhrenförmige Gummi passte perfekt in das Loch des Gehäusedeckels und meine Idee war es, dass ich durch verschieben dieser Röhre vielleicht scharfstellen konnte. Nachdem die ersten Fotos einen Farbstich hatten, habe ich auch hier die Innenseite geschwärzt. |
 |  |
 |
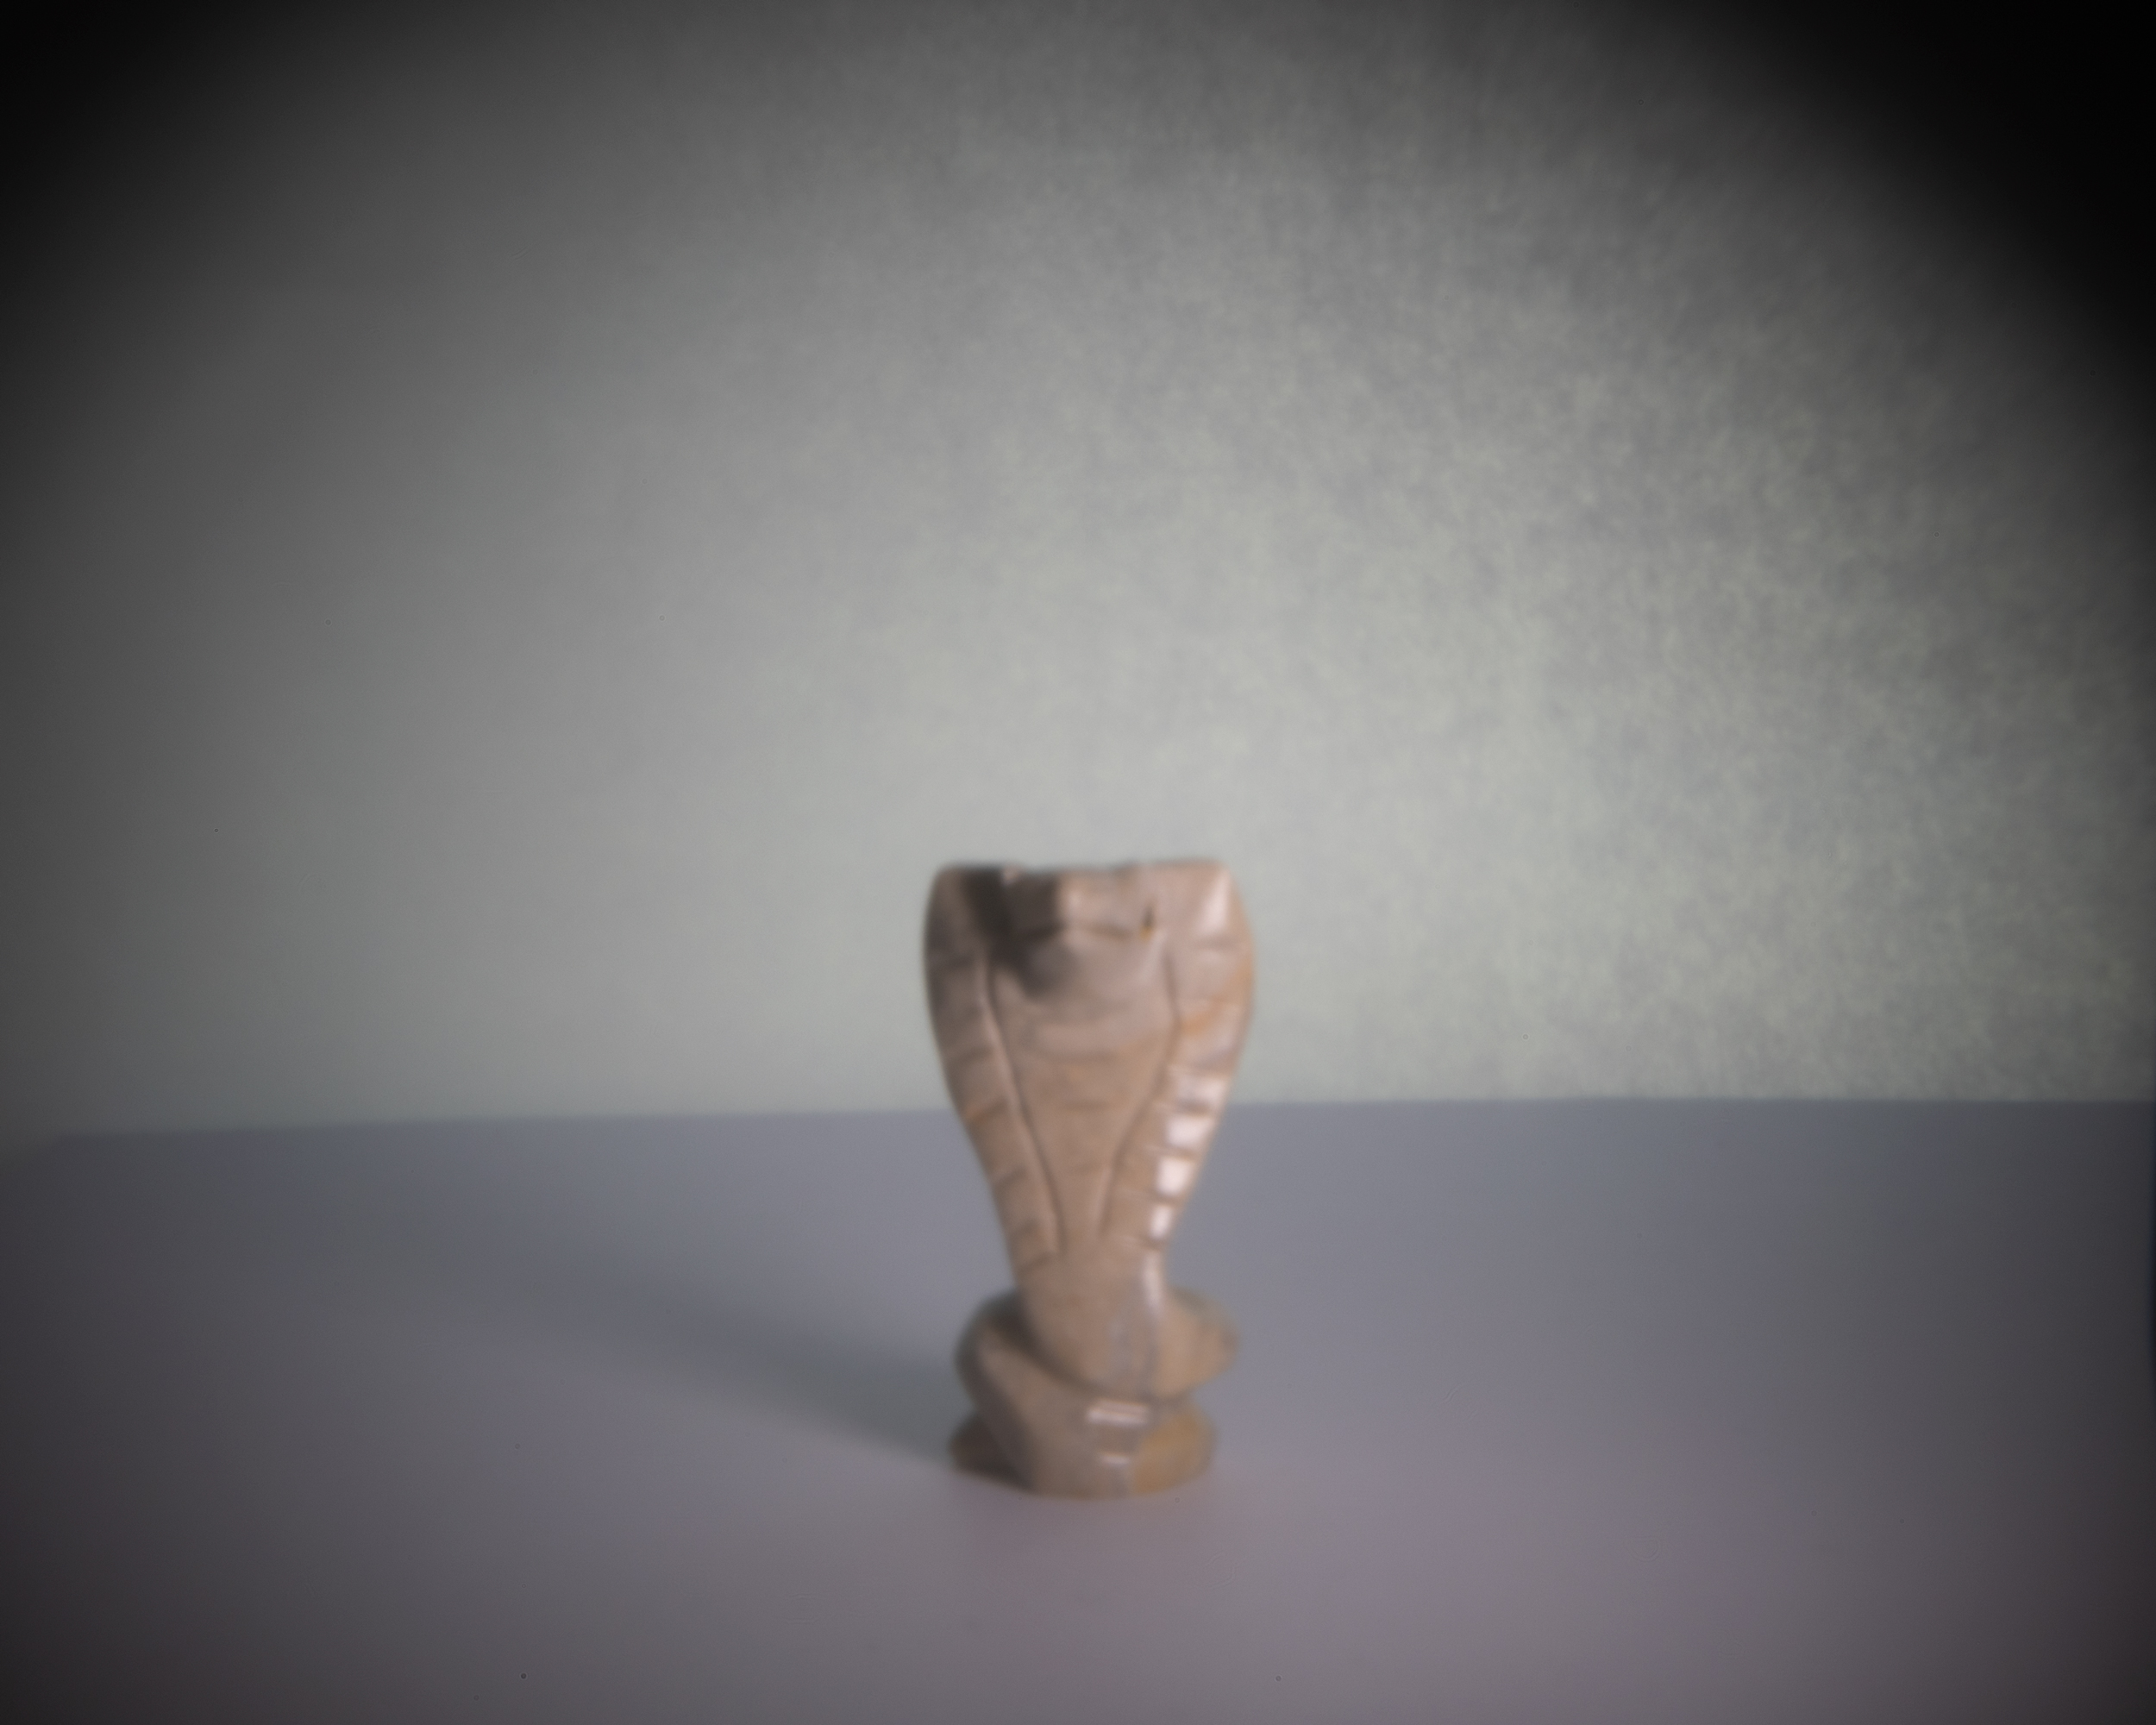
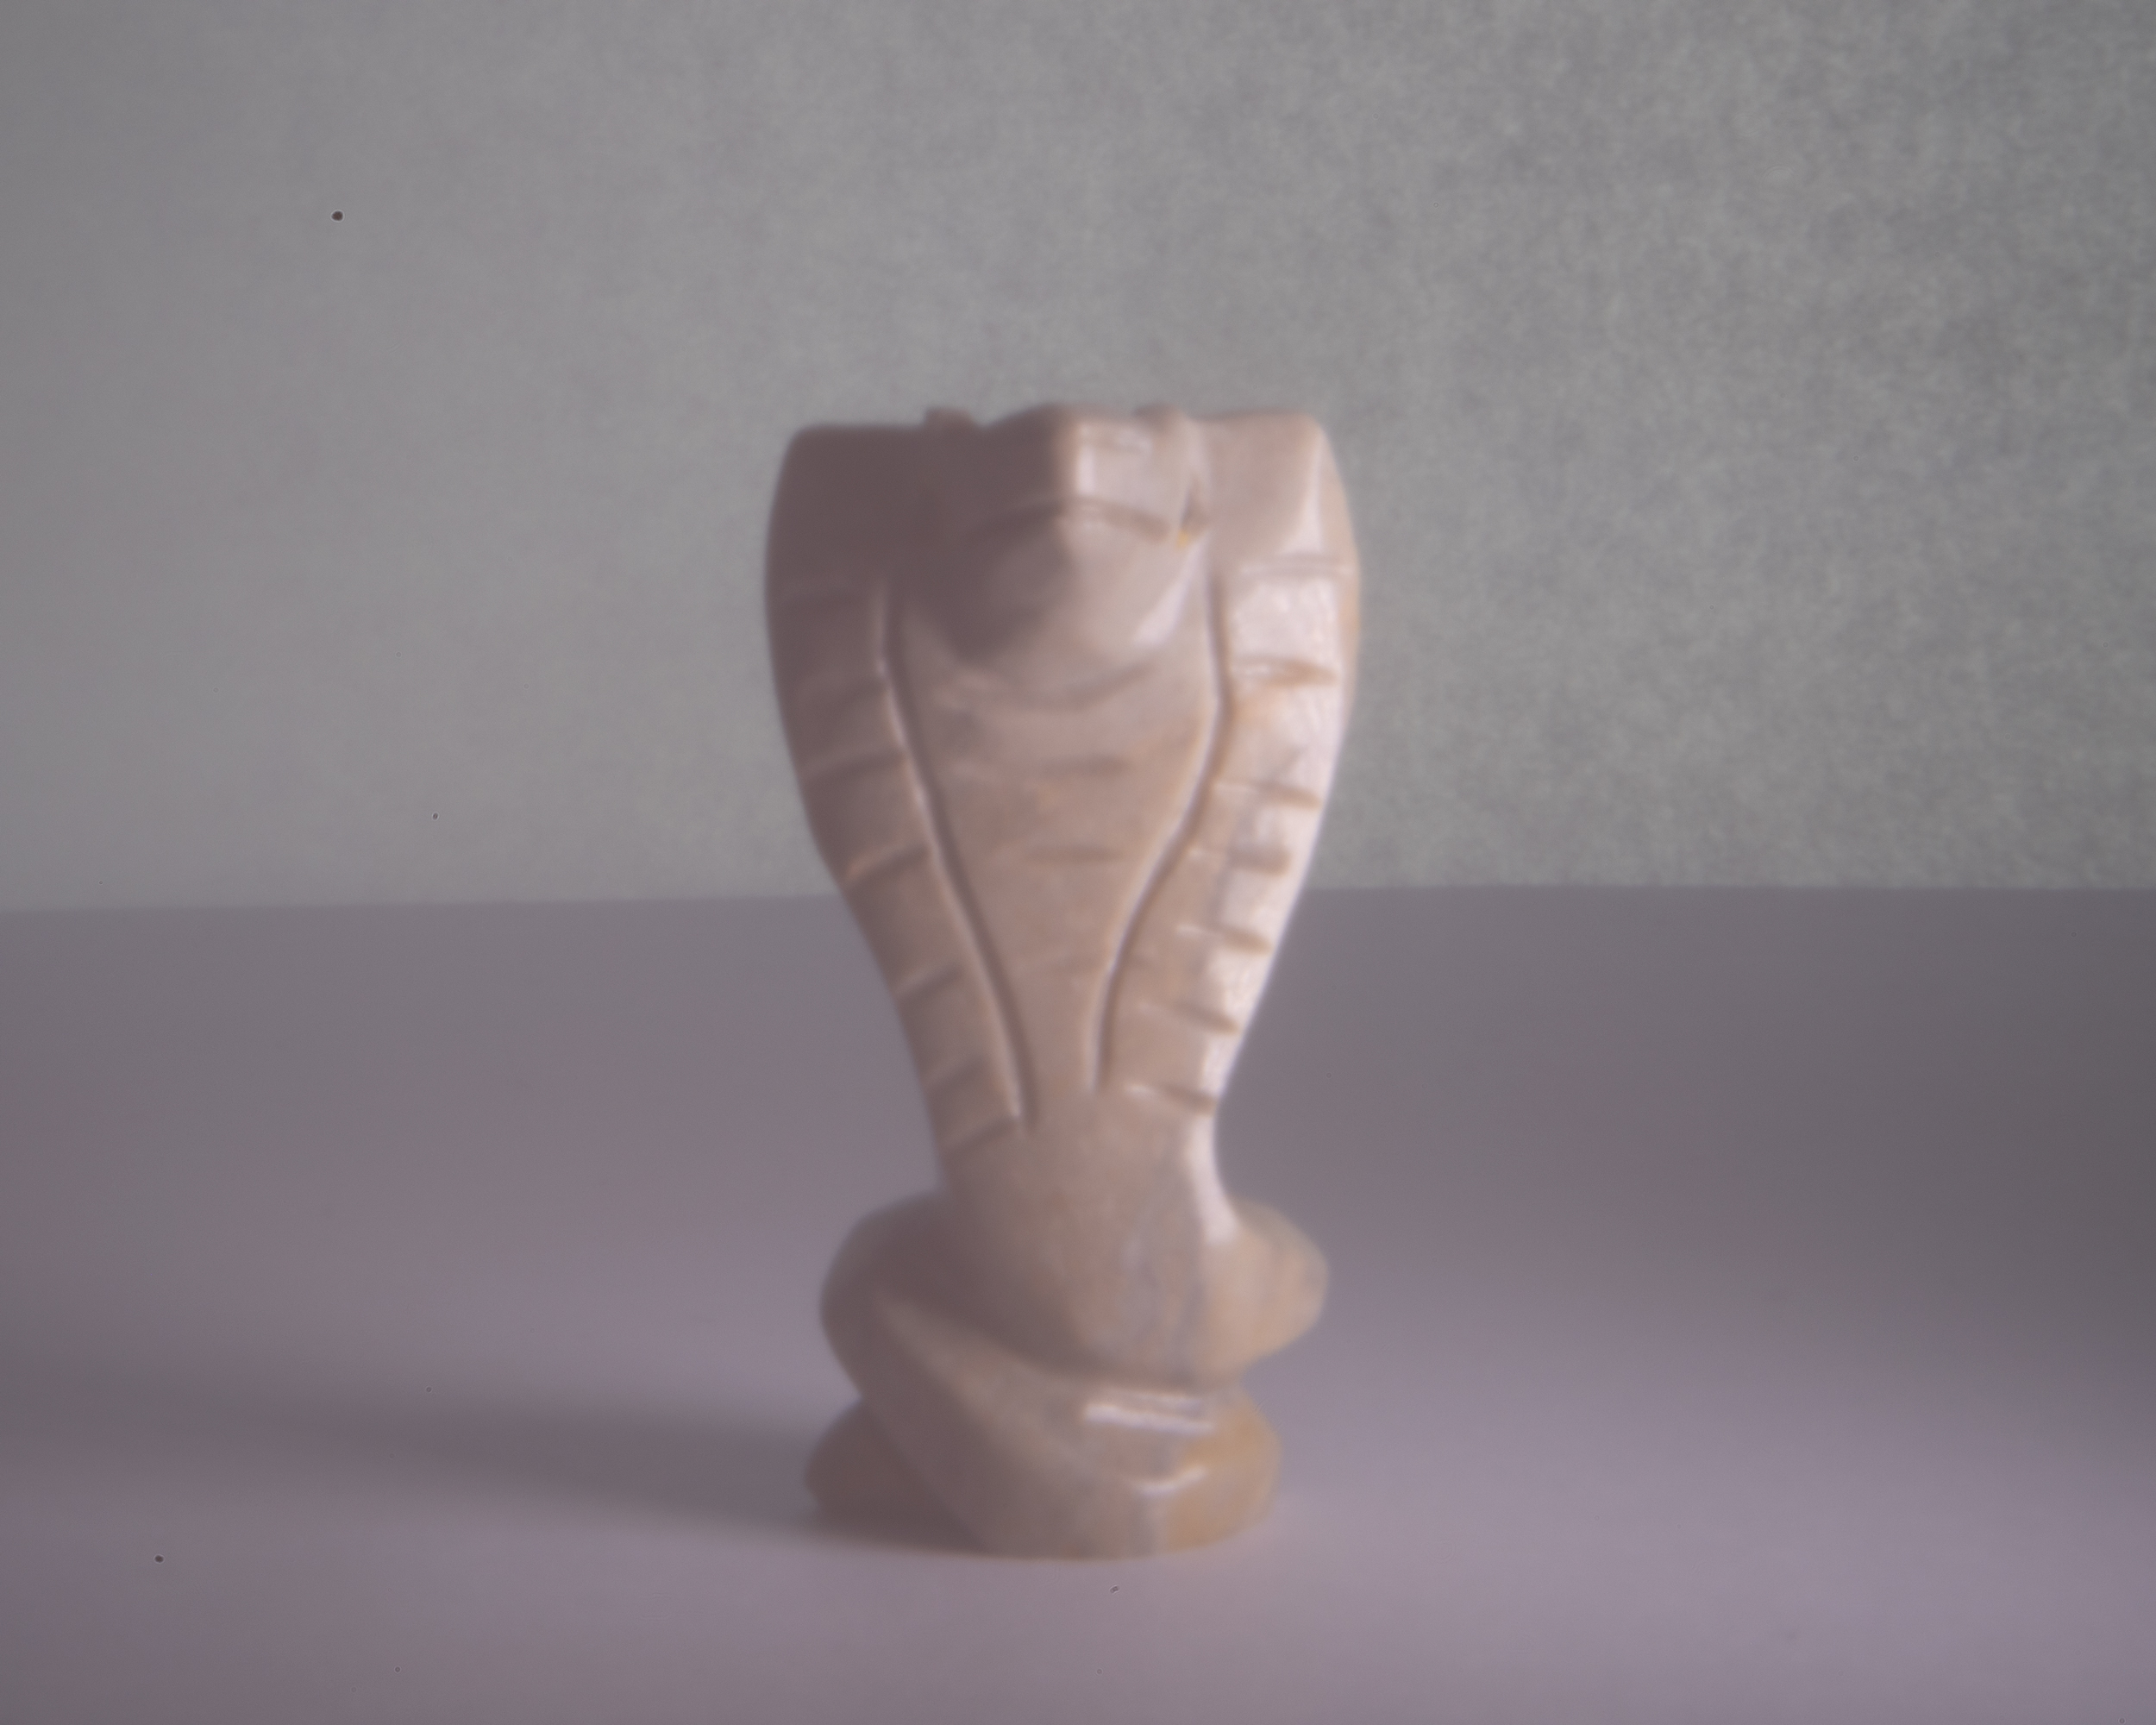
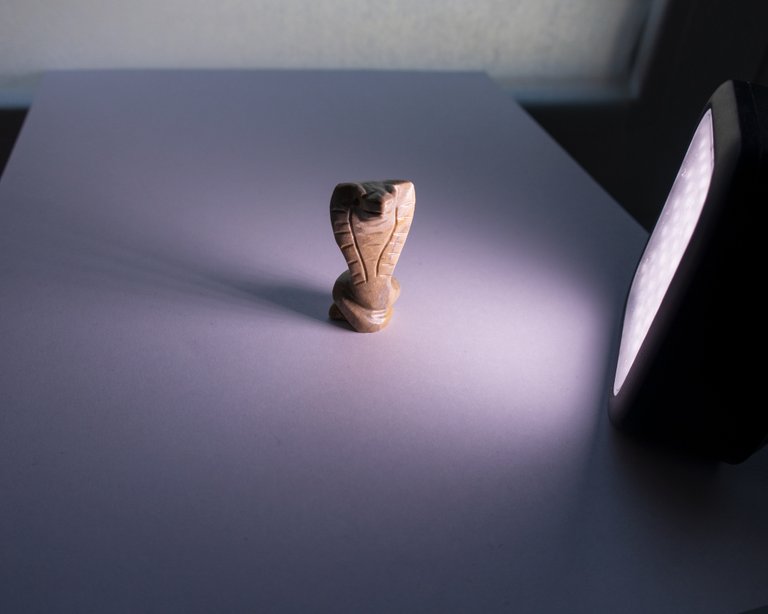
Result: Focusing didn't work, but the photo was somehow sharper anyway and when I used the glass lens for the third photo, I was actually quite satisfied with the result. |
Fazit: Fokusieren funktionierte nicht, aber das Foto war irgendwie trotzdem schärfer und als ich beim dritten Foto die Glaslinse verwendet habe, war ich mit dem Ergebnis eigentlich recht zufrieden gewesen. |
 ❖ please click the image for fullsize view ❖ Canon EOS R | Digital Pinhole Camera | 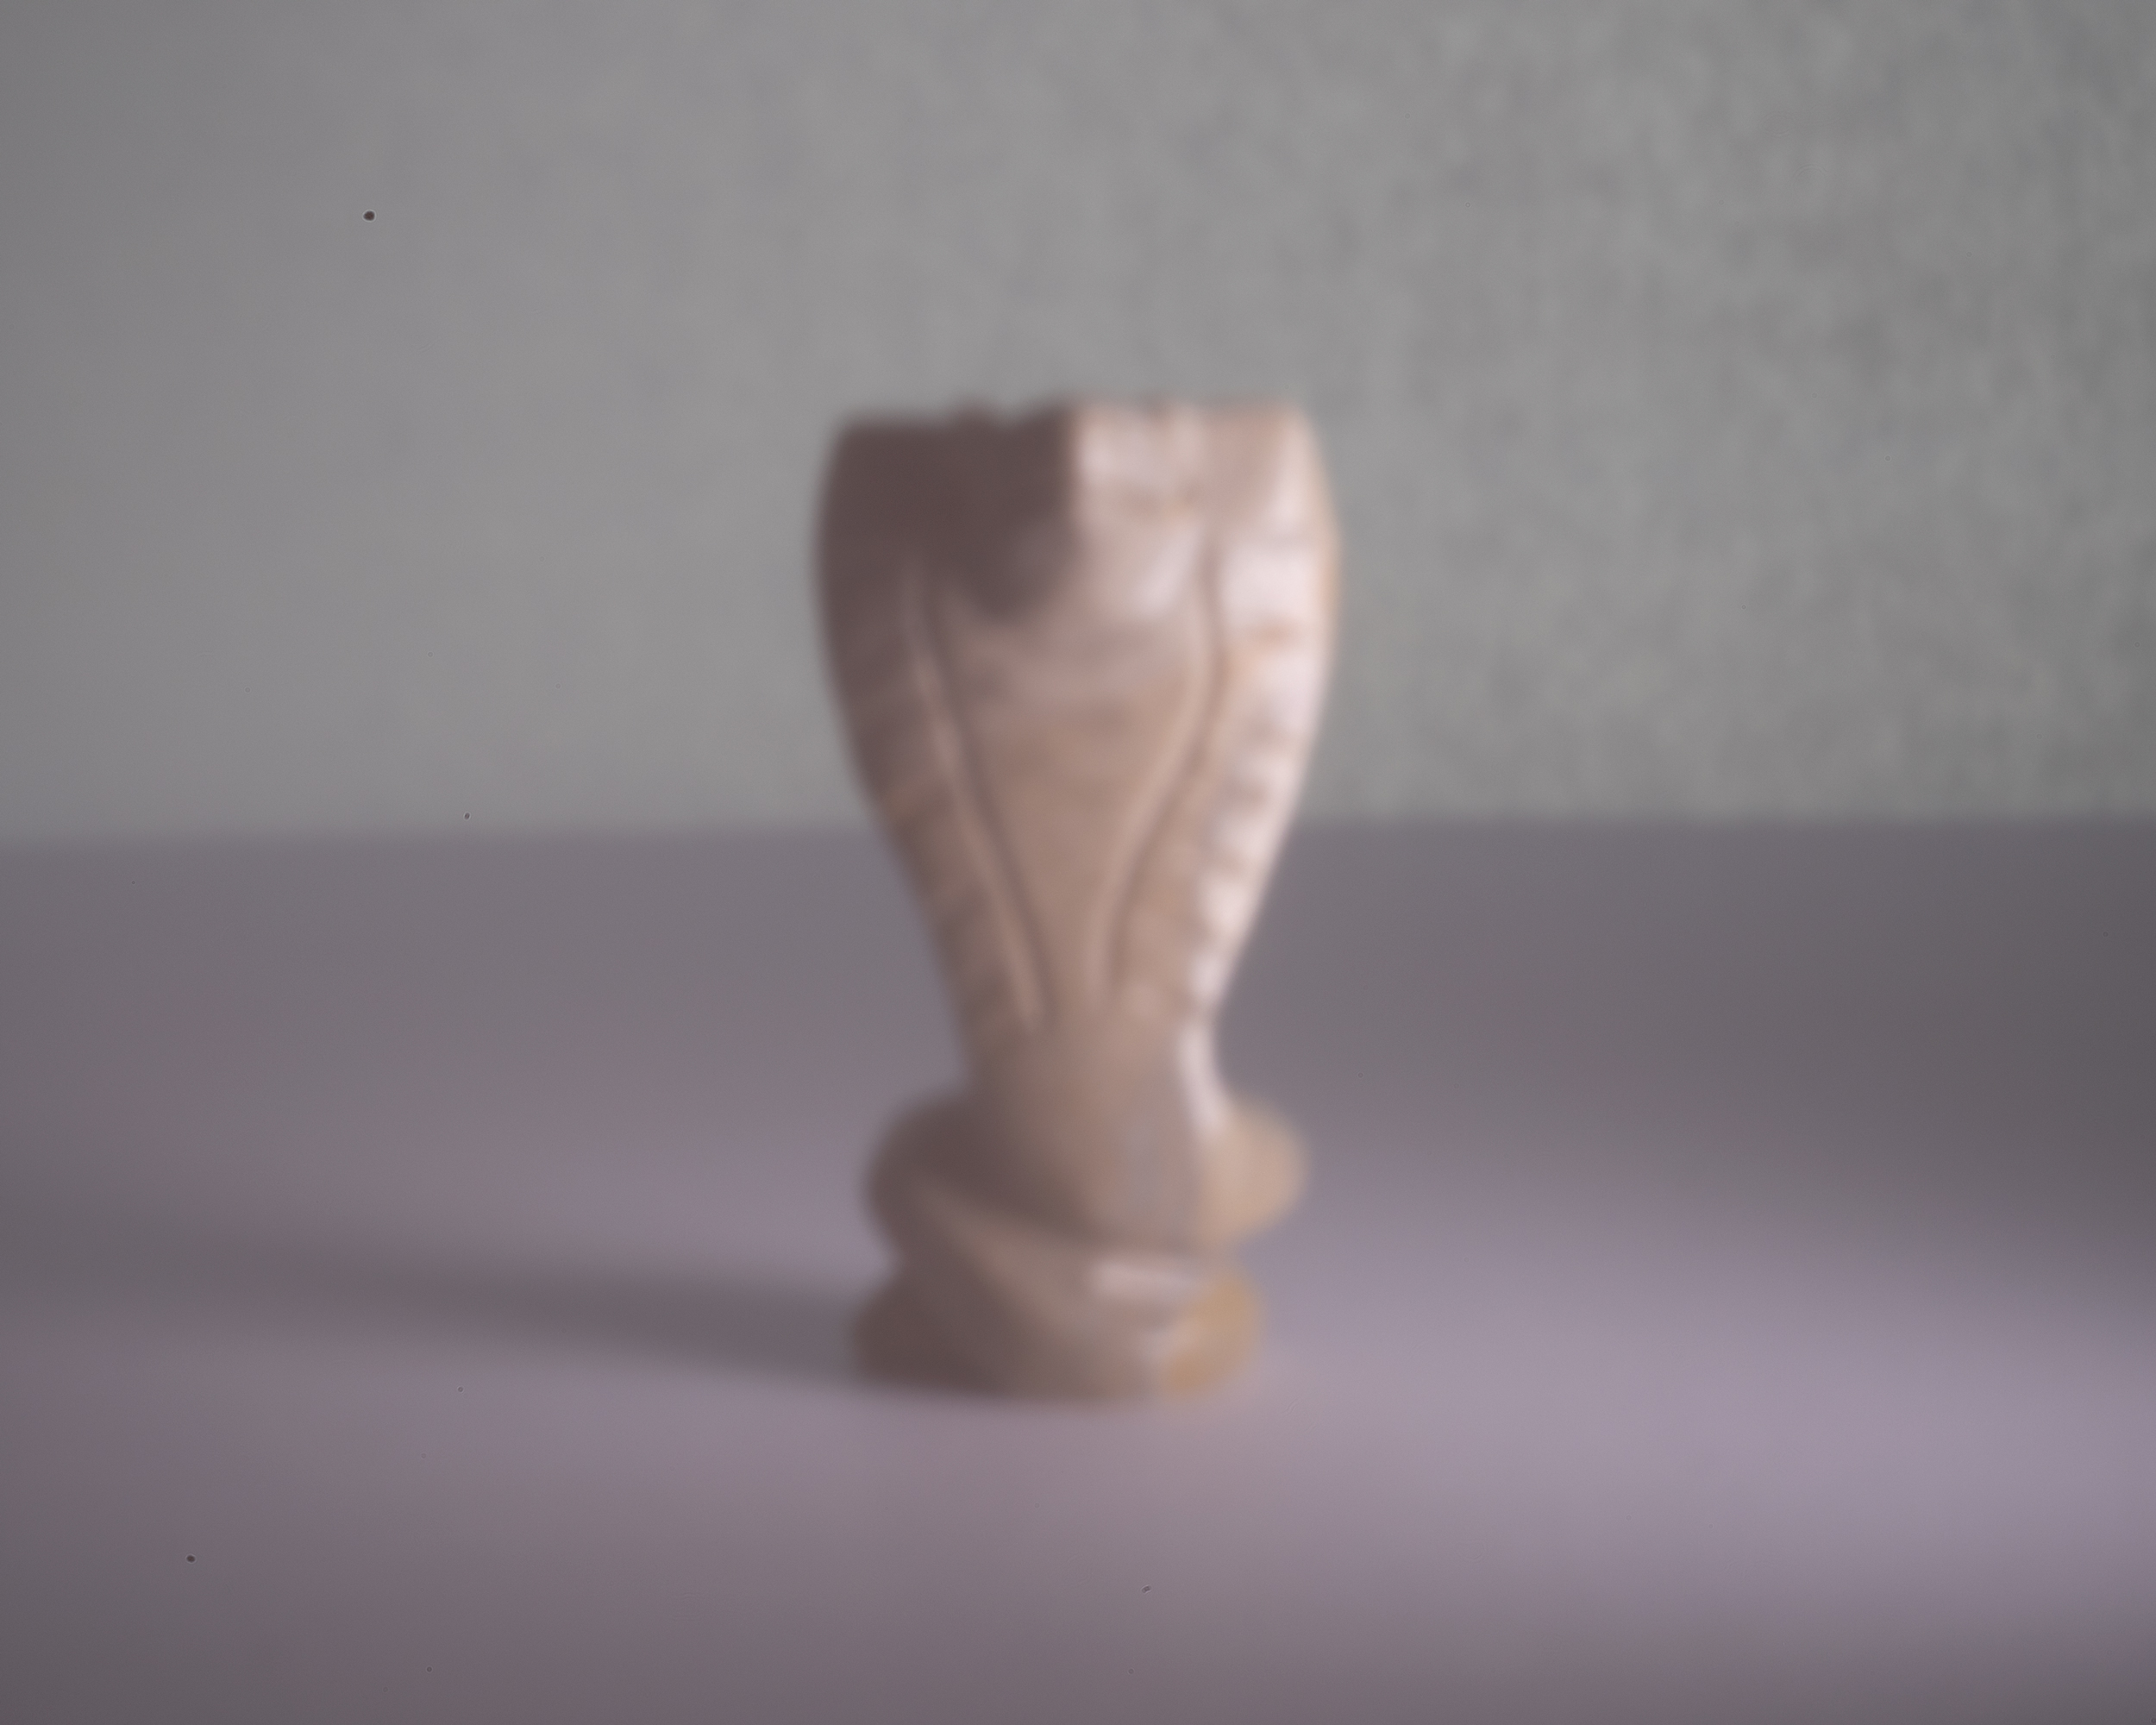 ❖ please click the image for fullsize view ❖ Canon EOS R | Digital Pinhole Camera |
❖ please click the image for fullsize view ❖
Canon EOS R | Digital Pinhole Camera
Information
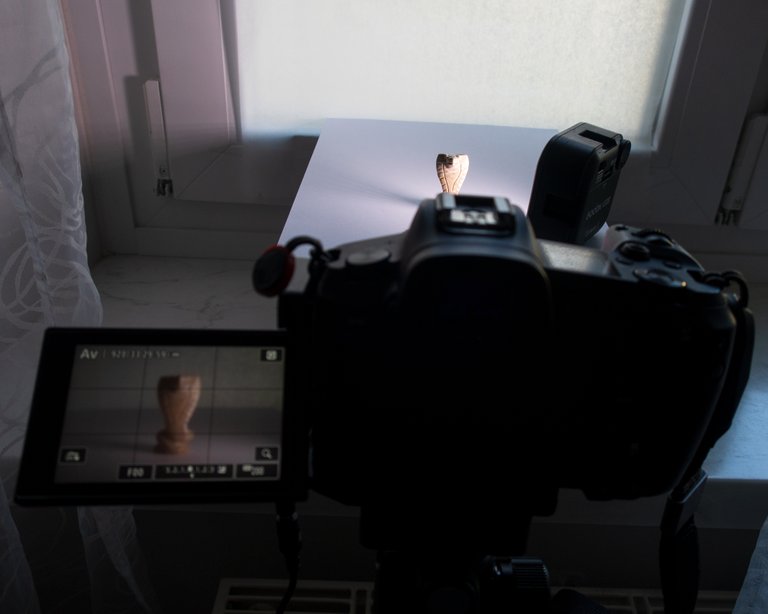
My whole setup for taking photos has found its place in my new photo studio on half a square meter by the bedroom window. The photos were not edited, but only cropped to the 5x4 format. |
Mein ganzes Setup zum Fotografieren hat wieder in meinem neuen Fotostudio auf einem halben Quadratmeter am Schlafzimmerfenster Platz gefunden. Die Fotos wurden nicht bearbeitet, sondern nur auf das Format 5x4 zugeschnitten. |
 |  |
If it weren't for the nice weather outside, I could have imagined further attempts, but "unfortunately" it was wonderful again today. Now I'm looking forward to the photos of @bambuka, but I already know that they will of course look very good again, because he has a lot more patience than me. |
Wenn draußen nicht so schönes Wetter gewesen wäre, dann hätte ich mir noch weitere Versuche vorstellen können, aber "leider" war es heute wieder wunderschön. Nun bin ich auf die Fotos von @bambuka gespannt, weiß aber schon jetzt, dass sie natürlich wieder sehr gut ausschauen werden, weil er viel mehr Geduld hat als ich. |
Stay at home, take care and stay healthy!
Bleibt zu Hause, passt auf und bleibt gesund!
If you like my photos I would appreciate an upvote, nice comment or maybe you want to share my post on your blog 😊 ... and maybe you would like to follow me, so that you never miss a post from me.
Thank you for visiting my blog,
have a nice evening and a wonderful weekend, ![]()
Photos and Text: Johann Piber | All rights reserved - do not use without my permission


2020-04-18
Thank you so much @ewkaw and @qurator, I do appreciate your support 🙂
My pleasure :)
🙂
Congratulations on the good results))
I just released mine.
You got ahead of me with two holes. I haven’t started yet.
You see, sharpness is a common problem. This means that we both missed something. Yes, an additional lens or lens can correct the situation, but I want to achieve sharpness from a clean pinhole. I already have views of it))
should the hole be a circle? what if it it would be a square?
таки попробуй)) Помнишь диафрагмы с 4-5 лепестками? Когда они зажаты, на снимках гайки появляются. Тут вроде как близко к зажатой. Но без стёкол может будет по другому. Пробовать надо, но думаю, что круг лучше)
Google for "Thingyfy Pinhole Pro". That's a very reasonably priced commercial pinhole lens, supposedly made from aluminium, with variable hole sizes. Might be worth the roundabout $100.00 U.S. price tag.
Thanks for the tip. I looked at what they were offering and did the same today, but without a changing hole. Soon I will show what happened.
Good morning @bambuka,
I have just come home from a walk, ate some lunch and now I'm quickly replying to the comments I have got over night ;)
Thank you so much for your compliment - I have just had a short look at your post and will reply there that your's are as good as I have expected 👍🙂
I have got this link for pinhole lens where the size of the hole is adjustable to achieve sharpness:
https://www.fotokoch.de/Thingyfy-Pinhole-Pro-PP-Mirco-Four-Thirds_29894.html?redirect=29894&partnerid=10222&utm_source=guenstiger-google&utm_medium=referral
It sounds interesting, but all I wanted was to make some experiments and have fun testing.
I have only made a second hole beside the other one and took some photos ;)
Have a great Sunday 🙂
https://photowebexpo.ru/news/Thingyfy-Pinhole-Pro-pinkhol-objyektivy-dlya-tsifrovykh-kamer
Johann, I'm glad to see you. You are well done for going out for walks. We have the second day it rains and I work with a pinhole :)
I also searched on the Internet what ready-made pinholes look like. I did not understand why you need to adjust the diameter of the hole. I am not sure if this is due to focus. I checked the sharpness when shooting at different distances and did not find a significant difference. All images are too soft (or rather not sharp enough). Maybe this is due to lighting conditions. The larger the hole, the more light enters. So you can shoot in less light. But the sharpness drops. But I could be wrong.
Today I made a pinhole similar to what is presented on the site, but without adjusting the diameter of the hole. Today, maybe I do not have time to post about it, but I will definitely show everything in the near future.
I thought today it would rain here too, because in the afternoon there have been dark clouds on the sky. If it rained I would have returned to the pinholes, but it didn't ;)
You have found the same Thingyfy pinhole lens ;)
I am sure I'll find some time next week to make some more experiments, and maybe I'll get the images sharper, but I don't know how though ;)
Have a nice evening and a great week ahead 🙂
Try reading through an auto-translator. There is a lot of useful information. I'm studying it now. There are technical points. https://photo-tochka.livejournal.com/1061994.html
Yes, have a nice evening and have a great week too
That is a lot of information, but I am too tired today, maybe I'll have a look at it tomorrow :)
Yes, a lot, I've been reading for half an hour and trying to understand what I did wrong :D
Yes, and when you have found out how it works how to build a super sharp pinhole lens you can share your knowledge with us that we don't need to search ourselves ;)
Have a good night @bambuka 🙂
Super sharp pinhole is not possible in principle :D
But I will share everything I can.
... good night...Johann :D
... and I think it shouldn't even be super sharp, because it is a very special kind of photography which has it's own cool retro look 🙂
I completely agree, this is his charm :)
👍🙂
looks like fun trying these out and makes being stuck indoor more fun :)
Yes, it makes a lot of fun and it's quite easy to do, but one big problem is my lack of patience to make more tests and achieve reasonable sharp images ;)
well your doing better than me, I wish I had more space in this place to set up a little spot for taking photos
I don't have more space than this small part of the window - on the right side there are plants which I am not allowed to move ;) but it is enough to photograph small things 😉
well thats good your making max use of a small space, maybe I am just being lazy and not setting up something let me power that :)
But after shooting I have to clean up, apart from the baking paper on the window 😢
yeah thats true I would have to do the same my wife likes the place orderly and tidy :)
That's why a separate space or room would be great to have, where I can have all my stuff clean and tidy 😉
Yes thats now seriously on y plan to get such a space when we move whenever that can be
Yeah, such a place is definitely needed and if we ever should move somewhere else I would insist of having such a place alone for myself 🙂
👍🙂👍
Ich verstehe zwar nur Bahnhof, bewundere aber deine Kenntnisse, deine Ausdauer, deine Kreativität und dein handwerkliches Geschick! !BEER !jeenger !invest_vote
Ach, Kenntnisse und handwerkliches Geschick braucht man nicht viel, um ein Loch in einen Karton zu stechen ... und leider fehlt mir auch die Ausdauer um mehr zu testen und schärfere Bilder zu bekommen. Beim nächsten Regen wird aber die Versuchsreihe Nummer 3 genau das bringen: schärfere Bilder ;)
Danke dir vielmals @ditsch - einen wunderschönen Sonntag wünsche ich dir 🙂
!tip
!invest_vote
Vielen Dank! Was für den einen super einfach erscheint, ist für jemand anderen vielleicht schon eine Herausforderung 😉 !BEER !invest_vote !jeenger
Es ist eine Herausforderung, aber es macht Spaß, die eigenen Fortschritte und Ergebnisse zu sehen und auch mit den Ergebnissen von @bambuka zu vergleichen 🙂
Schöne Woche 🙂
!invest_vote
@johannpiber denkt du hast ein Vote durch @investinthefutur verdient!
@johannpiber thinks you have earned a vote of @investinthefutur !
Ein jeengervote für dich von @ditsch
Dankeschön @ditsch 🙂
@ditsch denkt du hast ein Vote durch @investinthefutur verdient!
@ditsch thinks you have earned a vote of @investinthefutur !
Dankeschön @ditsch 🙂
🎁 Hi @ditsch! You have received 0.1 HIVE tip from @johannpiber!
@johannpiber wrote lately about: Not All Is Black Or White Feel free to follow @johannpiber if you like it :)
Sending tips with @tipU - how to guide.
@johannpiber denkt du hast ein Vote durch @investinthefutur verdient!
@johannpiber thinks you have earned a vote of @investinthefutur !
Ein jeengervote für dich von @ditsch
Danke @ditsch 🙂
@ditsch denkt du hast ein Vote durch @investinthefutur verdient!
@ditsch thinks you have earned a vote of @investinthefutur !
Danke @ditsch 🙂
Es gibt da ein interessantes Objektiv, das qualitativ viel besser als der gelegentlich erhältliche Plastik-China-Schrott und nicht so irre teuer wie das Zero-Optik-Produkt ist. Guck mal hier:
https://www.fotokoch.de/Thingyfy-Pinhole-Pro-PP-Mirco-Four-Thirds_29894.html?redirect=29894&partnerid=10222&utm_source=guenstiger-google&utm_medium=referral
Hat einstellbare Lochgrößen (0,1 - 0,8 mm?) und besteht wohl aus Aluminium. Damit ist für rund 90 EUR das Problem des Schärfeverlustes am Loch gelöst. Soll angeblich sogar Videoaufnahmen ermöglichen. Hört sich jedenfalls interessant an.
Zero-Optik: (roundabout $1500 US!)
https://petapixel.com/2016/04/08/zero-optik-high-end-pinhole-lenses-designed-pros/
... oder ich kann nix ausgeben und mit mehr Geduld beim nächsten Mal passabel scharfe Bilder und dabei noch viel mehr Spaß haben 😉
Das war bzw ist nur ein Spaß zum Zeit totschlagen und ein bisschen experimentieren. Ich danke dir aber trotzdem für deinen Hinweis Folker und wünsche dir noch einen schönen Sonntag 🙂
Okay. Auch Dir einen schönen Restsonntag :-)
Dir auch 🙂
The cobra figurine looks good with your experiment. Lots of fun to keep busy with the isolation Johann.
Have a great Sunday especially if you have beautiful weather to go outside.
Thanks a lot Jo, the next photos will be sharper - maybe real sharp, because I already have other ideas in my head ;)
I have already been on a long walk at the reservoir in the woods this morning. Our weather is beautiful and I think I'll go for a ride around the lake on my motorbike later :)
Have a wonderful Sunday too Jo🙂
It is nice attempt to make digital pinhole camera of you. Nice photography
Thank you very much for your comment and that you like my post, @kamrunnahar, I appreciate it 🙂
very good
Thank you very much for your comment and that you like my post, @cloudblade, I appreciate it 🙂