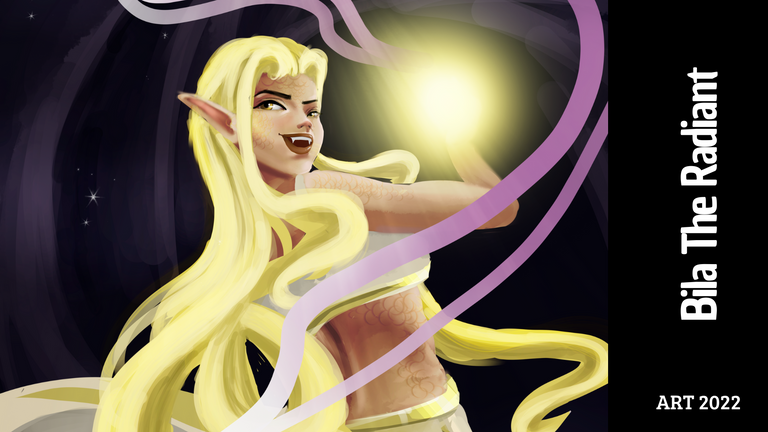
FanArt: Bila the Radiant
Arte Digital | Digital Art
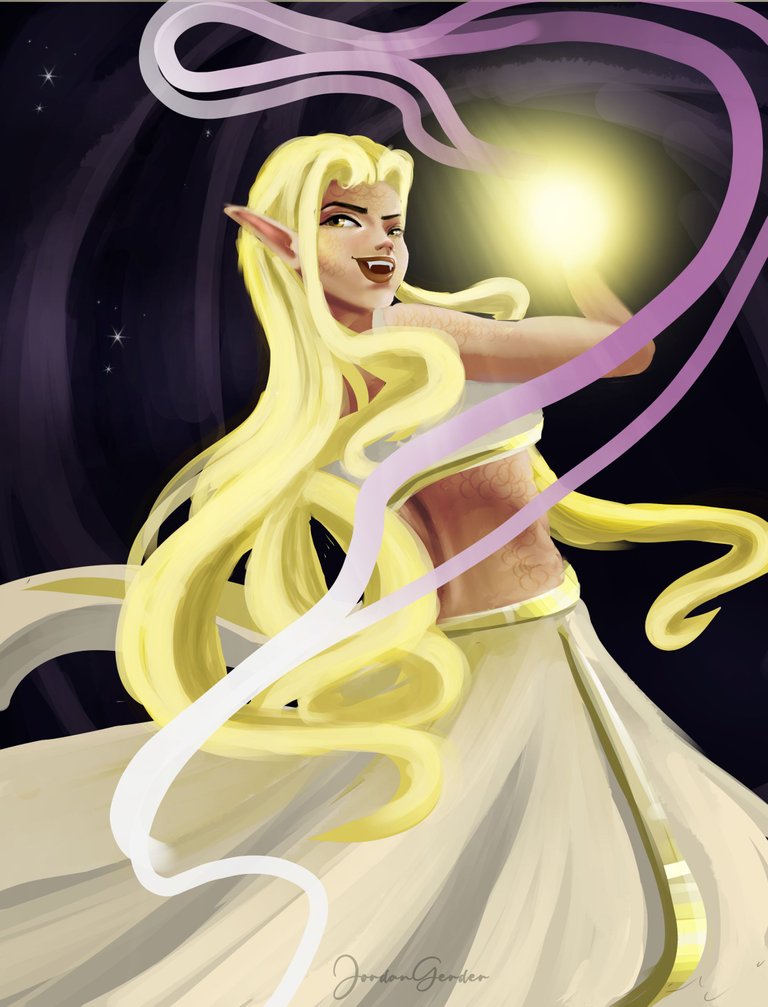
Saludos querida comunidad, presento un nuevo trabajo digital con el cual participare en el concurso de arte elaborado por @splinterlands. Hey me perdi dos semanas del concurso, estuve full ocupado en otros proyectos pero estoy de regreso con un nuevo Fanart que me trae ciego de tanta luminosidad jaja, Bila the Radiant, su nombre lo indica radiante luminosa, ame mucho este fanArt...
Greetings dear community, I present a new digital work with which I will participate in the art contest prepared by @splinterlands. Hey I missed two weeks of the contest, I was busy with other projects but I'm back with a new Fanart that makes me blind from so much light haha, Bila the Radiant, her name indicates radiant light, I love this fanArt so much...
¡Espero te guste! | I hope you like!
Presentación del diseño | Desing presentación
Materiales | Materials
- Mini laptop
- Tableta Huion H950P
- Programa Adobe Photoshop 2019
- Mini laptop
- Huion H950P tablet
- Adobe Photoshop 2019 program

Proceso | Process
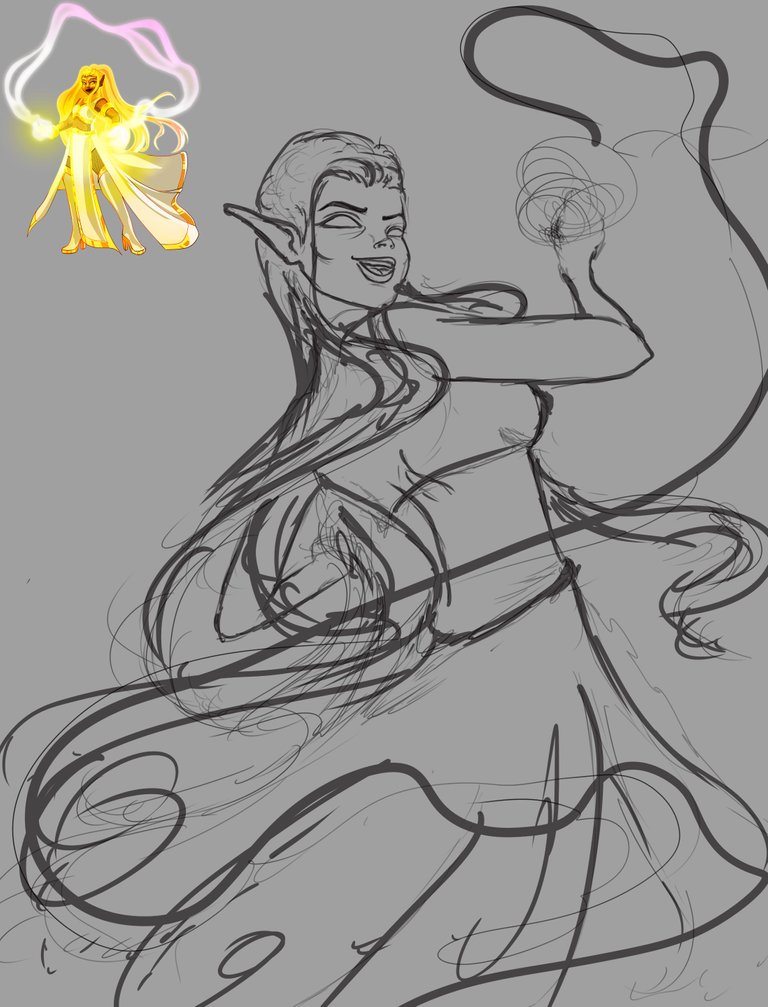
Primer paso: El boceto, es donde creamos la mayor parte de lo que queremos, despues tener lineas entendibles, continuamos al segundo paso:
First step: The sketch is where we create most of what we want, after having understandable lines, we continue to the second step:
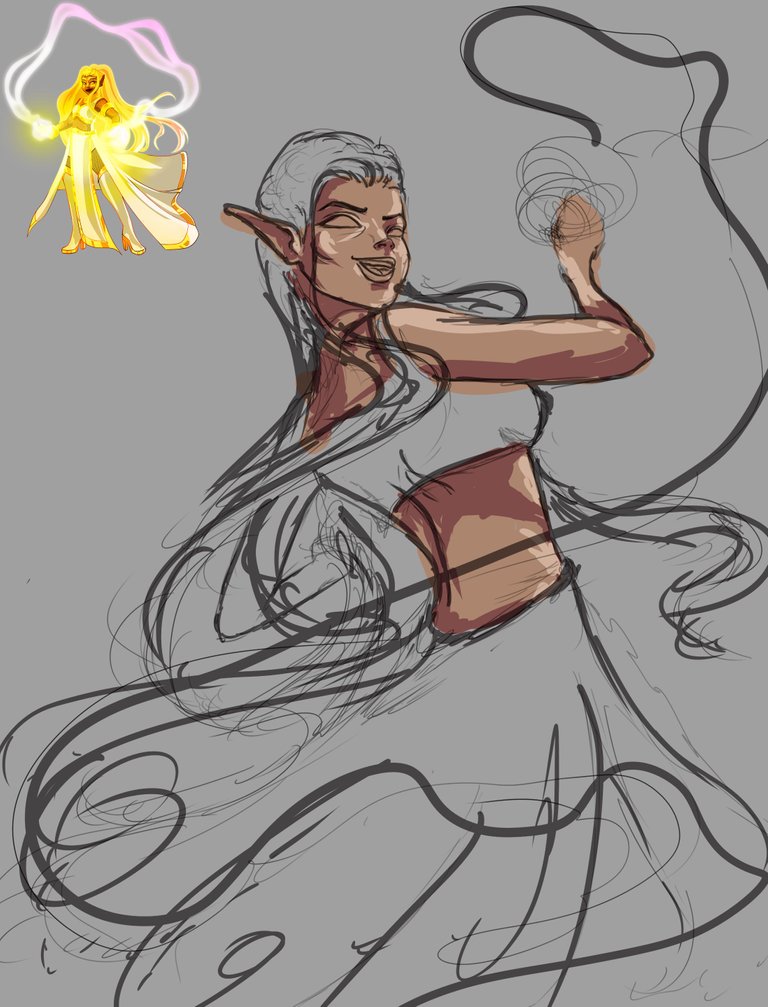
Segundo paso: colores base, Selecionamos algunas tonalidades un tono medio y adicional a este uno oscuro partiendo de la base y un claro partiendo de la misma base escogida anteriormente, y una tonalidad saturada para que sea mejor trabajada al piel al momento de mezclar las tonalidades.
Para este paso uso un pincel difuso, resulta mejor al momento de mezclar el color:
Second step: base colors, we select some shades a medium tone and in addition to this a dark one starting from the base and a light one starting from the same base chosen previously, and a saturated shade so that it is better worked to the skin when mixing the shades .
For this step I use a diffuse brush, it is better when mixing the color:
Tercer paso: una vez mezclamos todo el color de la piel es momento de detallar las otras partes de la ilustracion:
Third step: once we mix all the skin color, it is time to detail the other parts of the illustration:
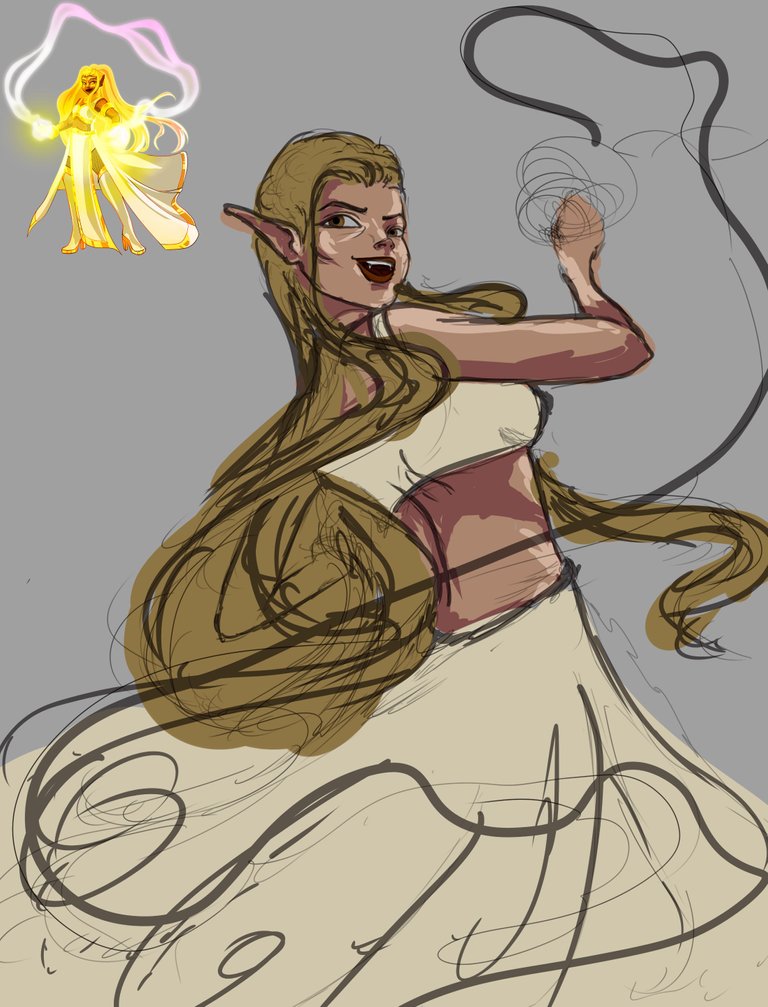
Paso cuatro: a este paso ya estaba algo avanzado, detalle su cabello con el pincel de cerdas para cabello, detalle sus ojos y el efecto de magia que habia en su mano, estos se logran jugando con los modos de capas:
Step four: at this step I was already somewhat advanced, detail her hair with the hair bristle brush, detail her eyes and the magic effect that was in her hand, these are achieved by playing with the layer modes:

Ajusté detalles finales y así obtuve el fino resultado:
I adjusted final details and that was how I obtained the fine result
Espero te haya gustado lo he elaborado con cariño para ustedes, nos vemos en la próxima 😍
I hope you liked it, I have elaborated it with love for you, see you next time 😍
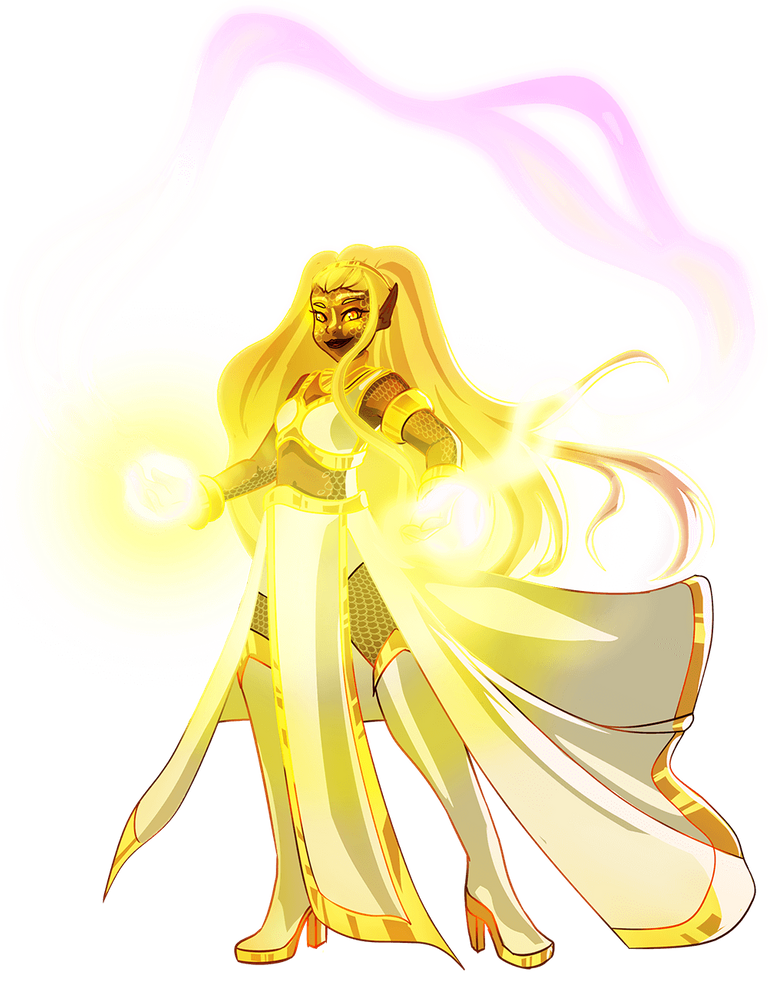
Art inspired by @splinterlands
¿Cómo pintar la piel en Photoshop? (piel difusa) | How to paint skin in Photoshop? (fuzzy skin)

Presentación del diseño | Desing presentación
Materiales | Materials
- Mini laptop
- Tableta Huion H950P
- Programa Adobe Photoshop 2019
- Mini laptop
- Huion H950P tablet
- Adobe Photoshop 2019 program
Proceso | Process
Primer paso: El boceto, es donde creamos la mayor parte de lo que queremos, despues tener lineas entendibles, continuamos al segundo paso:
First step: The sketch is where we create most of what we want, after having understandable lines, we continue to the second step:
Segundo paso: colores base, Selecionamos algunas tonalidades un tono medio y adicional a este uno oscuro partiendo de la base y un claro partiendo de la misma base escogida anteriormente, y una tonalidad saturada para que sea mejor trabajada al piel al momento de mezclar las tonalidades.
Para este paso uso un pincel difuso, resulta mejor al momento de mezclar el color:
Second step: base colors, we select some shades a medium tone and in addition to this a dark one starting from the base and a light one starting from the same base chosen previously, and a saturated shade so that it is better worked to the skin when mixing the shades .
For this step I use a diffuse brush, it is better when mixing the color:
Tercer paso: una vez mezclamos todo el color de la piel es momento de detallar las otras partes de la ilustracion:
Third step: once we mix all the skin color, it is time to detail the other parts of the illustration:
Paso cuatro: a este paso ya estaba algo avanzado, detalle su cabello con el pincel de cerdas para cabello, detalle sus ojos y el efecto de magia que habia en su mano, estos se logran jugando con los modos de capas:
Step four: at this step I was already somewhat advanced, detail her hair with the hair bristle brush, detail her eyes and the magic effect that was in her hand, these are achieved by playing with the layer modes:
Ajusté detalles finales y así obtuve el fino resultado:
I adjusted final details and that was how I obtained the fine result
Espero te haya gustado lo he elaborado con cariño para ustedes, nos vemos en la próxima 😍
I hope you liked it, I have elaborated it with love for you, see you next time 😍
Art inspired by @splinterlands
¿Cómo pintar la piel en Photoshop? (piel difusa) | How to paint skin in Photoshop? (fuzzy skin)
0
0
0.000
Excellent work. I really liked your color choice 🌿✨.
Thank you so much😍
Muy bueno
Gracias 🙂
¡Muy buen amigo está genial! Aquí por curiosear sería genial ver la configuración de tus pinceles, me gusto mucho el resultado que le das.
oh, yo uso los pinceles prederminados de photoshop...😃
Thanks for sharing! - castleberry#6859

Thank you dear❤️