Obsequio de cartulina en honor a los padres / Cardboard gift in honor of fathers
Hola mis hermosos amigos creadores de contenido feliz día para todos ,espero que hayan amanecido excelente ,hoy les quiero compartir un pequeño obsequio que realice en honor al día de los padres con material de cartulina
Hello my beautiful content creator friends, happy day to all of you, I hope you had an excellent morning, today I want to share with you a small gift that I made in honor of fathers day with cardboard material.
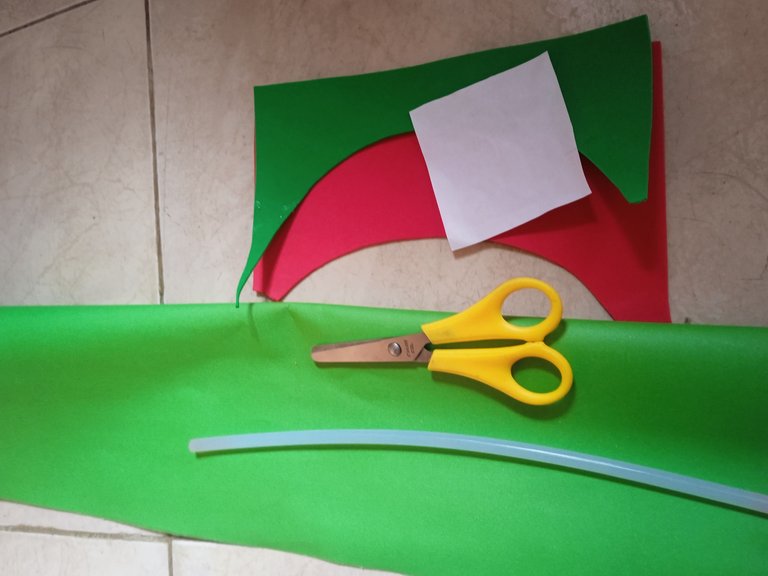
Materiales que utilice :
-Cartulina
-Tijera
-Silicon
-Foamis
Materials I used :
-Cardboard
-Scissors
-Silicon
-Foamis
A continuación los pasos a seguir :
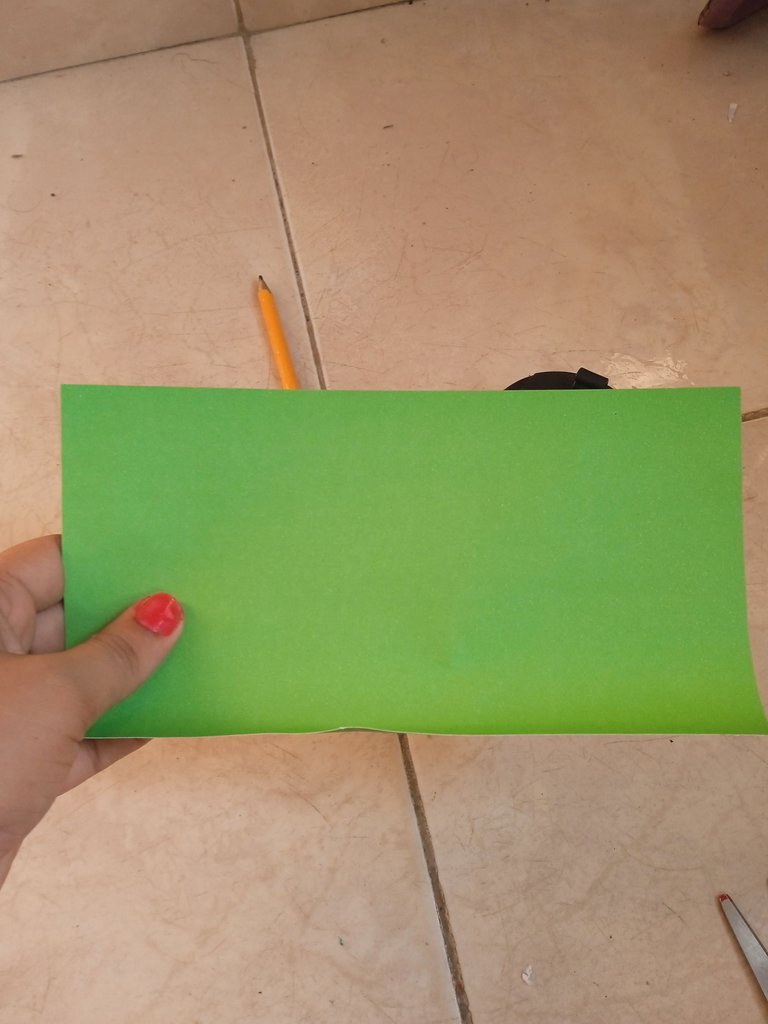
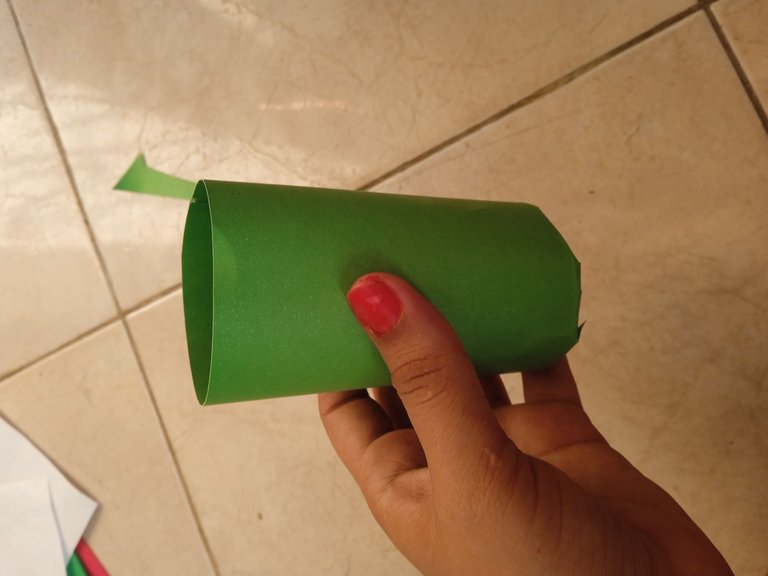
Para realizar nuestro obsequio debemos realizar un cilindro, primeramente debemos iniciar recortando nuestra cartulina con las medidas a nuestra preferencia , en esta ocasión utilicé quince centímetros de largo y diez de ancho
Here are the steps to follow:
To make our gift we must make a cylinder, first we must start cutting our cardboard with the measures to our preference, this time I used fifteen centimeters long and ten wide.
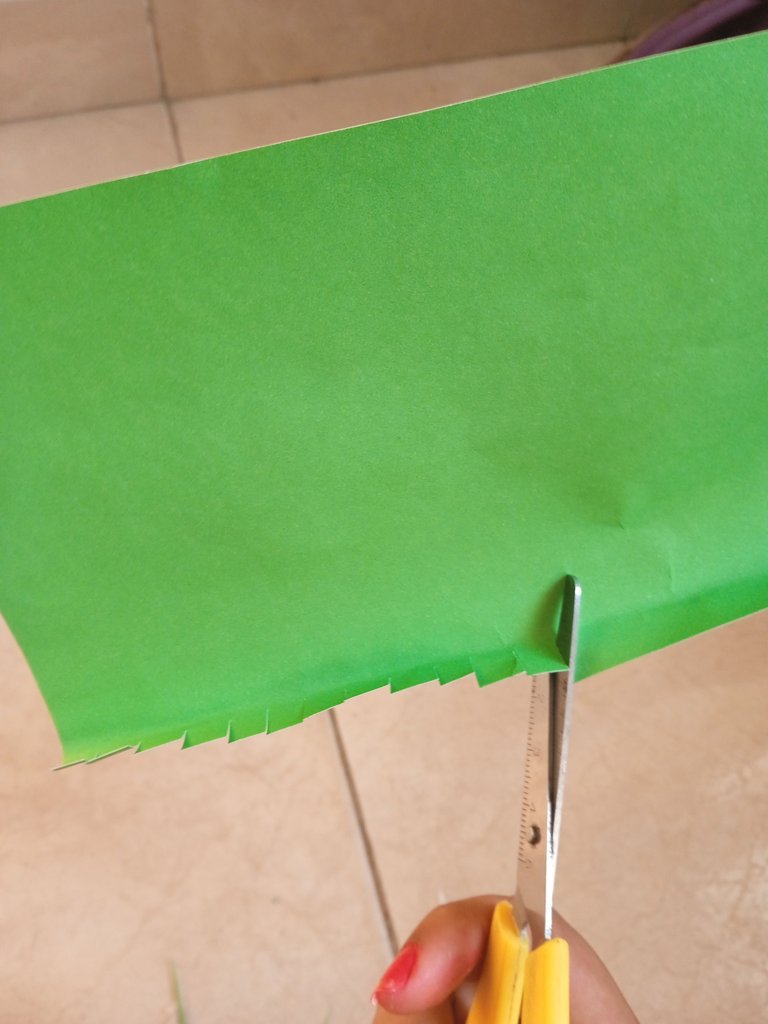
Luego continuaremos doblando hacia adentro un centímetros de nuestra cartulina ,de la parte de abajo , una vez que doblemos continuaré recortando en varios flecos sin pasar el doble que le realice ,esto es para que cuando vayamos a pegar a la base se pegue mejor
Then we will continue folding inward one centimeter of our cardboard, from the bottom, once we fold continue cutting in several bangs without passing the double that I made, this is so that when we go to stick to the base sticks better.
Seguidamente vamos a proceder a añadir silicón por todo el borde de nuestra cartulina y pegaremos borde con borde para formar nuestro cilindro
Next we will proceed to add silicone all around the edge of our cardboard and glue edge to edge to form our cylinder.
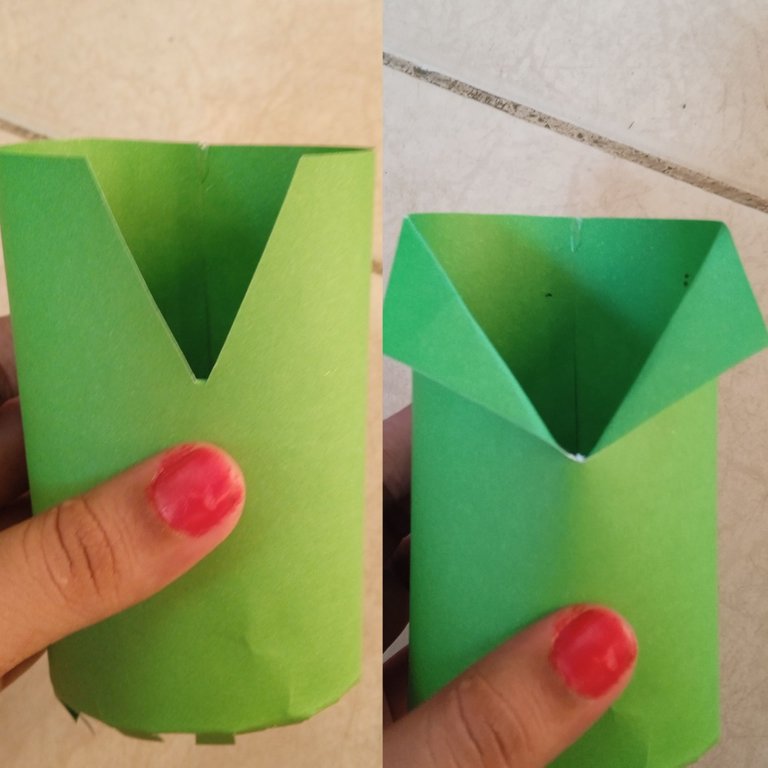
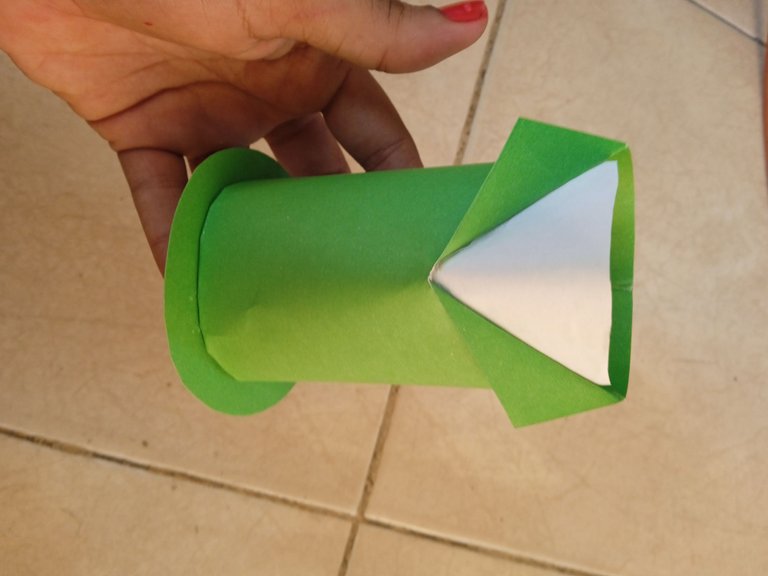
Una vez que tengamos listo nuestra cartulina ,en el centro o en el frente de la parte de arriba vamos a realizar un corte tipo V ,seguidamente las puntas las vamos a llevar hacia abajo doblando las realizando el cuello de una camisa
Once
we have our cardboard ready, in the center or in the front of the top we will make a V type cut, then the tips we will take them down folding them making the collar of a shirt.
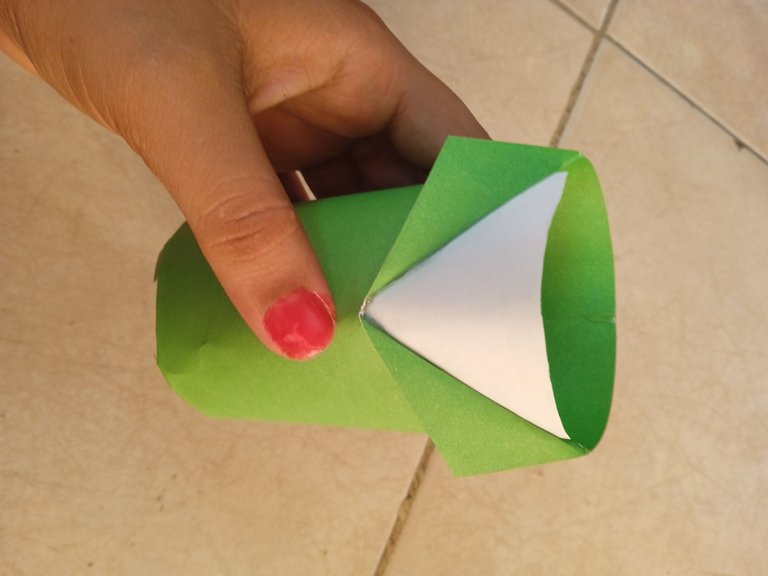
Luego continuaremos pegando en la parte de adelante de nuestro obsequio una cartulina blanca que simbolice una camiseta que siempre los caballeros llevan abajo de la camisa de vestir
Then we will continue by gluing on the front of our gift a white cardboard that symbolizes a T-shirt that gentlemen always wear under their dress shirts.
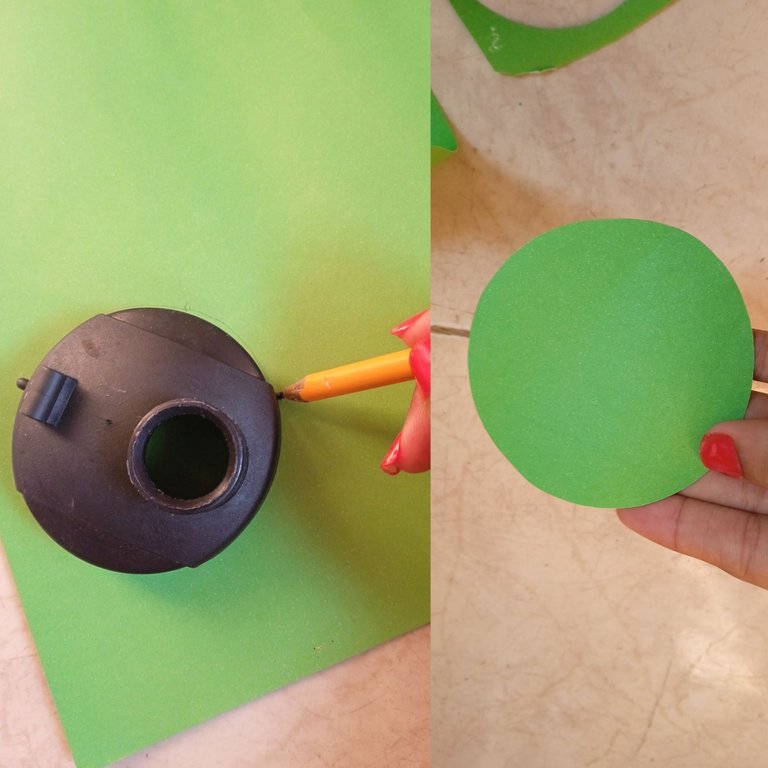
Luego continuamos realizando la base de nuestro obsequio,para ello realizaremos un círculo con la ayuda de un objeto con base redonda,en esta ocasión utilicé una tapa de un termo,luego continuaremos recortando lo con nuestra tijera,el círculo debe ser más grandecito que el obsequio
the base of our gift, for this we will make a circle with the help of an object with a round base, this time I used a thermos lid, then we will continue cutting it with our scissors, the circle should be bigger than the gift.
Una vez lista la base de nuestro obsequio vamos a proceder pegando la en todo el centro ,recordando que la base es más grande que la medida de el cilindro y por ello debe ubicarse en el medio
Once the base of our gift is ready, we will proceed by gluing it in the center, remembering that the base is larger than the size of the cylinder and therefore should be located in the middle.
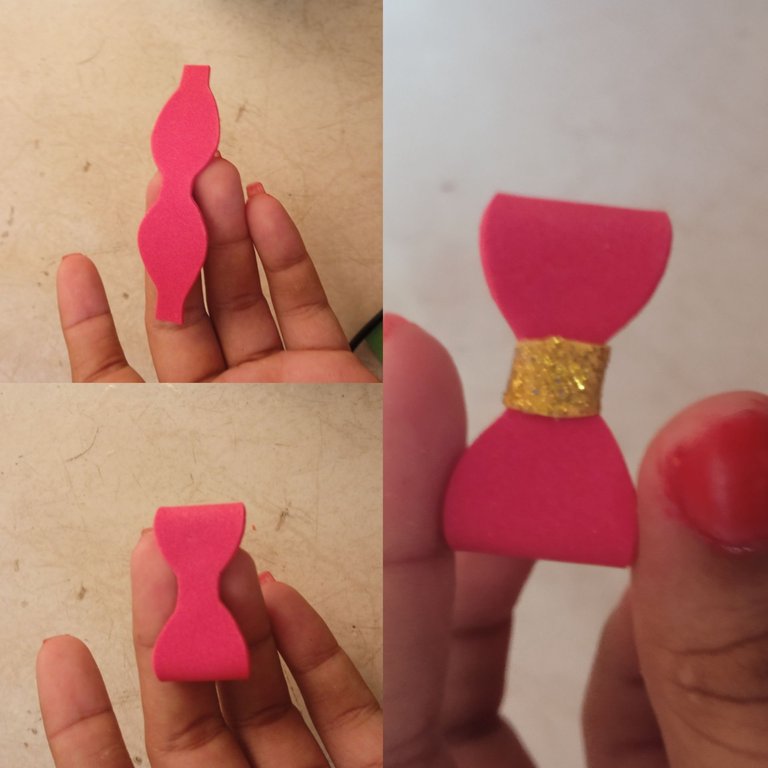
Para la decoración de la camisa ,recortaremos un pequeño lazo color rojo ,para el lazo debe ser la silueta similar a unos lentes redondos en los lados , pegaremos punta con punta hacia la parte de el medio , luego en el centro pegaremos una tira dorada
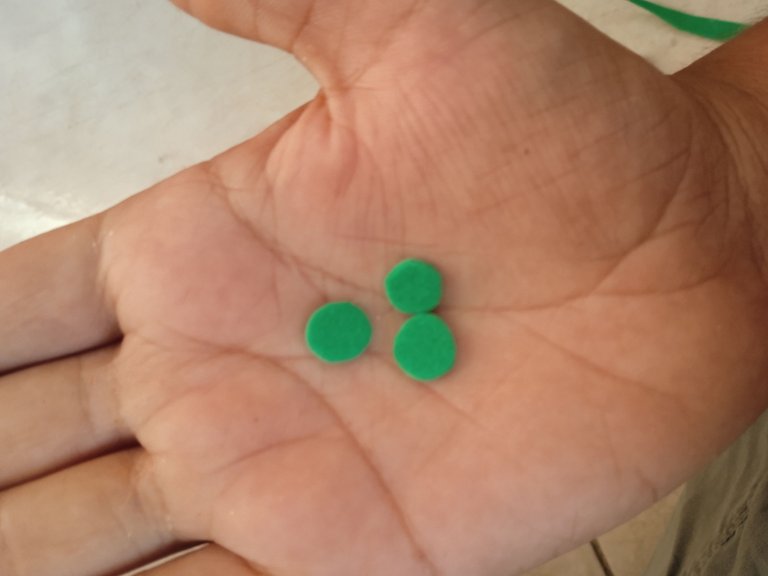
Una vez que tengamos listos nuestro lazo vamos a recortar unos círculos que serán nuestros botones
For the decoration of the shirt, we will cut a small red ribbon, for the ribbon should be the silhouette similar to a round glasses on the sides, we will glue tip to tip towards the part of the middle, then in the center we will glue a golden strip.
Once we have our ribbon ready, we will cut out some circles that will be our buttons.
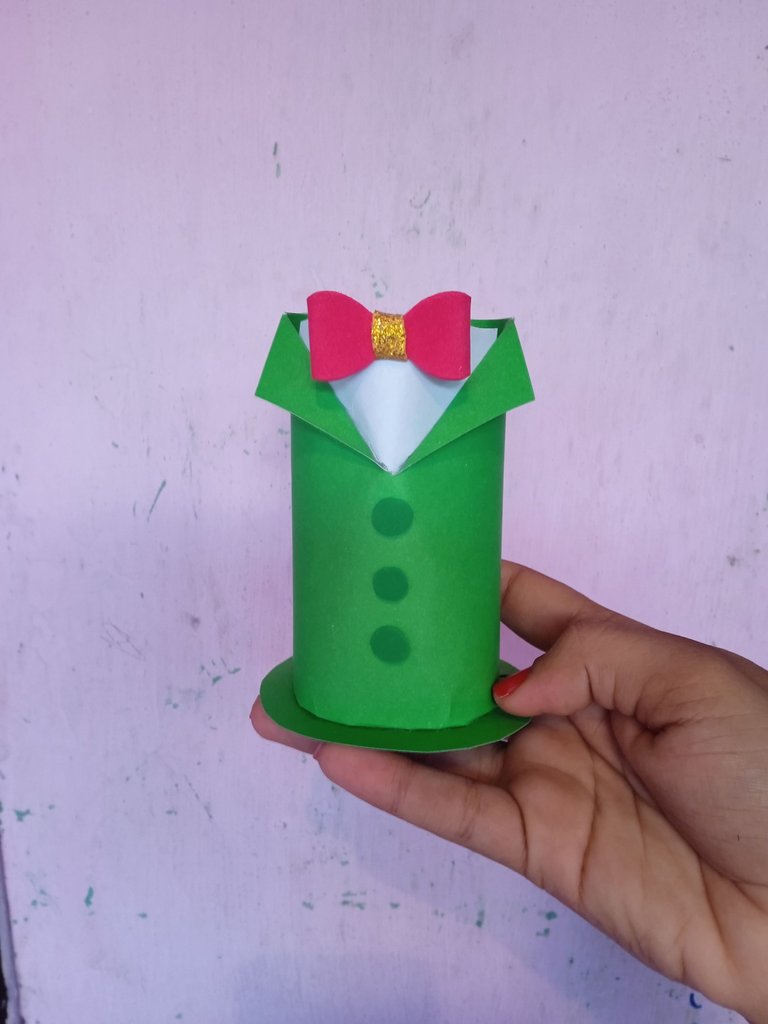
Una vez listos los accesorios de nuestra camisa vamos a proceder a pegarlo en todo el centro , el lazo irá ubicado en la parte de arriba en la camisa blanca y los botones en la parte de abajo de la camisa verde
Once the accessories of our shirt are ready we will proceed to glue them in the center, the bow will be located at the top of the white shirt and the buttons at the bottom of the green shirt.
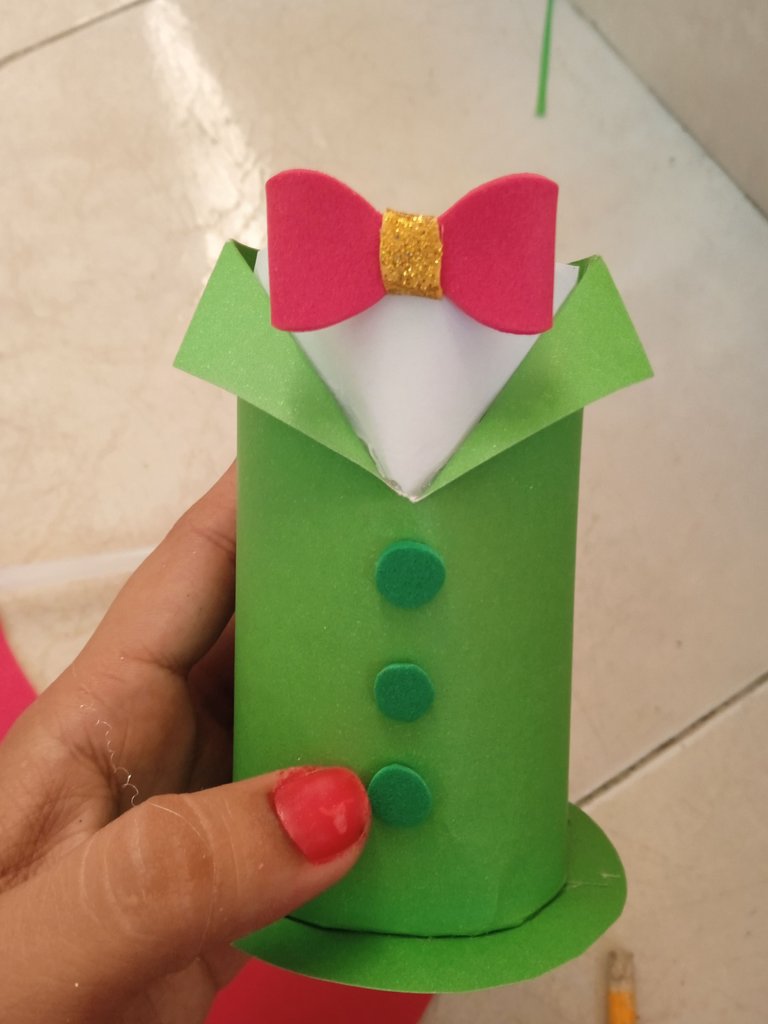
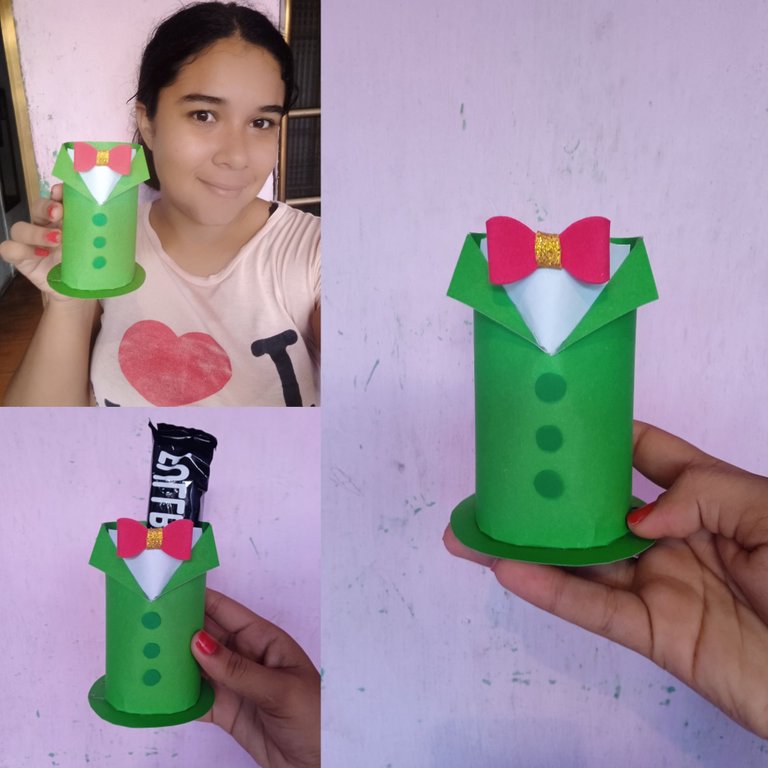
Este es el resultado final de mi hermoso obsequio en honor a nuestros padres que son muy importantes en nuestras vidas,una creación sencilla y fácil de realizar ,las fotos las tomé con mi teléfono Redmi 9C y los textos los traduje con el traductor DeepL ,que pasen feliz día
This is the final result of my beautiful gift in honor of our parents who are very important in our lives, a simple and easy to make creation, the photos were taken with my Redmi 9C phone and the texts were translated with the translator DeepL, have a happy day.
Muy lindo y fácil
Así es amiga
Muy lindo y Creativo amiga además parece muy fácil de elaborar.
Así es amiga es fácil de elaborar y es la idea ,que los niños puedan elaborar los ellos mismos
Para esos papitos amantes de las golosinas esta ideal este dulcero el mío estaría encantado ajajaj, que practico y hermoso tutorial amiga.
Gracias amiga ,así es ellos aman el dulce a veces más que nosotras jaja