Portalápiz de Stitch la mascota de Lilo | Pencil holder of Stitch the pet of Lilo
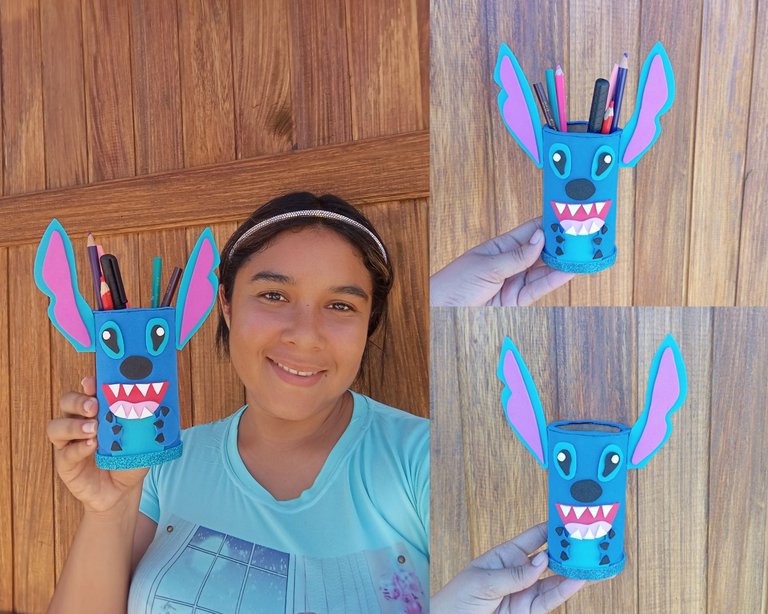
Hola buenas tardes hermosos amigos , espero que se encuentren bien , para los amantes de Lilo y Stitch, he realizado un portalápices en honor a Stitch , es una mascota fuera de lo común, pero súper encantadora y buen acompañante , está realizado con material de foamis y una base fuerte como el cartón. De esta manera podrán colocar sus lápices , colores y marcadores, es perfecto para habitaciones, negocios entre otros .
Hello good afternoon beautiful friends, I hope you are well, for lovers of Lilo and Stitch, I have made a pencil holder in honor of Stitch, is a mascot out of the ordinary, but super charming and good companion, is made with foamis material and a strong base like cardboard. This way you can place your pencils , colors and markers , it is perfect for rooms , businesses among others .
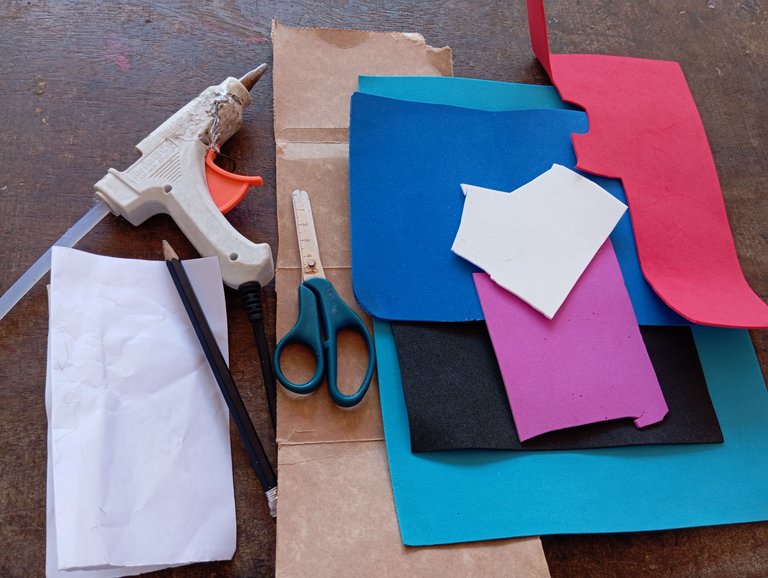
Materiales qué utilicé:
-Foamis
-Carton
-Tijera
-Silicon
-Lapiz y papel
Materials I used:
-Foamis
-Cardboard
-Scissors
-Silicon
-Paper and paper
A continuación los pasos a seguir :
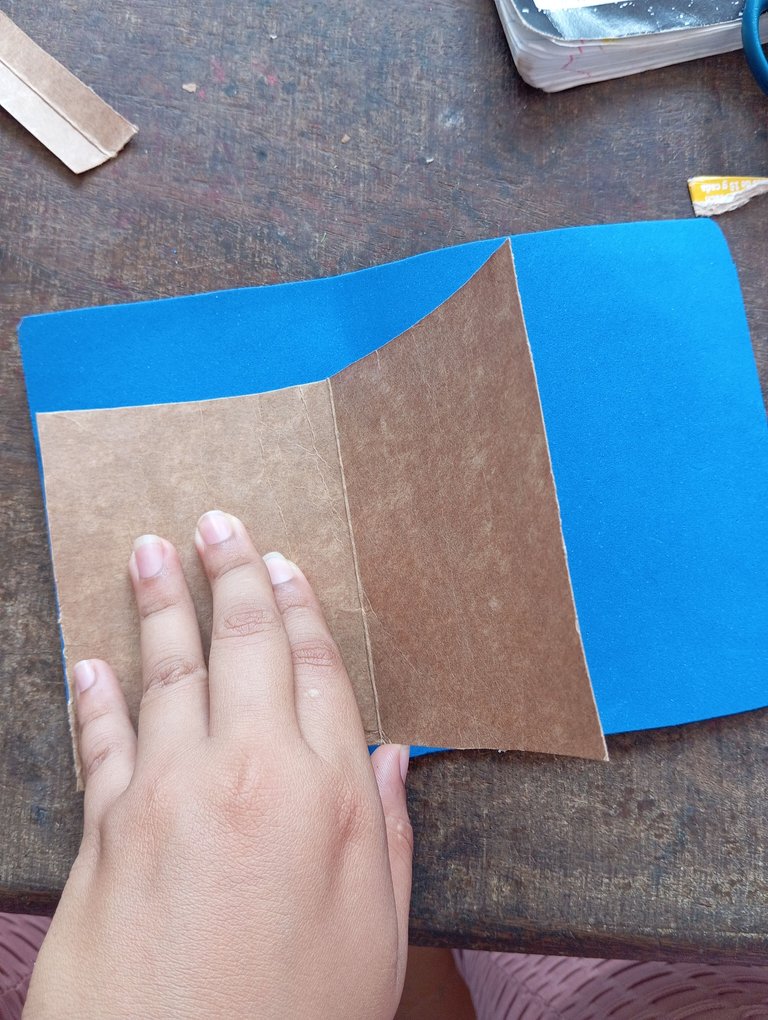
Inicié tomando un recorte de papel y lo utilicé como base para el portalápiz , la medida que utilicé 11 de largo y 17 de ancho , no recorté porque disponía de esta medida y me resultó útil, tomé el foamis y lo pegué al cartón, para cubrir el cuerpo de Stitch que es azul
Here are the steps to follow:
I started by taking a paper cutout and used it as a base for the pencil holder, the measure I used was 11 long and 17 wide, I did not cut because I had this measure and it was useful, I took the foamis and glued it to the cardboard, to cover the body of Stitch, which is blue.
Luego continúe agregando silicón a uno de los bordes y pegué borde con borde , en forma de cilindro como lo pueden observar, en la parte de abajo pegué también un recorte de carton para hacer la base
Then I continued adding silicone to one of the edges and glued edge to edge, in the shape of a cylinder as you can see, at the bottom I also glued a cardboard cutout to make the base.

A continuación vamos a iniciar recortando las piezas para formar el rostro de Stitch, el cual es nuestro objetivo, iniciaremos recortando la parte frontal , sus ojos , nariz,su sonrisa, lengua , dientes afilados , seguidamente continuaremos pegando al mismo tiempo ,primero pegamos su sonrisa la lengua y los dientes,por último pegué sus ojos
Next we are going to start cutting out the pieces to form Stitch's face, which is our goal, we will start by cutting out the front part, his eyes, nose, smile, tongue, sharp teeth, then we will continue gluing at the same time, first we glue his smile, tongue and teeth, finally I glued his eyes.

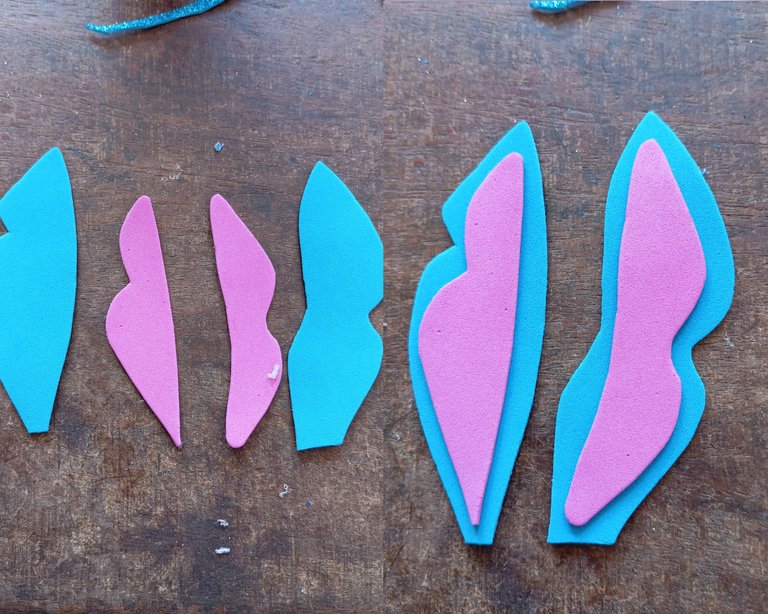
Luego continúe realizando las orejas de Stitch, dos de formas similares y largas ,cada una debe tener una mini oreja al centro de otro tono para que simule el fondo de los oídos
Then continue making Stitch's ears, two of similar shapes and long, each should have a mini ear in the center of another tone to simulate the bottom of the ears.
Por último recorté dos mini patas y unas pezuñas , las cuales pegué
Finally I cut out two mini paws and some hooves, which I glued together.

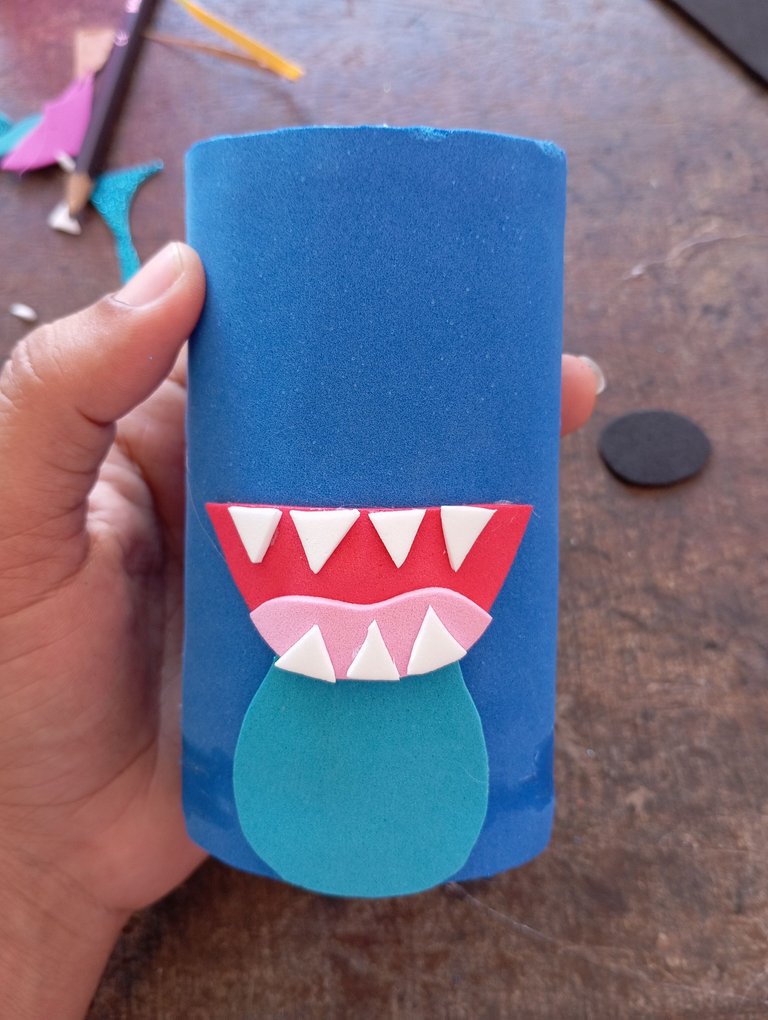
Cuando tengamos listas nuestras piezas comenzamos a pegar , primero pegaremos su barriga tono azul claro y su boca más arriba , todo debe quedar en todo el centro
When we have our pieces ready we begin to glue, first we glue his belly light blue tone and his mouth above, everything should be in the center.
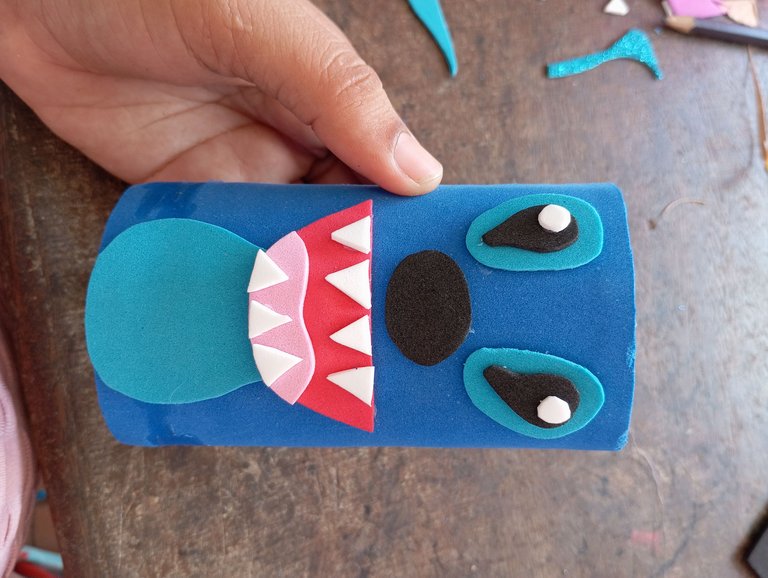
Luego en este siguiente paso procedí pegando sus ojos y su nariz en el centro del rostro
Then in this next step I proceeded to glue his eyes and nose in the center of the face.
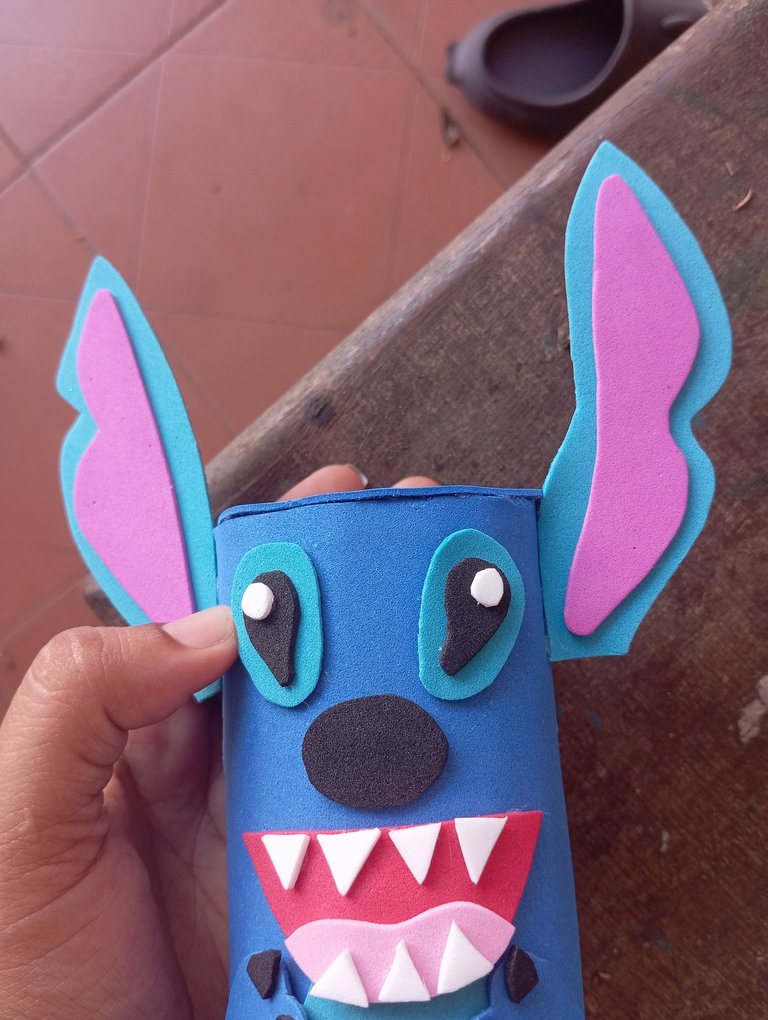
Para finalizar pegué en la parte de arriba , de forma separada sus dos orejas , cómo lo pueden apreciar amigos
To finish I glued in the upper part, separately his two ears, as you can see my friends.
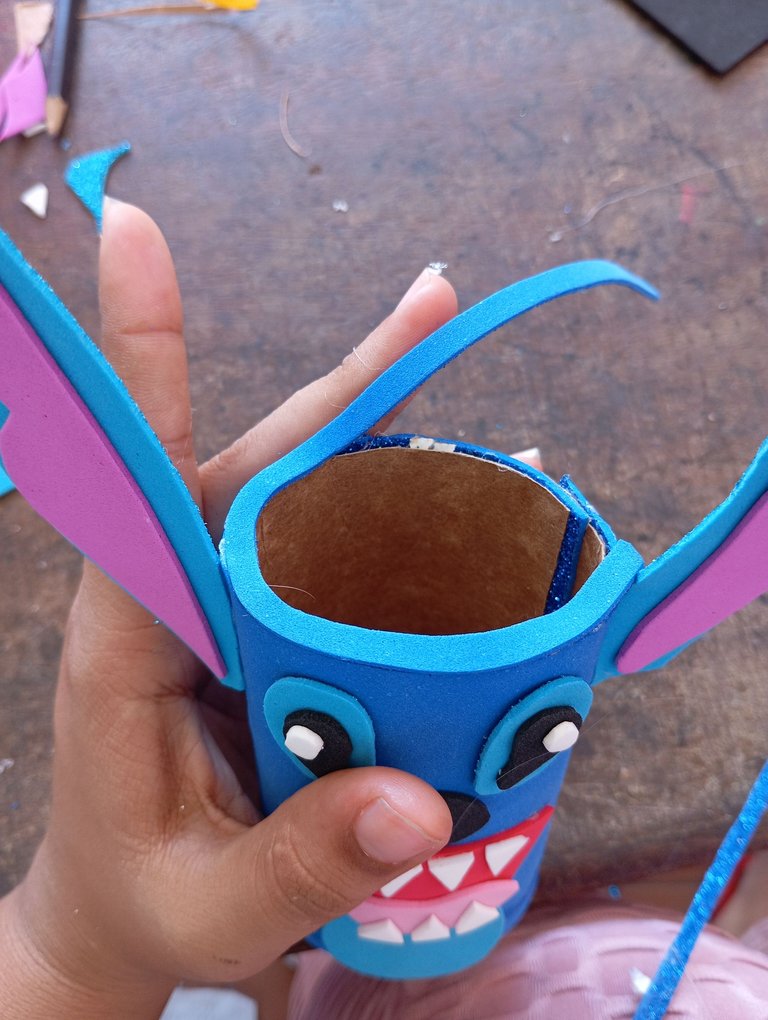
Culminando y retocando los detalles mínimos ,pegué en la parte de arriba un borde para que no se note feo los bordes , en la parte de abajo pegué uno igual pero de diferente tono
Finishing and retouching the smallest details, I glued on the top a border so that the edges are not ugly, at the bottom I glued the same but in a different tone.
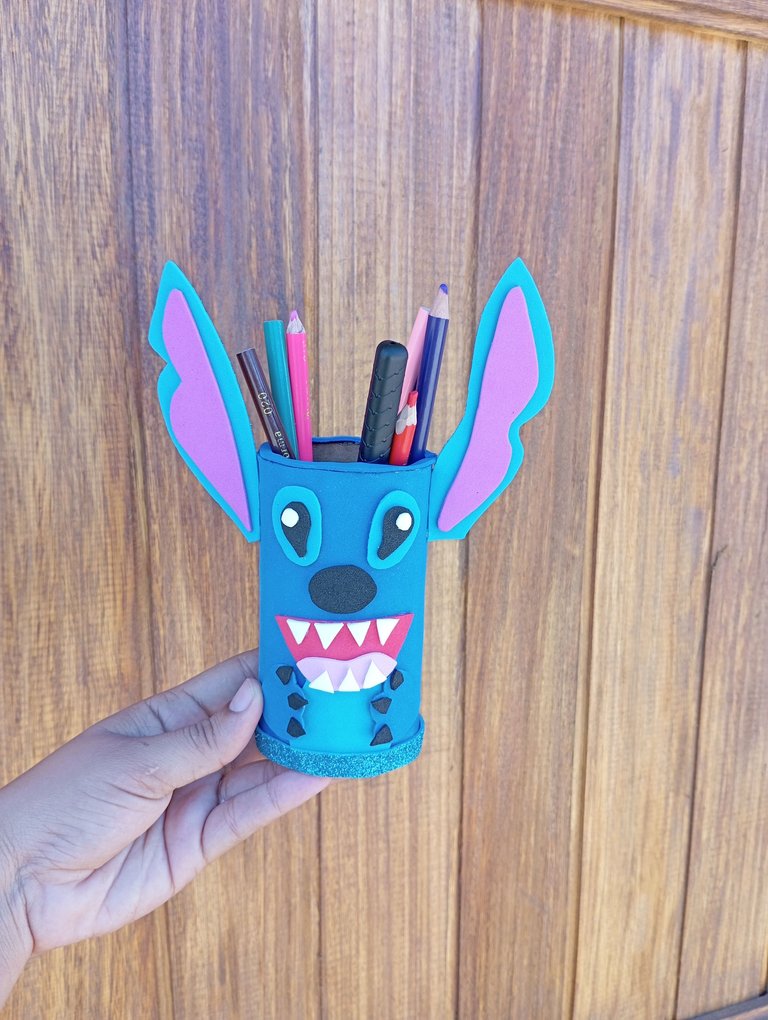
Resultado: este es la muestra de mi resultado final , una bella creación para los amantes de Lilo y Stitch, sencillo para decorar cualquier rincón , las fotos las tomé con mi redmi 12 y traduje los textos con el traductor deepl, feliz día para todos amigos
Result: this is the sample of my final result, a beautiful creation for lovers of Lilo and Stitch, simple to decorate any corner, the photos were taken with my redmi 12 and translated the texts with the translator deepl, happy day to all my friends.
Te quedó muy lindo ☺️🥰
Gracias amiga linda
Te quedó precioso ese portalápiz, el Stitch te quedó perfecto y bien cuchi, buen trabajo 🥰
Gracias amiga linda , me alegro que te haya gustado