(Esp/Eng) Adorno para cocina en goma Eva/Decoration for kitchen in Eva rubber.
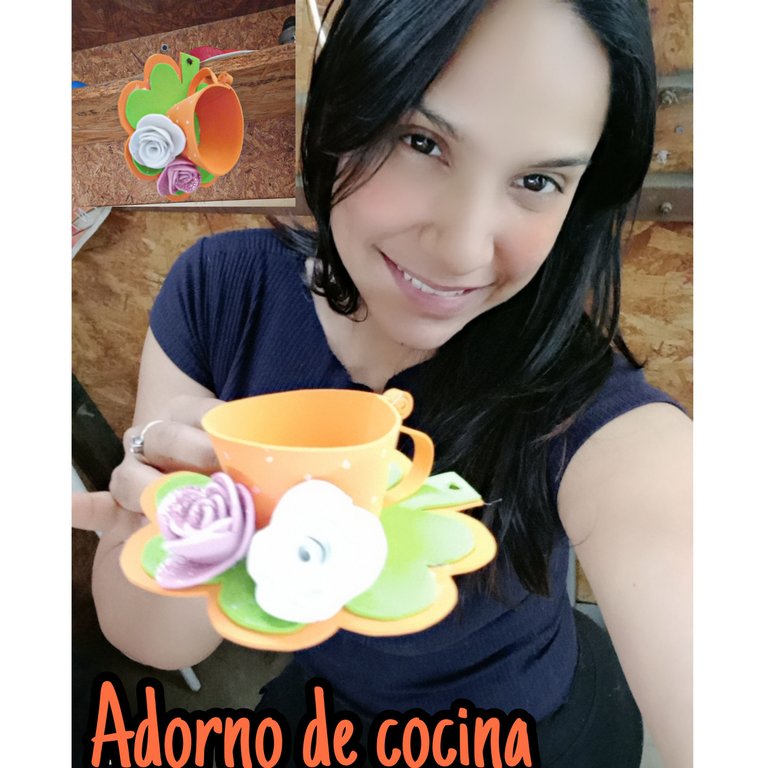
Hola qué tal mi linda colmena, espero que hoy sea un gran día para todos lleno de mucha salud y éxitos. Hoy quiero mostrarles cómo hacer un lindo adorno de cocina en goma Eva.
Hello how are you my beautiful beehive, I hope today is a great day for everyone full of lots of health and success. Today I want to show you how to make a cute eva rubber kitchen ornament.

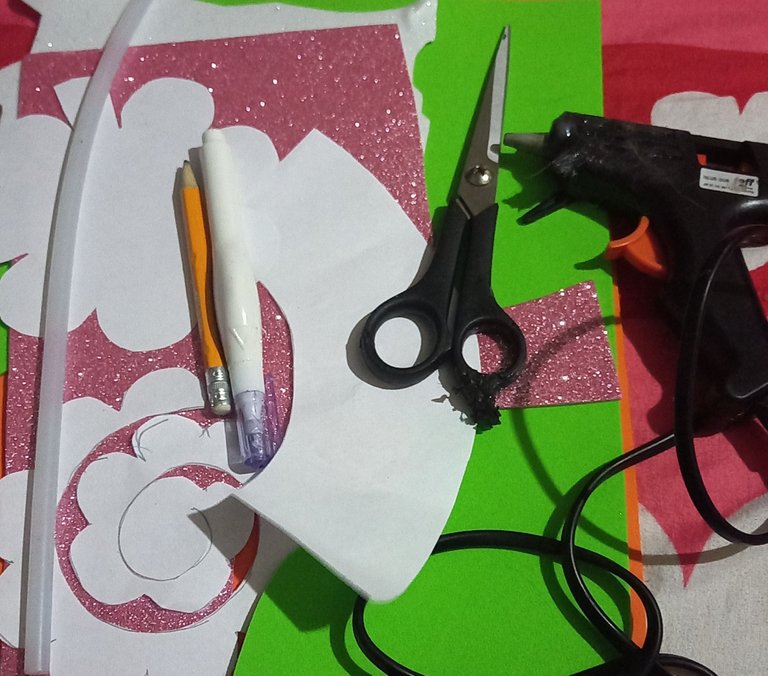
- Goma Eva anaranjada, verde, rosada y blanca.
- Patrones del cuerpo de la taza, la base en forma de flor y flores en espiral.
- Pistola de silicón.
- Silicón en barra.
- Tijeras.
- Lápiz.
- Orange, green, pink and white eva rubber.
- Patterns of the body of the cup, the base in the shape of a flower and spiral flowers.
- Silicone gun.
- Silicone stick.
- Scissors.
- Pencil.

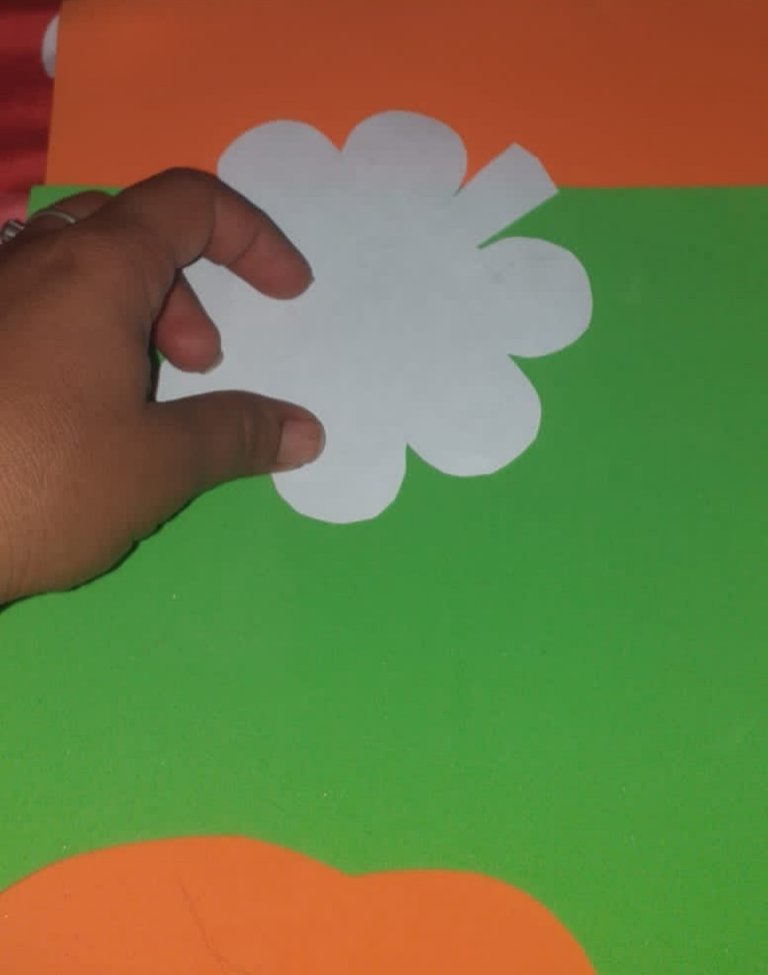
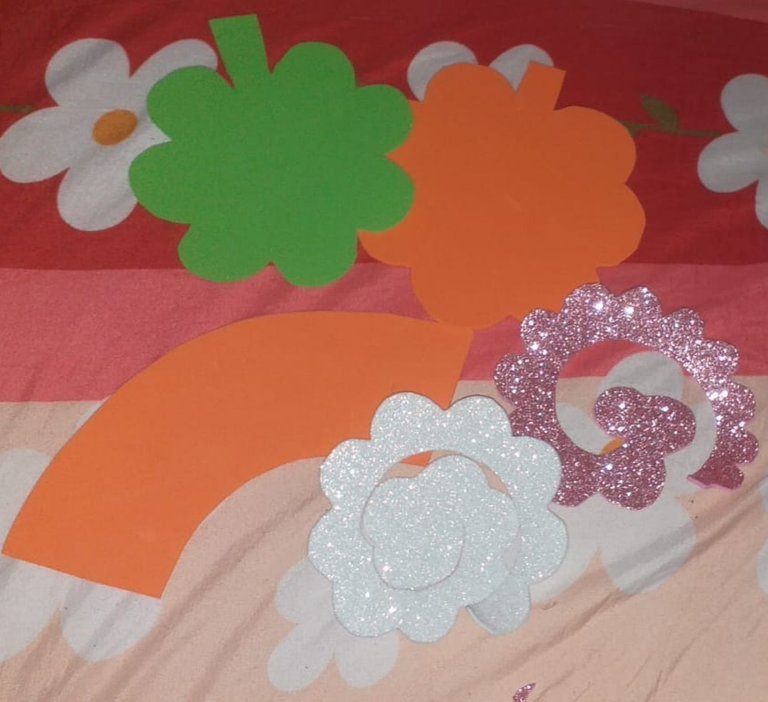
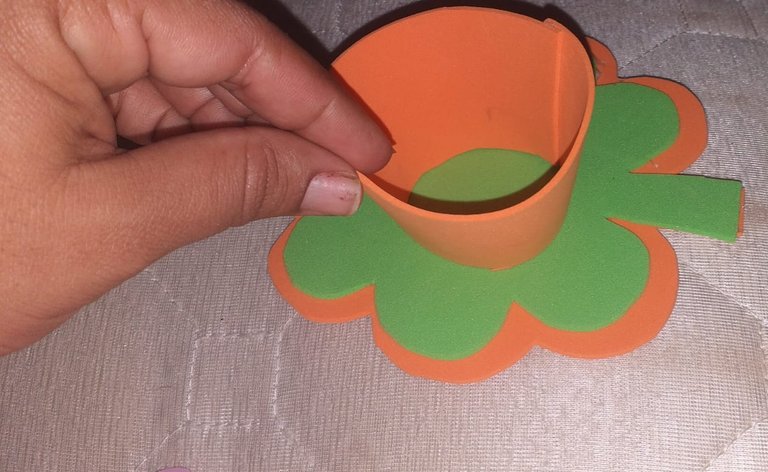
Primero marcamos y recortamos el patrón de la base de la taza, utilizando goma Eva verde y anaranjada para obtener dos piezas, solo que una va a ser un poco más grande que la otra.
First we mark and cut out the pattern for the base of the cup, using green and orange eva gum to obtain two pieces, only one will be a little bigger than the other.
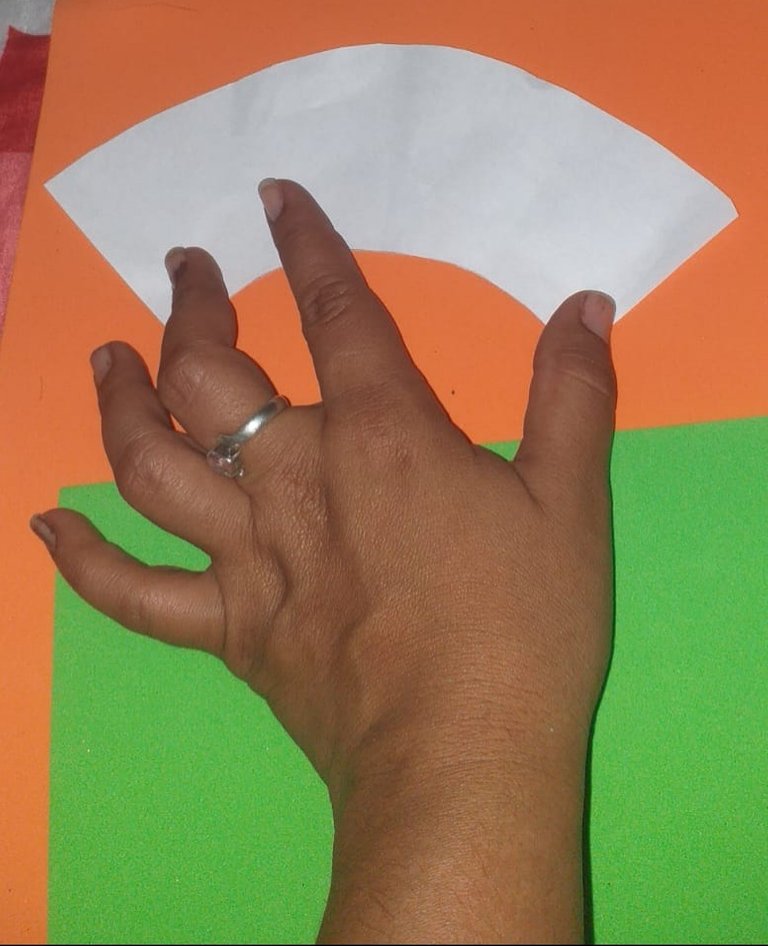
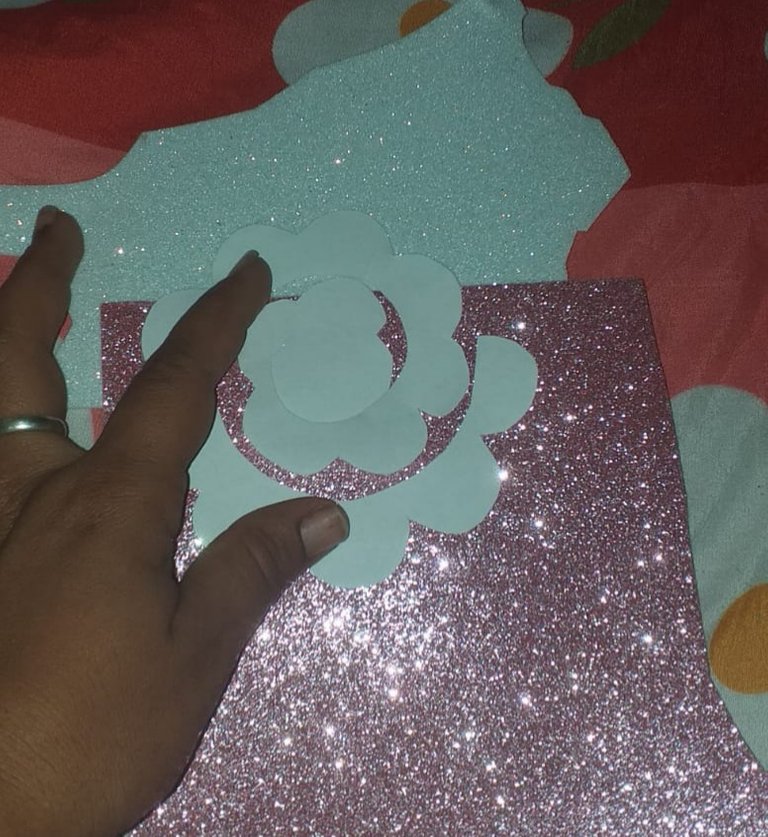
Luego marcamos los patrones de las flores y el cuerpo de la taza y recortamos.
Then we mark the patterns of the flowers and the body of the cup and cut them out.
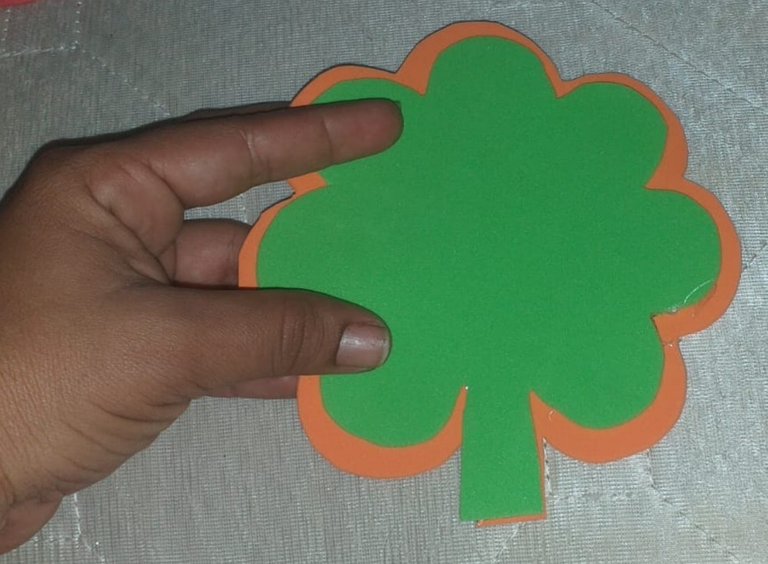
Después unimos las dos bases de la taza, colocando la pequeña encima de la grande.
Then we join the two bases of the cup, placing the small one on top of the large one.
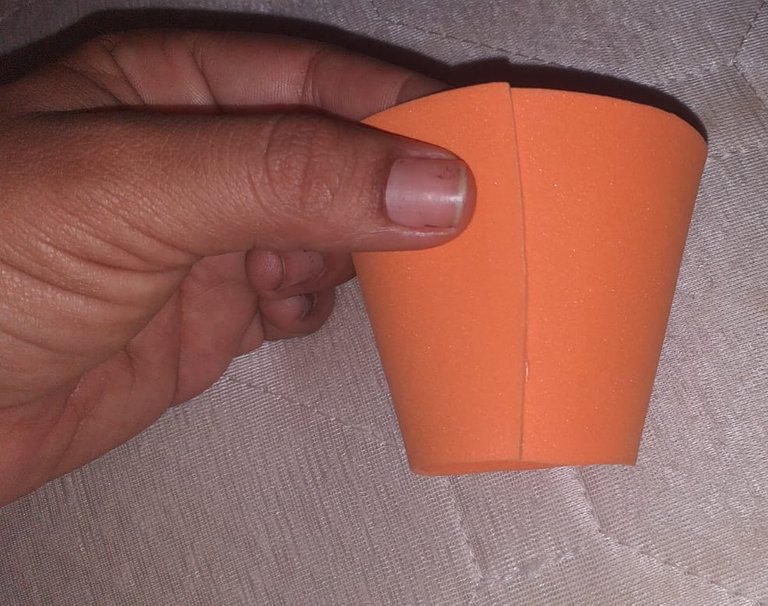
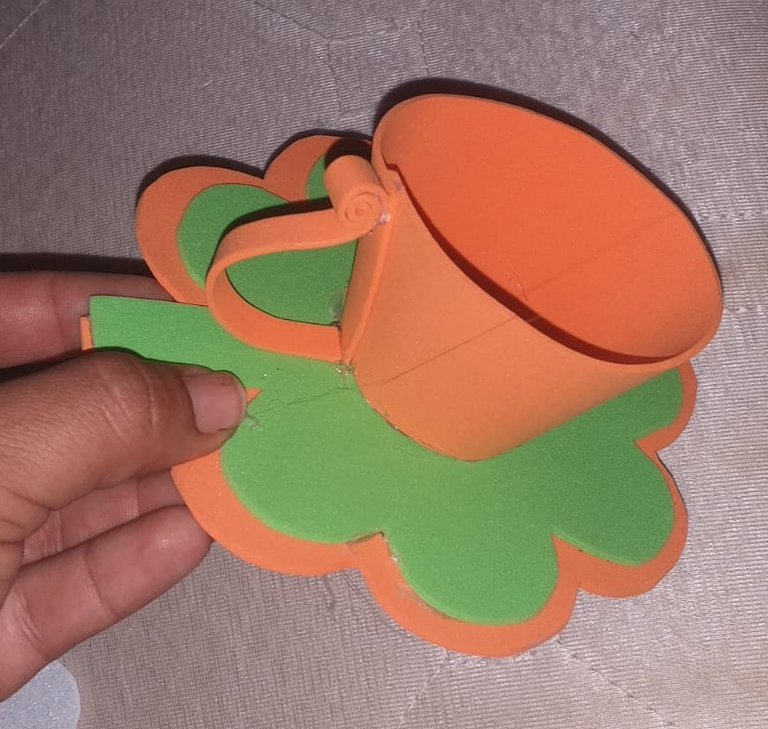
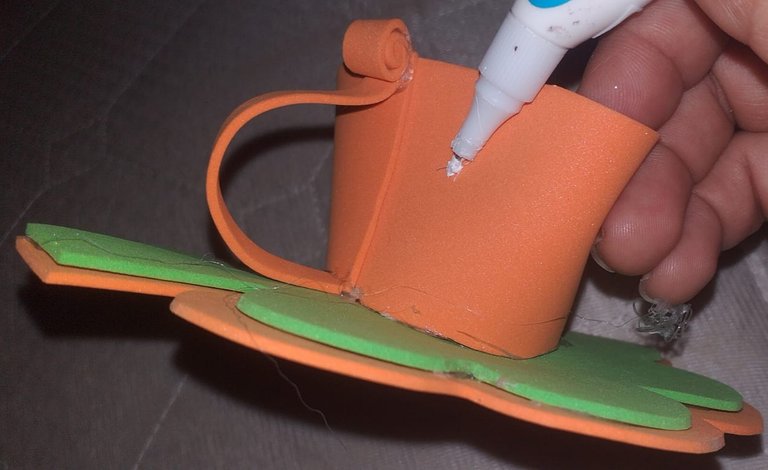
Posteriormente unimos los extremos del cuerpo de la taza y la fijamos sobre la base.
Then we join the ends of the cup body and fix it on the base.
Pegamos el asa de la taza, pero antes hacemos un pequeño rollito en el extremo de arriba y el otro extremo lo dejamos recto.
We glue the handle of the cup, but first we make a small roll at the top end and leave the other end straight.
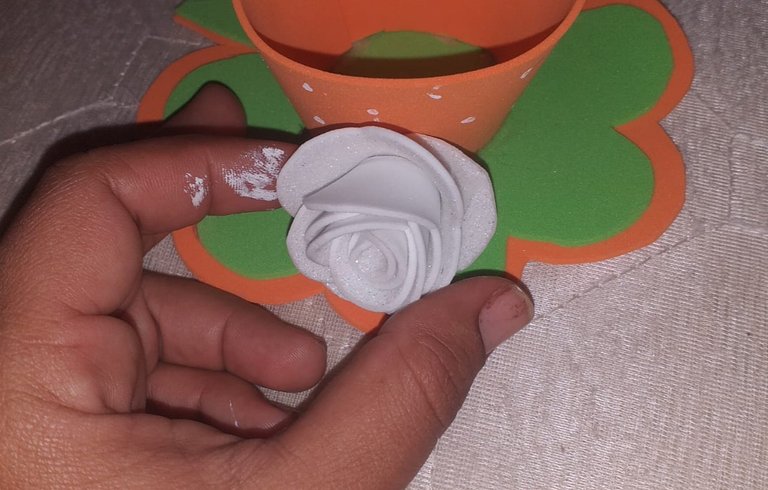
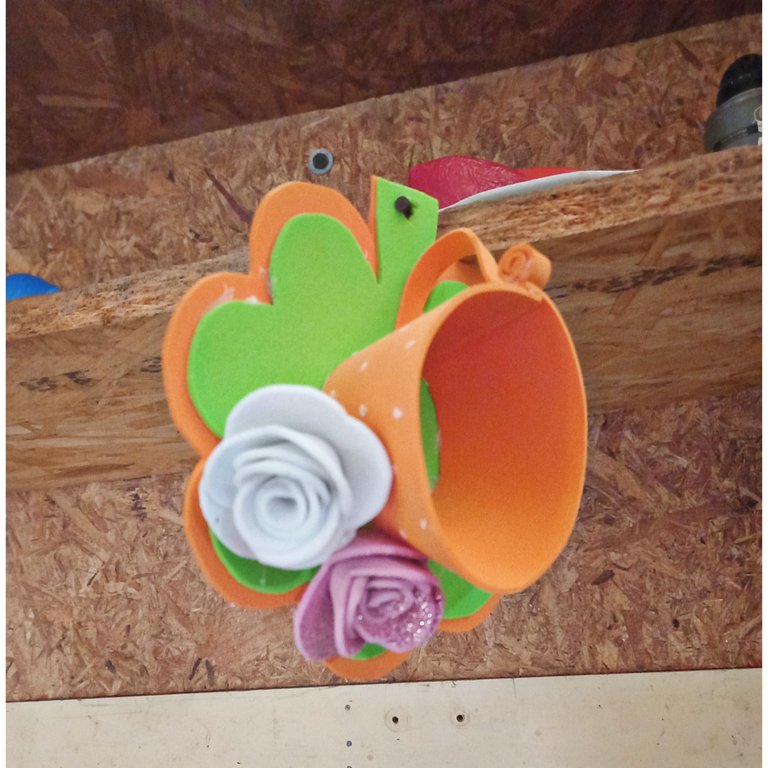
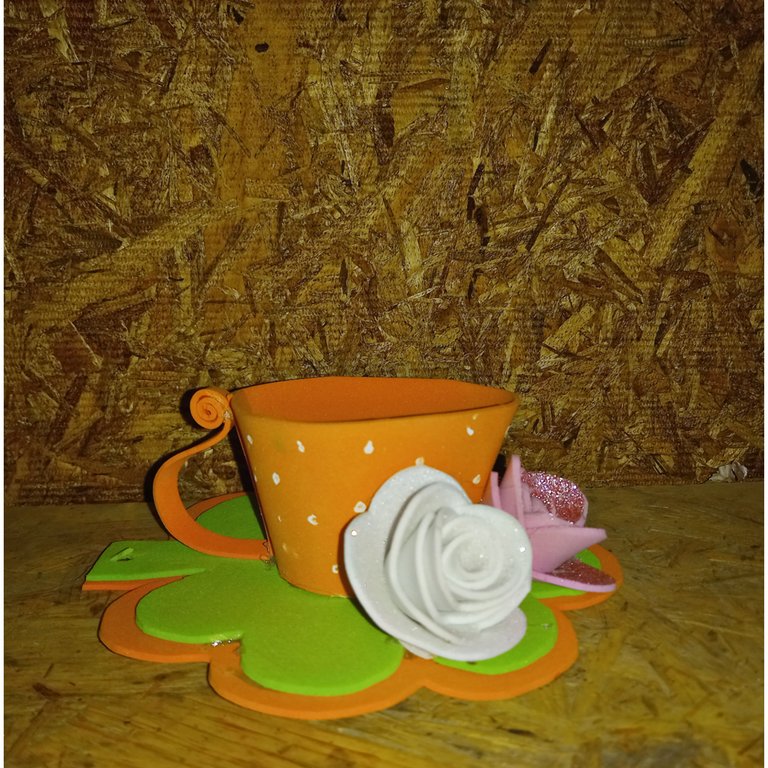
Finalmente, pintaremos pequeños puntitos blancos en la taza y armamos y fijamos las flores en un ladito entre la base y la taza.
Finally, we will paint small white dots on the cup and we will assemble and fix the flowers on a small side between the base and the cup.


Espero les haya gustado el resultado de éste lindo proyecto que podemos hacer en casita con pocos materiales. Saludos y Bendiciones amigos 😊 😉
I hope you liked the result of this nice project that we can do at home with few materials. Greetings and Blessings friends 😊 😉.