(Esp/Eng) Diy/ Hermoso y tierno 💕 Puercoespín de Cartulina y goma eva/Diy/ Beautiful and cute 💕 Porcupine made of cardboard and eva rubber
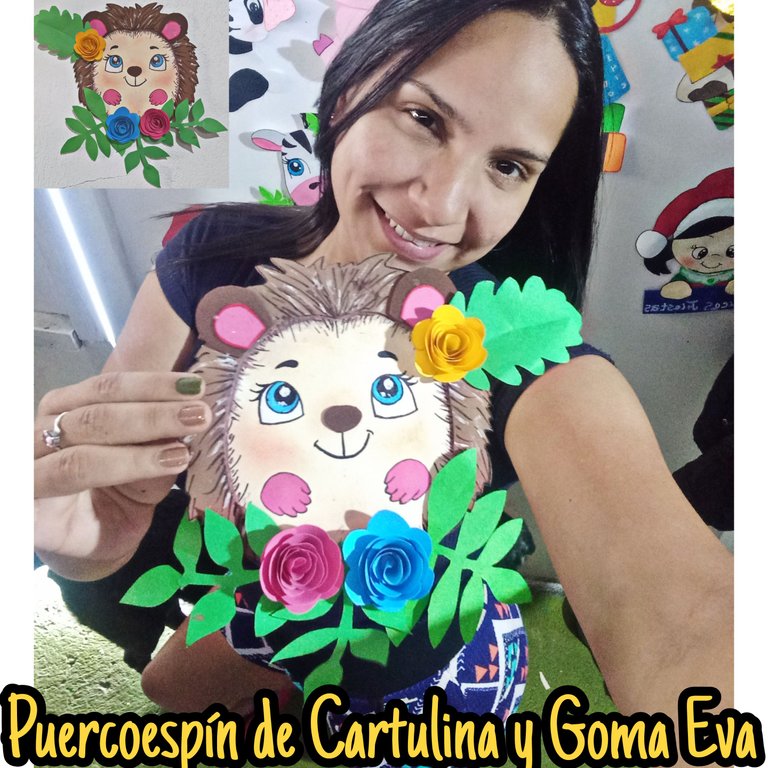
Hola qué tal mis queridos amigos de la Colmena, deseo que hoy sea un excelente día lleno de salud y mucho éxito para todos, el DIY de hoy se trata de un Hermoso y muy tierno Puercoespin de cartulina y goma Eva. Espero les guste.
Hello my dear friends of the Hive, I wish today is a great day full of health and success for all, today's DIY is about a ***Beautiful and very tender Porcupine of cardboard and Eva rubber. I hope you like it.

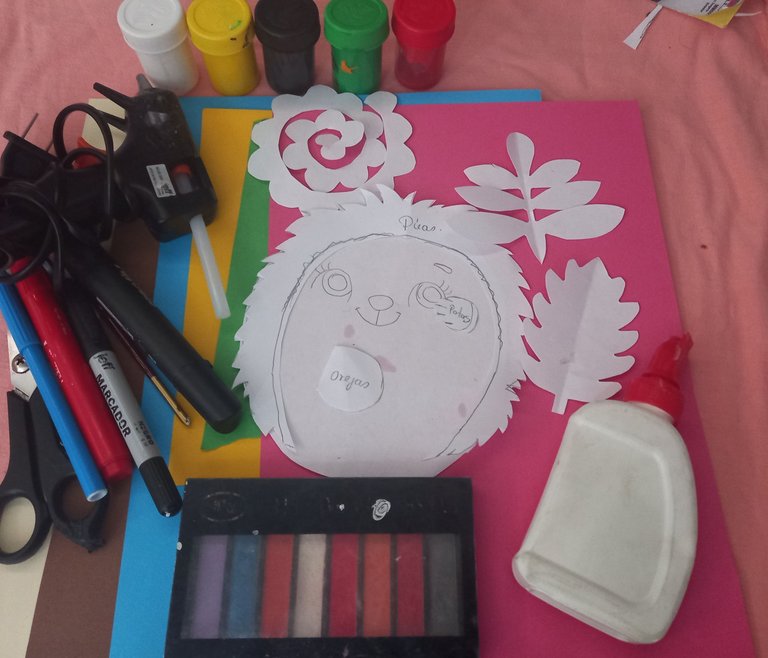
MATERIALES:
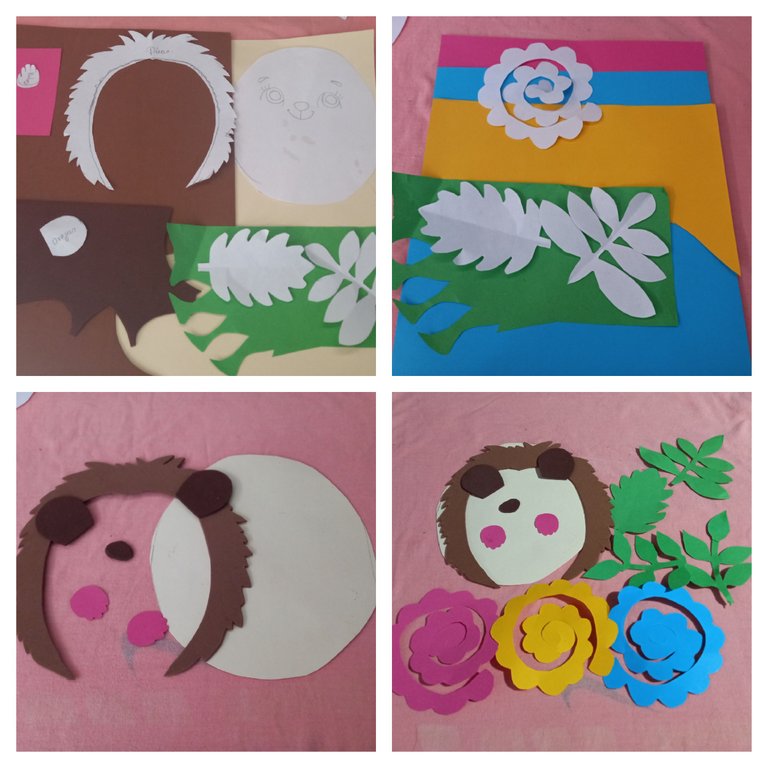
- Patrones del Puercoespín.
- Goma Eva marrón claro y oscuro.
- Cartulina color piel, azul, fucsia, amarilla y verde.
- Témpera.
- Pincel.
- Marcador azul, negro y rojo.
- Sombras de maquillaje.
- Lápiz.
- Tijeras.
- Cola blanca escolar.
MATERIALS:
- Porcupine patterns.
- Light and dark brown eva rubber.
- Skin colored cardboard, blue, fuchsia, yellow and green.
- Tempera.
- Paintbrush.
- Blue, black and red marker.
- Make-up shadows.
- Pencil.
- Scissors.
- School white glue.

Colocamos todos los patrones sobre cada papel y goma eva según el color que hayas escogido para cada pieza, marcamos y recortamos.
We place all the patterns on each paper and eva rubber according to the color you have chosen for each piece, mark and cut out.
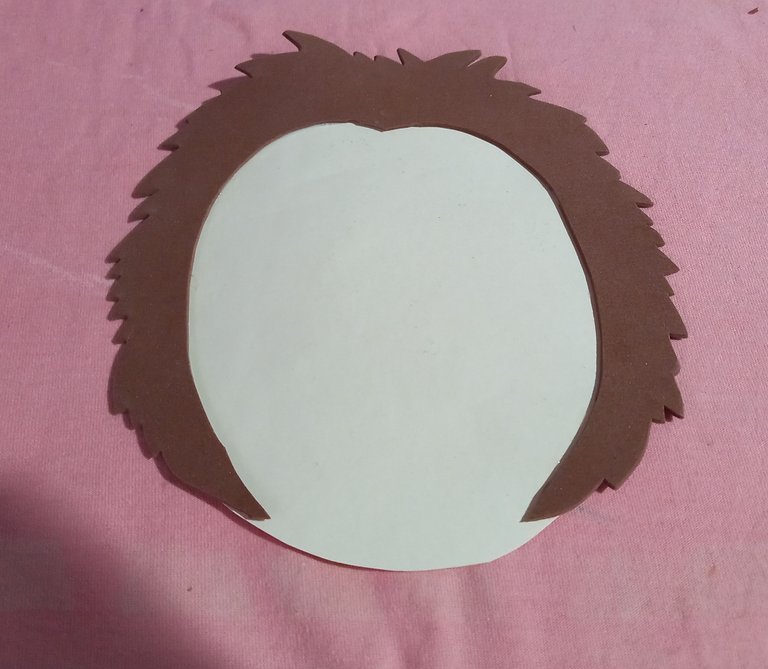
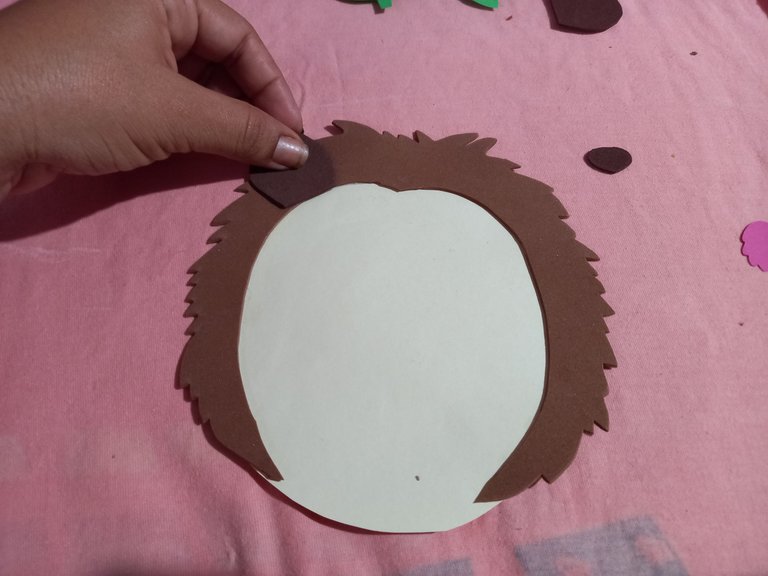
Una vez que hayamos cortado todas las piezas, procedemos a pegar las púas sobre el óvalo del cuerpo y cabeza.
Once we have cut all the pieces, we proceed to glue the barbs on the oval of the body and head.
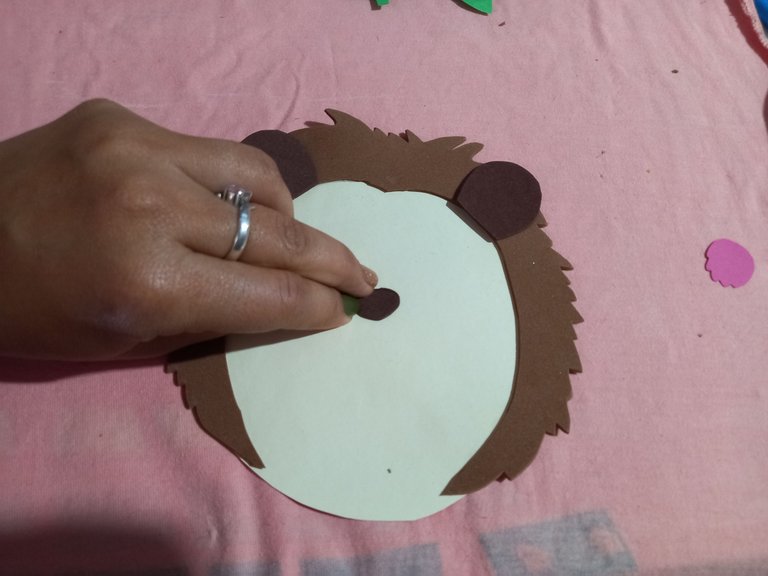
Después fijamos las orejitas una a cada lado de la cabeza y la nariz marrón en el centro de la carita.
Then we attach the ears, one on each side of the head and the brown nose in the center of the face.
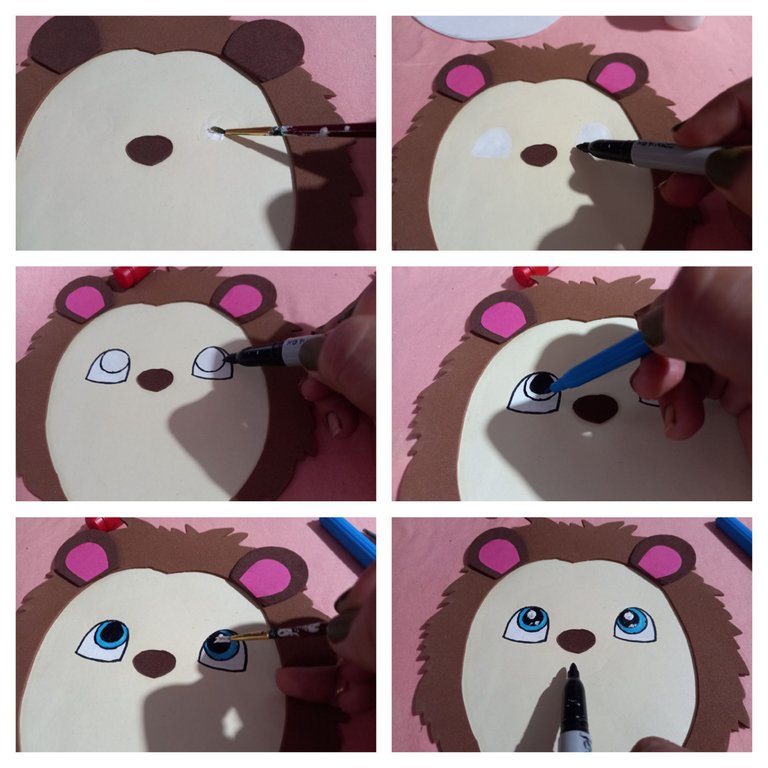
Luego pintamos el fondo blanco de los ojos con témpera, el Iris con marcador azul y las pupilas y la boca con marcador negro.
Then we painted the white background of the eyes with tempera, the iris with blue marker and the pupils and mouth with black marker.
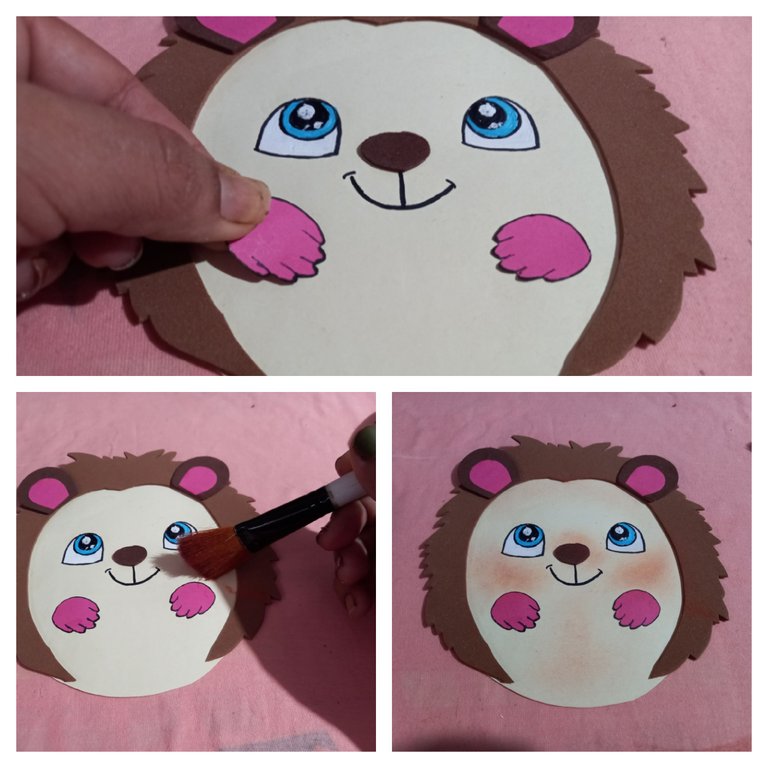
Seguimos pegando las patitas delanteras del Puercoespín y le damos un poco de color a las mejillas, la nariz y los bordes con sombra color naranja.
We continue gluing the front legs of the Porcupine and give a little color to the cheeks, nose and edges with orange shadow.
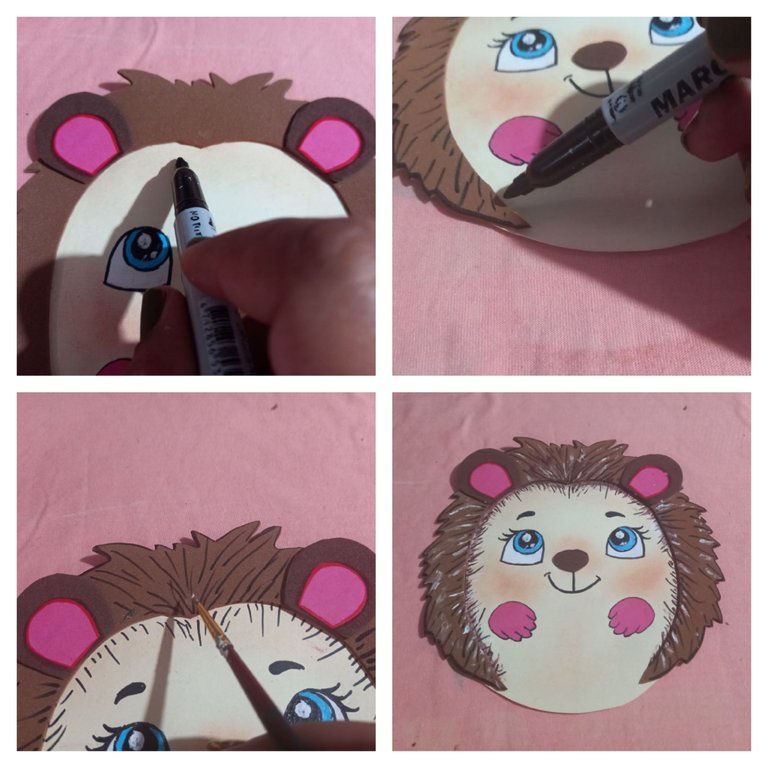
Utilizando un marcador negro y pintura blanca pintamos las púas por los bordes interiores y los bordes exteriores.
Using a black marker and white paint we paint the barbs along the inside edges and the outside edges.
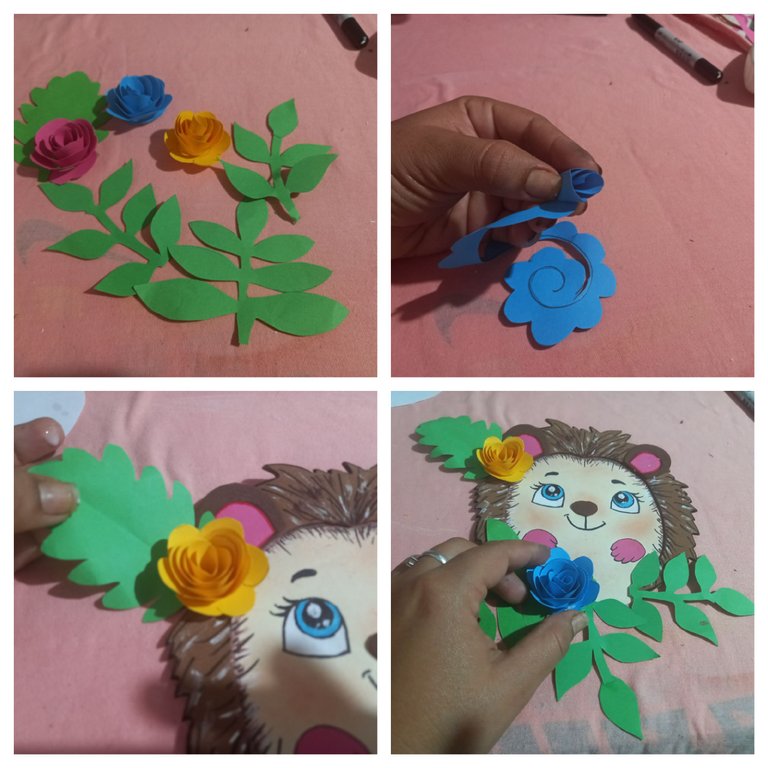
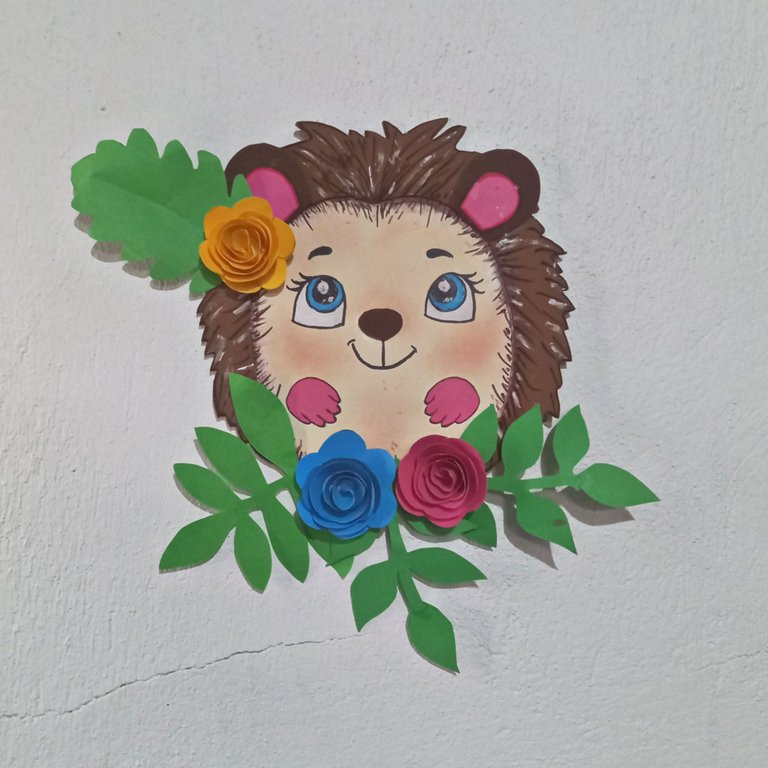
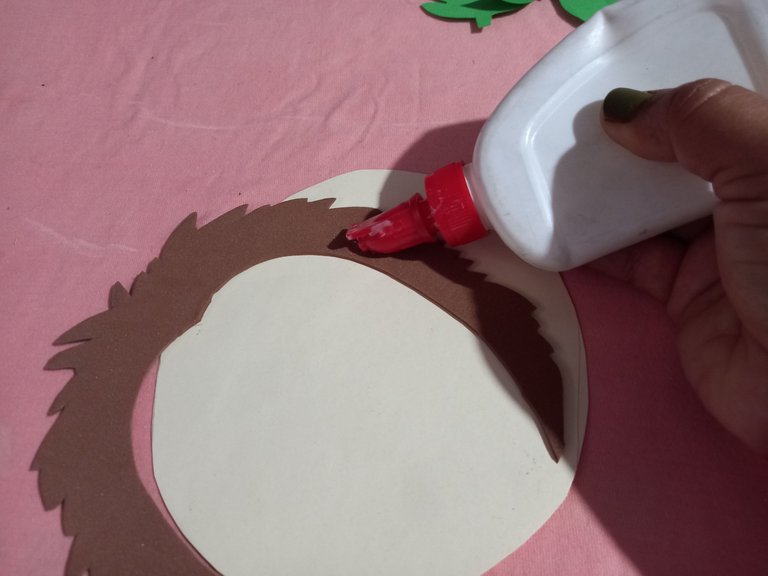
Culminamos armando las flores y fijando una flor con una hoja al lado de la orejita que desees y el resto lo pegamos en la parte inferior del Puercoespín.
Culminamos armando las flores y fijando una flor con una hoja al lado de la orejita que desees y el resto lo pegamos en la parte inferior del Puercoespín.