(Esp/Eng) Tutorial/ ¿Cómo hacer un hermoso llavero en forma de Tenis deportivos, estilo converse?/ Tutorial/ How to make a beautiful keychain in the shape of sneakers, converse style?
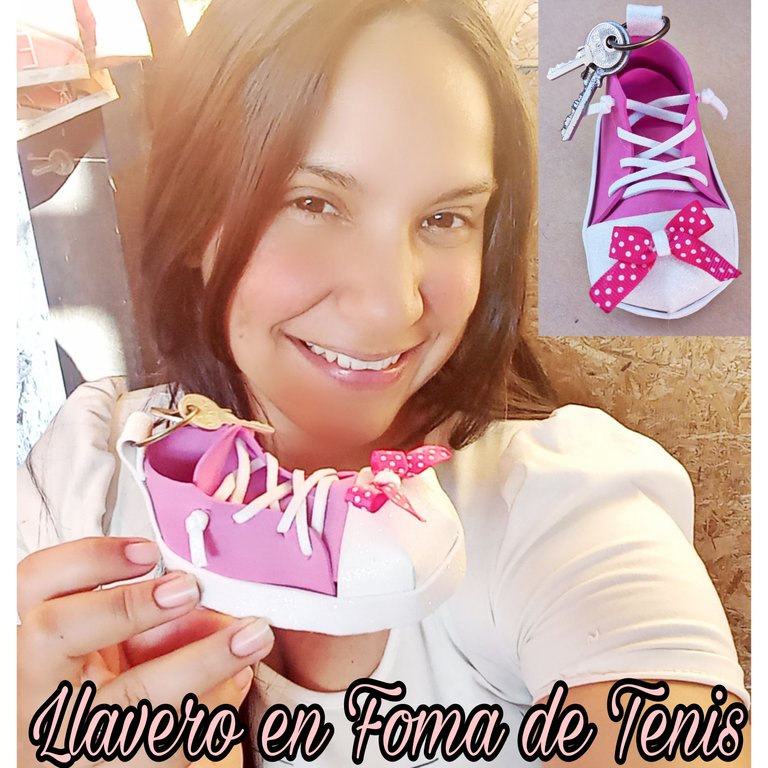
Saludos mi linda colmena a de artesanos y artistas de las manualidades, espero que estén pasando un grandioso día. Hoy les traigo un tutorial muy creativo, que nos sirve de transporte y localización de nuestras llaves, si , se trata de un hermoso llavero en forma de Tenis deportivos, estilo converse. Aquí te muestro cómo lo hice, espero te guste.
Greetings my beautiful hive of artisans and craft artists, I hope you are having a great day. Today I bring you a very creative tutorial, which serves as a transport and location of our keys, yes, this is a beautiful keychain in the form of sports sneakers, converse style. Here I show you how I did it, I hope you like it.

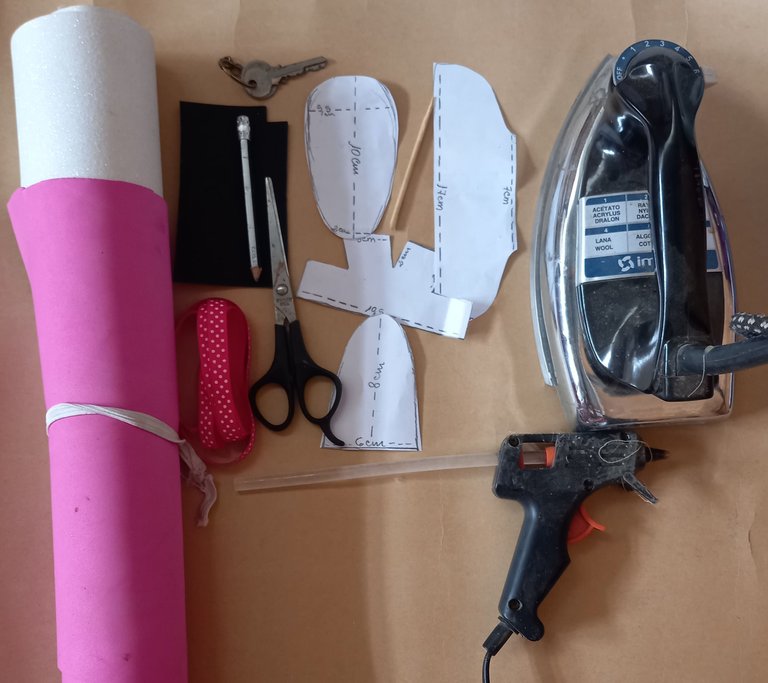
- Foami fucsia, blanco escarchado y negro.
- Patrones de las piezas del zapato.
- Cinta decorativa fucsia.
- Pistola de silicón caliente.
- Plancha para ropas.
- Palillo mondadientes.
- Tijeras.
- Lápiz.
- Fuchsia, frosted white and black foami.
- Patterns of the pieces of the shoe.
- Fuchsia decorative ribbon.
- Hot silicone gun.
- Clothes iron.
- Toothpick toothpick.
- Scissors.
- Pencil.

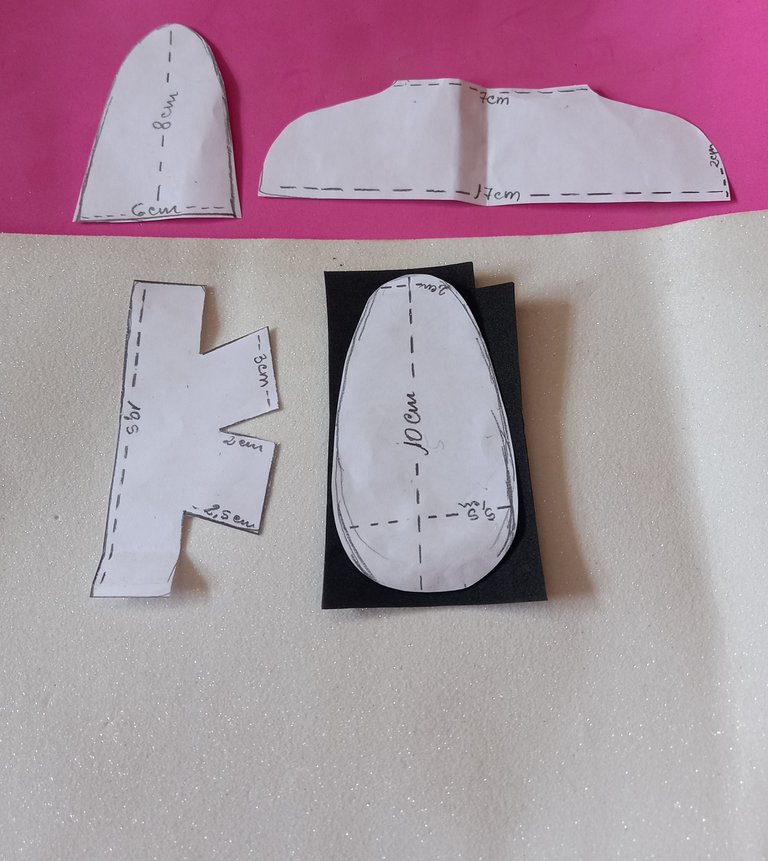
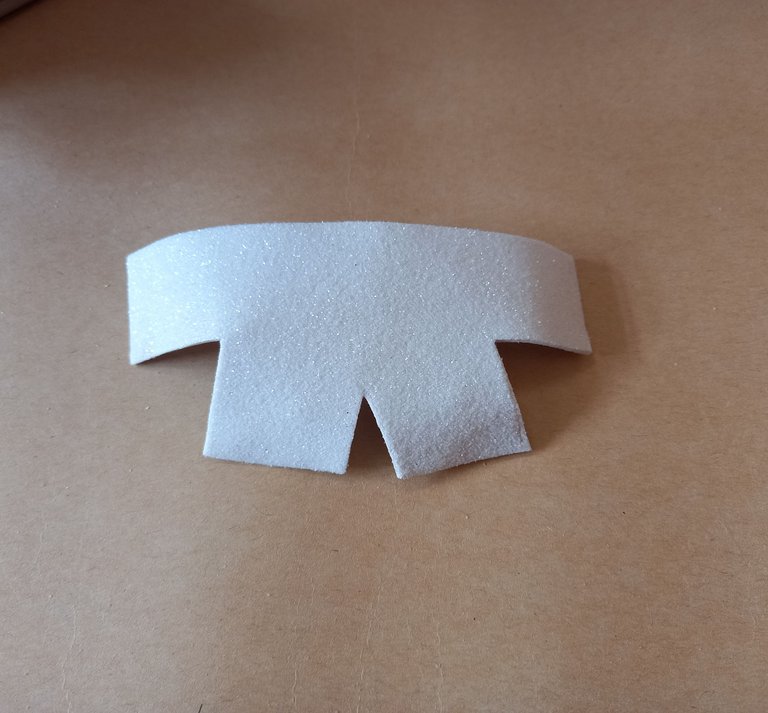
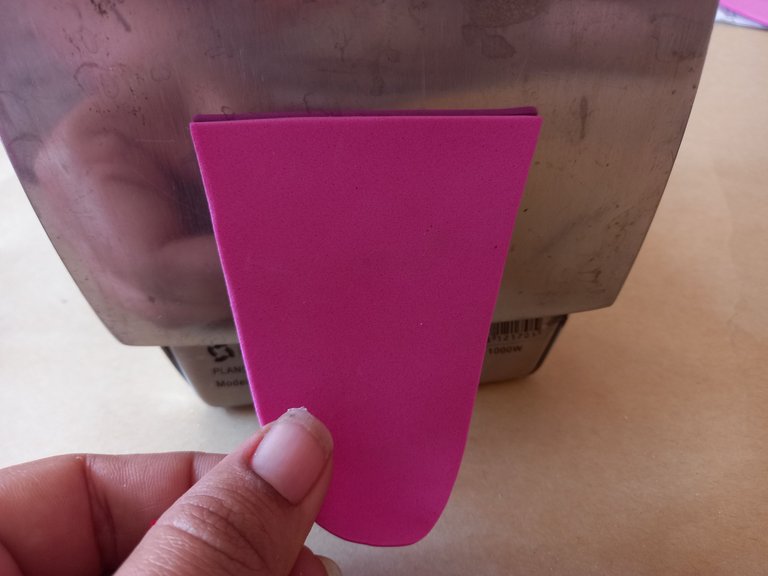
Para comenzar a hacer el llavero, primero marcaremos todos los patrones sobre el foami que hayamos escogido para nuestros zapatitos, en este caso, yo lo hice de color fucsia combinado con blanco.
To start making the keychain, first we will mark all the patterns on the foami we have chosen for our little shoes, in this case, I did it in fuchsia combined with white.
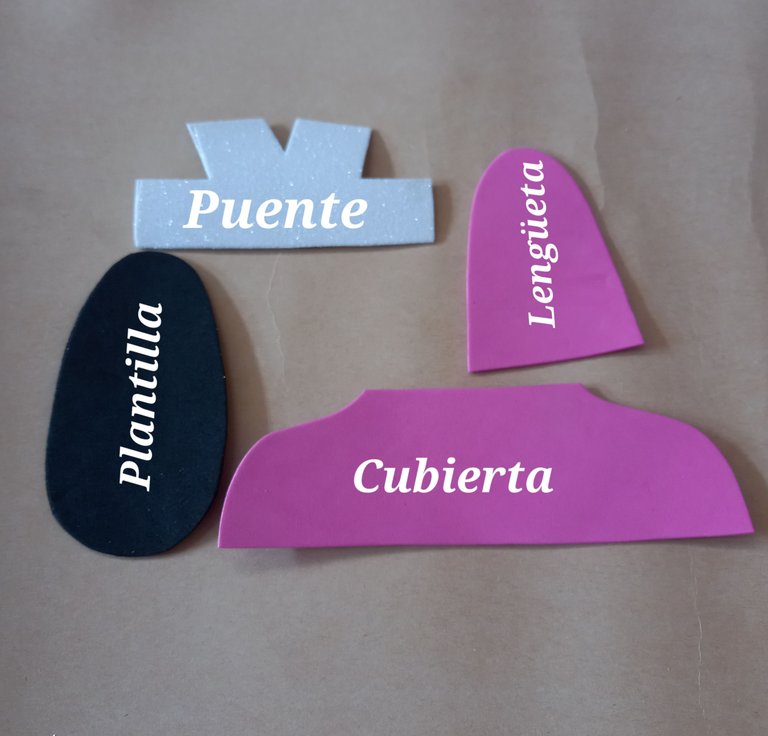
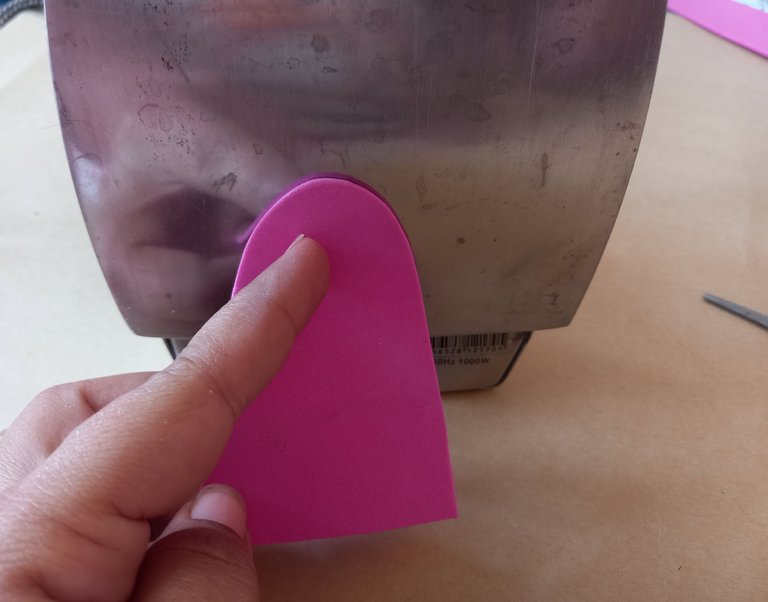
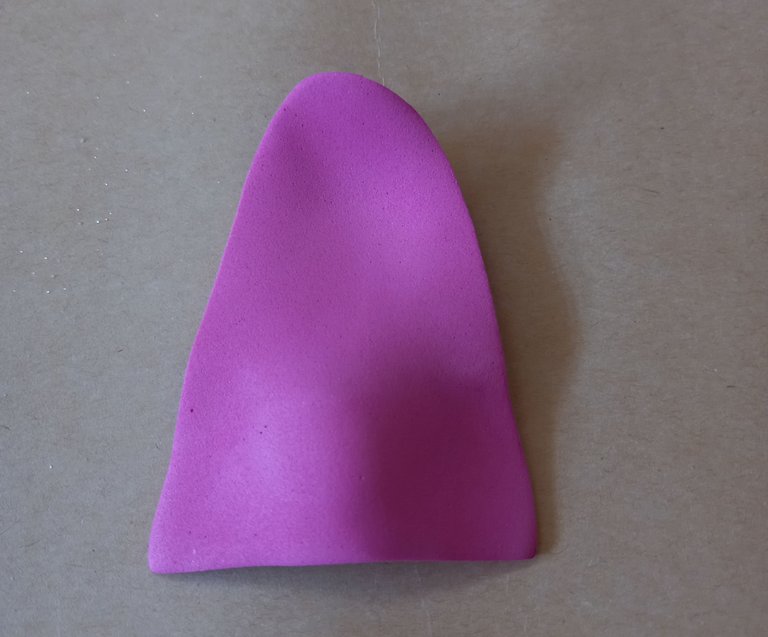
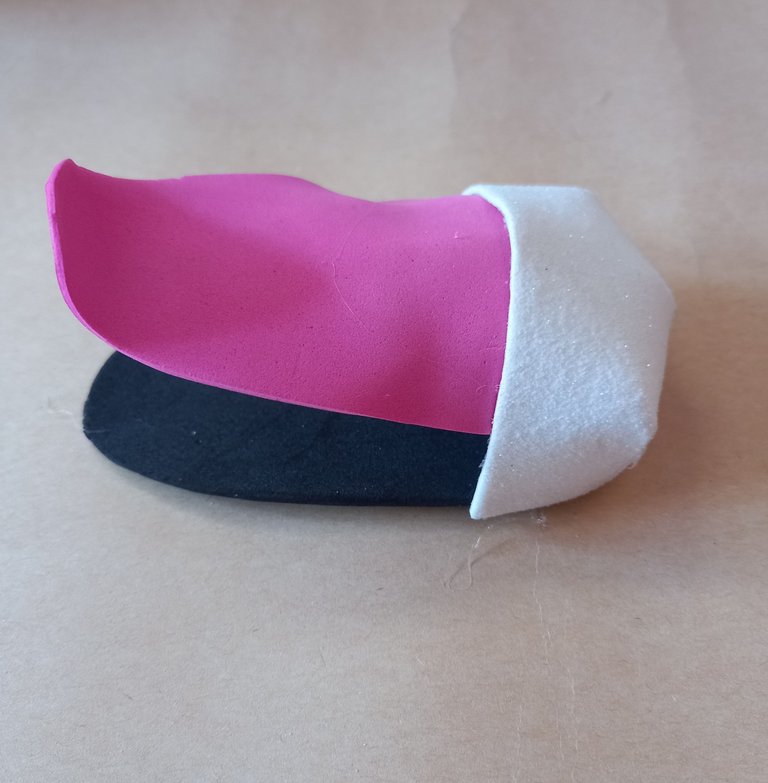
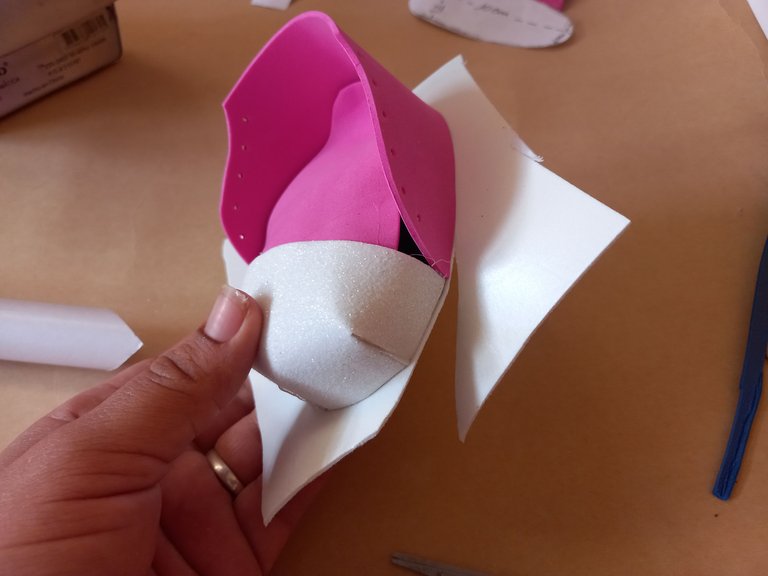
Una vez que tengamos todos los patrones recortados, procedemos a armar el zapatito, poniendo a calentar un poco la pieza blanca, qué es el puente del zapato.
Once we have all the patterns cut out, we proceed to assemble the shoe, heating a little the white piece, which is the bridge of the shoe.

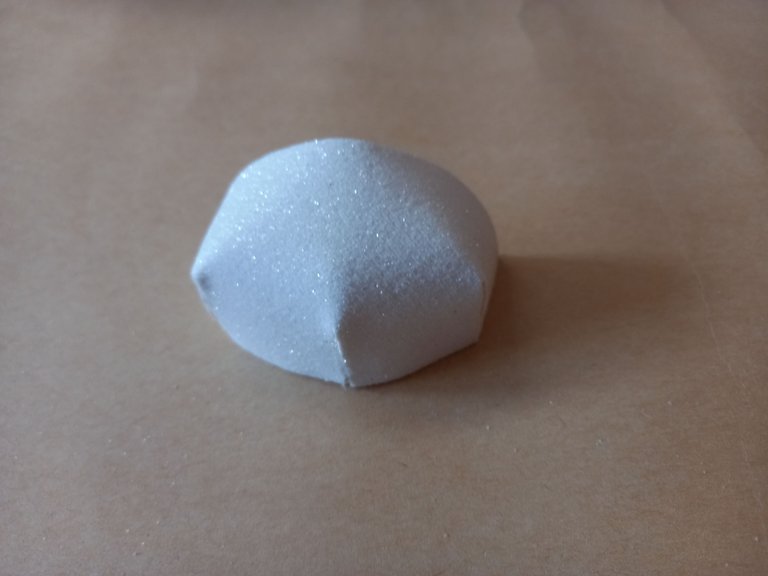
Cuando la pieza este semi-abombada, uniremos con silicón caliente, todos los cortes que esta tiene.
When the piece is semi-abombed, we will join with hot silicone, all the cuts that it has.
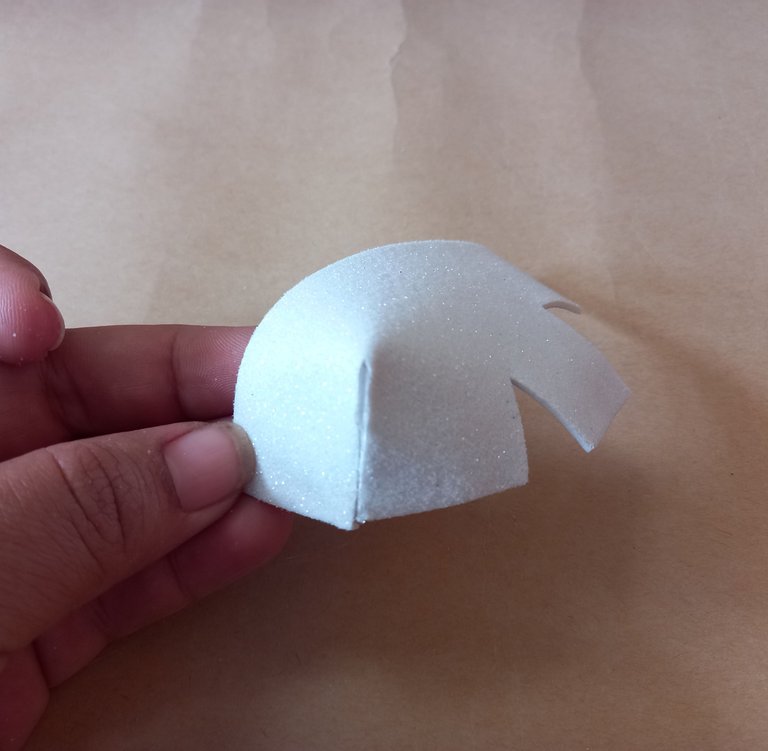
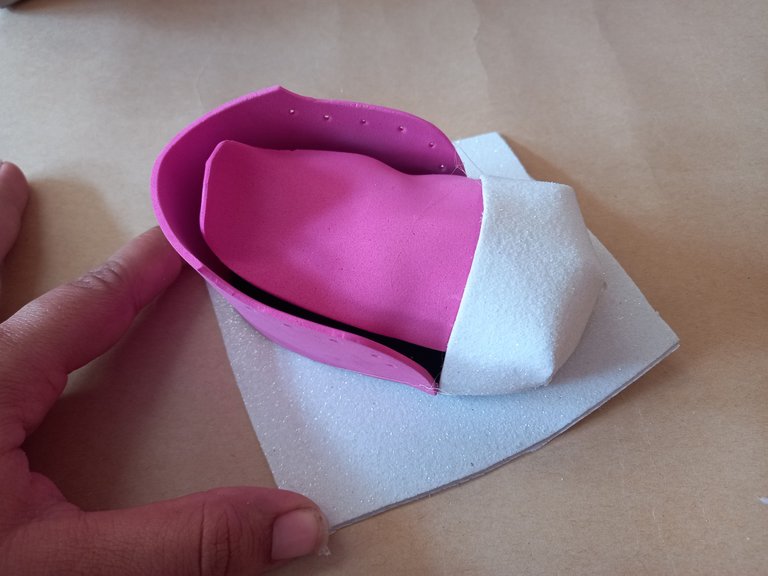
Luego pegamos la pieza blanca, que es el puente del zapato, por el borde delantero o más ancho de la plantilla.
Then we glue the white piece, which is the bridge of the shoe, along the front or wider edge of the insole.
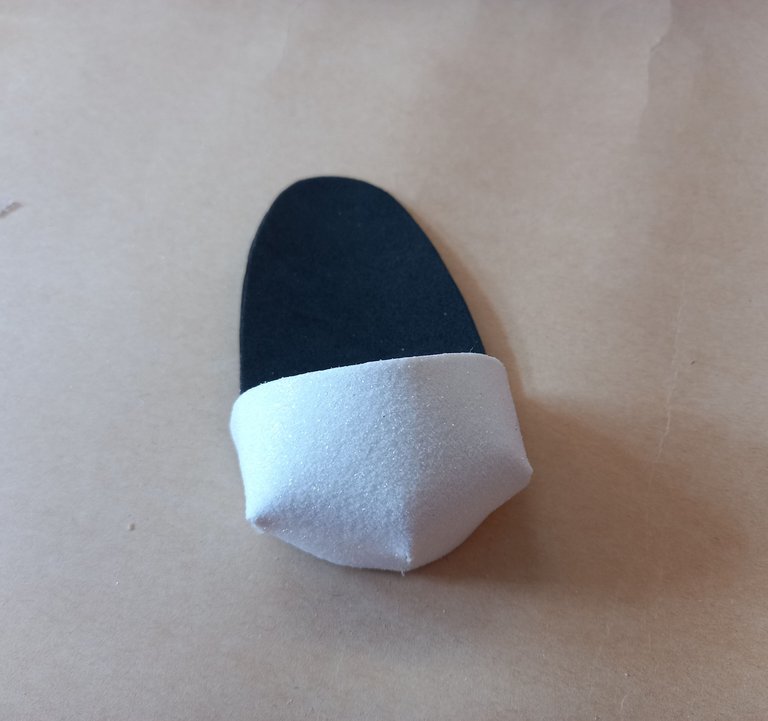
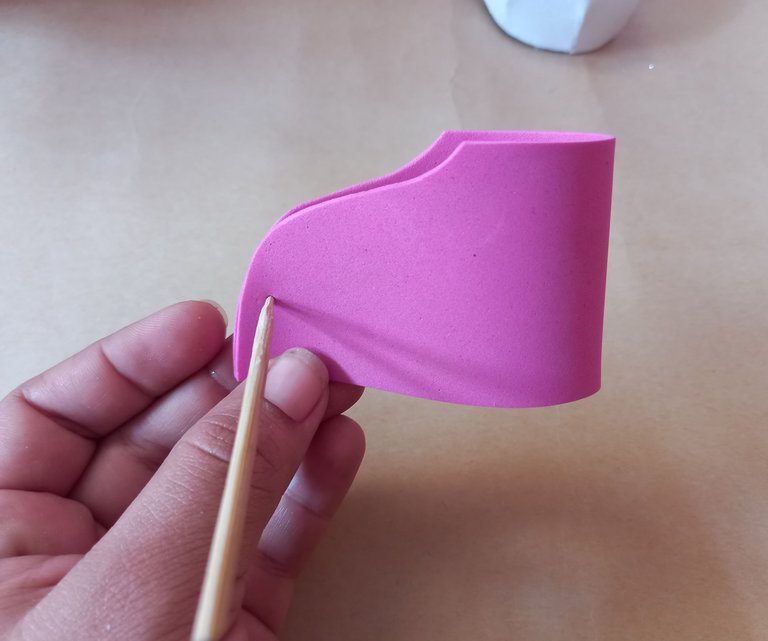
Seguidamente pasamos por la plancha, la punta superior y la punta inferior de la lengüeta de la zapatilla, para darle forma.
Then we pass through the iron, the upper tip and the lower tip of the tongue of the shoe, to give it shape.
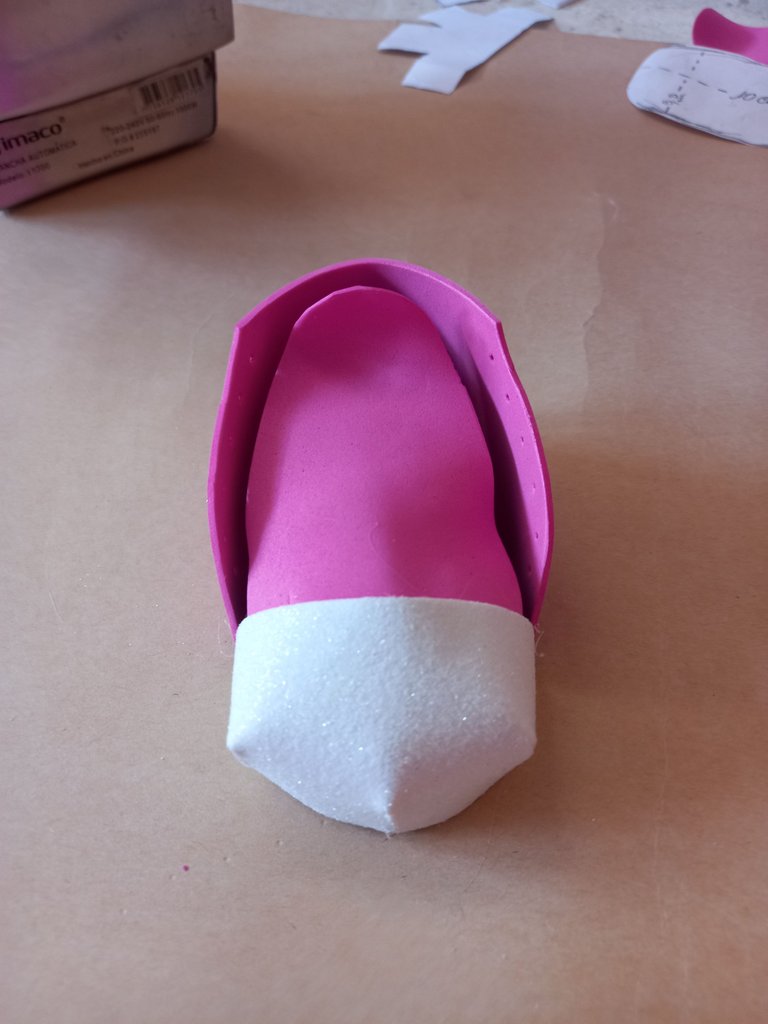
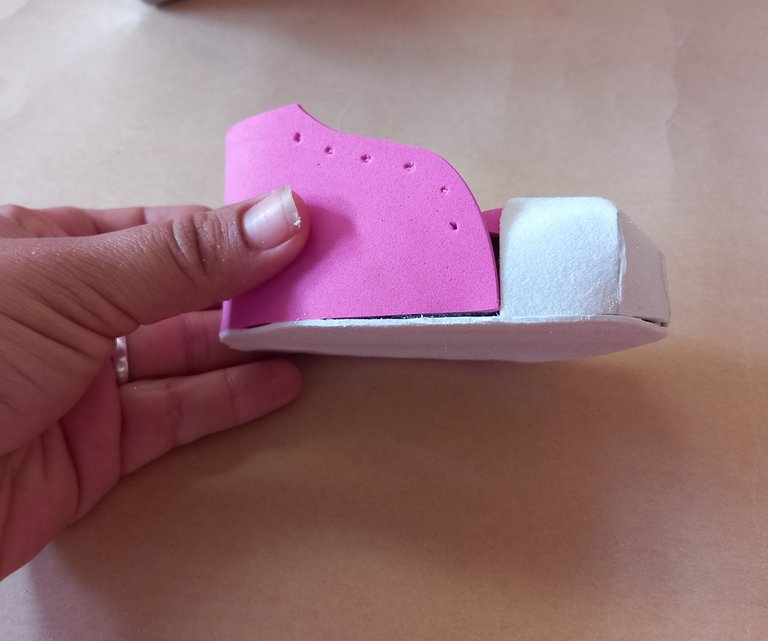
Pegamos la lengüeta por dentro del borde superior del puente.
We glue the tongue inside the upper edge of the bridge.
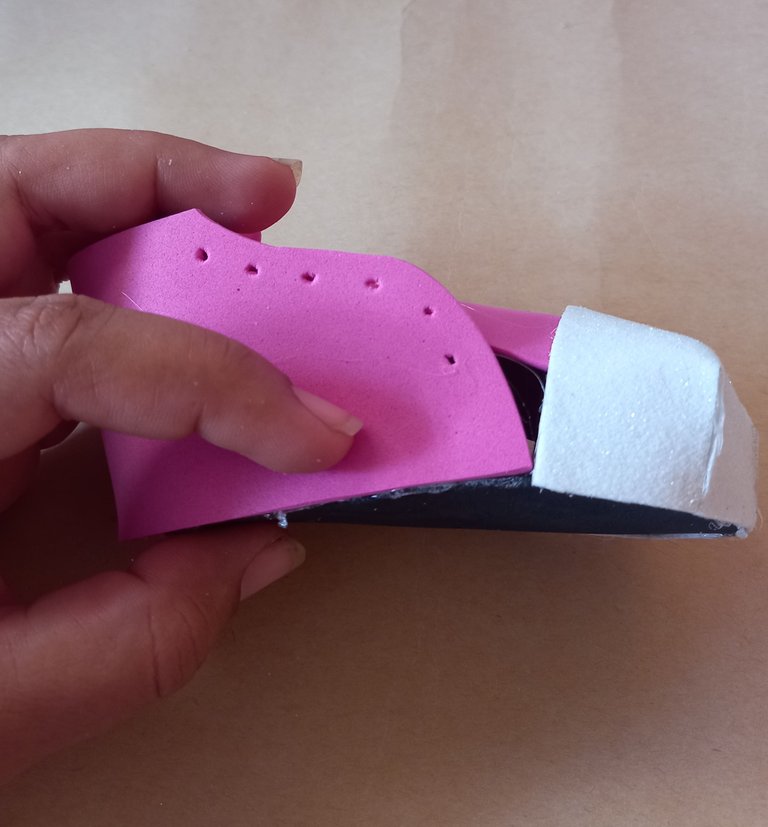
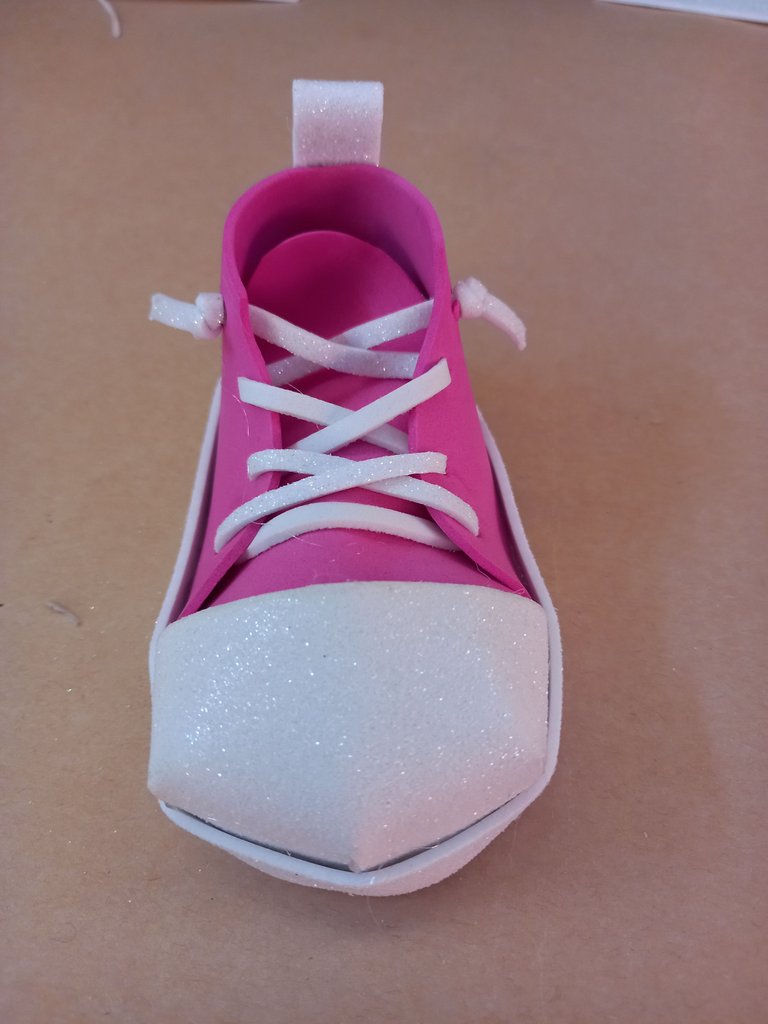
Luego haremos la cantidad de huecos necesarios, para meter las trenzas, a cada lado de la cubierta del zapato y la iremos pegando por el borde de la plantilla.
Then we will make the number of holes necessary to put the braids on each side of the shoe cover and we will glue them along the edge of the insole.
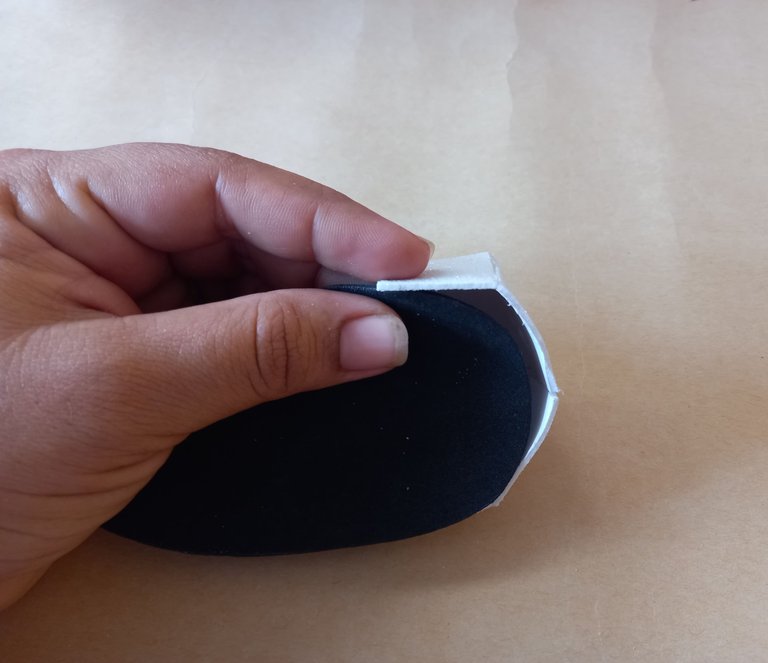
Posteriormente montamos el zapato sobre un pedazo de foami blanco, pegamos y recortamos el excedente, para hacer la suela.
Then we mount the shoe on a piece of white foami, glue and cut the excess to make the sole.
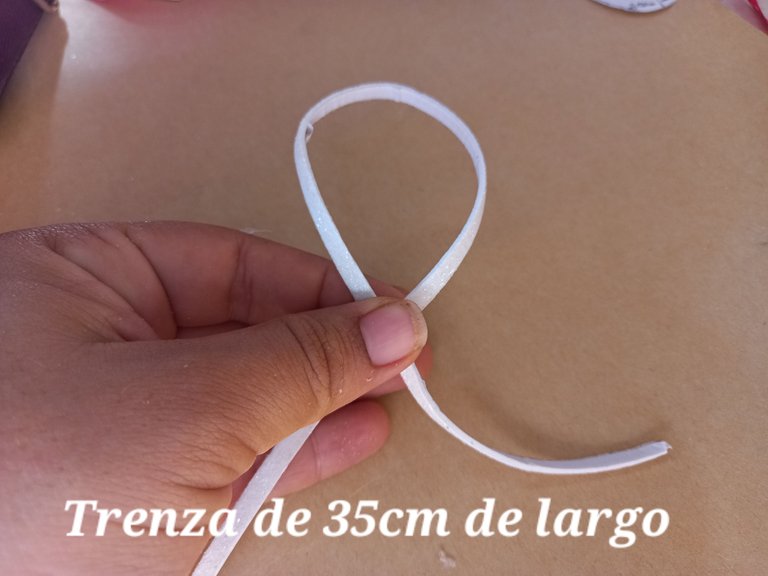
Cortamos una tira delgada de aproximadamente 35 cm de largo para hacer las trenzas del zapato.
We cut a thin strip approximately 35 cm long to make the braids of the shoe.
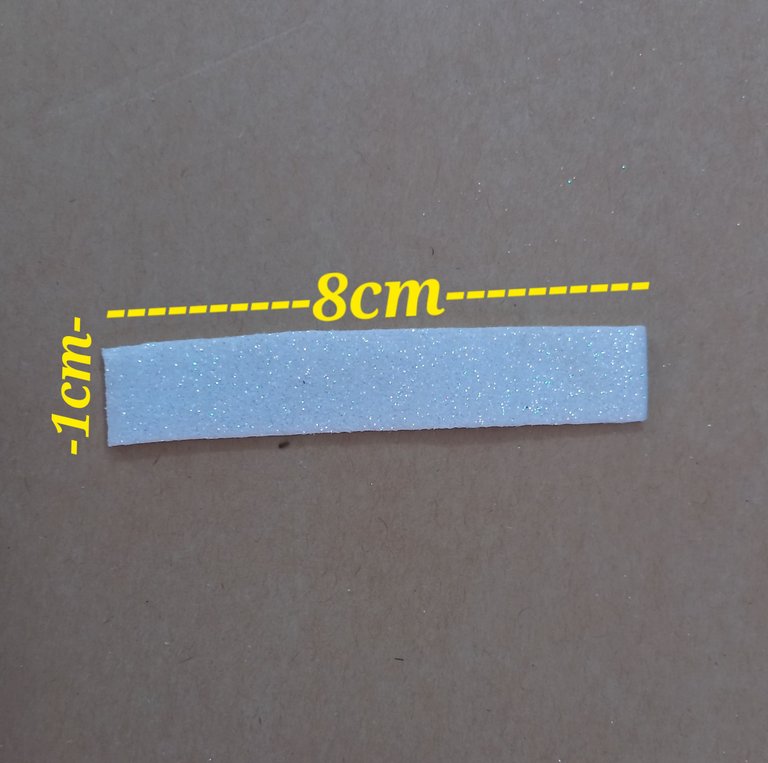
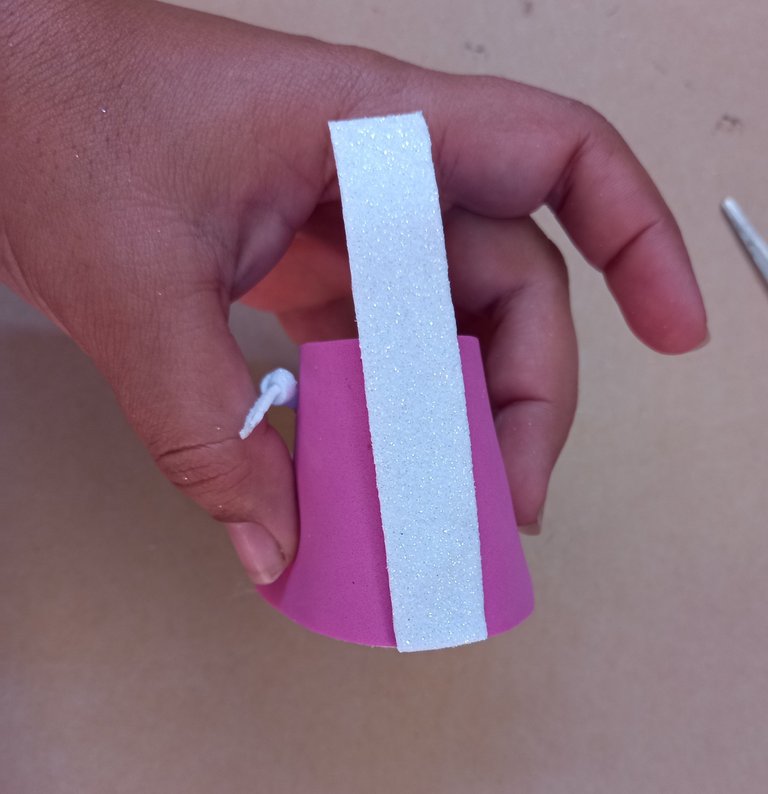
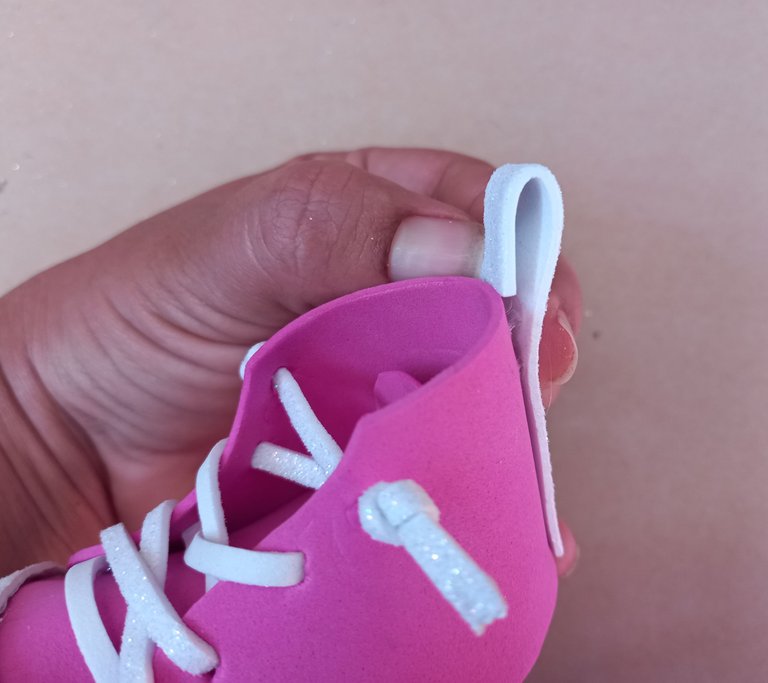
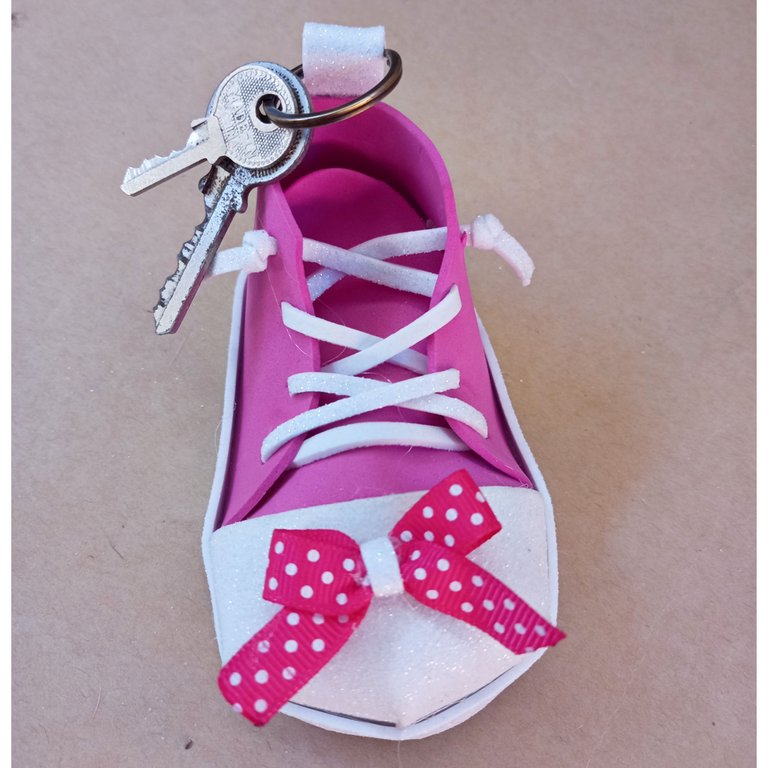
Una vez puesta la trenza en el zapato, cortaremos una tira de 8 cm de largo y 1 cm de ancho, la pegamos en la parte de atrás del zapato y le hacemos una orejita para meter por allí el aro.
Once the braid is placed on the shoe, cut a strip 8 cm long and 1 cm wide, glue it to the back of the shoe and make a little ear to put the hoop through it.
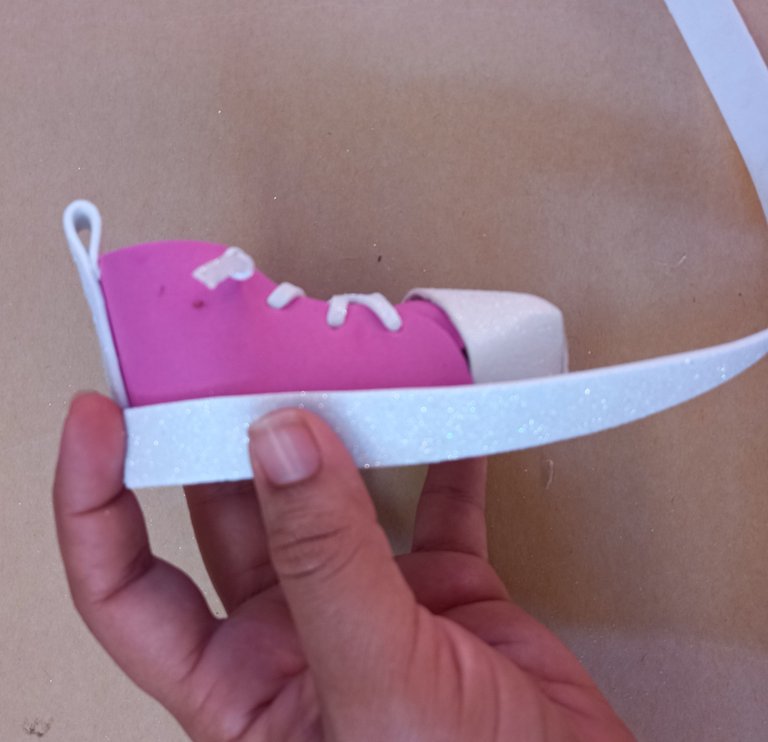
Cortamos otra tira de foami blanco de 1 cm de ancho y 28 cm de largo para hacer el borde que recubre la suela y la cubierta del zapato.
We cut another strip of white foami 1 cm wide and 28 cm long to make the border that covers the sole and the cover of the shoe.

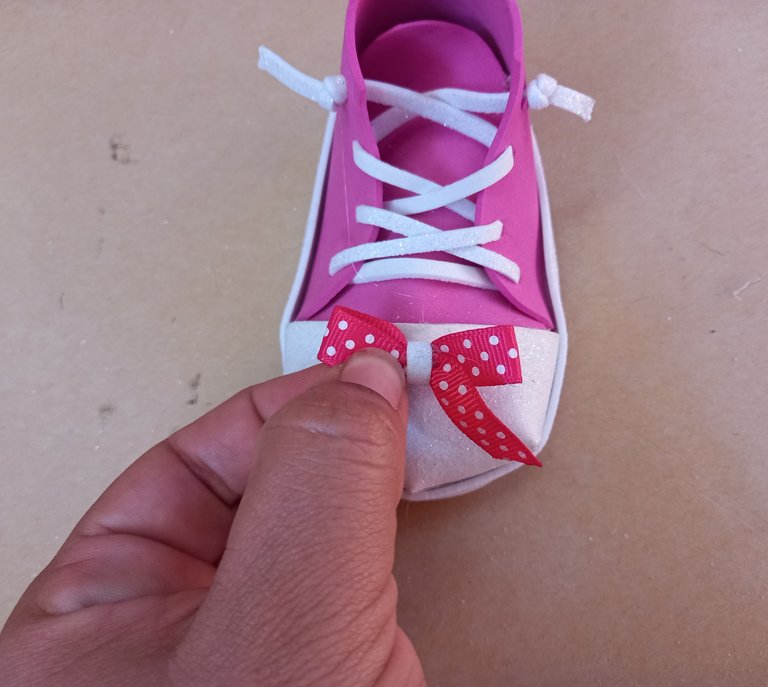
Finalmente hacemos un pequeño lazo de cinta fucsia decorativa y lo pegamos sobre el puente del zapato.
Finally we make a small bow of decorative fuchsia ribbon and glue it on the bridge of the shoe.
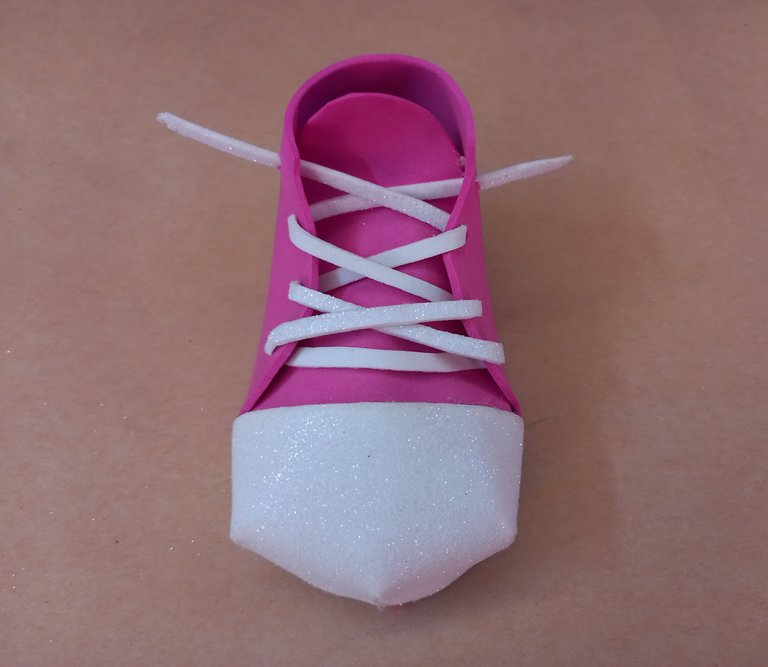
¡Ahora veamos el resultado amigos!
Now let's see the result, friends!

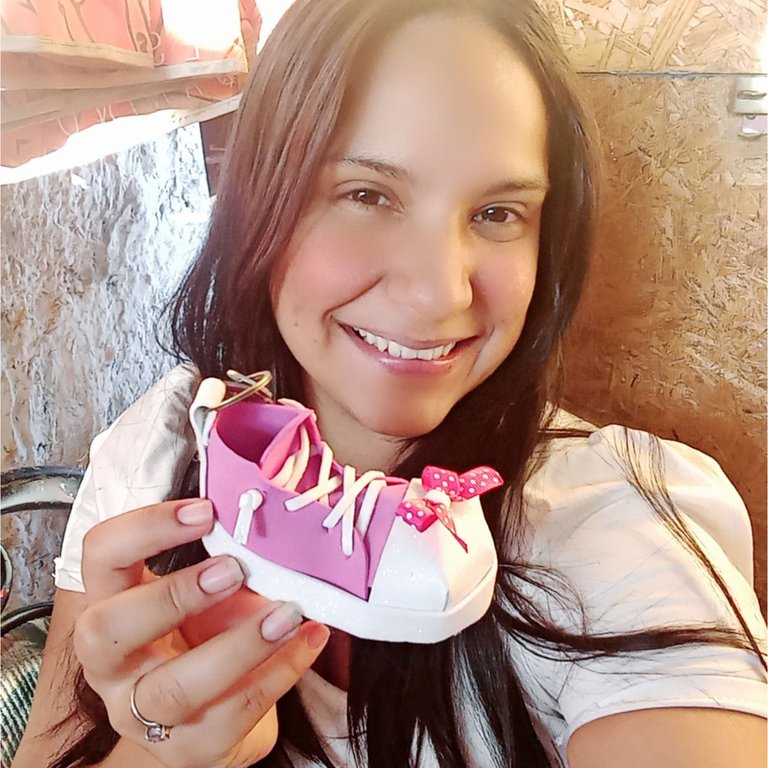
Espero que te haya el paso a paso de la elaboración de éste hermoso llavero. Gracias por quedarte hasta el final de éste tutorial. Será hasta otra oportunidad. BENDICIONES 🙏🏻😊
I hope you enjoyed the step-by-step making of this beautiful keychain. Thanks for sticking around until the end of this tutorial. I'll see you another time. BLESSINGS 🙏🏻😊.
Te ha quedado muy lindo, gran idea, mucha suerte..
Gracias amiga @katiuskamata, saludos 🤗
Que gran trabajo, describiste super bien el proceso y las fotos estan geniales, y el resultado final muy ingenioso, te felicito!
Hola, feliz día @fixie, gracias por tan grato comentario. Bendiciones 😊