(Esp/Eng)DIY " HERMOSO CENTRO DE MESA CON TEMÁTICA DE BALLENA"/ DIY " BEAUTIFUL WHALE THEMED TABLE CENTERPIECE"
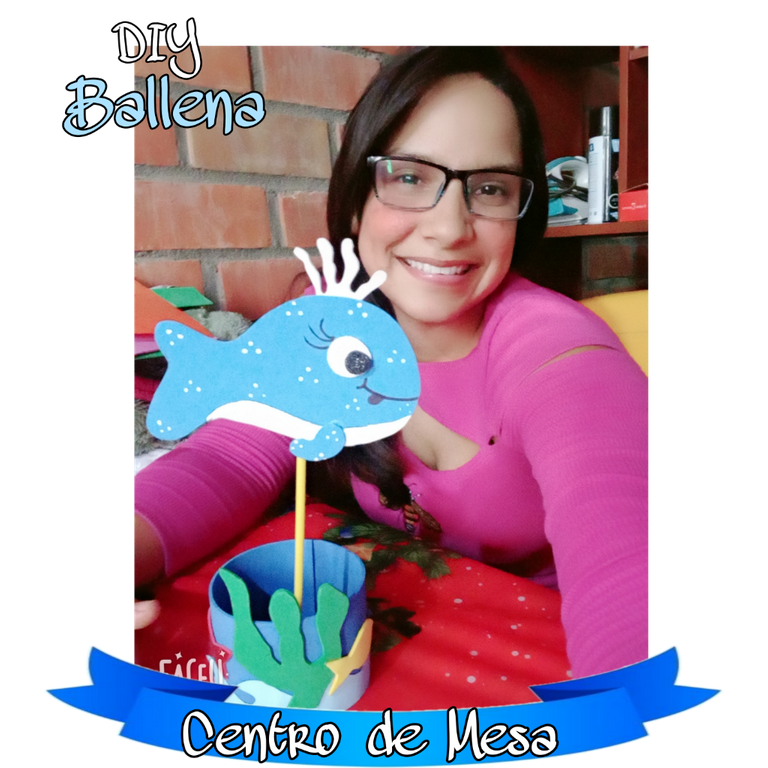
Hoy quiero compartir con ustedes la elaboración de un hermoso centro de mesa, ideal para cumpleaños o alguna celebración con temática de ballenas
Warm greetings my dear friends of Hive, I wish that today is a great day for everyone, full of many blessings and success.
Today I want to share with you the elaboration of a beautiful centerpiece, ideal for birthdays or any celebration with a whale theme.

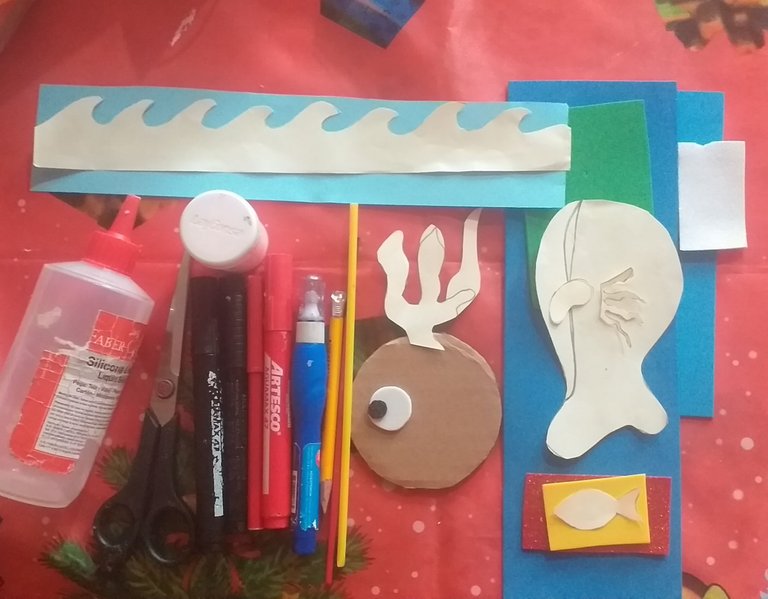
Para realizar éste DIY utilizaremos los siguientes materiales:
- Patrones de las figuras a realizar.
- Goma Eva en dos tonos de azul, goma Eva verde, amarilla, roja, negra y blanca.
- Papel de color azul celeste.
- Pitillo plástico de color amarillo.
- Lápiz.
- Tijeras.
- Marcadores.
- Témpera Blanca.
- Pincel.
- Corrector blanco.
- Circulo de cartón(tamaño opcional)
- Silicona líquida.
To make this DIY we will use the following materials:
- Patterns of the figures to be made.
- Eva rubber in two shades of blue, green, yellow, red, black and white eva rubber.
- Light blue paper.
- Plastic straw of yellow color.
- Pencil.
- Scissors.
- Markers.
- White tempera.
- Paintbrush.
- White concealer.
- Cardboard circle (optional size)
- Liquid silicone.
PROCEDIMIENTO
PROCEDURE
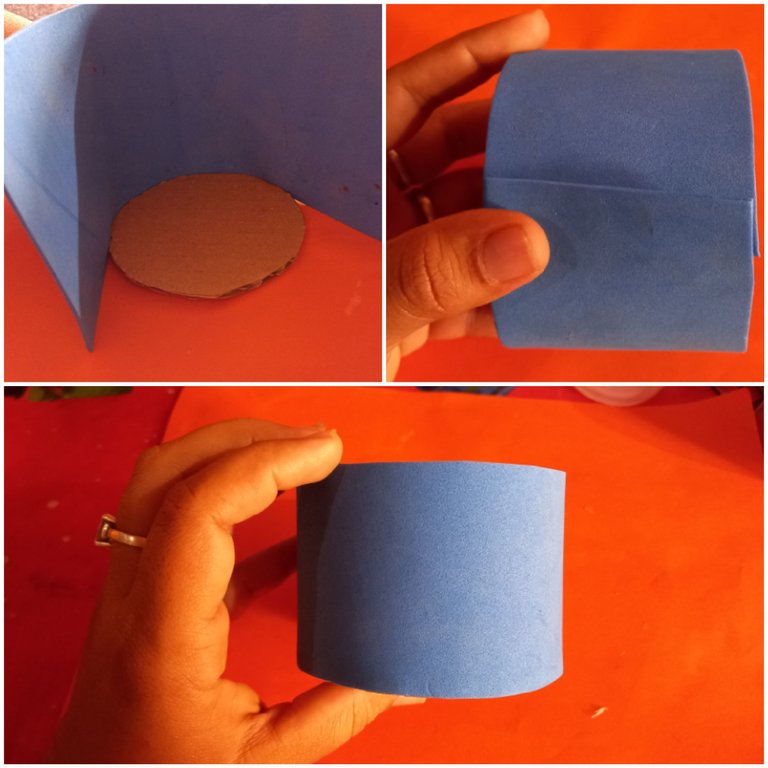
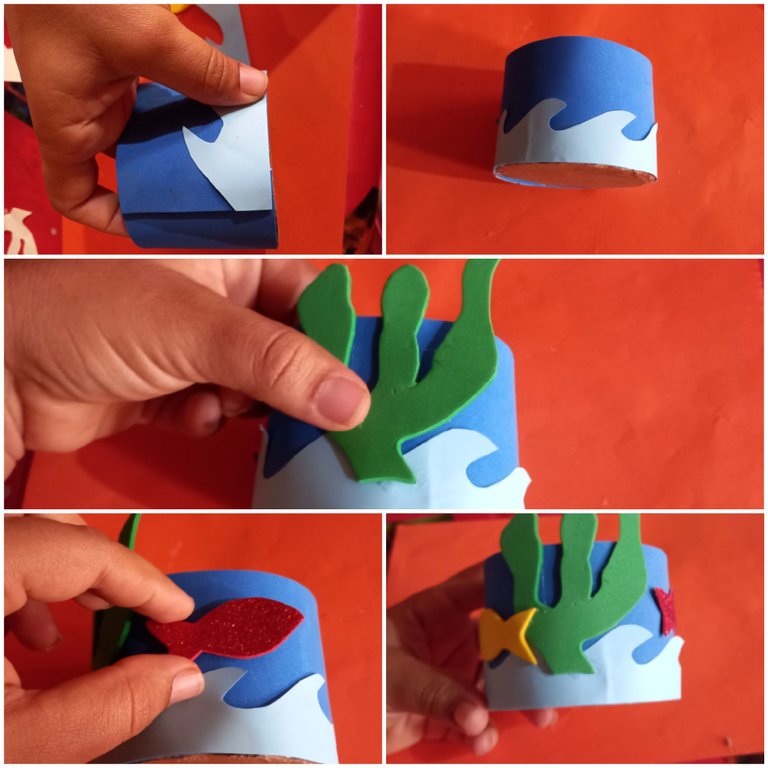
PASO 1
Pegamos la goma Eva de color azul por el borde del círculo de cartón hasta formar una taza.
STEP 1
Glue the blue eva rubber around the edge of the cardboard circle to form a cup.
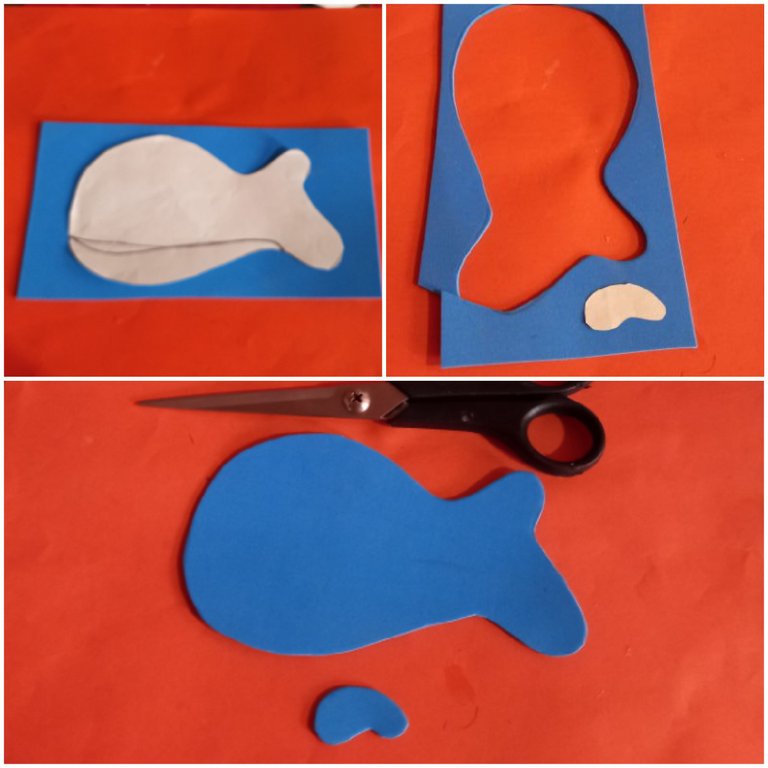
PASO 2
Colocamos los patrones sobre los colores de goma Eva que correspondan.
STEP 2
Place the patterns on the corresponding colors of Eva rubber.
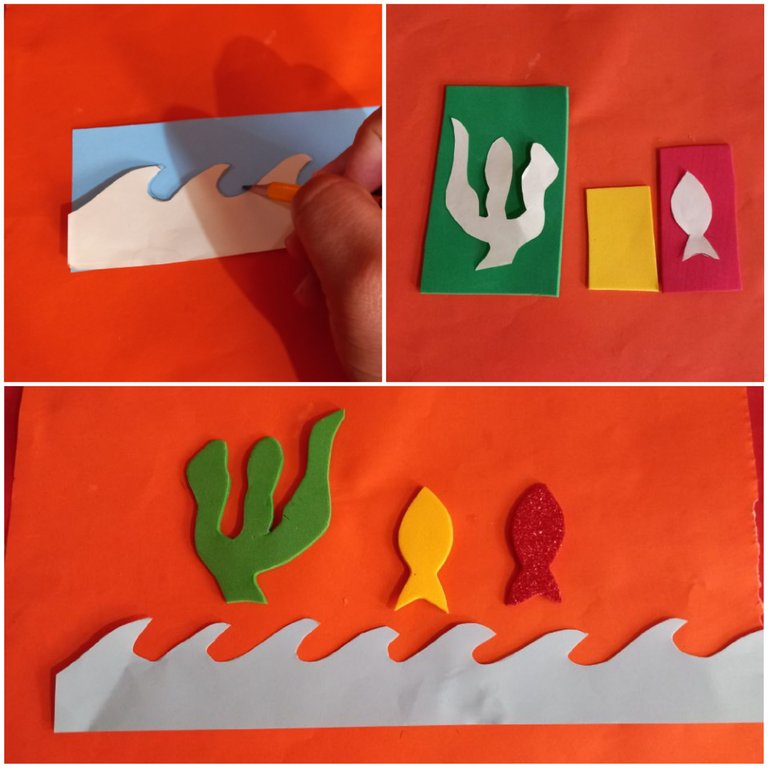
PASO 3
Pegamos las olas, las algas y los peces en la taza que hicimos de goma Eva.
STEP 3
Glue the waves, the seaweed and the fish on the cup we made out of Eva rubber.
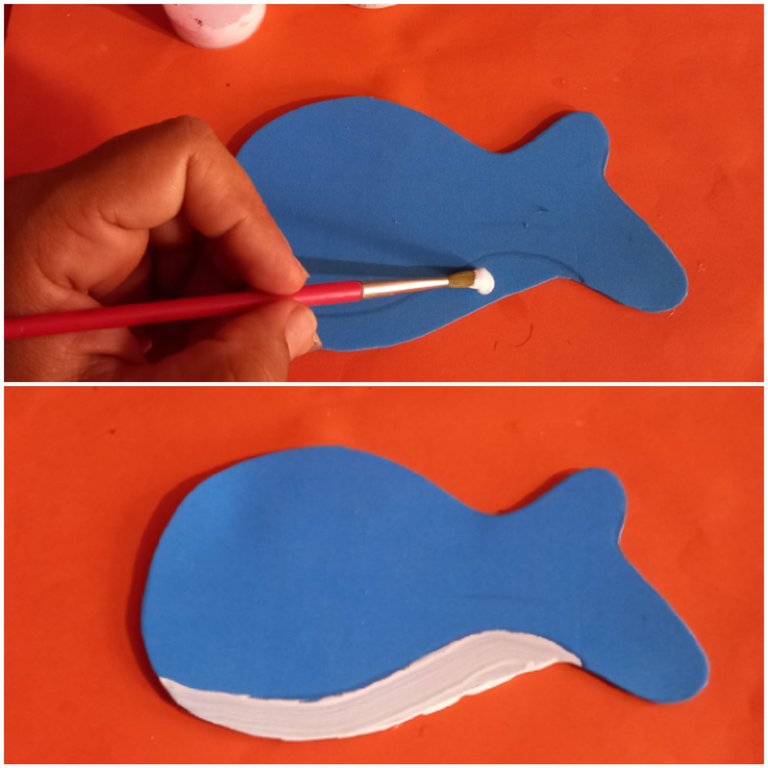
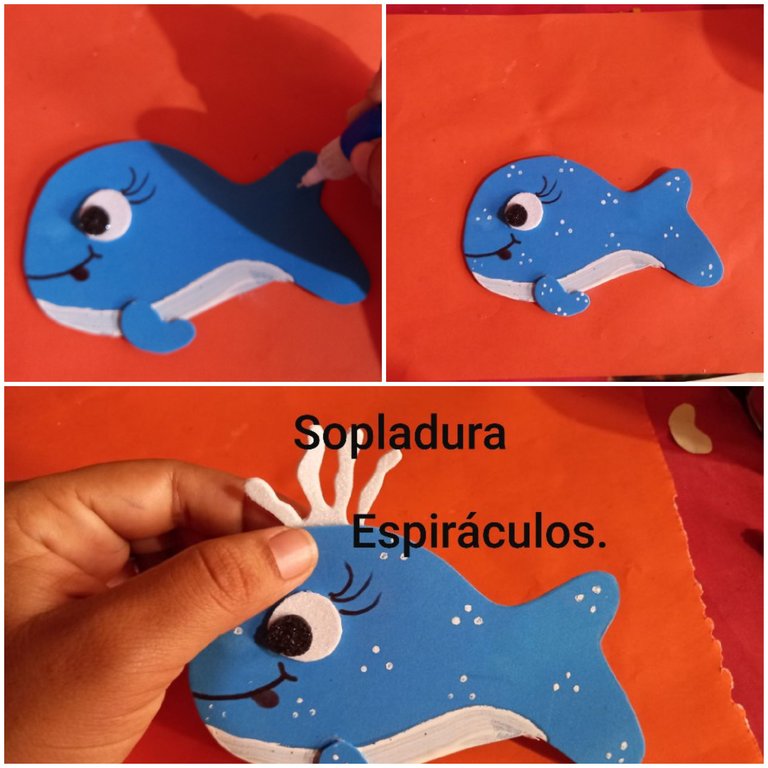
PASO 4
Pintamos de blanco, la parte inferior de la ballena, donde van los Pliegues ventrales.
STEP 4
We paint in white the lower part of the whale, where the ventral folds are.
PASO 5
Con goma Eva Blanca y negra hacemos los ojos y con un marcador negro pintamos la boca de la ballena.
STEP 5
With white and black Eva rubber we make the eyes and with a black marker we paint the mouth of the whale.
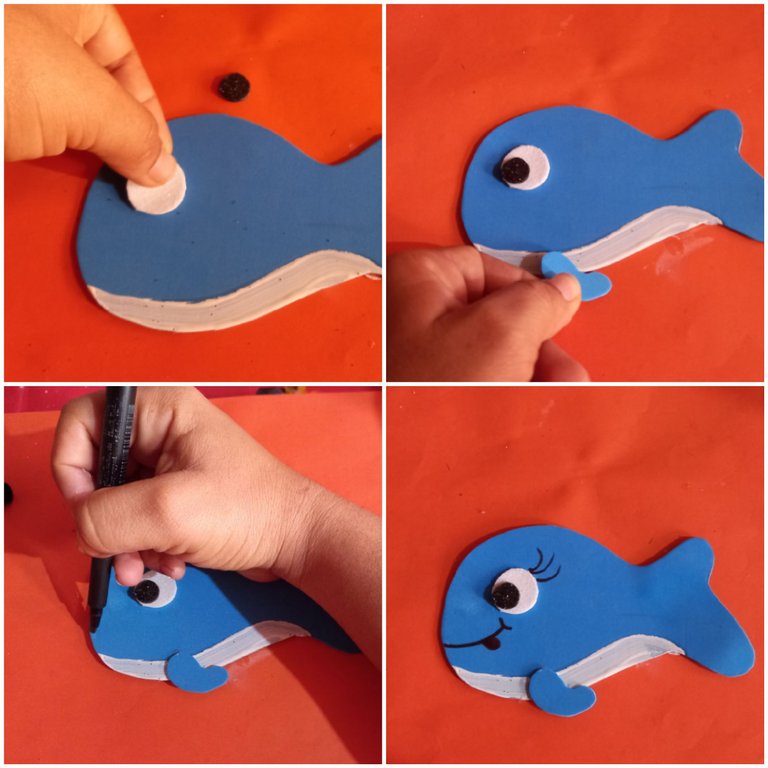
PASO 6
Pintamos con el corrector blanco pequeños puntitos en grupitos de tres para simular manchas y en la parte de arriba de la ballena, en donde se ubican los espiráculos por donde respira, pegamos la sopladura de agua.
STEP 6
We paint with the white concealer small dots in groups of three to simulate spots and on the upper part of the whale, where the blowholes are located, we glue the water blowing.
PASO 7
Fijamos la ballena en el pitillo plástico, luego abrimos un pequeño agujero en el cartón para fijar el pitillo.
STEP 7
Attach the whale to the plastic straw, then cut a small hole in the cardboard to attach the straw.

RESULTADO FINAL
FINAL RESULT
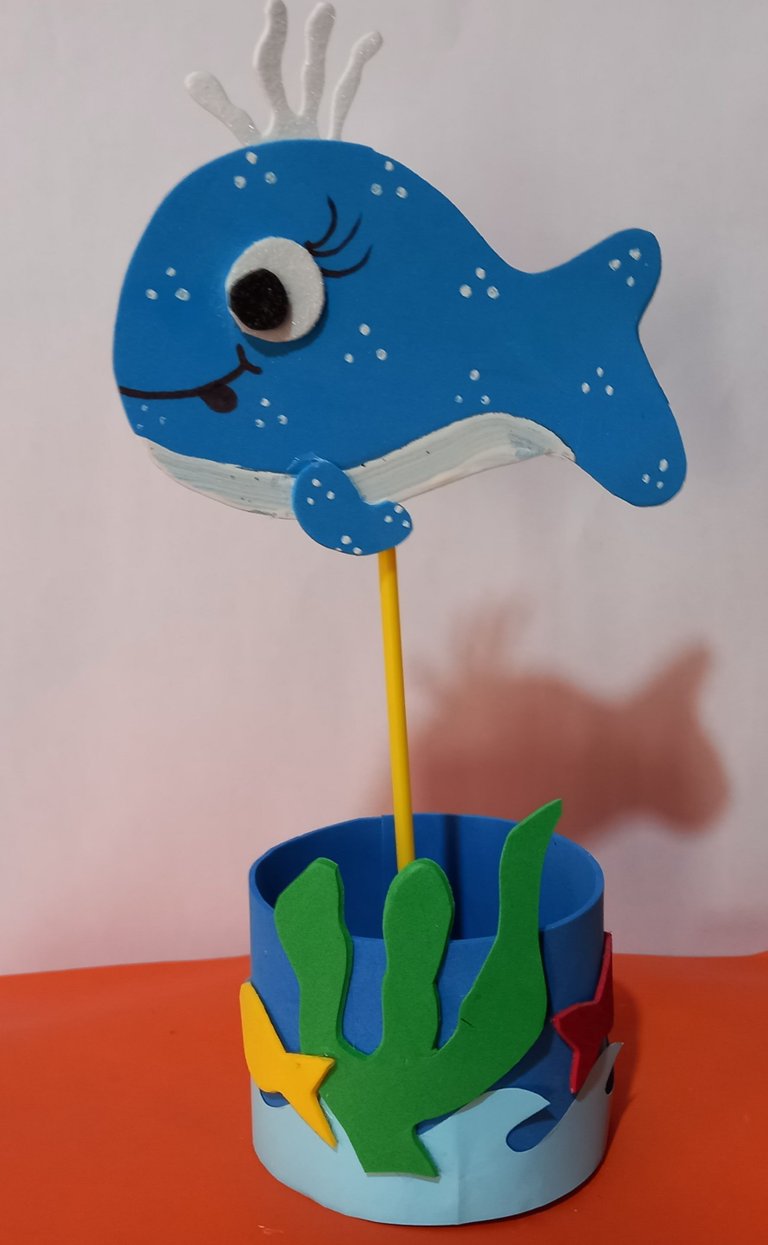
Espero que les haya gustado el resultado de éste lindo DIY, por mi parte, les digo que me encantó y aprendi algo interesante acerca de las ballenas, y es que los orificios por donde ellas respiran, se les denominan espiráculos.
I hope you liked the result of this nice DIY, for my part, I tell you that I loved it and I learned something interesting about whales, and is that the holes where they breathe, they are called spiracles.
Que belleza 😍 esa ballenita ha quedado coqueta 🐳😏 felicidades por tan bonito trabajo la verdad te ha quedado muy lindo.
Gracias amiga linda, me alegra ver tu comentario y que te haya gustado el DIY. Bendiciones, que tengas un excelente día.😊🤗