(Esp/Eng)DIY: "HERMOSO Y COLORIDO LORO DE PAPEL, CON DETALLE TRICOLOR"/ DIY: "BEAUTIFUL AND COLORFUL PAPER PARROT WITH TRICOLOR DETAIL".
Saludos y bendiciones mis queridos Hivers, espero estén disfrutando de un excelente día y gozando de buena salud, hoy quiero mostrarles cómo realizar un hermoso y colorido Loro de papel.
Greetings and blessings my dear Hivers, I hope you are enjoying an excellent day and enjoying good health, today I want to show you how to make a beautiful and colorful Paper Parrot.

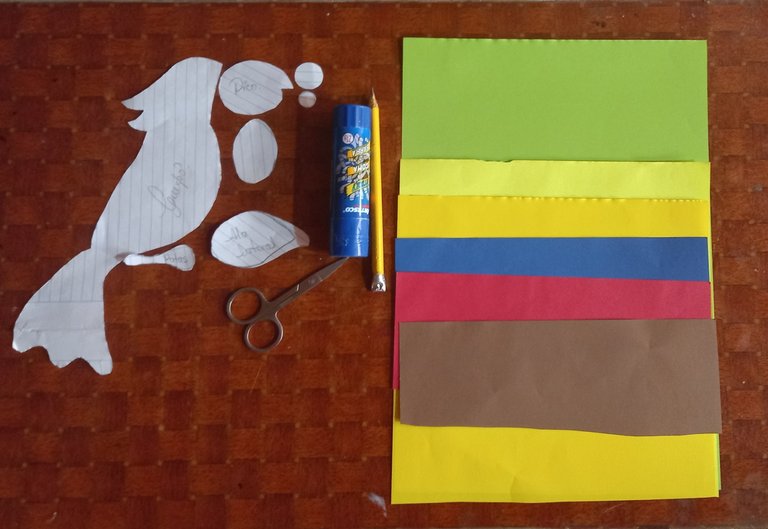
Materiales Necesarios:
- Papel Colors verde, amarillo, azul, rojo, blanco, negro, marrón.
- Patrones de las partes que conforman el Loro .
- Pegamento en barra.
- Tijeras.
- Lápiz.
Materials Needed:
• Paper Colors green, yellow, blue, red, white, black,brown
• Patterns of the parts that make up the parrot.
• Glue stick.
• Scissors.
• Pencil.
PROCEDIMIENTO
PROCEDURE
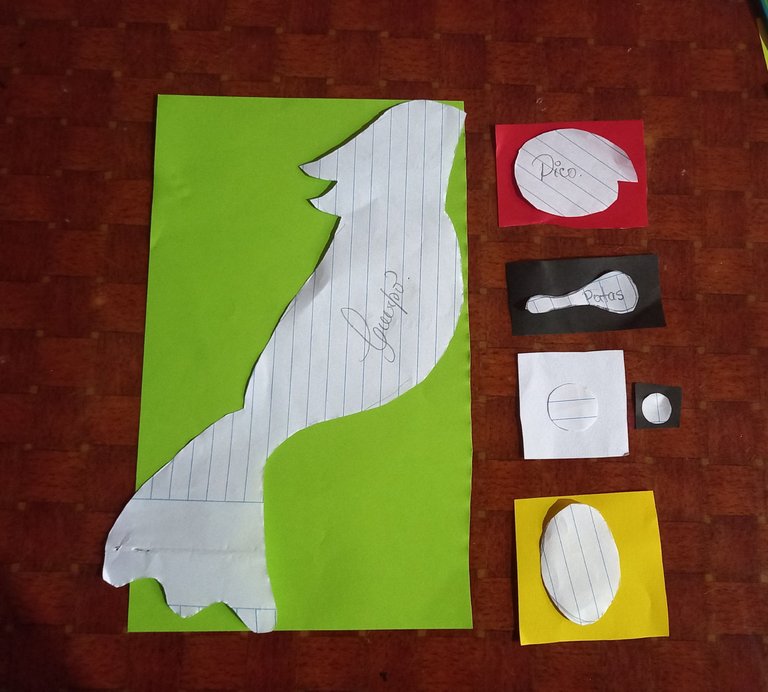
Lo primero que haremos es marcar todas las partes del Loro en los colores del papel que corresponde.
The first thing to do is to mark all the parts of the parrot in the corresponding colors of the paper.
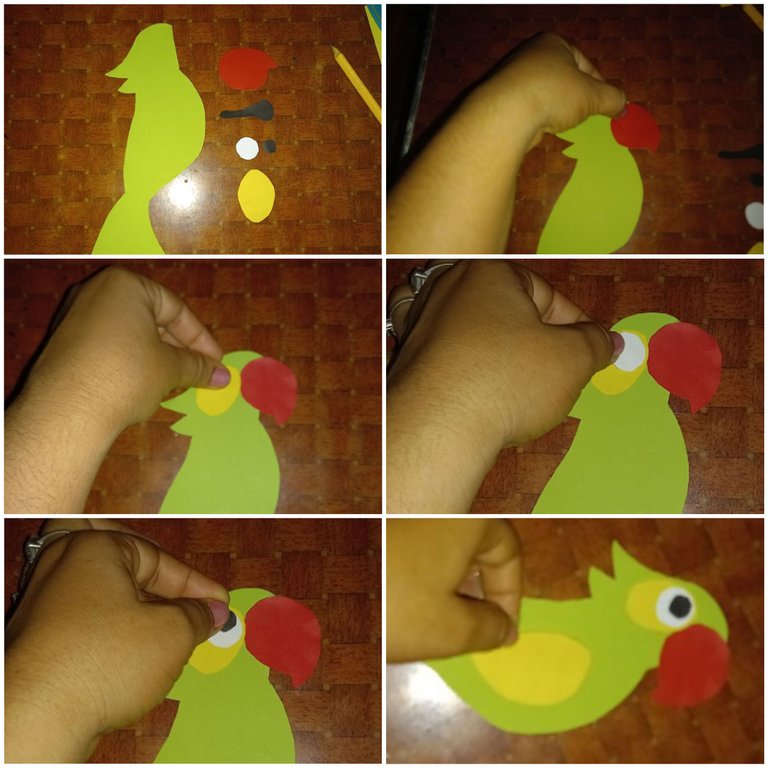
Después recortamos y comenzamos a unir las piezas hasta darle forma al Loro.
Then we cut out and begin to join the pieces together to give shape to the parrot.
Luego, para hacer las plumas de la cola, recortamos tres tiras de papel amarillo, tres de papel azul y cuatro de papel rojo, todas con las medidas: 6cm de largo y 1 cm de ancho, las doblamos, unimos los extremos y pegamos.
Then, to make the tail feathers, we cut three strips of yellow paper, three strips of blue paper and four strips of red paper, all measuring 6 cm long and 1 cm wide, fold them, join the ends and glue them together.
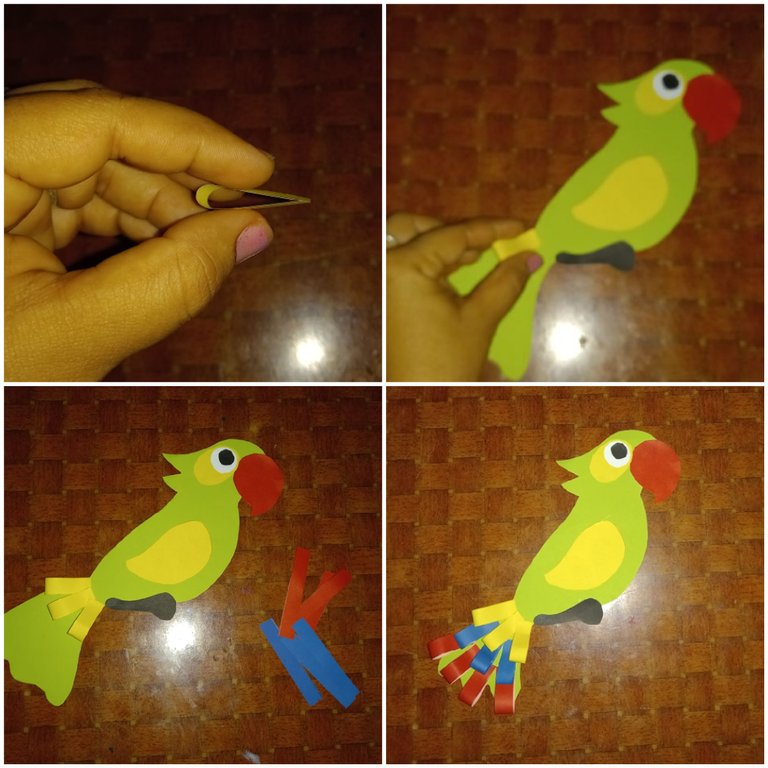
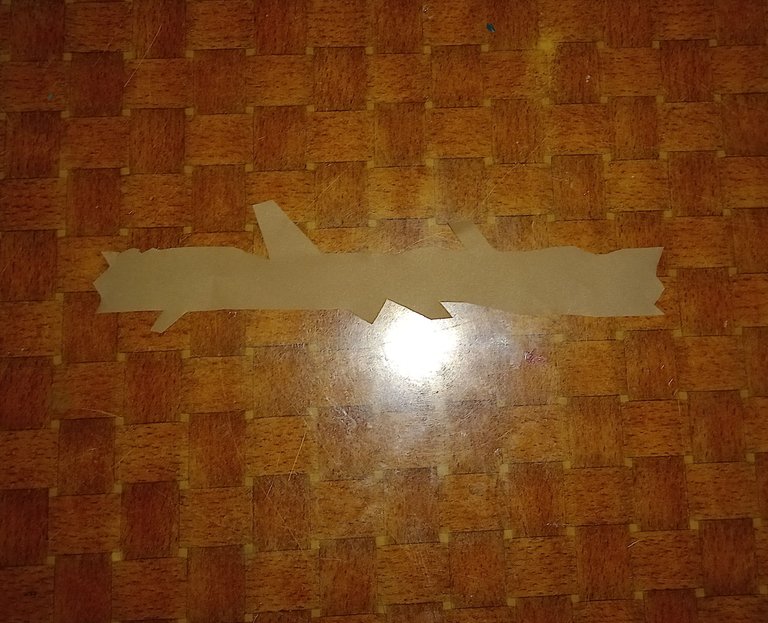
Después hacemos un pequeño tronco, utilizando papel de color marrón y le damos forma a nuestro gusto.
Then we make a small trunk, using brown paper and shape it to our liking.
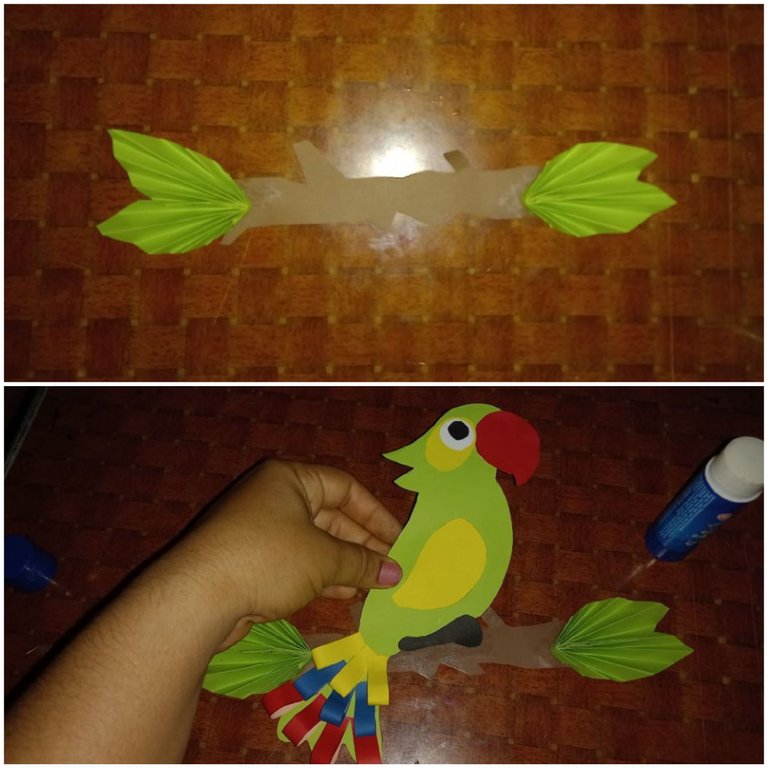
seguidamente realizamos unas hojas 🍃 con papel verde, utilizando la figura de un rombo, doblamos en forma de abanico, doblamos por la mitad y pegamos de la siguiente manera:
Then we make some leaves 🍃 with green paper, using the shape of a rhombus, fold in the shape of a fan, fold in half and glue in the following way:

Finalmente, pegamos cada hoja en los extremos del pequeño tronco y el Loro lo fijamos en el centro.
Finally, we glue each leaf to the ends of the small trunk and fix the Parrot in the center.
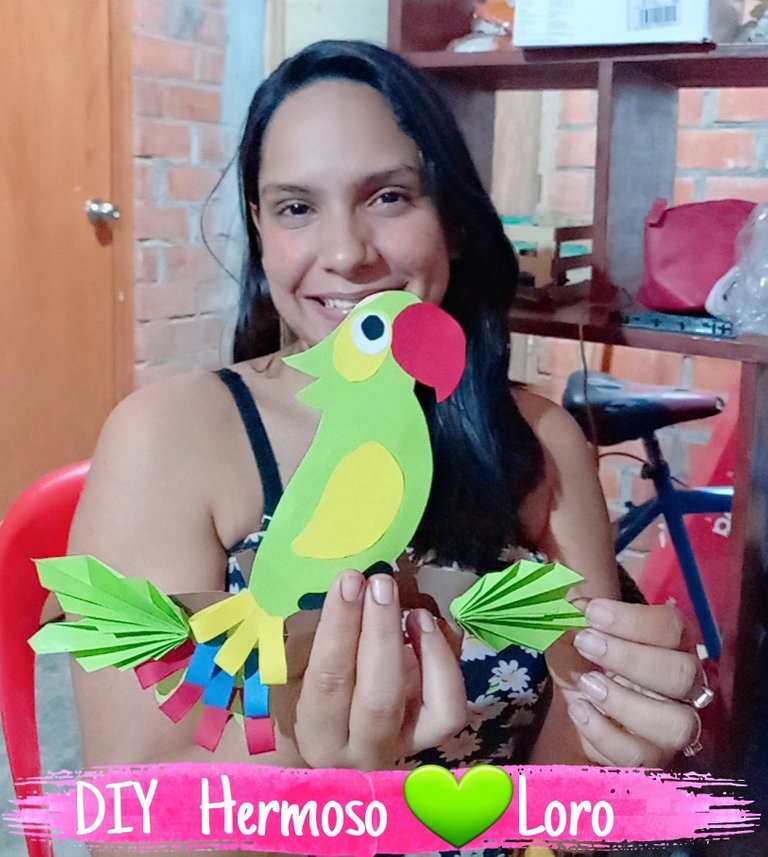
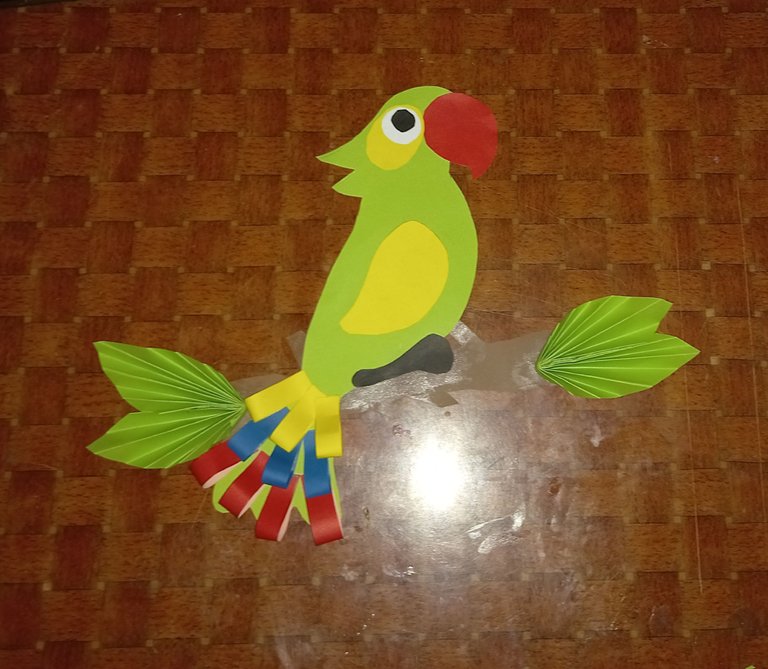
RESULTADO FINAL
FINAL RESULT
Congratulations @kathelopez77! You have completed the following achievement on the Hive blockchain and have been rewarded with new badge(s) :
Your next target is to reach 50 posts.
Your next target is to reach 3750 upvotes.
You can view your badges on your board and compare yourself to others in the Ranking
If you no longer want to receive notifications, reply to this comment with the word
STOPTo support your work, I also upvoted your post!
muy hermoso y original amiga
Hola amiga, muchas gracias, saludos y bendiciones. 😊
@kathelopez77 Muy lindo😇💜
Hola, feliz noche amiga, muchas gracias. Bendiciones.