(Esp/Eng)DIY/ "Simpático y colorido Gusano de Papel"/ DIY/ "Cute and colorful Paper Worm".
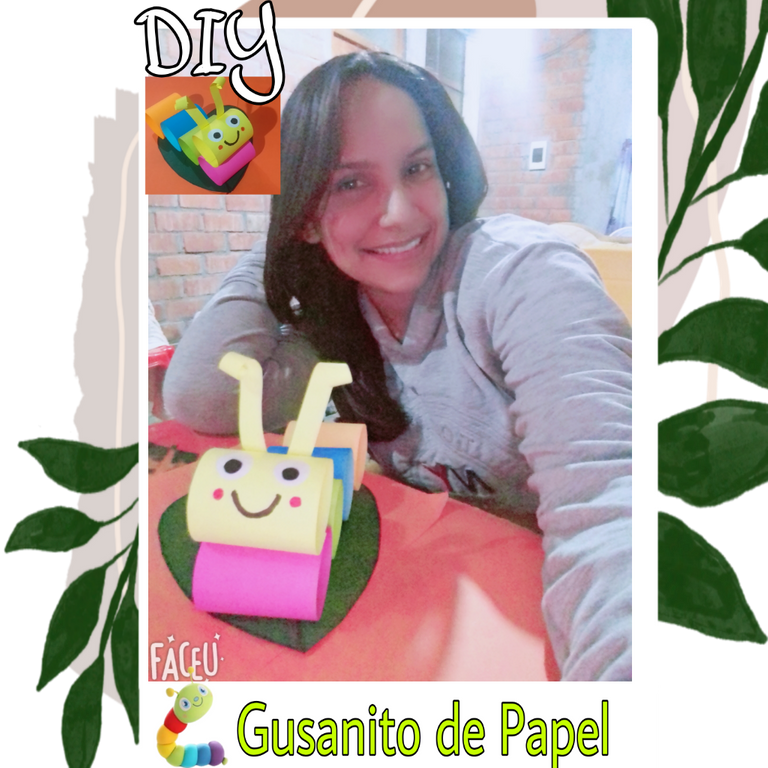
Happy and blessed Sunday my dear #Hive friends. Today's DIY is about a cute and very colorful paper worm.

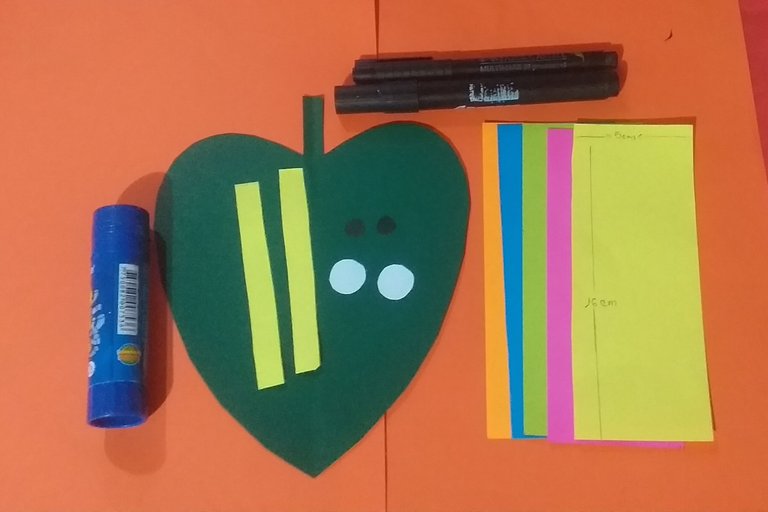
MATERIALES
- Cinco rectángulos de papel amarillo,verde,fucsia,naranja y azul de 5cm de ancho y 16cm de largo
- Papel verde en forma de hoja.
- Marcadores de color negro.
- pegamento en barra.
- Dos círculos de papel blanco pequeños y otros dos de color negro más pequeños.
- Dos tiras de papel de 1cm de ancho y 8cm de largo.
MATERIALS.
- Five rectangles of yellow, green, fuchsia, orange and blue paper 5cm wide and 16cm long.
- Green paper in the shape of a leaf.
- Black markers.
- Glue stick.
- Two small white paper circles and two smaller black circles.
- Two strips of paper 1cm wide and 8cm long.
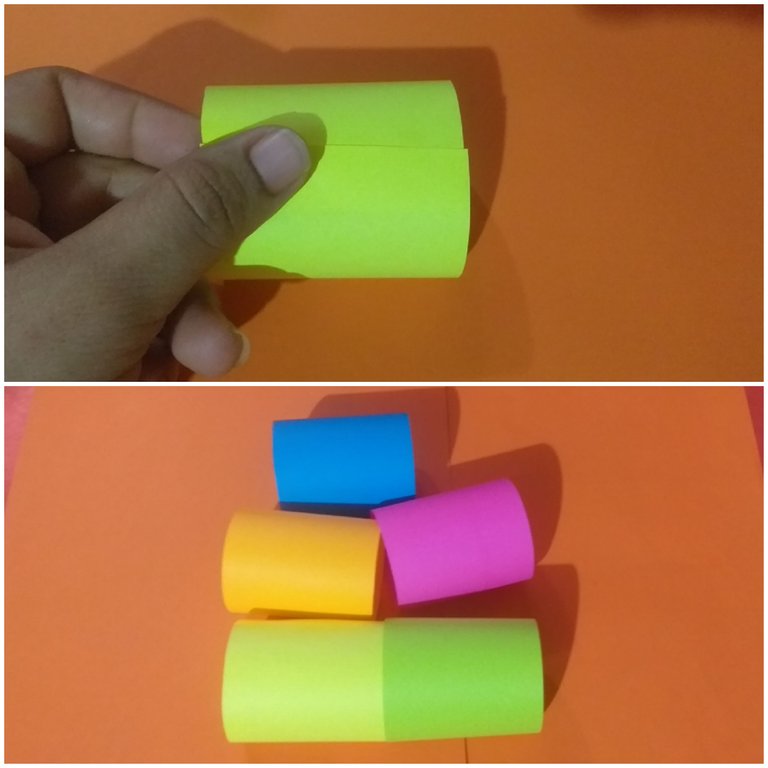
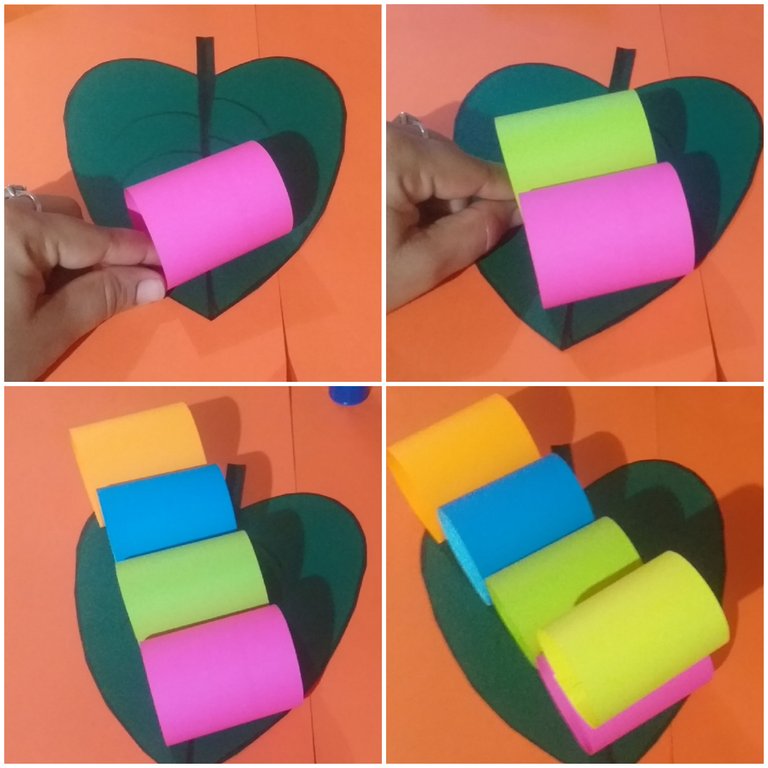
PASO 1
Utilizaremos los 5 rectángulos de distintos colores para hacer rollos, los cuales van a formar el cuerpo y la cabeza del gusanito.
STEP 1
We will use the 5 rectangles of different colors to make rolls, which will form the body and head of the worm.
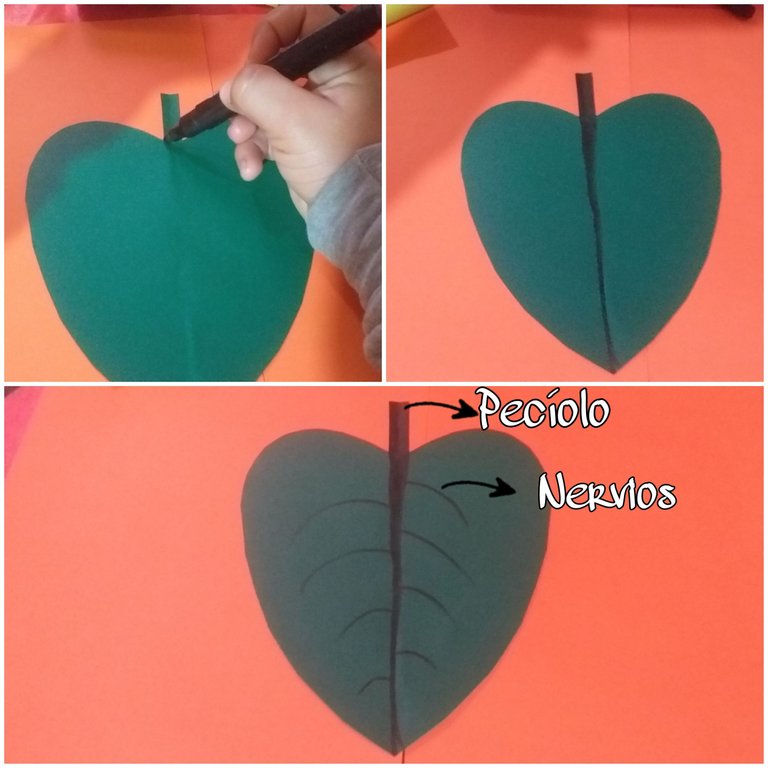
PASO 2
Con un marcador pintamos el pecíolo y los nervios de la hoja.
STEP 2
With a marker we paint the petiole and the nerves of the leaf.
PASO 3
Fijamos 4 rollos de papel sobre la hoja en diagonal, empezando por el color fucsia, sobre el cual pegaremos el rrollo amarillo, que será la cabeza de nuestro gusanito.
STEP 3
We fix 4 rolls of paper on the sheet diagonally, starting with the fuchsia color, on which we will glue the yellow roll, which will be the head of our little worm.
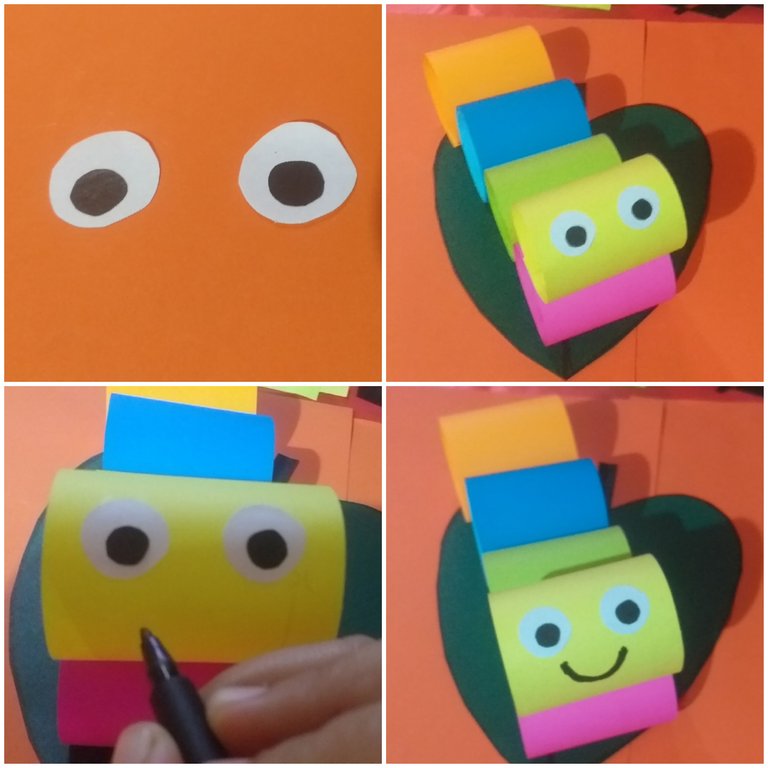
PASO 4
Con los círculos pequeños de papel blanco y negro, haremos los ojos del gusanito, los pegamos y con el marcador negro dibujamos la boca.
STEP 4
With the small circles of black and white paper, we will make the eyes of the little worm, we glue them and with the black marker we draw the mouth.
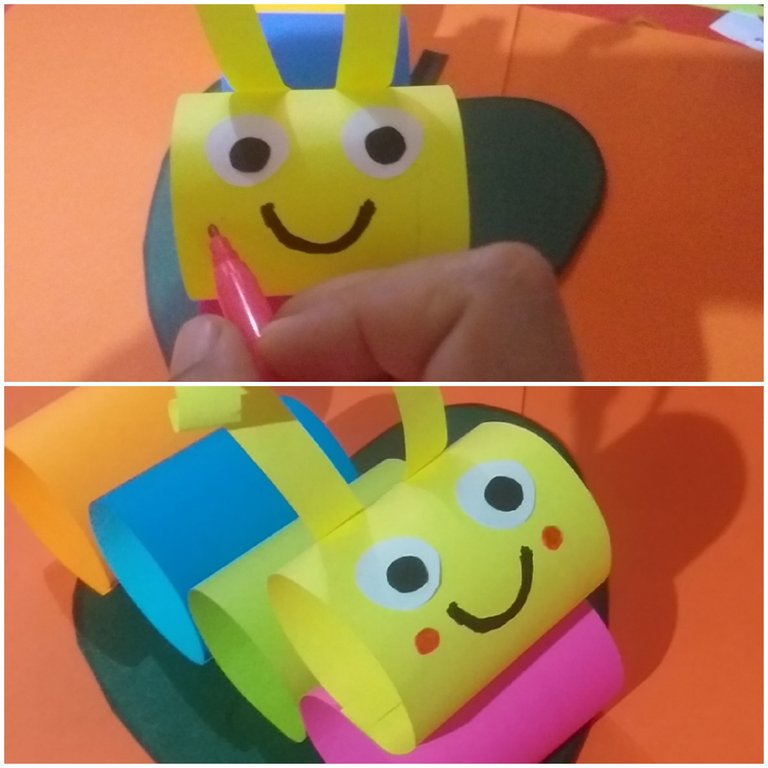
PASO 5
Usaremos las dos tiras de papel amarillo, para hacer las antenas del gusanito, enrollando ligeramente un extremo de cada una y las pegamos en la parte posterior de la cabecita.
STEP 5
We will use the two strips of yellow paper to make the worm's antennae, slightly rolling one end of each one and gluing them to the back of the head.

PASO 6
Para finalizar, utilizaremos un marcador rosado para darle un poco de rubor a la cara del gusanito.
STEP 6
Finally, we will use a pink marker to give a little blush to the face of the little worm.
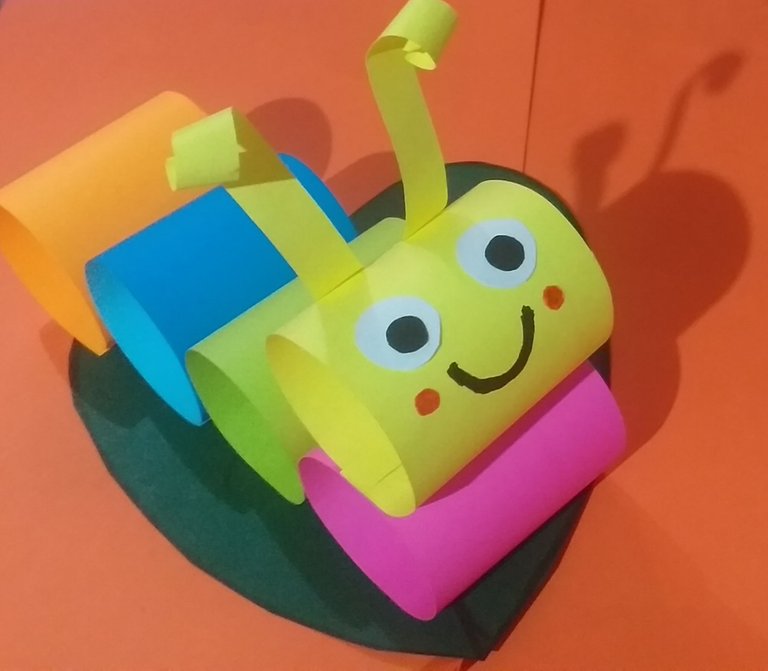
RESULTADO FINAL
RESULTADO FINAL
Hola buenos días muy lindo, colorido, simpático y tierno tu gusano de papel,bastante creativo amiga. saludos y bendiciones.
Hola amiga amén, de corazón gracias, me alegra mucho que te haya gustado. Que tengas un excelente día, bendiciones.
Me encanta tu gusano y la combinación de colores 😍
Hola amiga, gracias, de corazón me alegra mucho que te haya gustado. Saludos y bendiciones.😊
👏👏👏👏👍